Alibaba
To set your Alibaba account to be used as an Email Service Provider in Email Element, you will need:
- EventBridge enabled
- Event Publishing enabled
- Direct Mail enabled
- At least 1 Email Domain configured and verified
- At least 1 valid Sender Address
- At least 1 User with proper permissions
- An Access Key and Access Secret
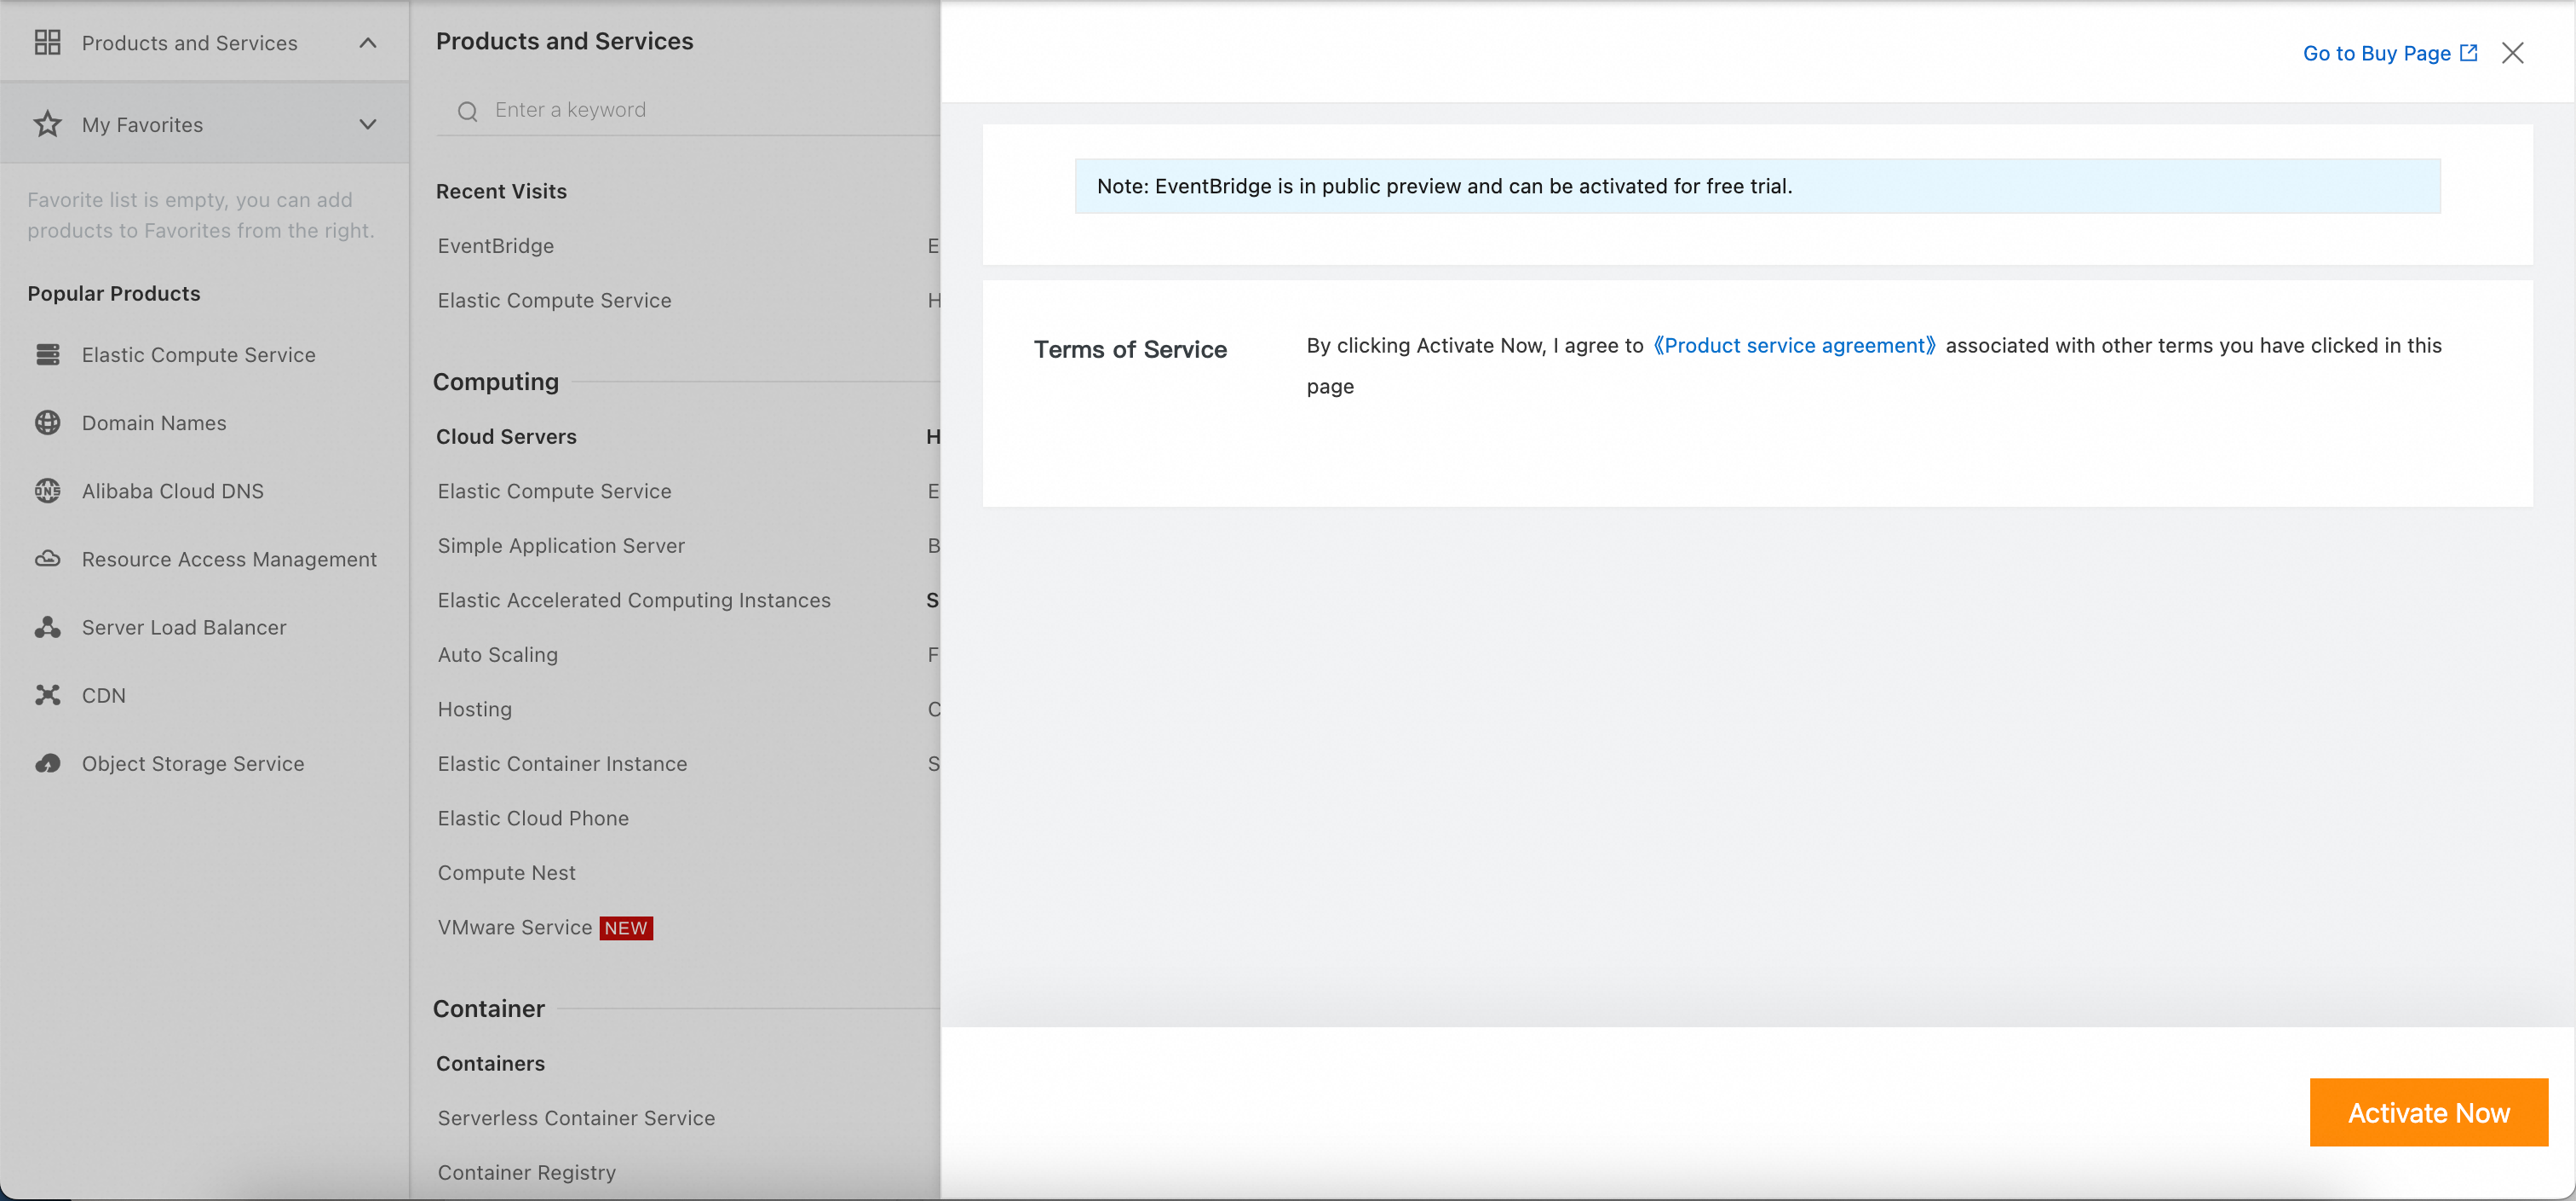
Enable EventBridge
- There are a lot of features and menu items in Alibaba, it's easiest to search for “EventBridge”.
- Once on the EventBridge page, select “Activate Now” and follow all the prompts.
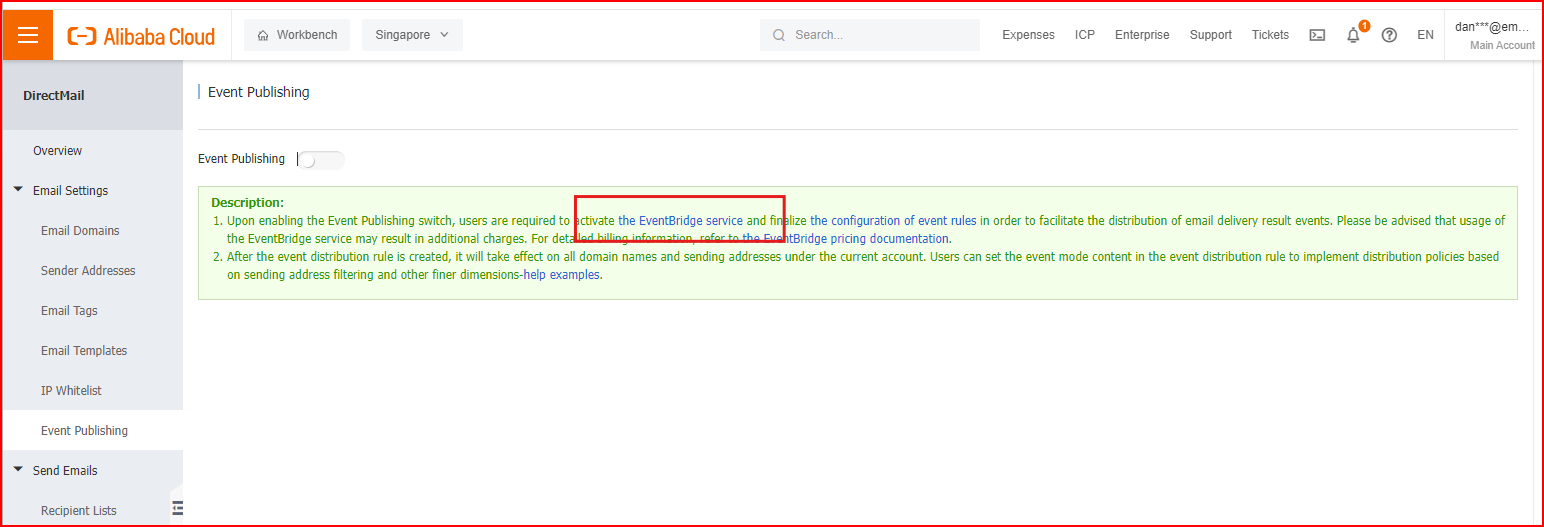
Enable Event Publishing
- Select “Event Publishing” under the Email Settings menu; toggle the “Event Publishing” option ON:
Enable Direct Mail
- As with EventBridge, simply use the search feature to find it and turn it on. Once enabled, you'll have access to the Email Settings need for the next couple of steps.
Add an Email Domain and Configure it
- While still in Email Settings, click on the “Email Domains” menu item.
- Click “New Domain” to add your domain to the list.
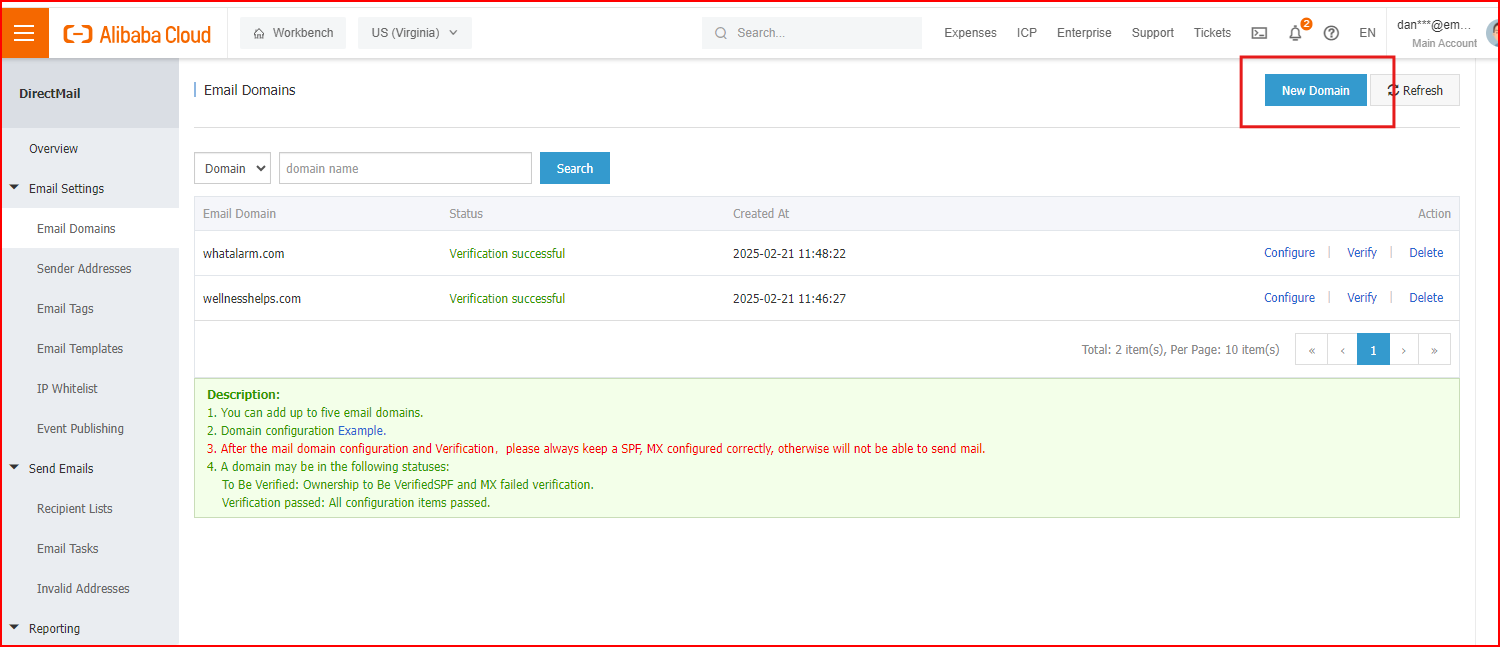
- Once it has been added, you can select “Configure” for the Domain to get a list of all DNS records you'll need to add to your DNS registrar/hosting service.

- Then run “Verify” to ensure everything is set-up properly.
Add a Sender Address
- Click the “Sender Address” menu item under Email Settings.
- Click “Create Sender Address” and add an email with the domain you just set-up in the previous step and set the Type to “Triggered Emails” or “Batch Emails” , and add a valid Reply-To address. Triggered emails refer to registration notifications, password retrieval notifications and others; Batch emails refer to product promotions, periodical news and others
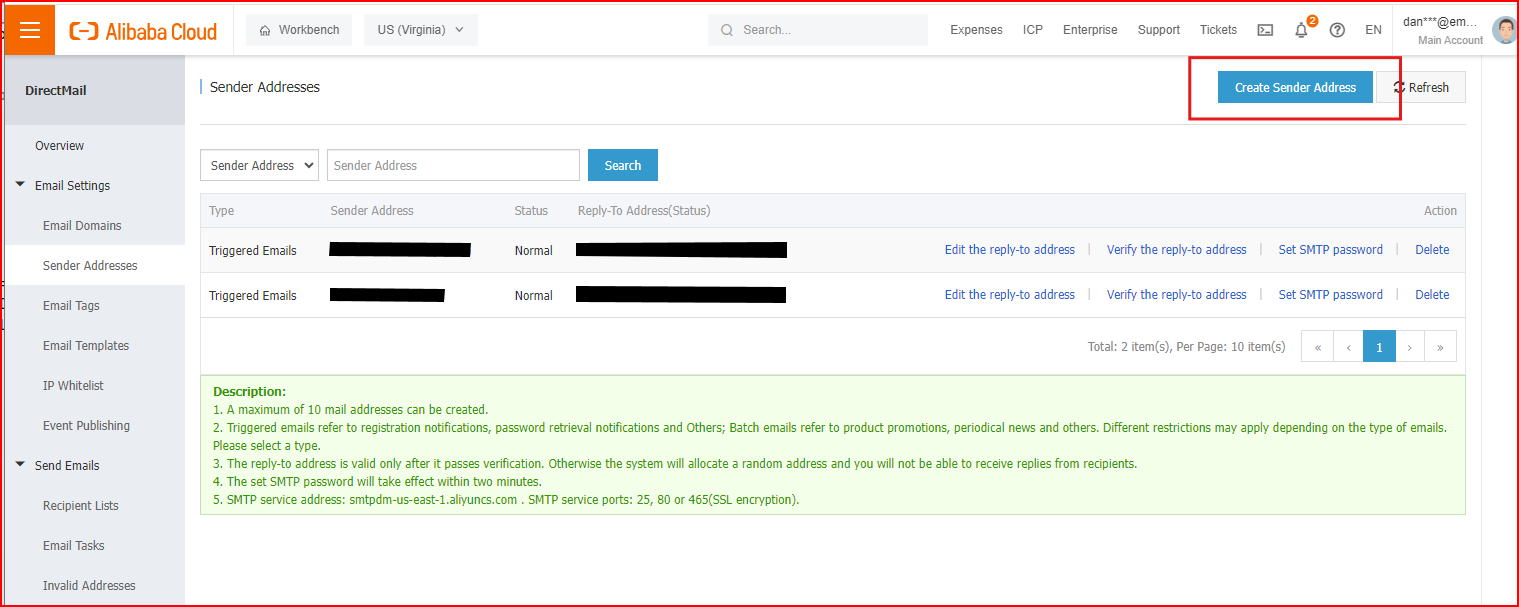
- Click “Verify the reply-to address” and an email will be sent to you. Once you click the link in that email you'll be good to go.
Add a User with Permissions
- Go to https://ram.console.aliyun.com/users and select “Add User”
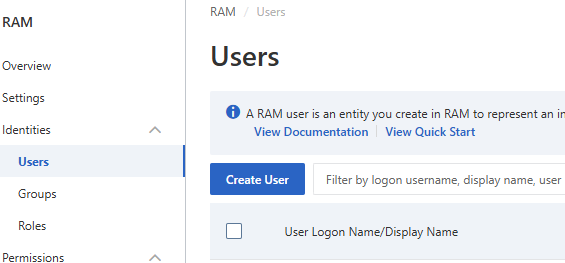
- Enter a “Logon Name” and check the “Using permanent AccessKey to access” option, then hit OK to finish creating the User
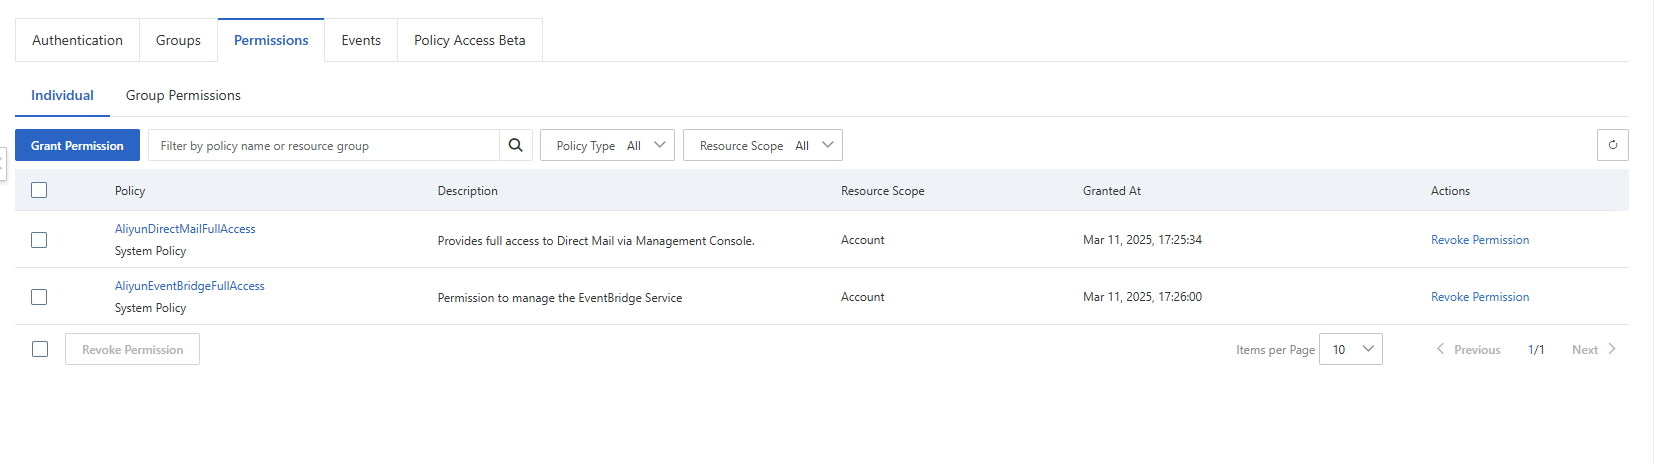
- Select the User from the “Users” menu, then choose the “Permissions” tab.
- Add “AliyunDirectMailFullAccess” and “AliyunEventBridgeFullAccess” permissions.
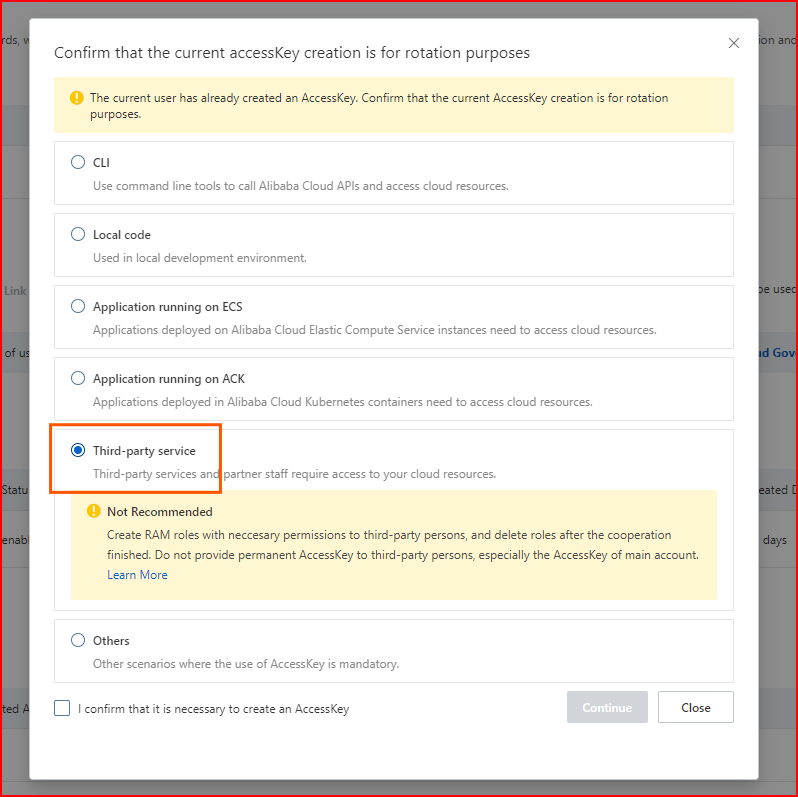
Create an Access Key and Access Secret
- Under the “Authentication” tab for the new User, select “Create Access Key”; choose the “Third-party service” option and continue following the prompts, ensure to take note of both the Access Key and Access secret as you will not be able to view the pair again (you would have to generate a new Key/Secret pair if you don't or if you lose this one).

Set-up Alibaba in EmailElement
- Go to Sender Domains and create a new domain (enter your Domain Name, Brand, and add a From Email)
- Validate your DNS Records
- Go to Send Integrations and add a new integrations, ensuring Alibaba is selected with the correct region you have your ESP in.
- Enter your new Send Integration Name, Domain, API Key (Access Key), and API Secret (Access Secret), then “Run Test”
- Once it says “Success”, you're ready to start sending!