To set up an AWS SES SendIntegration the following are required:
- An API key and Secret with correct permissions to set up SNS and SES elements. (See images below)
¶ Create IAM User
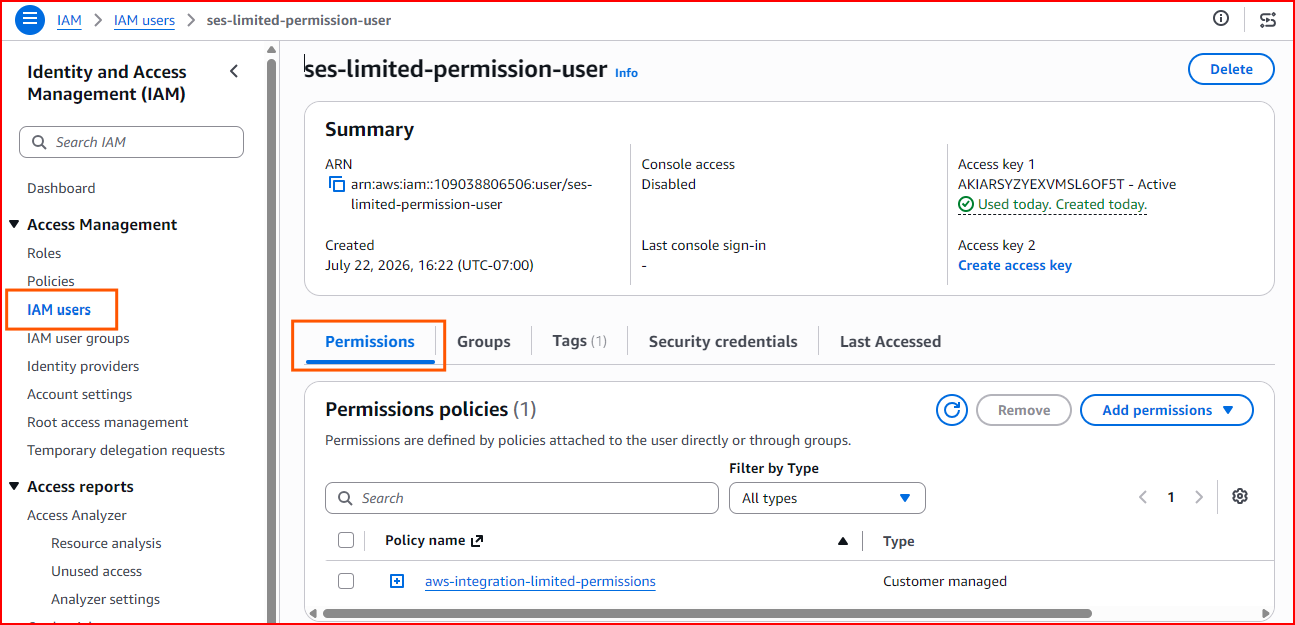
Create an IAM Policy and create a user with that policy attached.
First navigate to Policies and create a new policies with the correct permissions.
Policy Permissions
-
ses:CreateConfigurationSet ses:GetConfigurationSetses:CreateConfigurationSetEventDestinationses:GetConfigurationSetEventDestinationsses:SendRawEmailsns:CreateTopicsns:ListSubscriptionsByTopicsns:Subscribesns:ConfirmSubscription
Json version of policy
{
	"Version": "2012-10-17",
	"Statement": [
		{
			"Sid": "SesConfigSetSetup",
			"Effect": "Allow",
			"Action": [
				"ses:CreateConfigurationSet",
				"ses:GetConfigurationSet",
				"ses:CreateConfigurationSetEventDestination",
				"ses:GetConfigurationSetEventDestinations"
			],
			"Resource": "*"
		},
		{
			"Sid": "SesSend",
			"Effect": "Allow",
			"Action": "ses:SendRawEmail",
			"Resource": "*"
		},
		{
			"Sid": "SnsWebhookSetup",
			"Effect": "Allow",
			"Action": [
				"sns:CreateTopic",
				"sns:ListSubscriptionsByTopic",
				"sns:Subscribe",
				"sns:ConfirmSubscription"
			],
			"Resource": "*"
		}
	]
}
Navigate to IAM Users to create your user and attach the policy under Permissions.
¶ Create Api Token
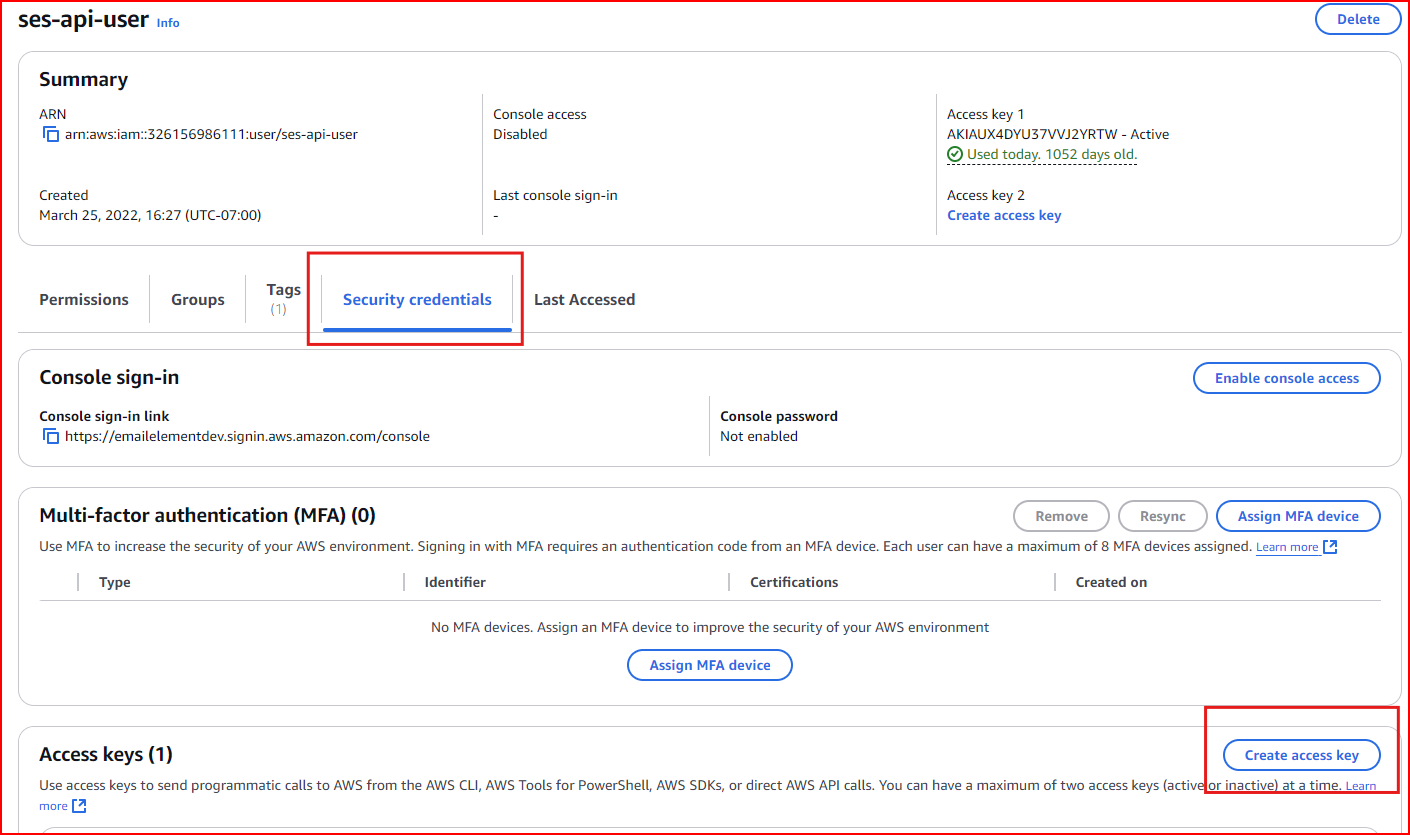
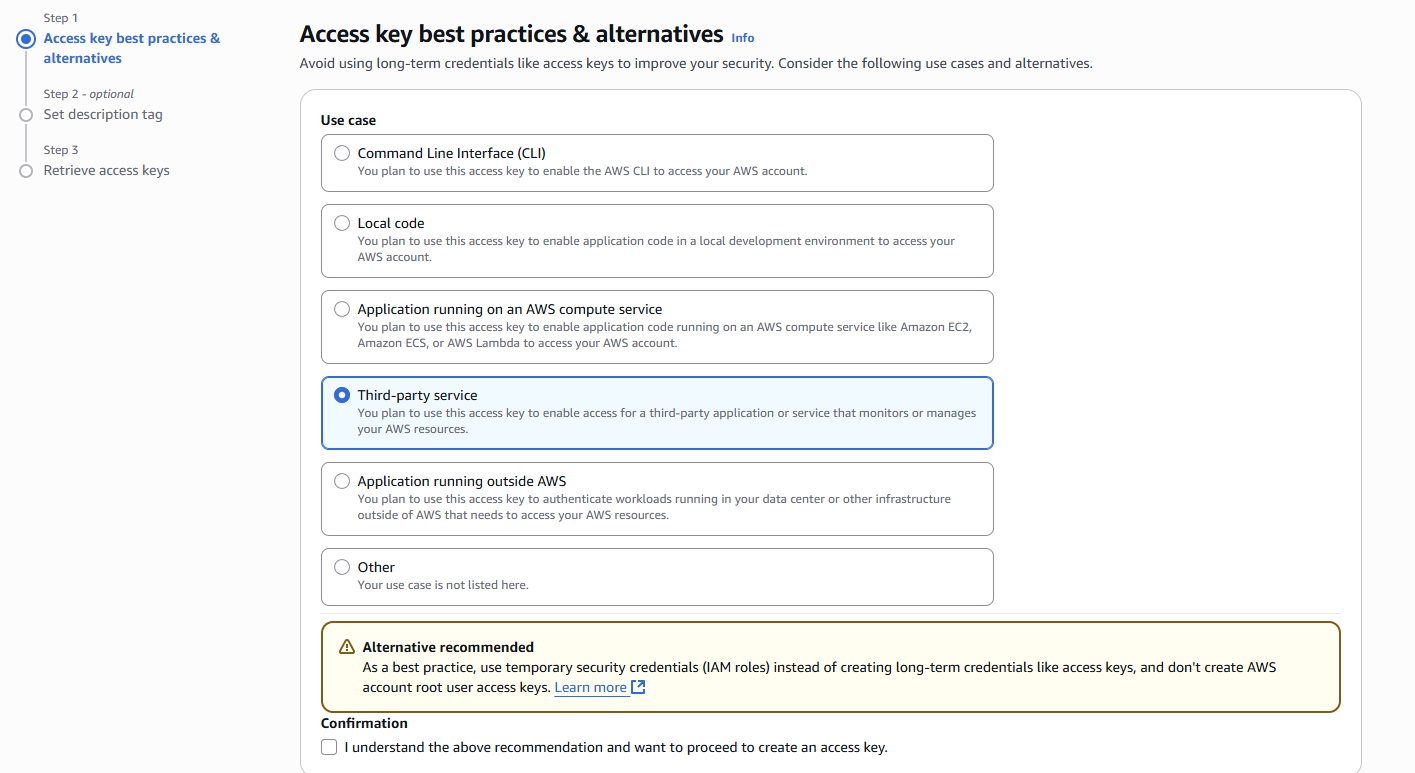
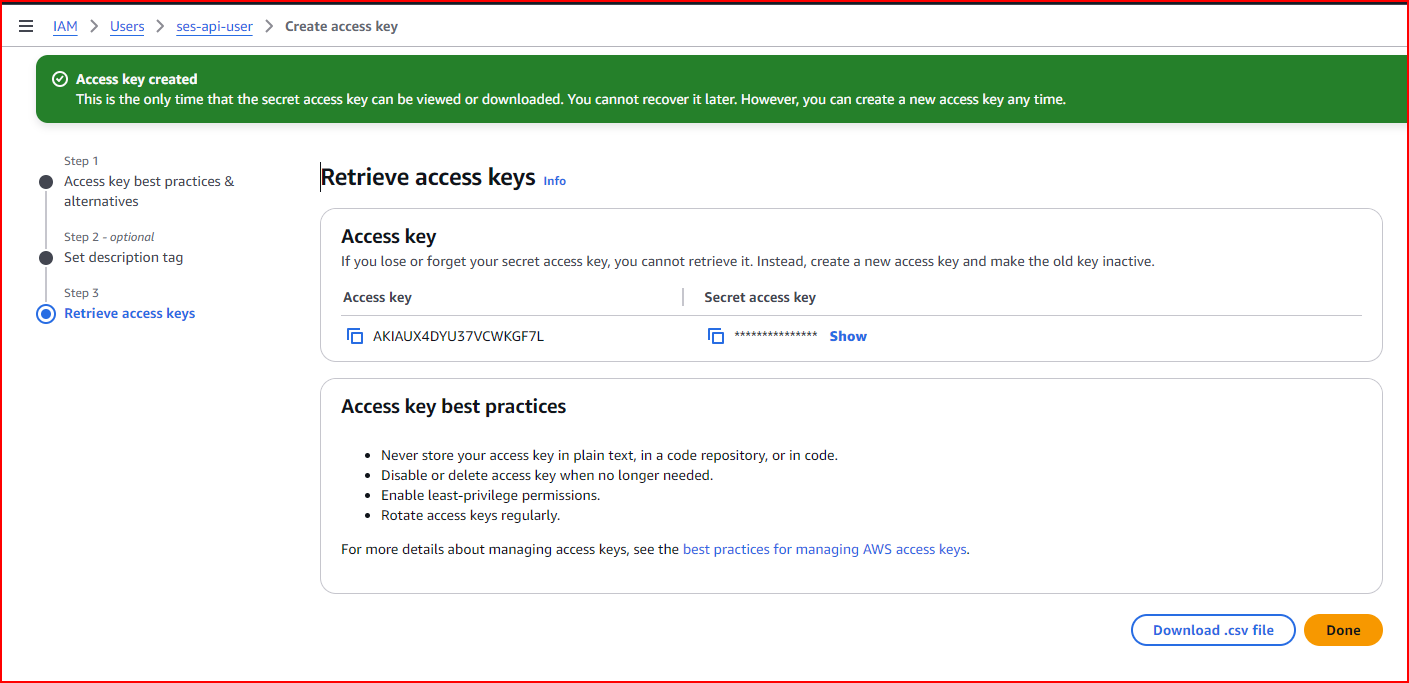
Create an Access Key for your User
¶ Create Identity (if in Sandbox environment)
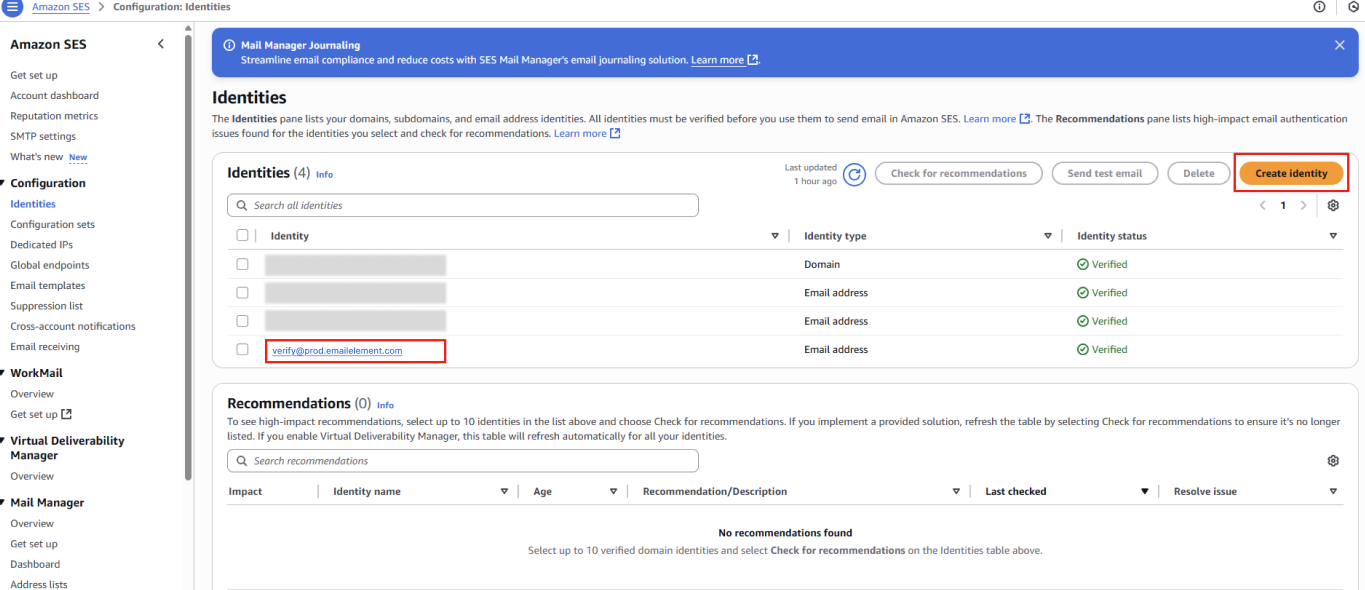
If working in a sandbox environment, after creating your Send Integration in EmailElement you'll need to add a “verify@prod.emailelement.com” identity AWS account (EmailElement will automatically click to verify the email, so you don't need access to the inbox), which will allow you to verify the Send Integration. Select “Create Identity” in the Identities section on the AWS SES page and follow the prompts: