
Account Management Walkthrough
Profile Tab
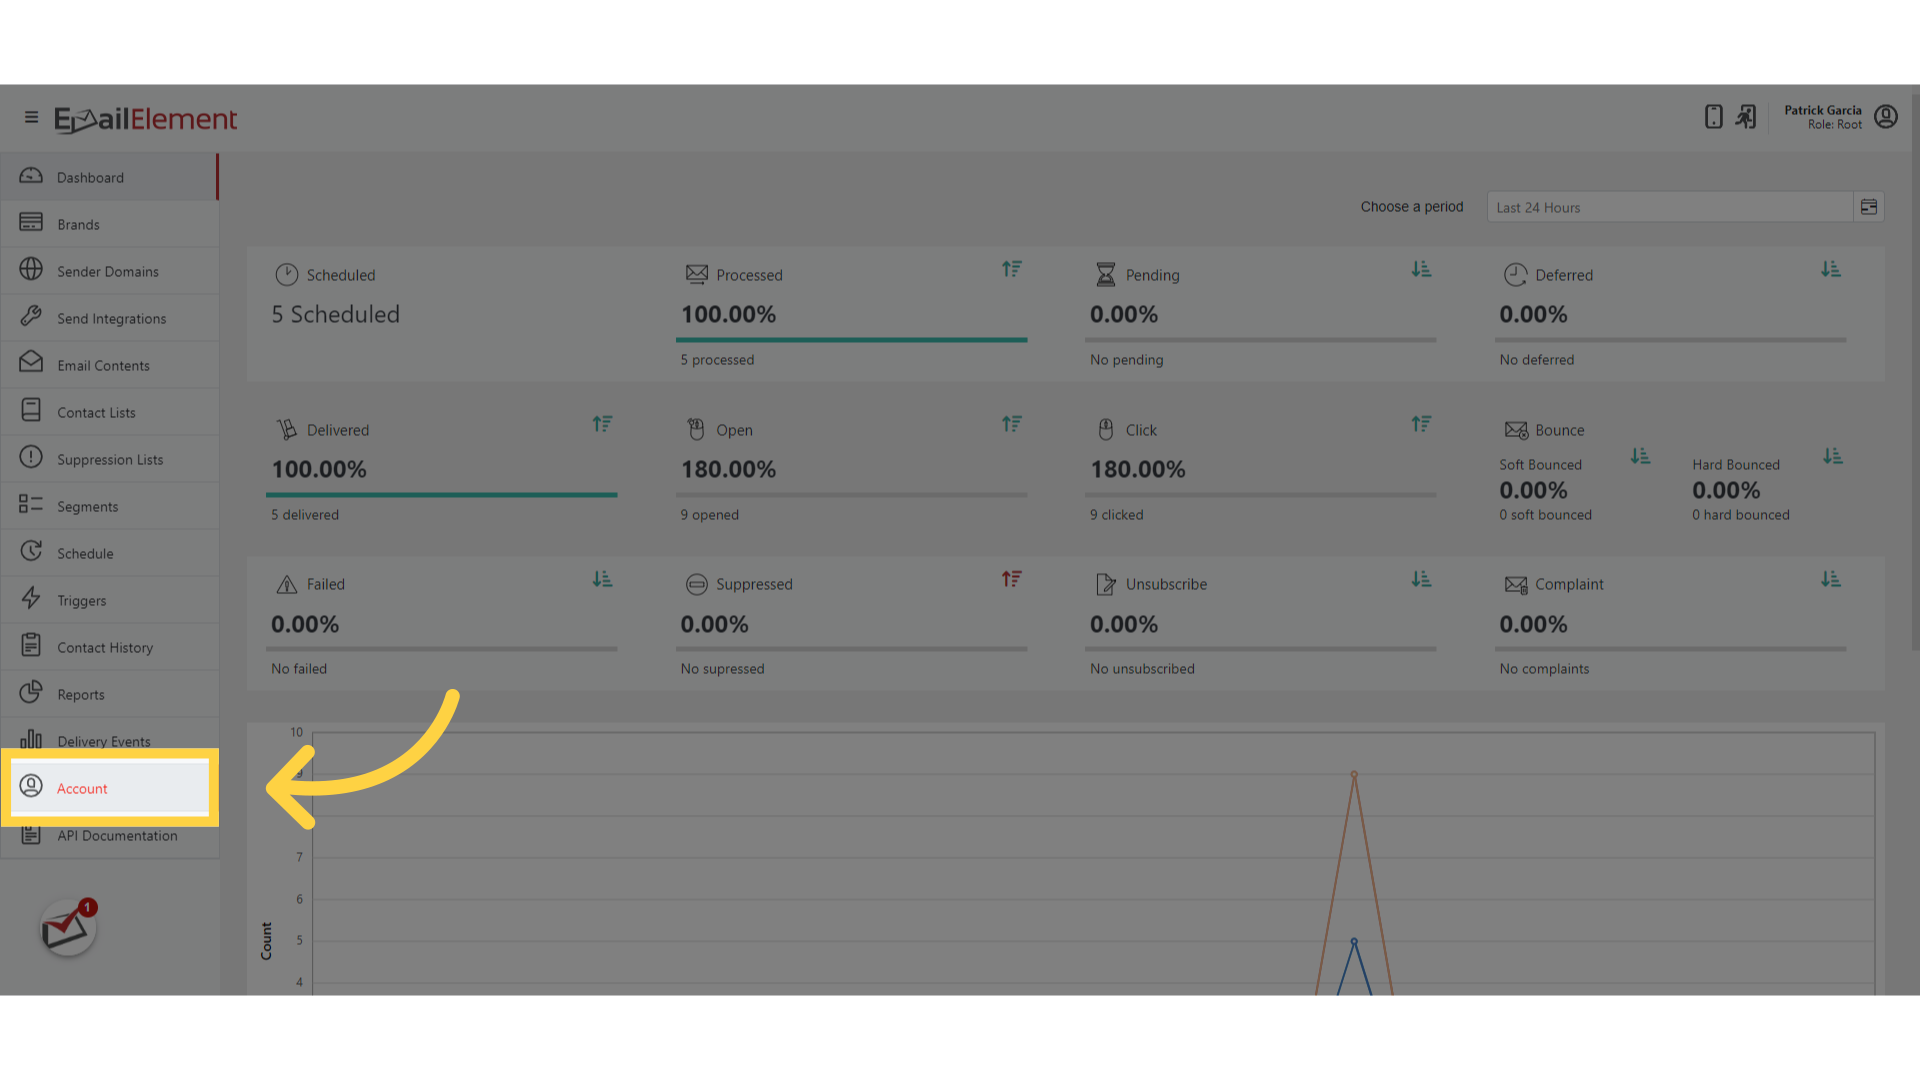
Navigate to Account from the sidebar
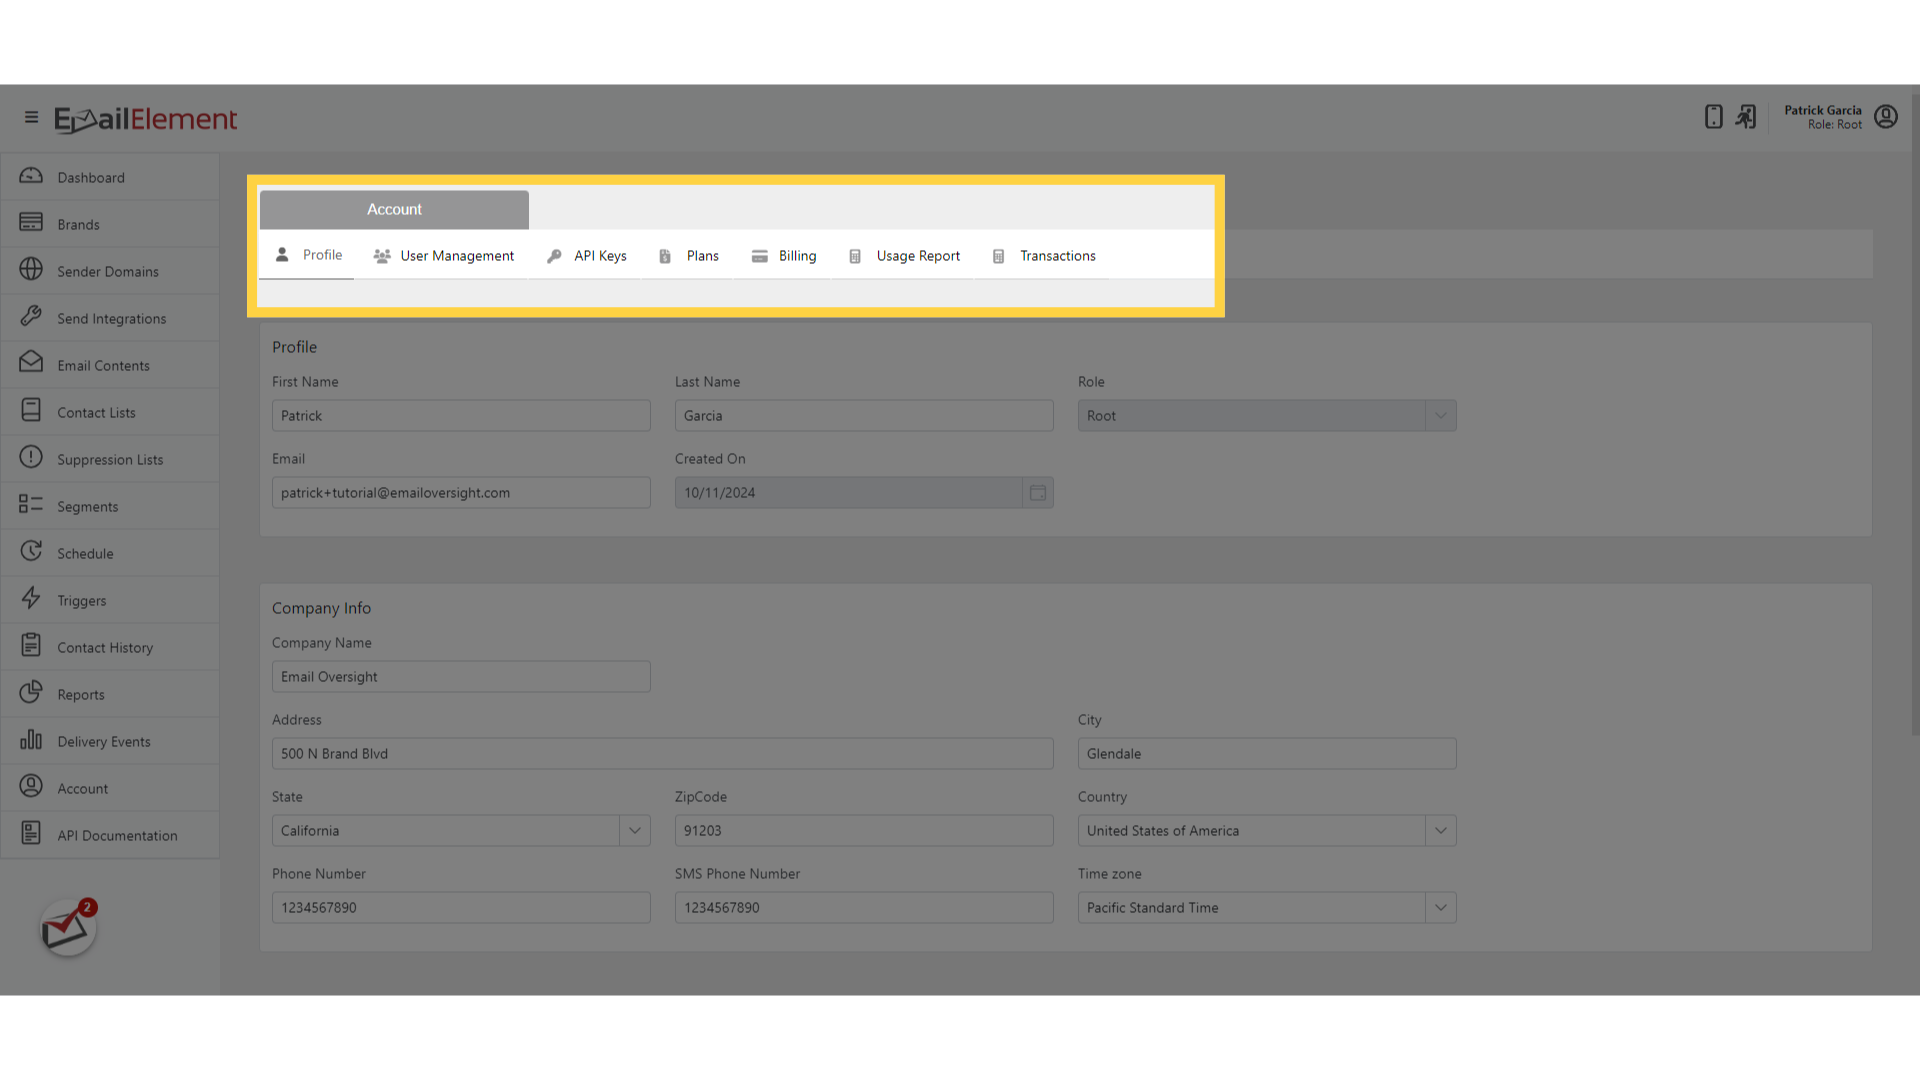
The Profile tab is shown by default
View and edit company information:
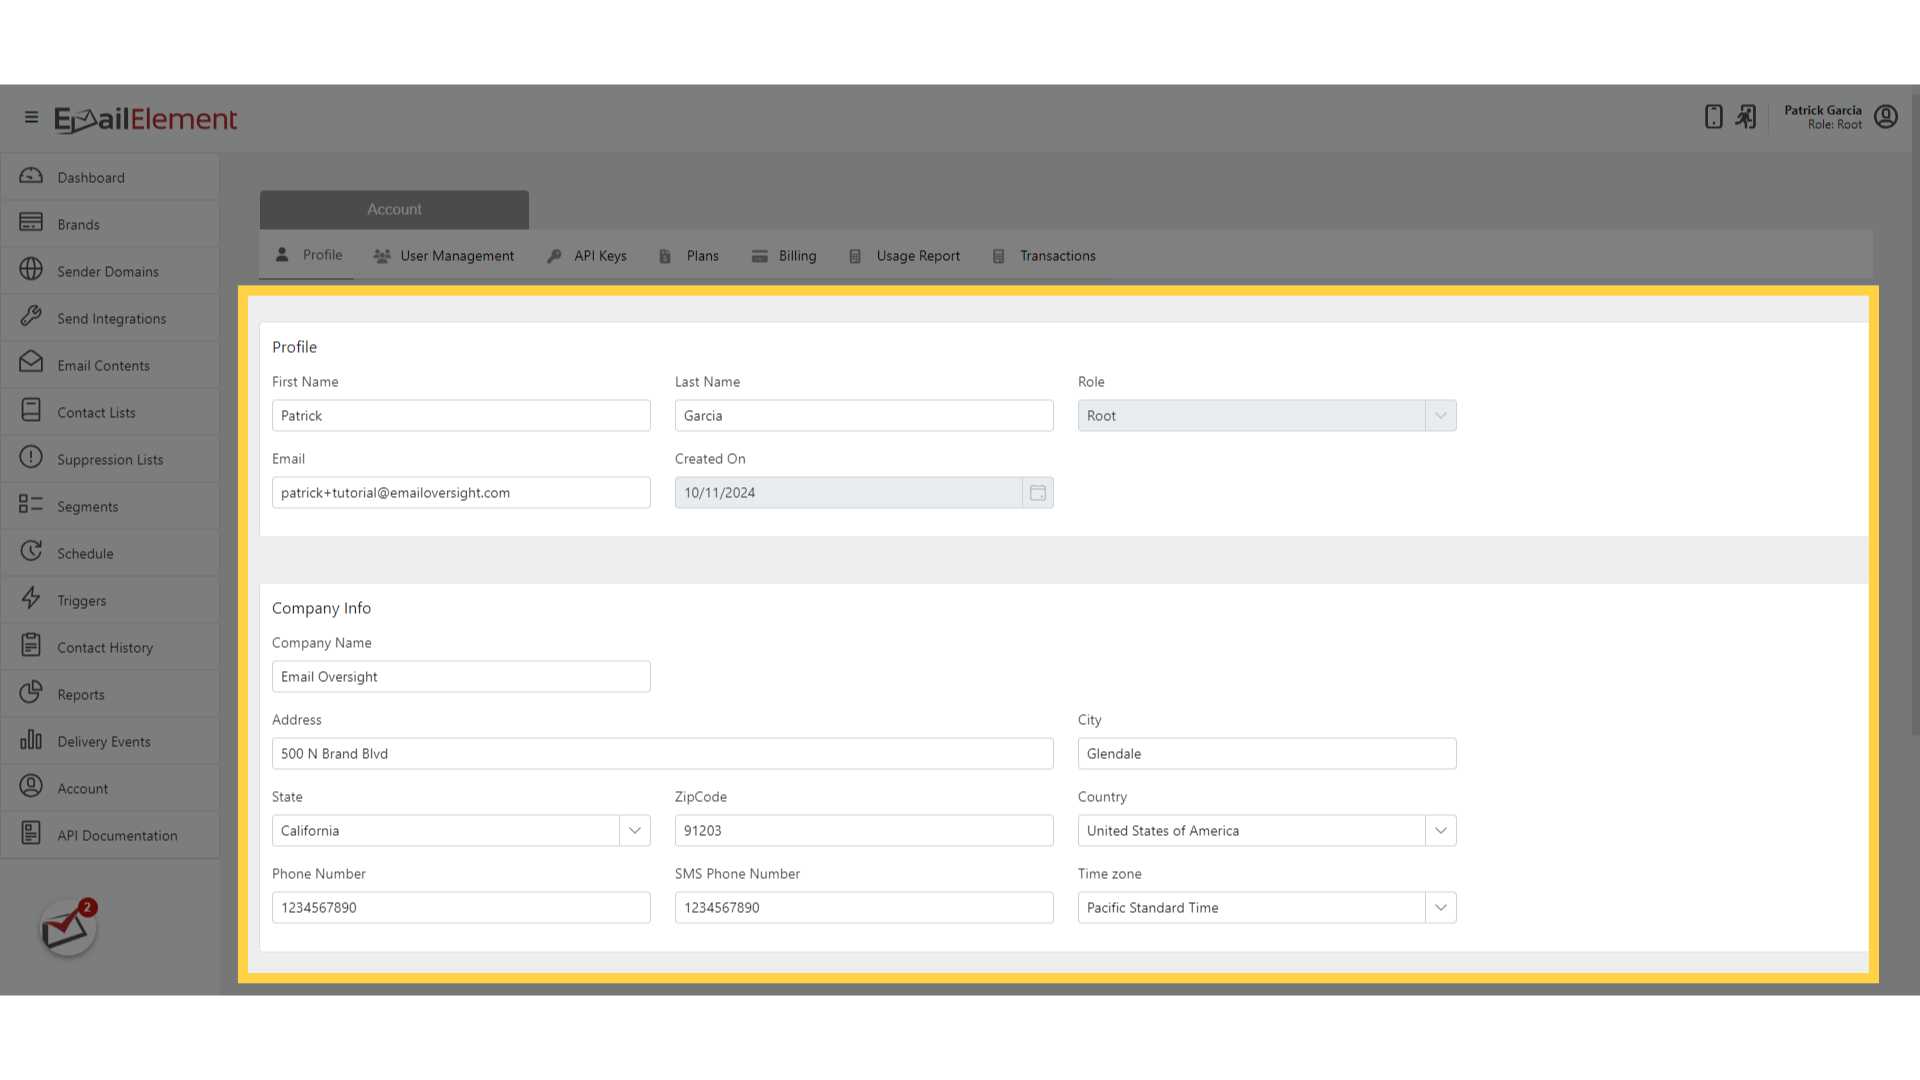
- Company Name
- First Name and Last Name
- Email Address
- Phone Number
- Address, City, State, Zip Code, Country
Role and Created On fields are read-only and cannot be changed
Click Save after making changes
User Management Tab
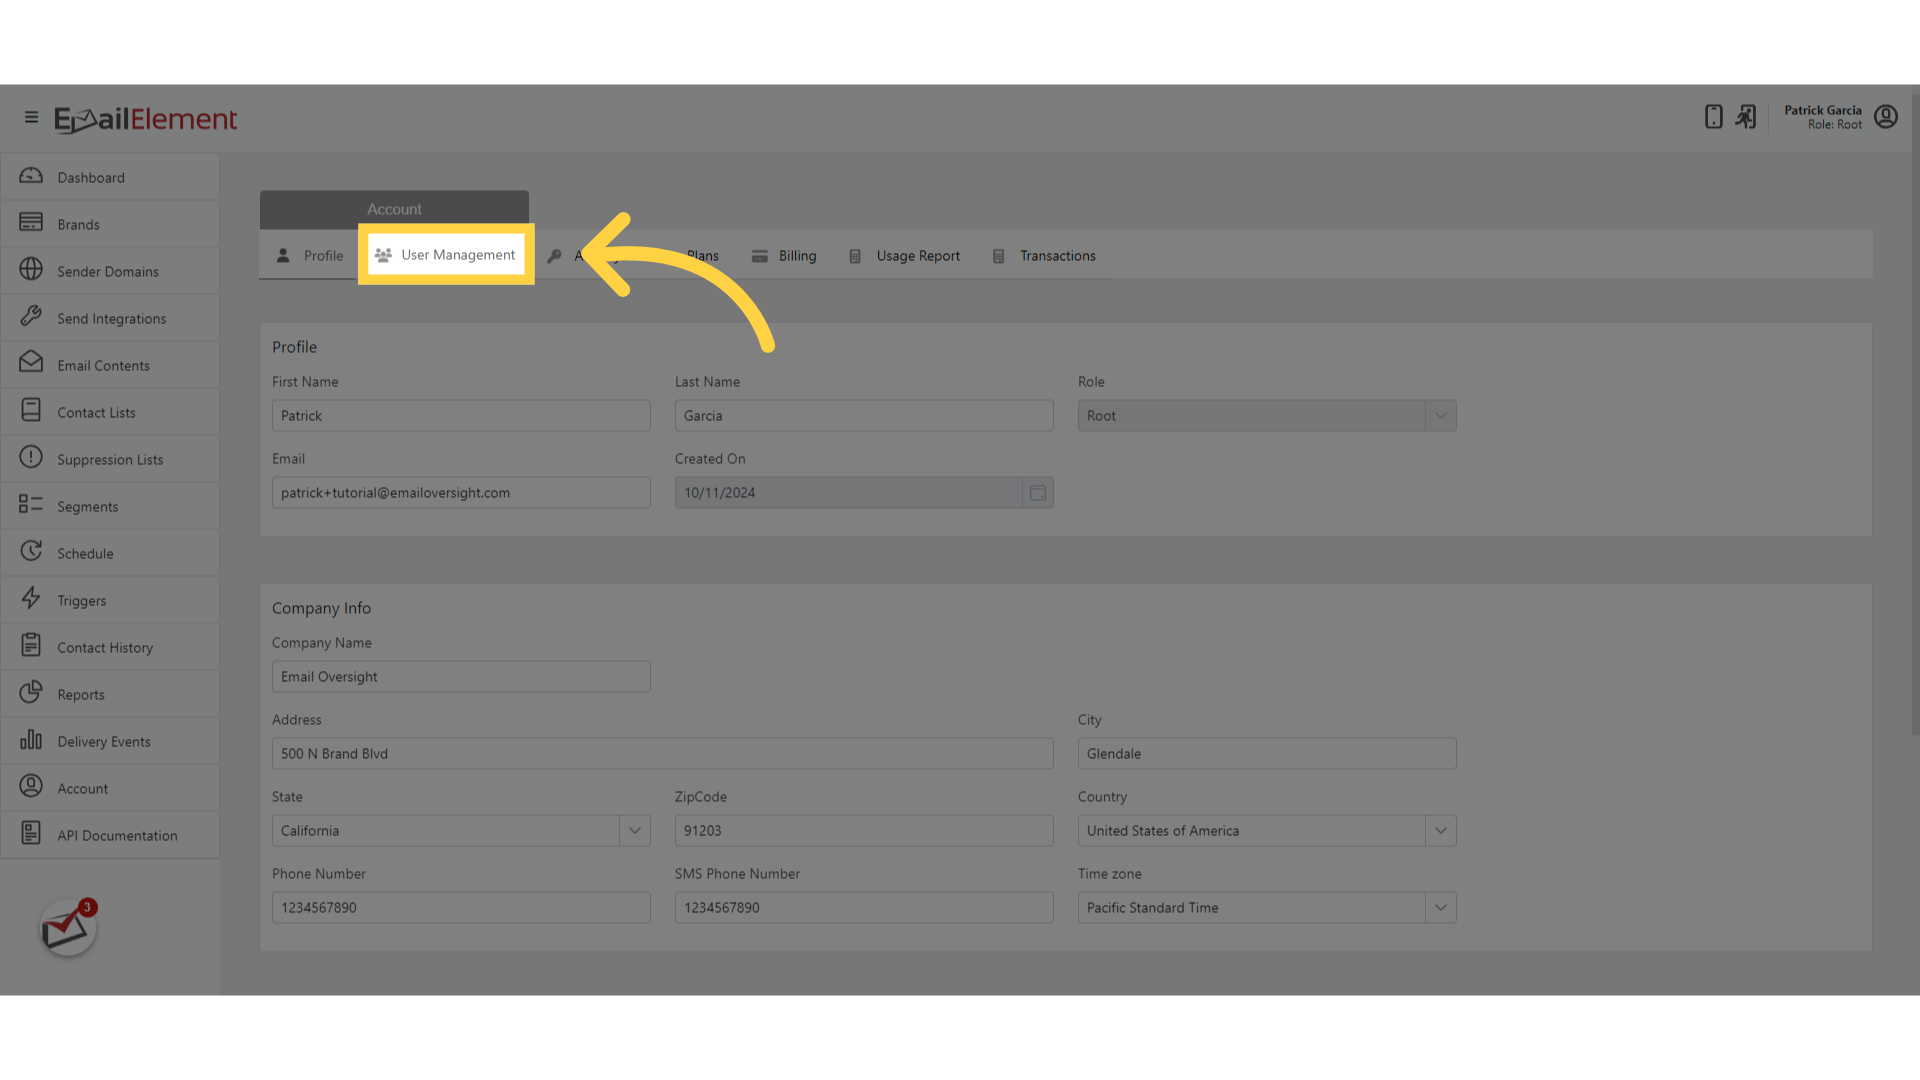
Click the User Management tab
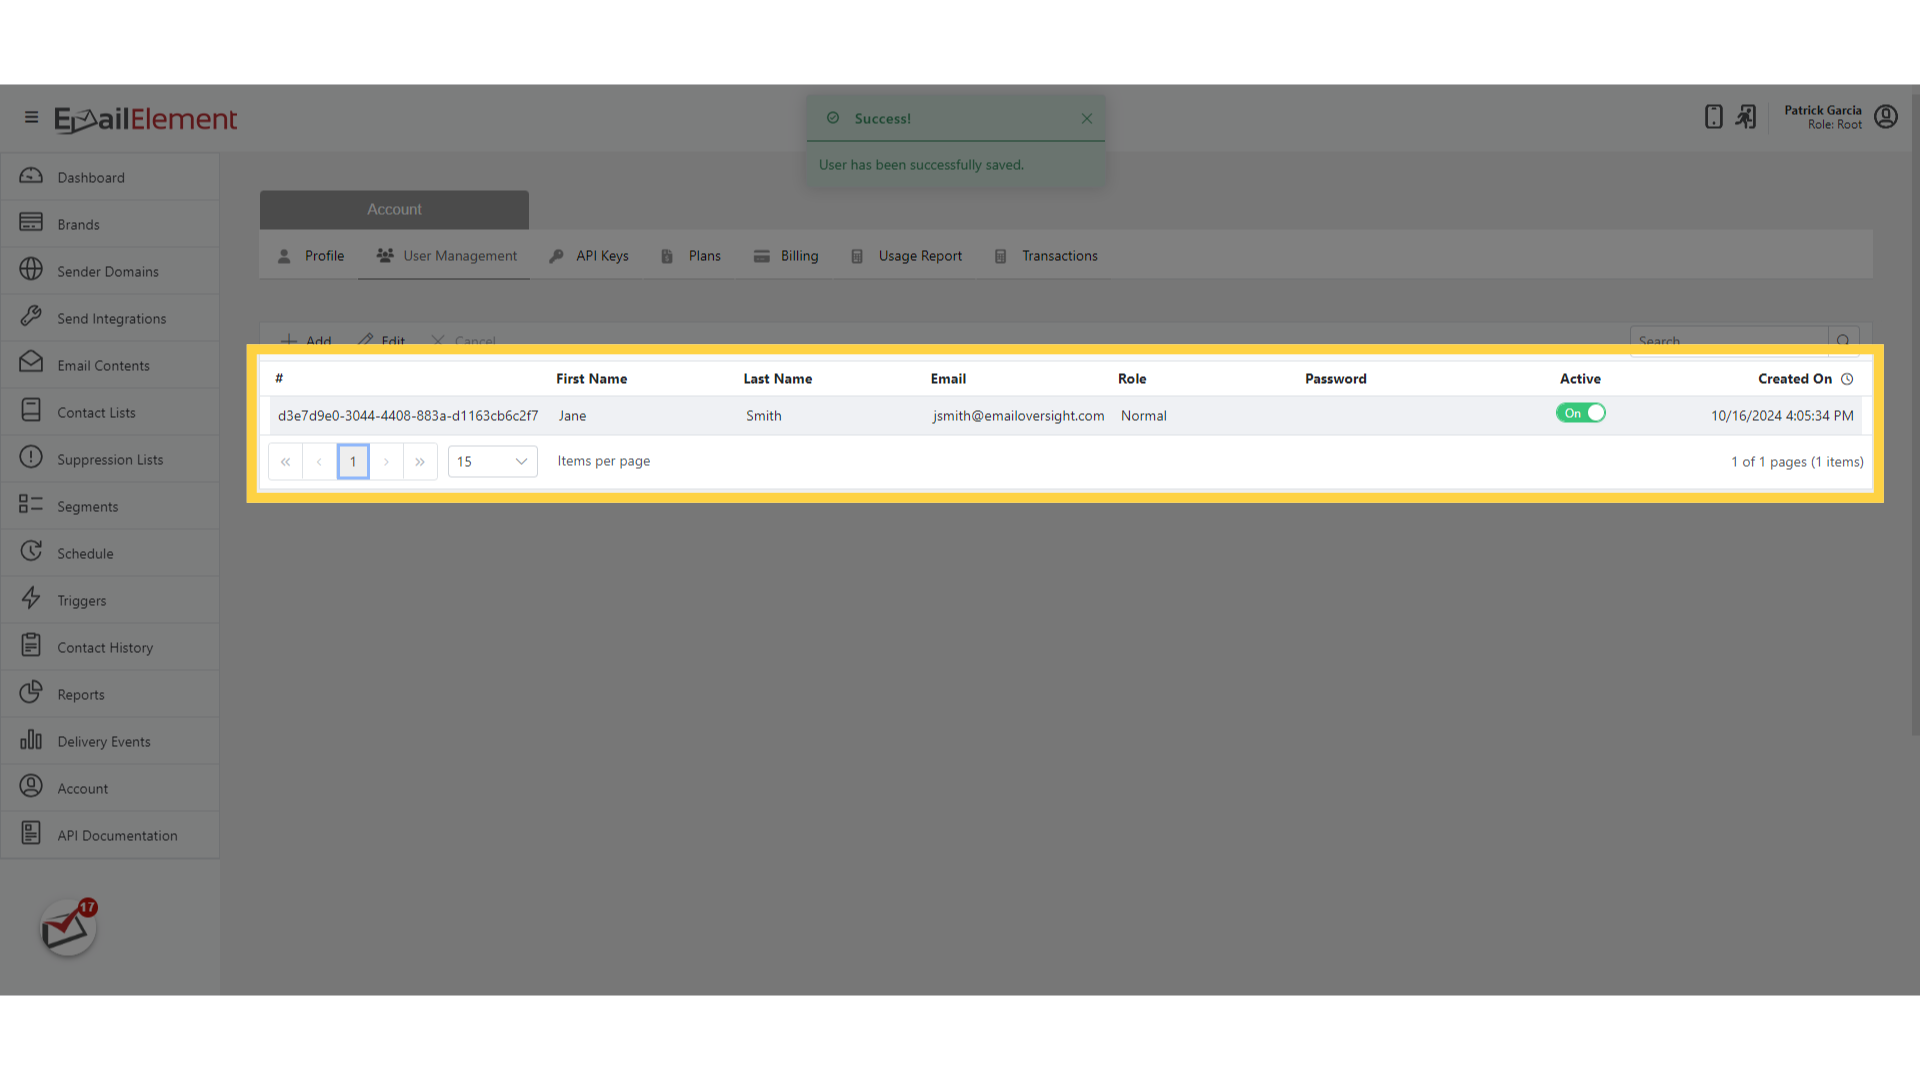
View all users in the account with their name, email, role, and status
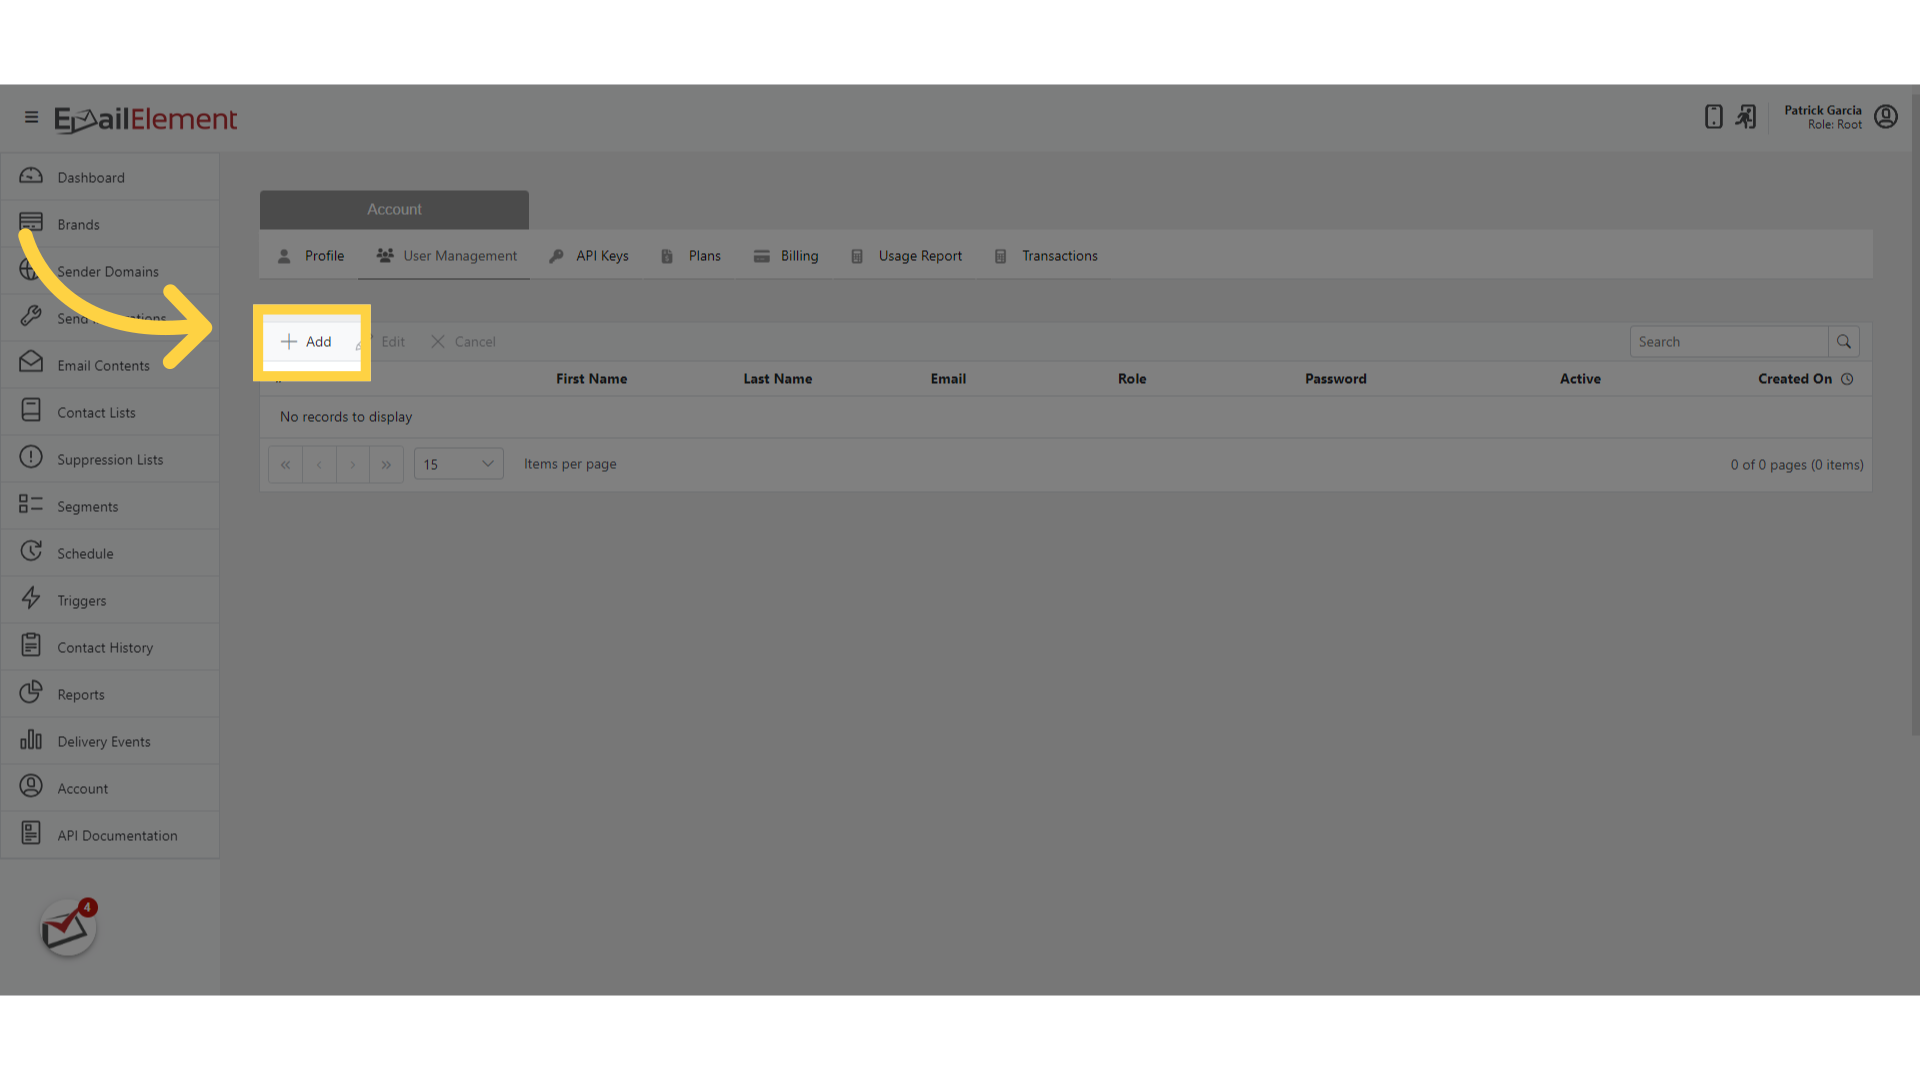
Click + to add a new user
Fill in the required fields:
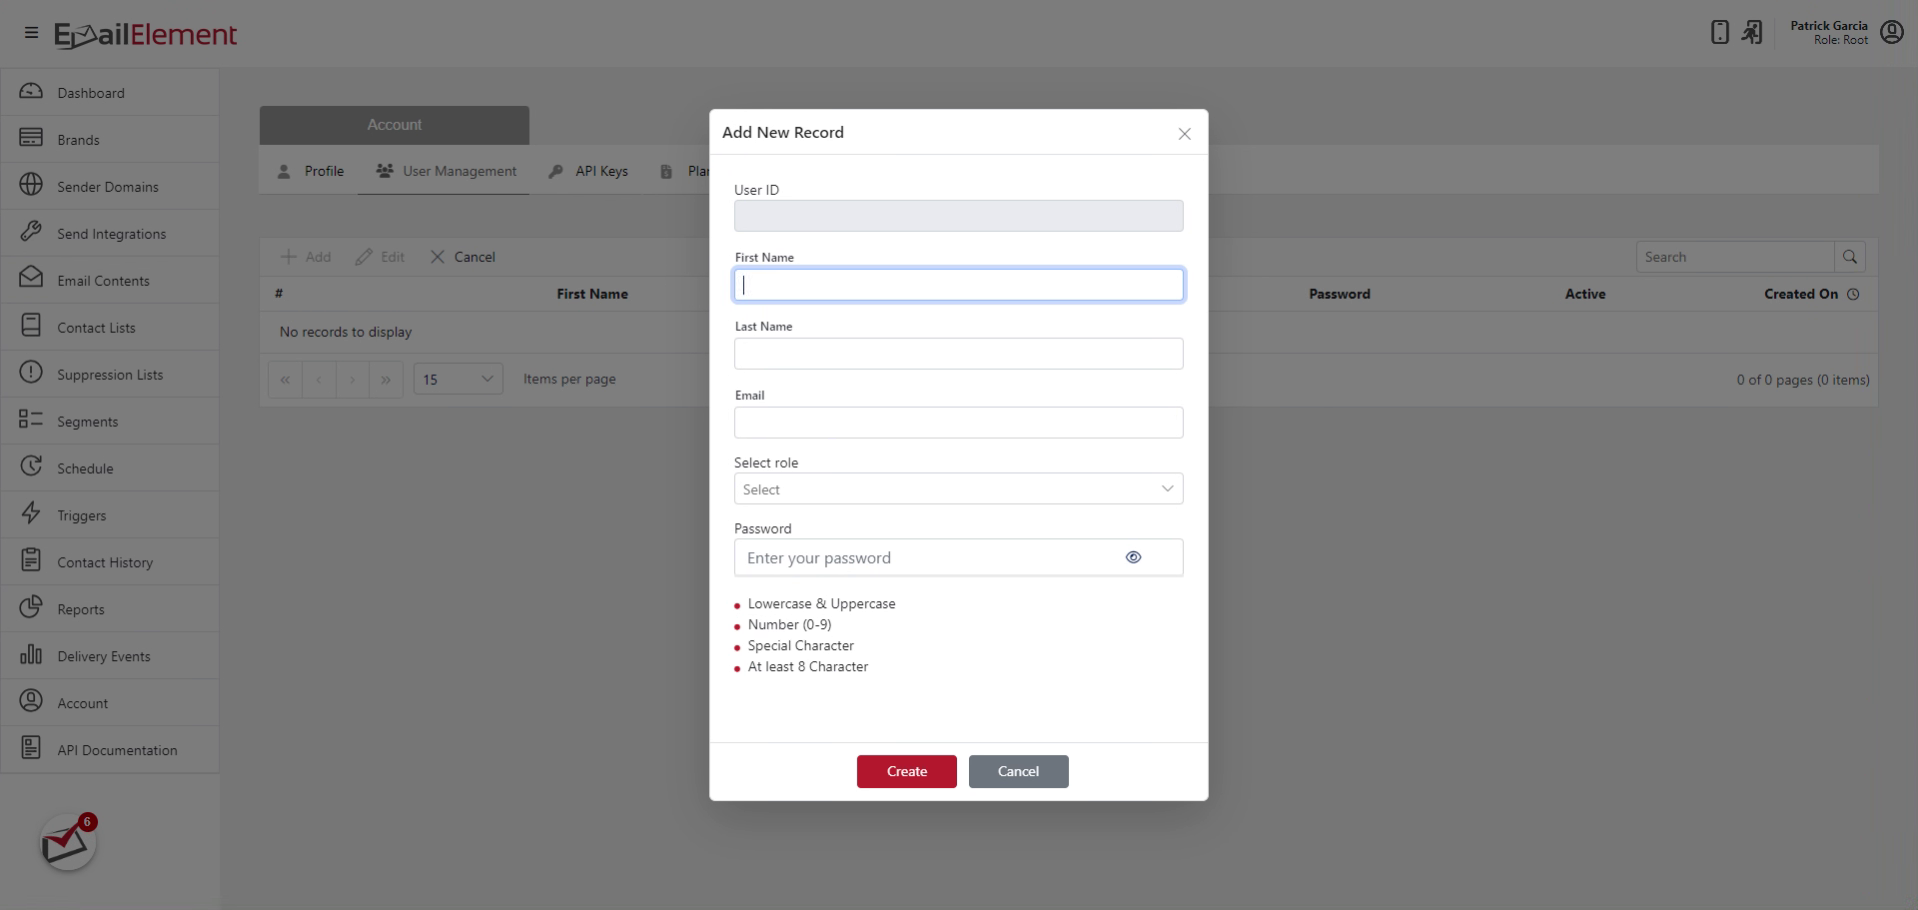
- First Name and Last Name
- Email Address
- Role — determines what the user can access (see Roles and Permissions reference)
- Password — must meet complexity requirements
Click Create to send a verification email to the new user
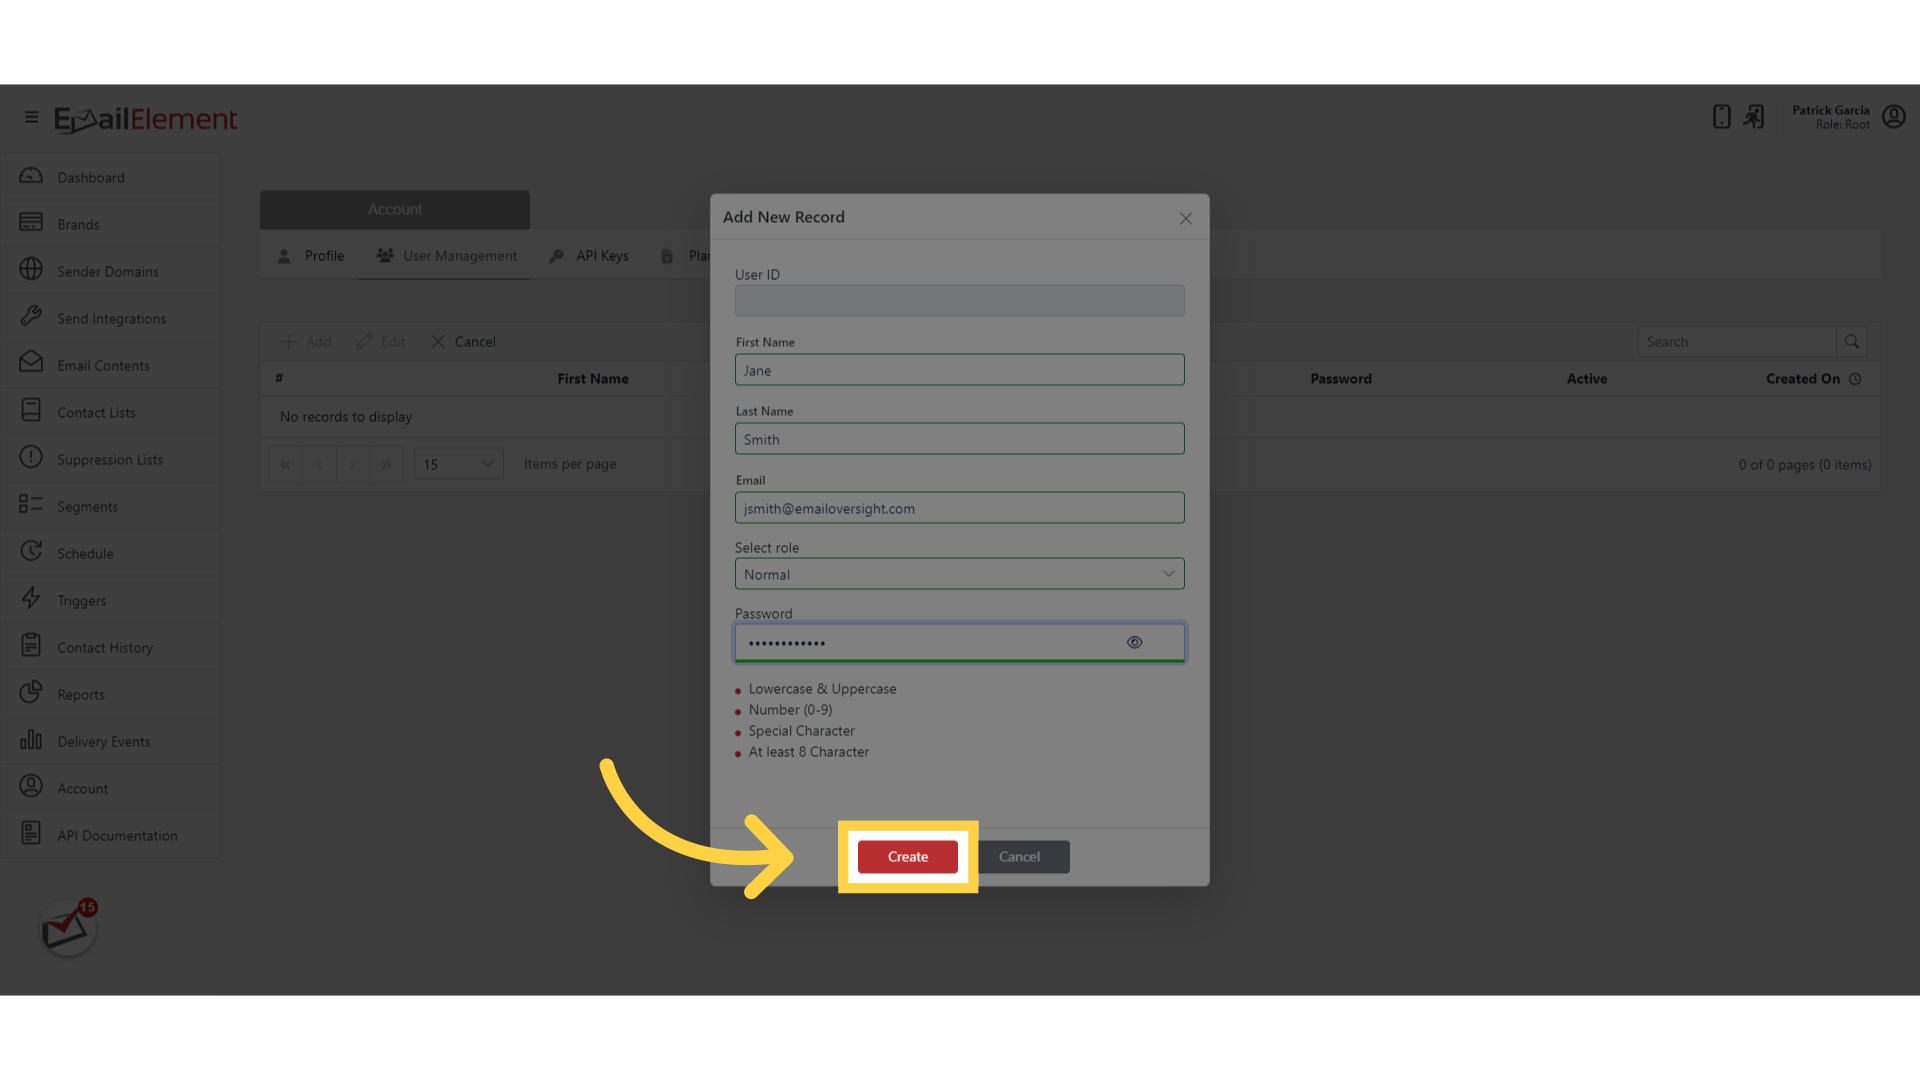
The user must click the verification link before they can log in
Use the slider toggle next to any user to activate or deactivate their access
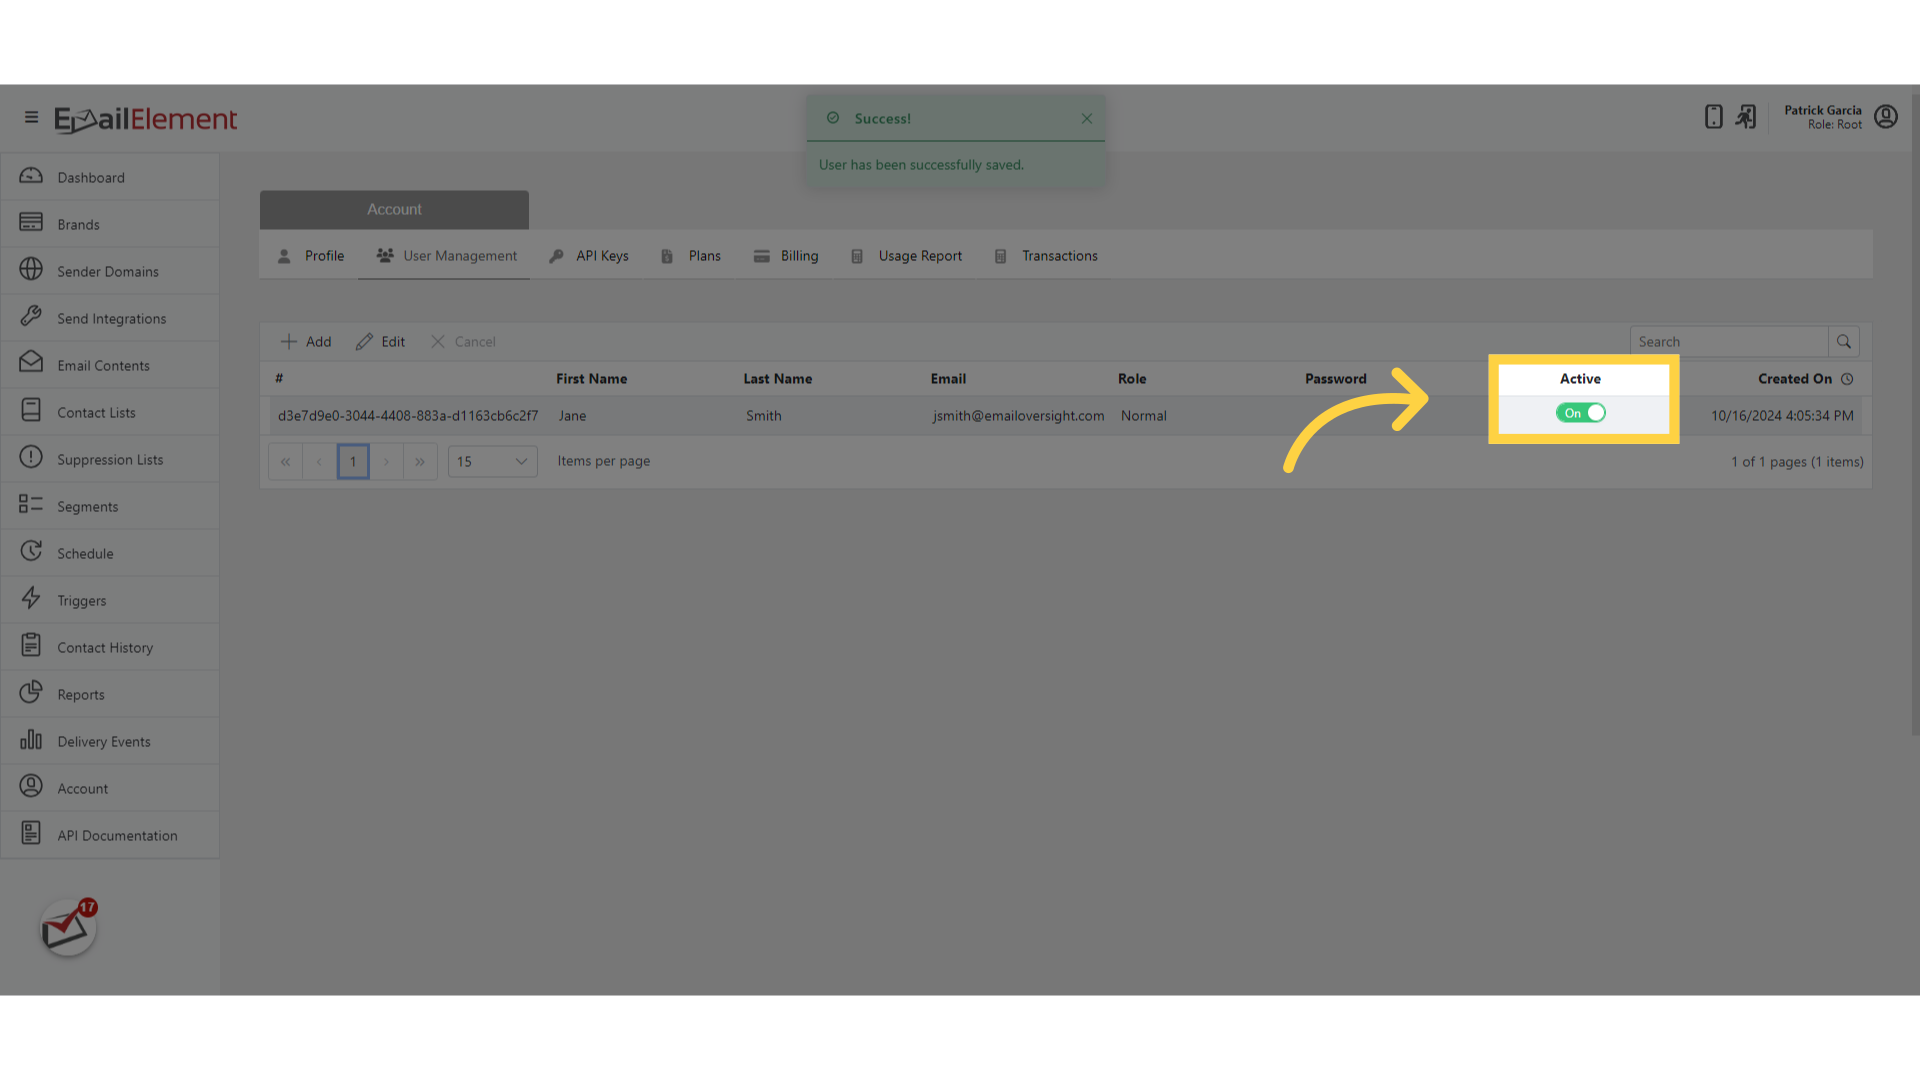
Deactivated users cannot log in but their data and history are preserved
API Keys Tab
Click the API Keys tab
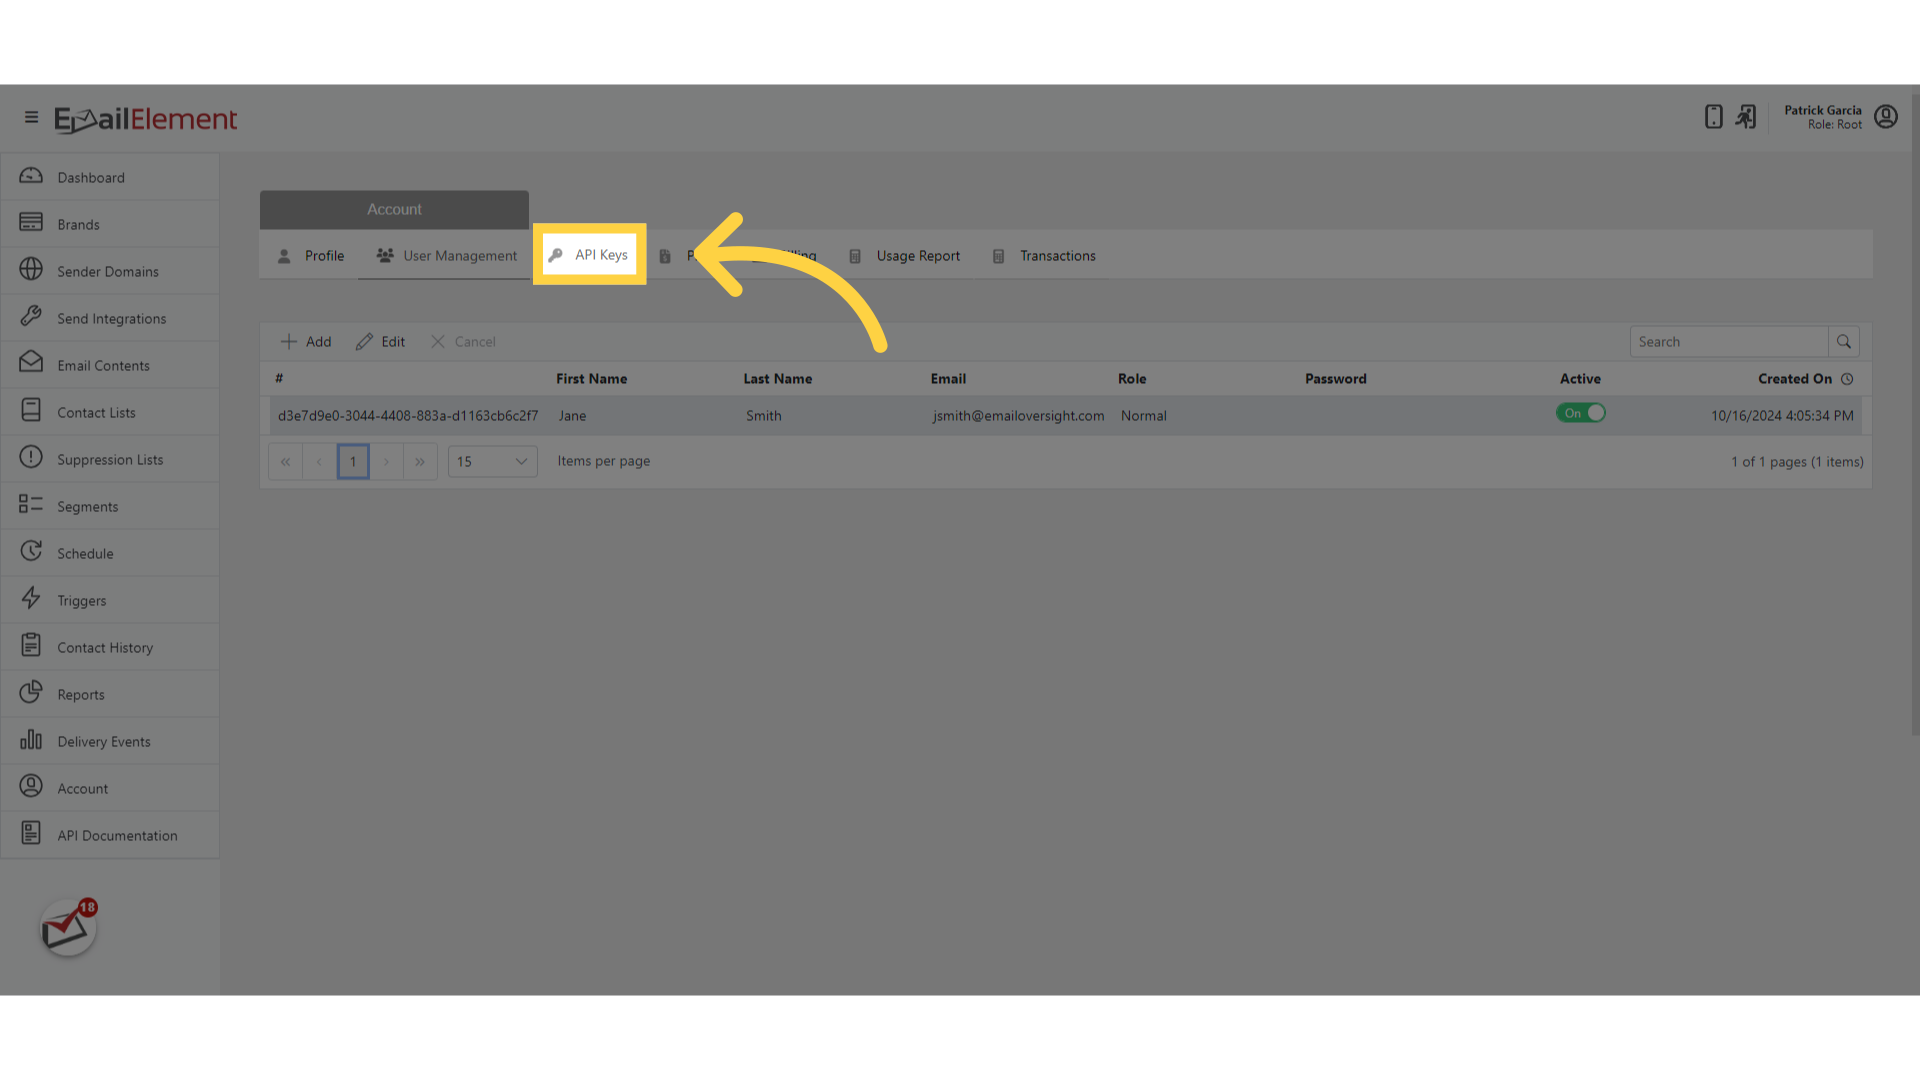
View all existing API keys with their name, creation date, and permission levels
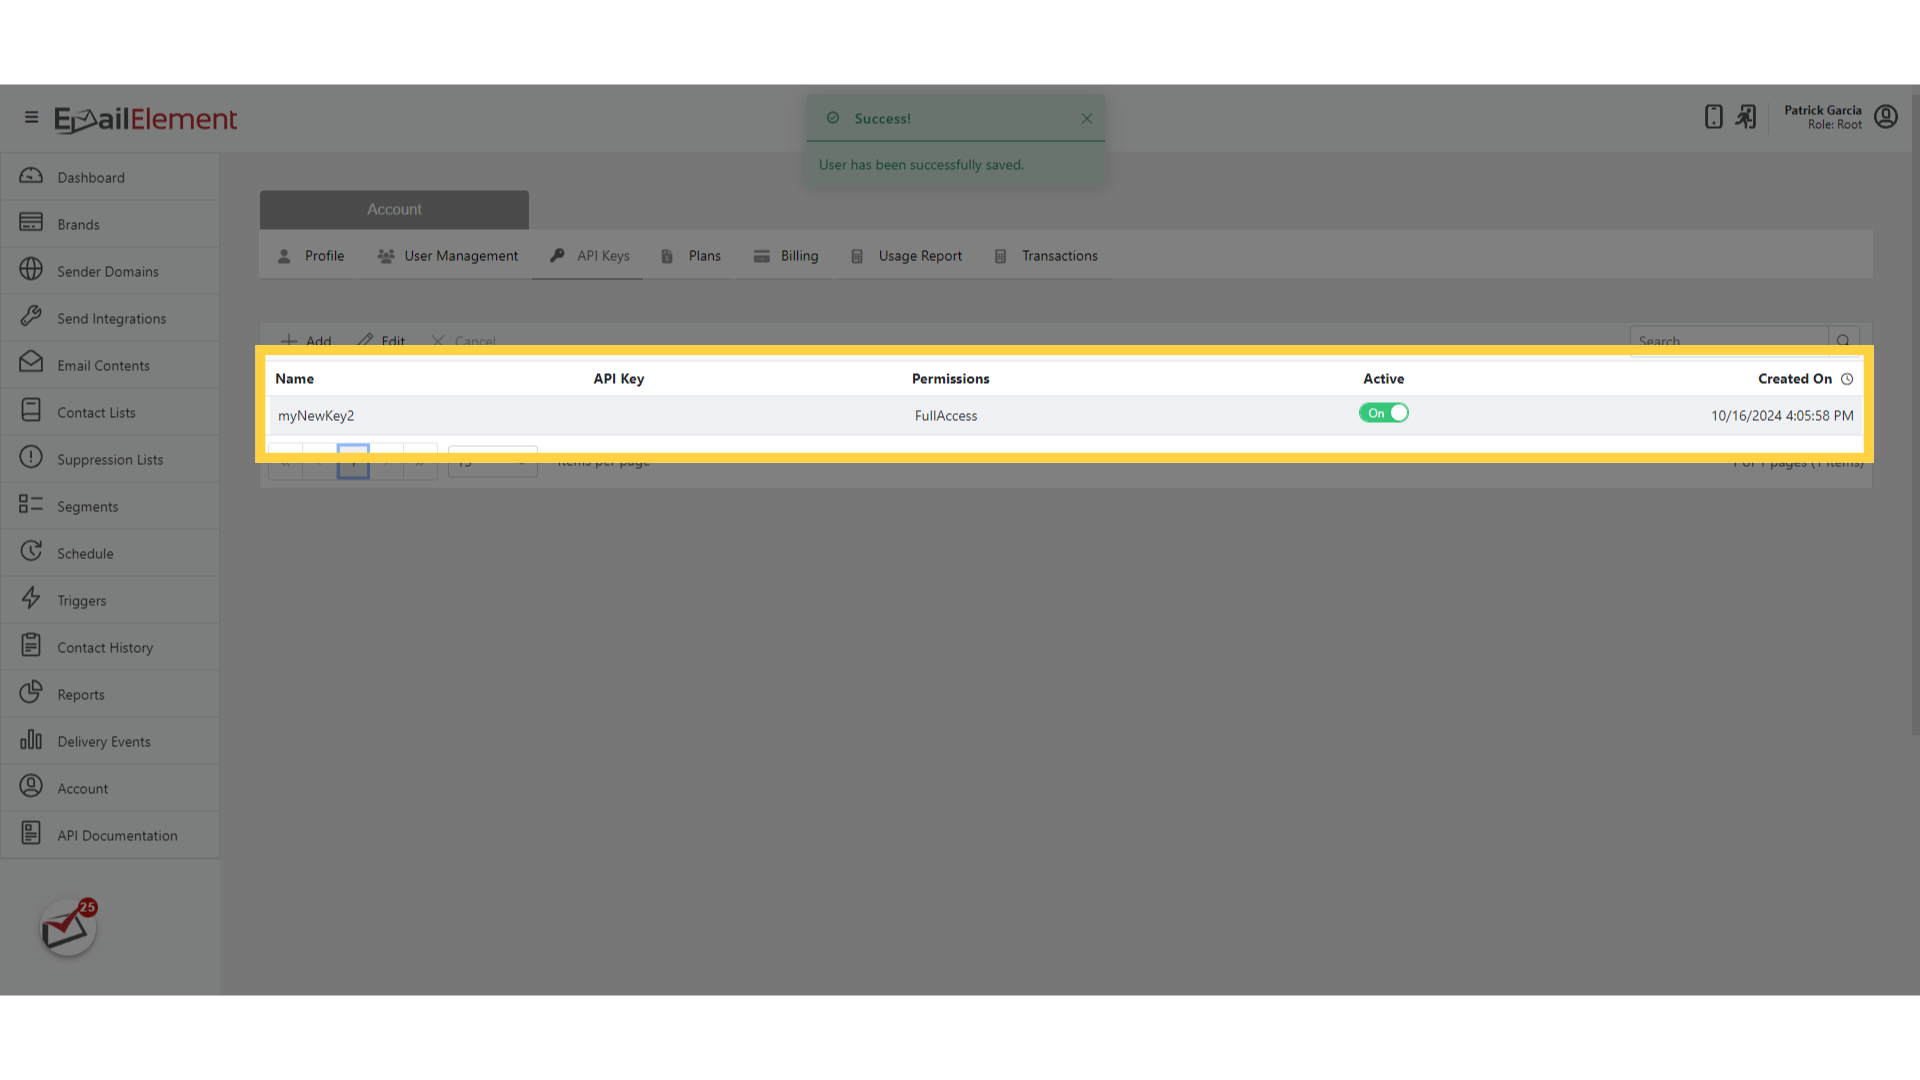
Click Add to generate a new key
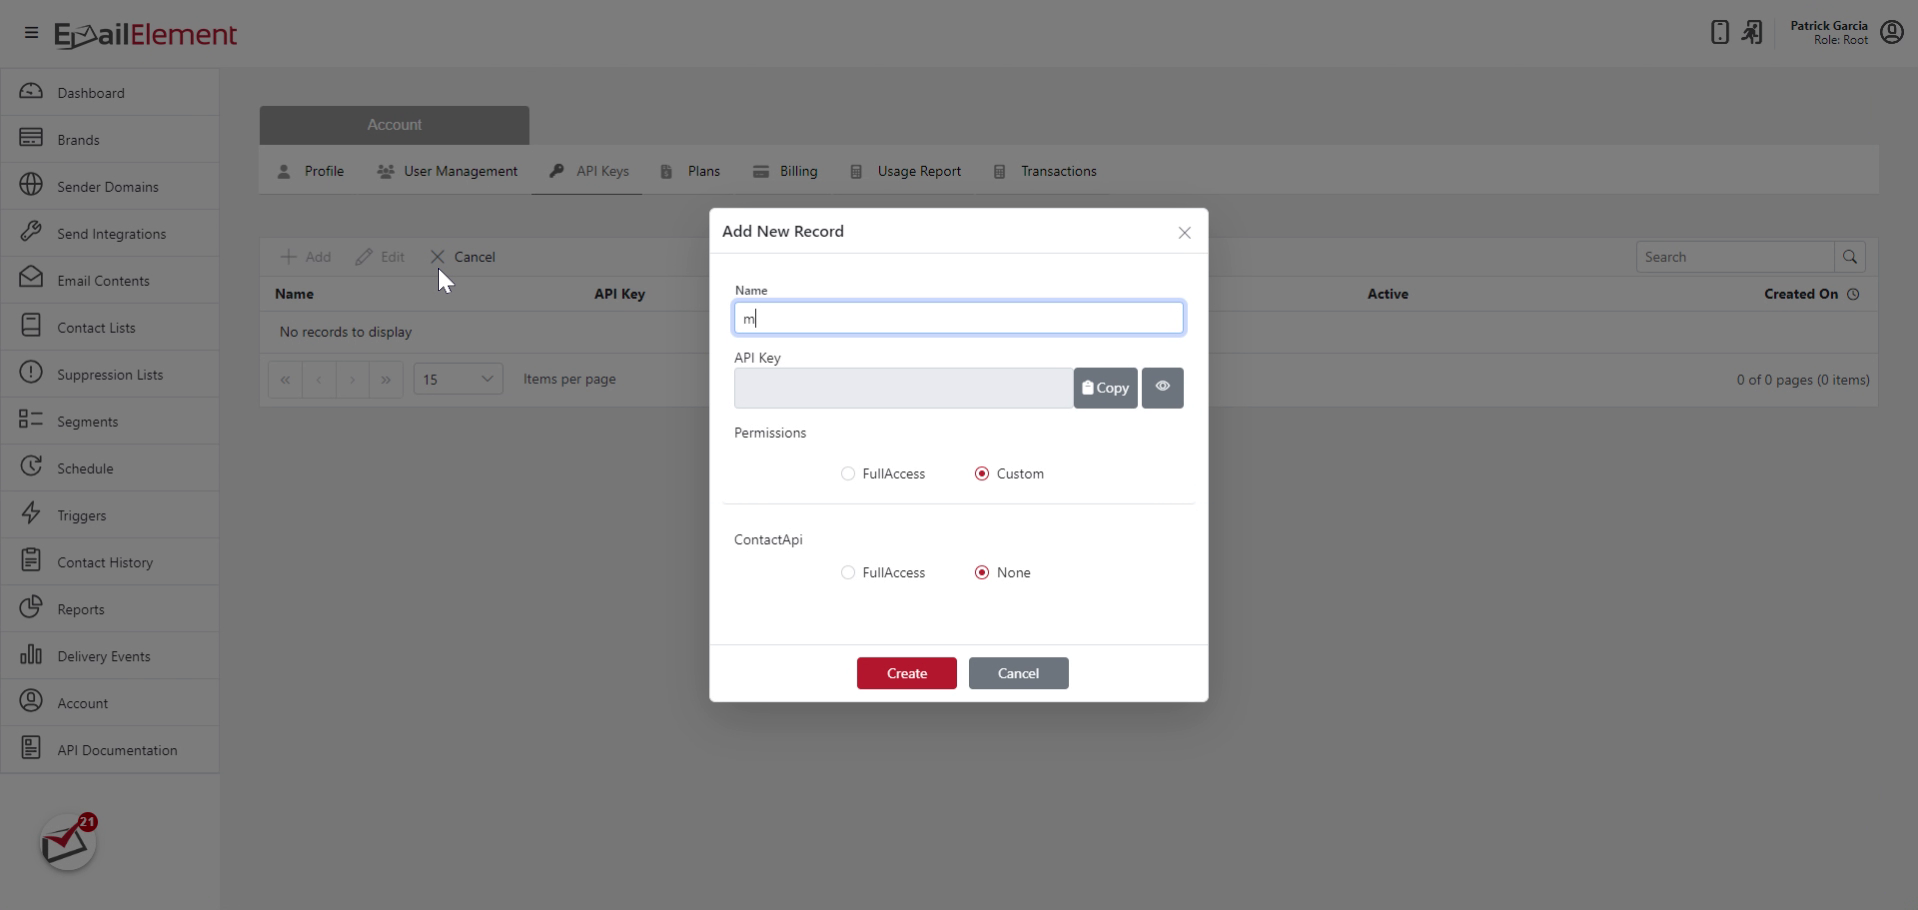
Enter a Name for the key (e.g., "Production Contact API")
Set permissions for each API:
- Contact API: None, Read Only, or Full Access
- Transactional Email API: None, Read Only, or Full Access
- Suppression API: None, Read Only, or Full Access
Click Create
Click Copy to copy the API key. You can return to the API Keys tab at any time to view or copy an existing key — it is not hidden after creation.
To edit permissions later, click the key name > adjust permissions > Save
To revoke a key, click the Delete icon next to it
Plans Tab
Click the Plans tab
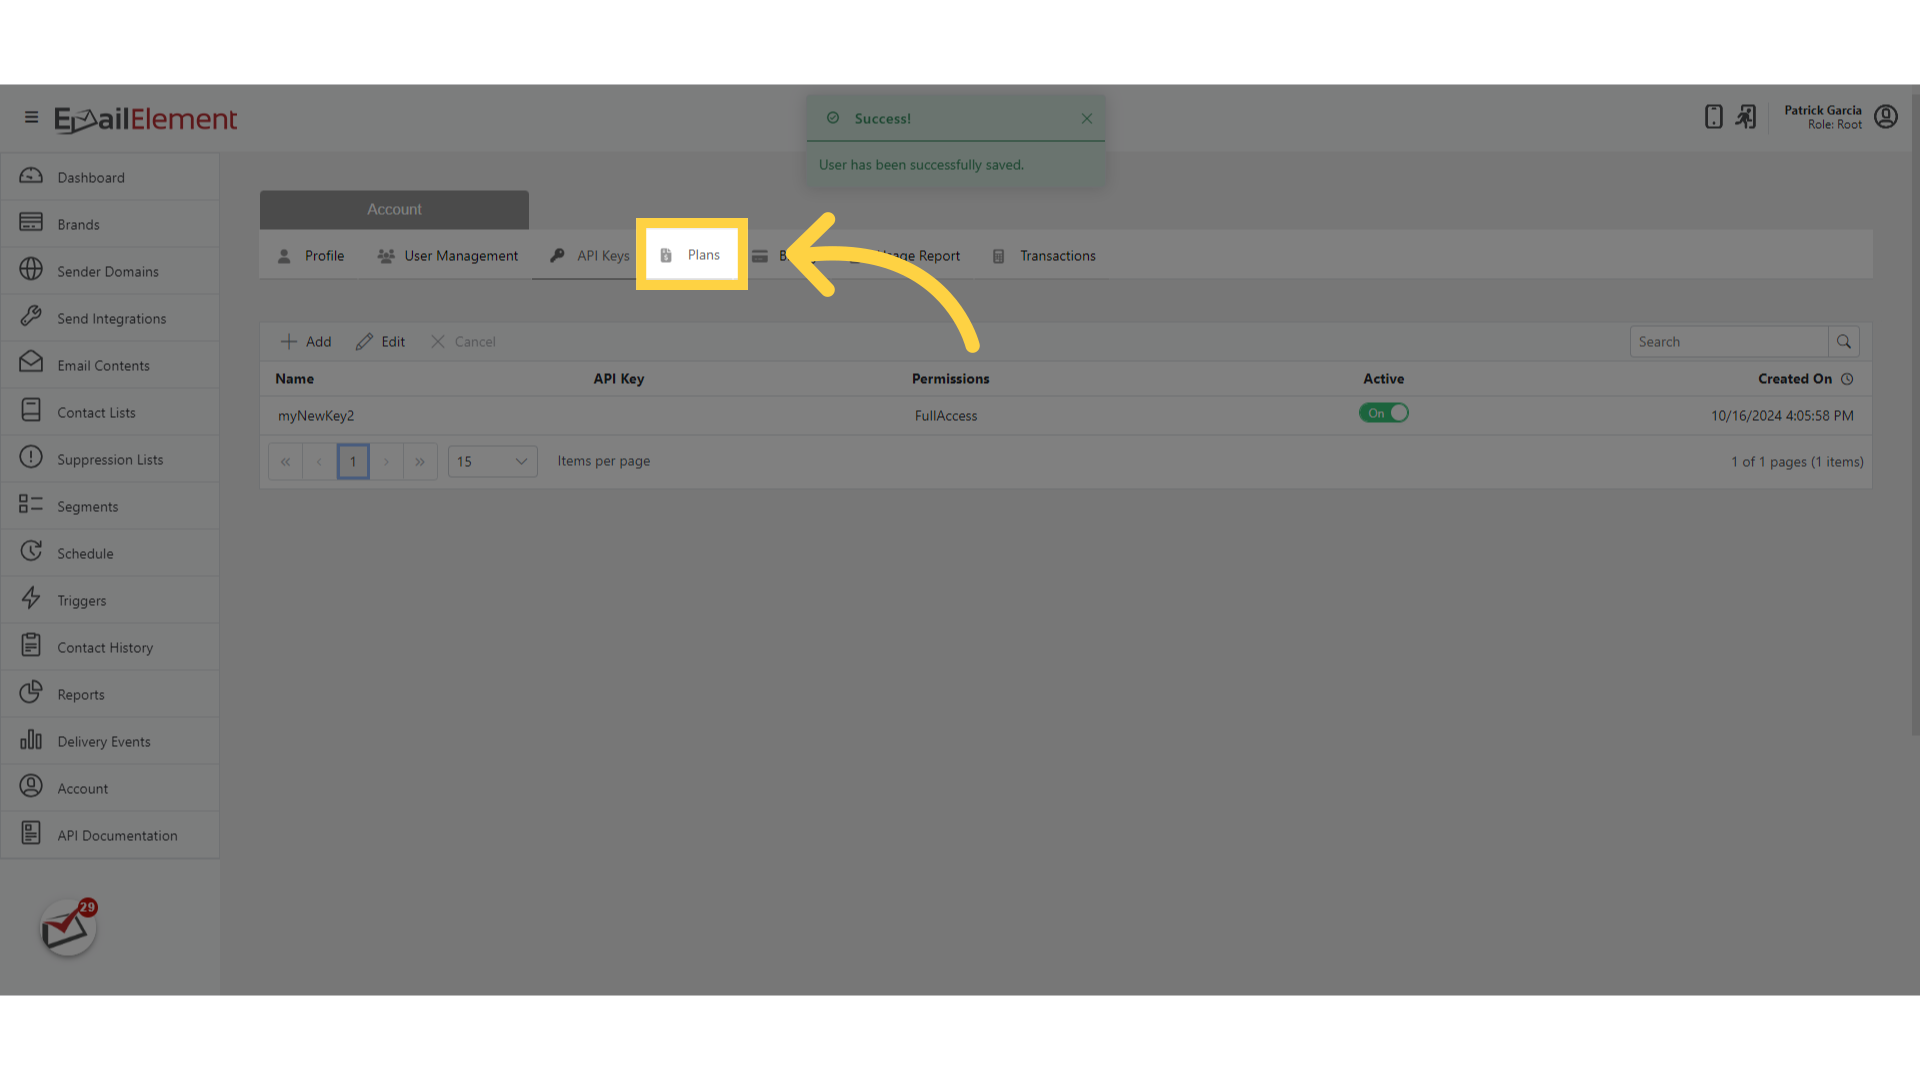
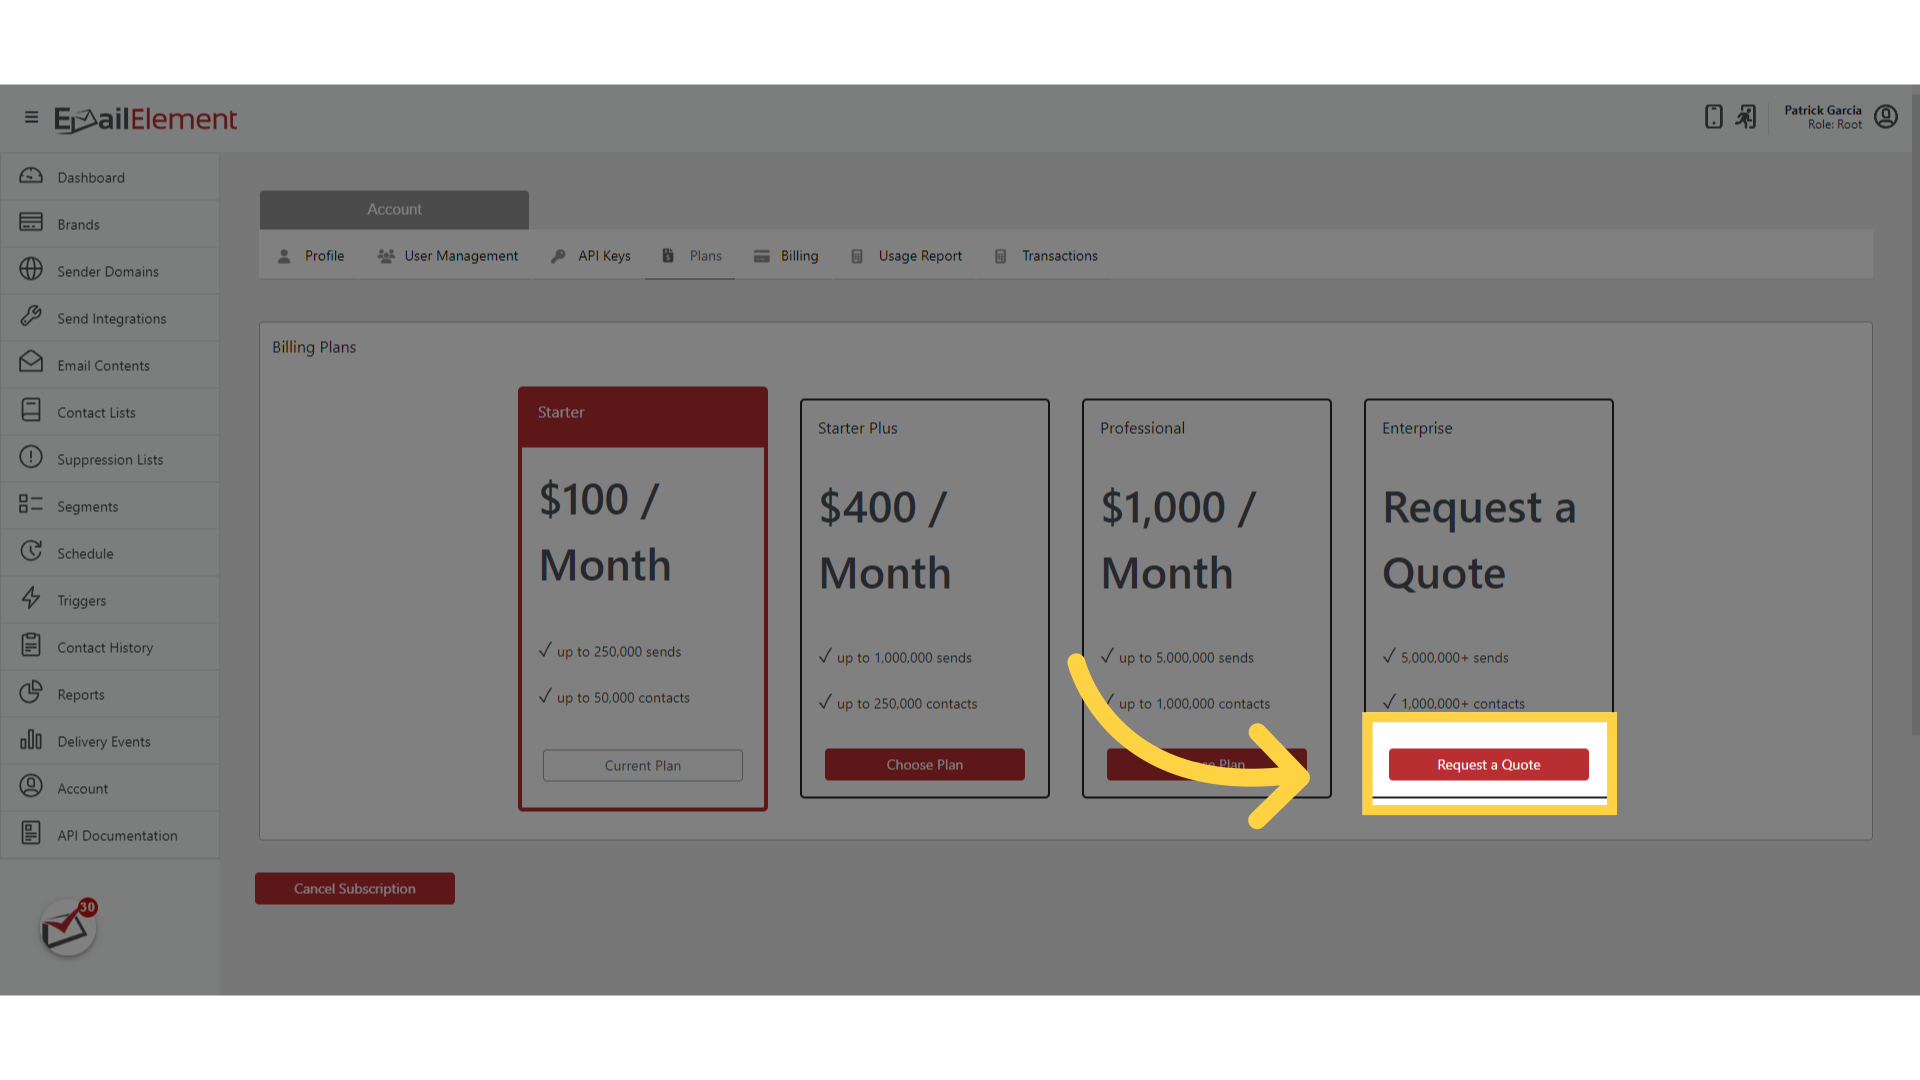
View all available plan tiers:
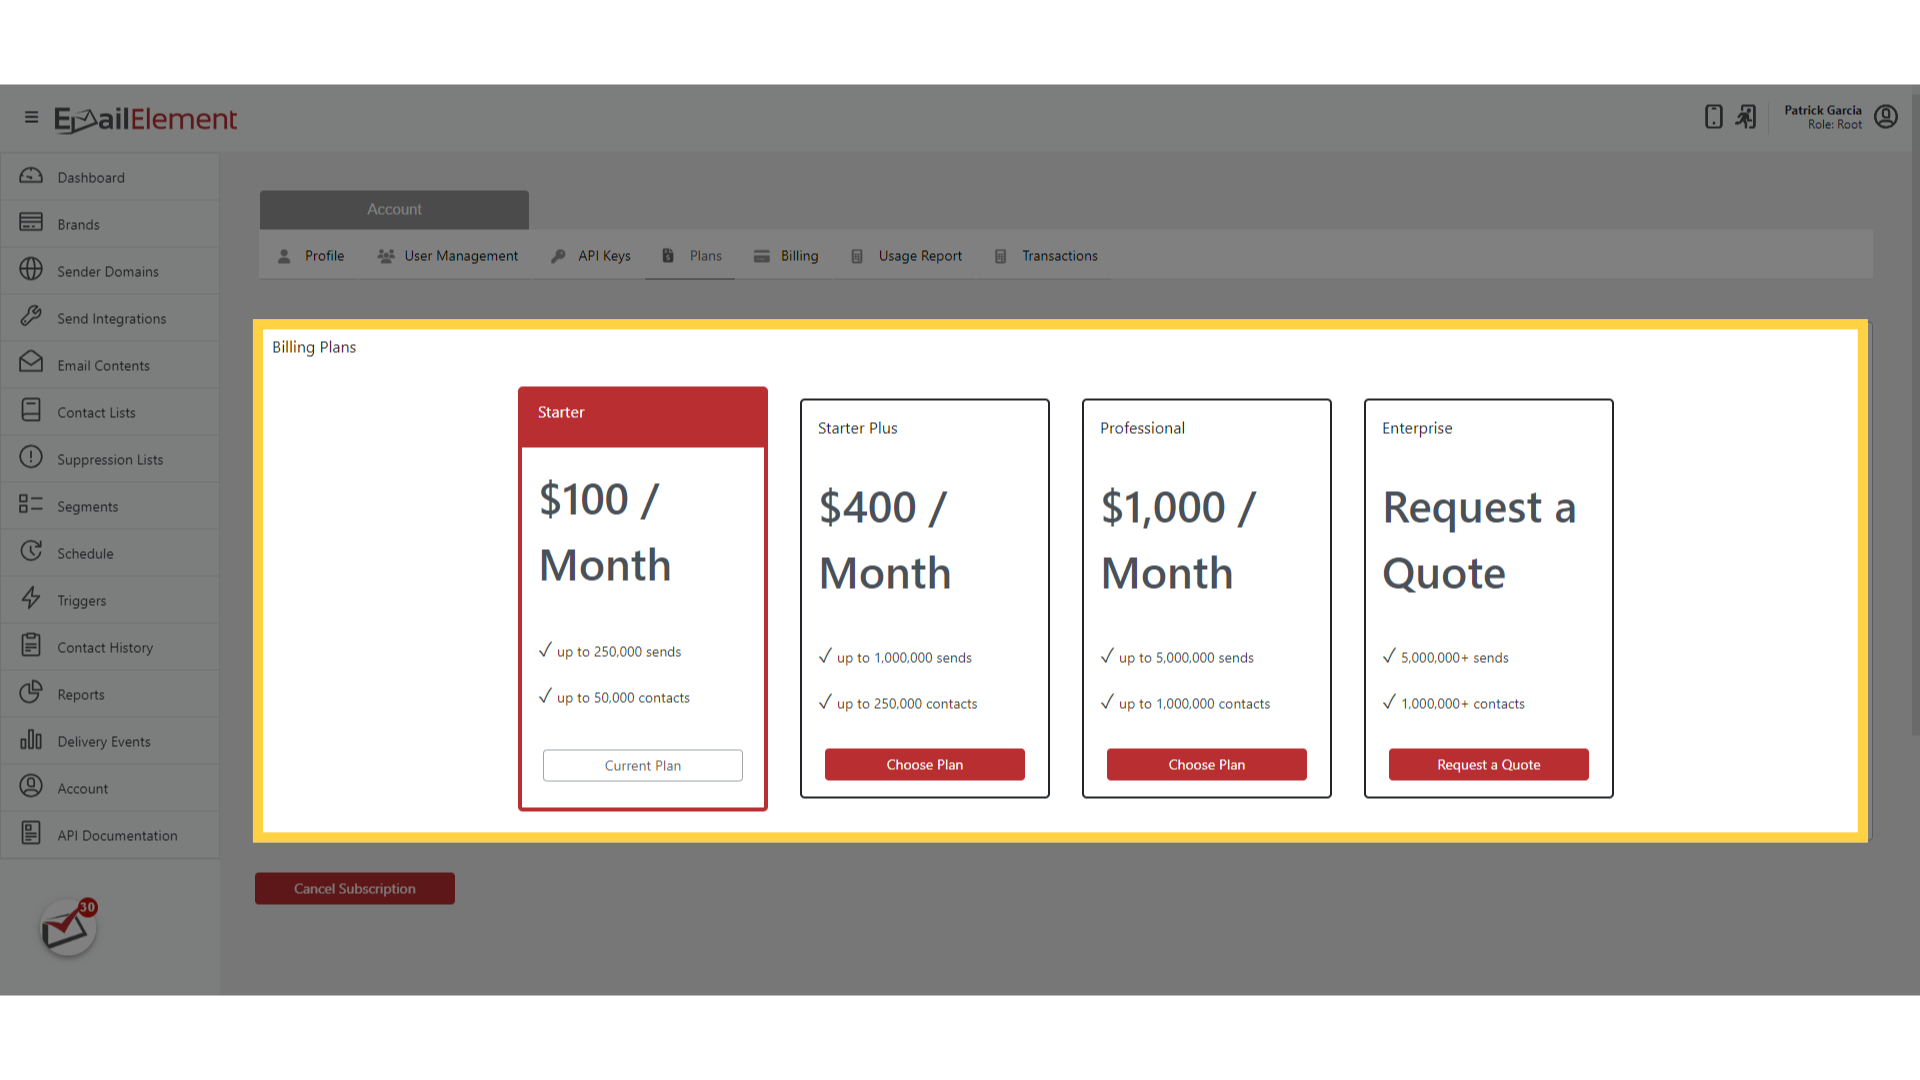
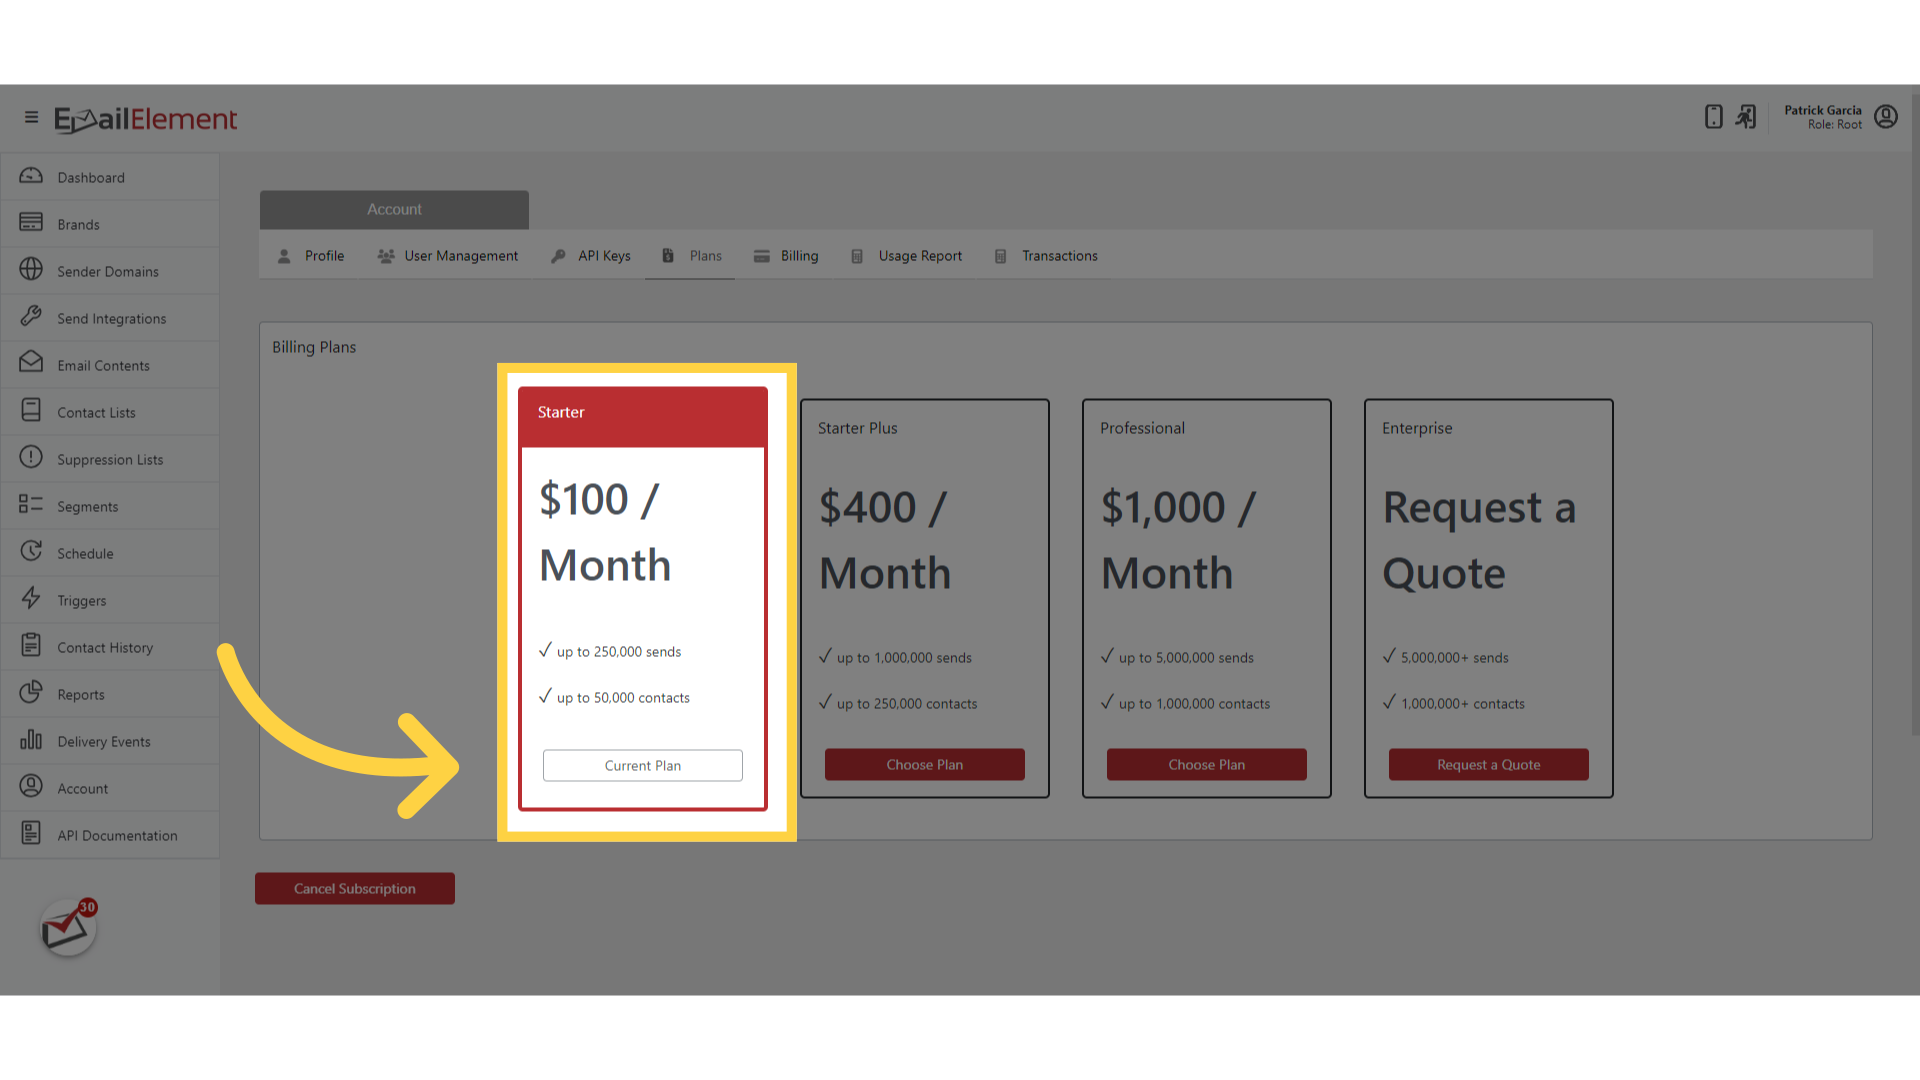
- Starter — basic features, lower volume limits
- Growth — expanded features, higher volume caps
- Pro — advanced features, priority support
- Enterprise — custom volume, dedicated support, SLA
Each plan card shows included features and pricing
Click Choose Plan on the desired tier to upgrade
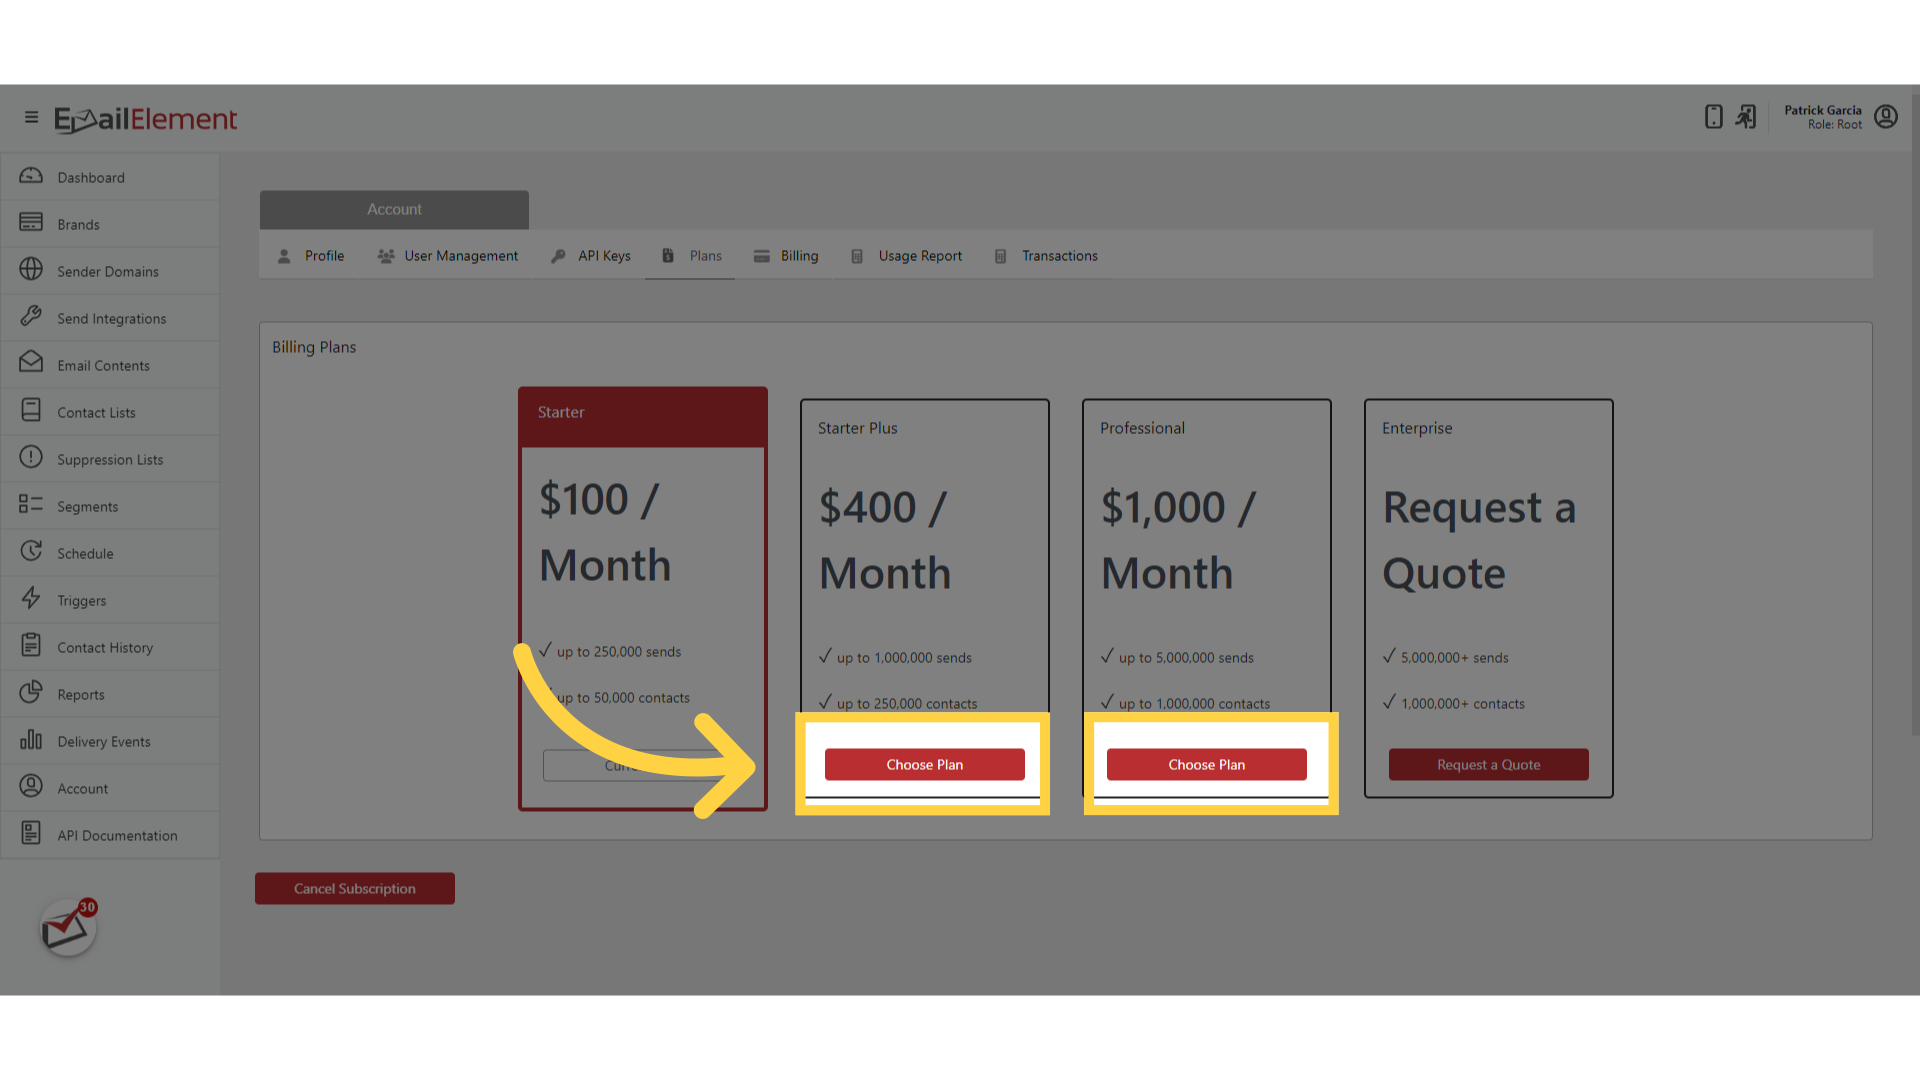
Plan changes take effect at the start of the next billing cycle
For Enterprise, click Request a Quote to contact the sales team
Billing Tab
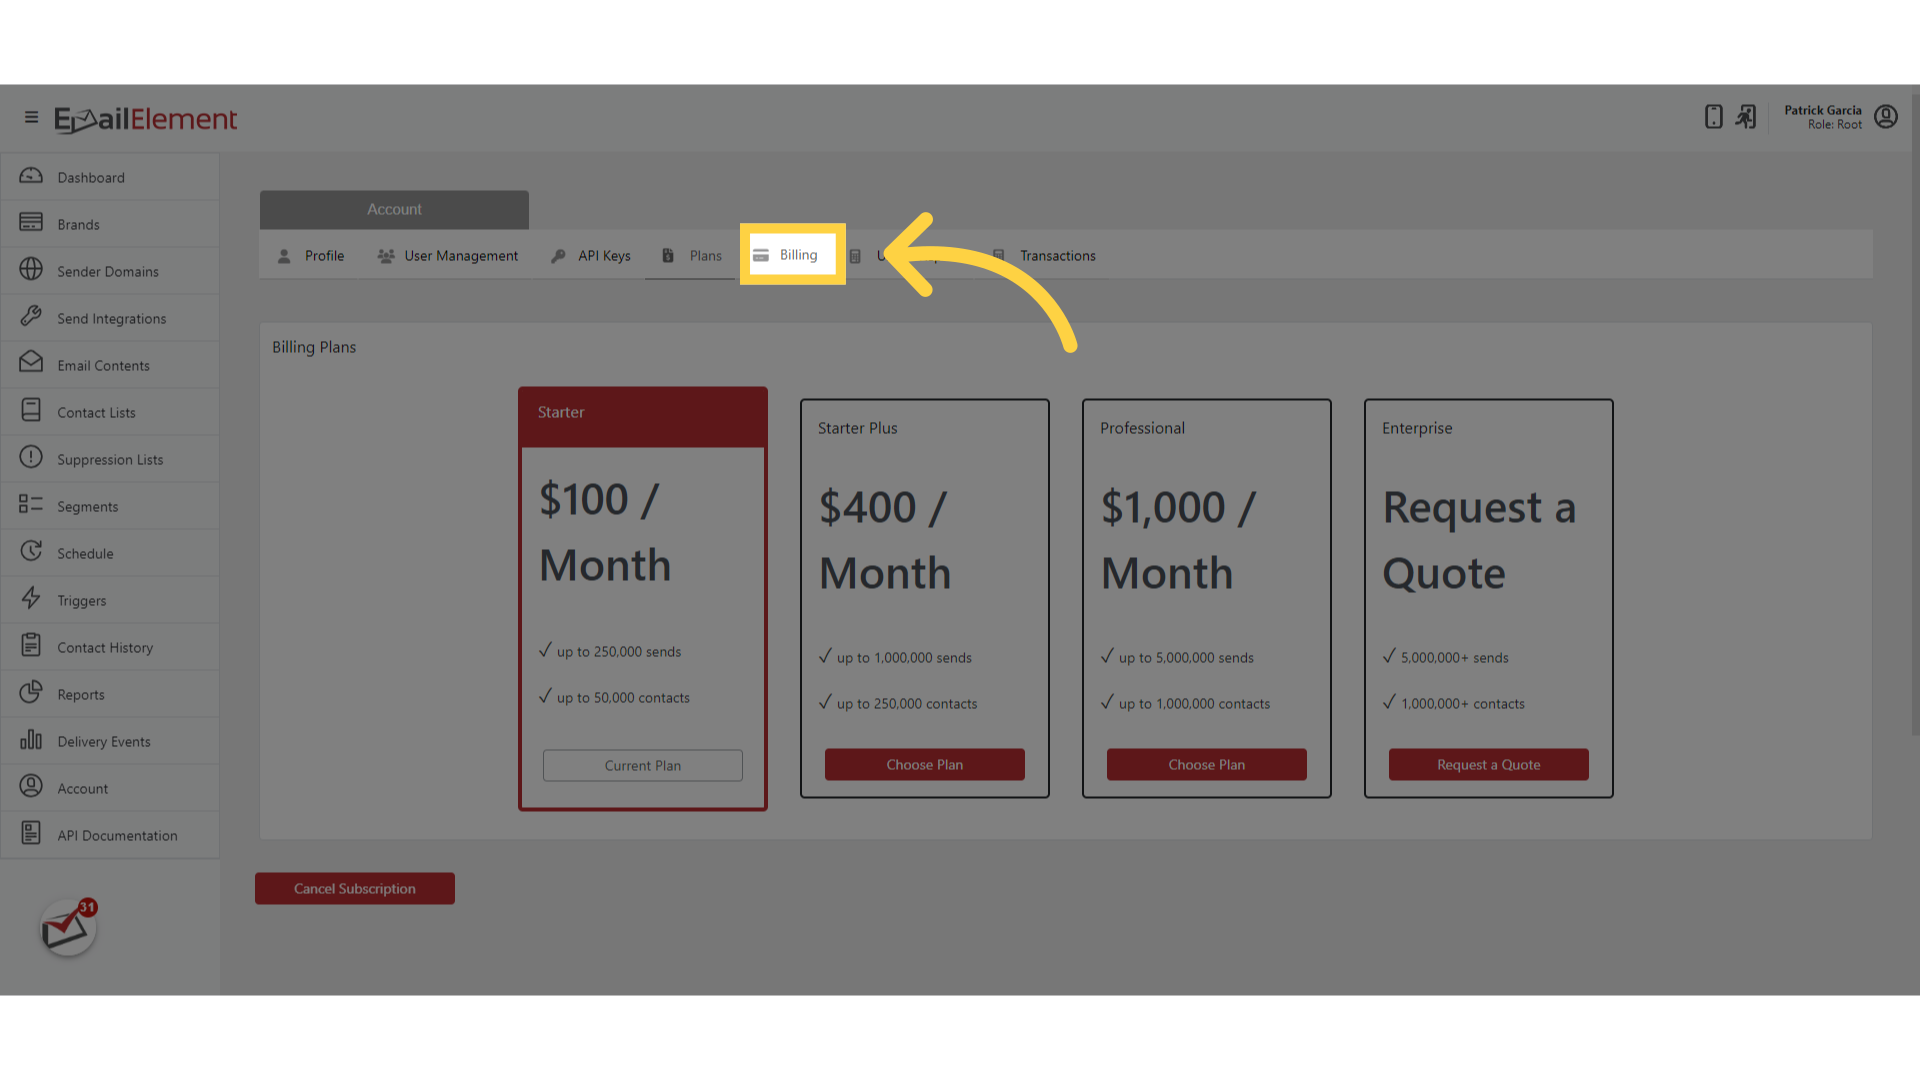
Click the Billing tab
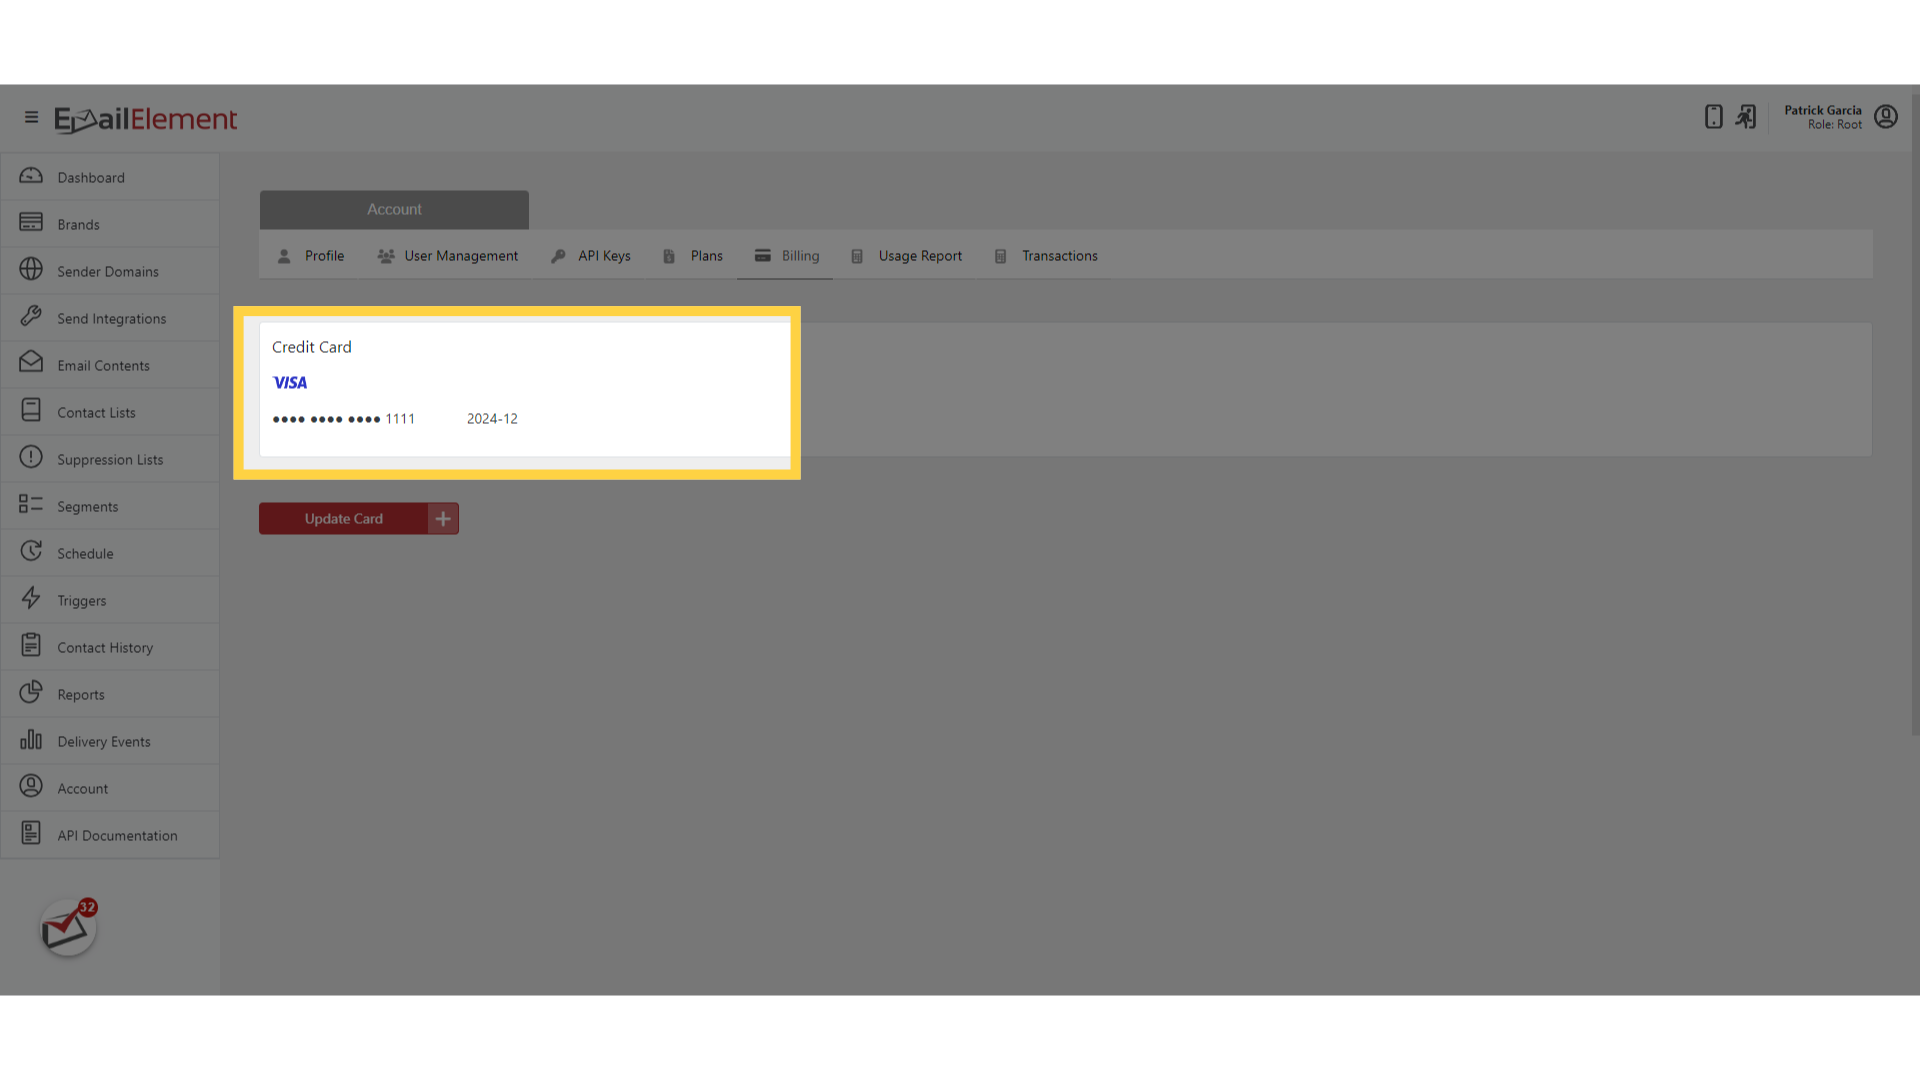
View your current payment method (last four digits of card)
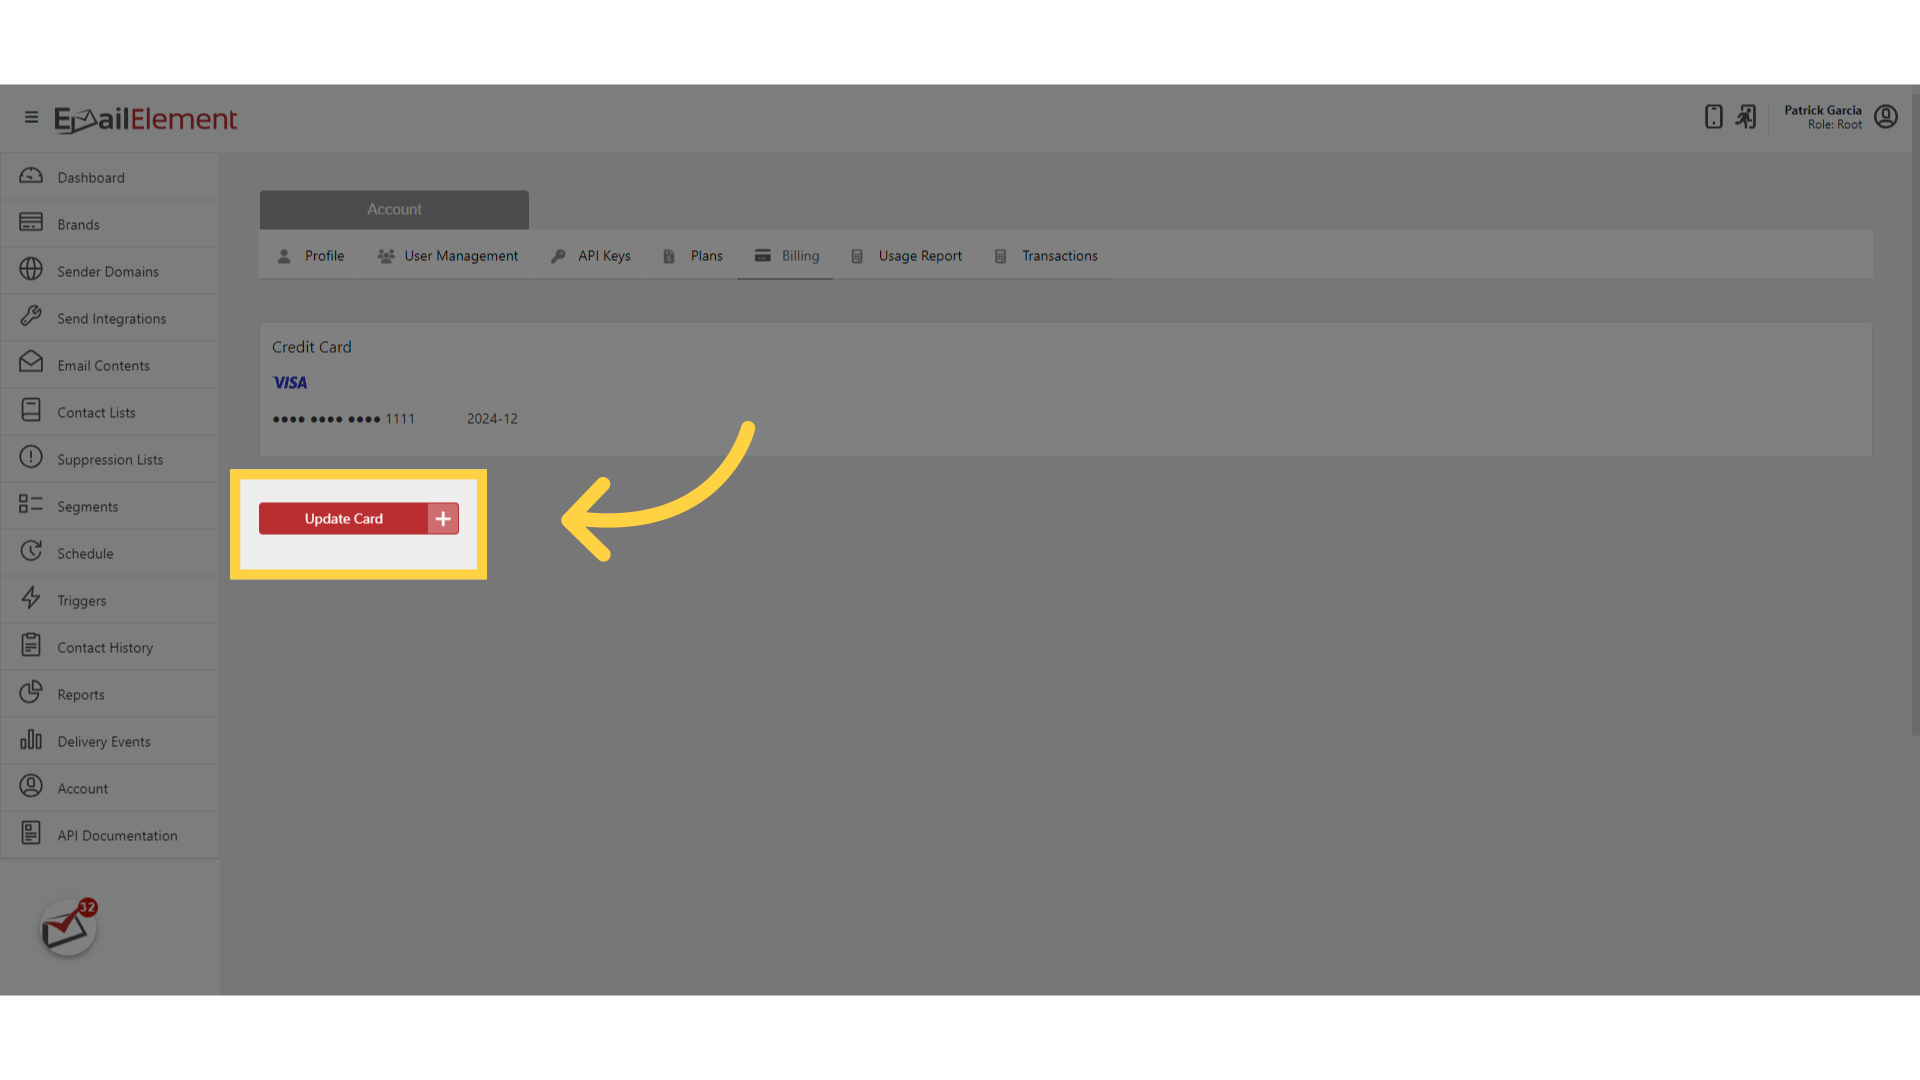
Click Update to change the payment card on file
Enter new card details and click Save
Usage Report Tab
Click the Usage Report tab
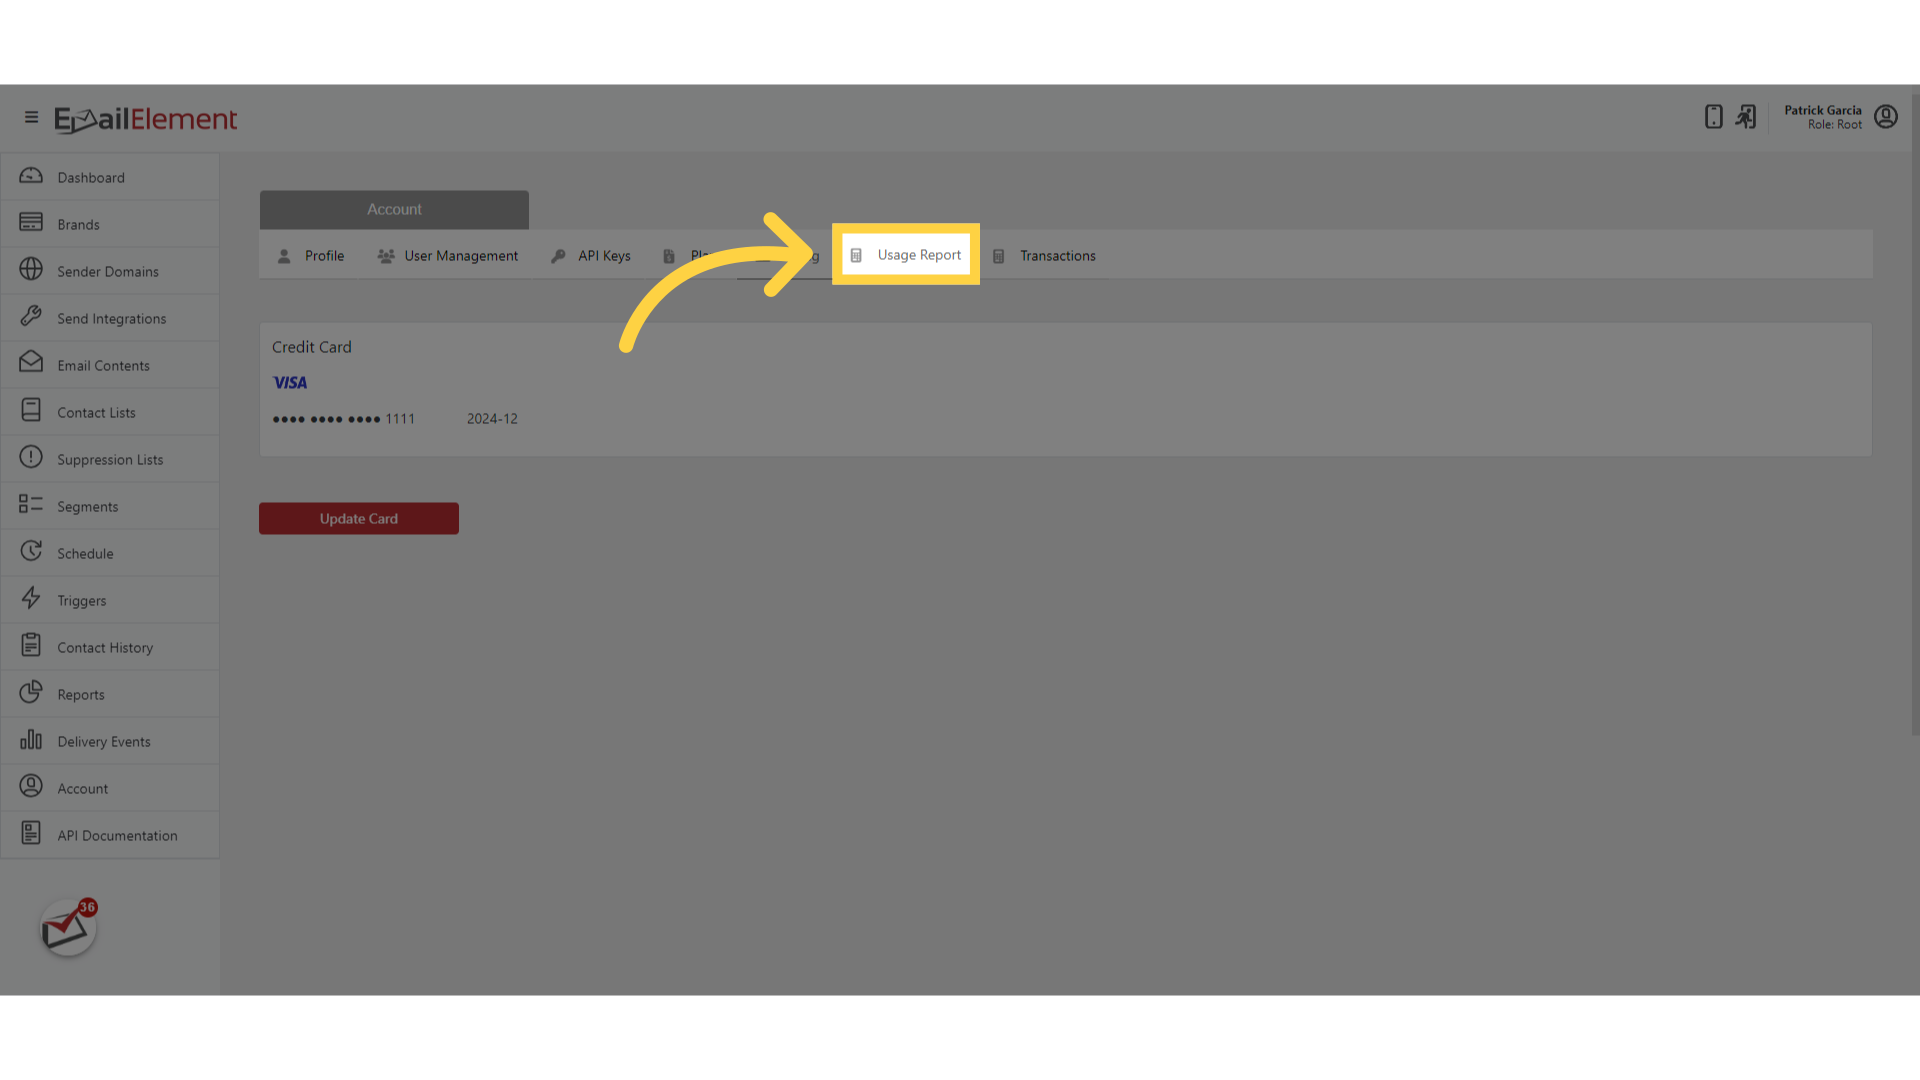
View current period usage across three categories:
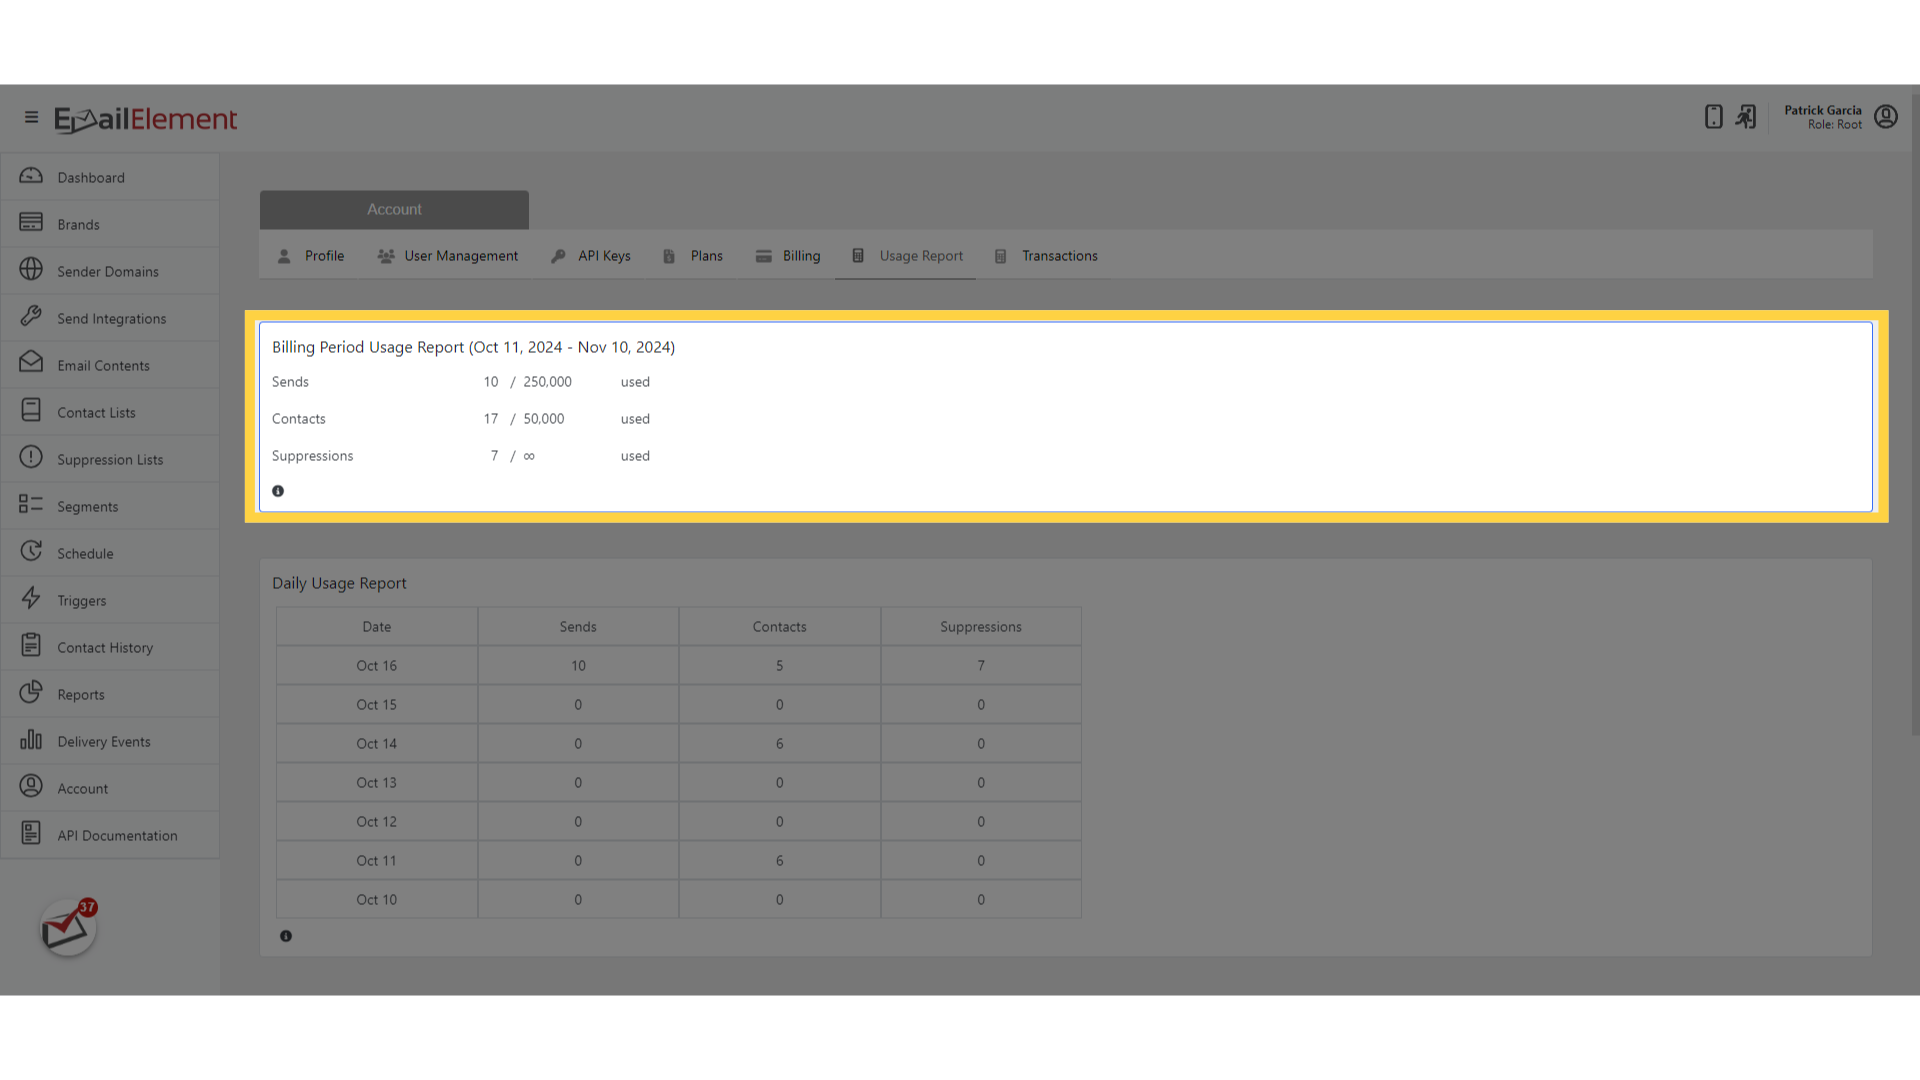
- Sends — total emails sent vs plan limit
- Contacts — total contacts stored vs plan limit
- Suppressions — total suppression records vs plan limit
A daily breakdown chart shows usage trends for the current billing period
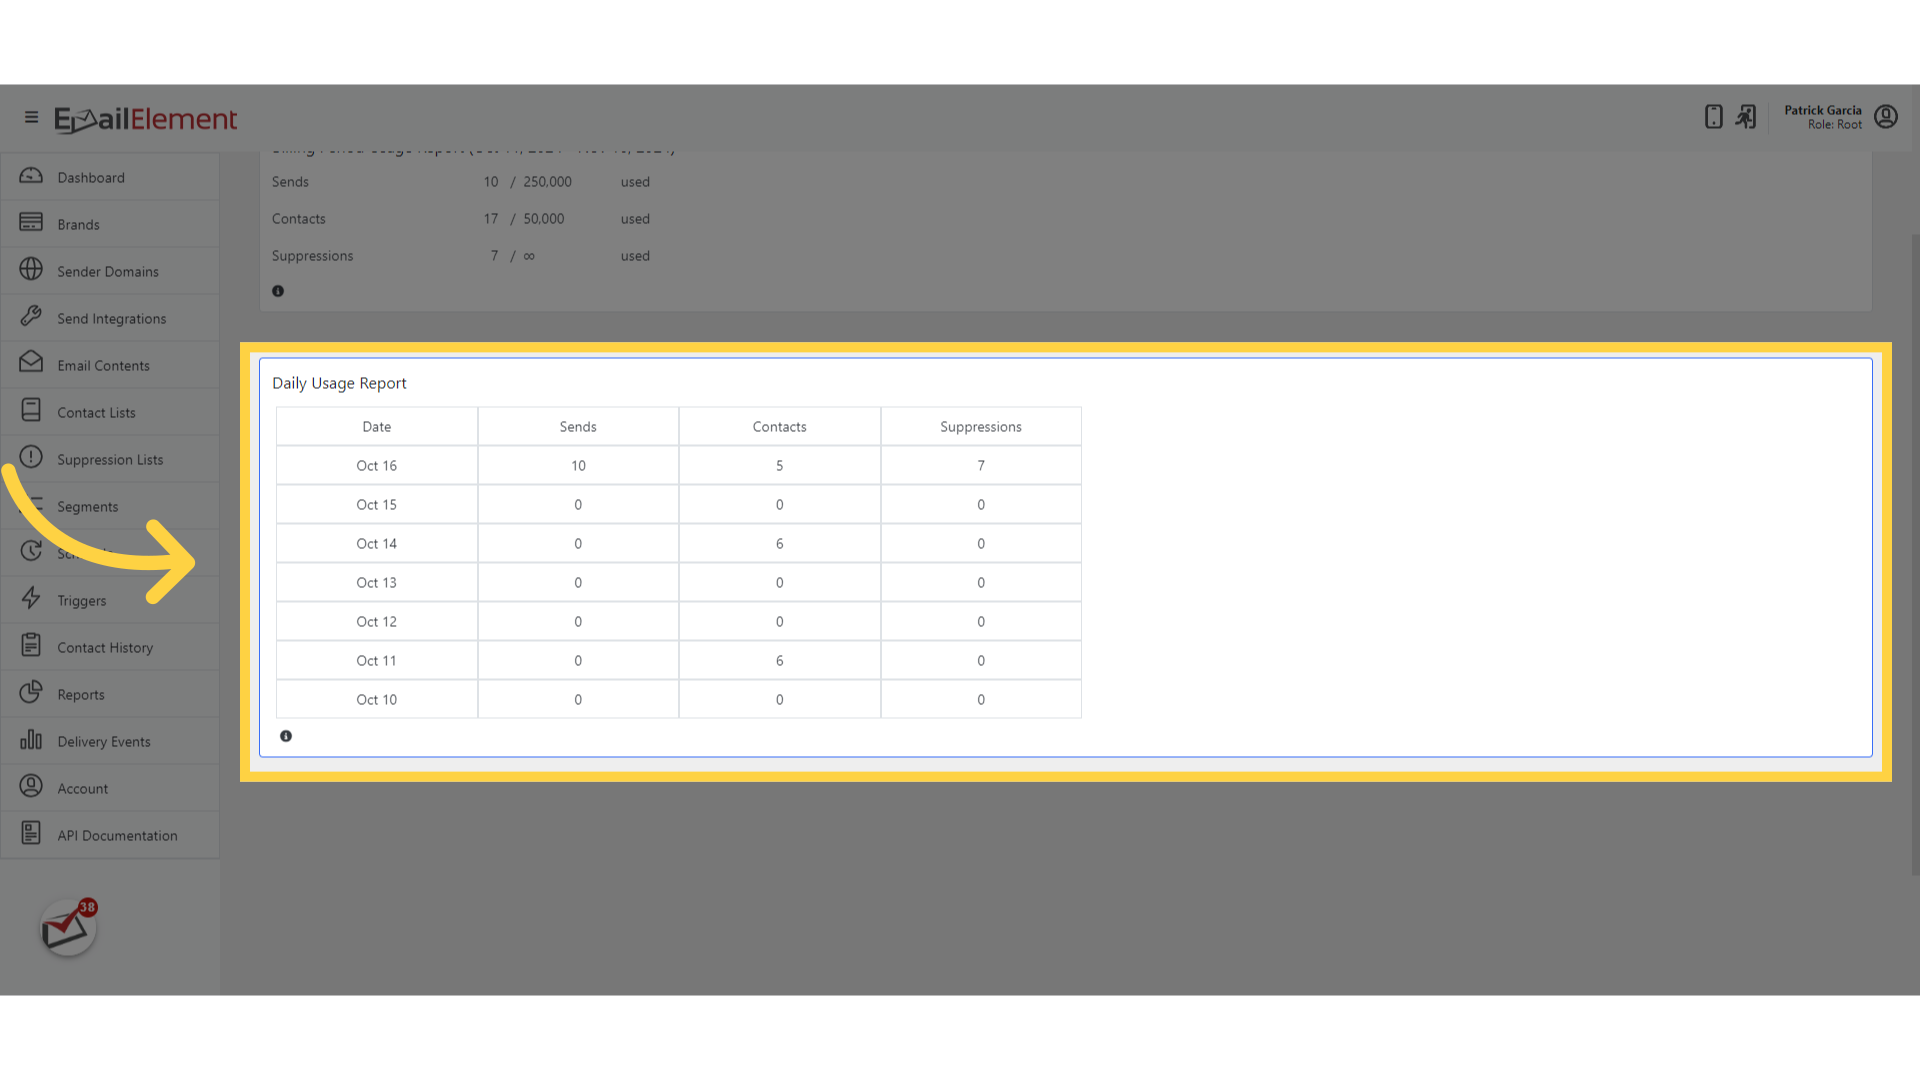
Use this data to determine if a plan upgrade is needed
Transactions Tab
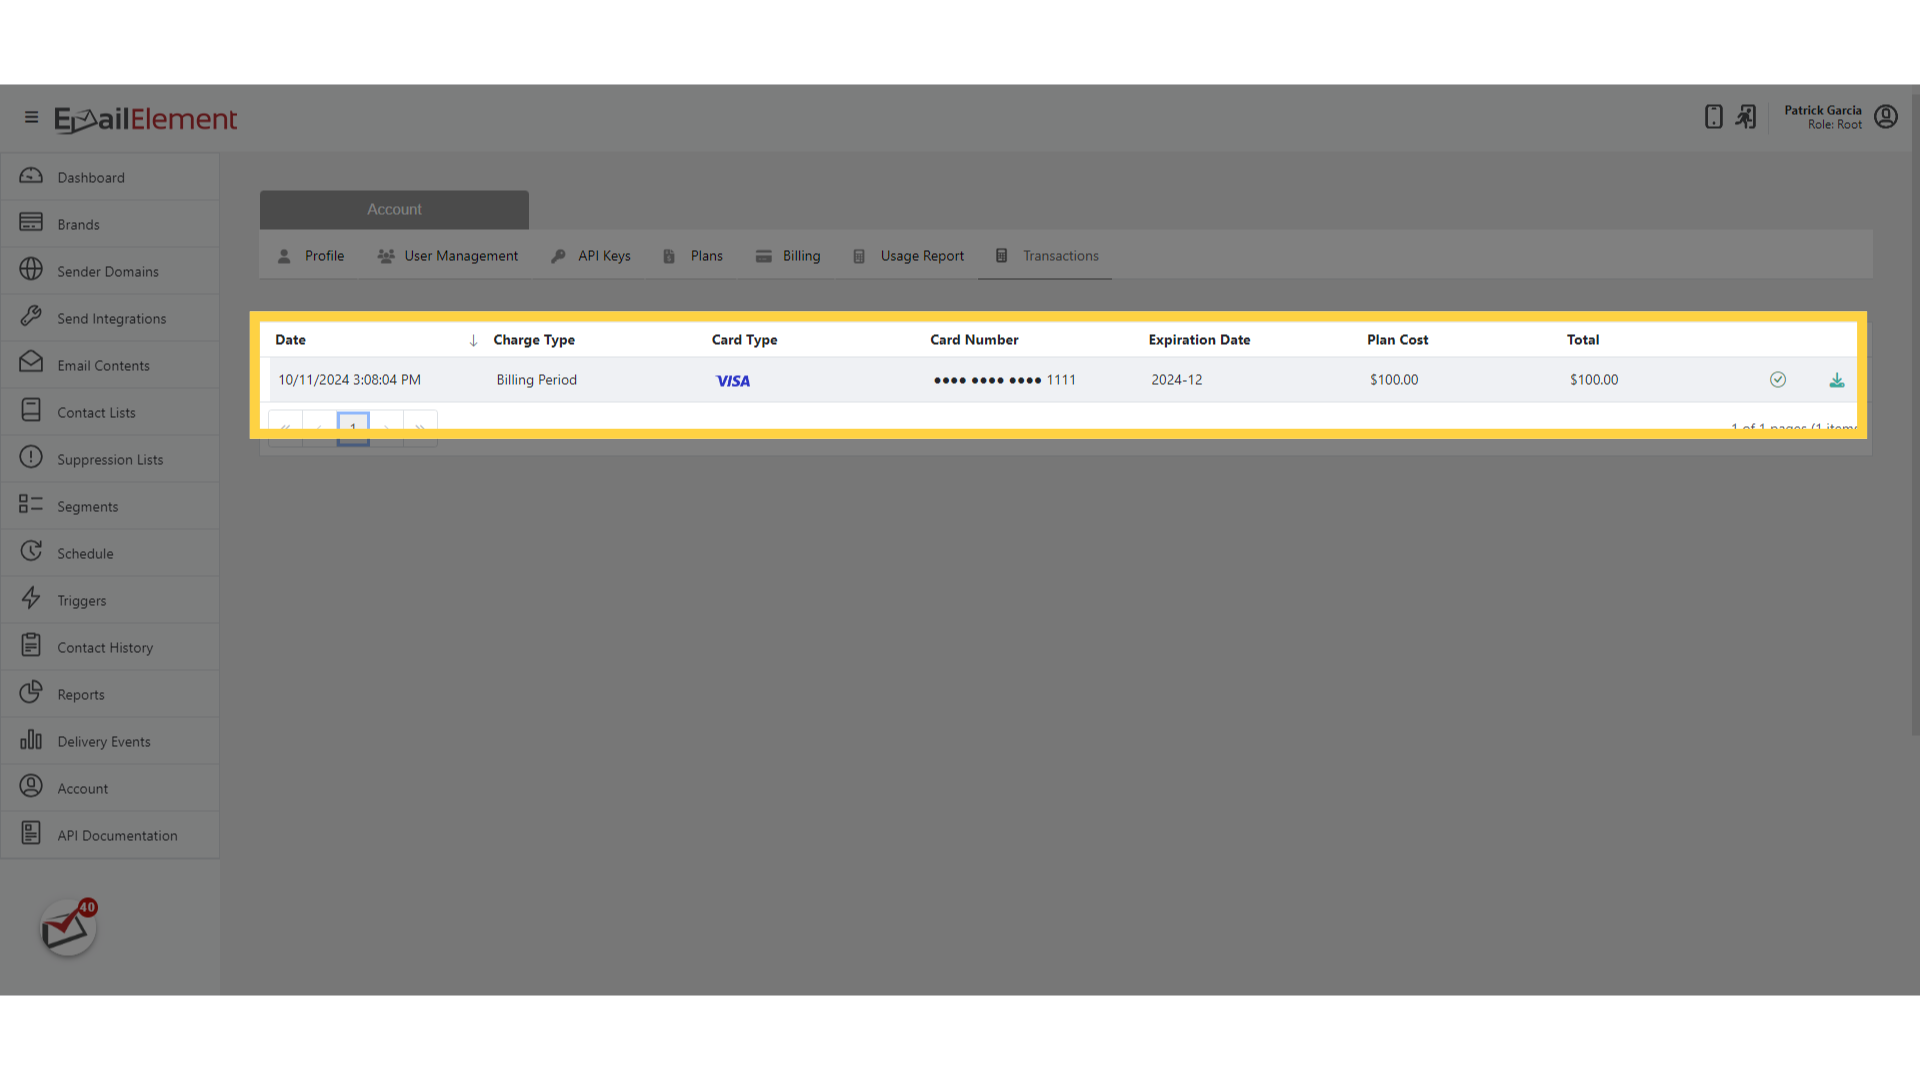
Click the Transactions tab
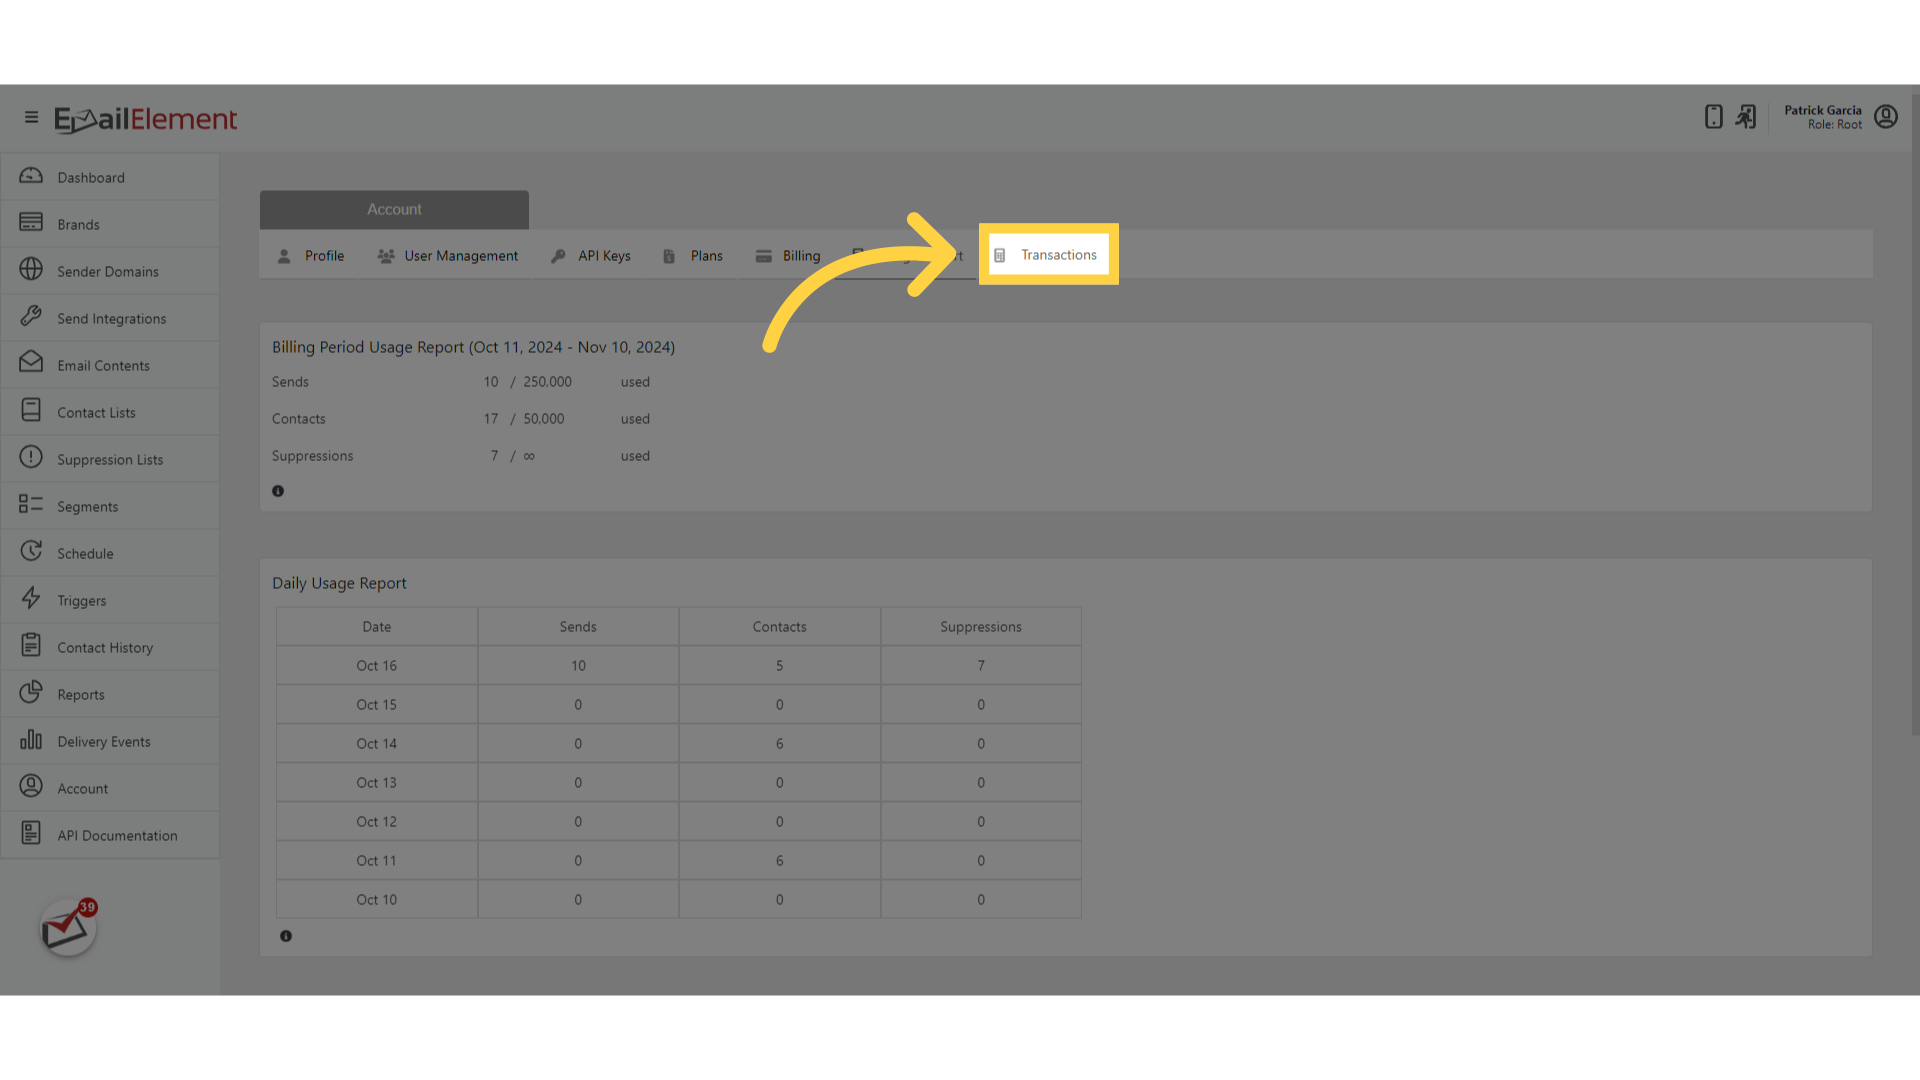
View payment history in a table: date, amount, status, invoice number
Click Download next to any transaction to get a PDF invoice
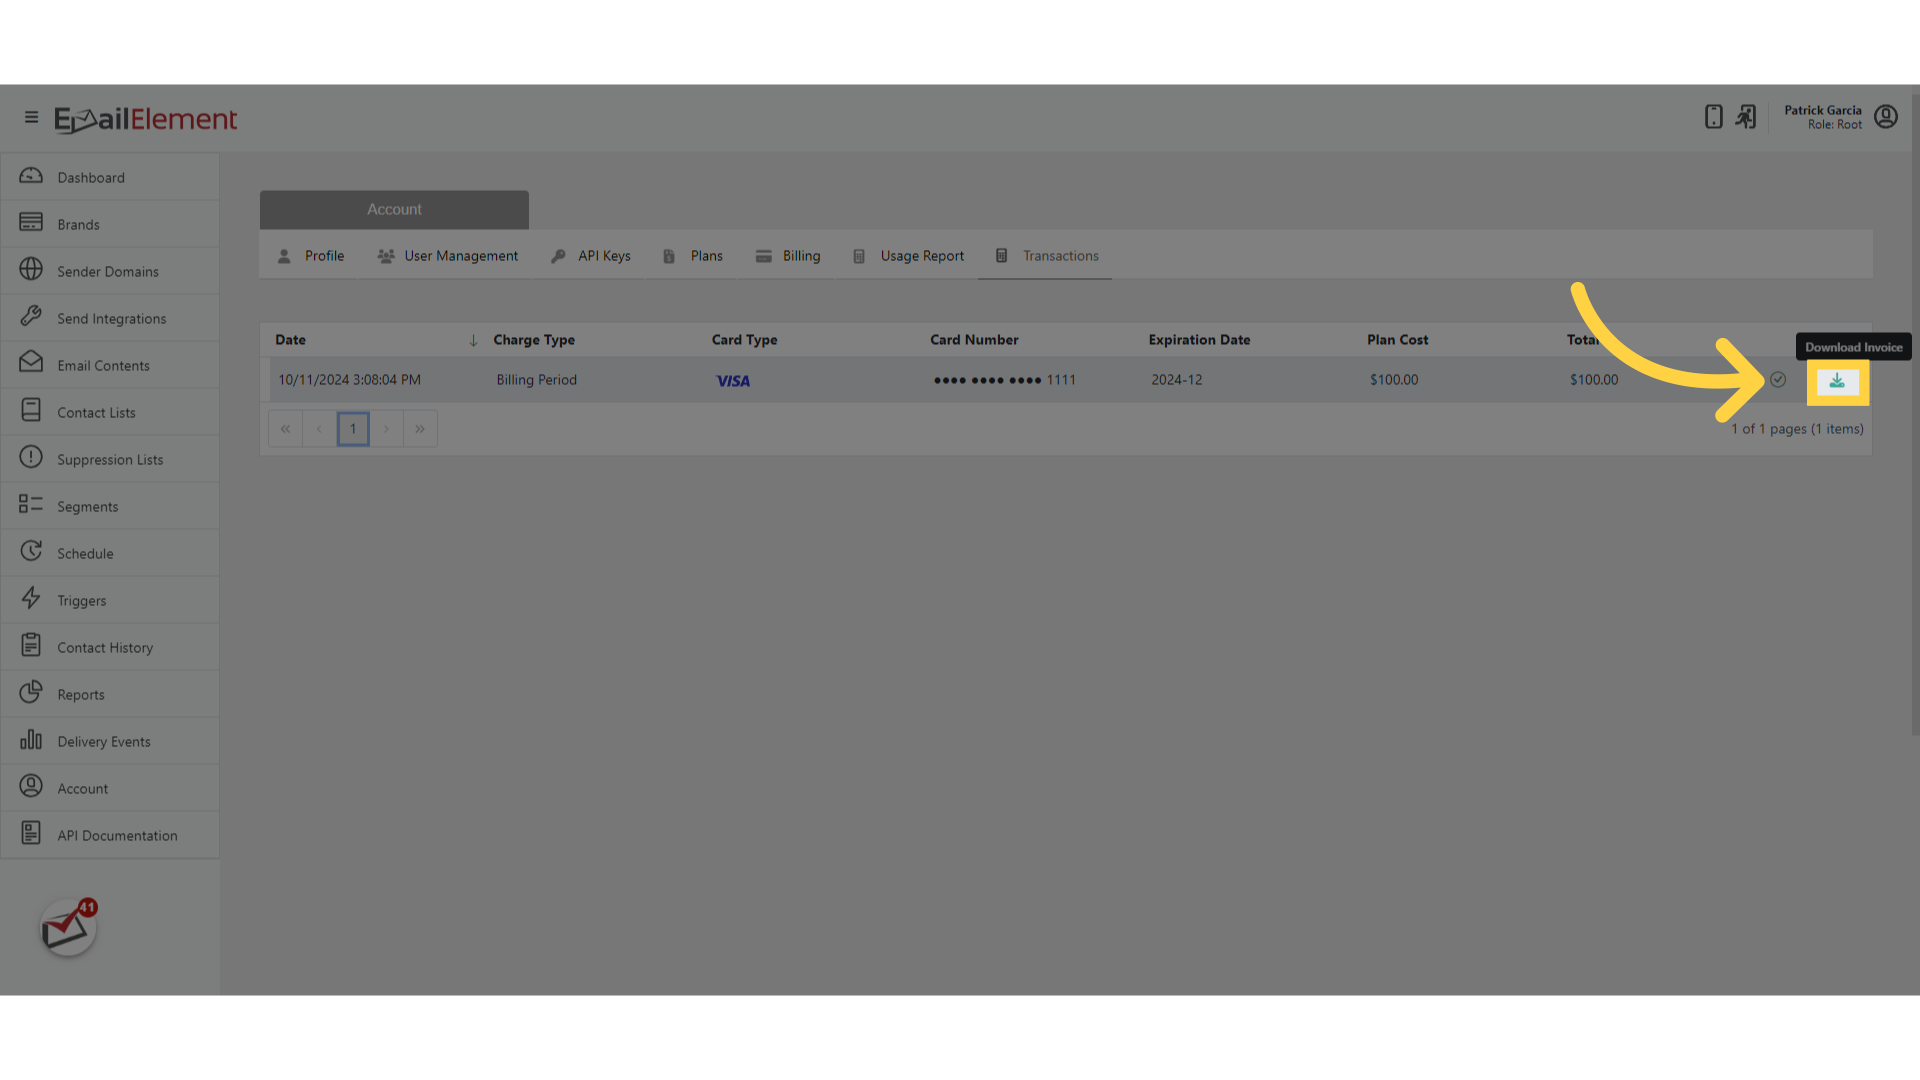
Use invoices for accounting and expense tracking