
Sender Domain Walkthrough
Overview
Adding a sender domain, from picking who sends for it through to the DNS records it needs.
Step 1: Start a Sender Domain
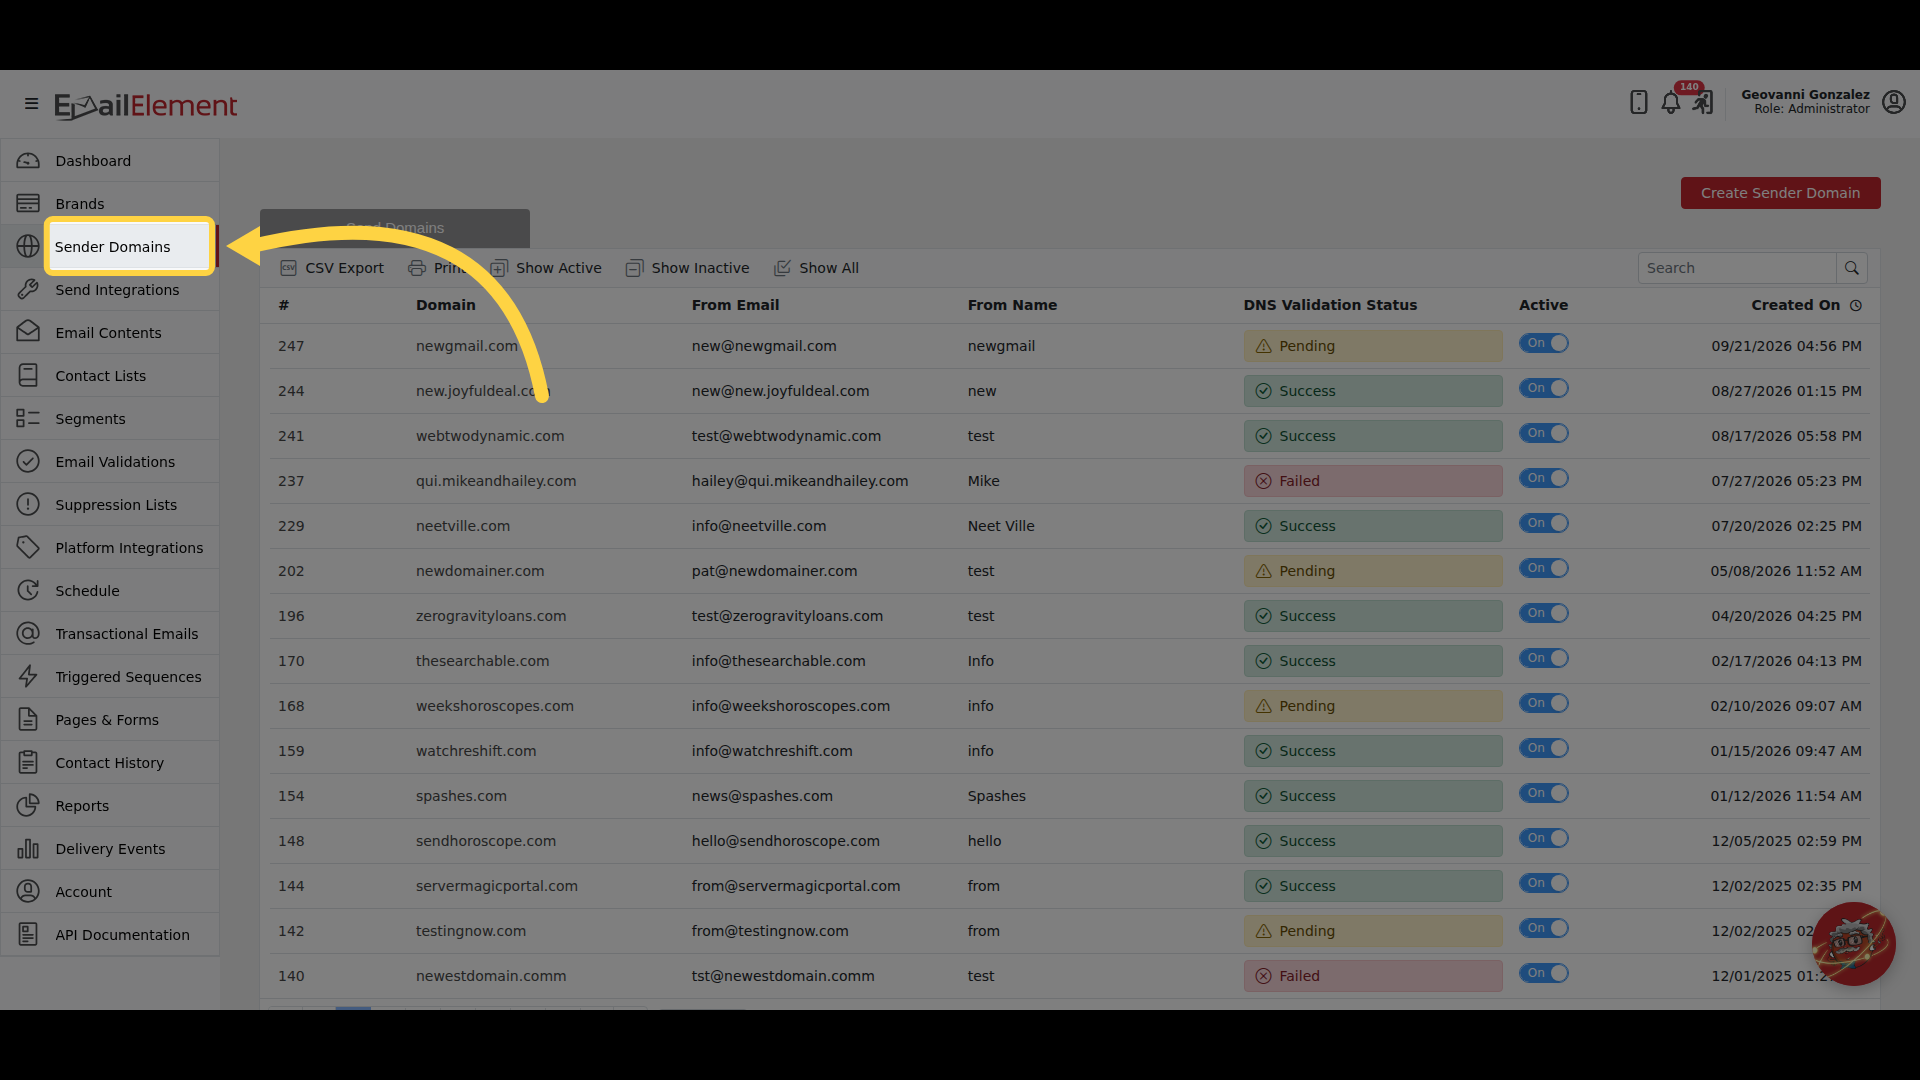
Click Sender Domains in the navigation panel
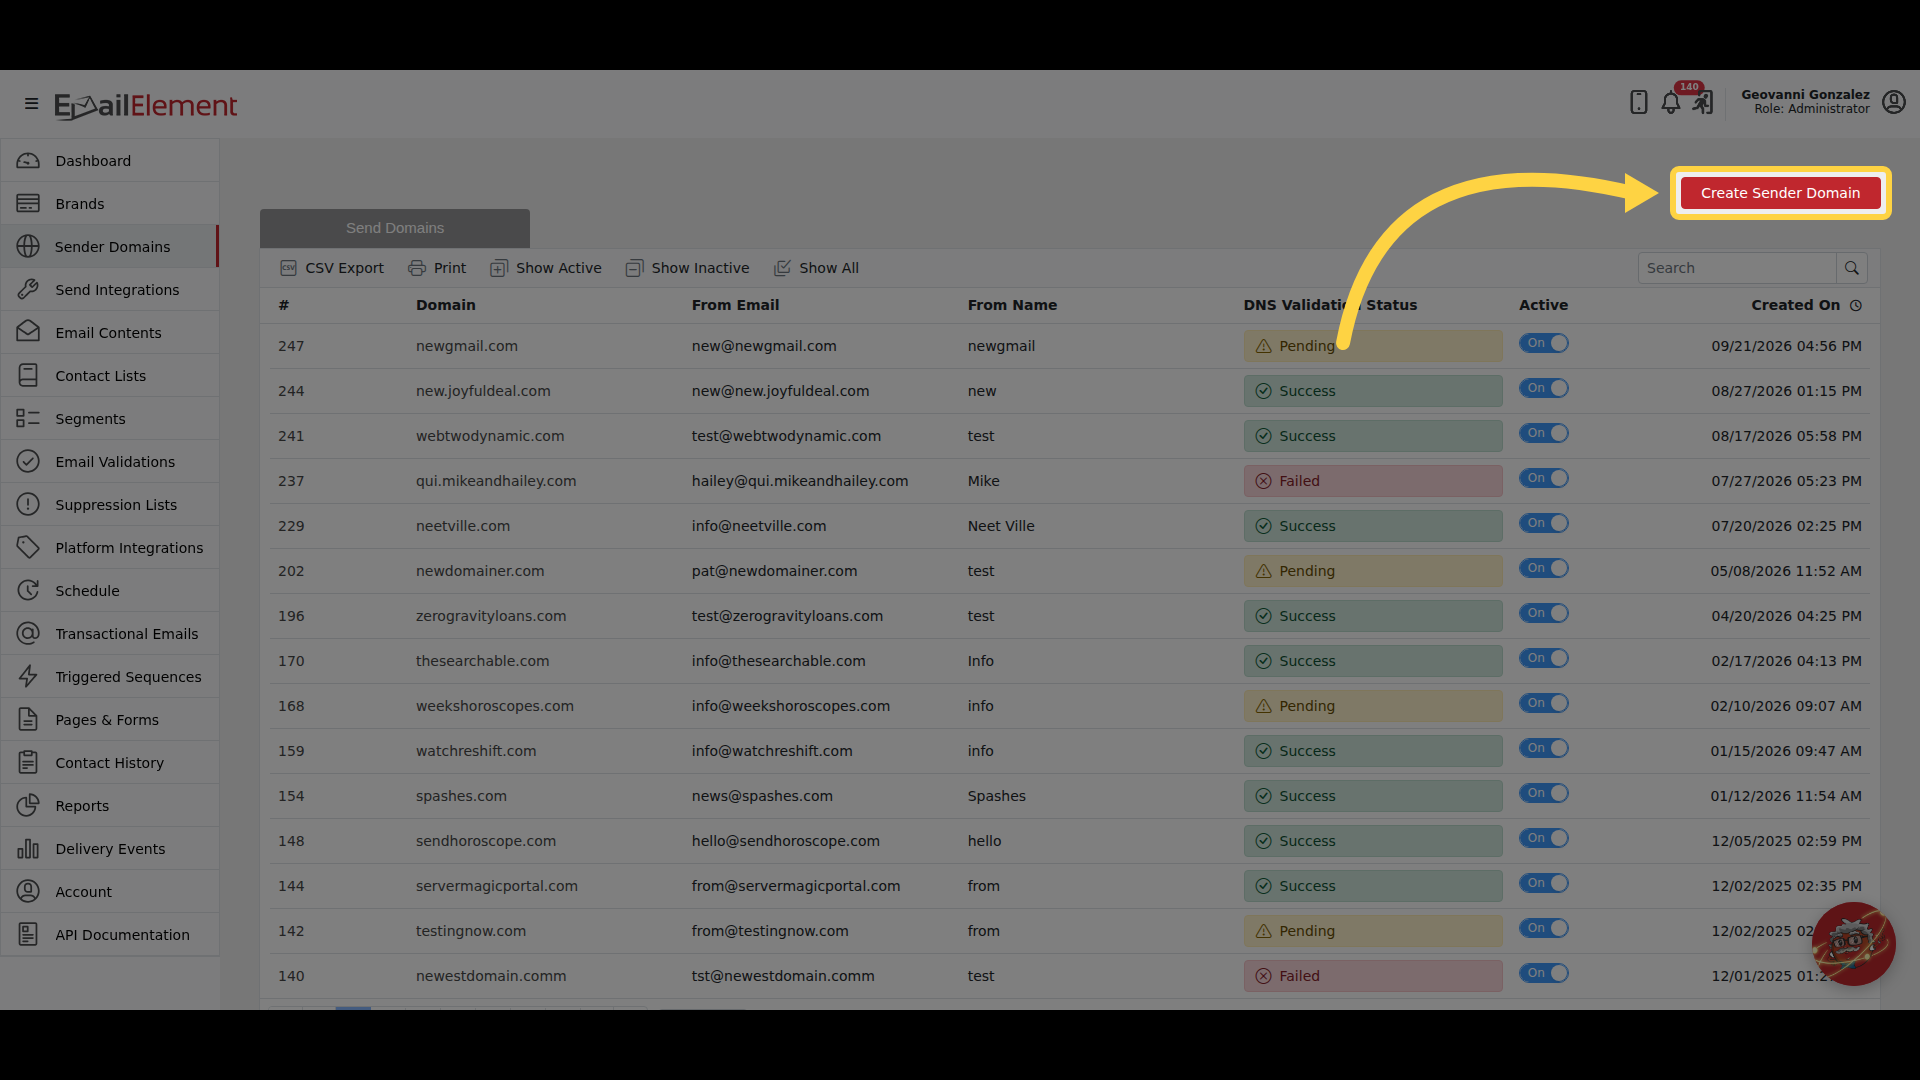
Click Create Sender Domain
Step 2: Choose How the Domain Sends
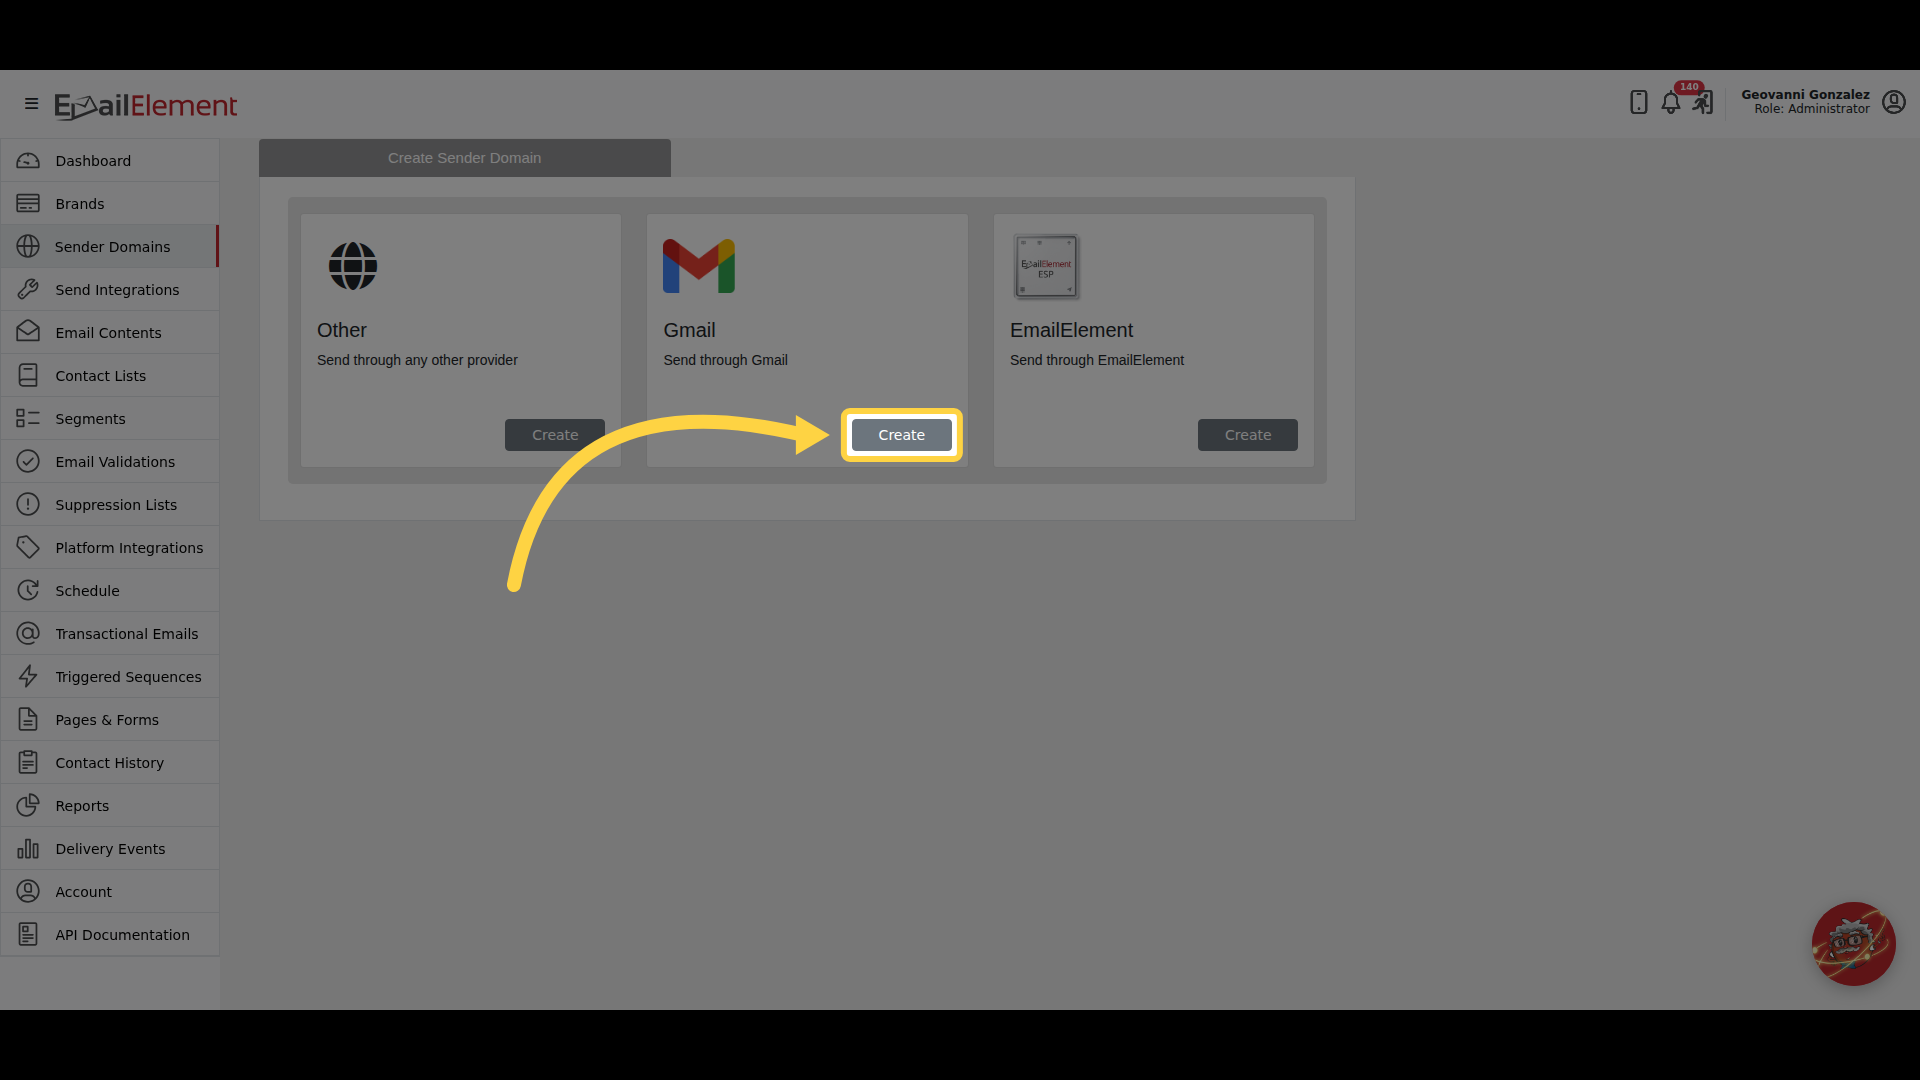
Creating a sender domain starts by picking who sends for it. The choice is saved on the domain, and it decides which sections the form shows, now and every time the domain is opened again. It cannot be changed afterwards.
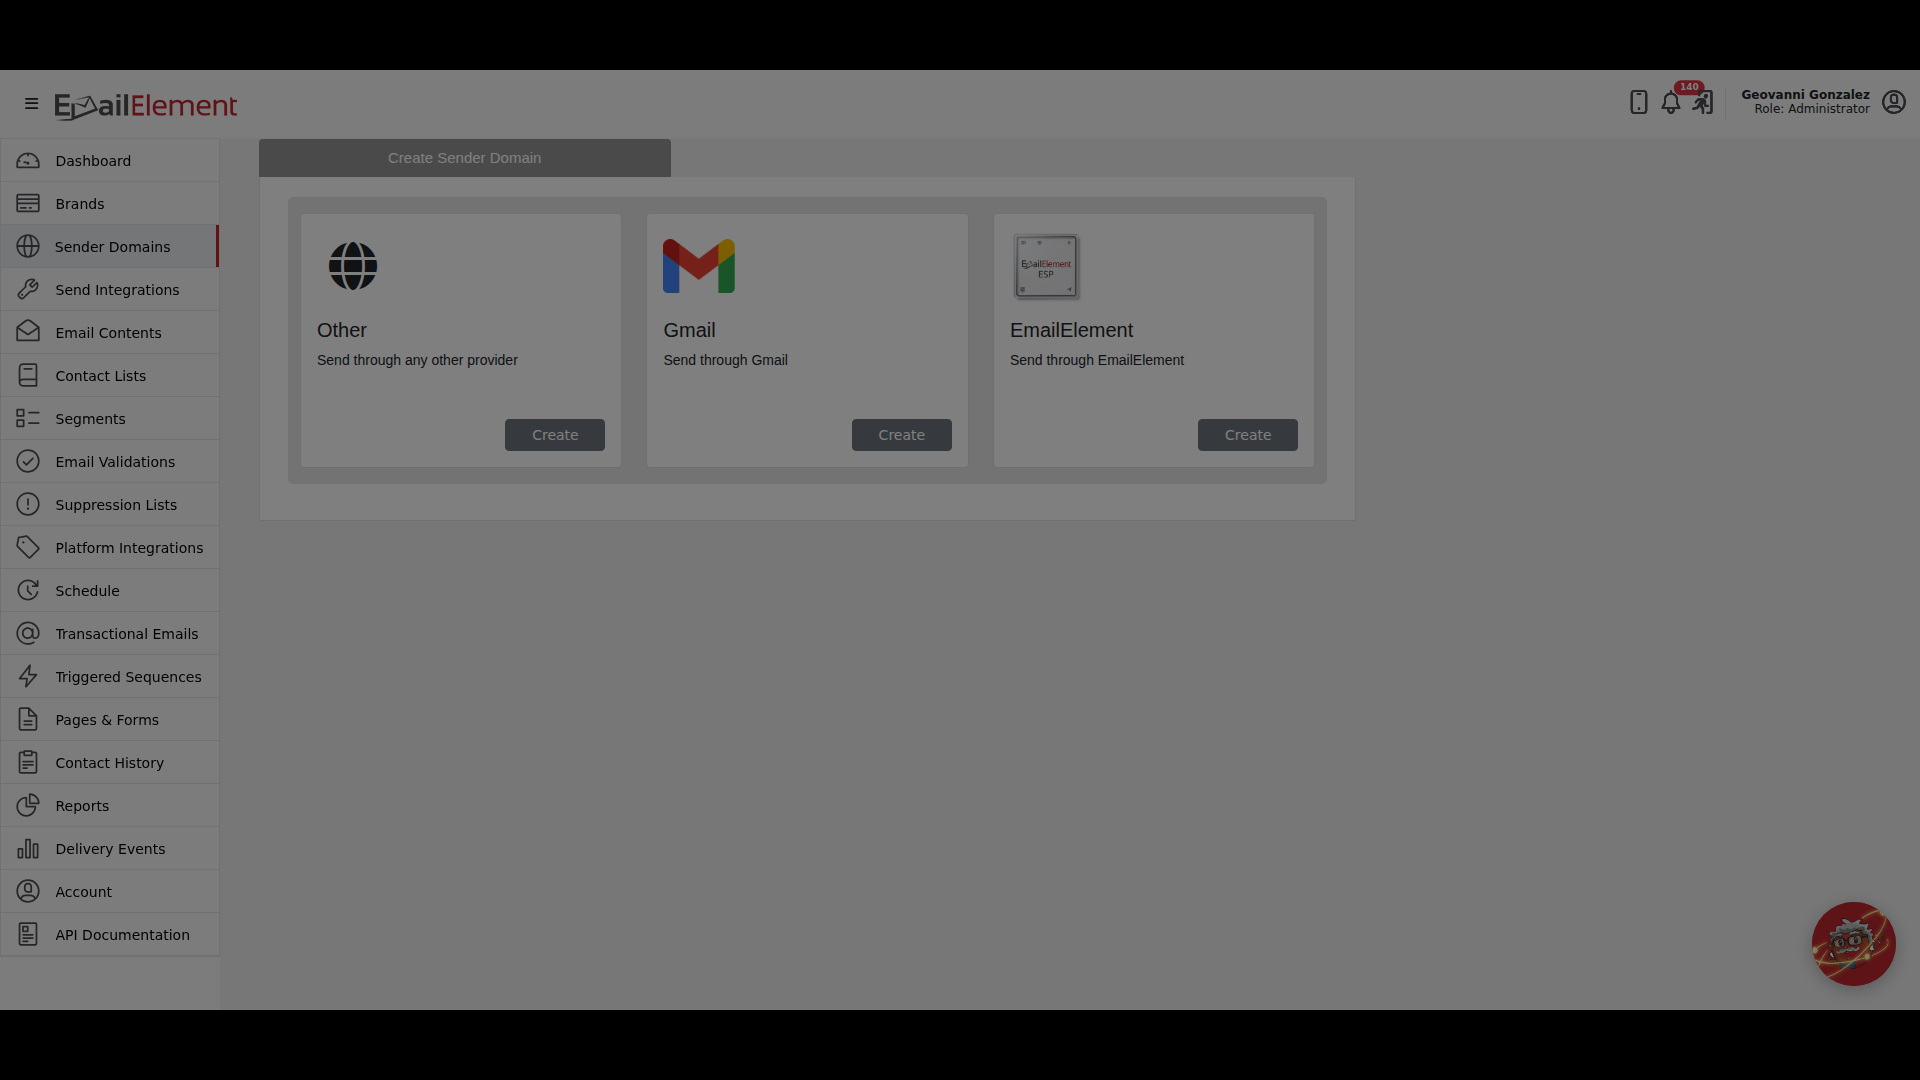
- Other — any provider you connect yourself
- Gmail — a Google Workspace account
- EmailElement — our own sending. It appears only when the account has it
Step 3: Fill In the Domain
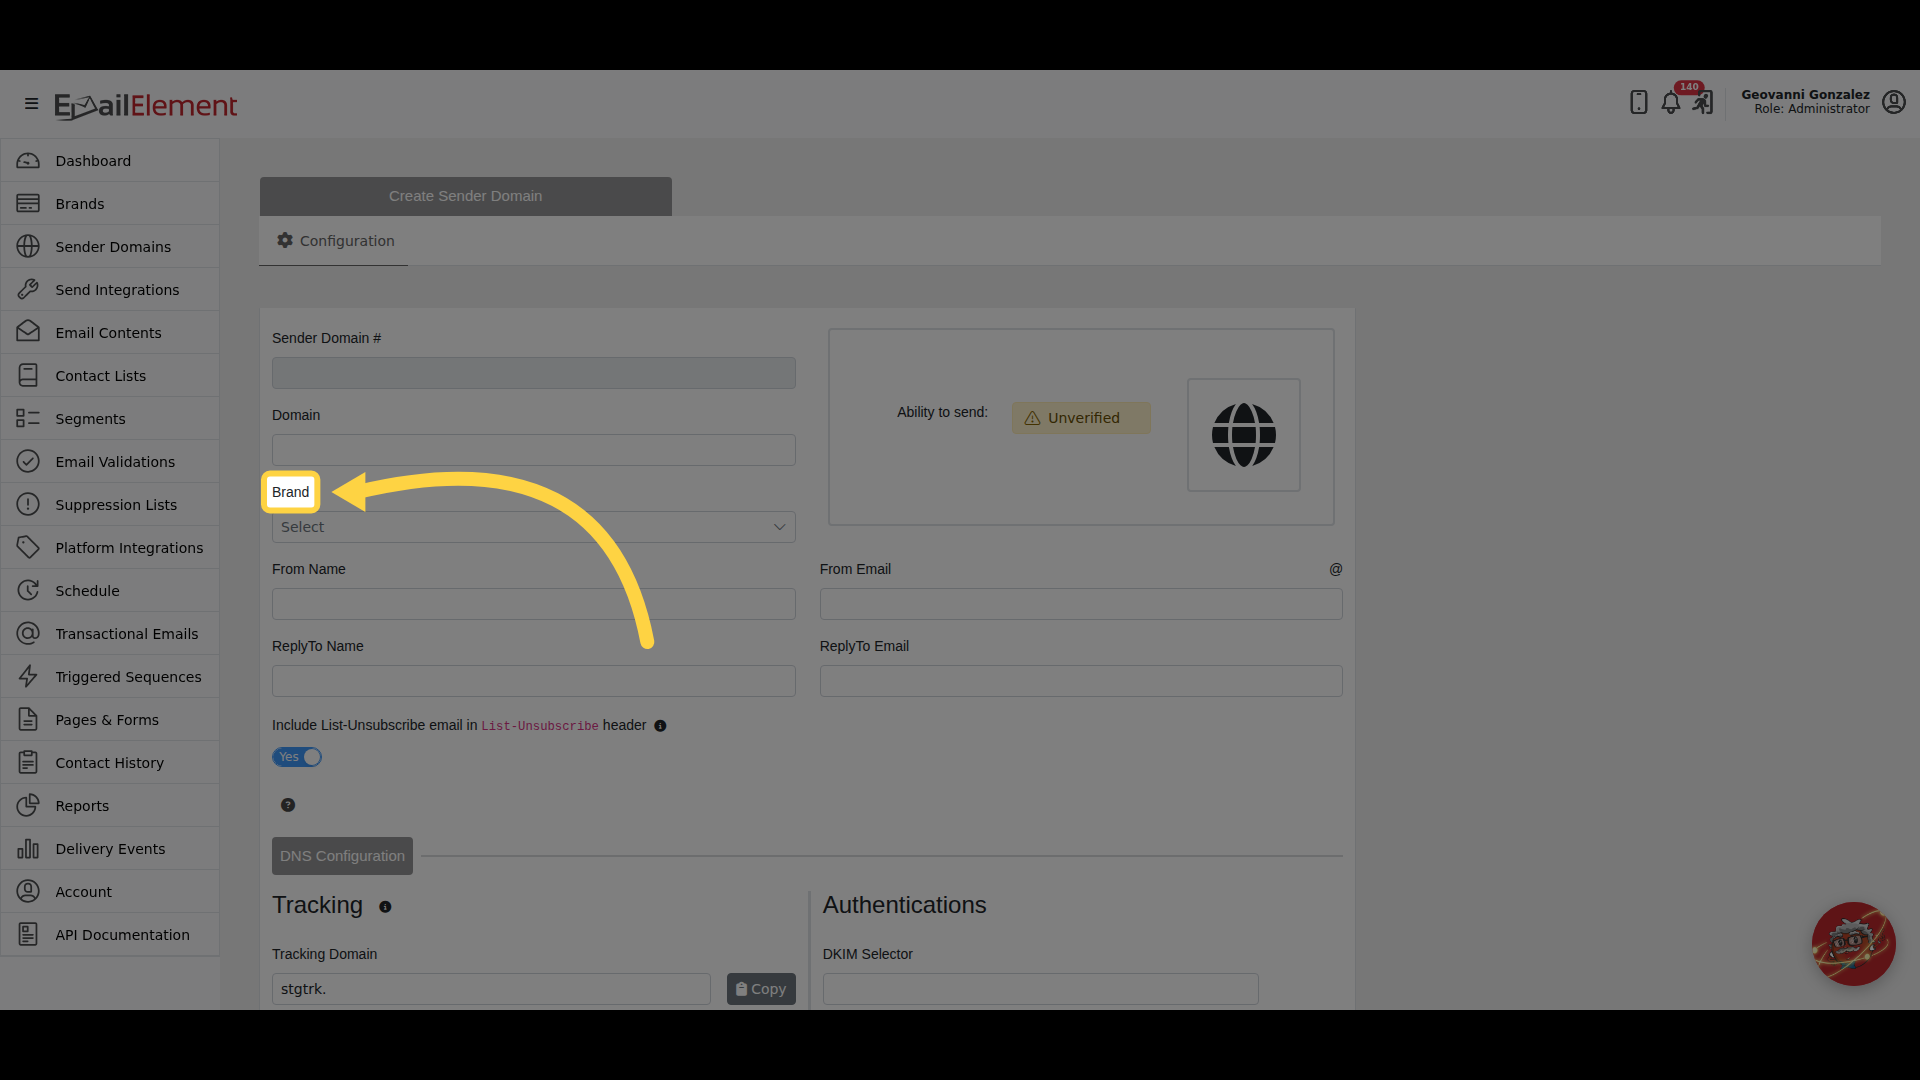
Enter the Domain and pick a Brand. Sender Domain # stays blank until the domain is saved, and shows its number afterwards
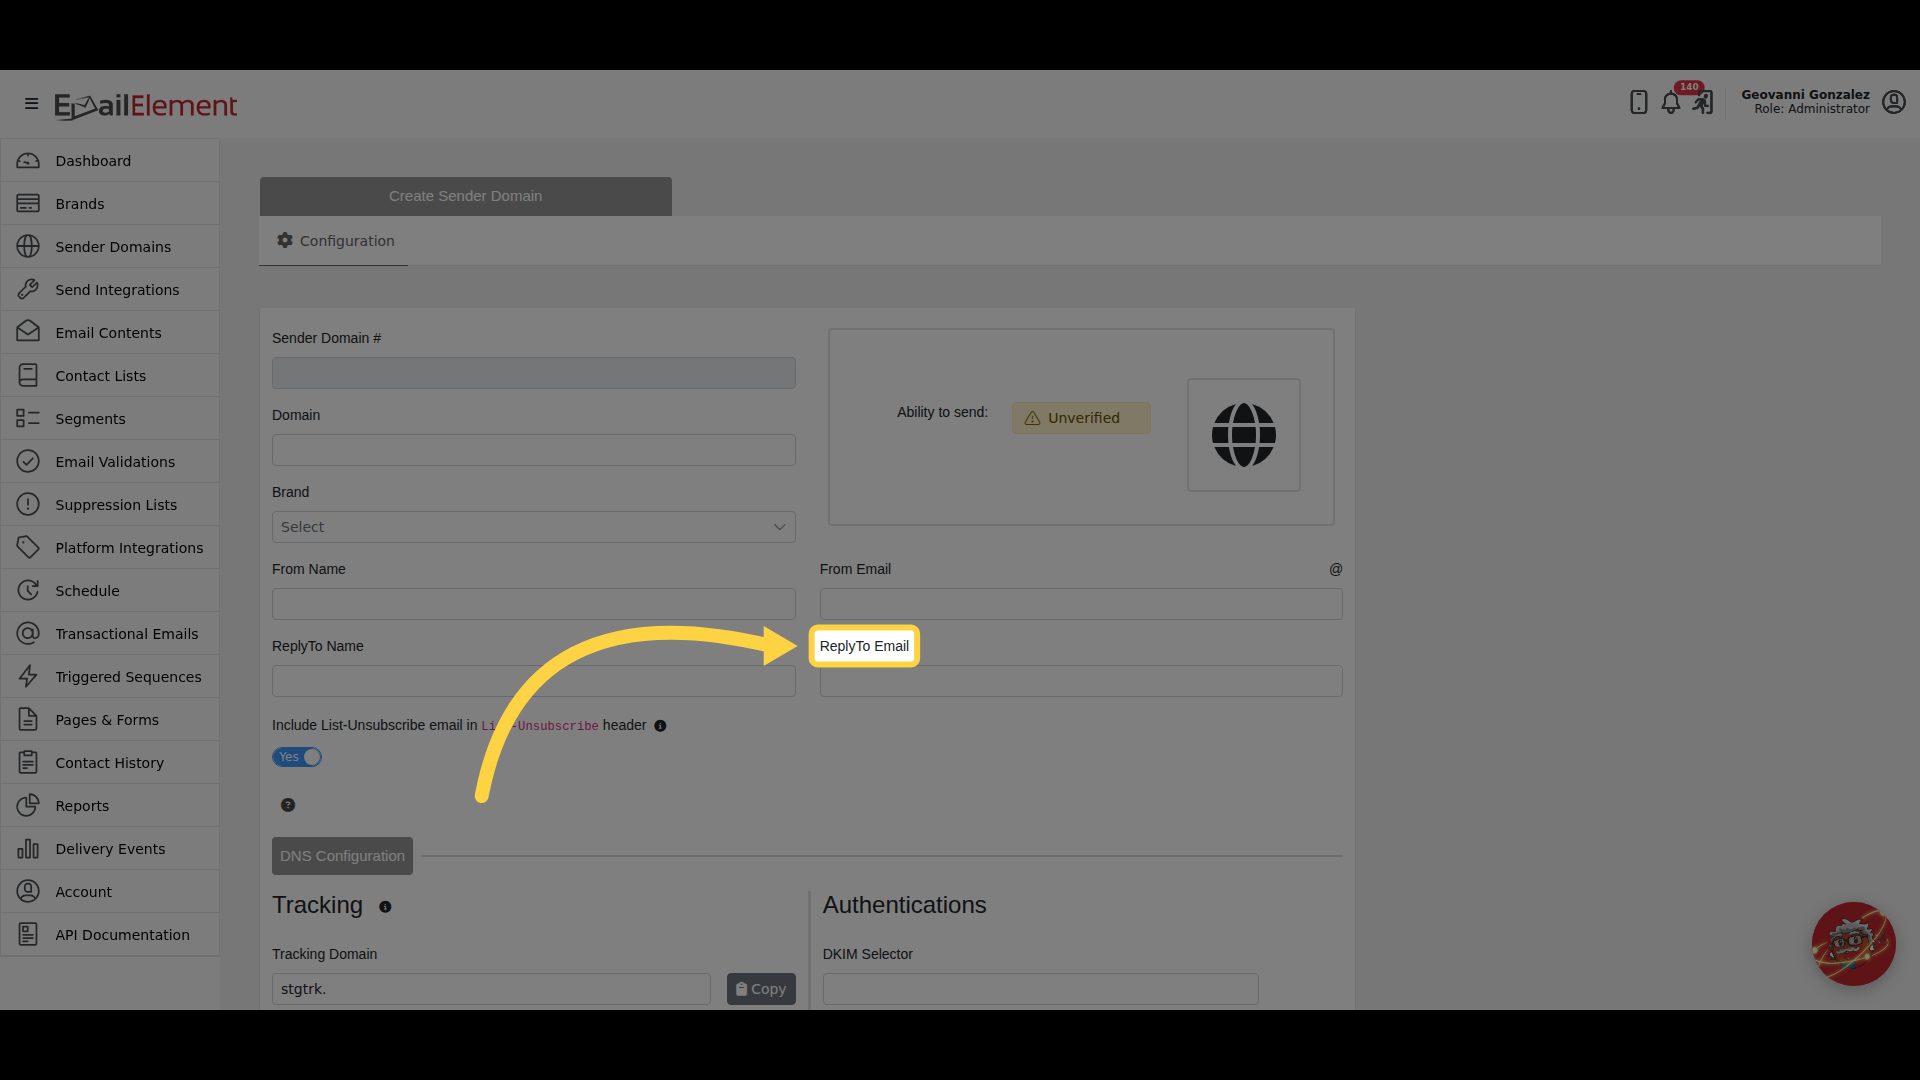
From Name and From Email are what a recipient sees in their inbox. ReplyTo Name and ReplyTo Email are optional, and only needed when replies should go to a different address
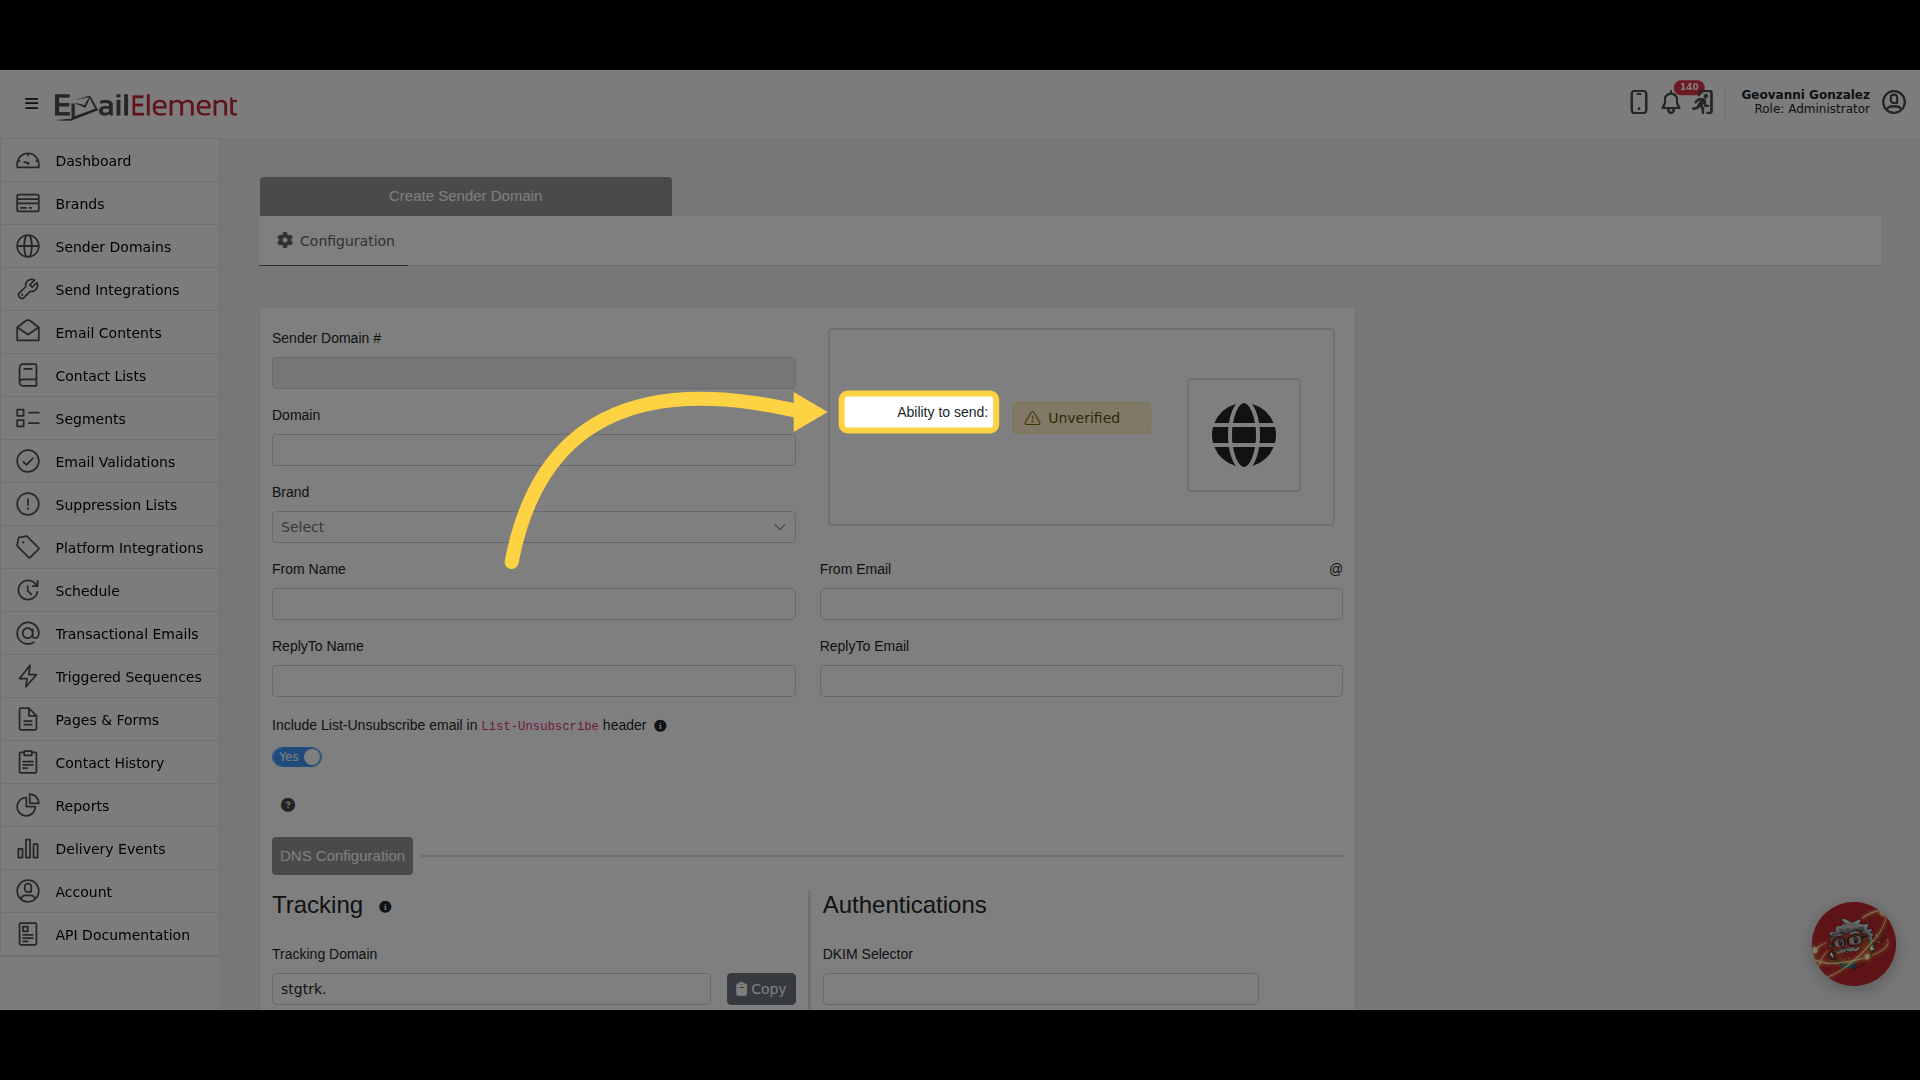
The card at the top right says whether the domain can send, and carries the logo for the option picked. Ability to send reads Unverified until the DNS has been checked
Step 4: The DNS Records
Tracking is the record that lets EmailElement count opens and clicks, and its state is what Ability to send reports. Copy puts a value on the clipboard
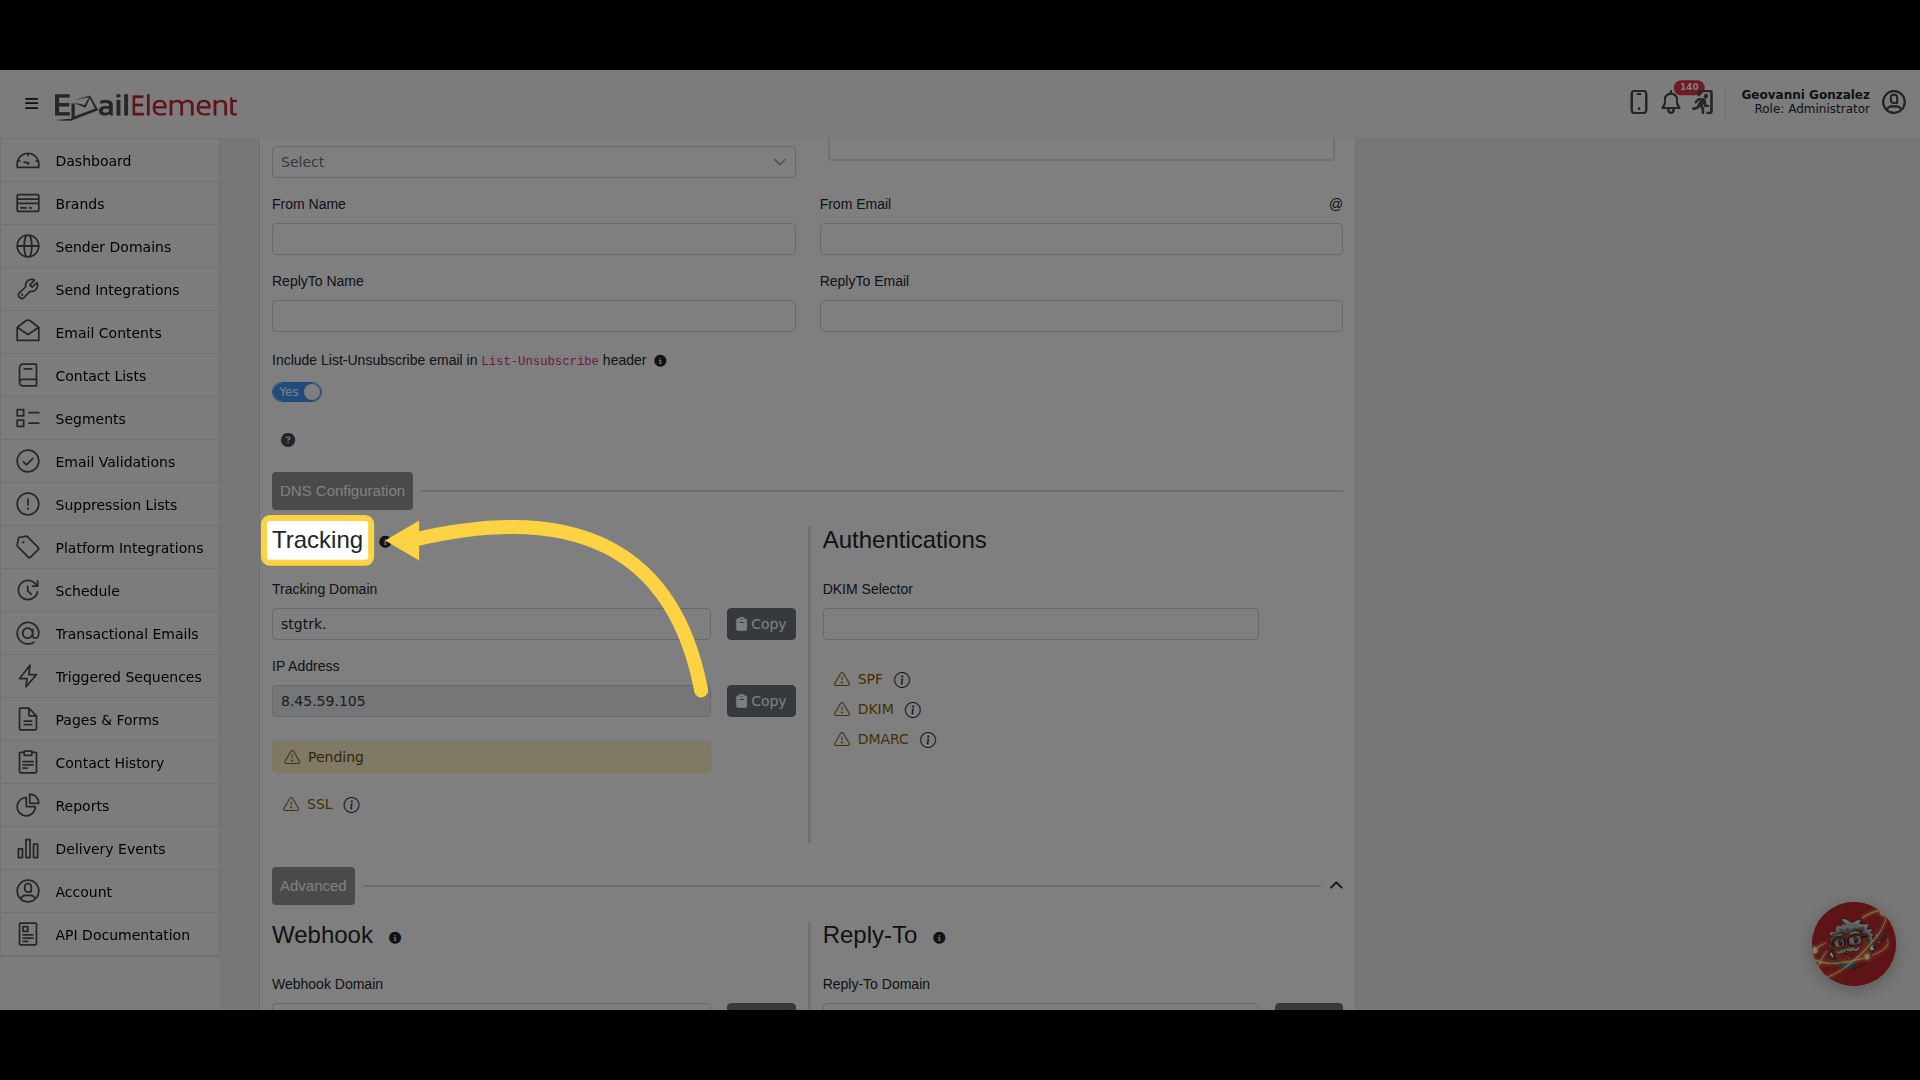
Authentications reports each check once the DNS has been read. DKIM Selector is the selector your key is published under
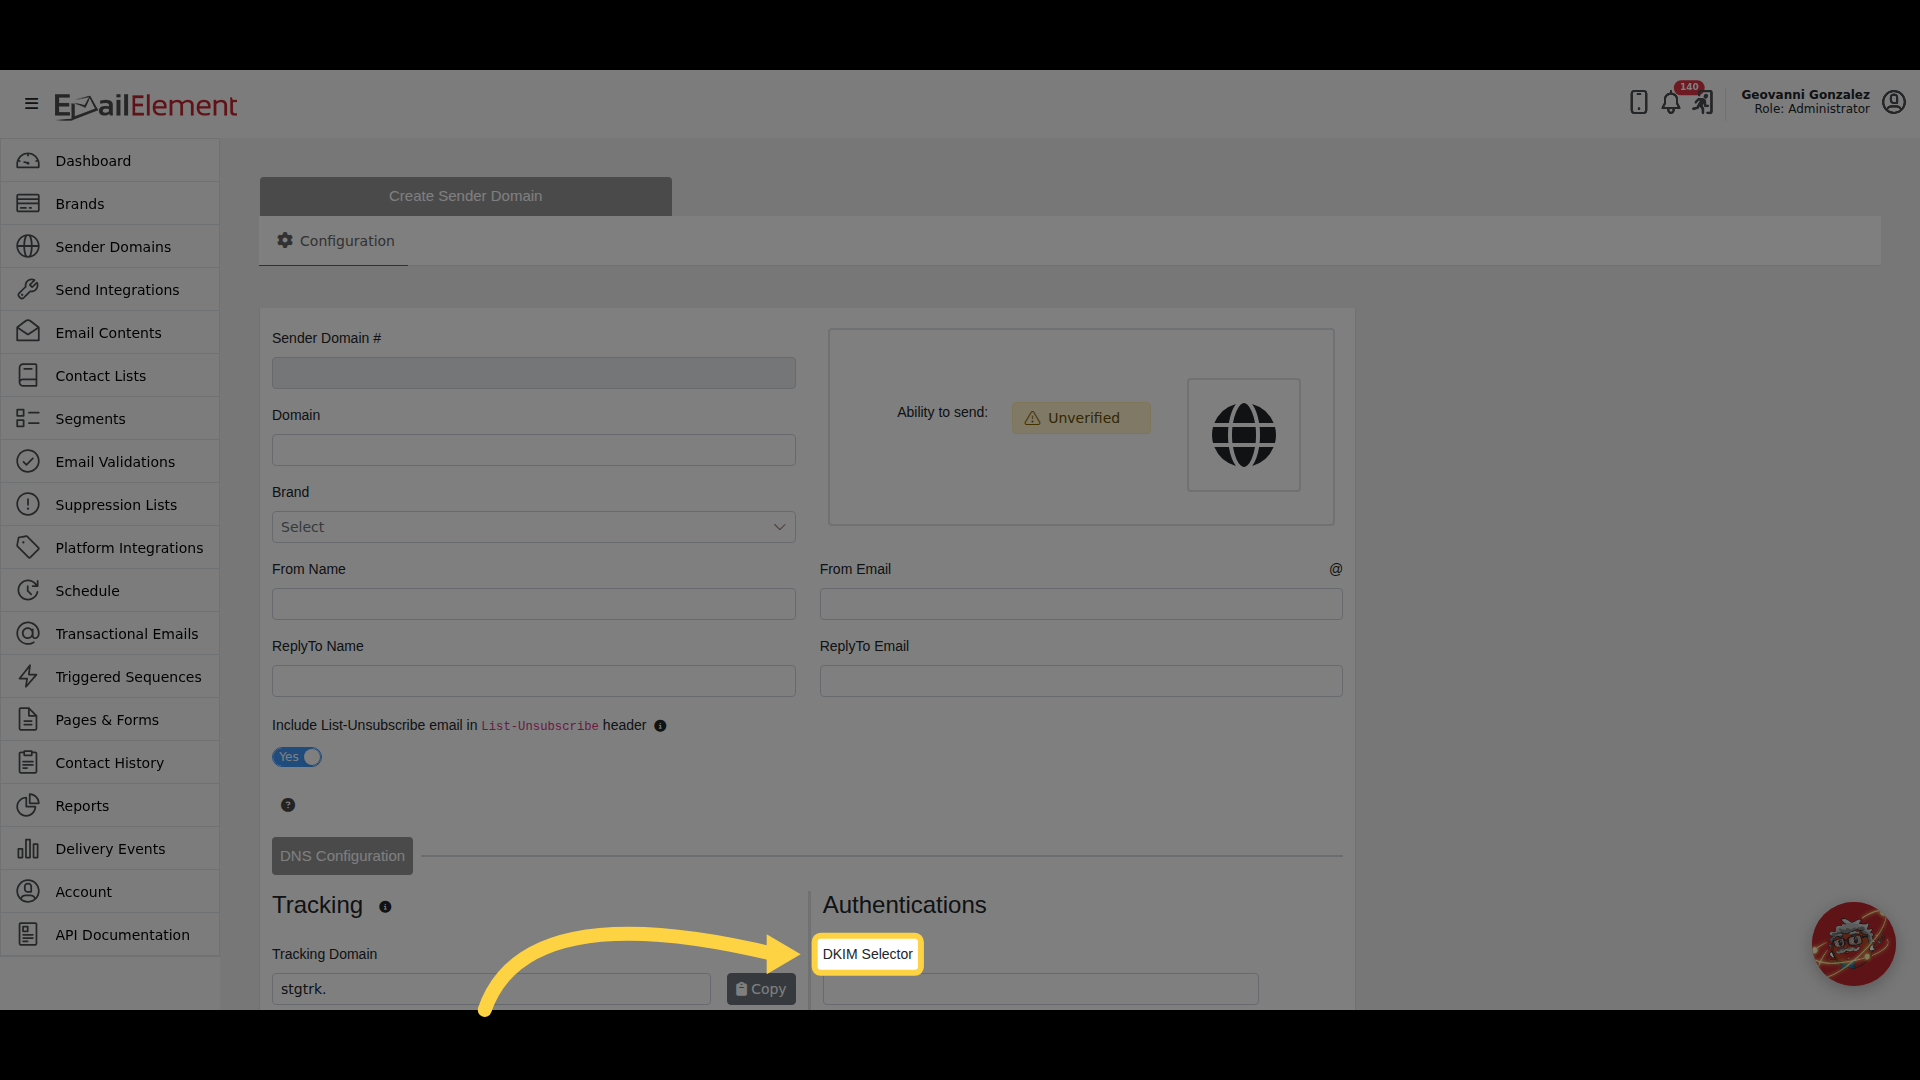
Step 5: Advanced
Advanced holds the sections that are not needed to send. Which of them appear depends on the option picked in step 2. On Other they all do: Webhook, Bounce Processing, Reply-To, Recipient Name and the Yahoo feedback loop.
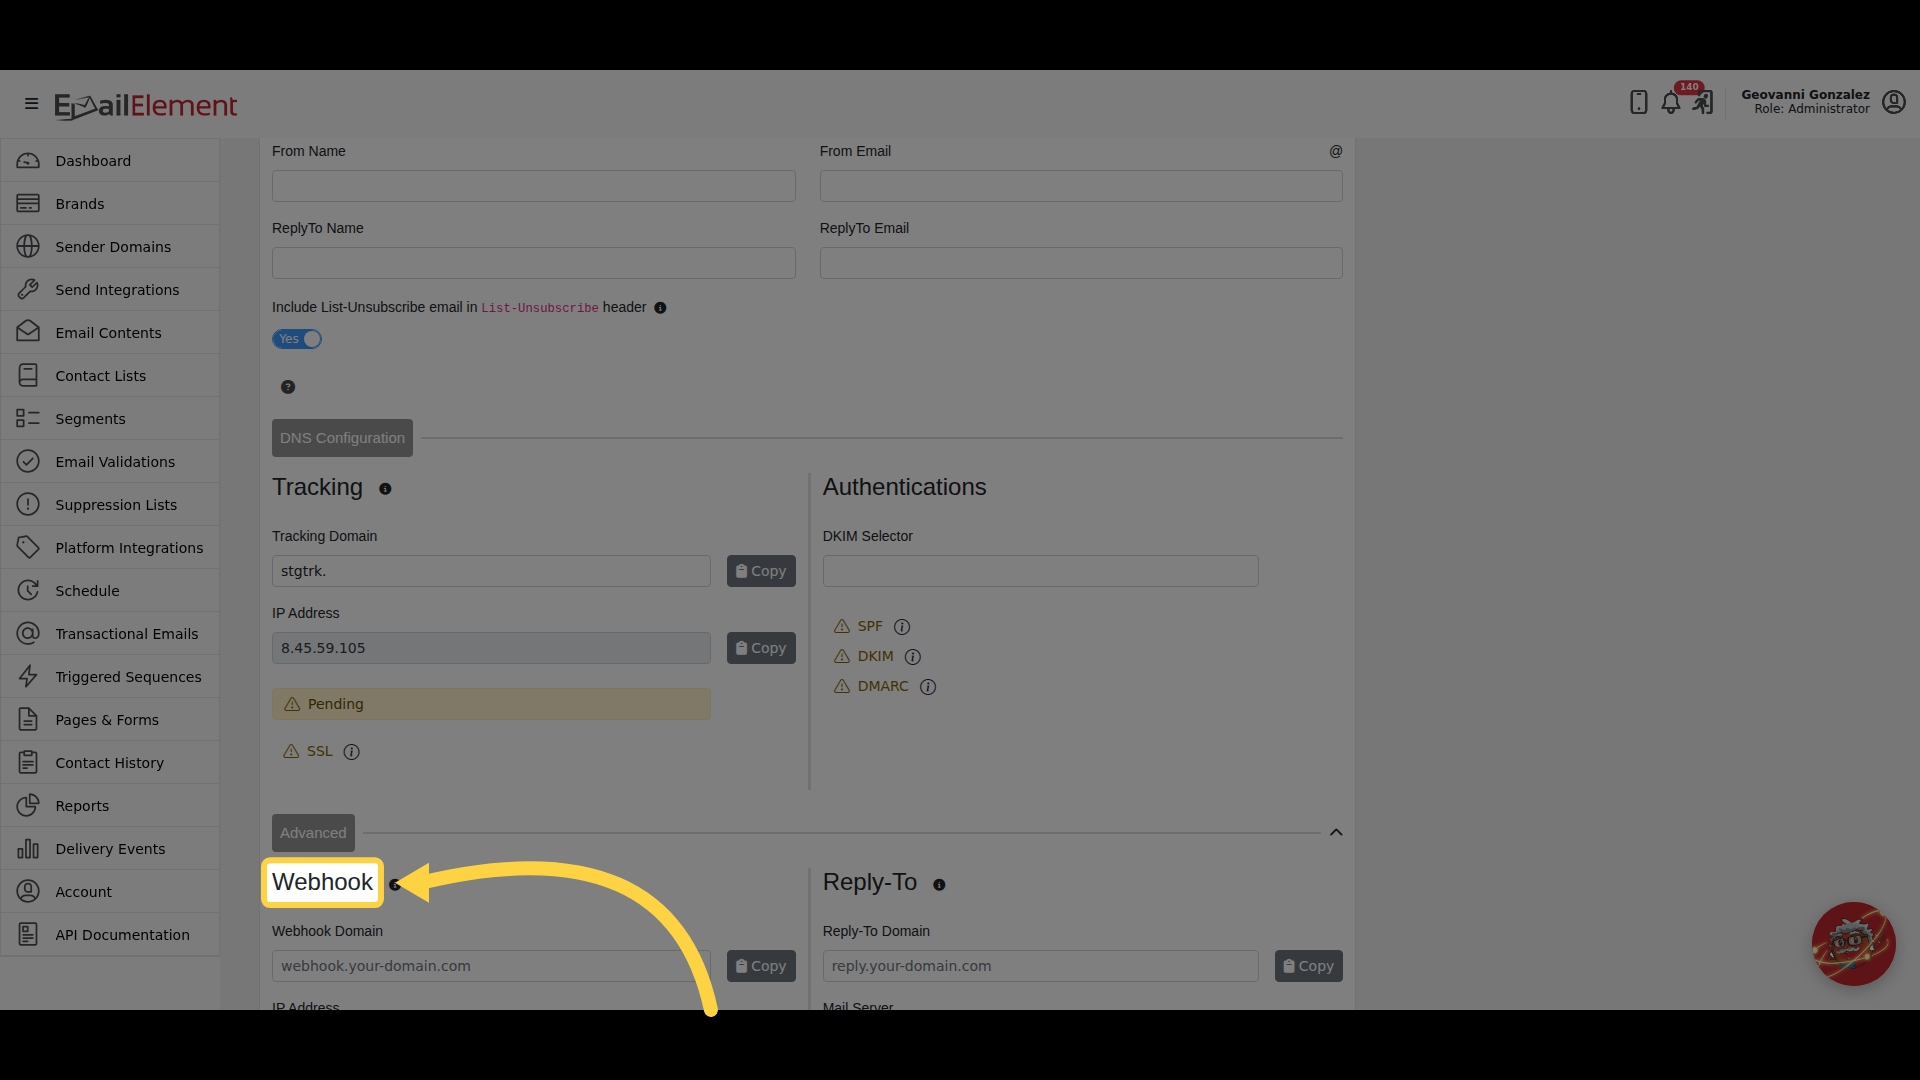
What Each Option Changes
Gmail drops Webhook and Bounce Processing, because Google reports those itself. Reply-To, Recipient Name and the Yahoo feedback loop stay, and the DKIM Selector can still be set, because Gmail publishes its own key.
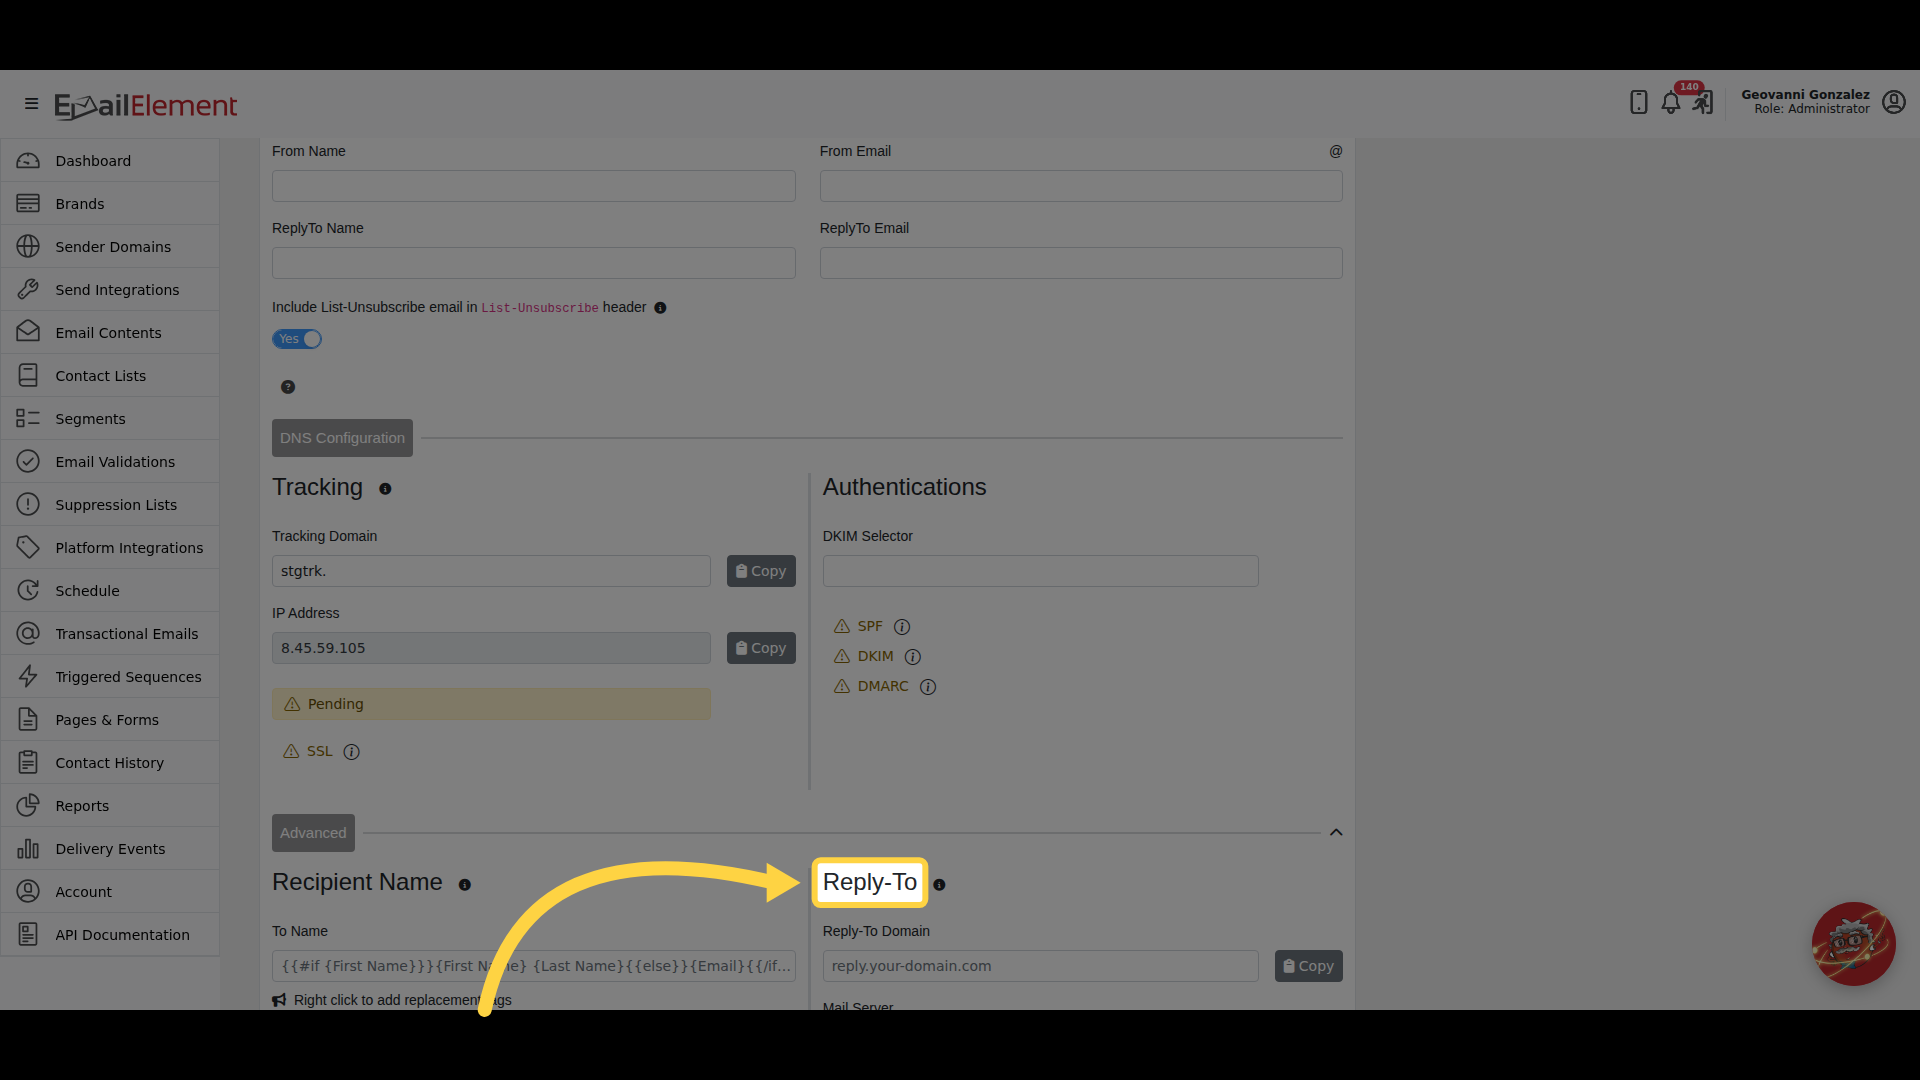
EmailElement drops Webhook, Bounce Processing and the Yahoo feedback loop, and keeps Reply-To. In place of the DKIM Selector it publishes the DKIM Record and the DMARC Record for you to add, each with its own state and its own Copy buttons.
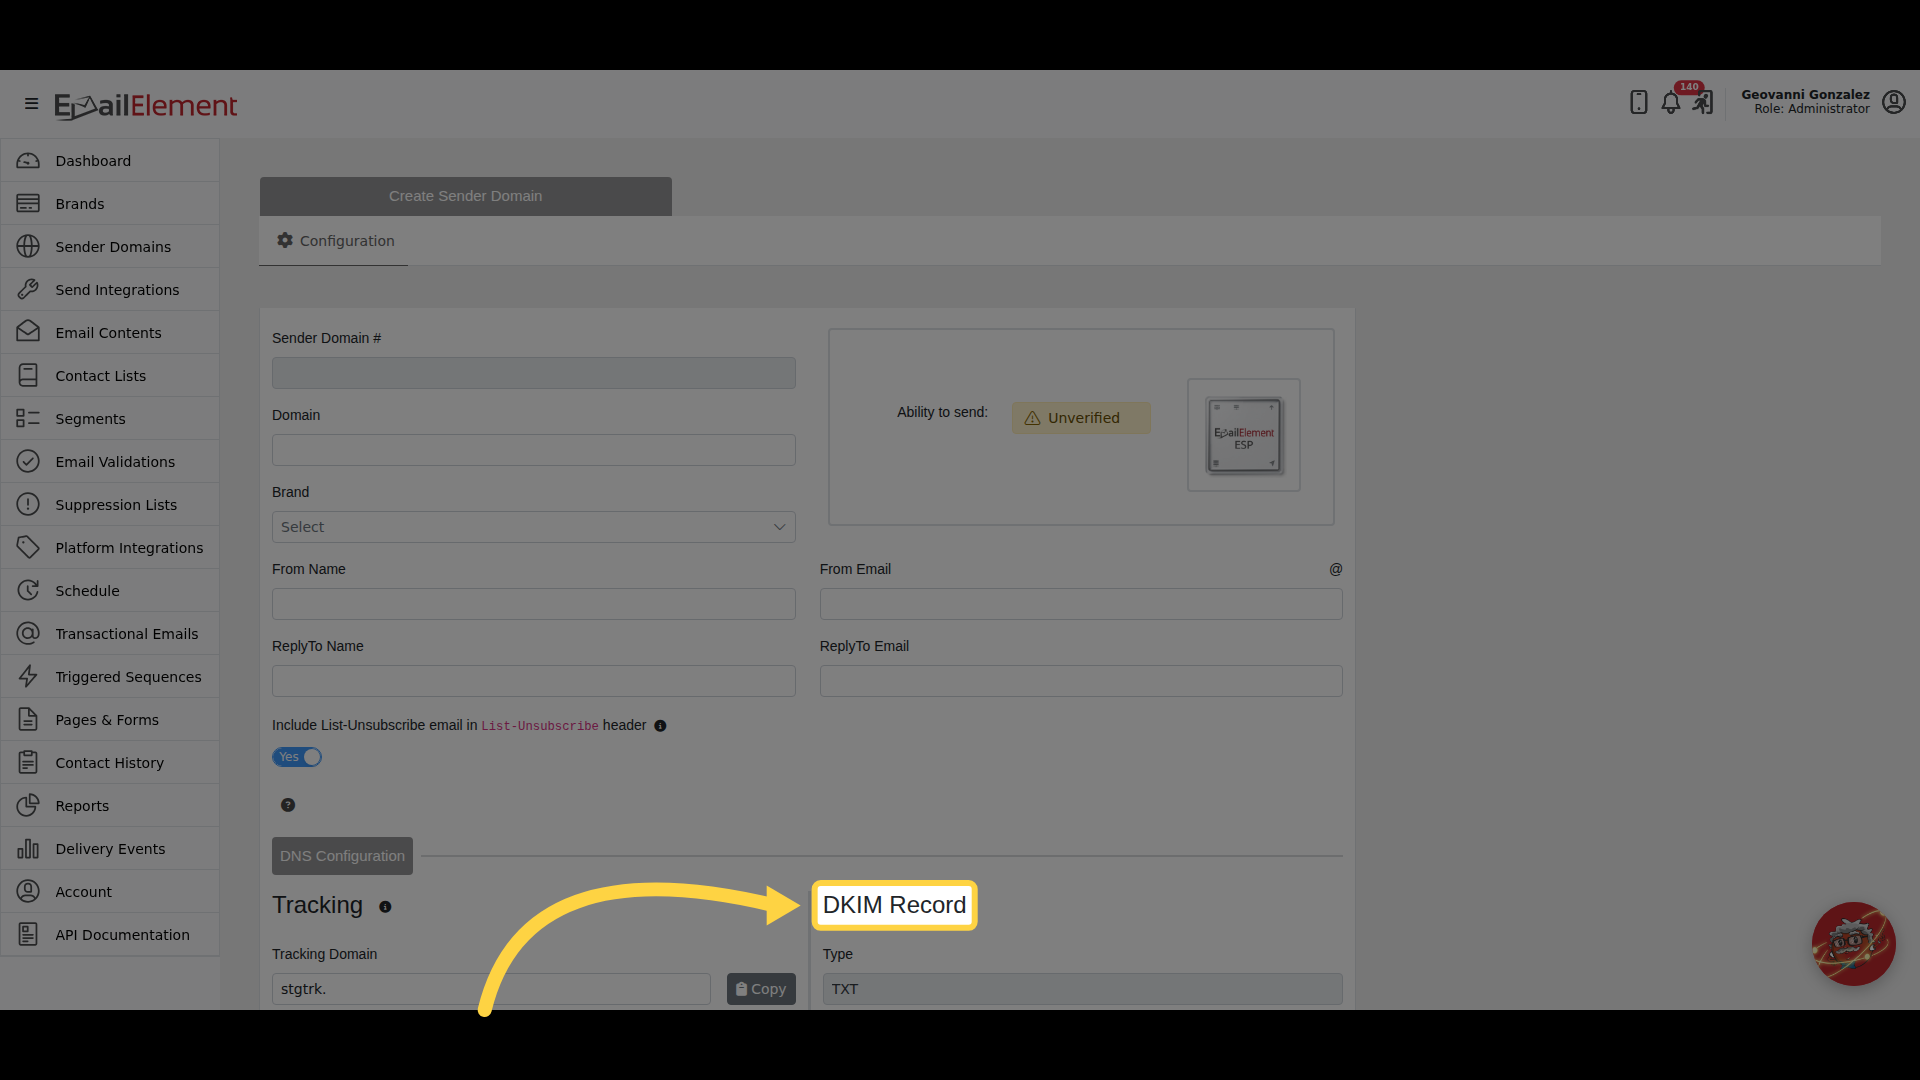
An Existing Domain
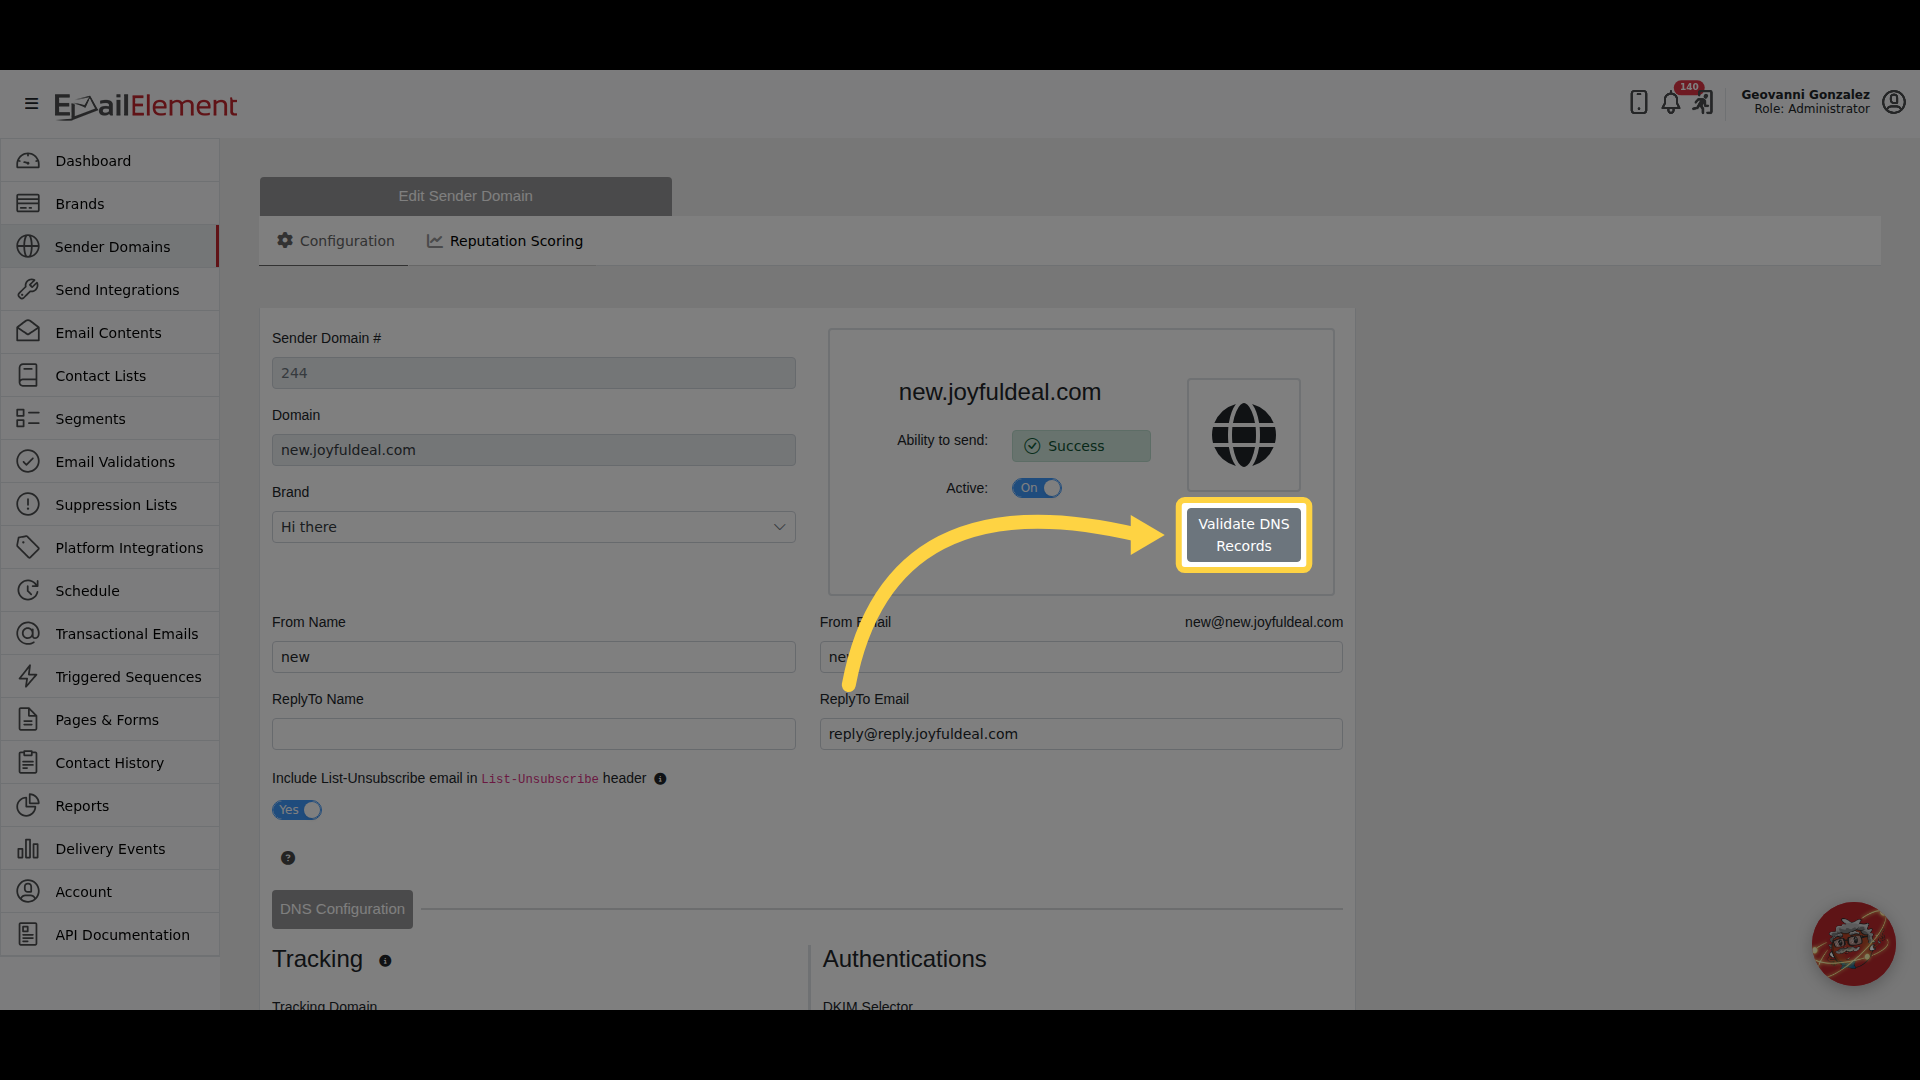
Opening a saved domain shows its number, the Active toggle and Validate DNS Records under the logo. The toggle saves on its own and does not wait for Save. Turning off a domain a live send integration is using lists that integration and will not let you confirm.
Related pages
- Authentication — what SPF, DKIM and DMARC each check, and what to do when one will not go green
- DNS Records Guide for Sender Domains — the records themselves
- Sender Domains — the section this belongs to