Schedule Walkthrough
Creating a Scheduled Email
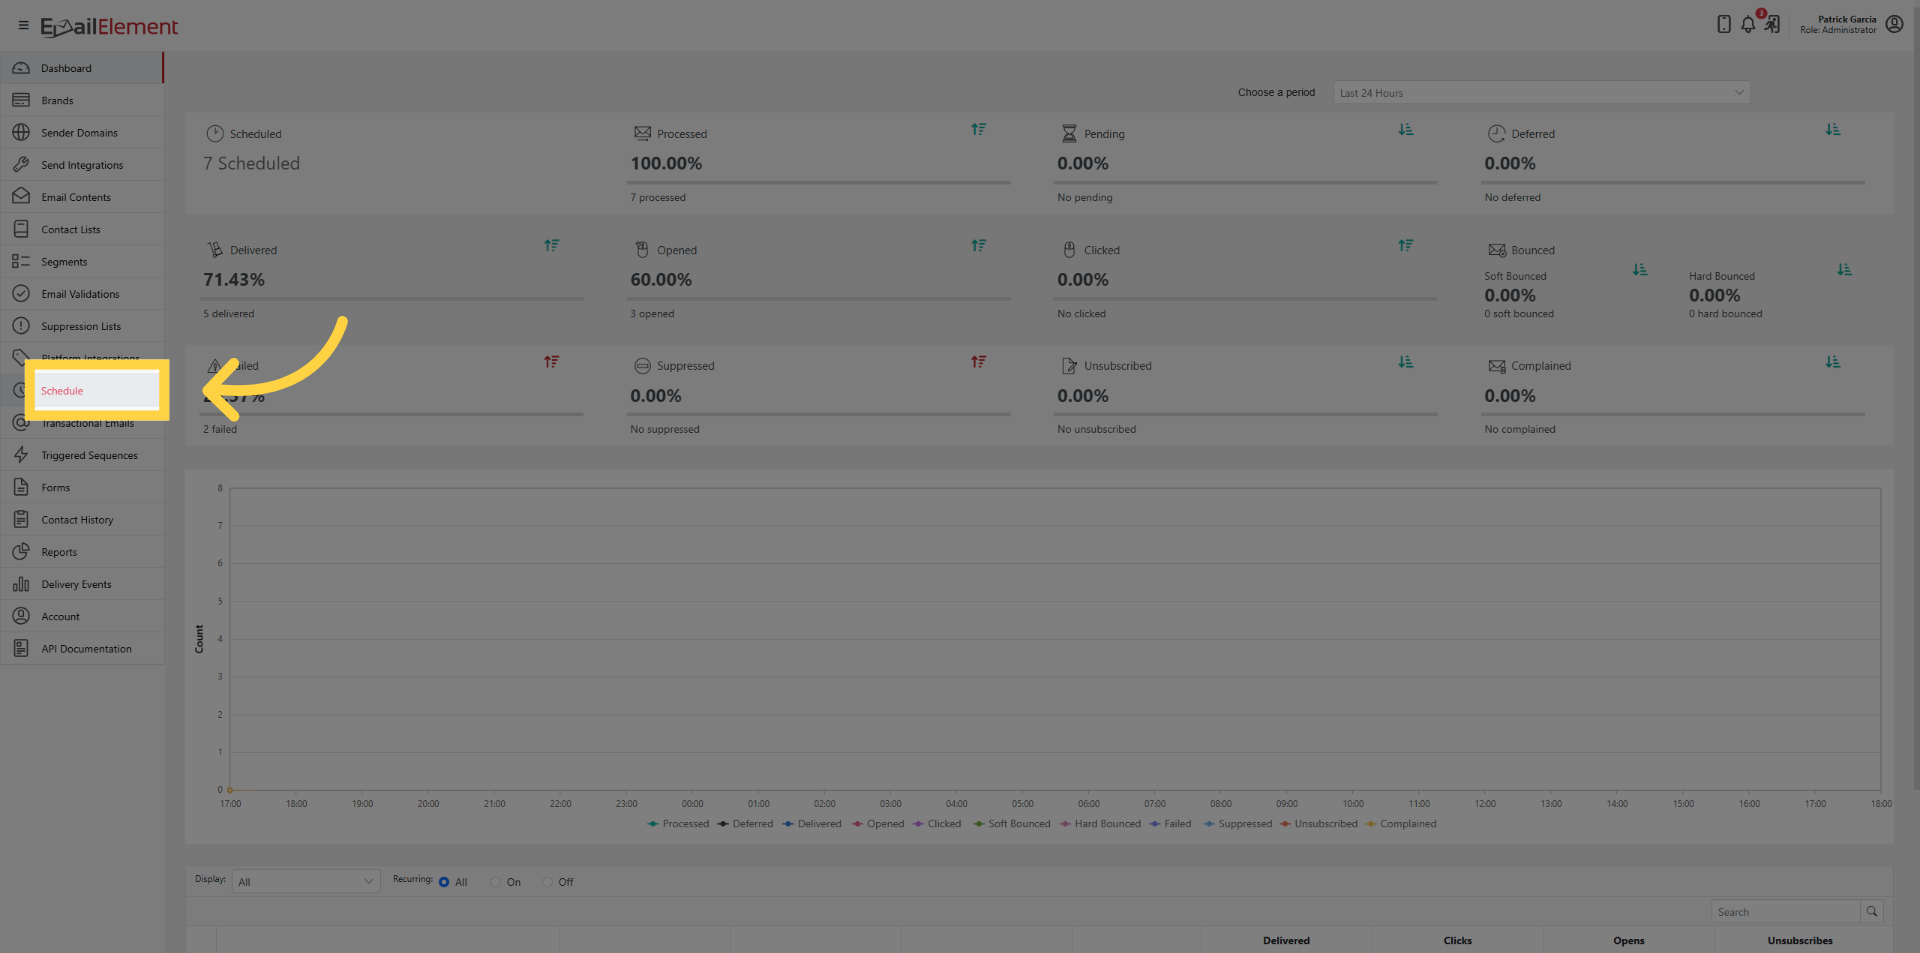
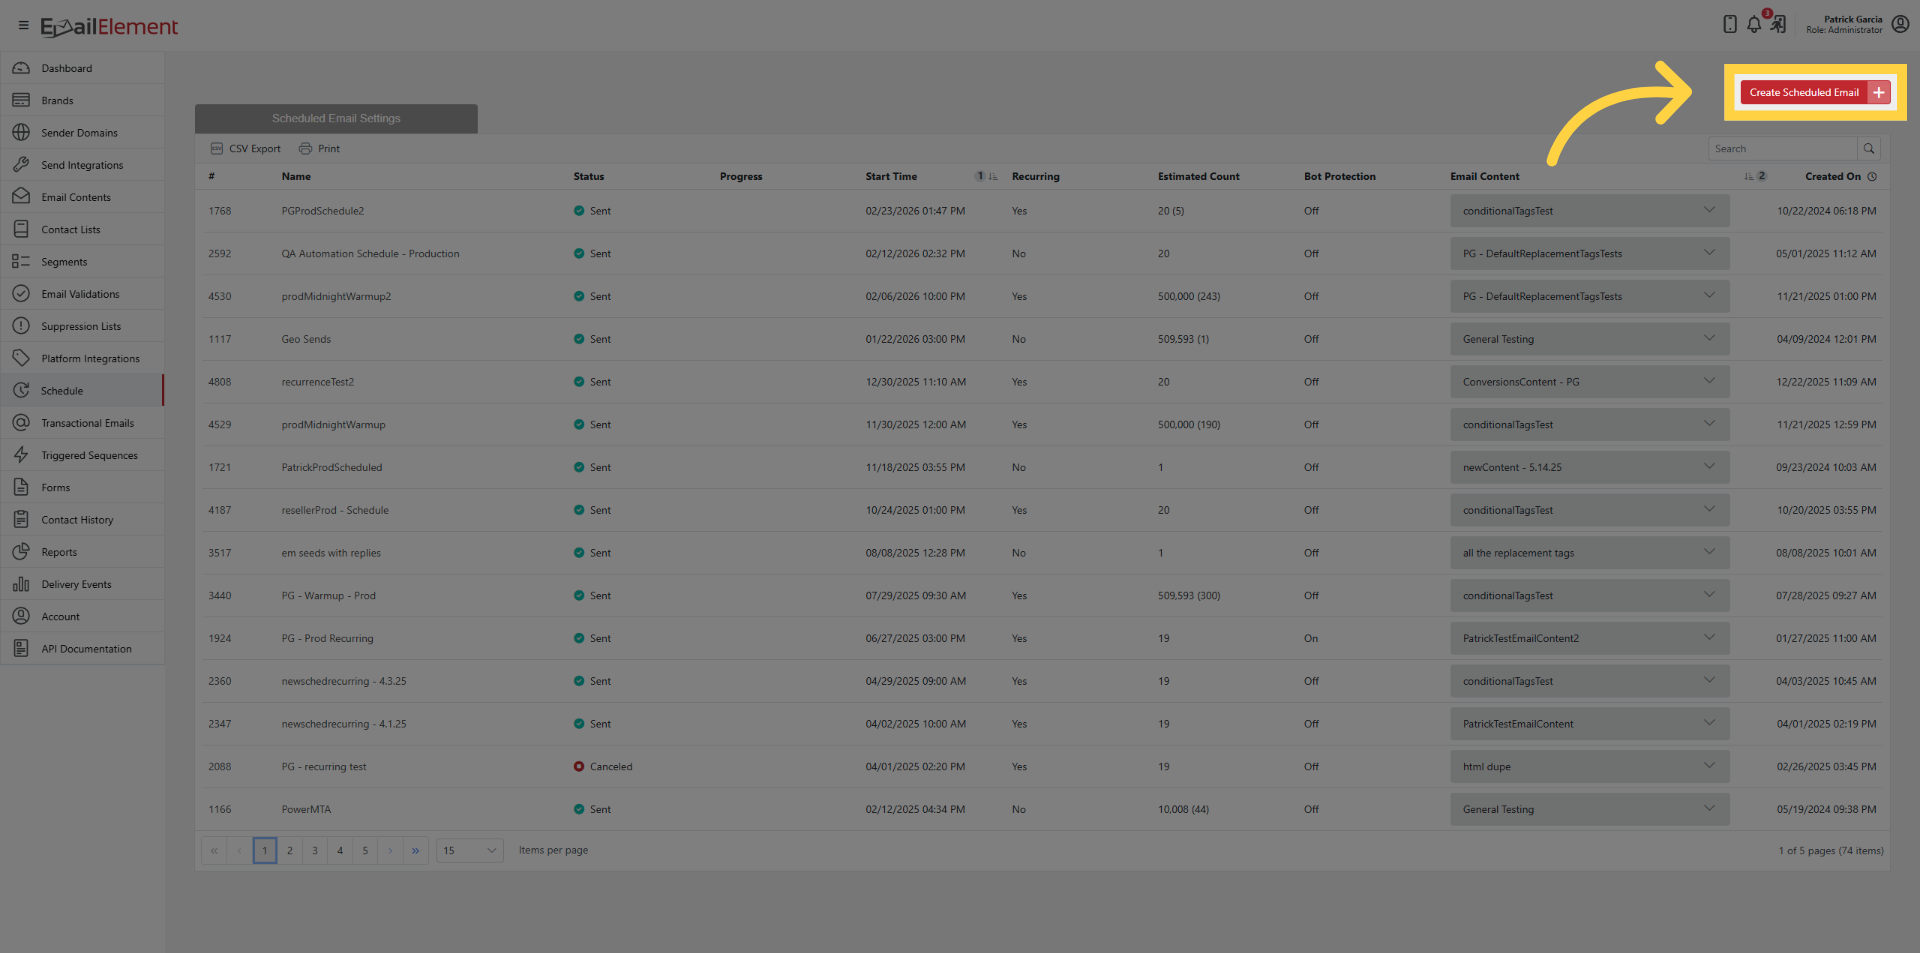
Click Schedule > Create Scheduled Email
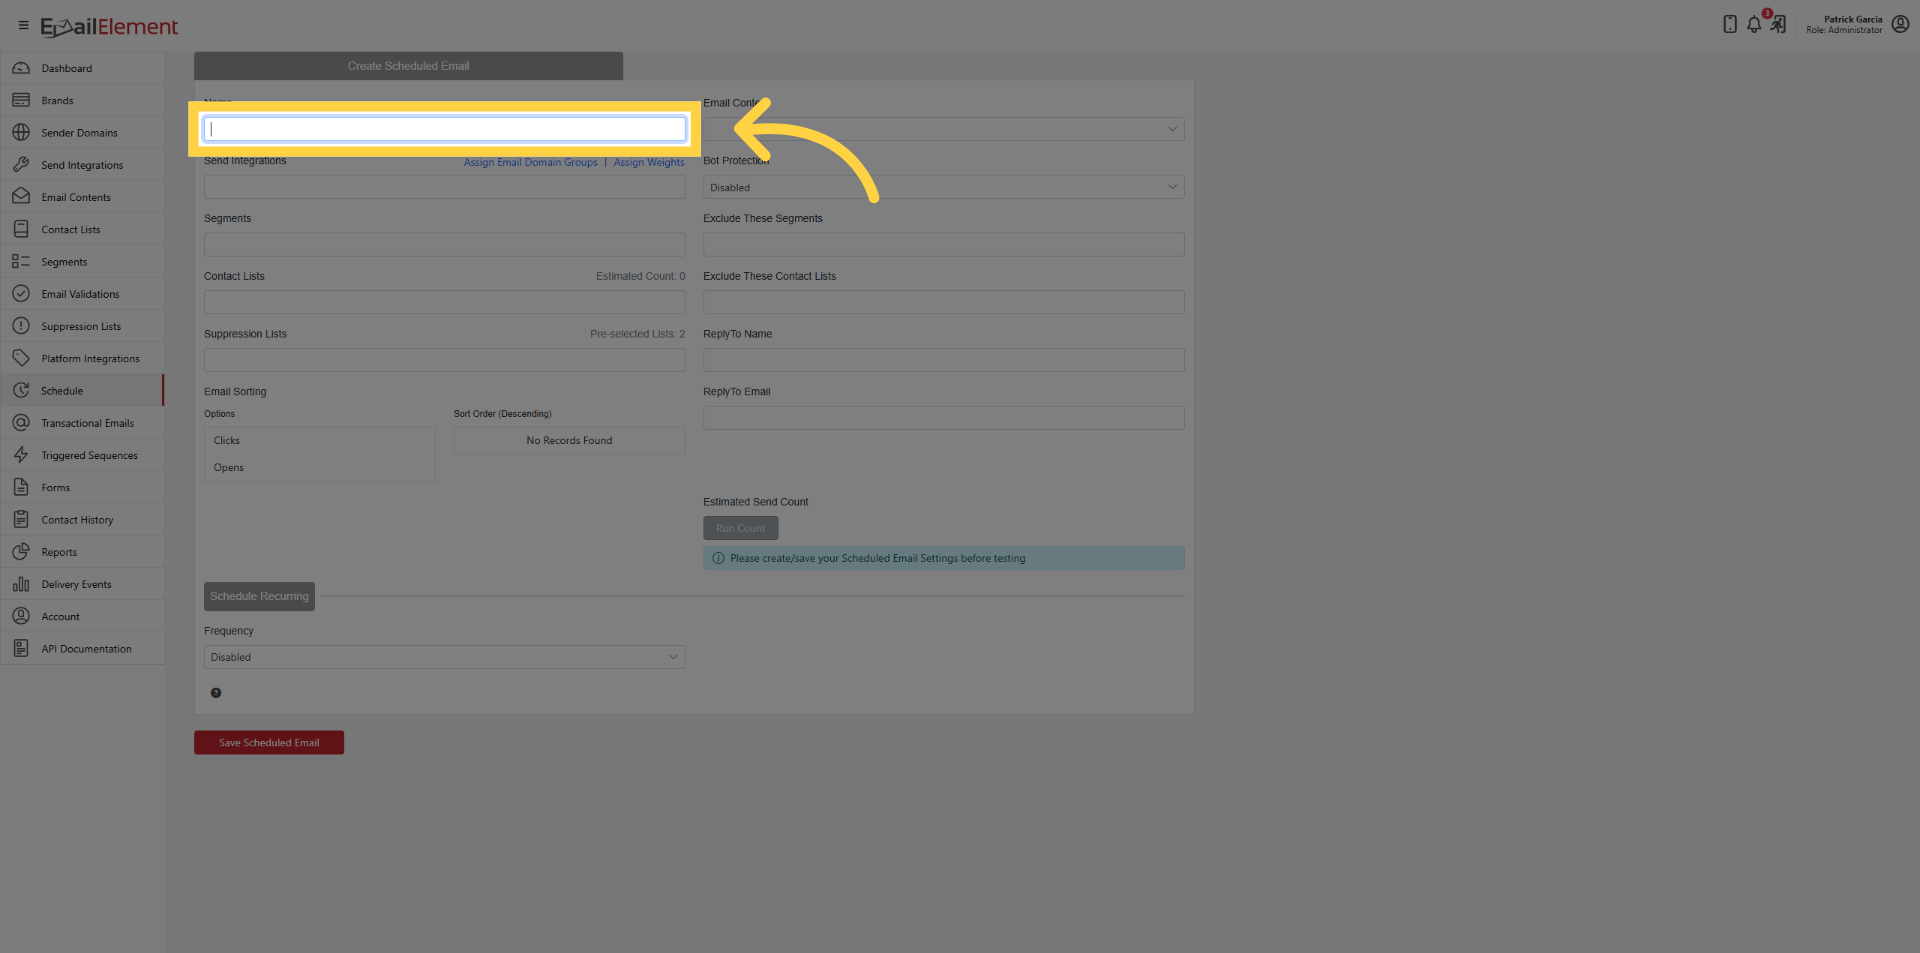
Enter a name
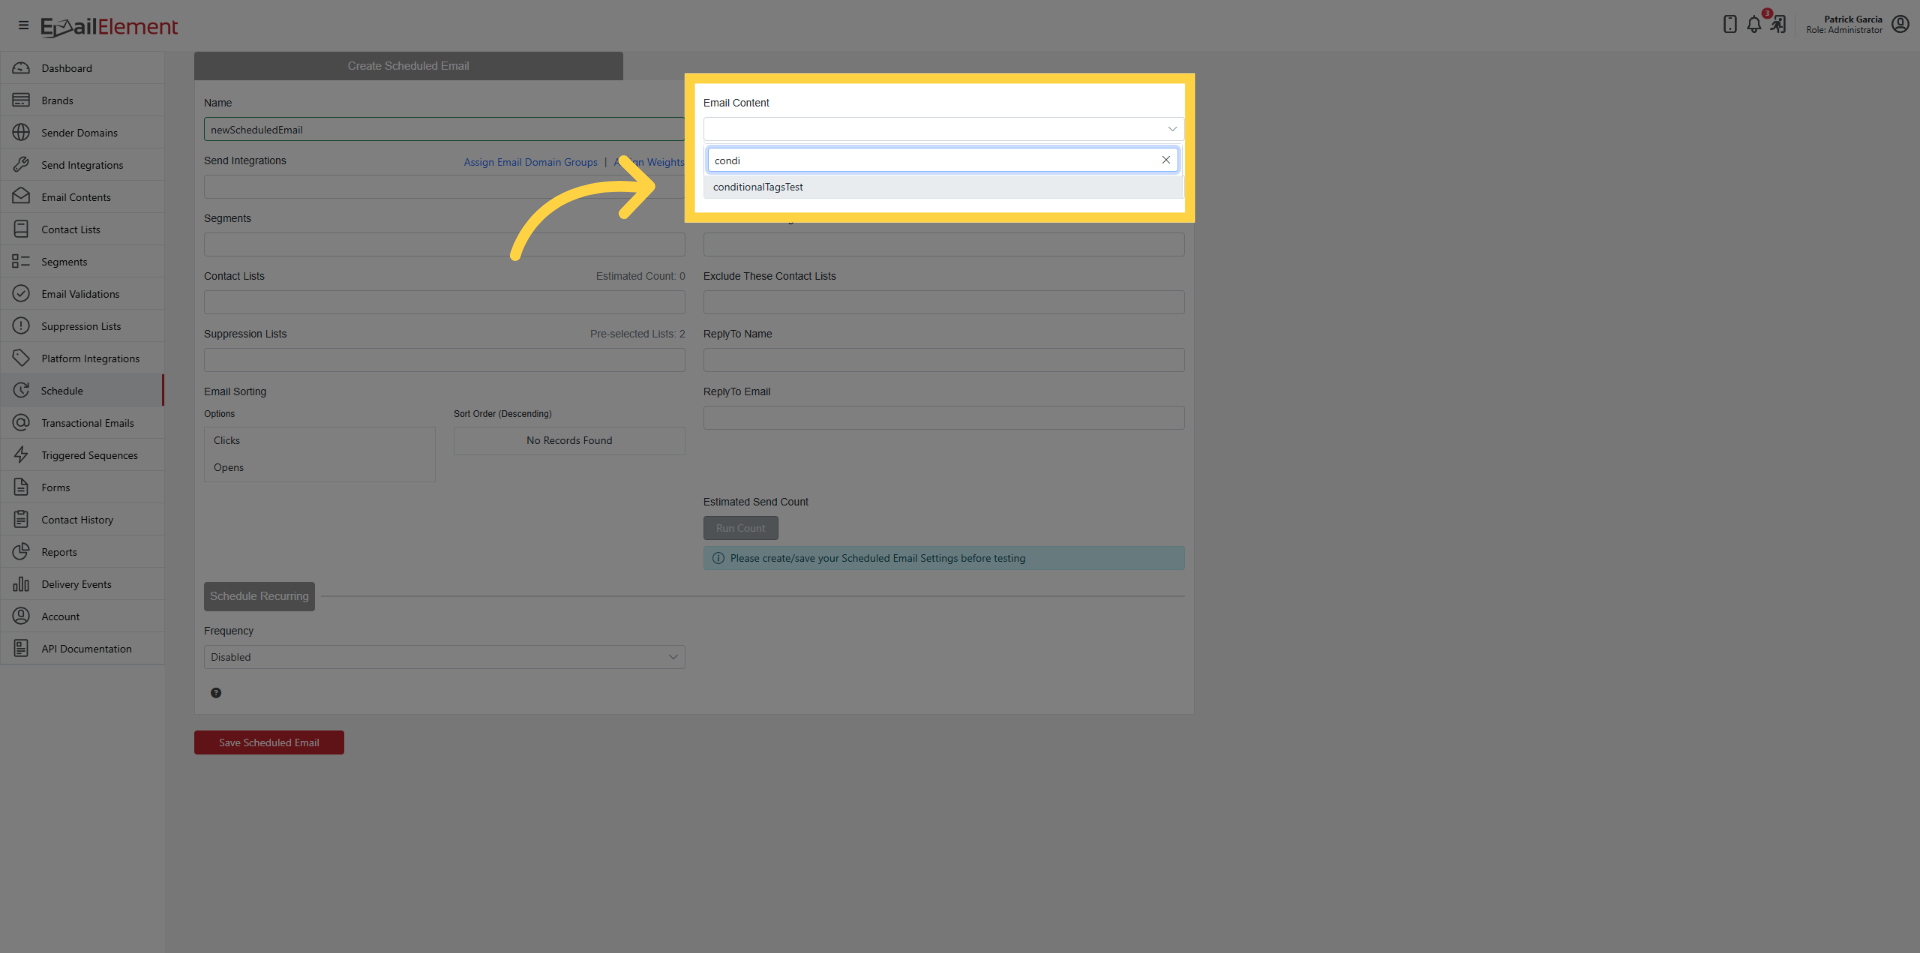
Select an Email Content (one per Scheduled Email)
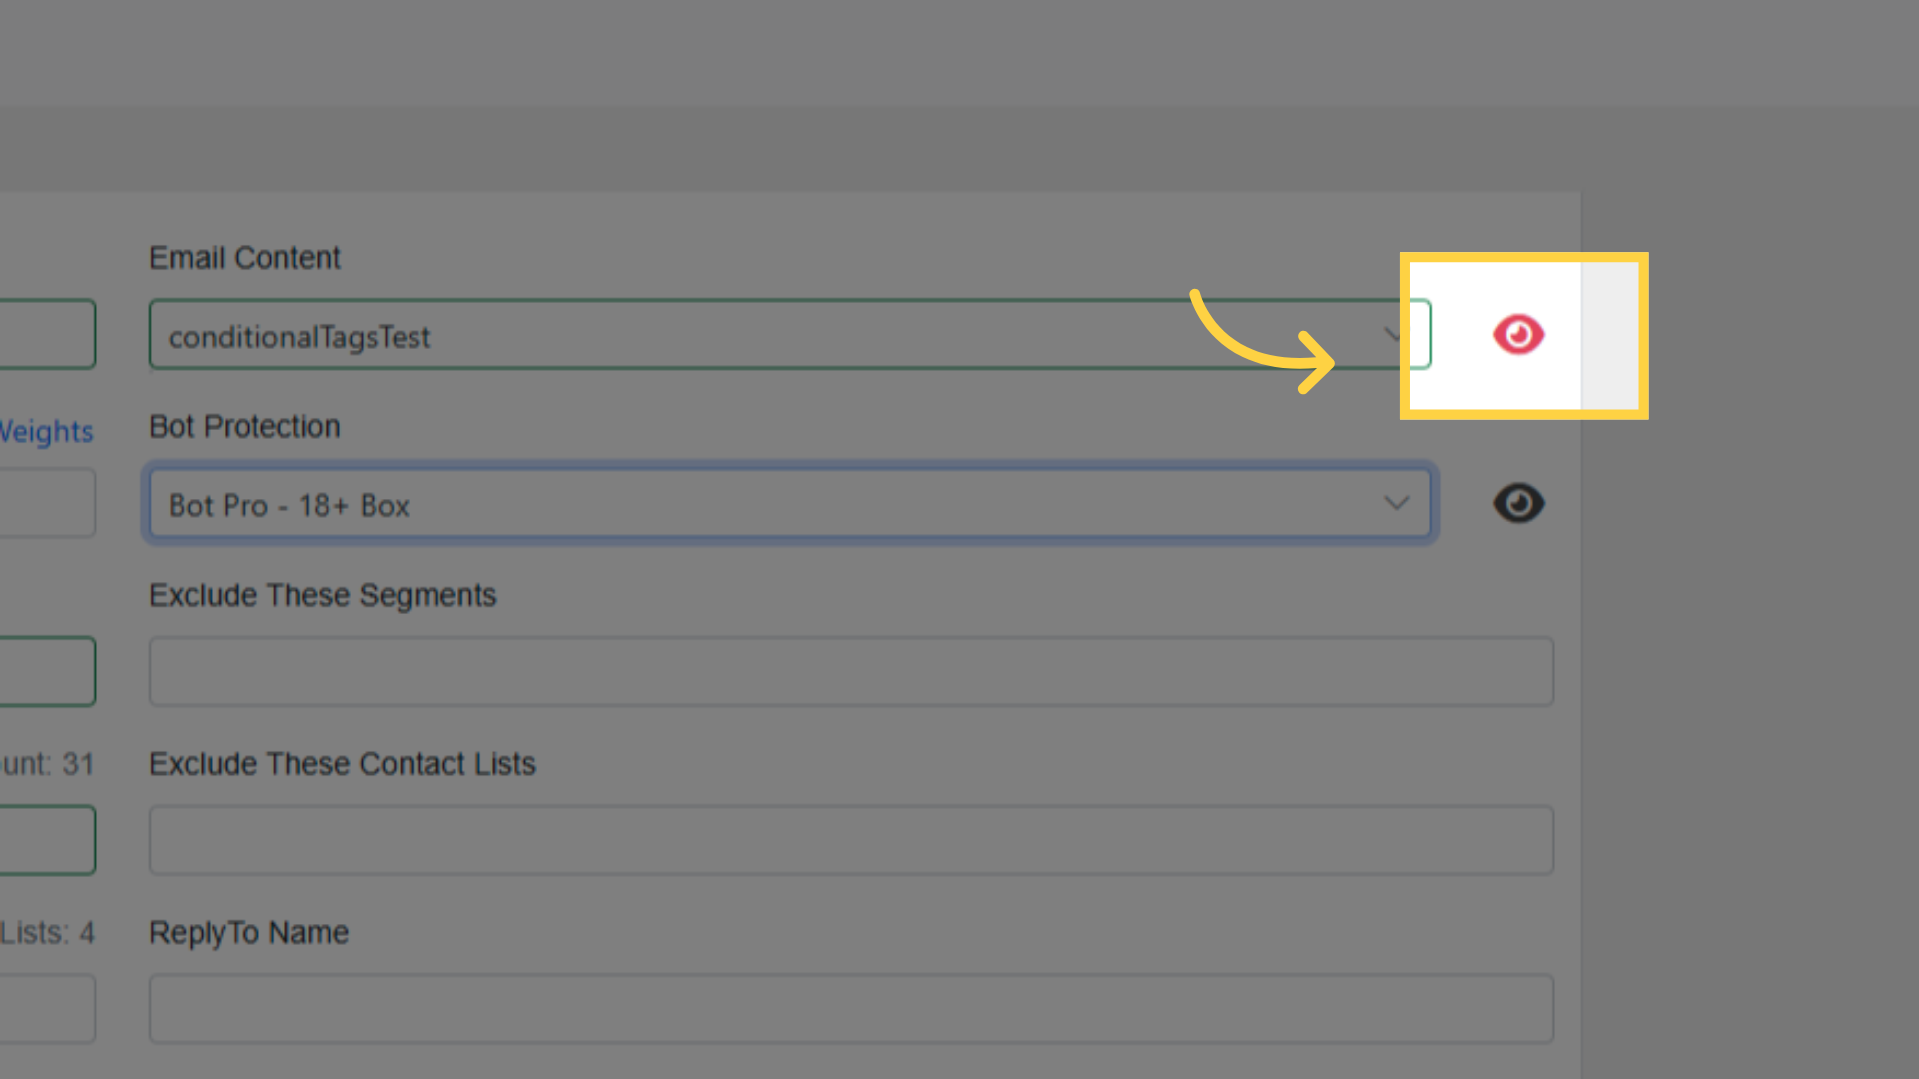
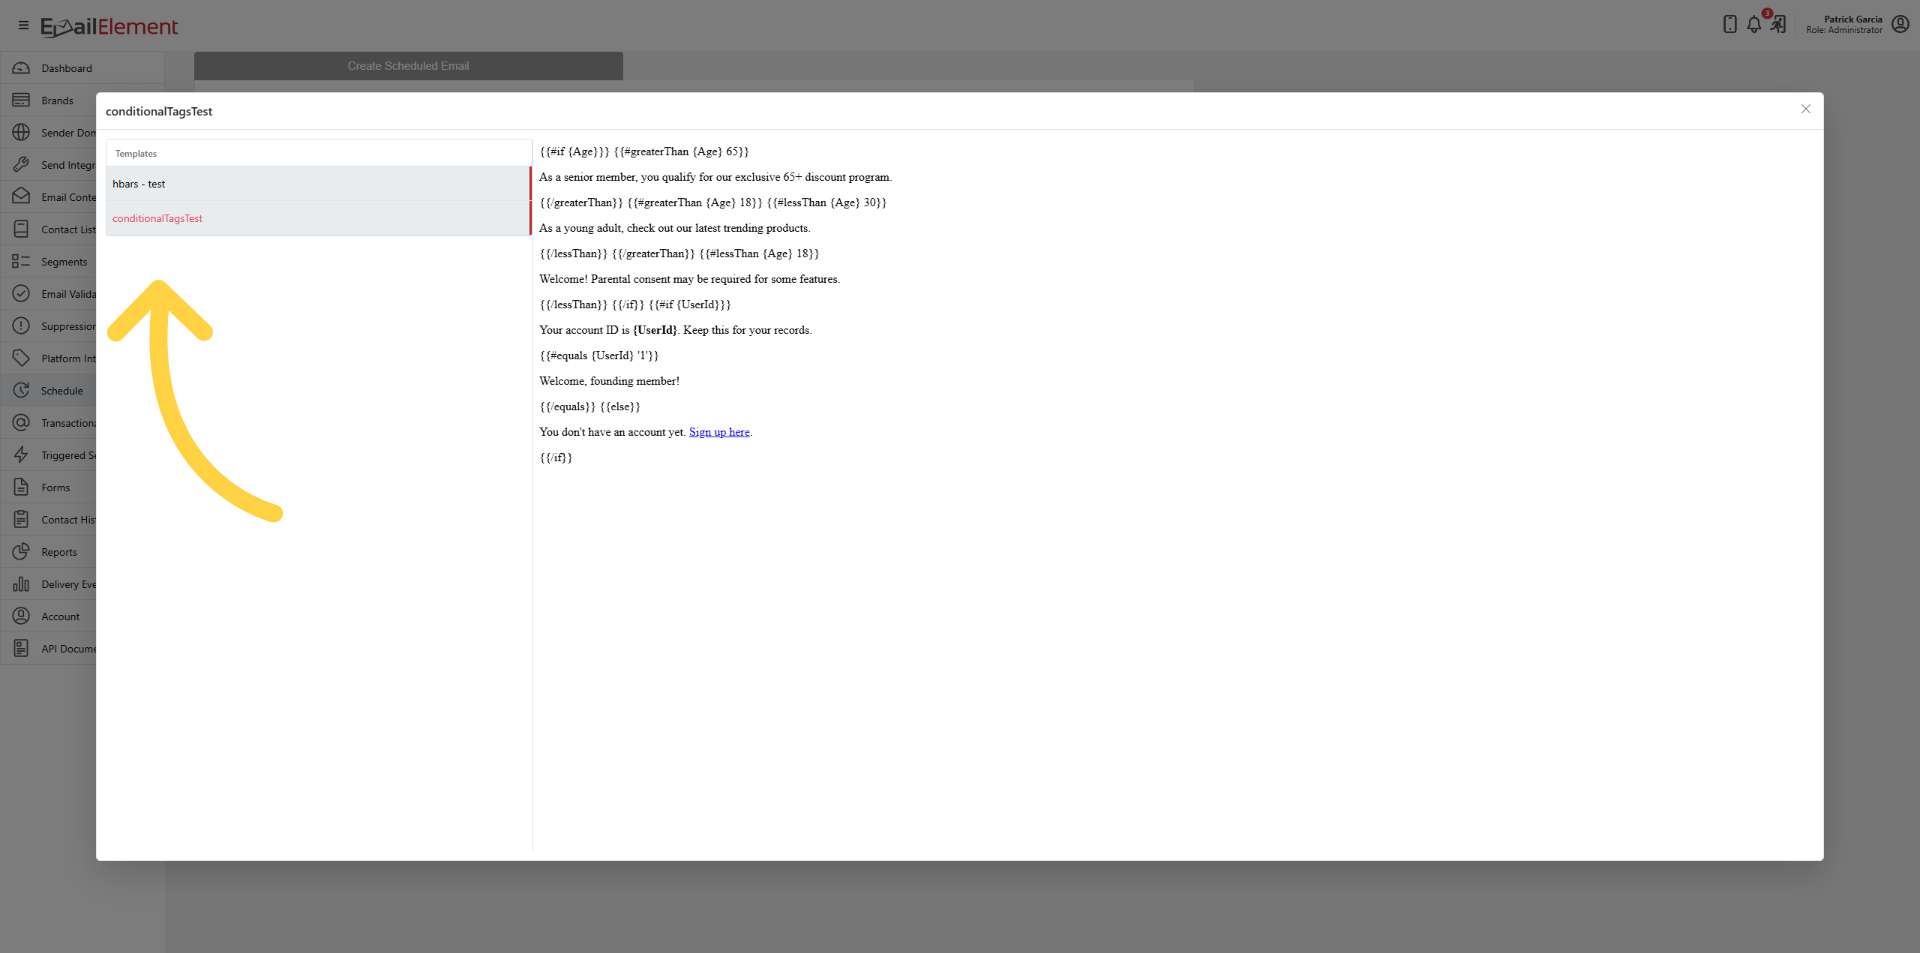
Preview content with the eye icon — shows templates list with preview
Send Integrations
Select one or more Send Integrations
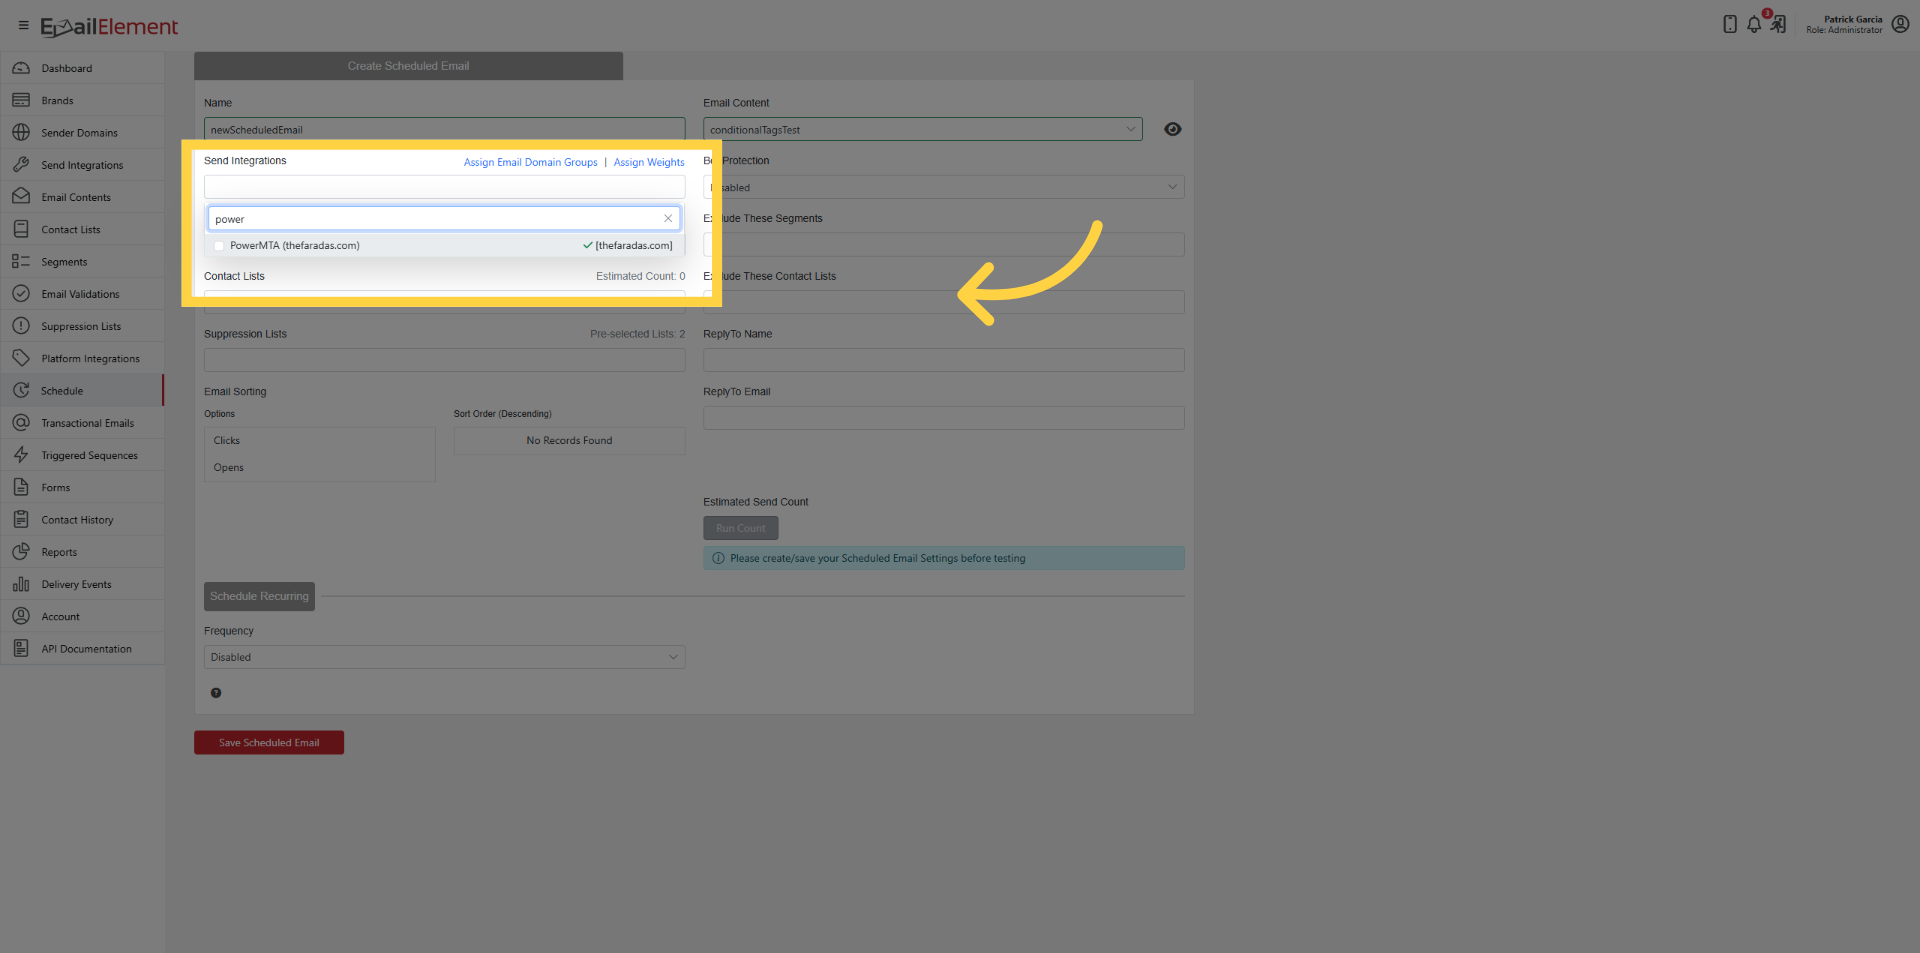
Multiple integrations rotate during send; failing ones auto-deactivate and retry
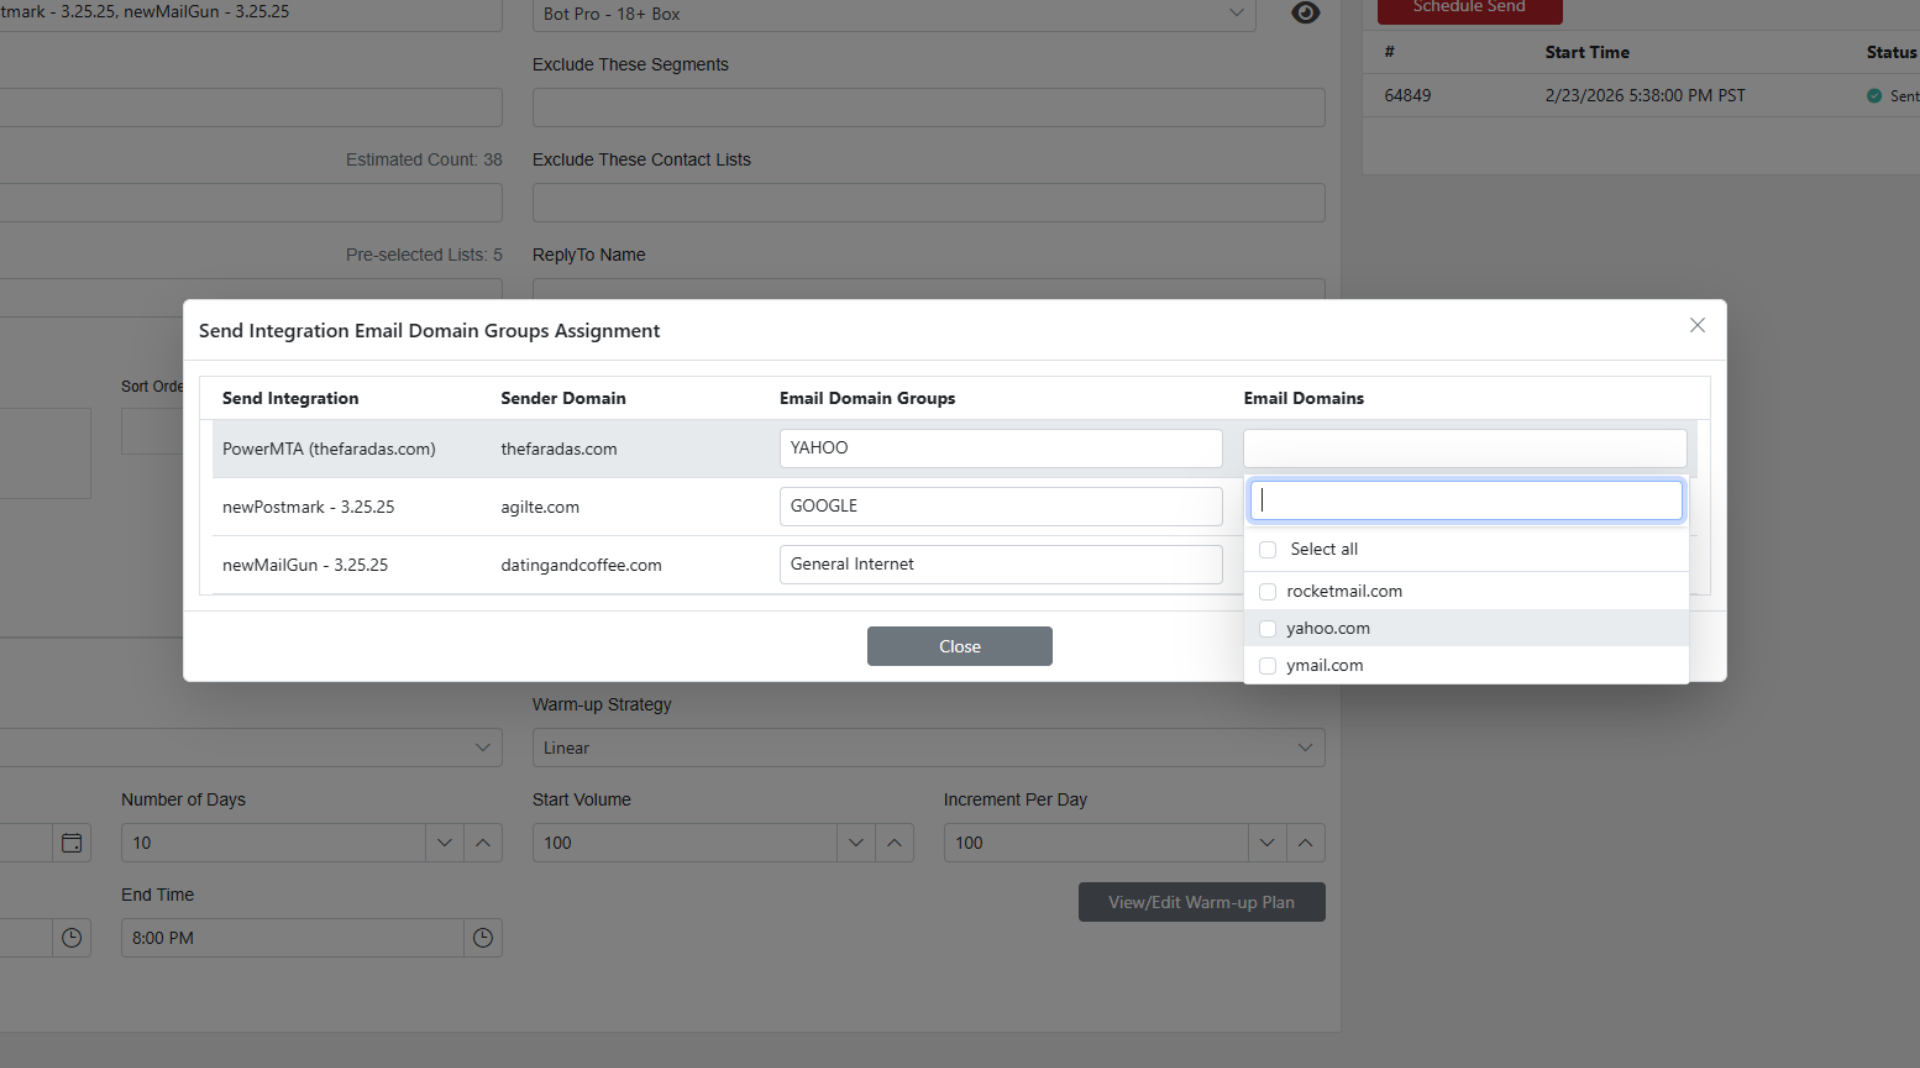
Assign Email Domain Groups: route recipients to specific integrations by domain group (e.g., Google, Yahoo)
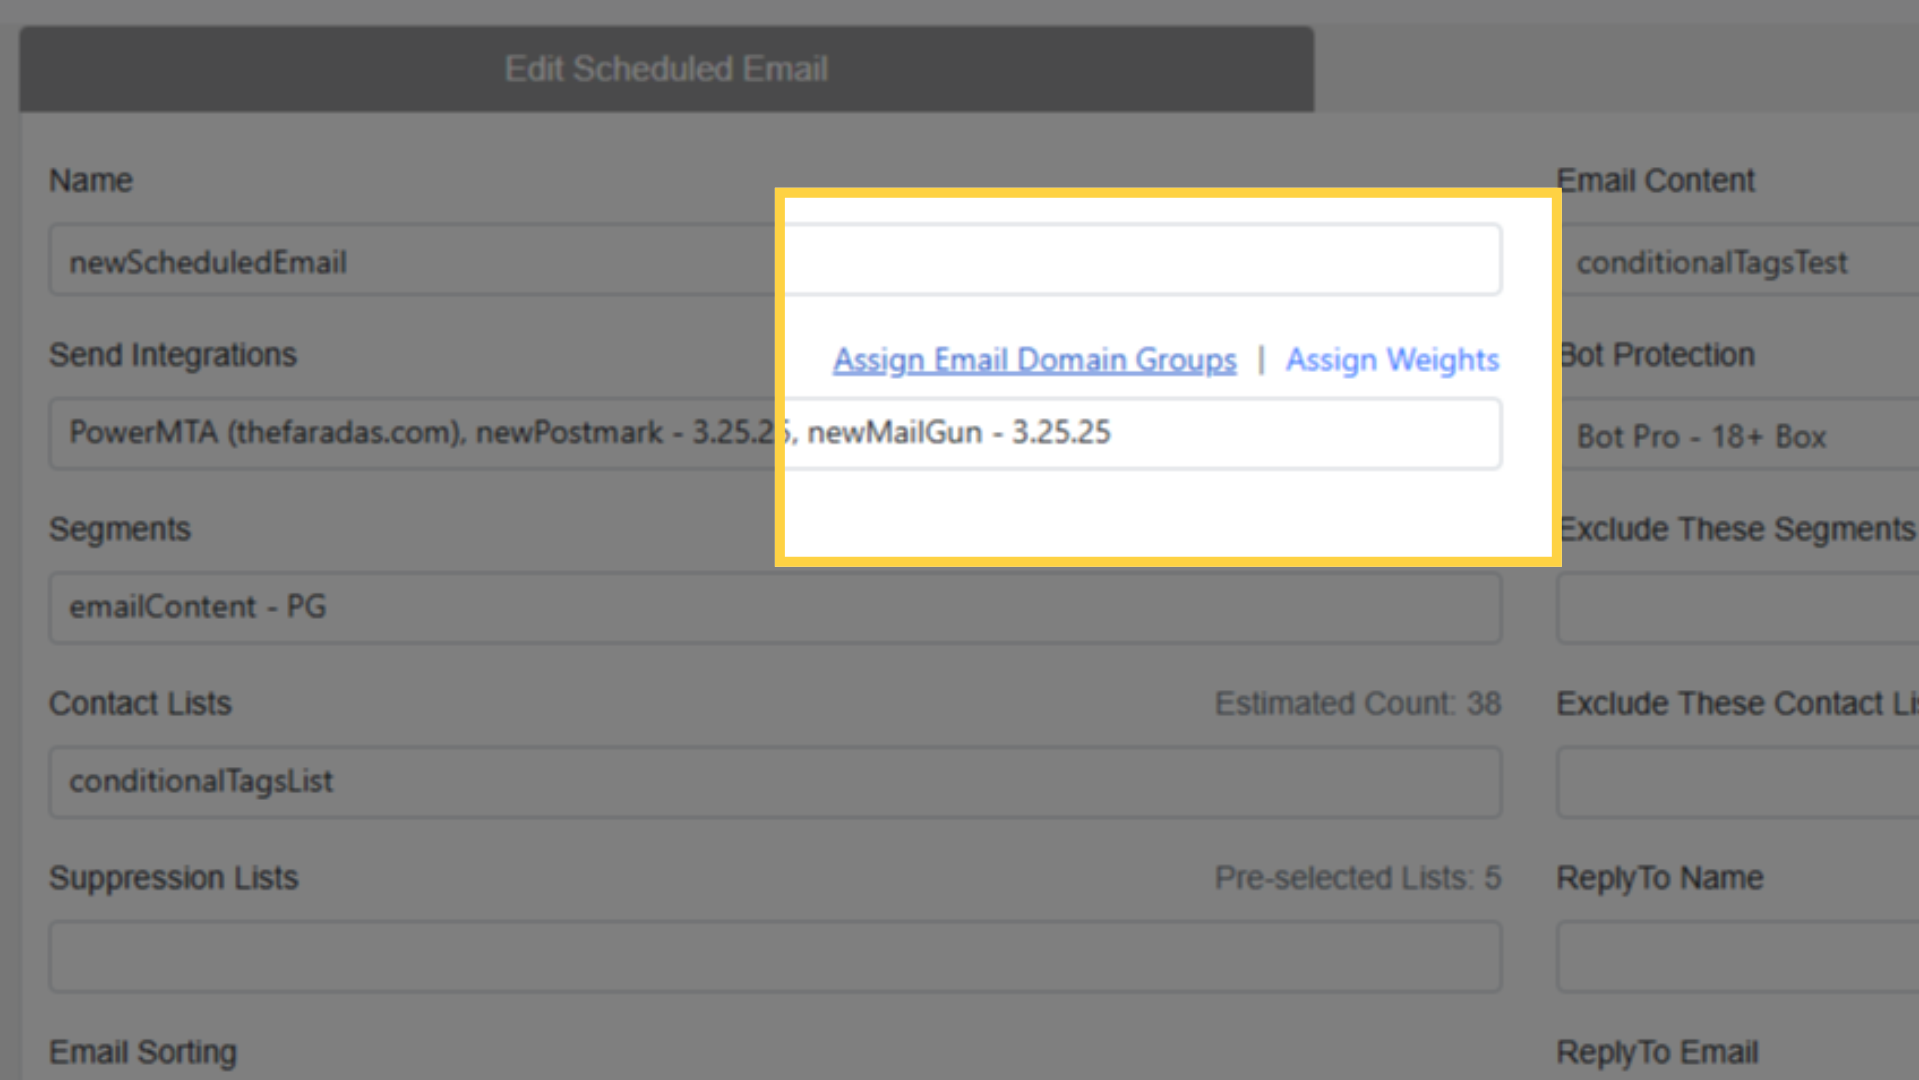
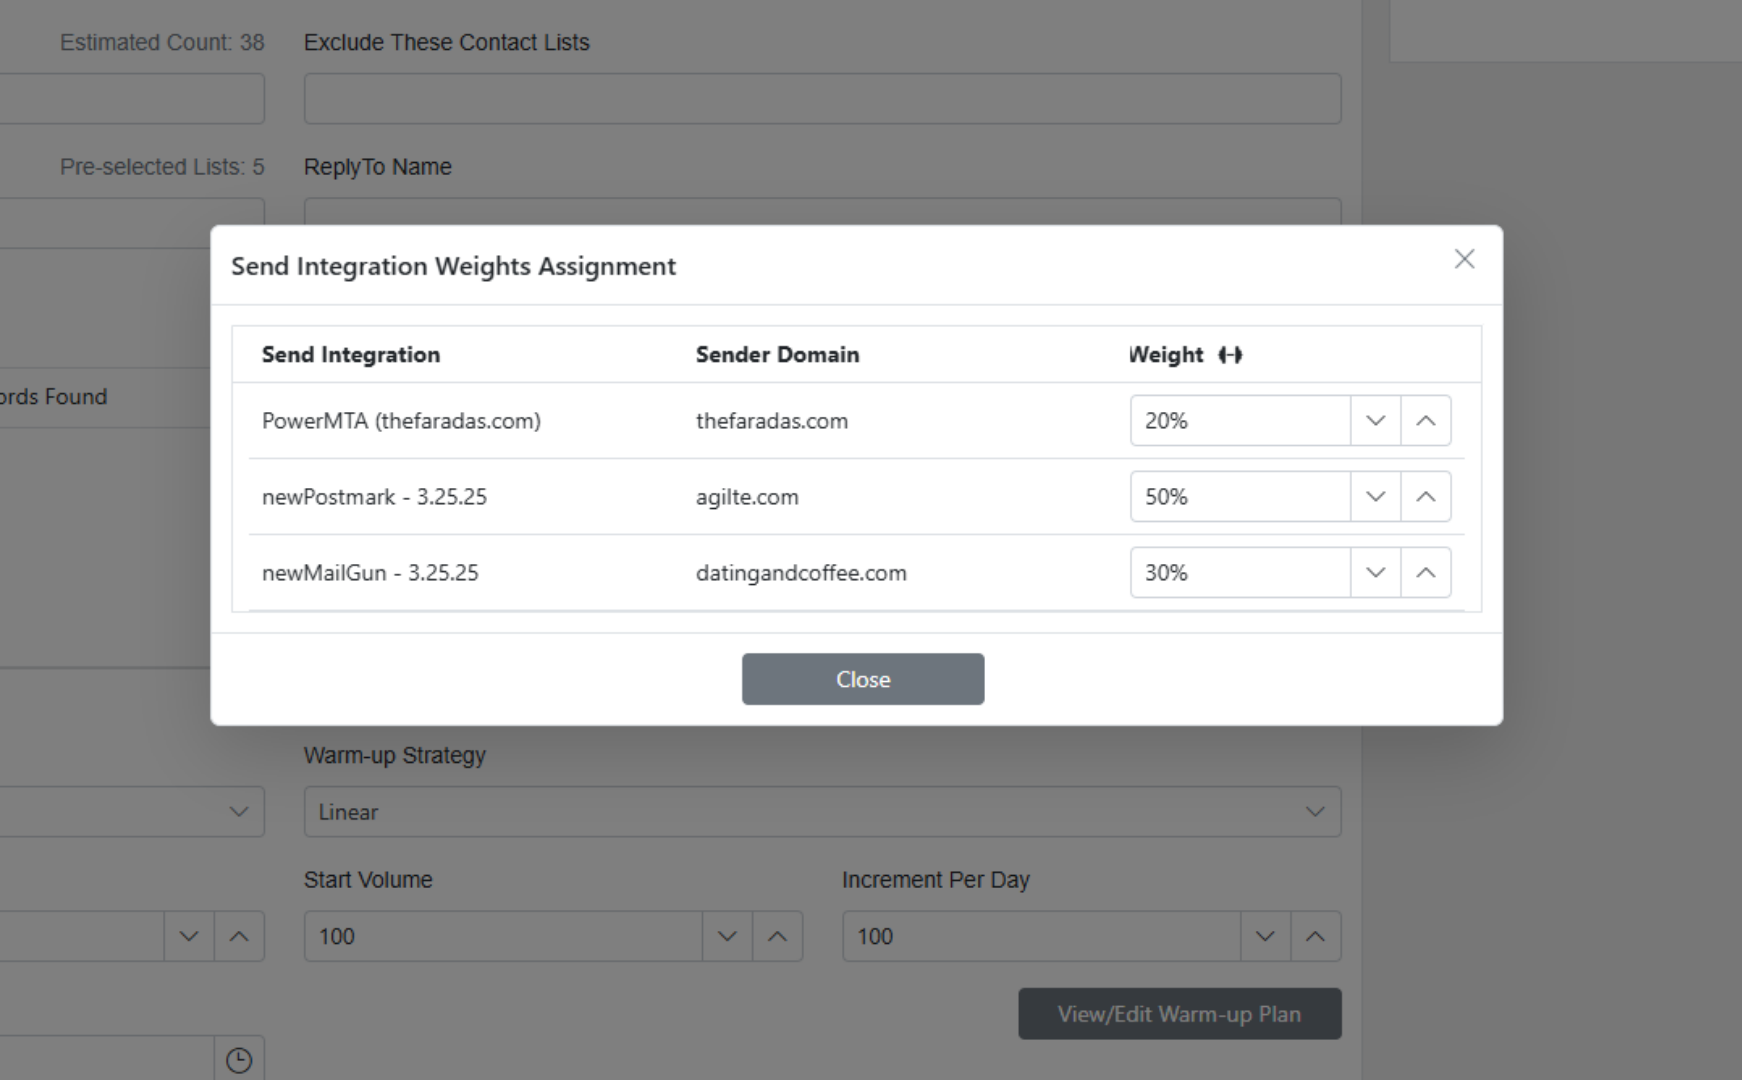
Assign Weights: set percentage for each integration (must total 100%)
Audience
Select one or more Segments
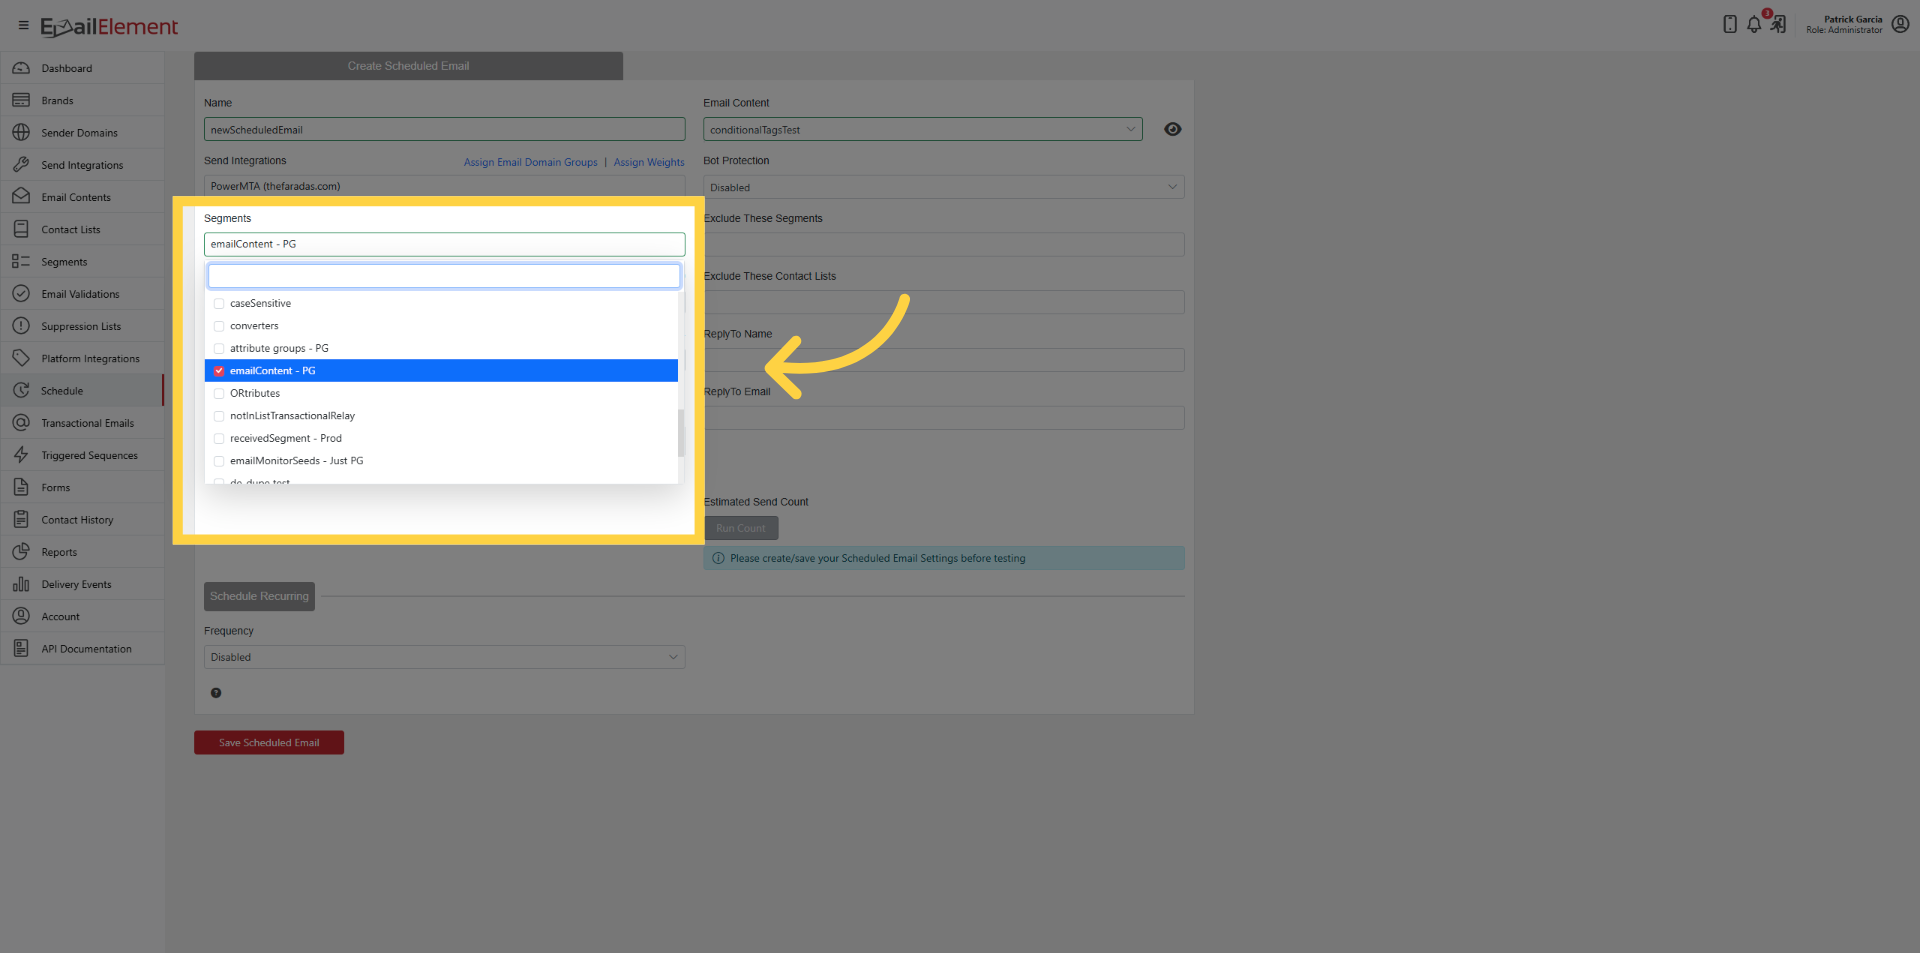
Select one or more Contact Lists
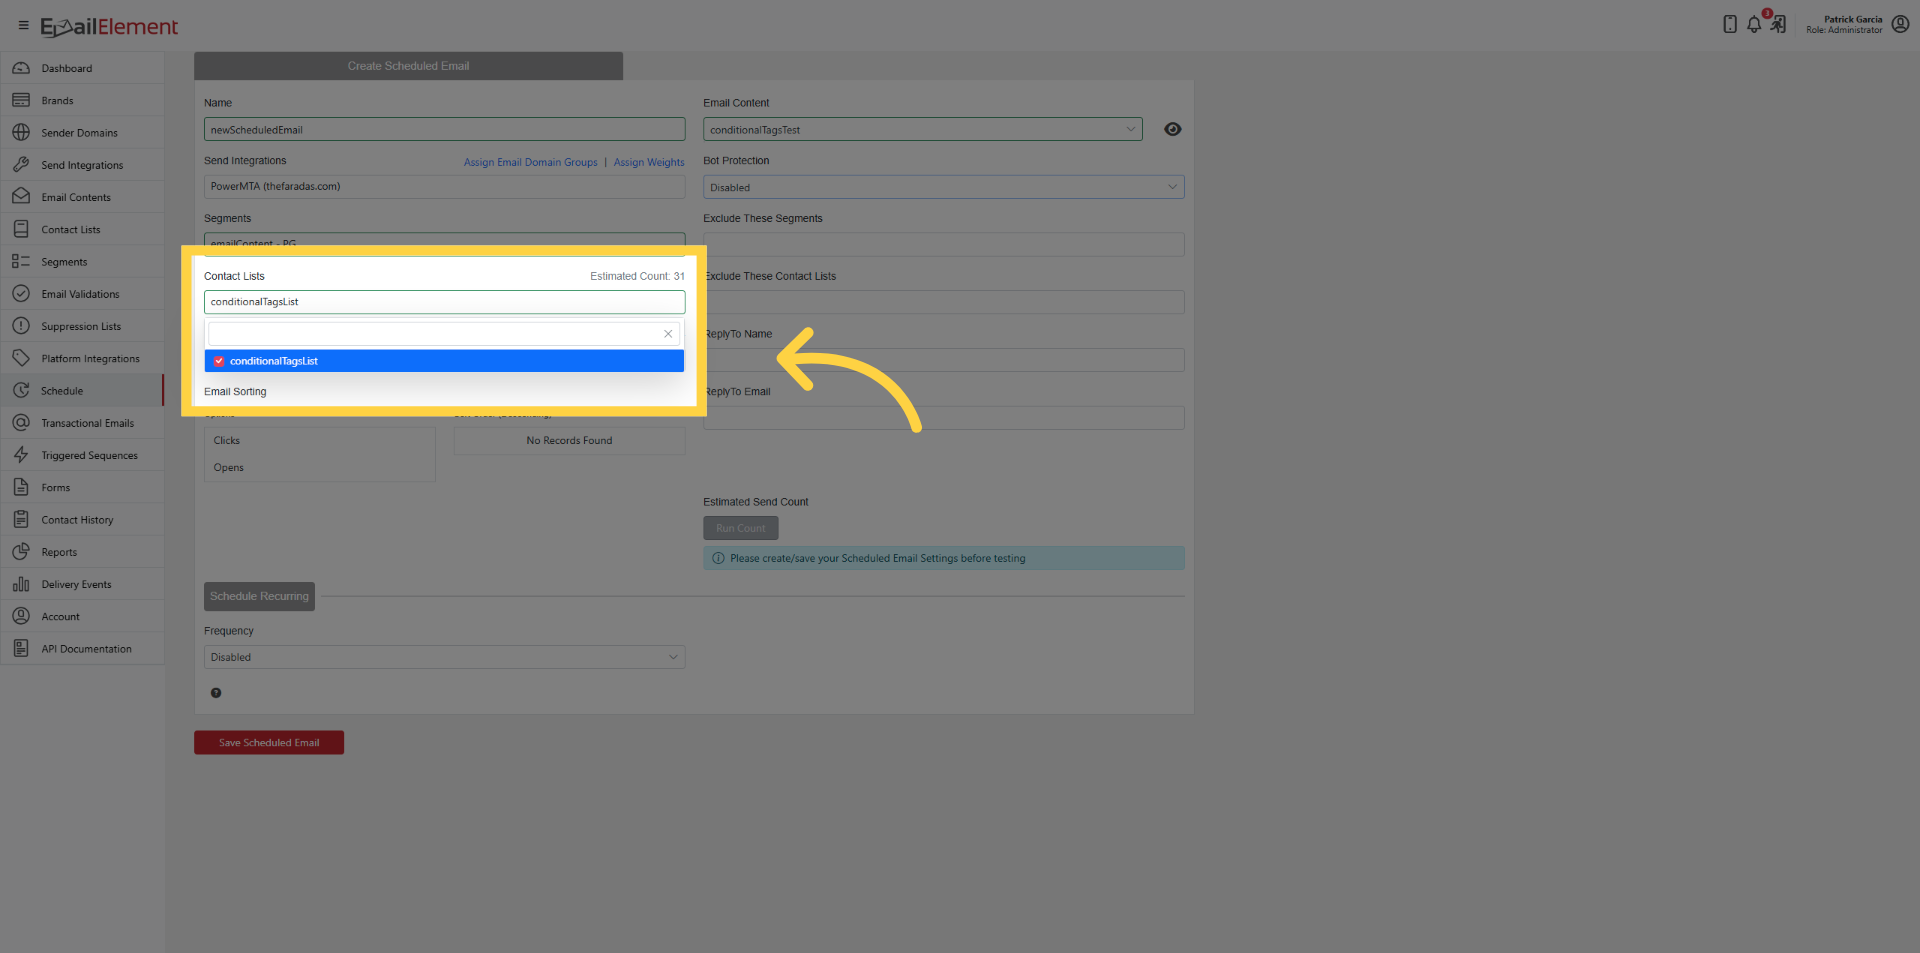
Contacts are combined, duplicates removed
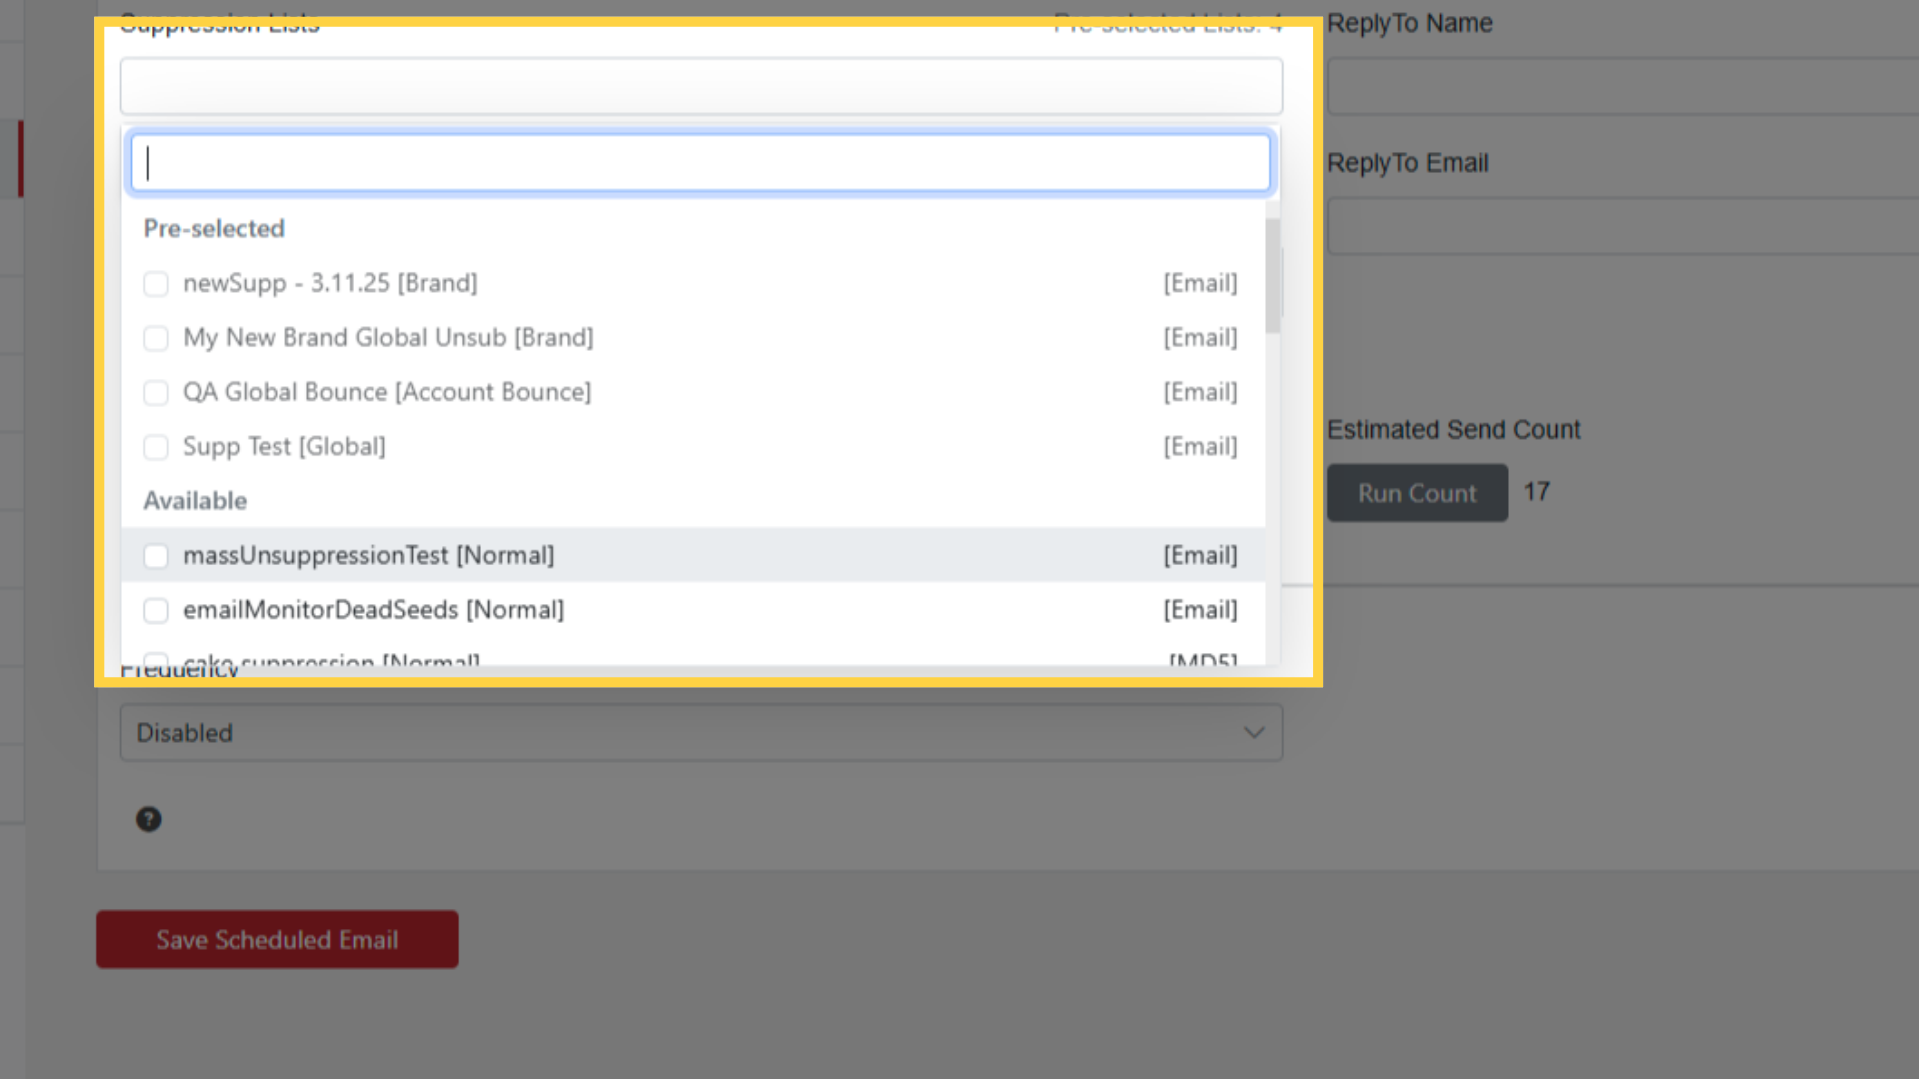
Add Suppression Lists — some auto-assigned (brand-level, account-wide), add more as needed
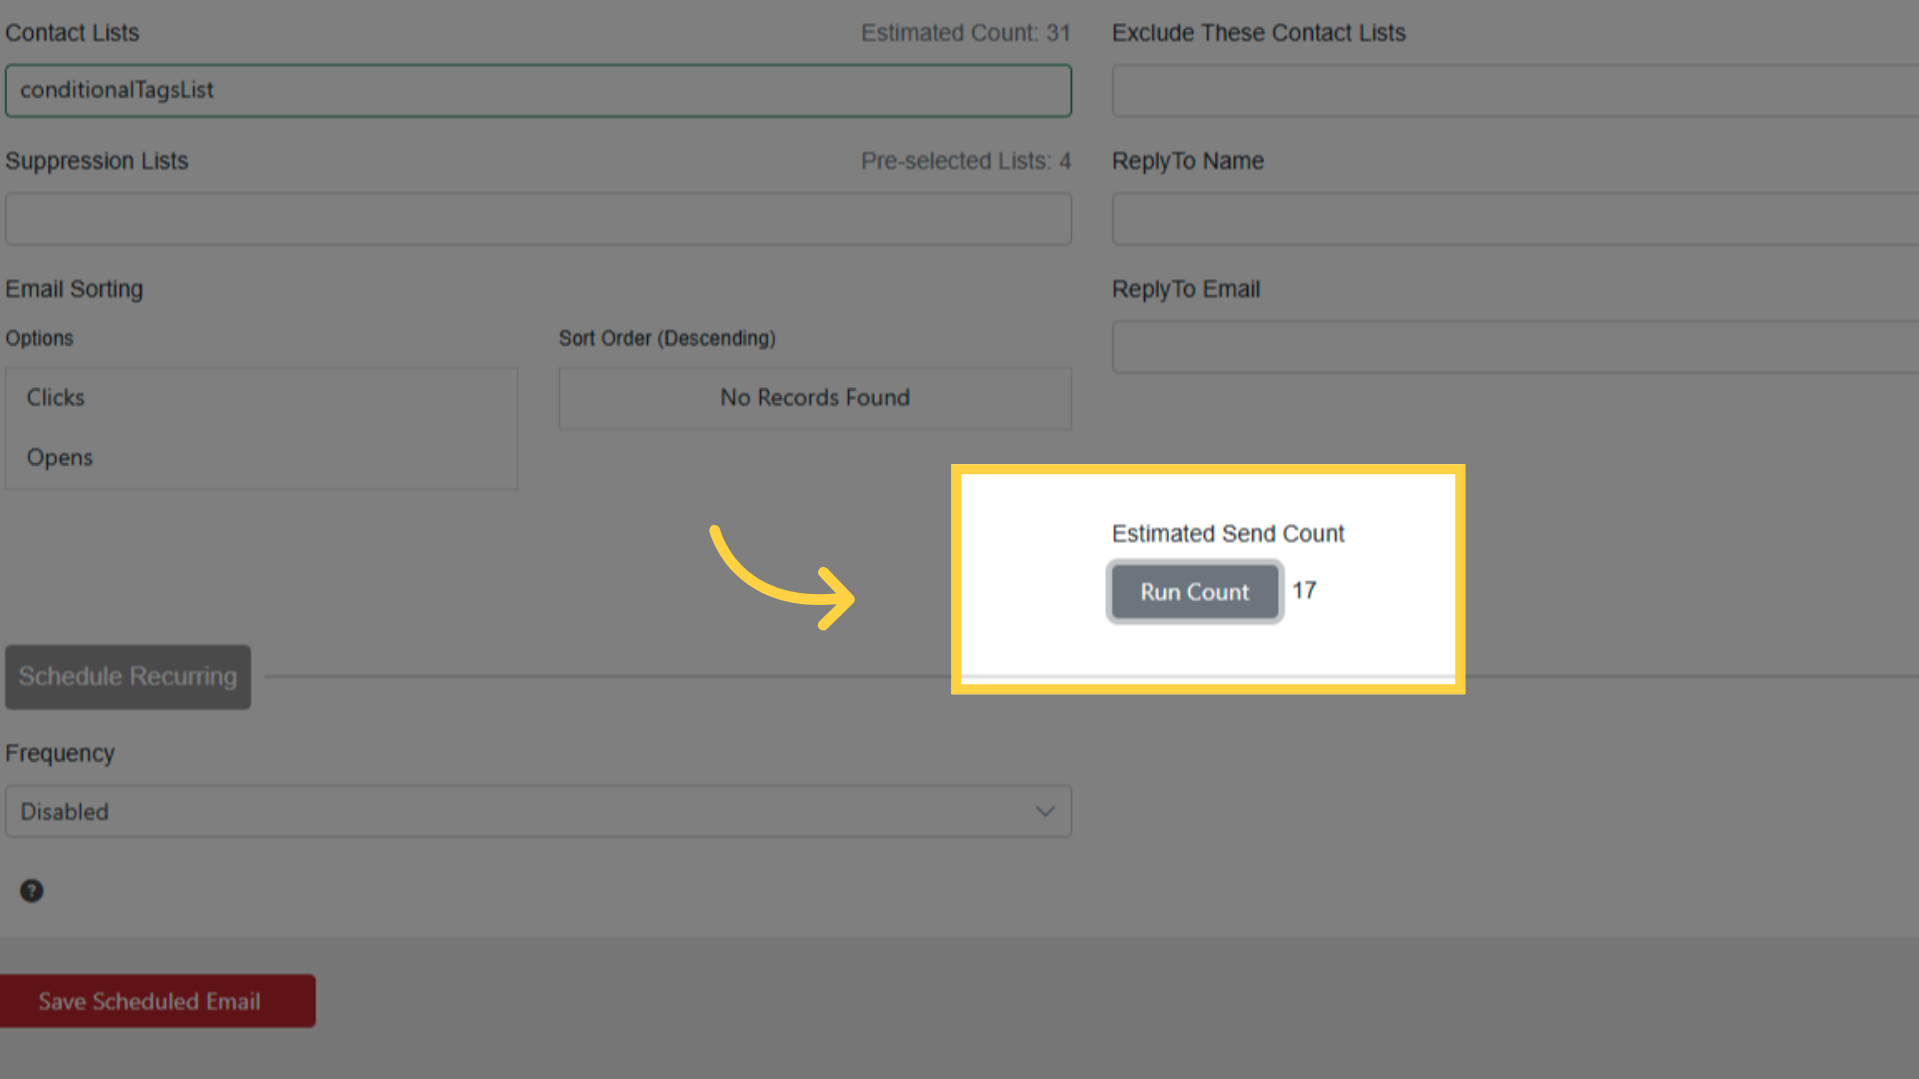
Run Count: shows total contacts minus suppressions
Jump Page
Select a jump page if desired
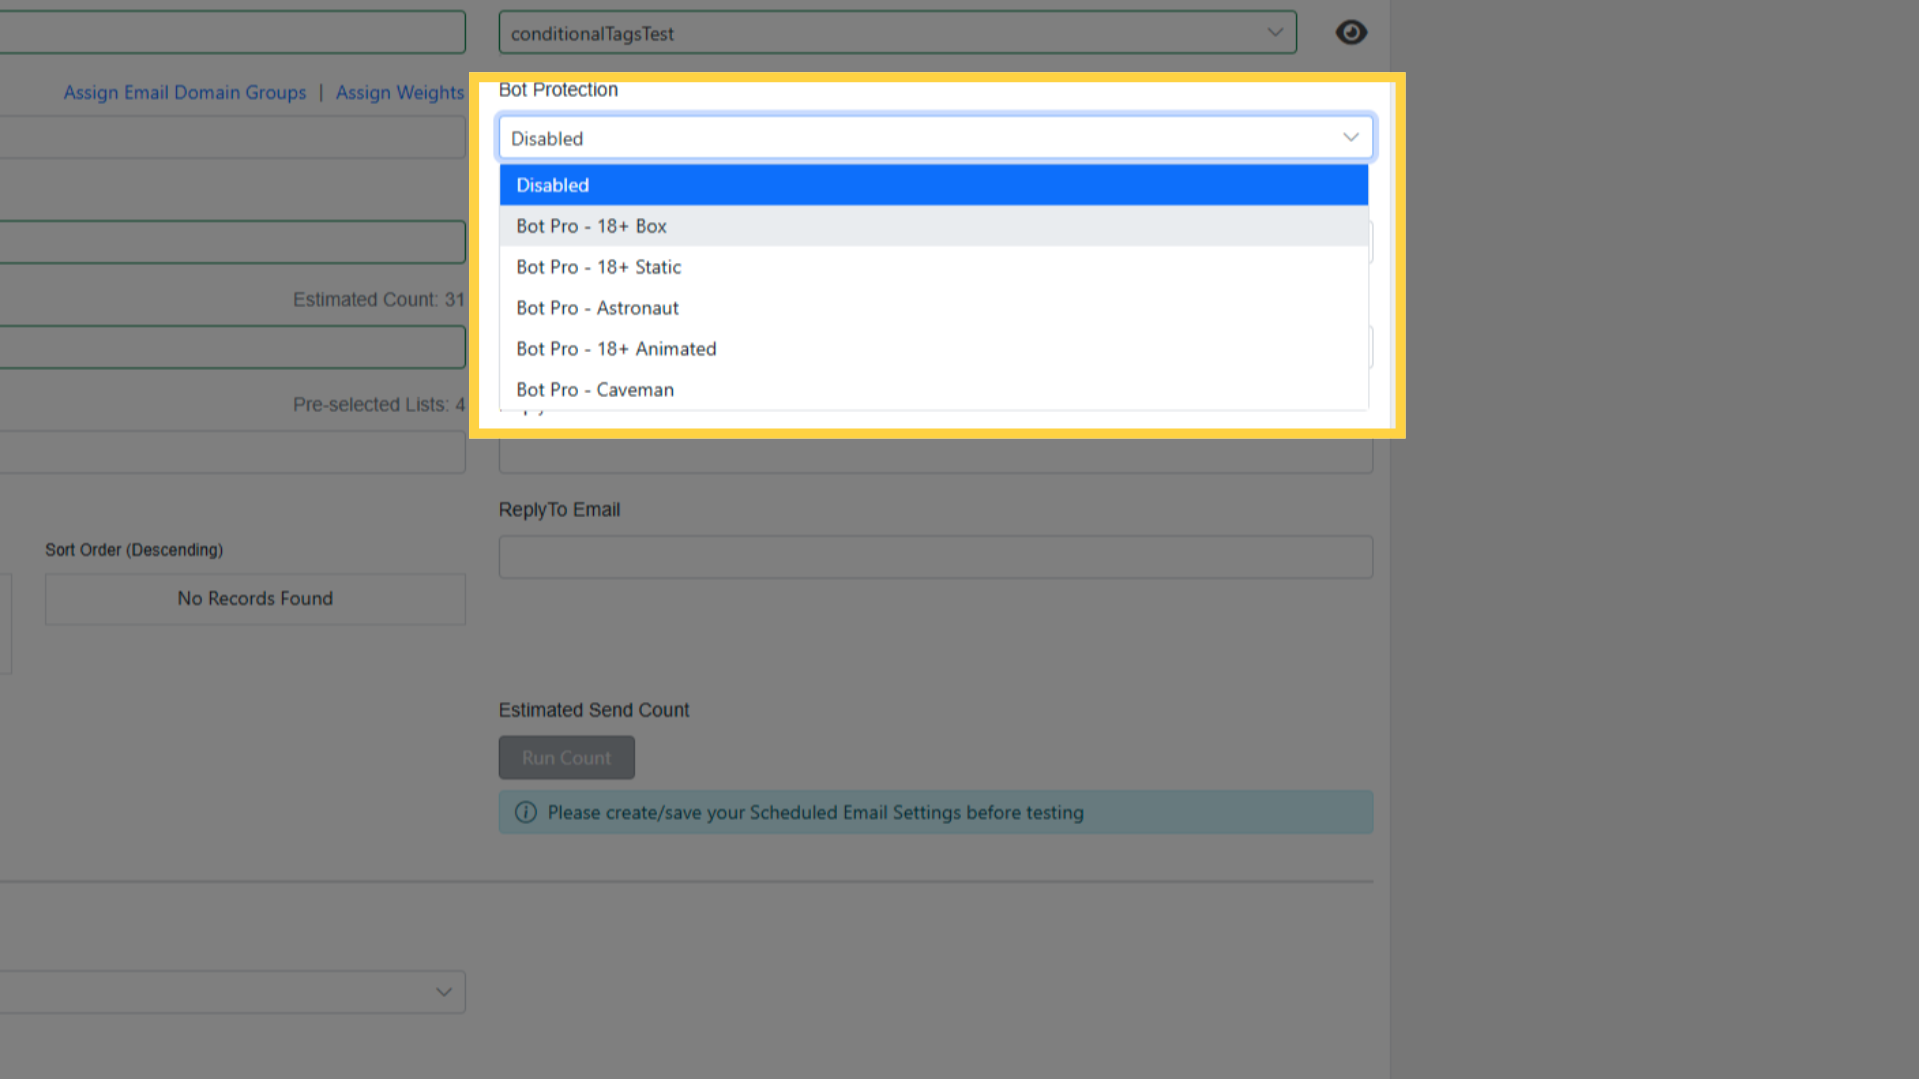
Recipients clicking email links see a verification page before reaching the landing page
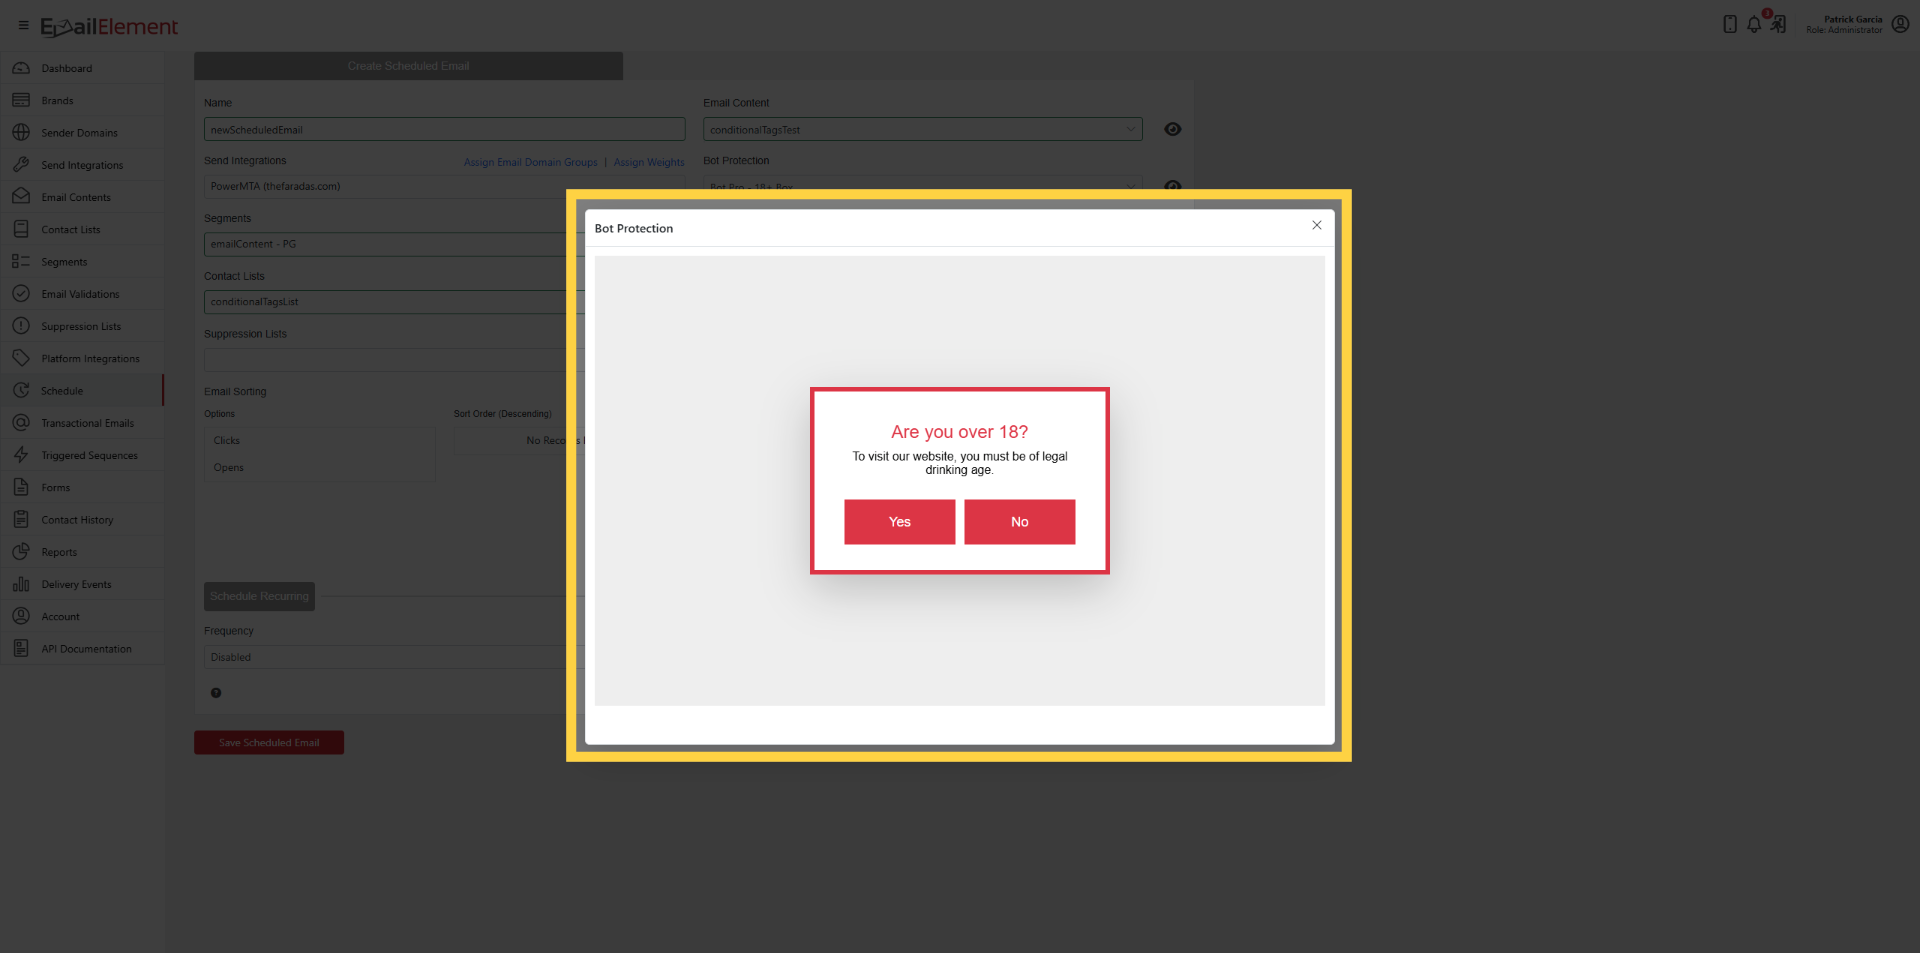
Prevents automated bots from triggering clicks
Scheduling a Send
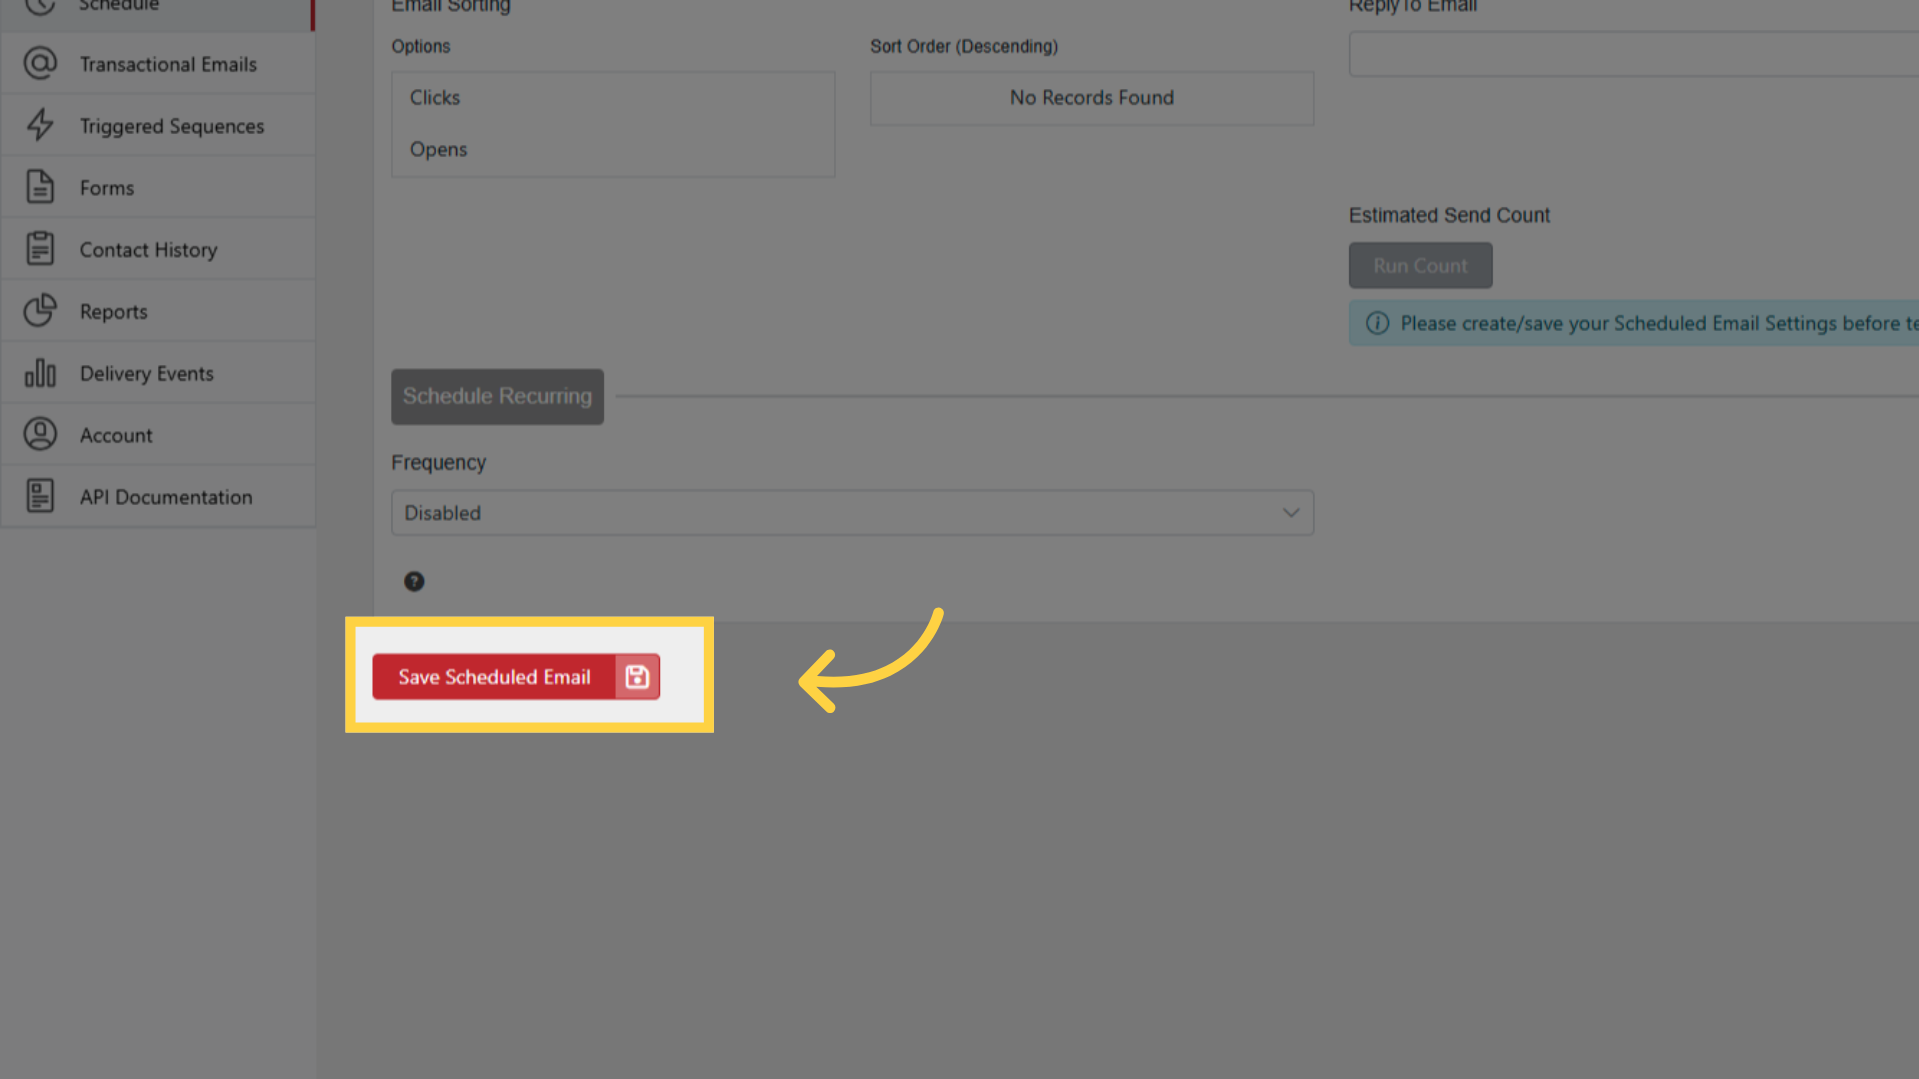
Click Save Scheduled Email
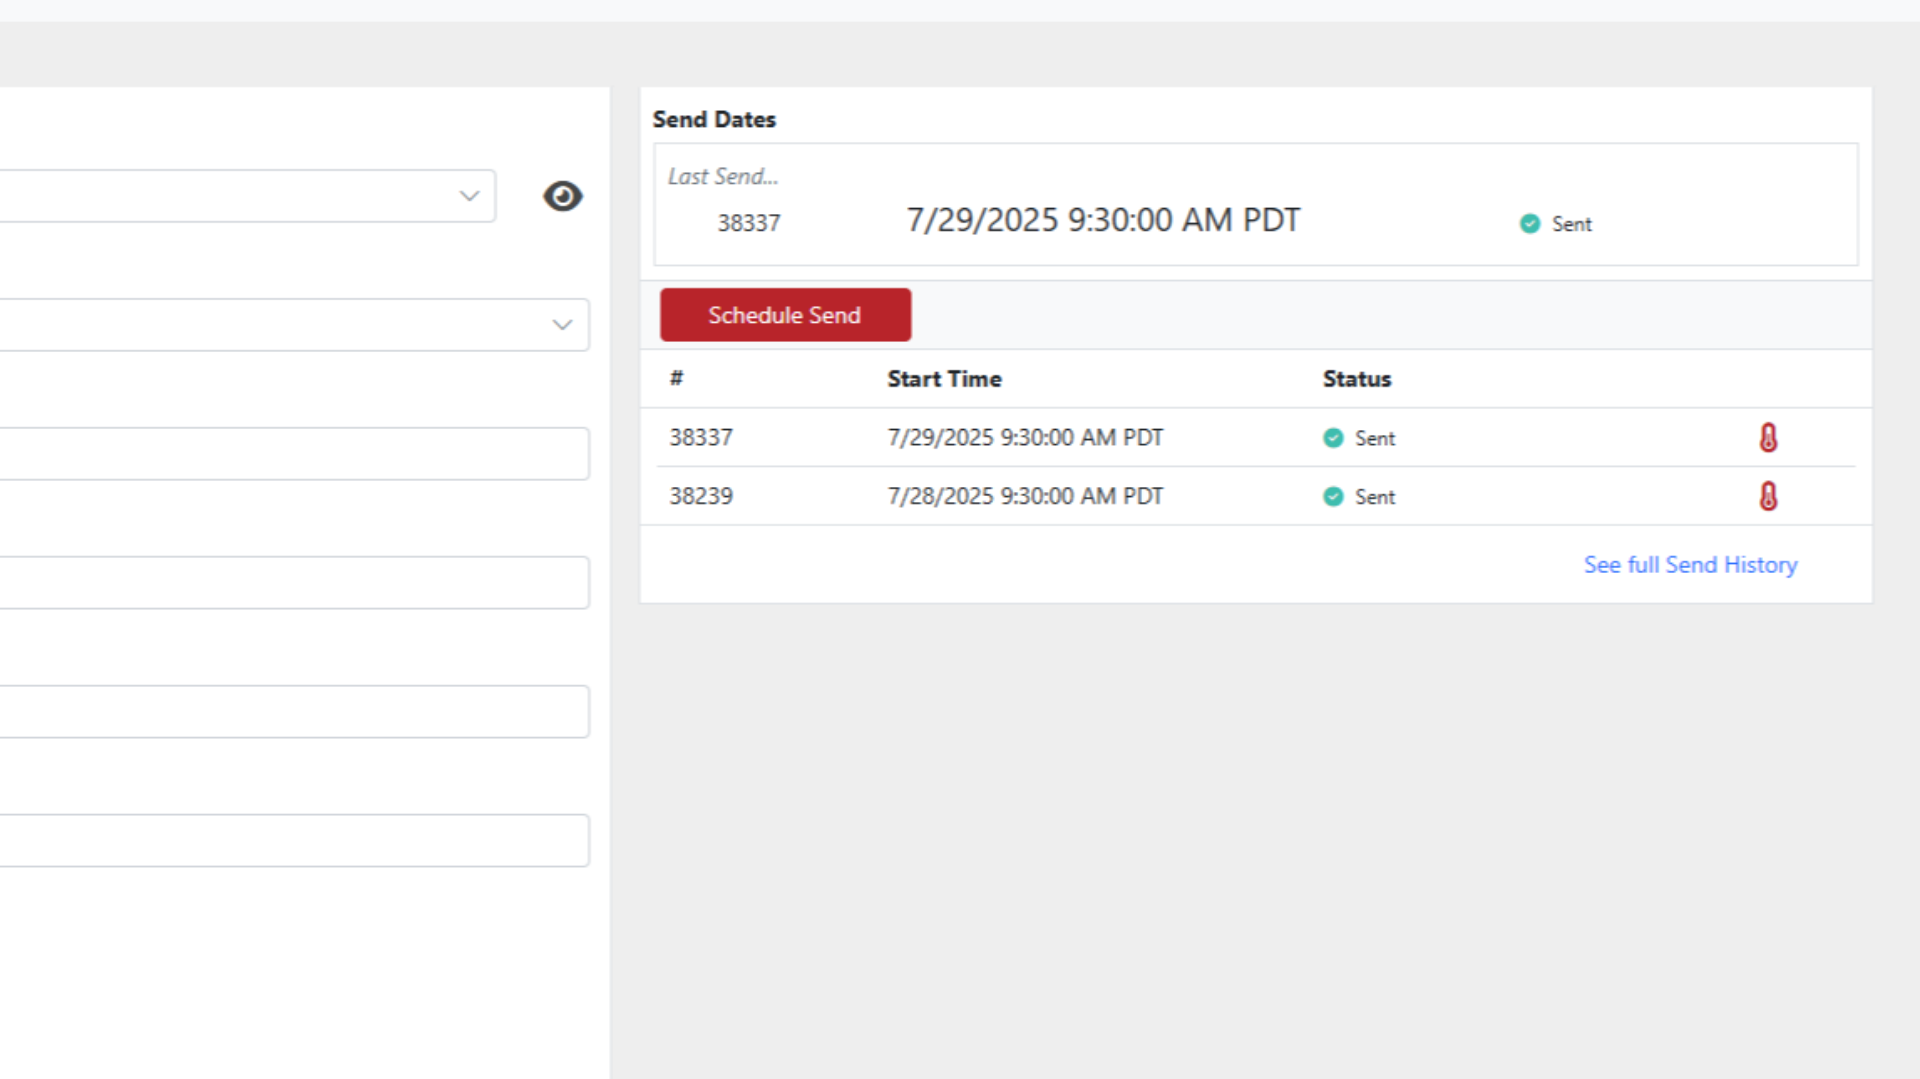
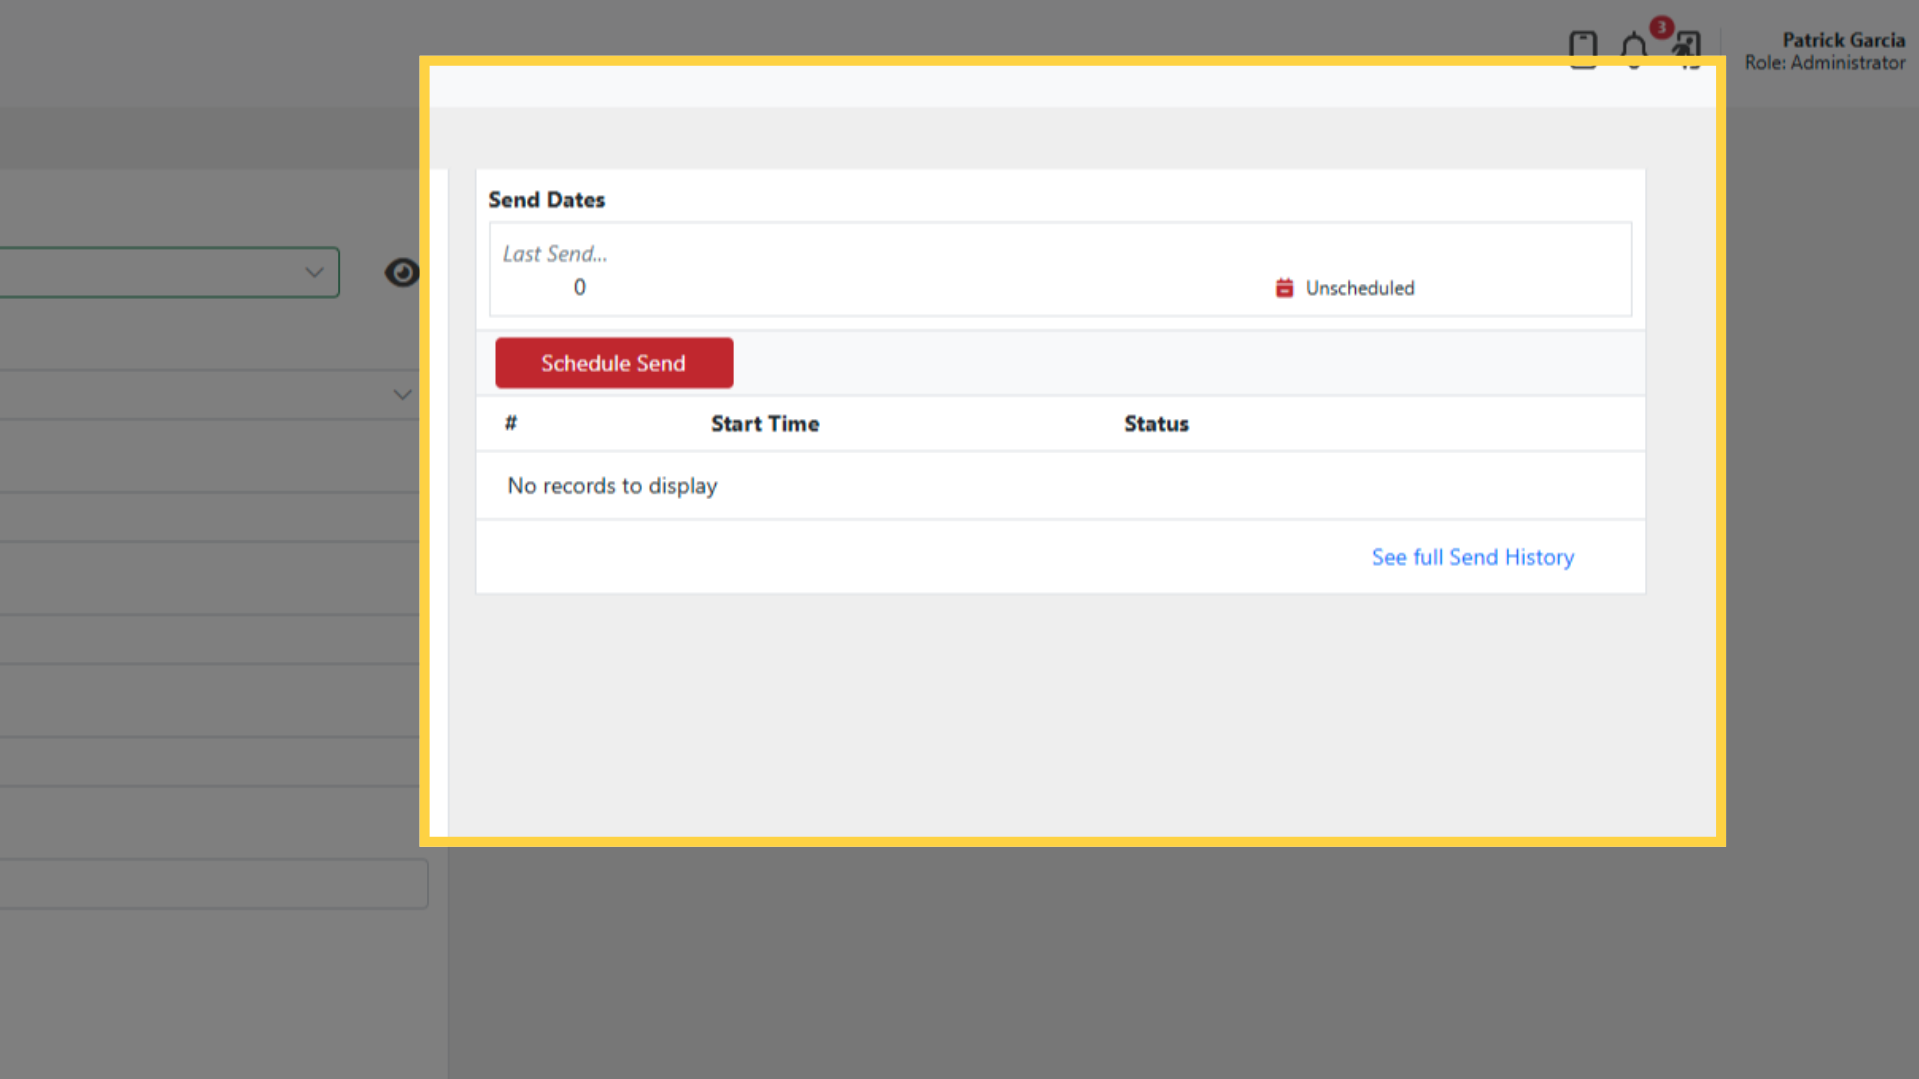
Click Schedule Send
Set Start Time (required) and optional End Time (distributes evenly)
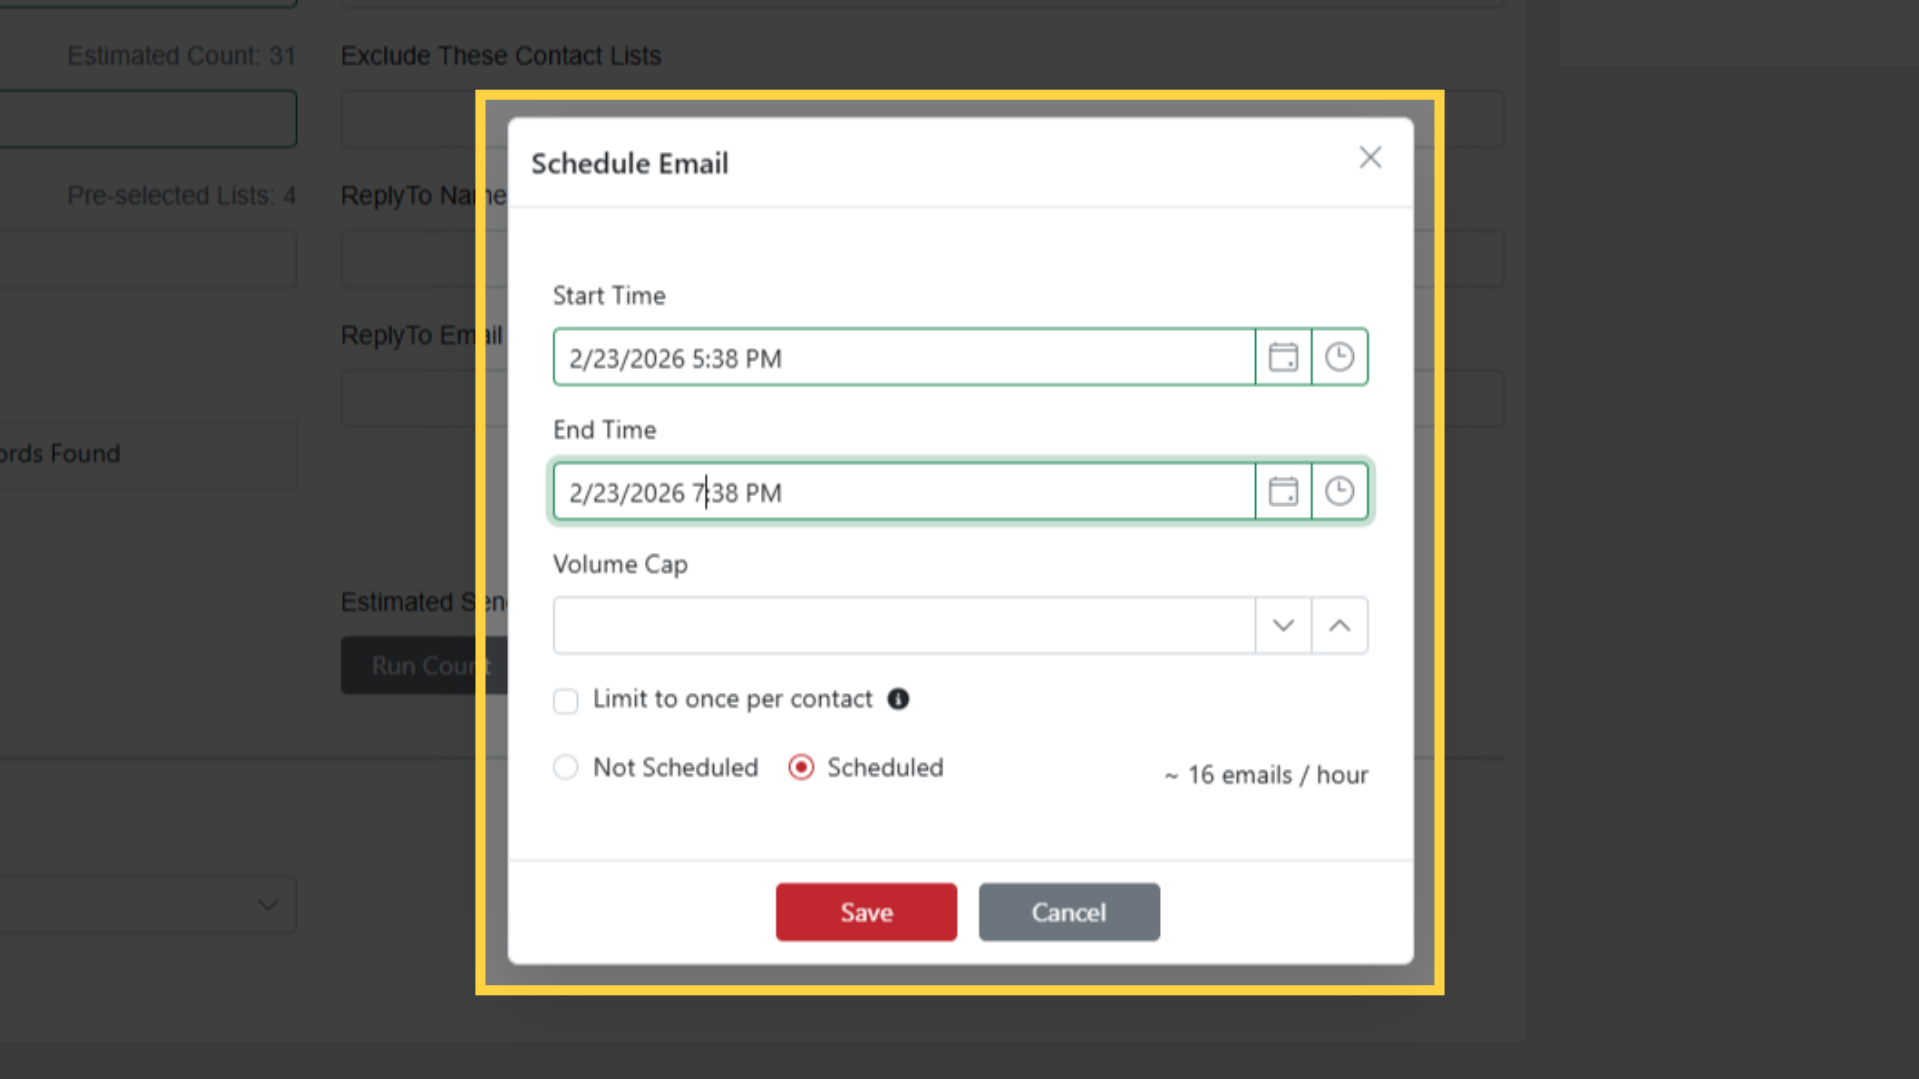
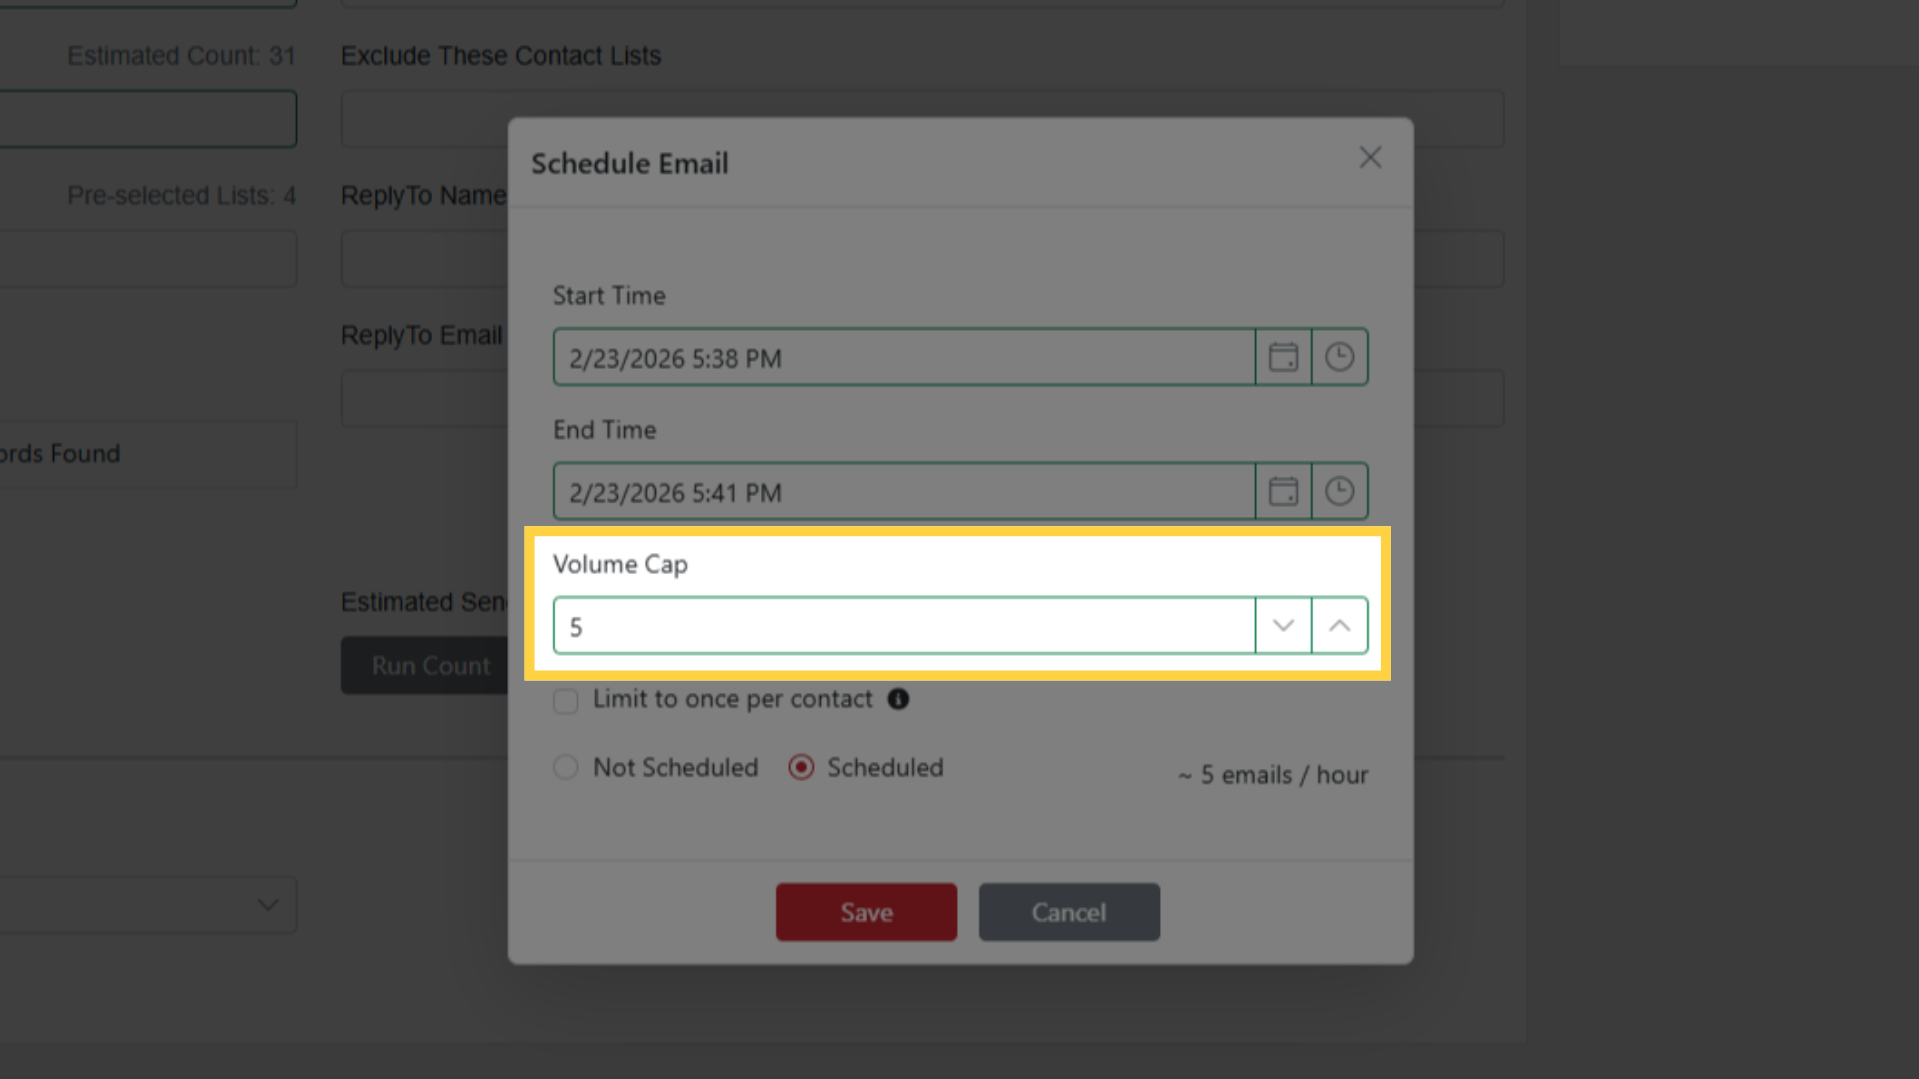
Optional Volume Cap: limits emails per send
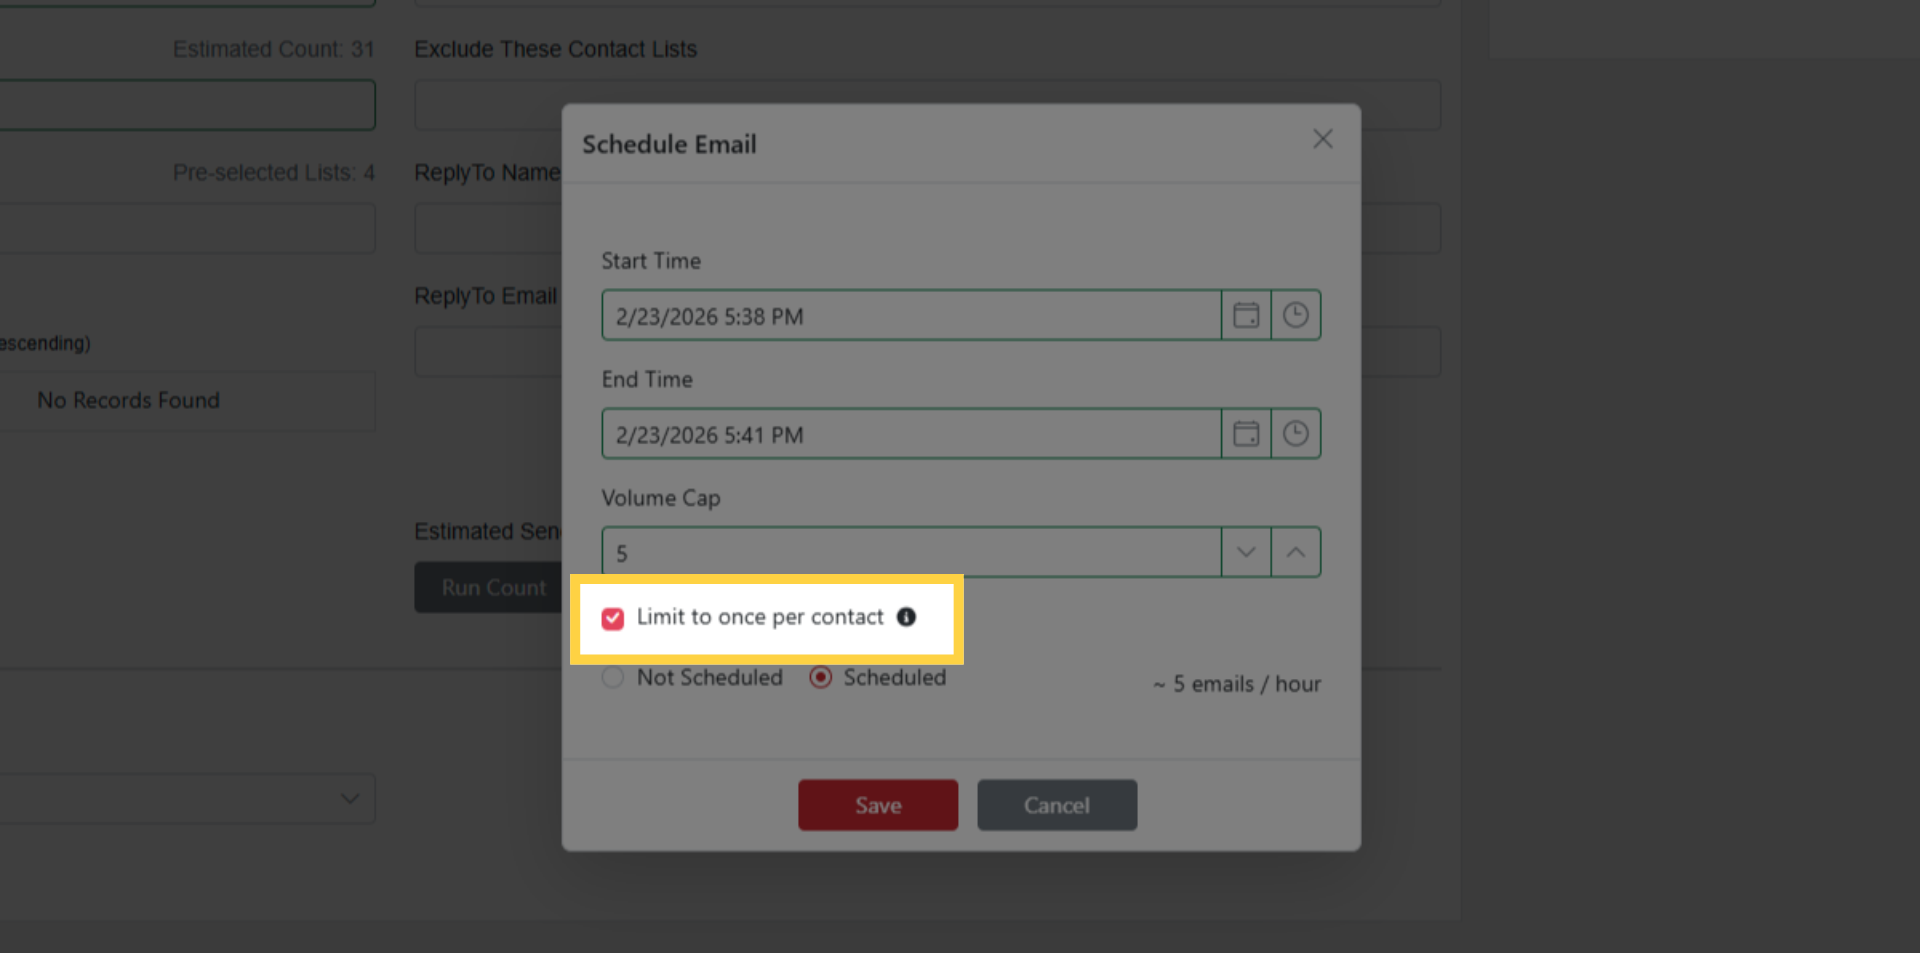
Limit to Once Only: each contact receives it only once (useful for retry after ESP outage)
Set status: Scheduled or Not Scheduled
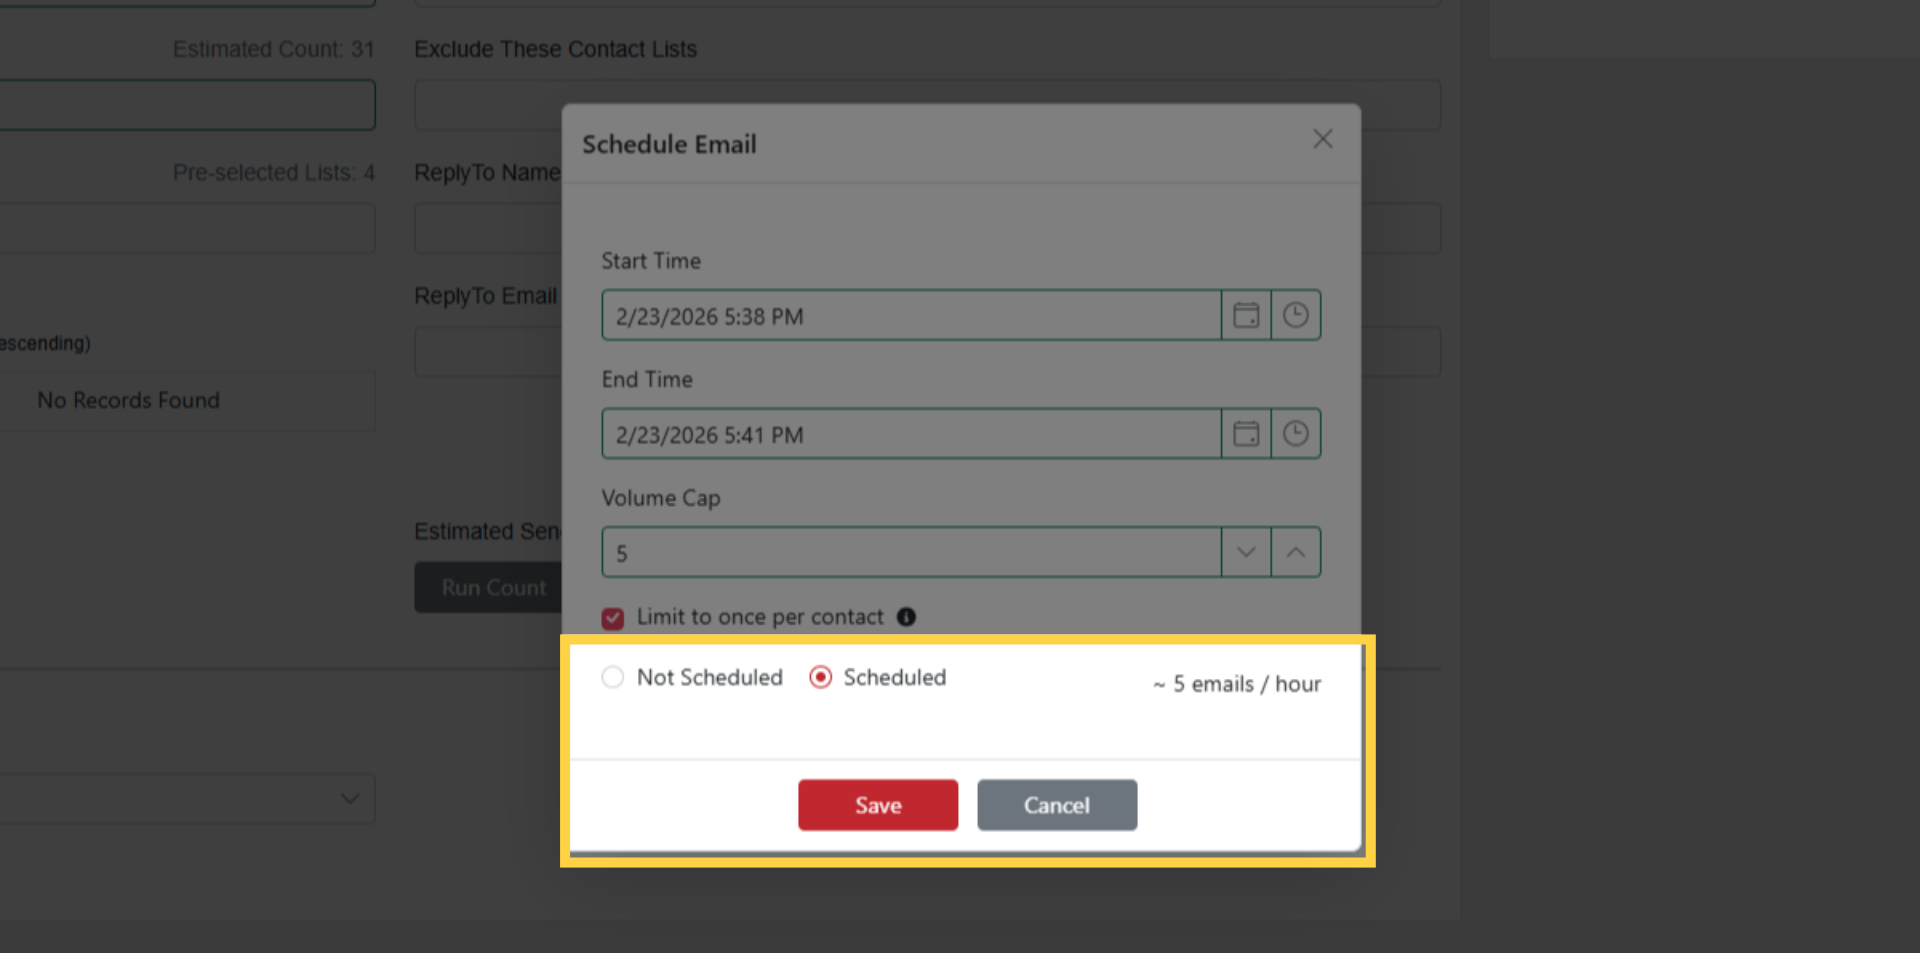
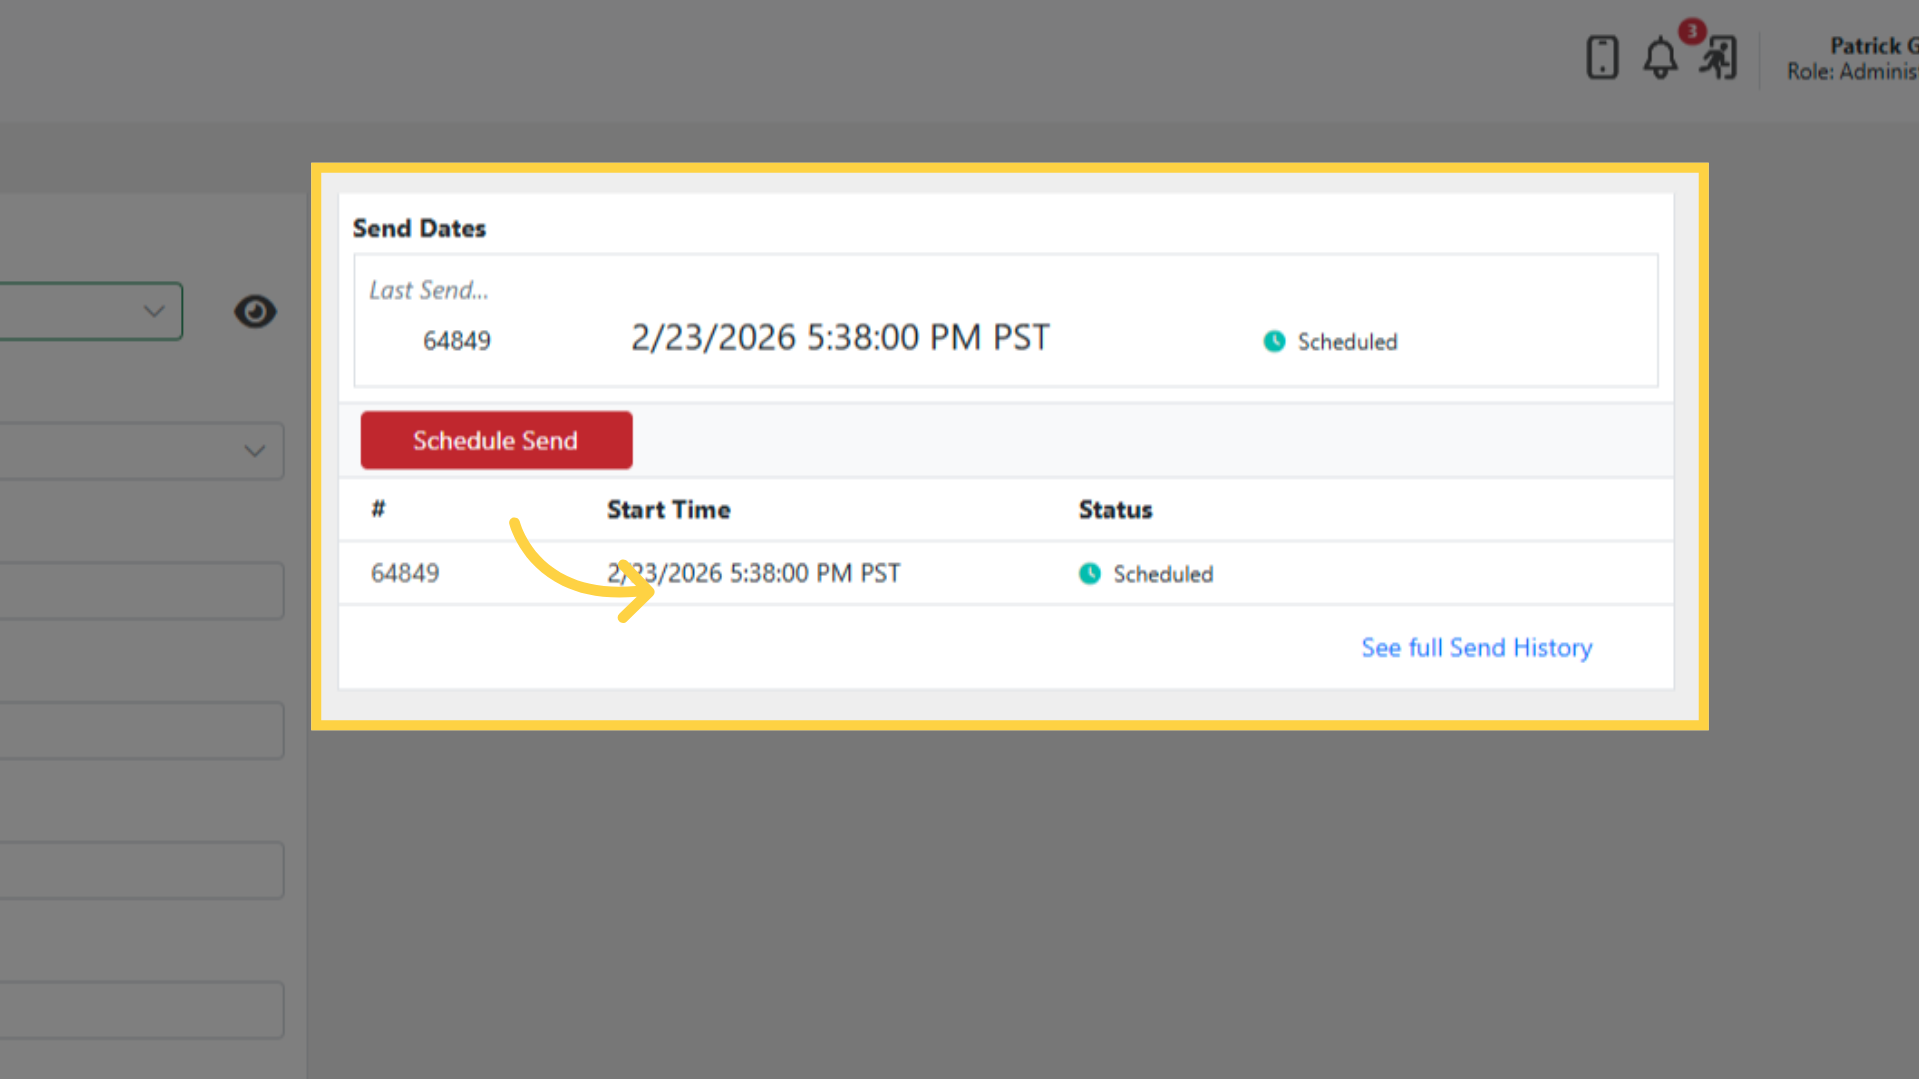
Click Save
Recurring Sends
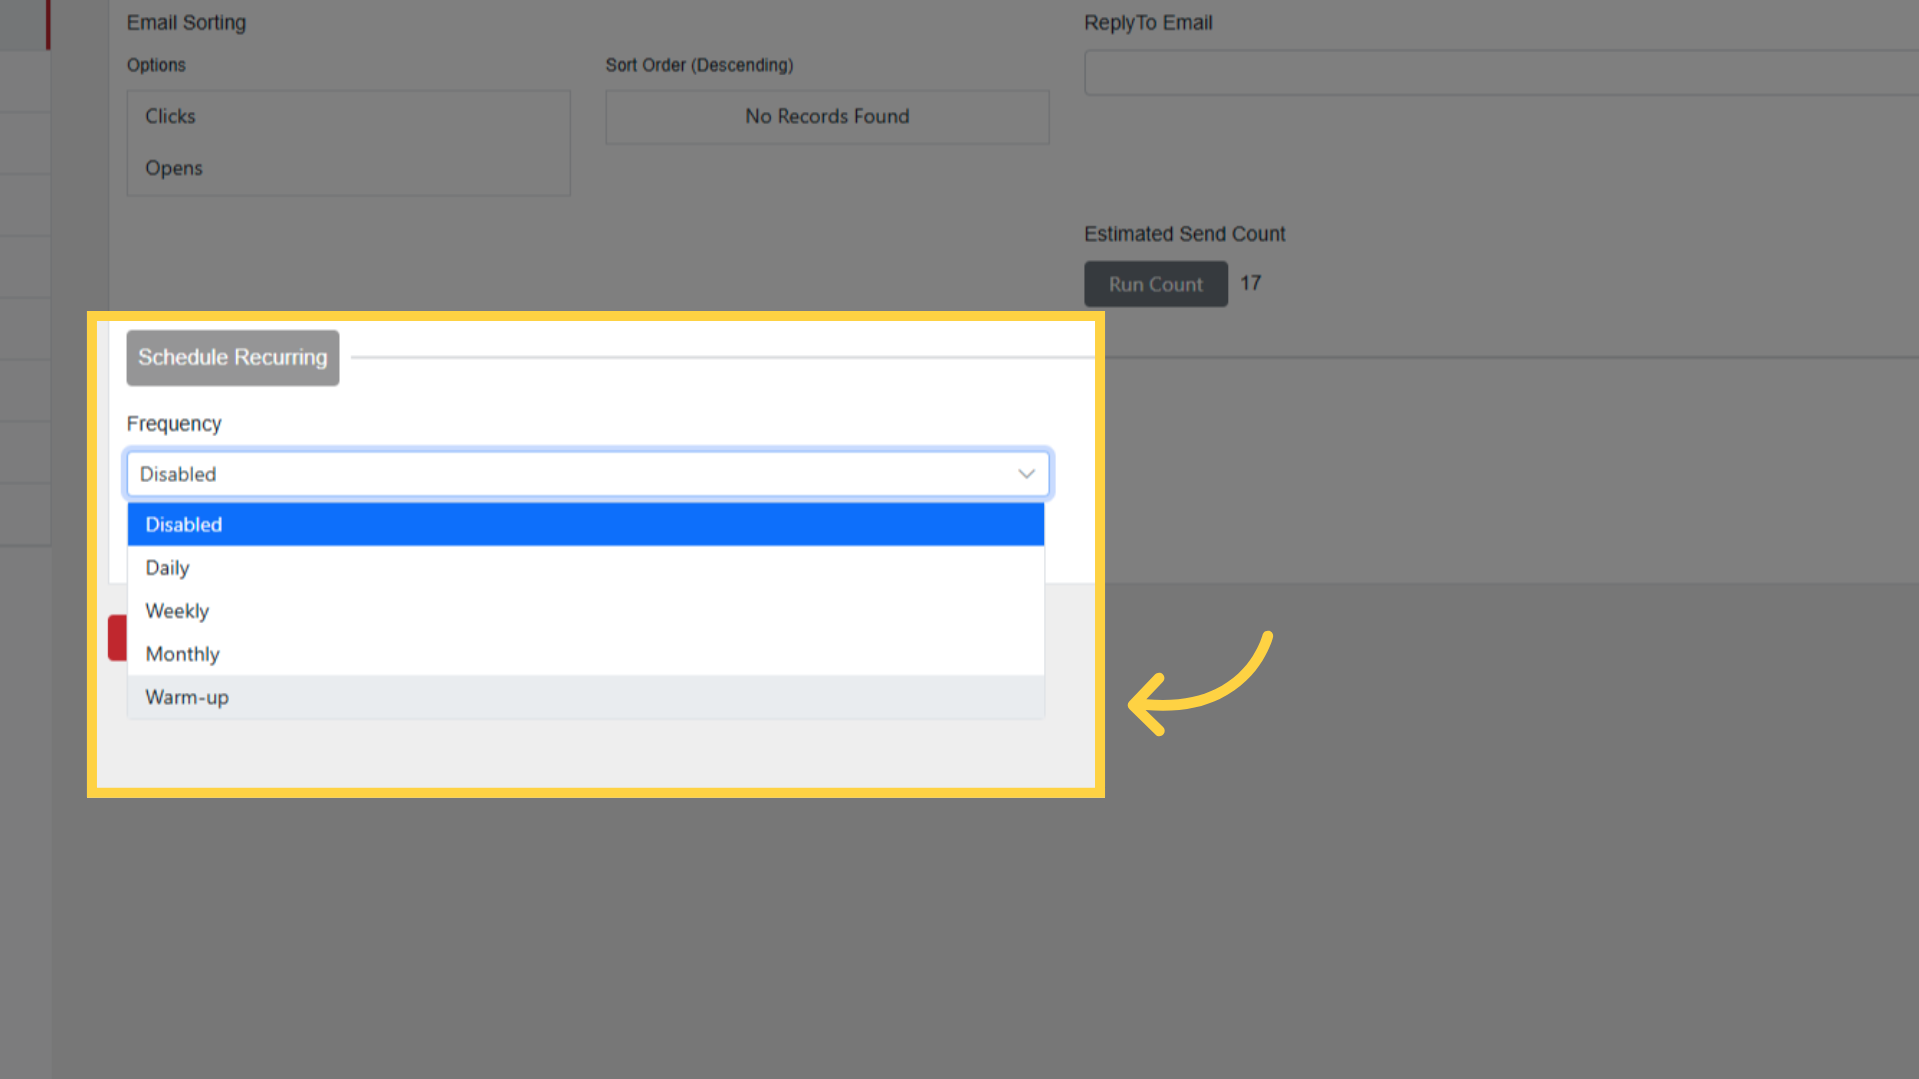
Under Schedule Recurring > Frequency dropdown
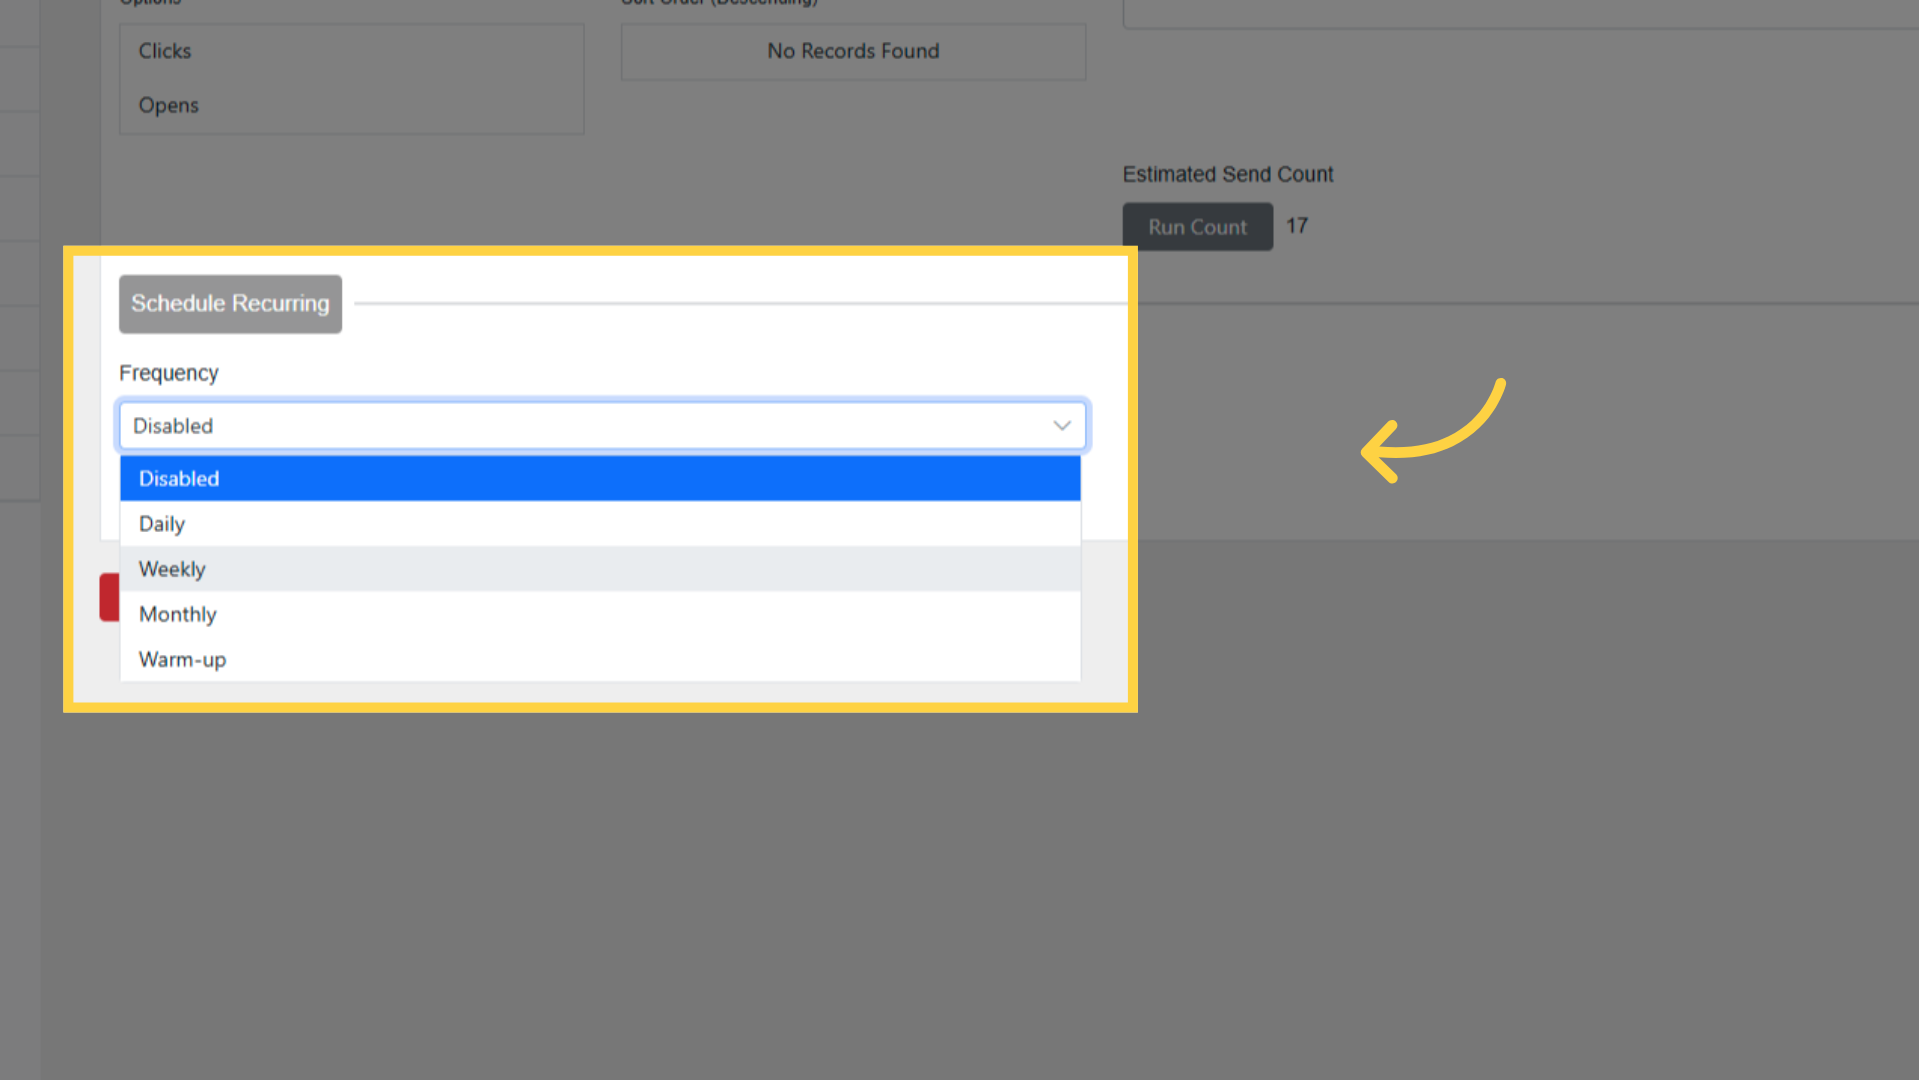
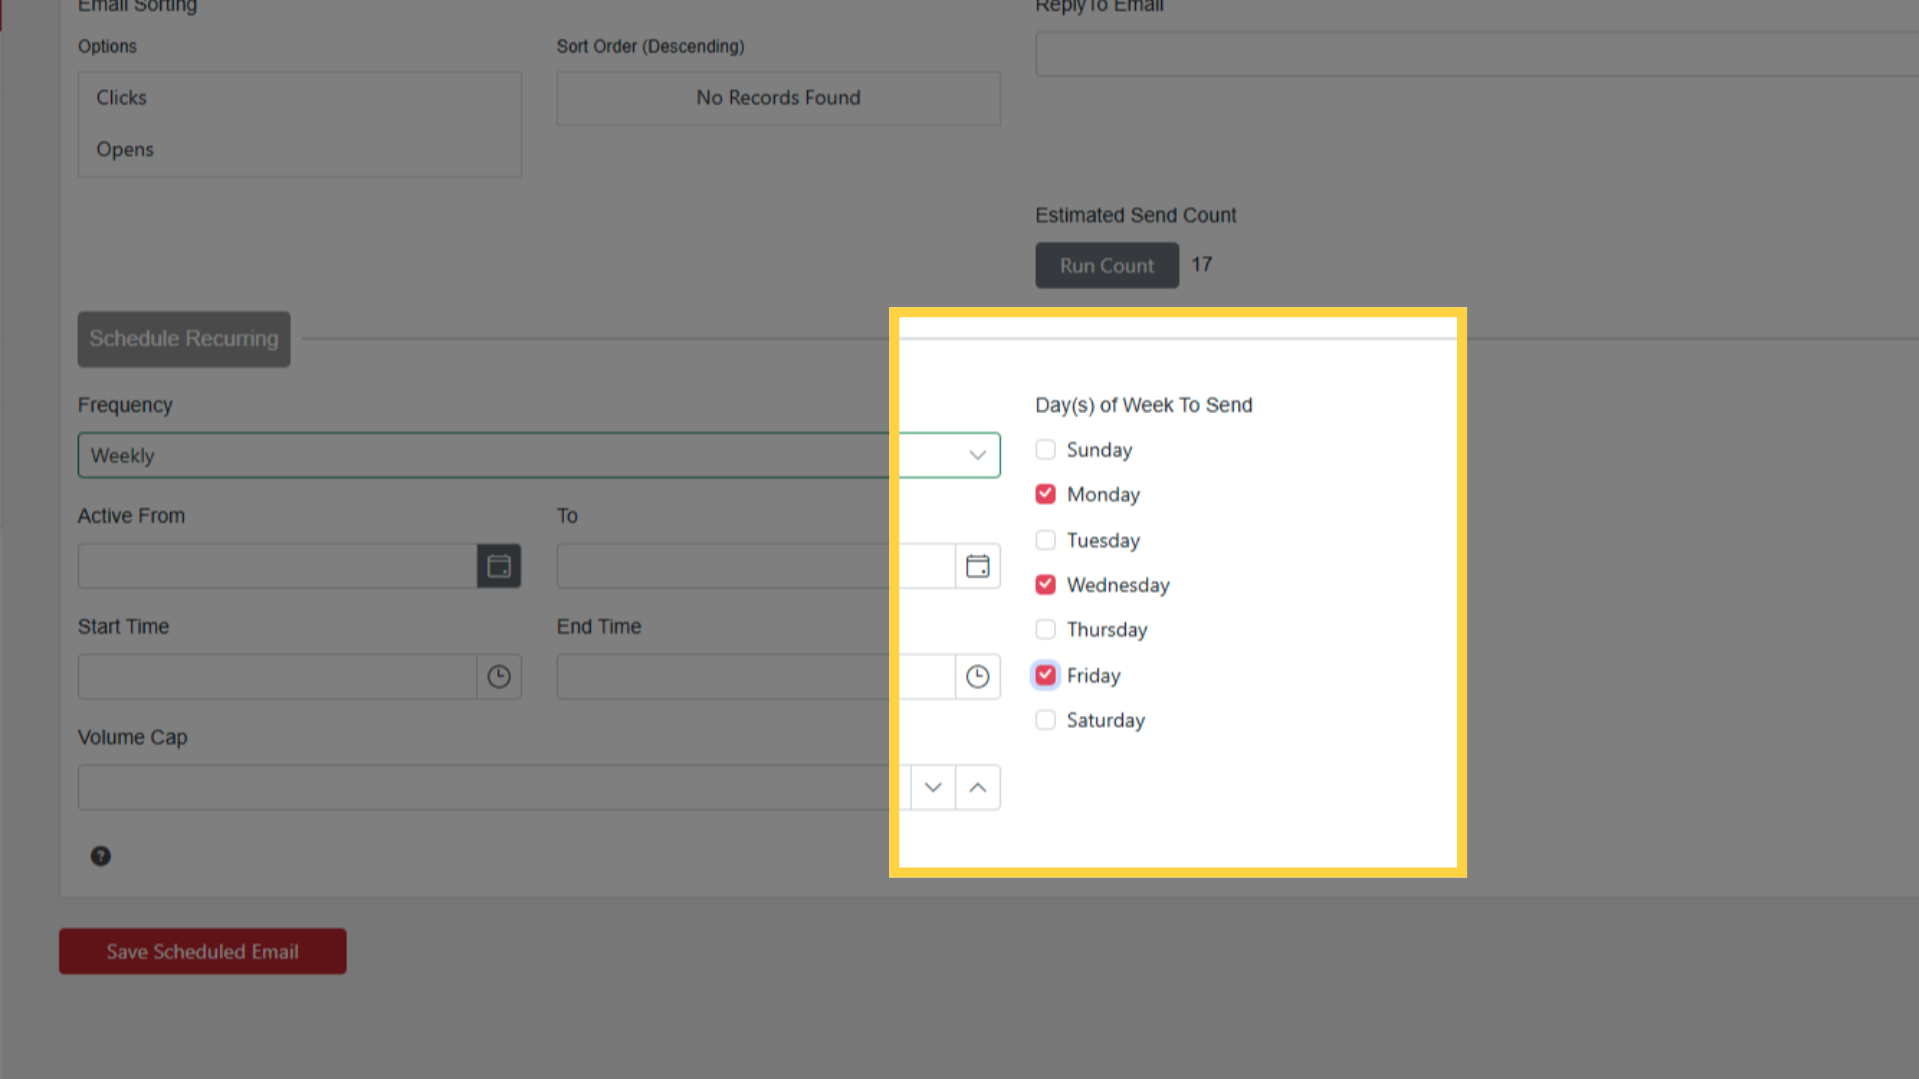
Select Weekly > choose days of the week
Set date range and time window
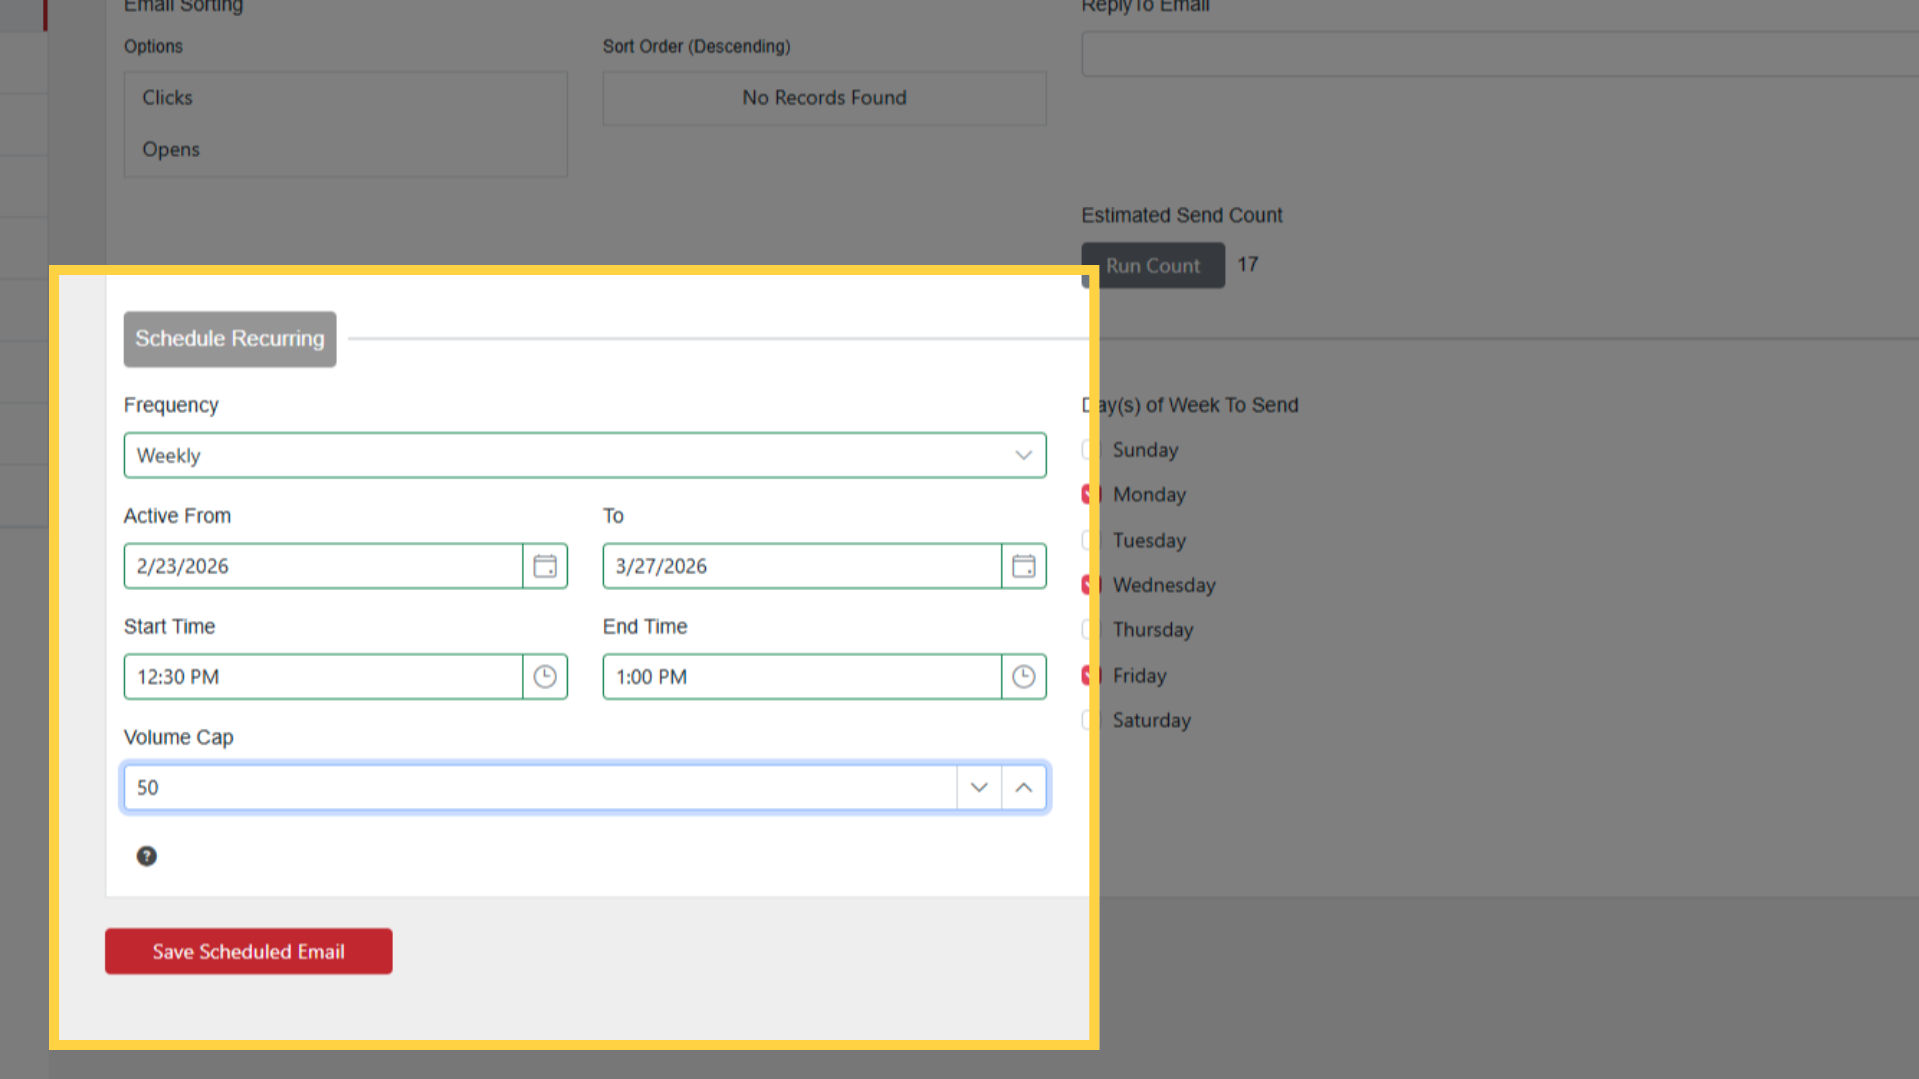
Optional Volume Cap
Save Scheduled Email to commit
Recurring sends prioritize contacts not emailed in last 60 days
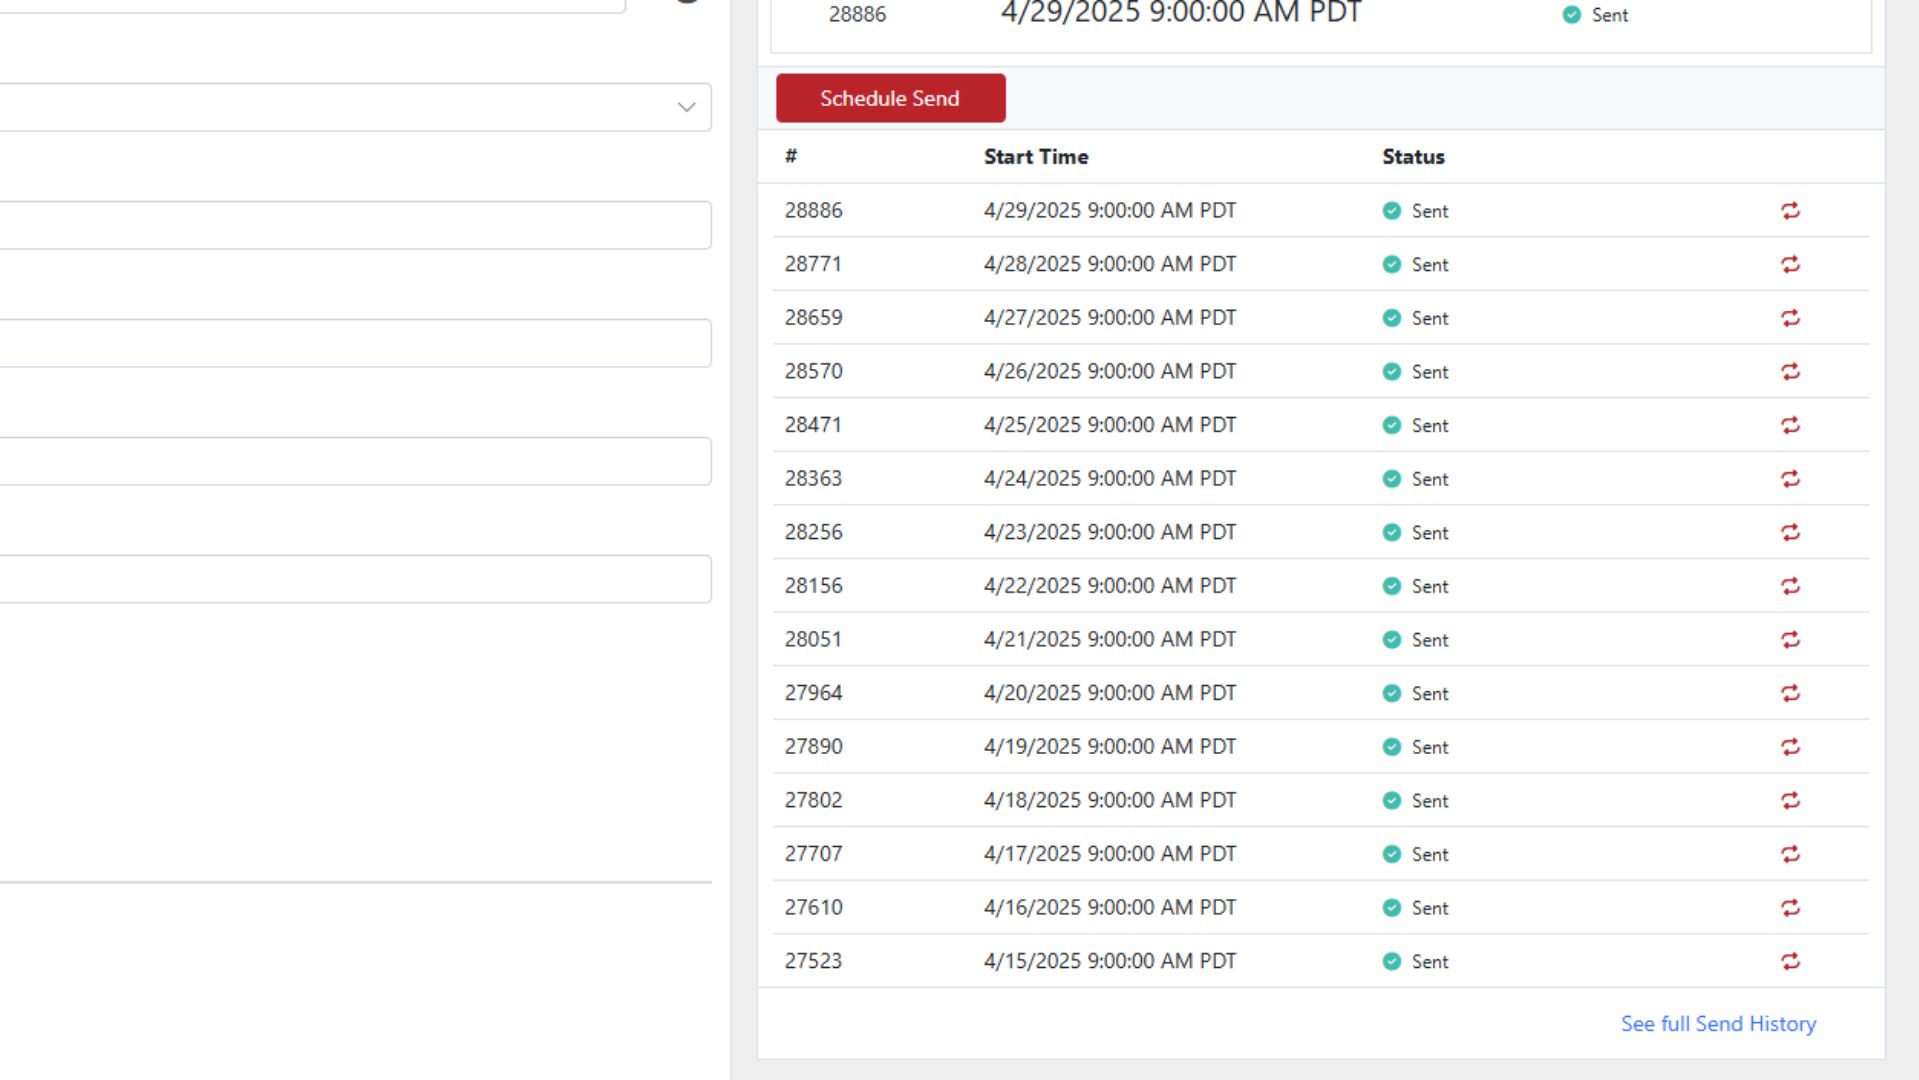
If all contacts received it, sends to least-recently-emailed first
Warm-up Sends
Select Warm-up from Frequency dropdown
Set Start Date and Number of Days
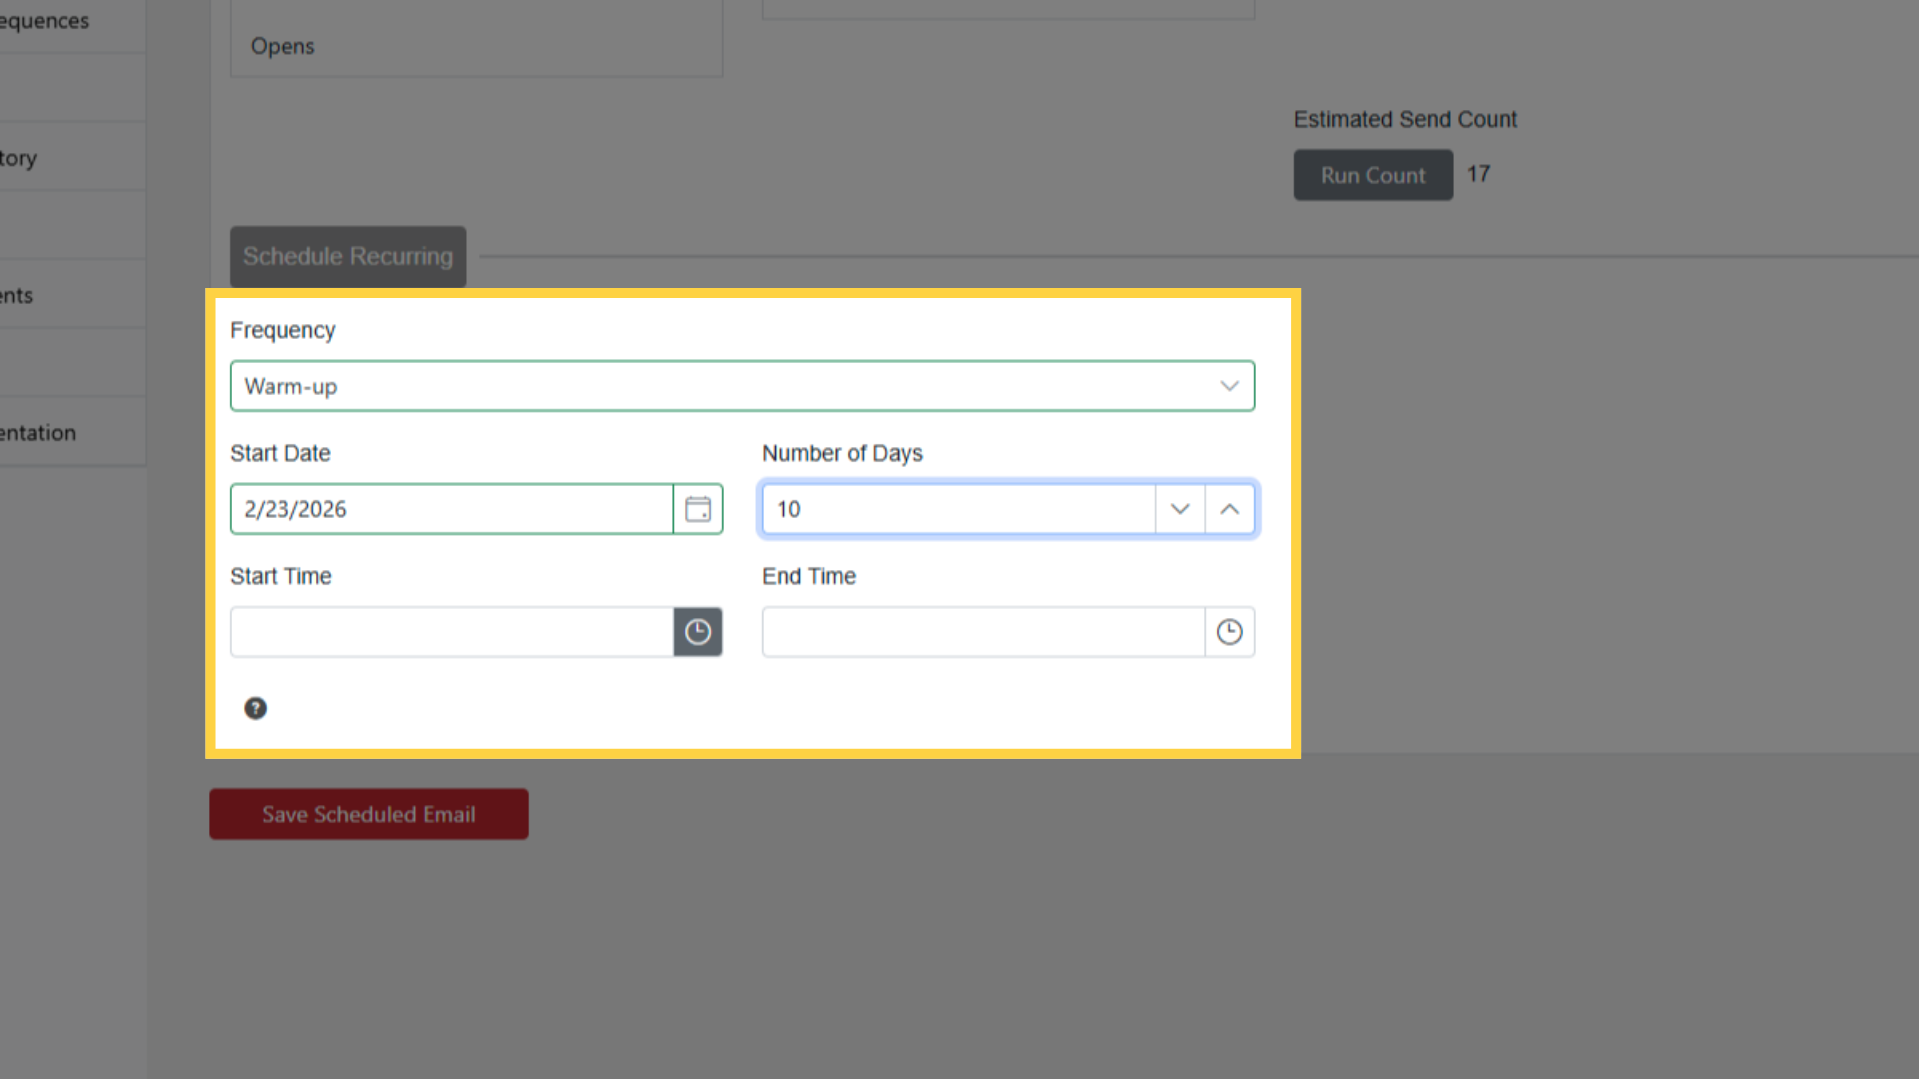
Set Start and End Times per day
Choose Warm-up Strategy:
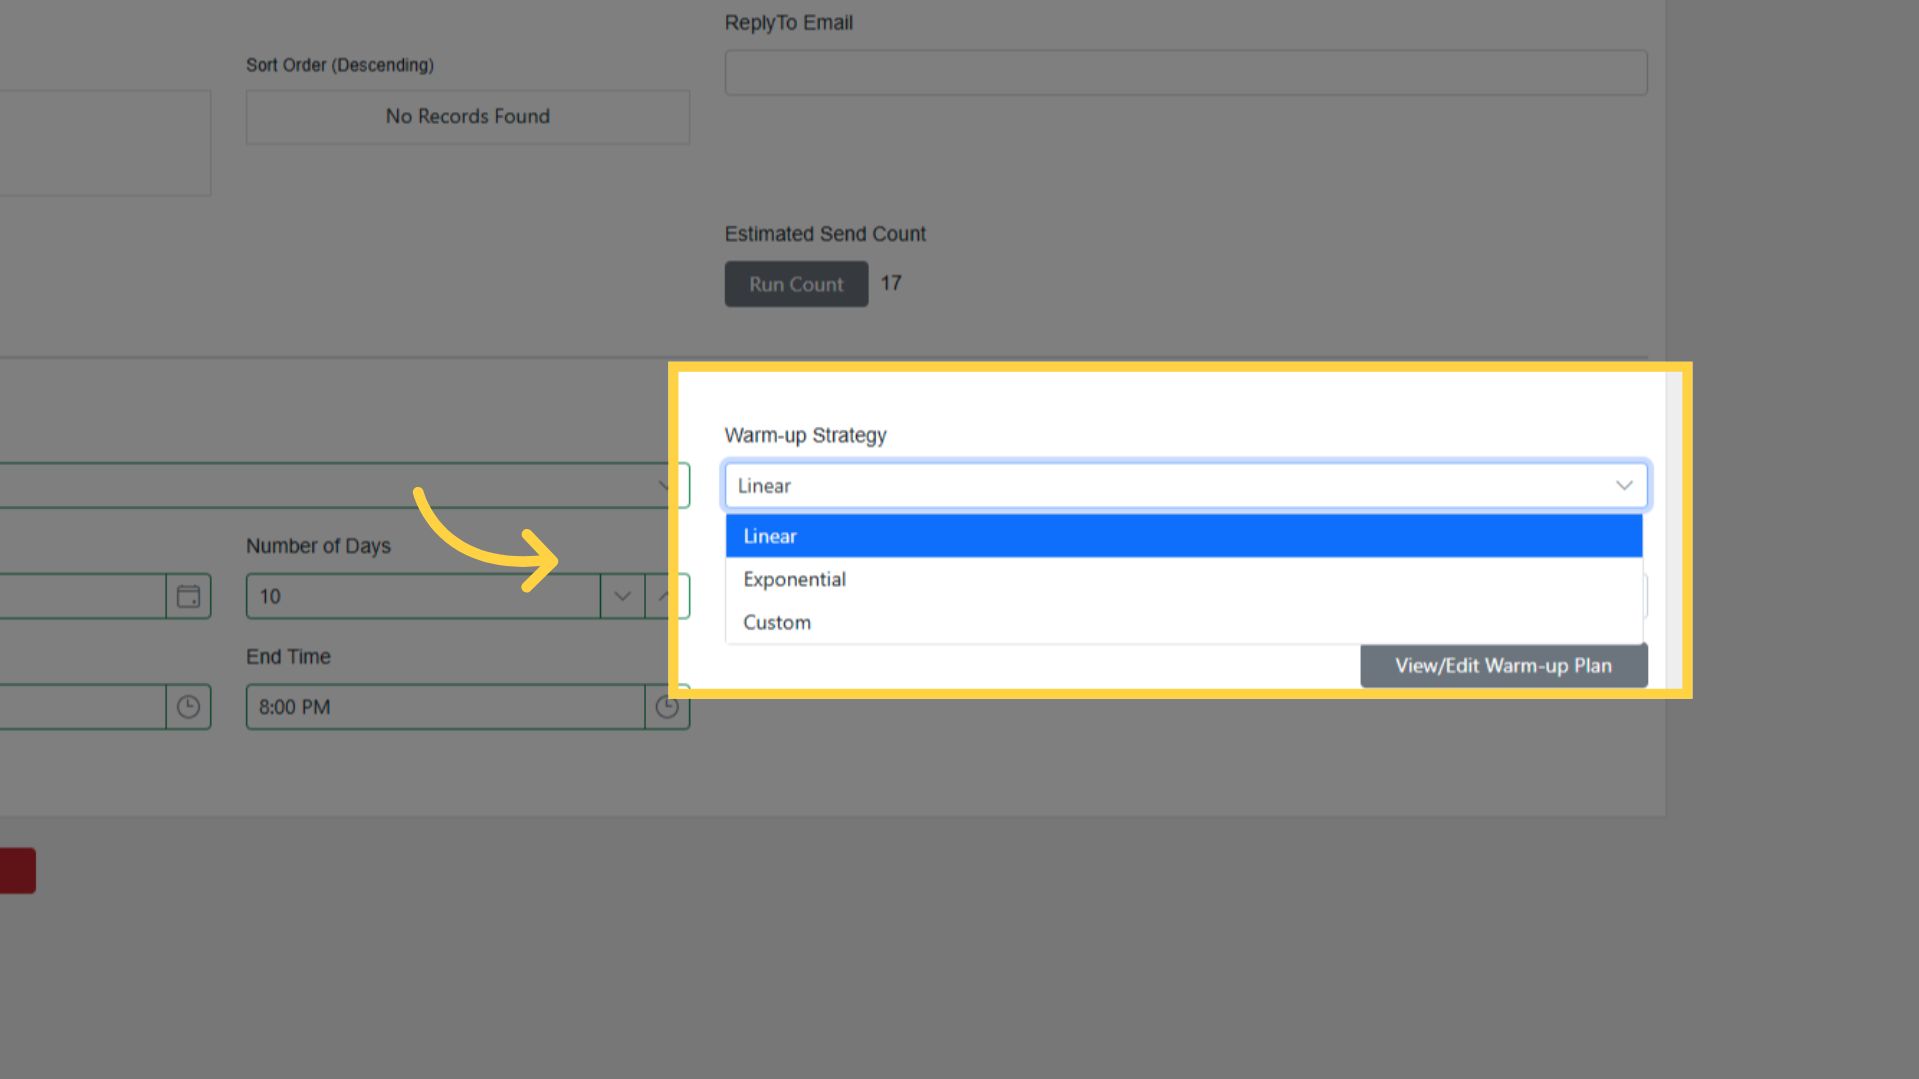
- Linear: same increment added each day
- Exponential: increases by percentage each day
- Custom: define volume per day manually
Set starting volume and increment rate
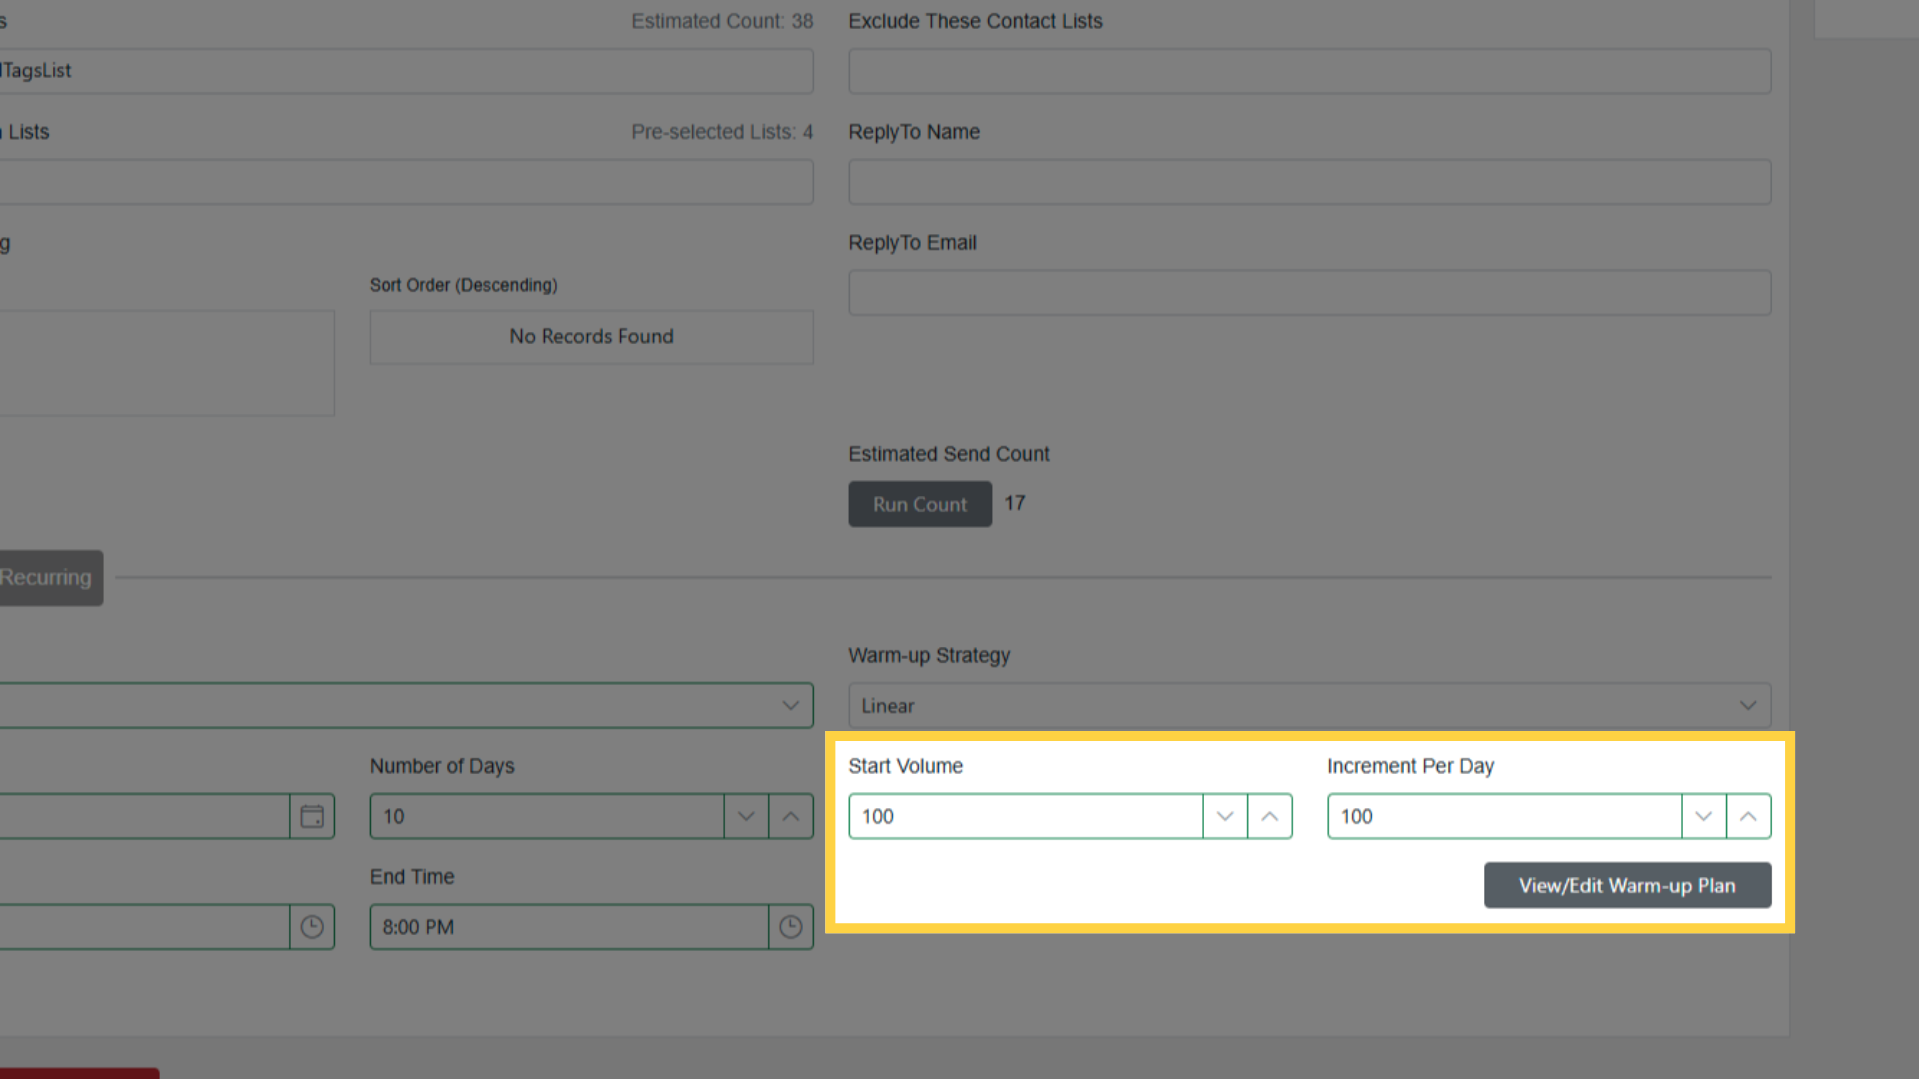
Click View/Edit Warm-up Plan to see daily breakdown
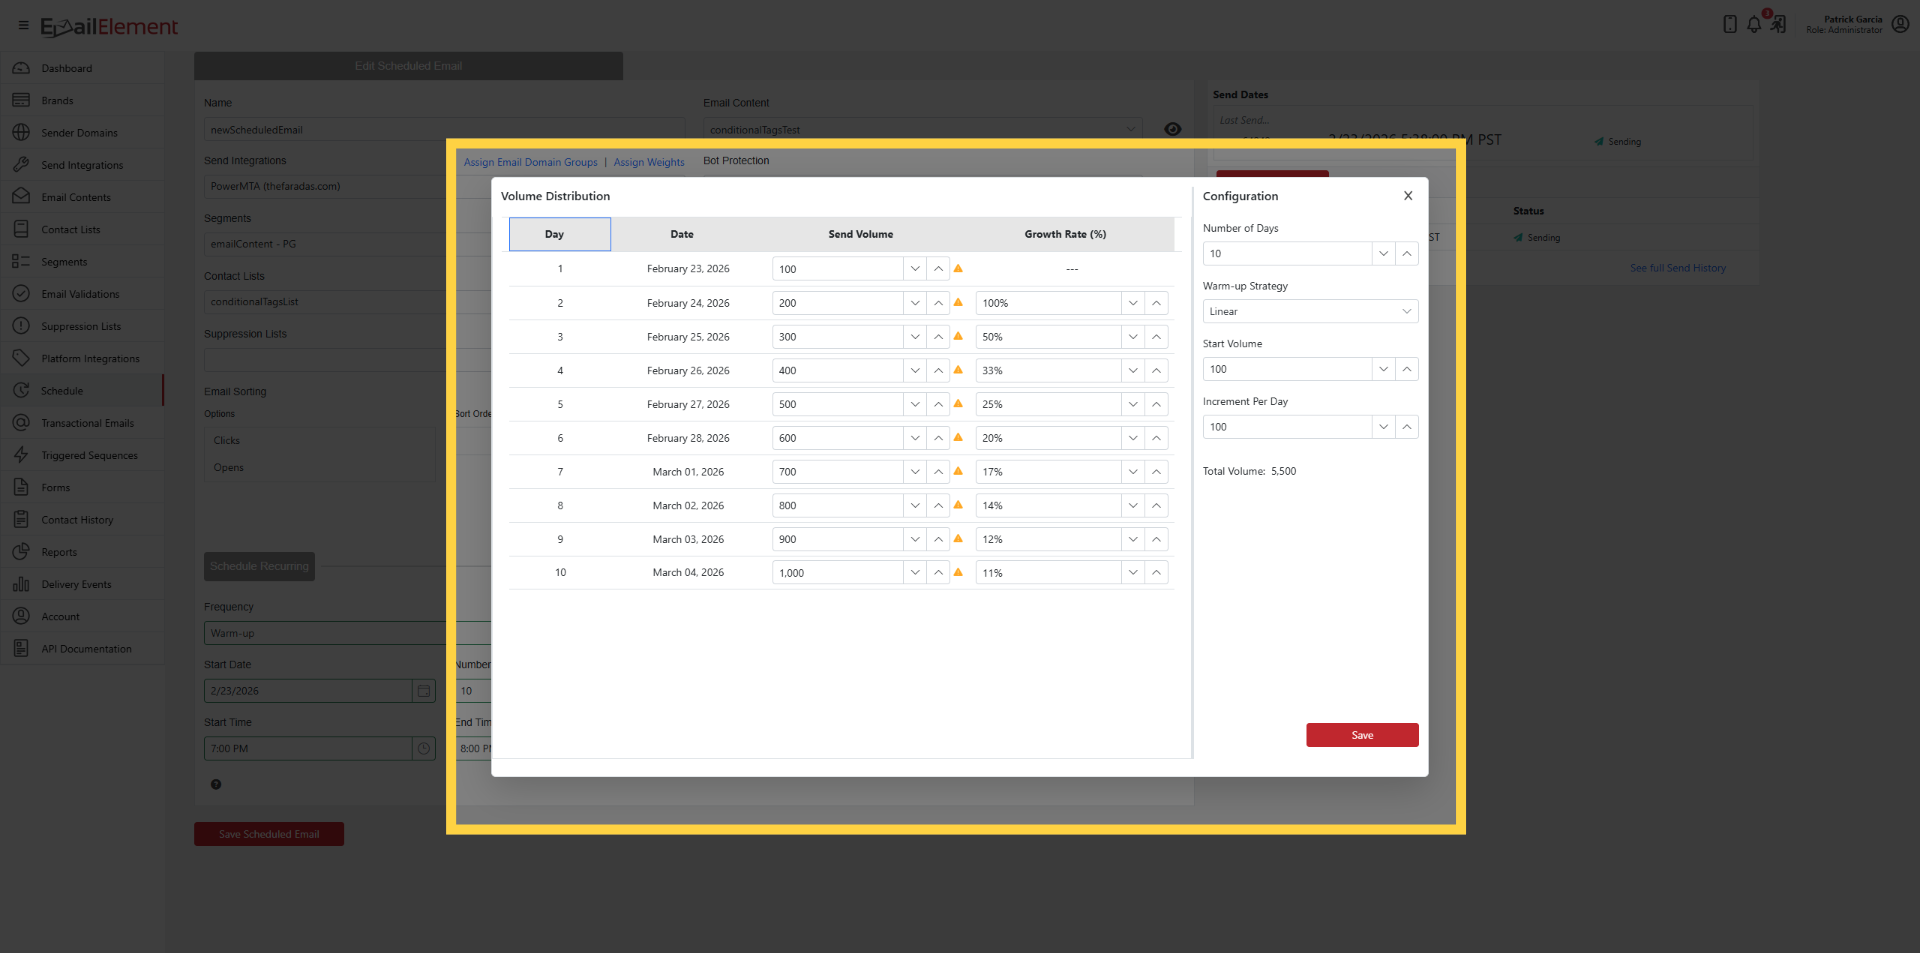
Edit individual days as needed (only unsent days)
Save to start warm-up
Warm-up sends marked with thermometer icon in Send Dates grid