
Auto-Suppression Walkthrough
Overview
Setting a suppression list to download itself from a provider you already use, instead of your uploading a file each time.
Step 1: Create the Suppression List
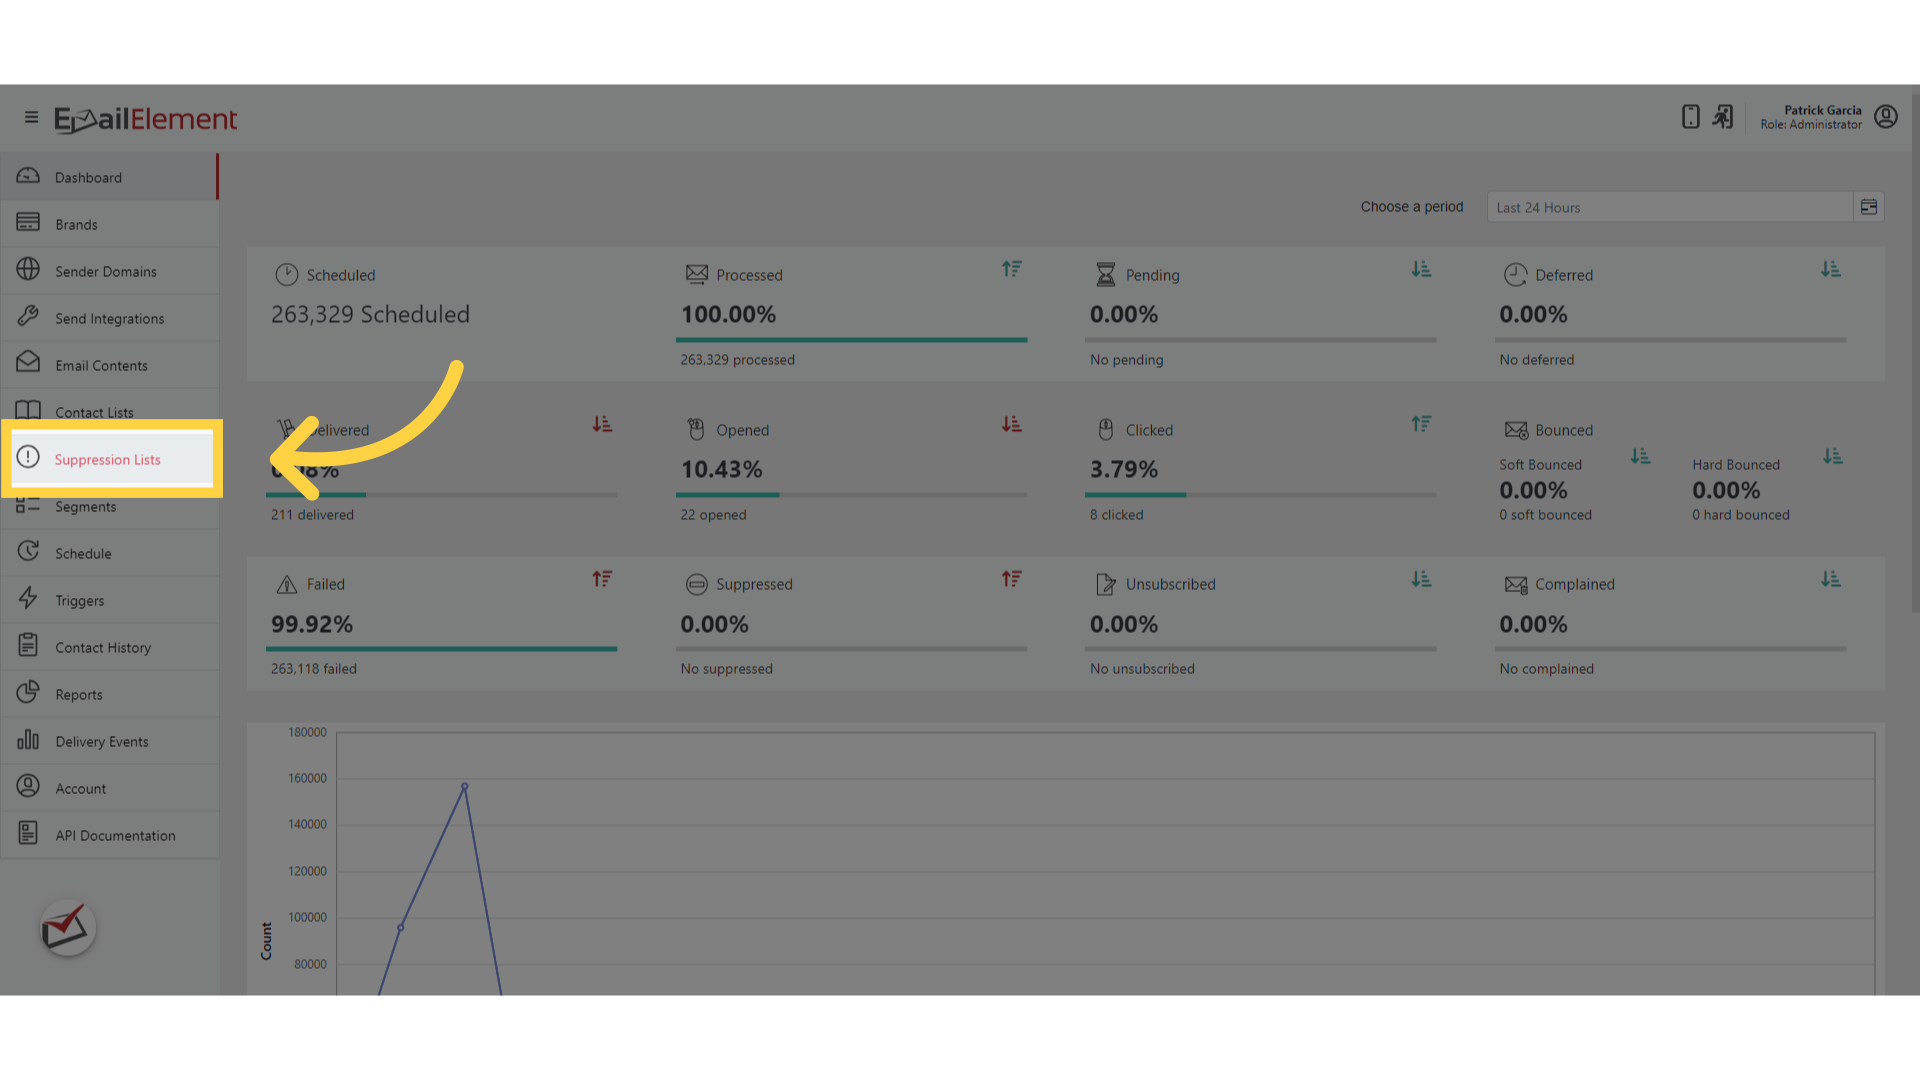
Click Suppression Lists in the navigation panel
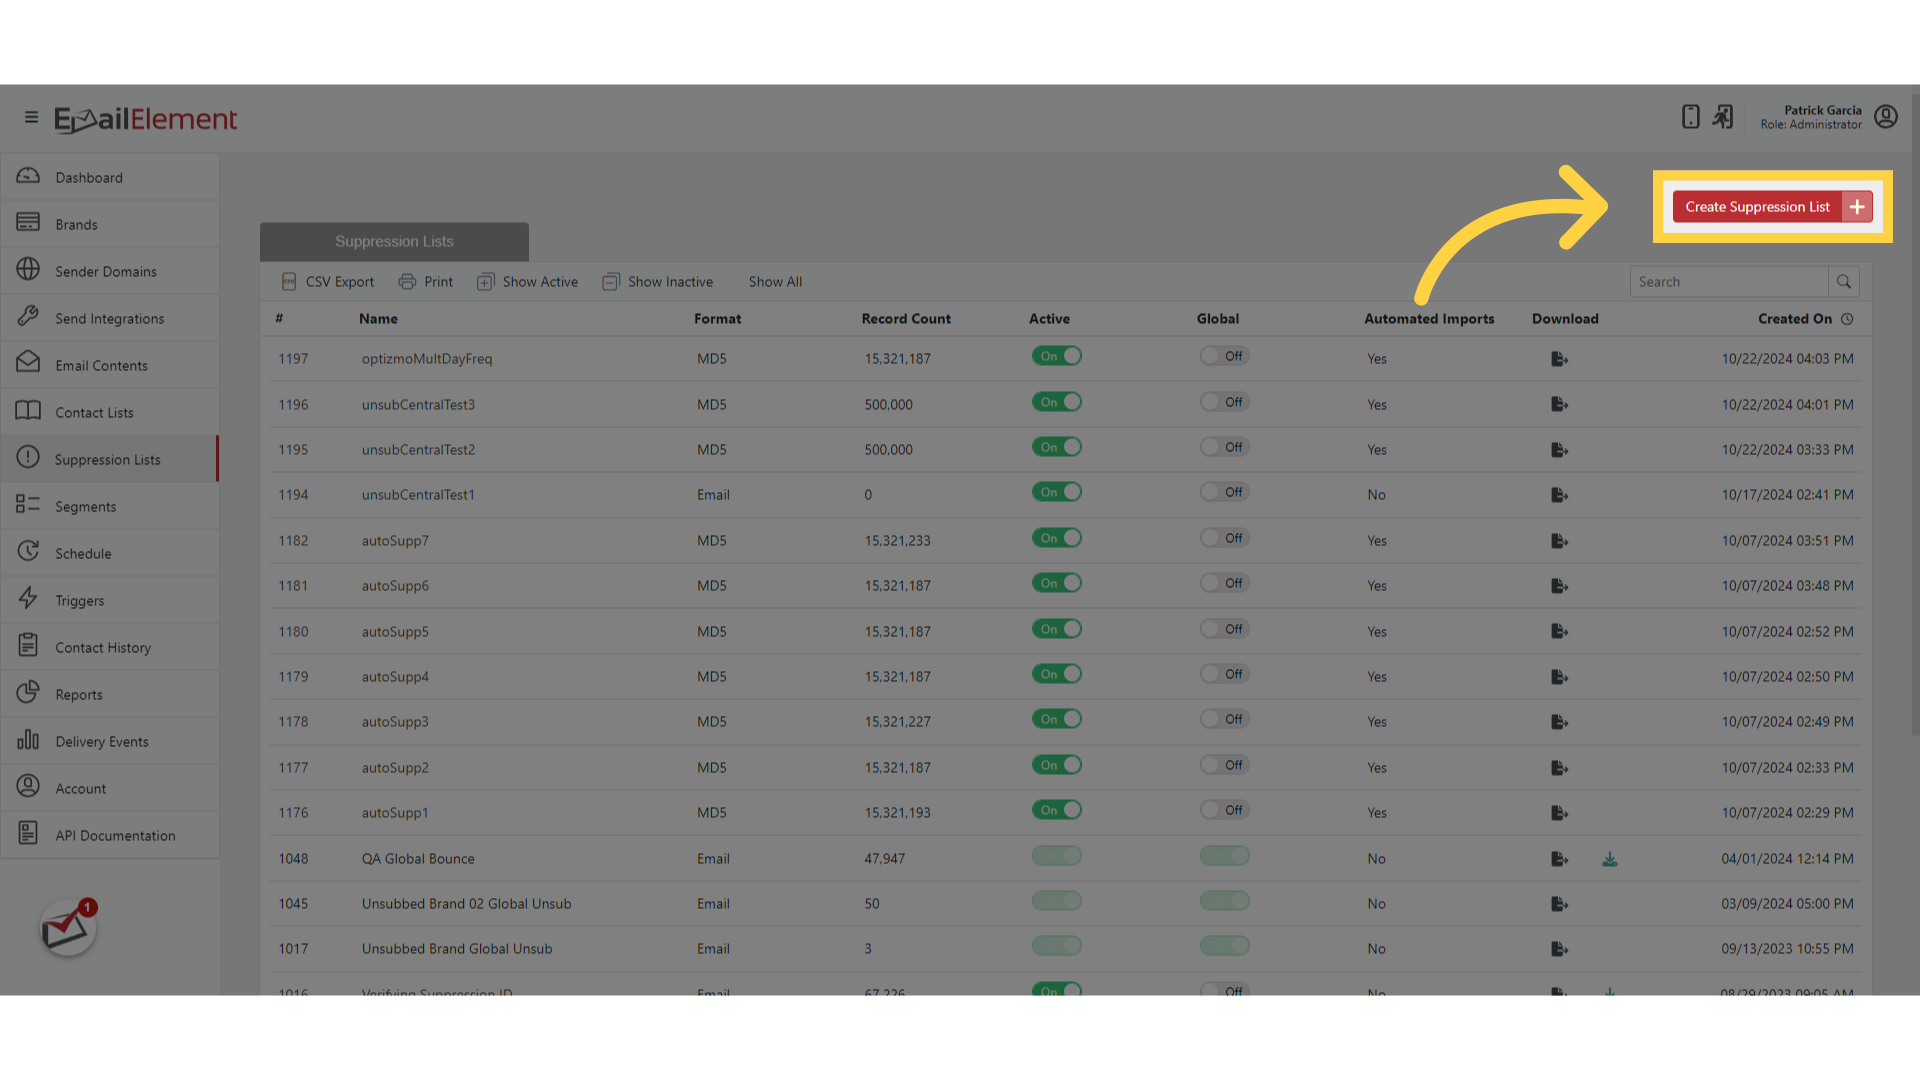
Click Create Suppression List
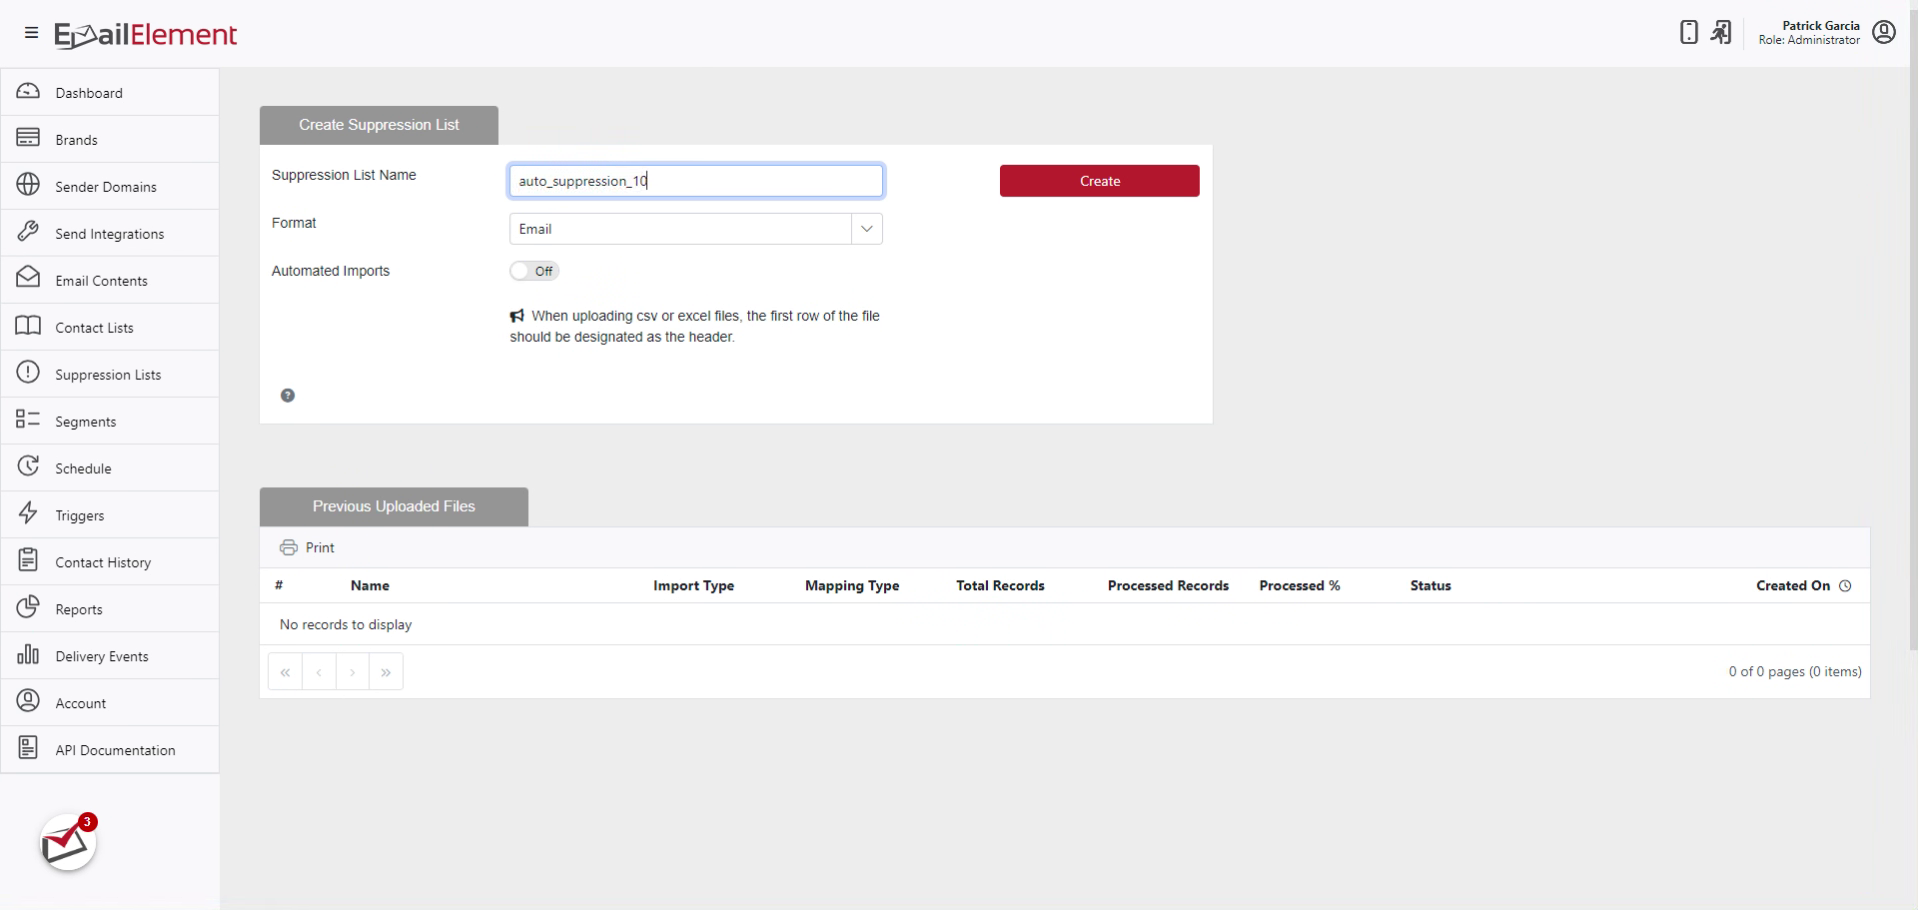
Give it a name
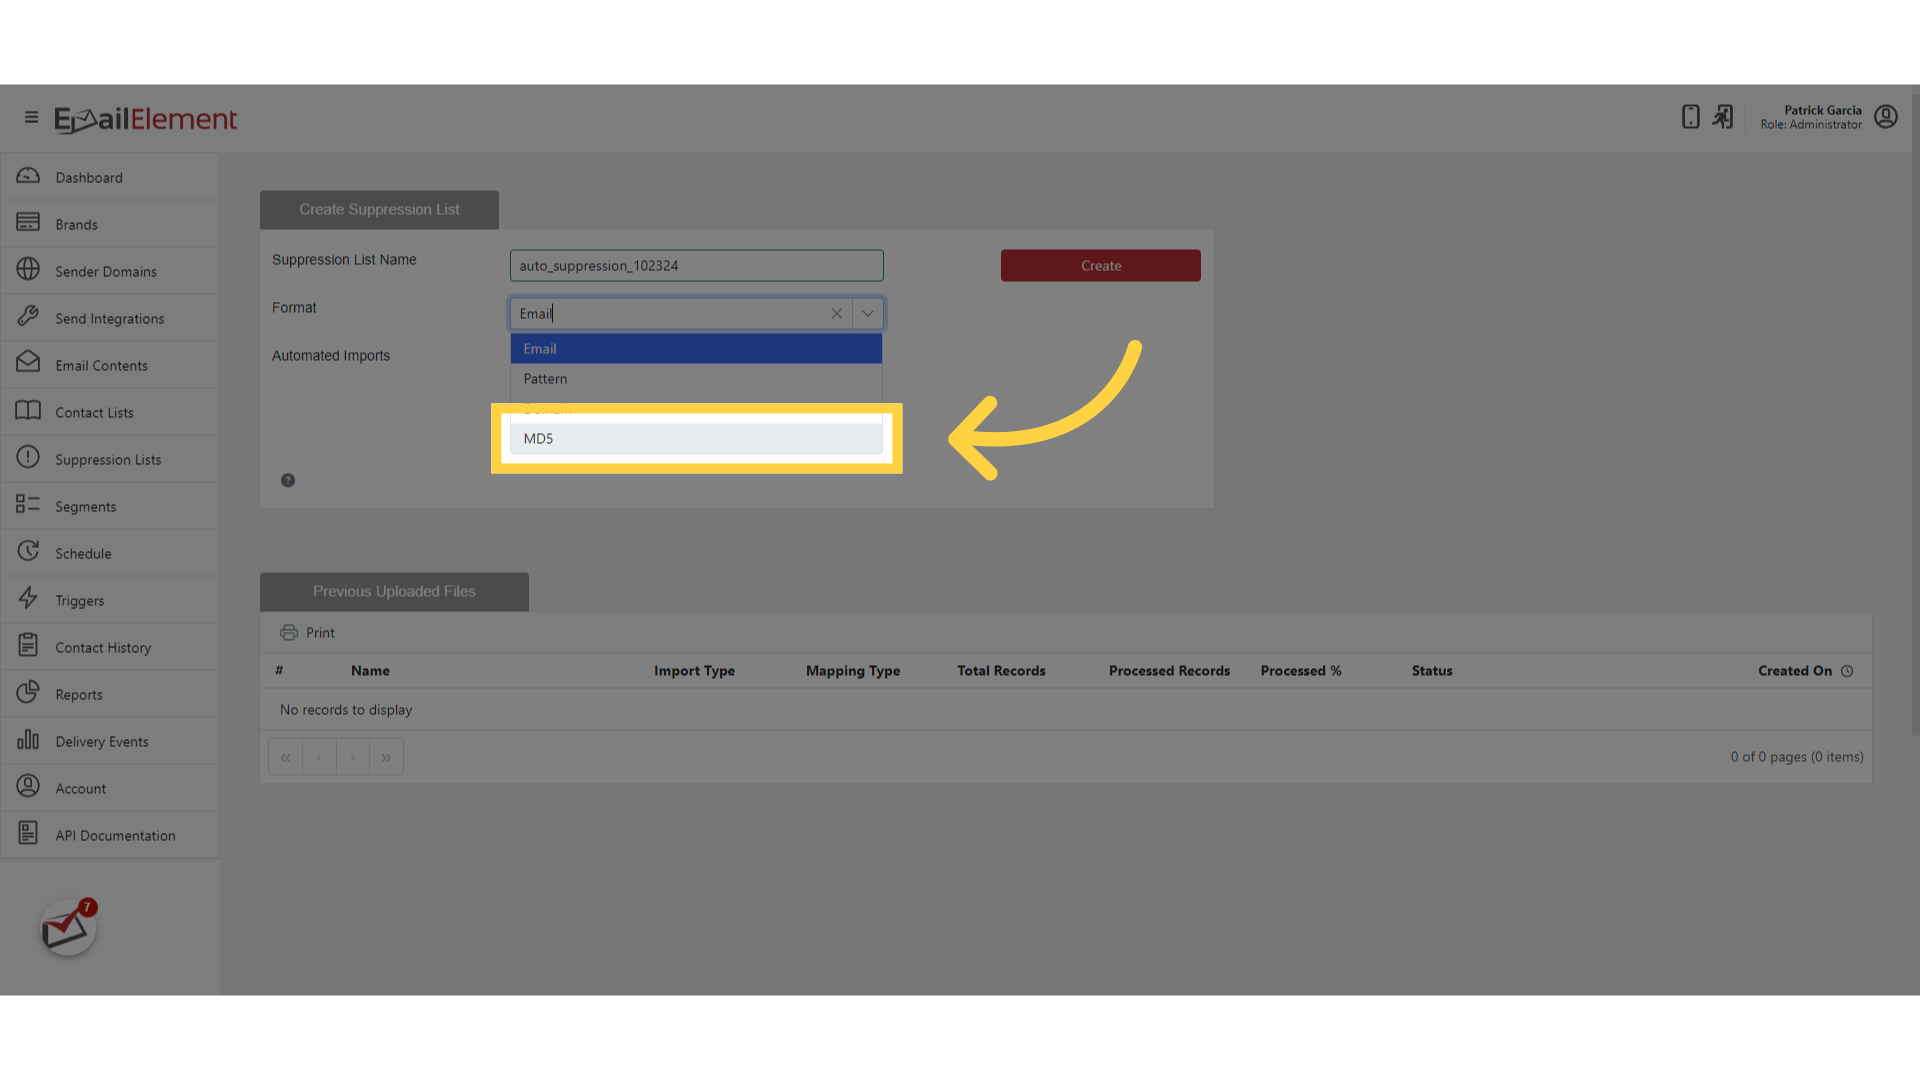
Choose the format your provider sends. MD5 for Optizmo or Cake, Email for EmailMonitor
Click Create to save it
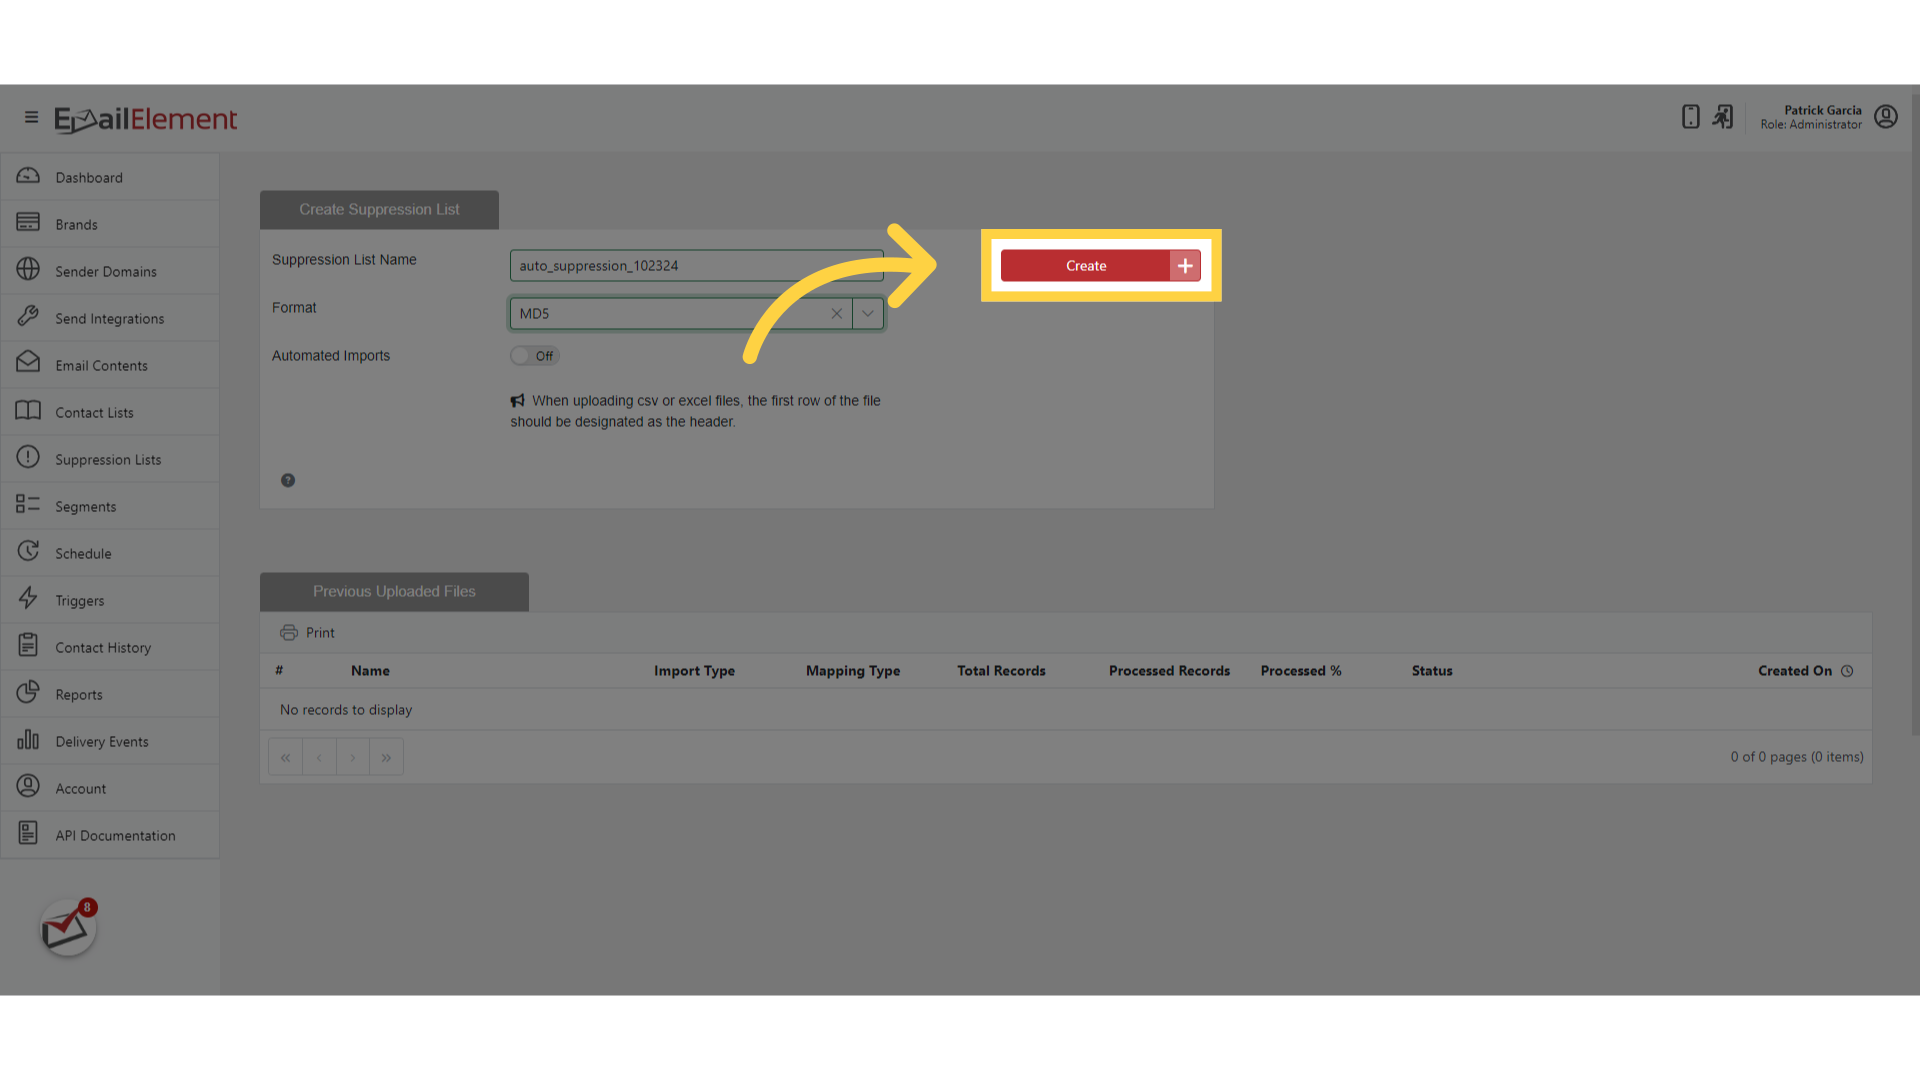
Step 2: Turn On Automated Imports
Switch on Automated Imports
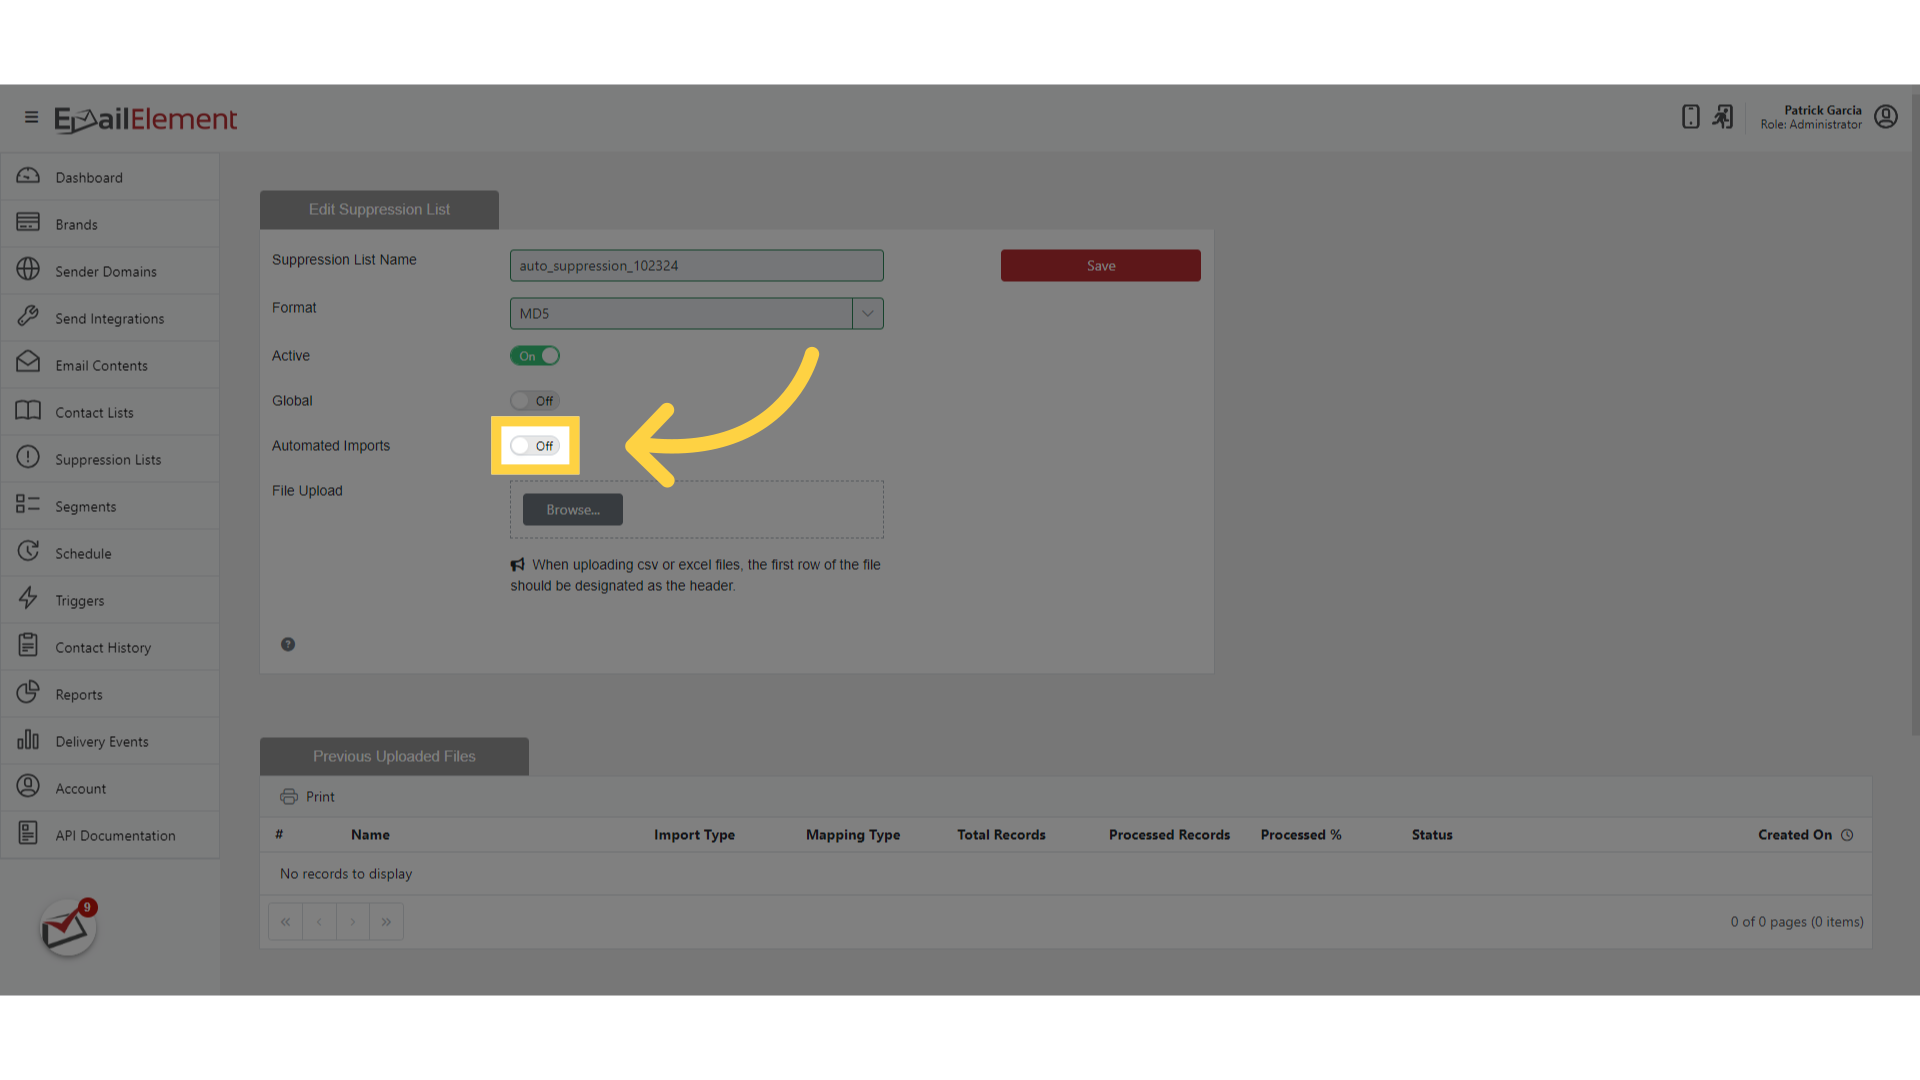
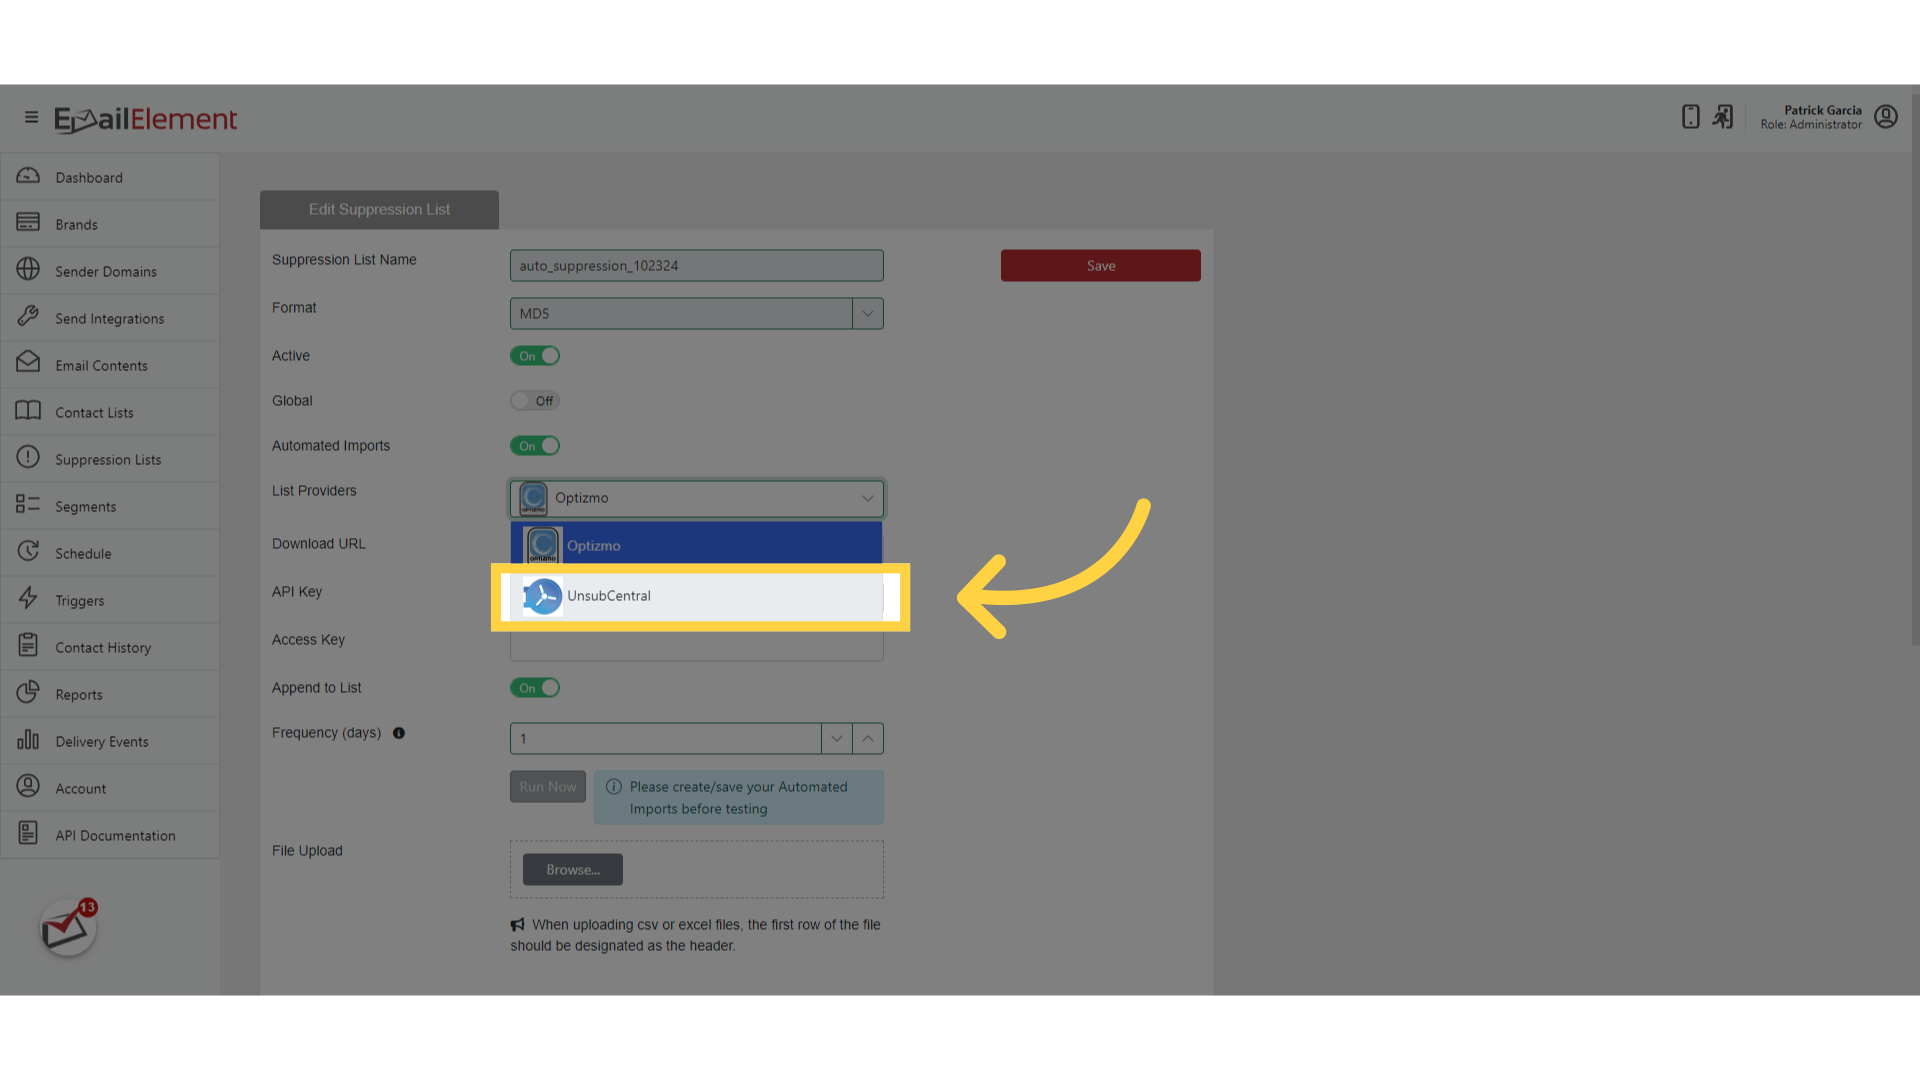
Open the List Providers dropdown
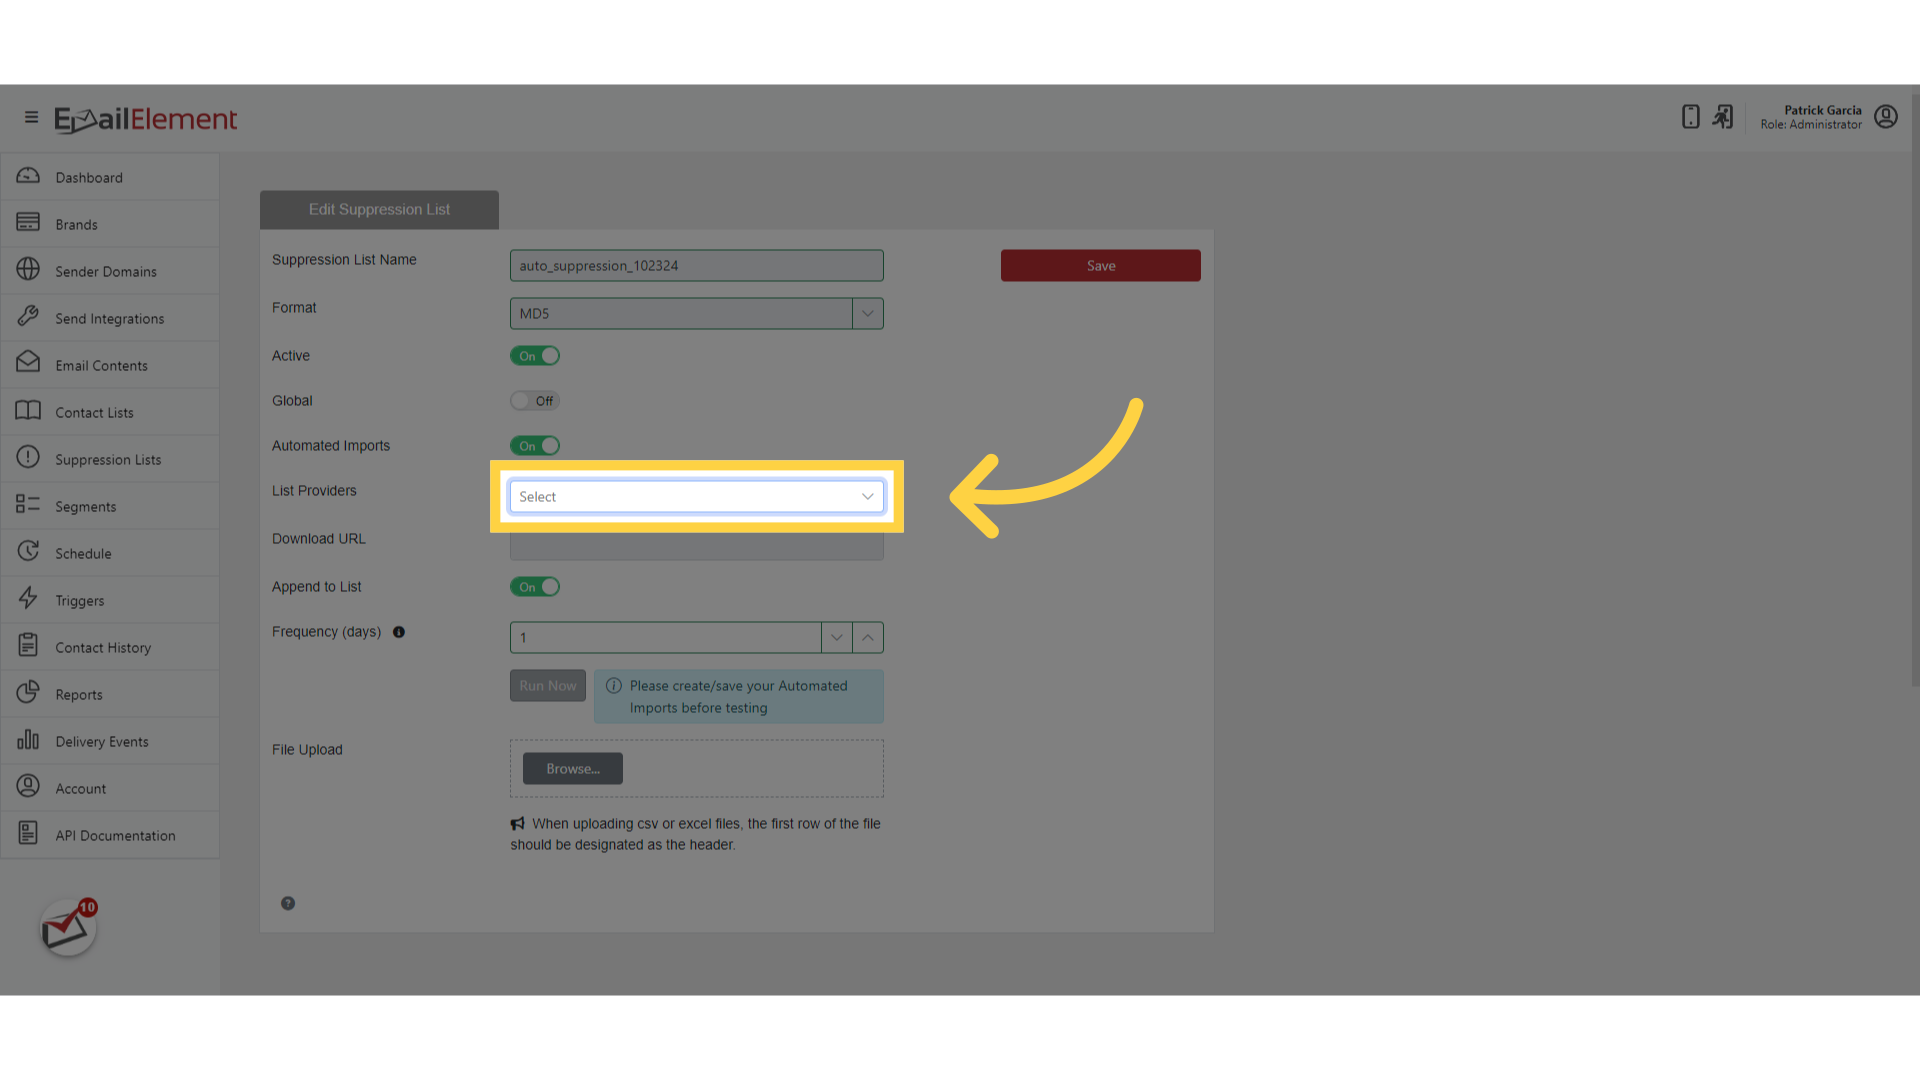
The providers supported today are the ones listed there
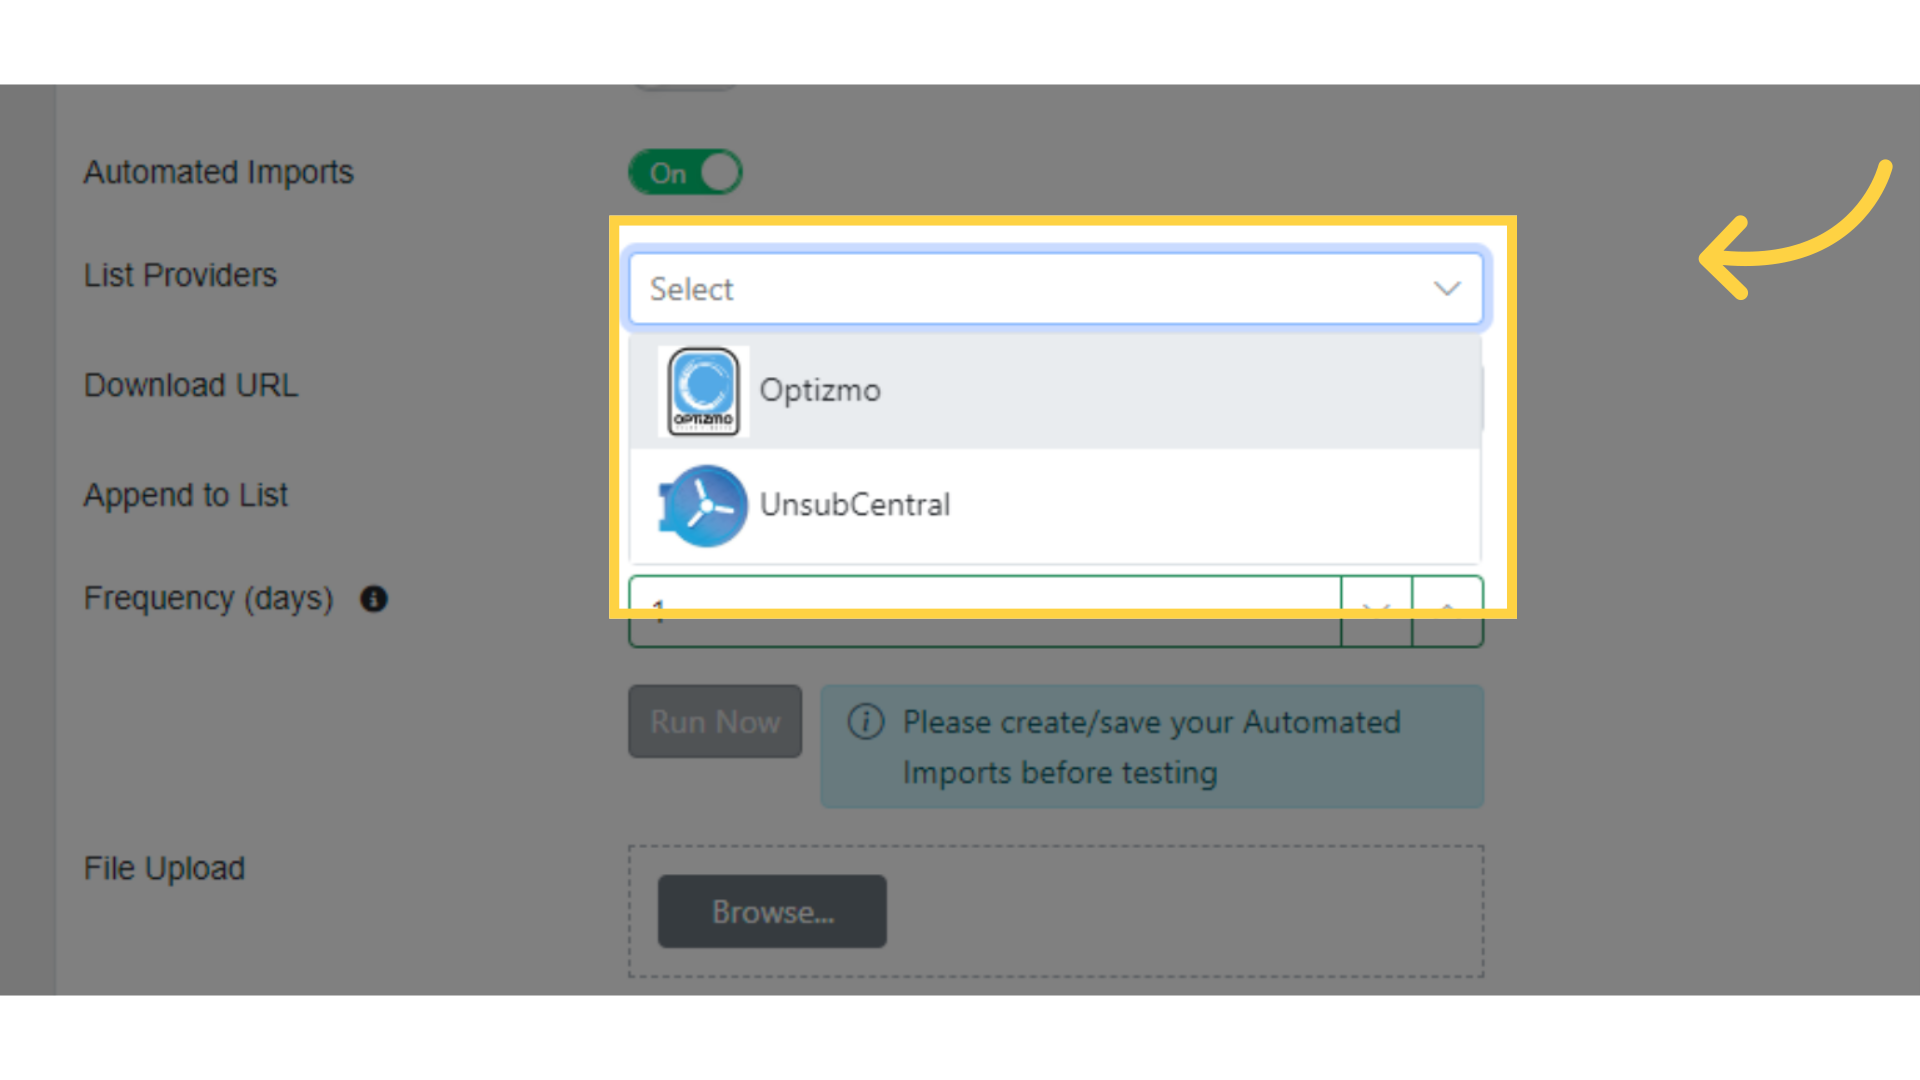
Pick the one you use
Step 3: Fill In the Provider's Fields
Choosing a provider brings up the fields that provider needs
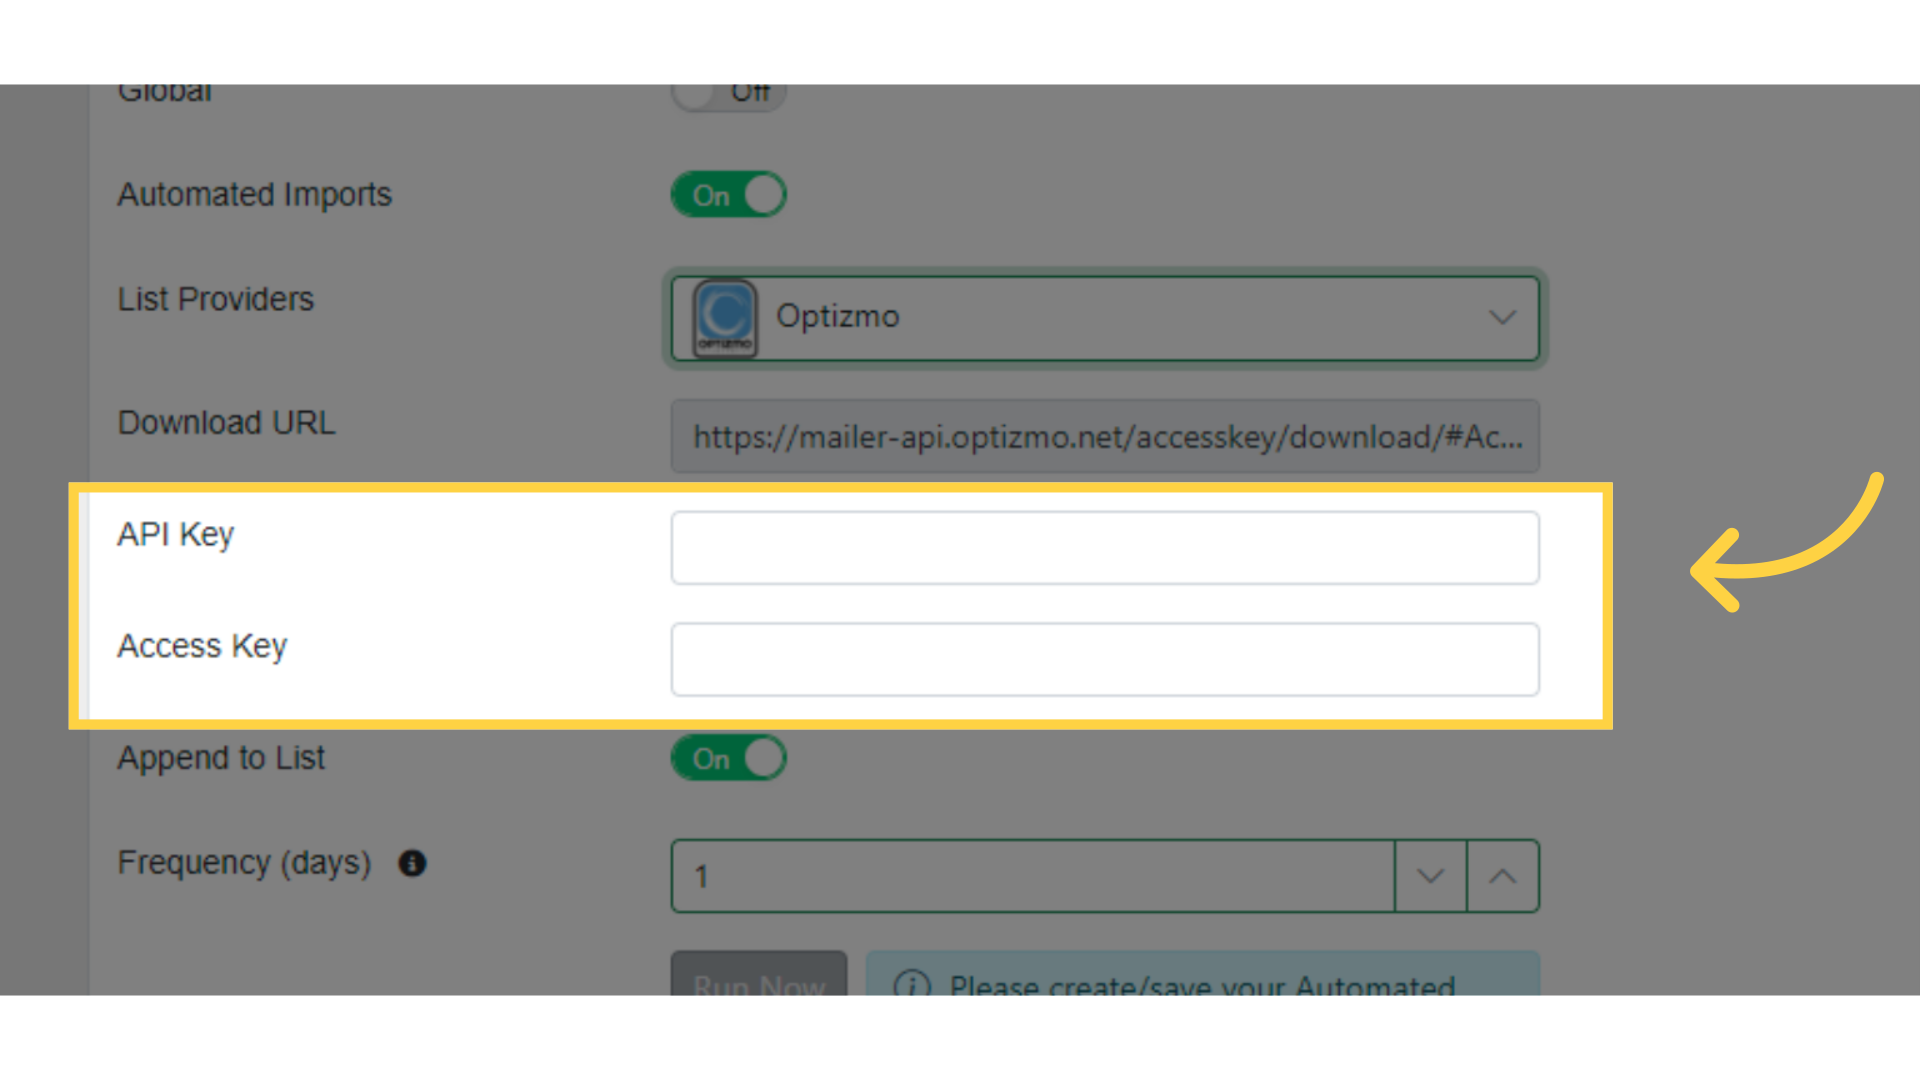
The Download URL fills itself in once a provider is chosen
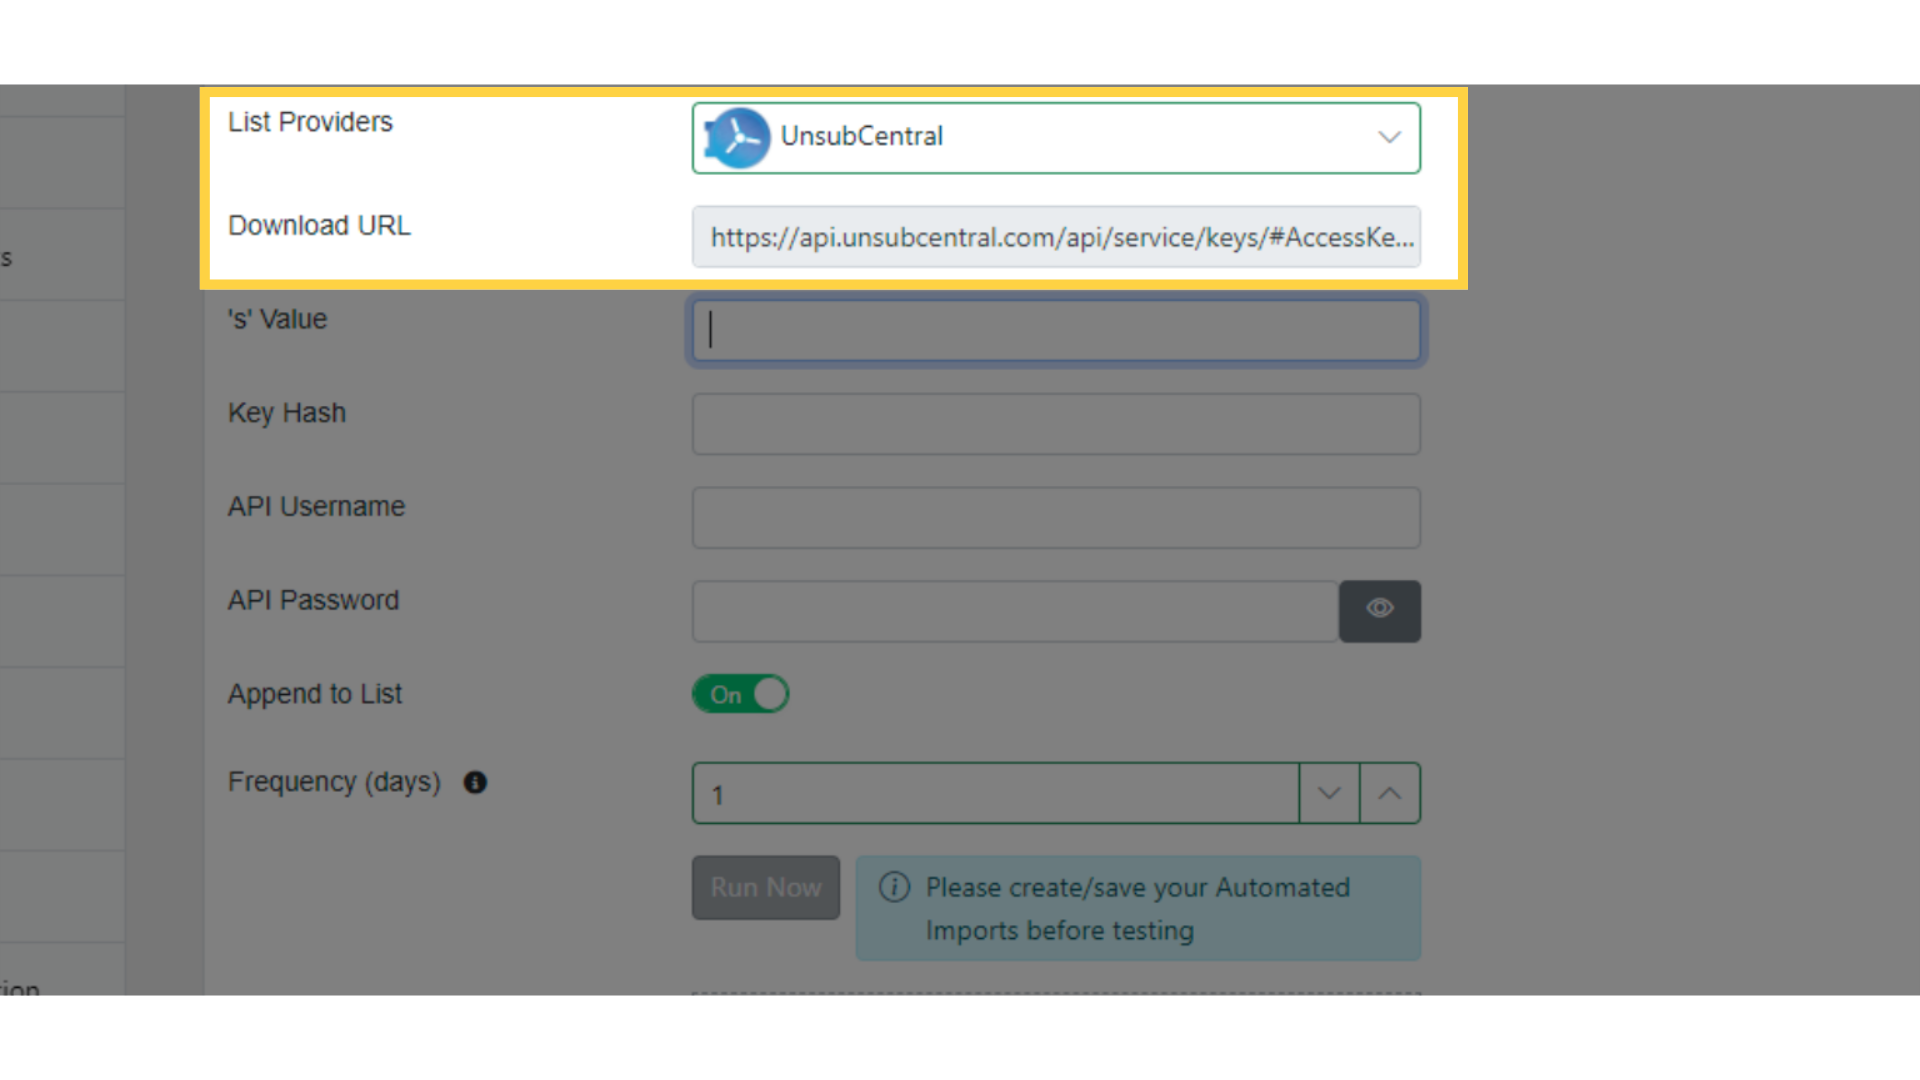
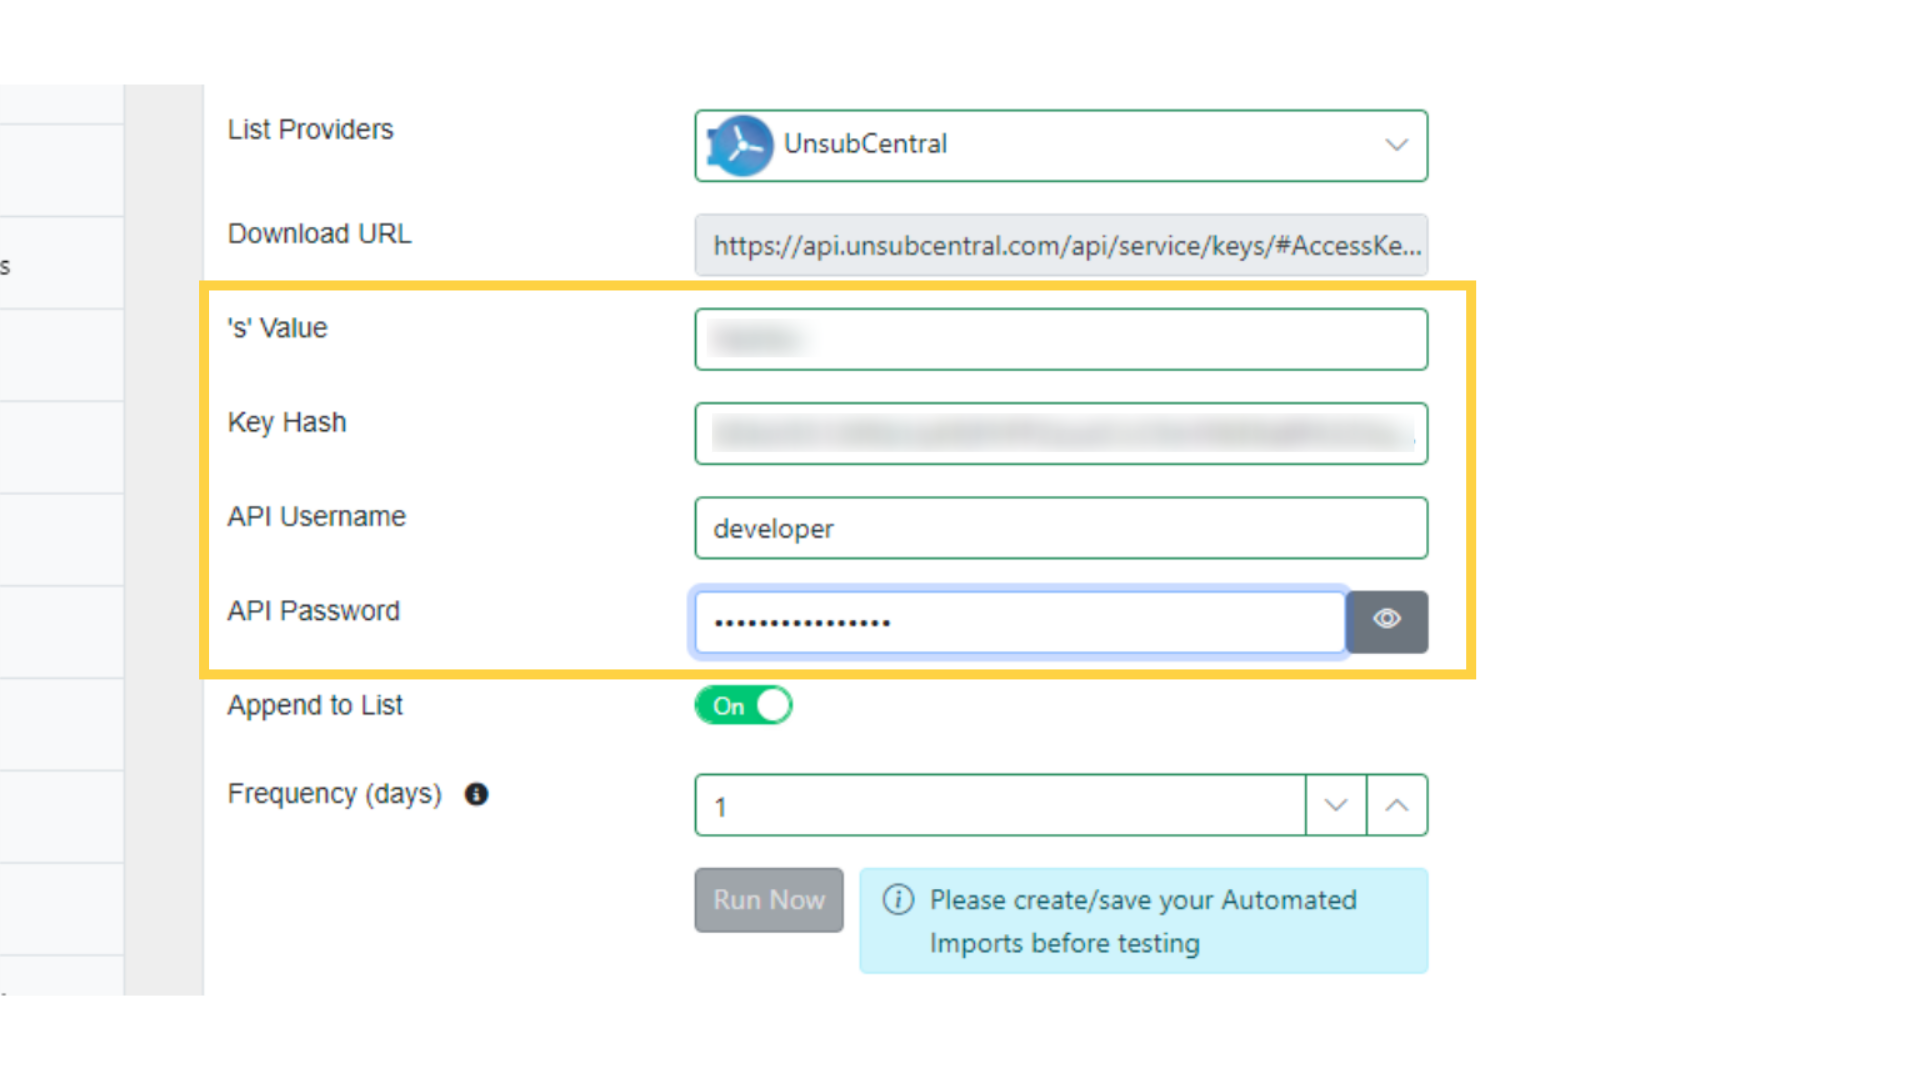
Fill in the rest from your account with that provider
Step 4: Set How Often It Runs
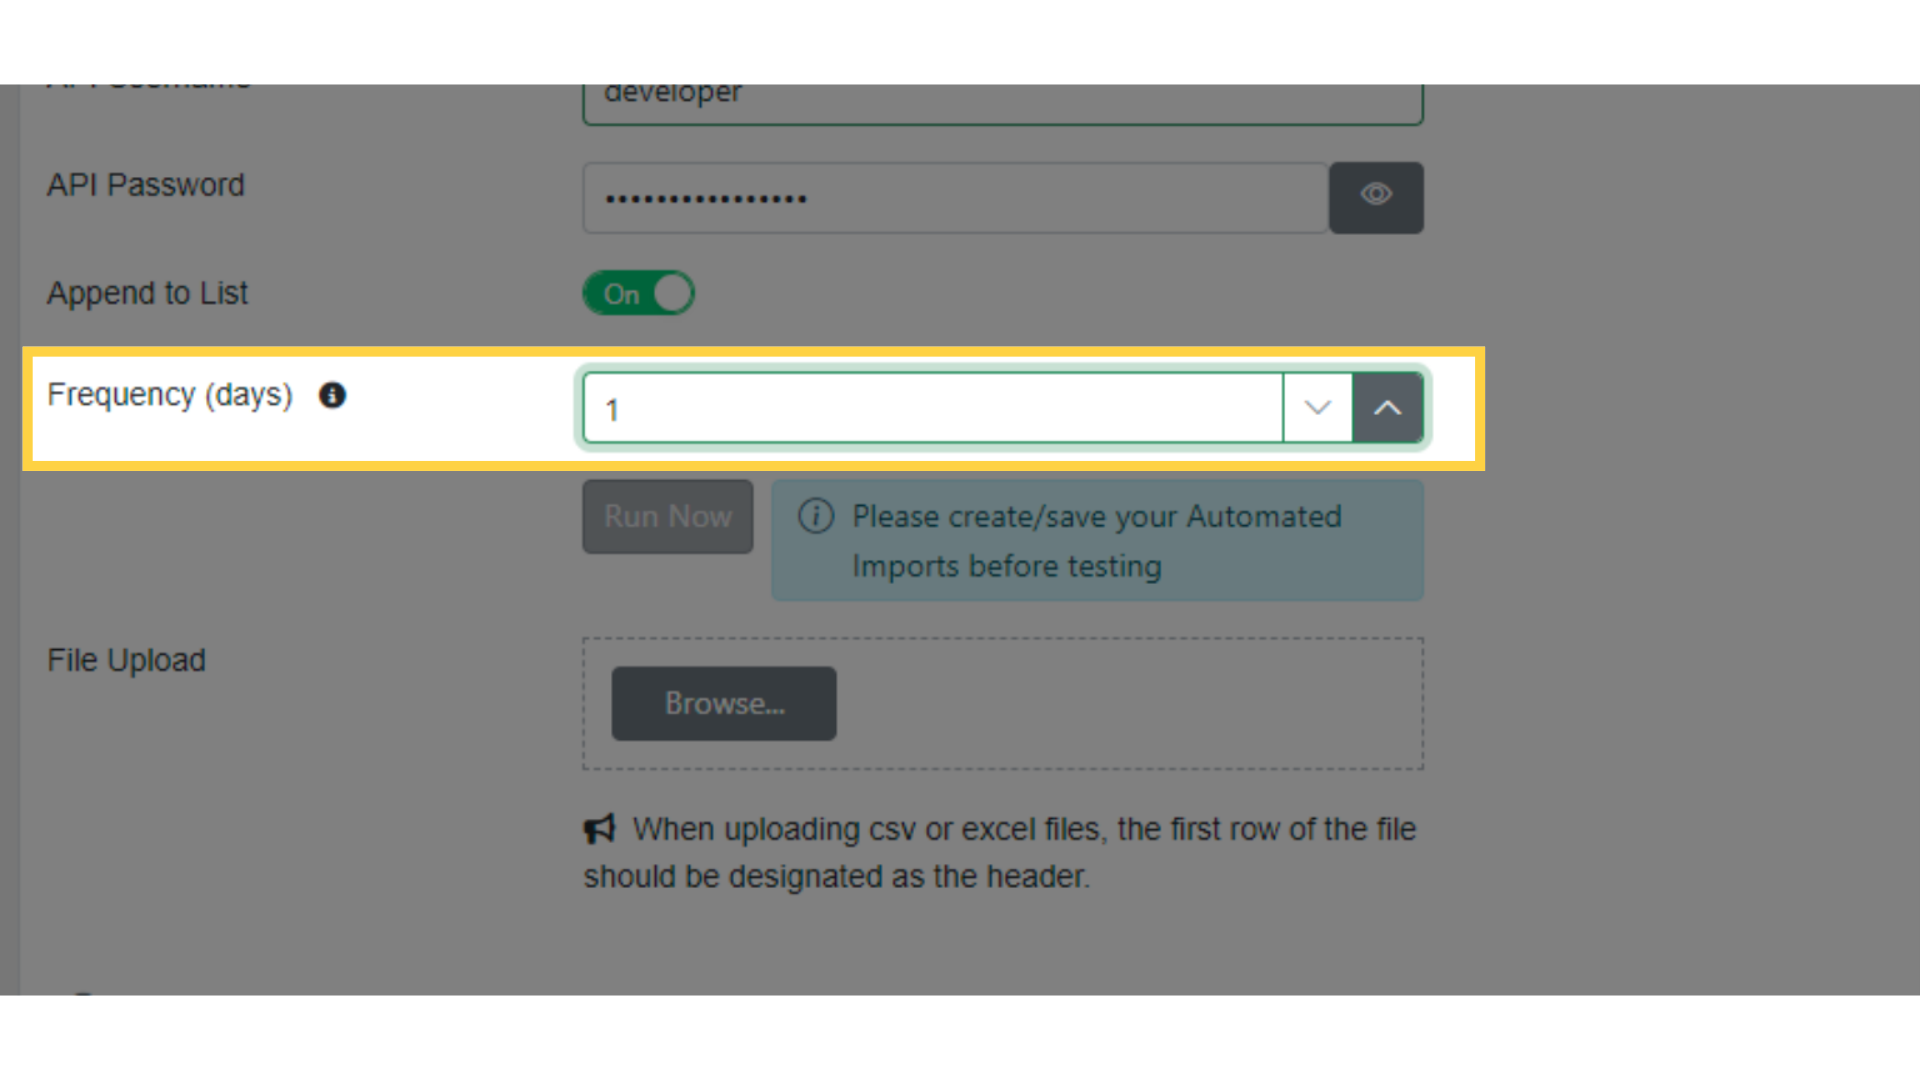
Frequency is how often the list downloads itself, from one day to fourteen
Step 5: Save It, Then Run It
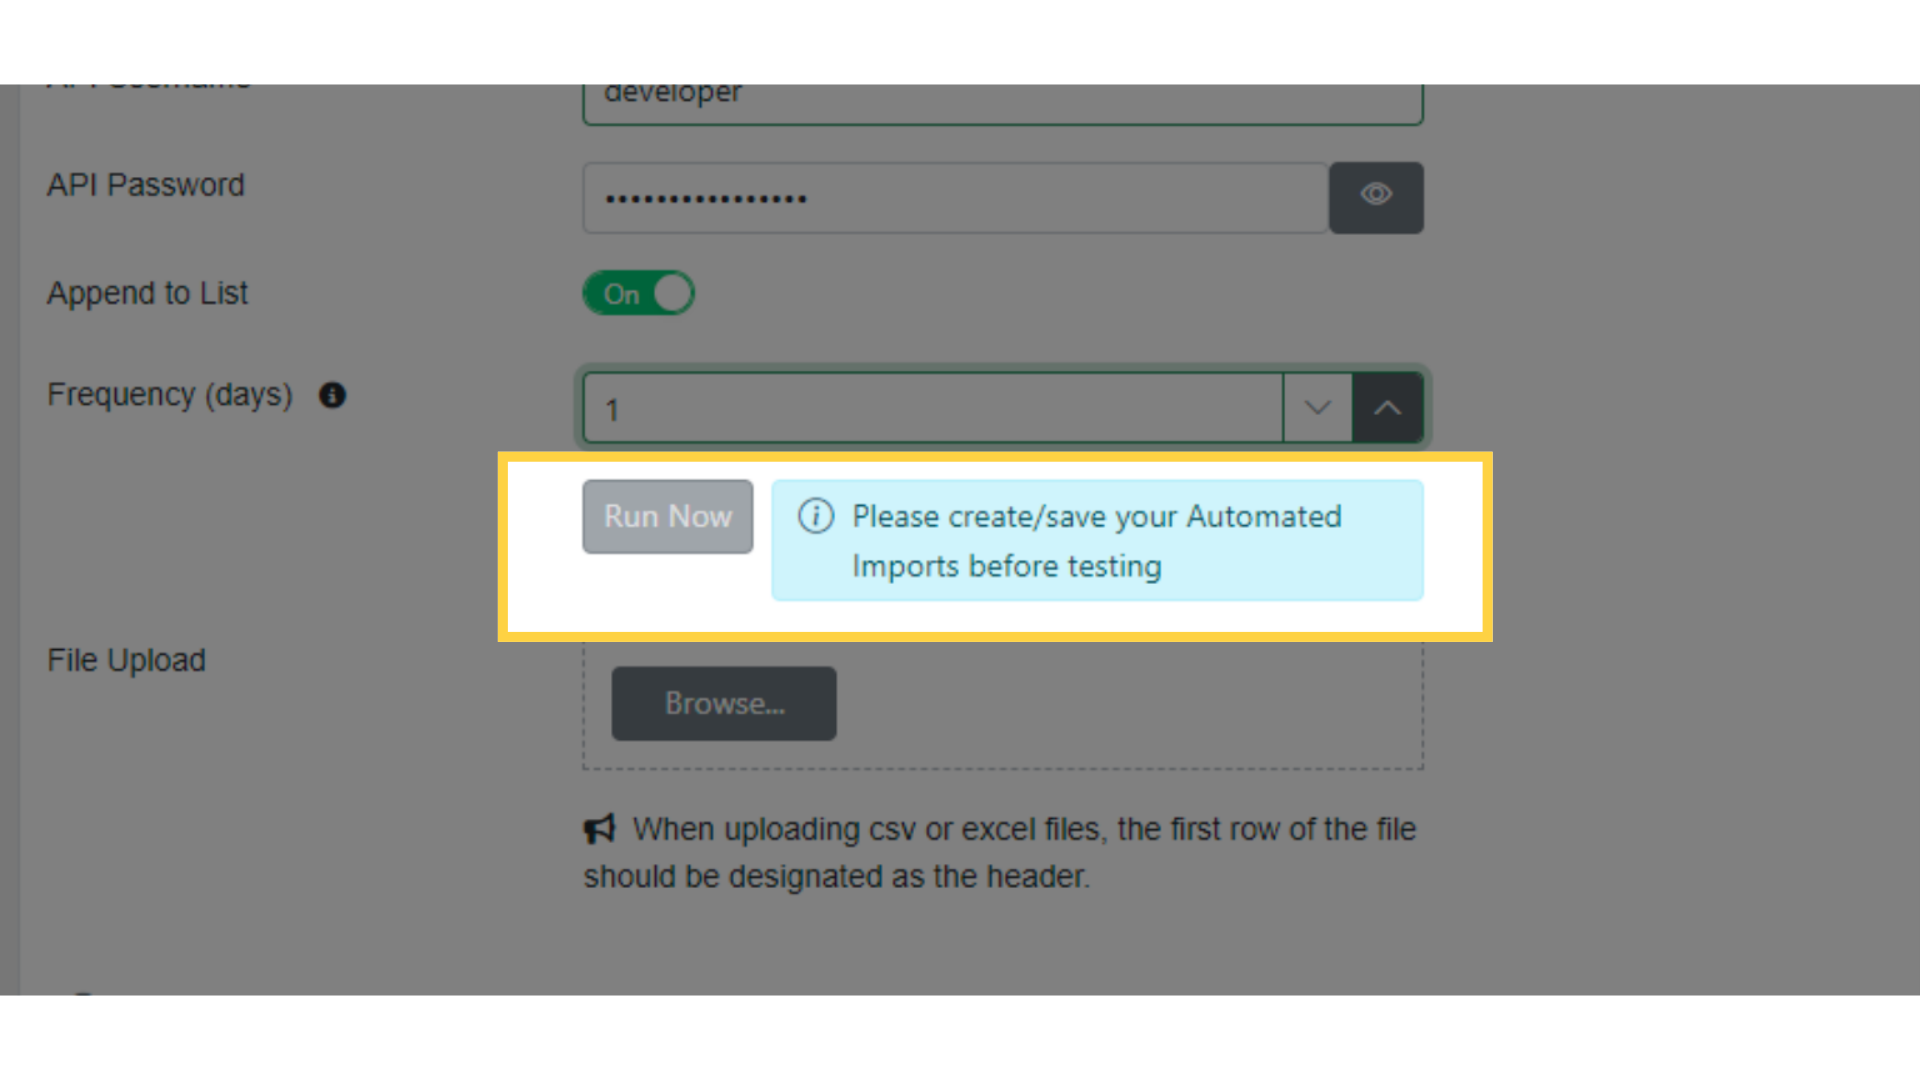
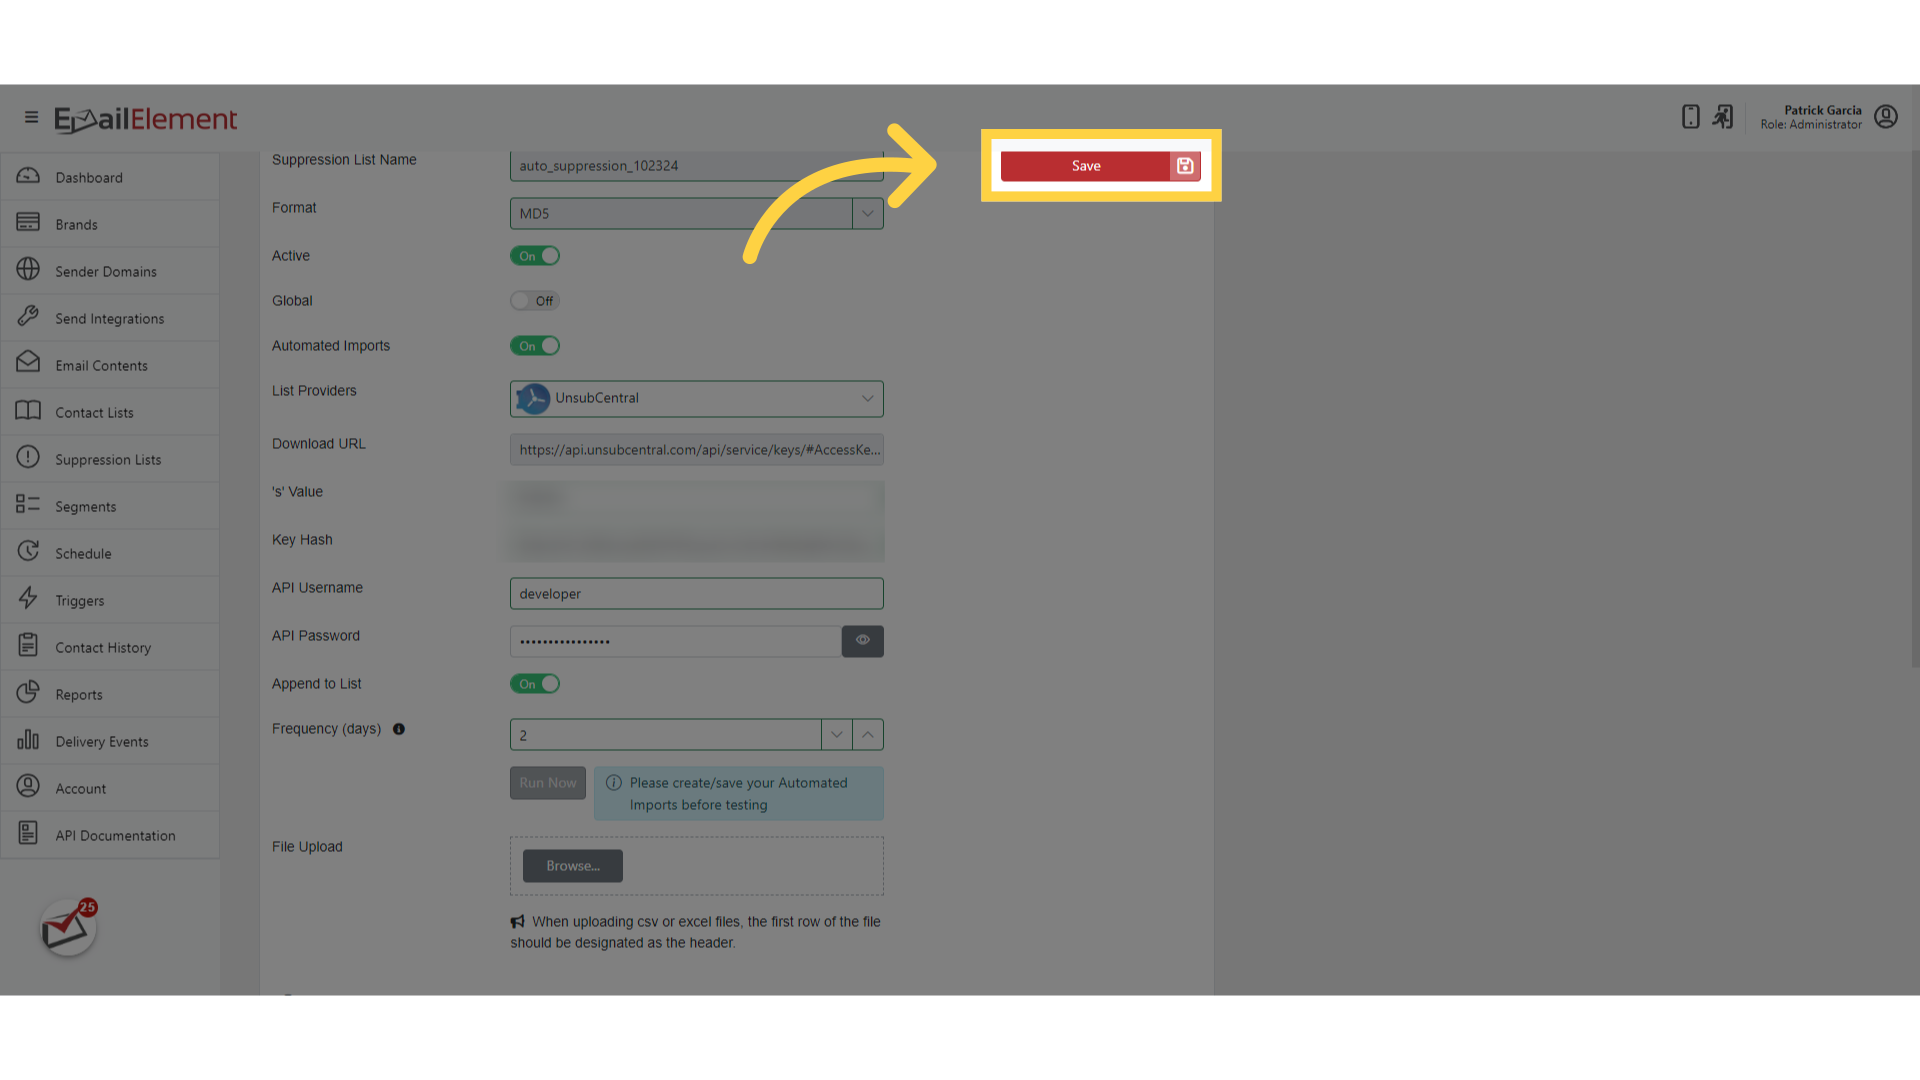
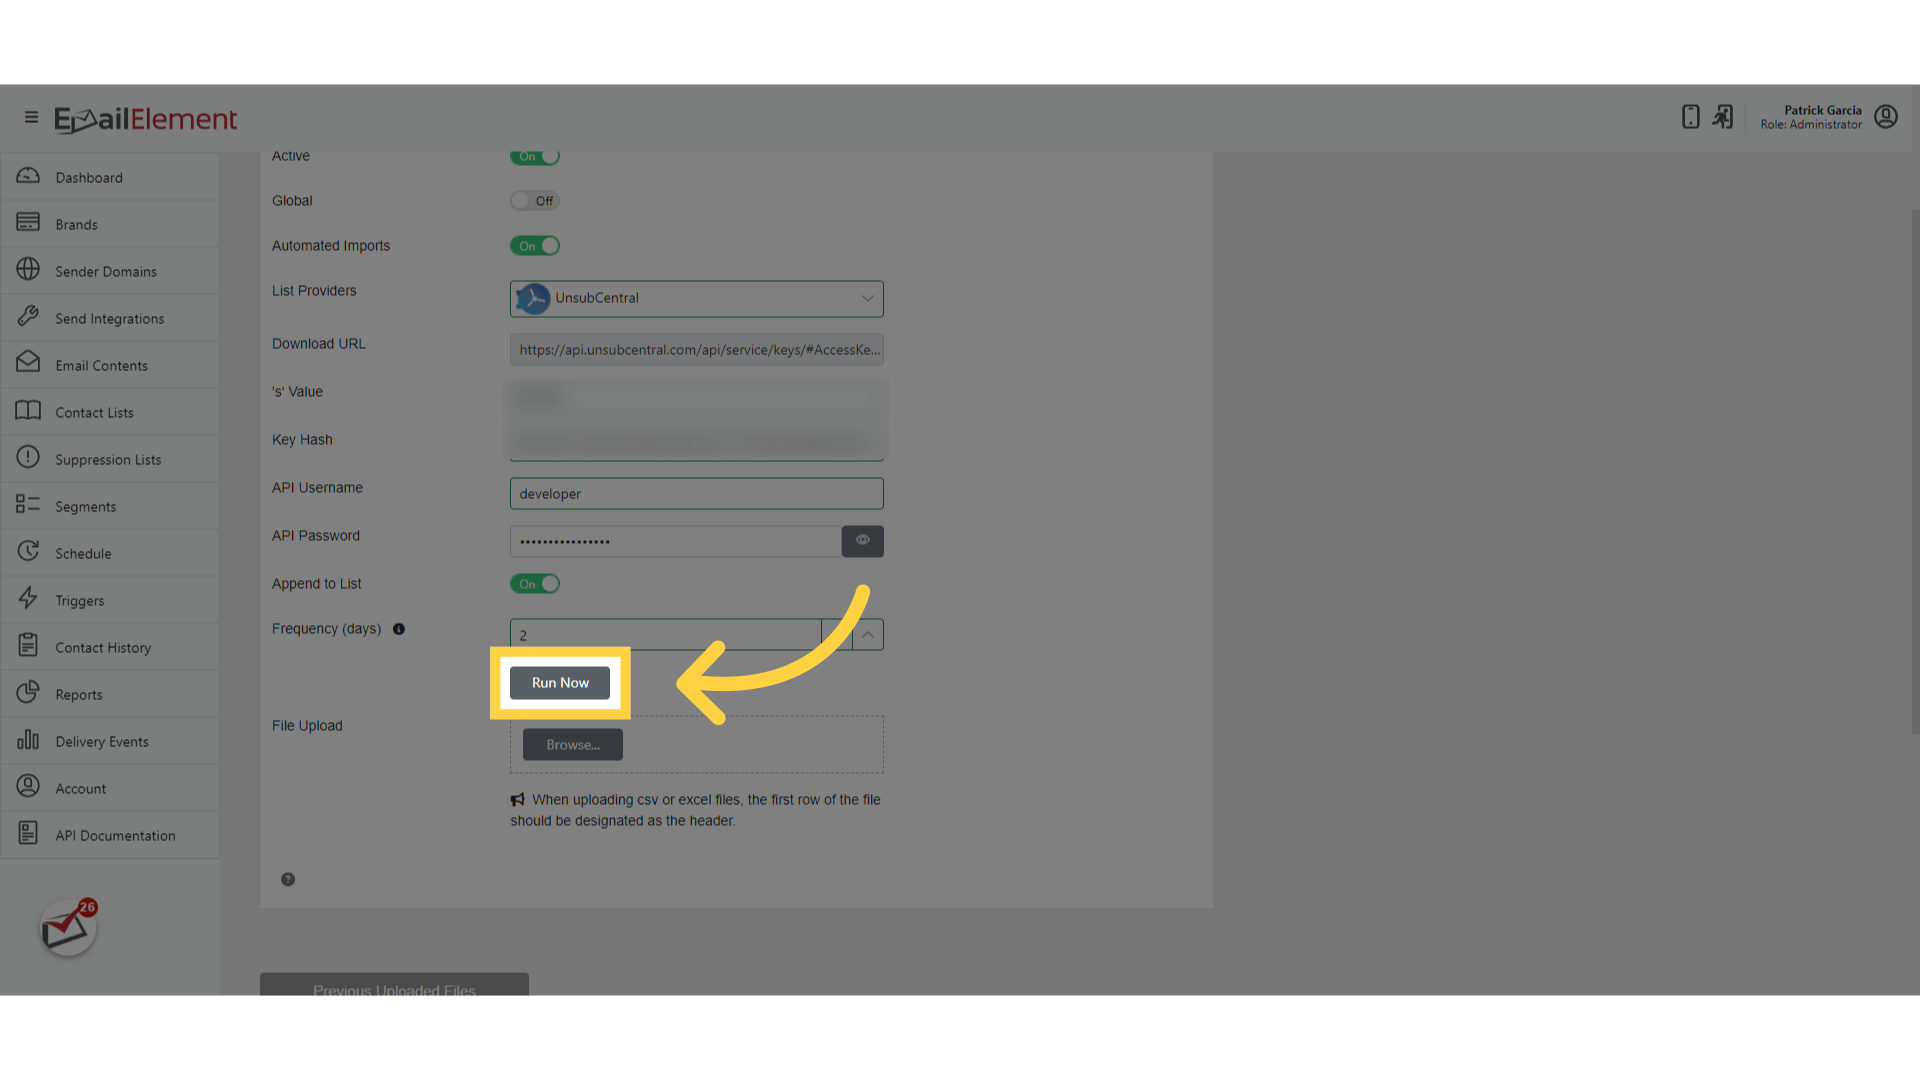
The list has to be saved before it can run
Click Save
Click Run Now to do the first download
Step 6: Check It Worked
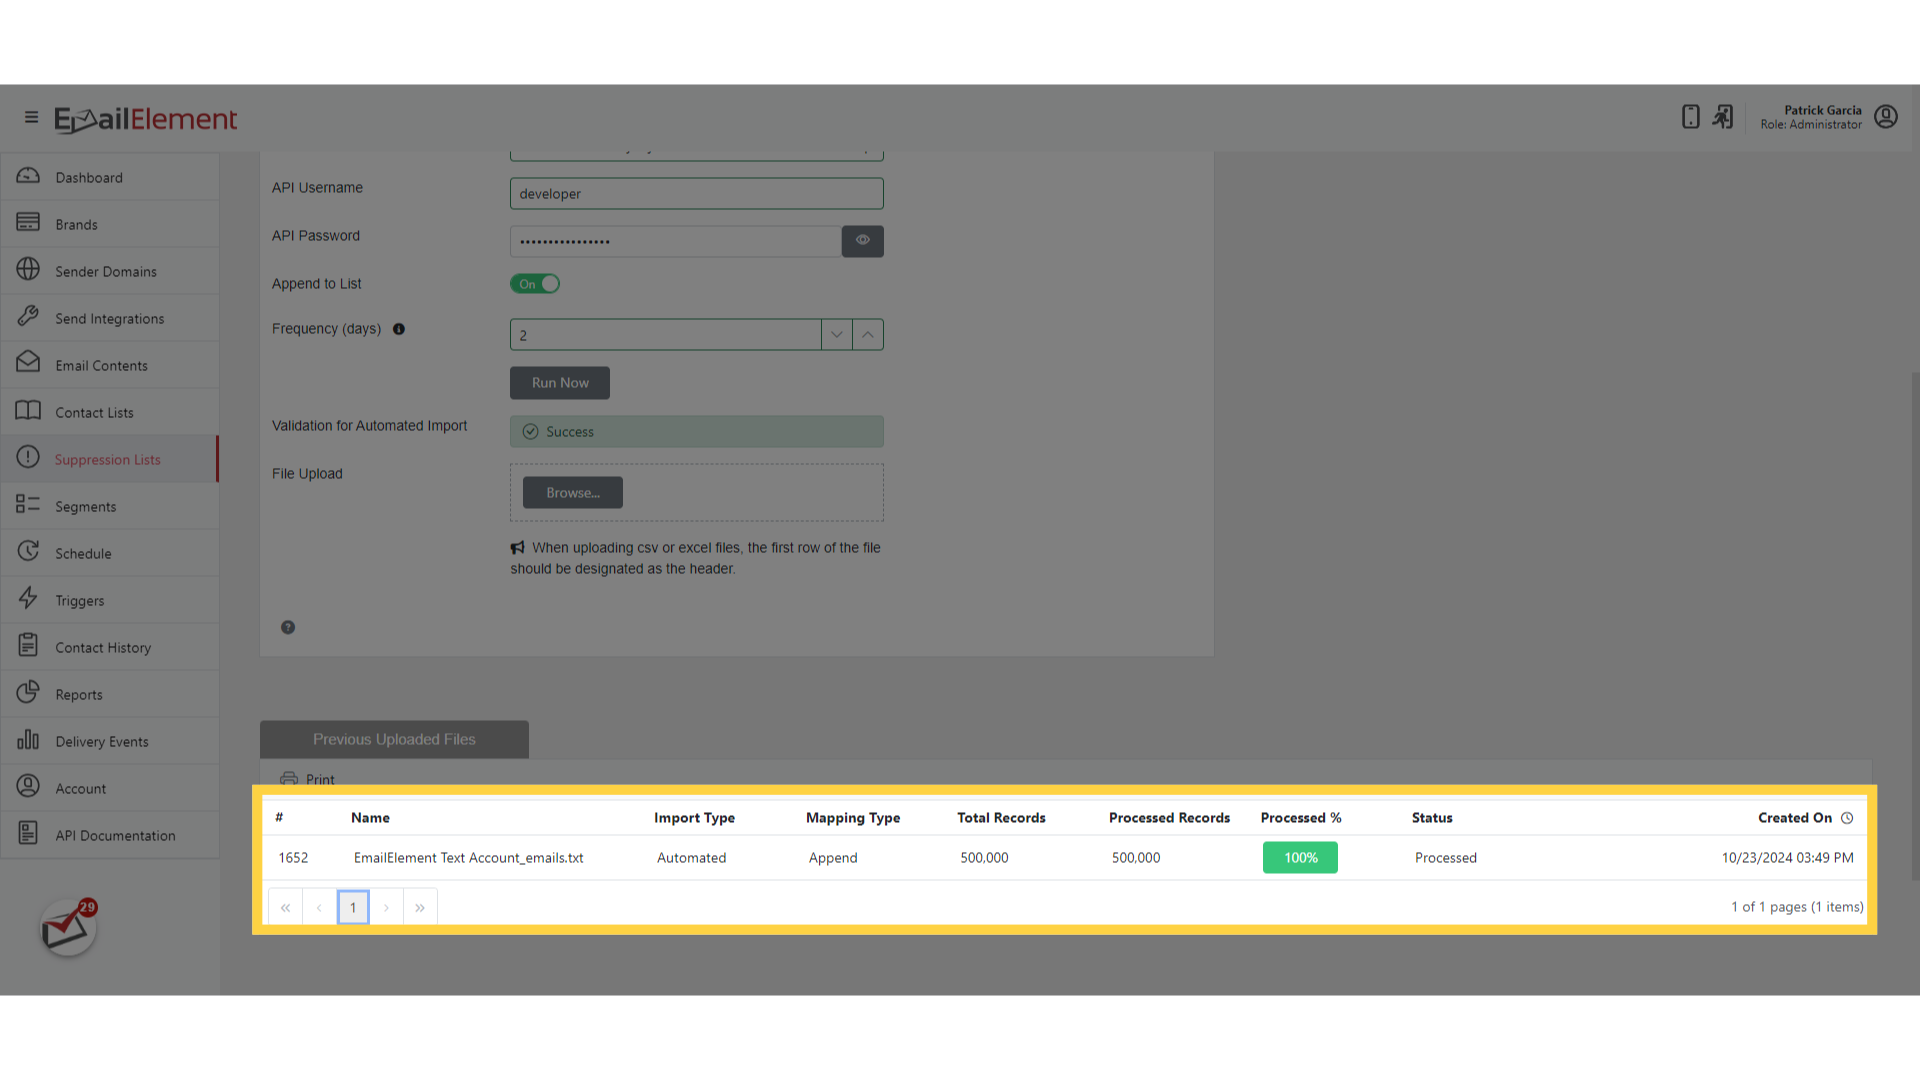
The download shows under Previously Uploaded Files while it happens
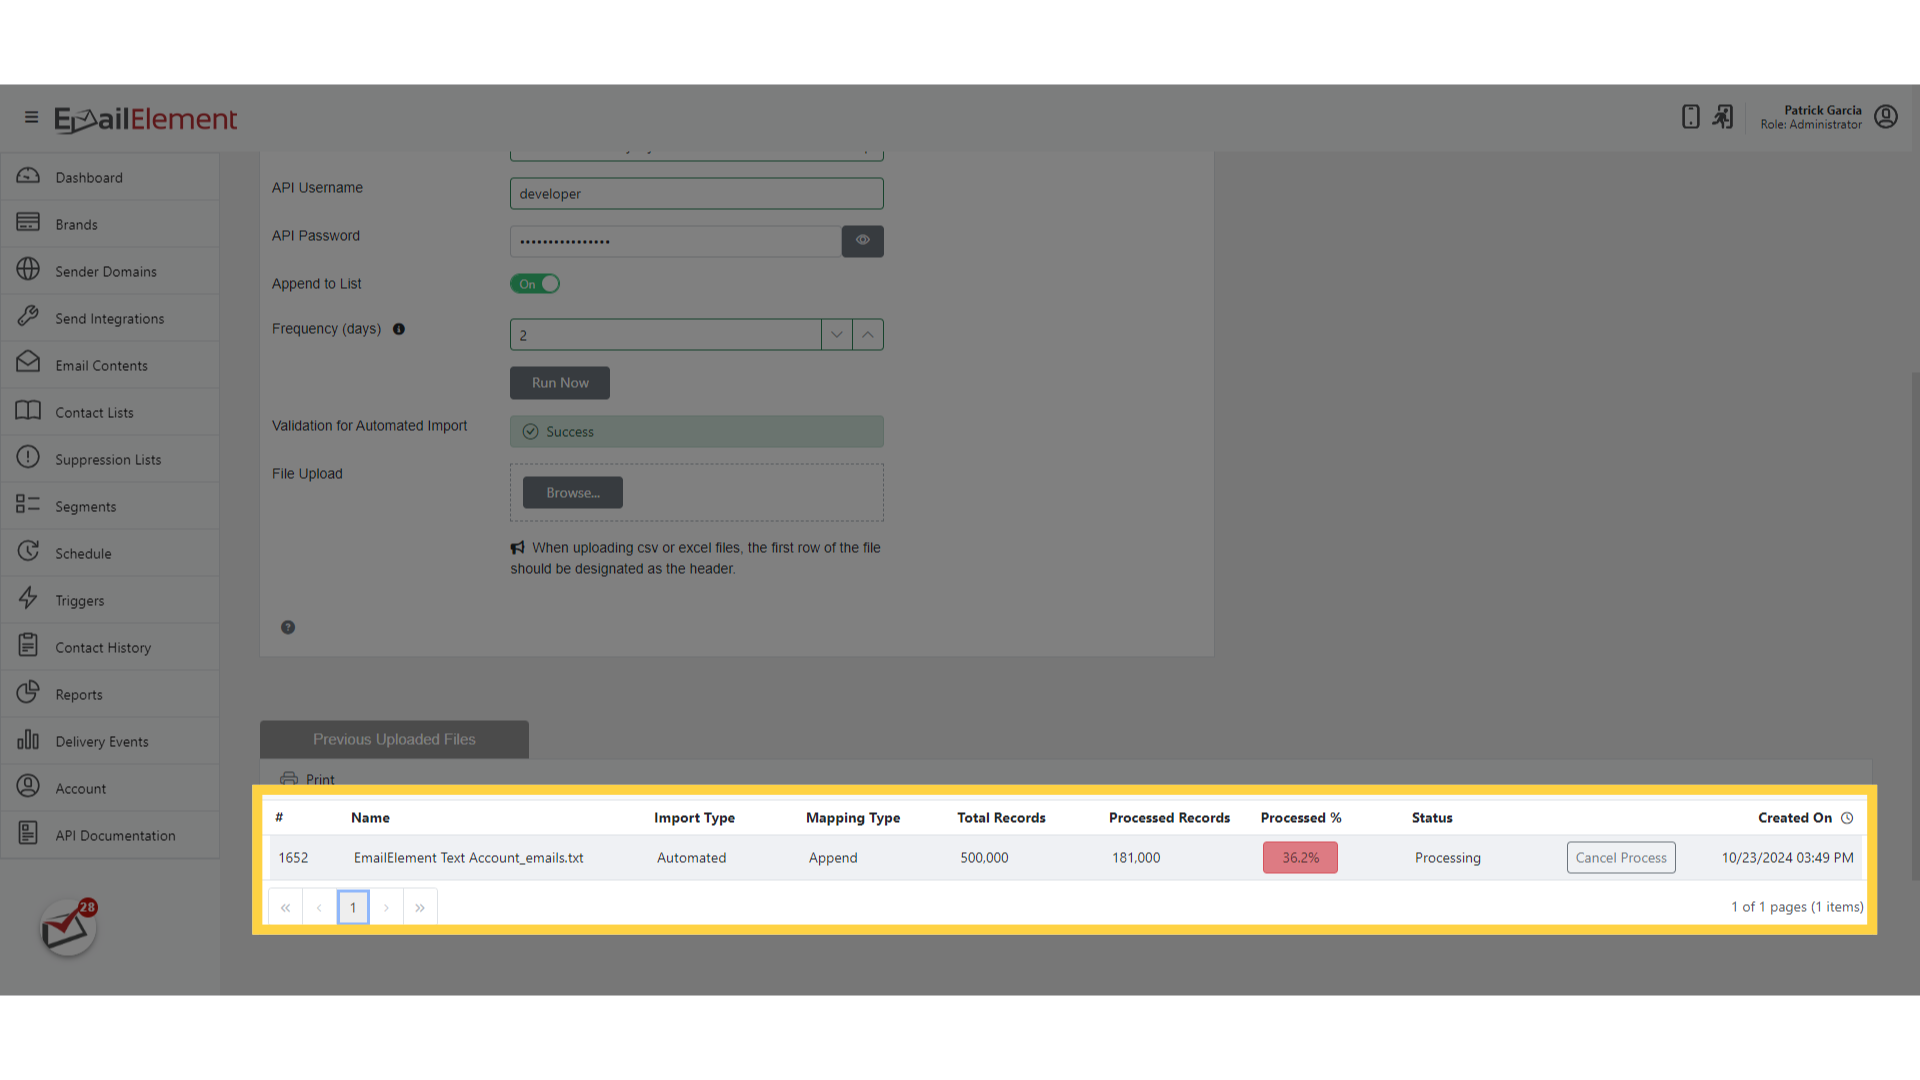
The record count on the list moves once the import finishes
Related pages
- Optizmo — setting up an Optizmo import
- UnsubCentral — setting up an UnsubCentral import
- Automated Imports — the section this belongs to