
Transactional Email Walkthrough
Prerequisites
- At least one active Send Integration
- An API key with Transactional Email API set to Full Access
- An API client such as Postman, cURL, or your application code
Step 1: Create a Transactional Relay
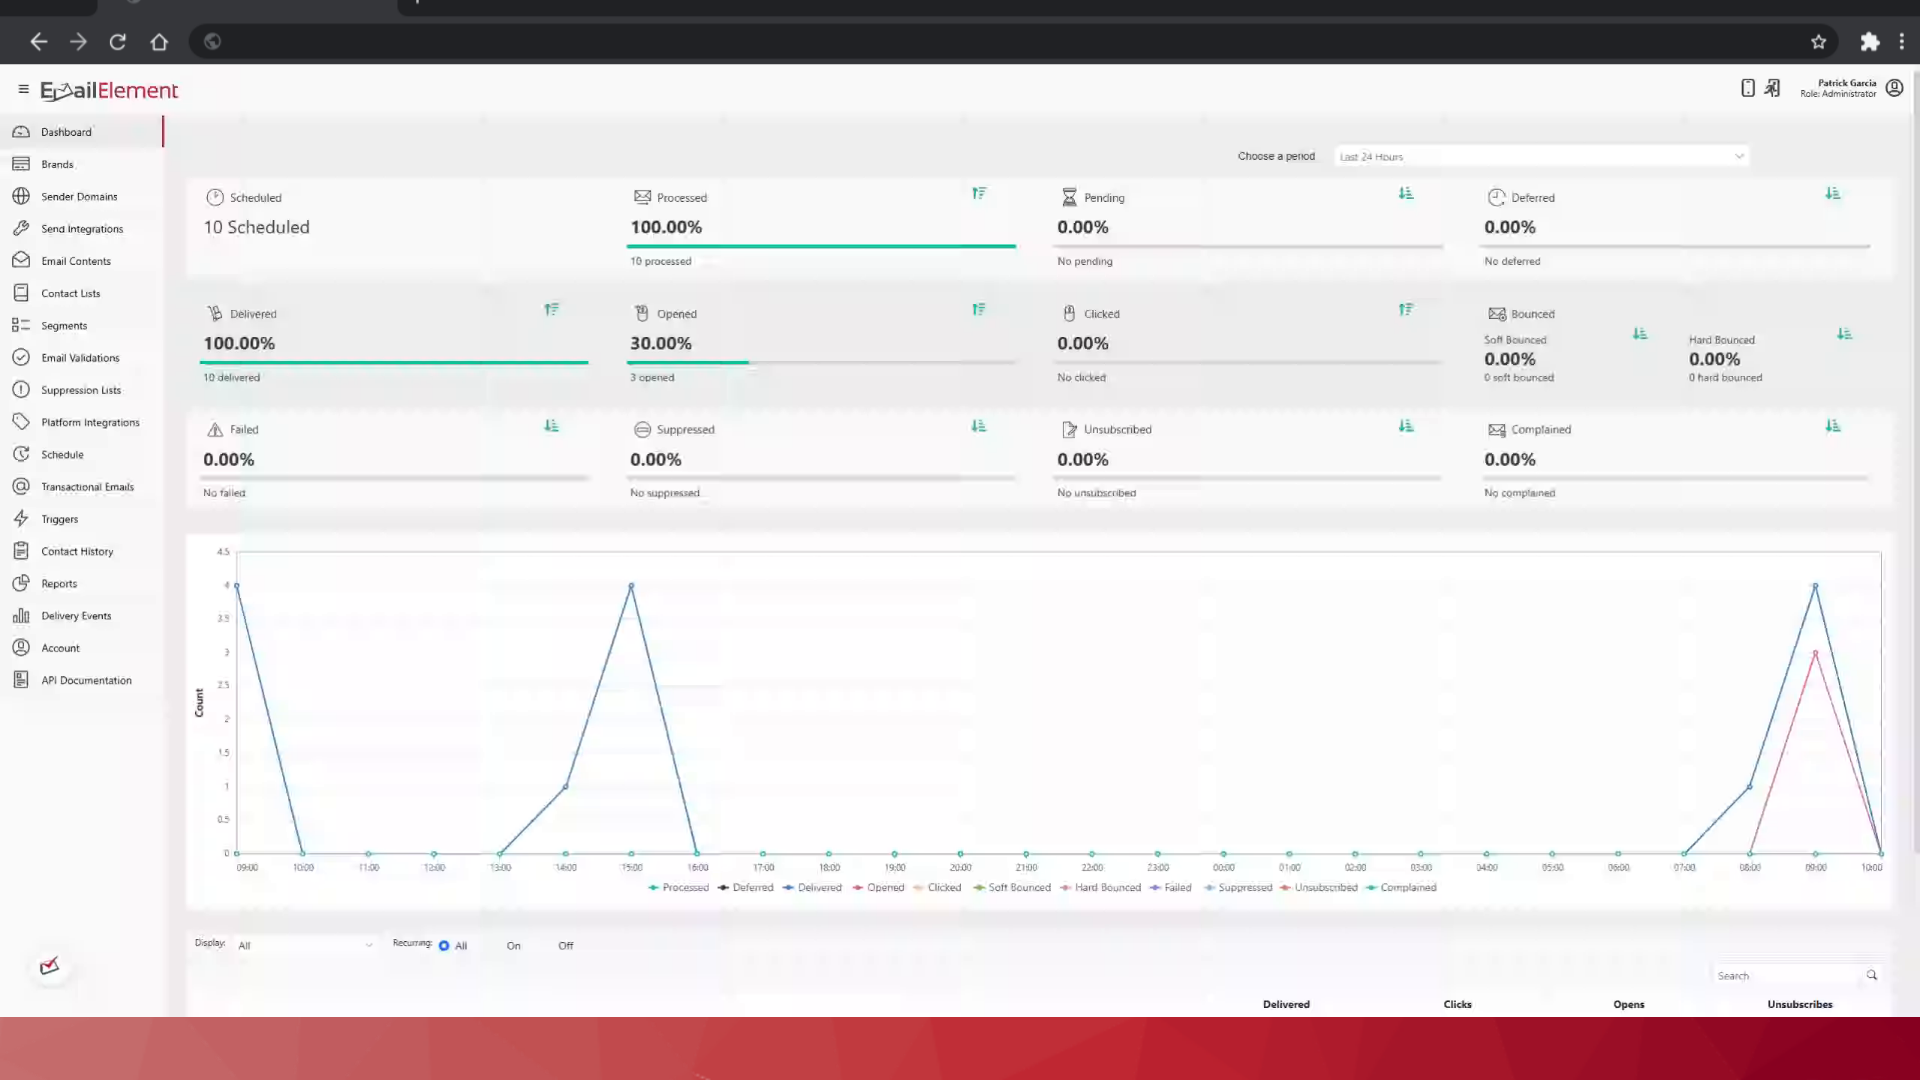
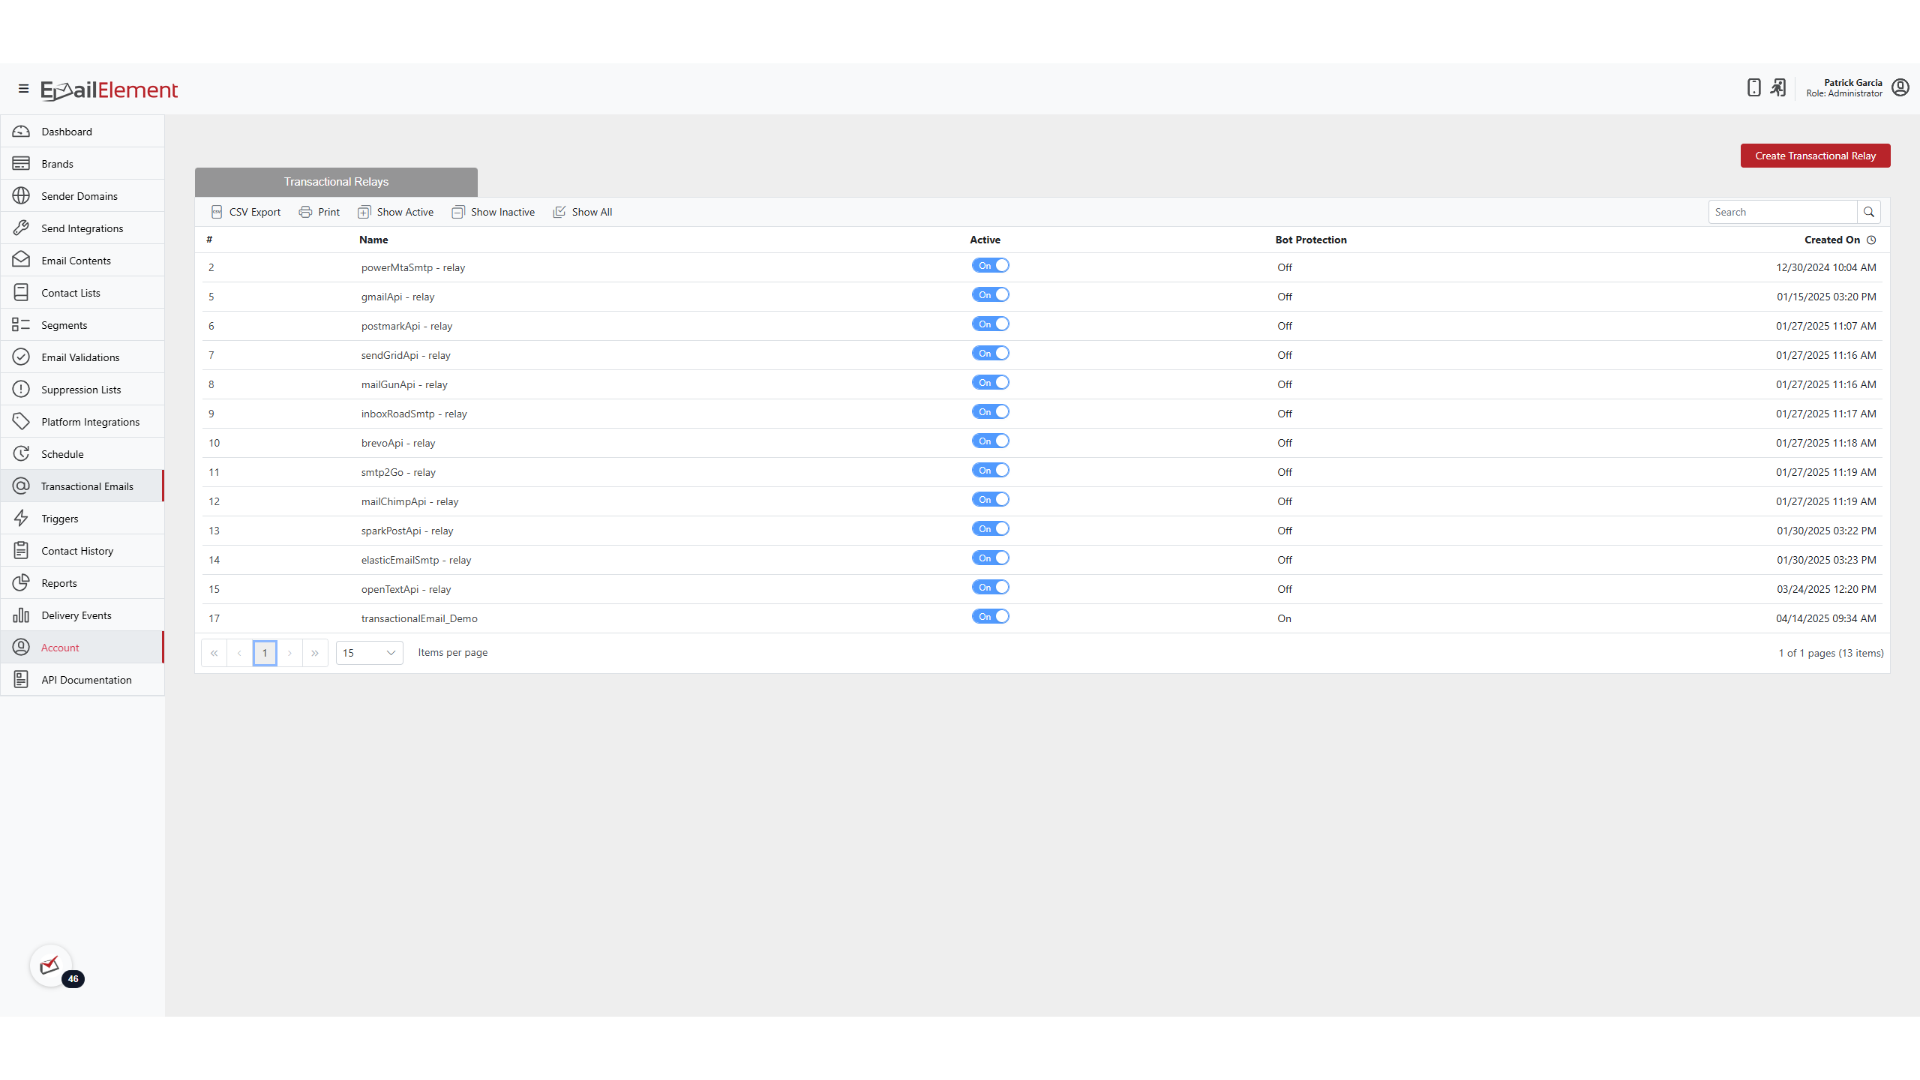
Navigate to Transactional Emails from the sidebar
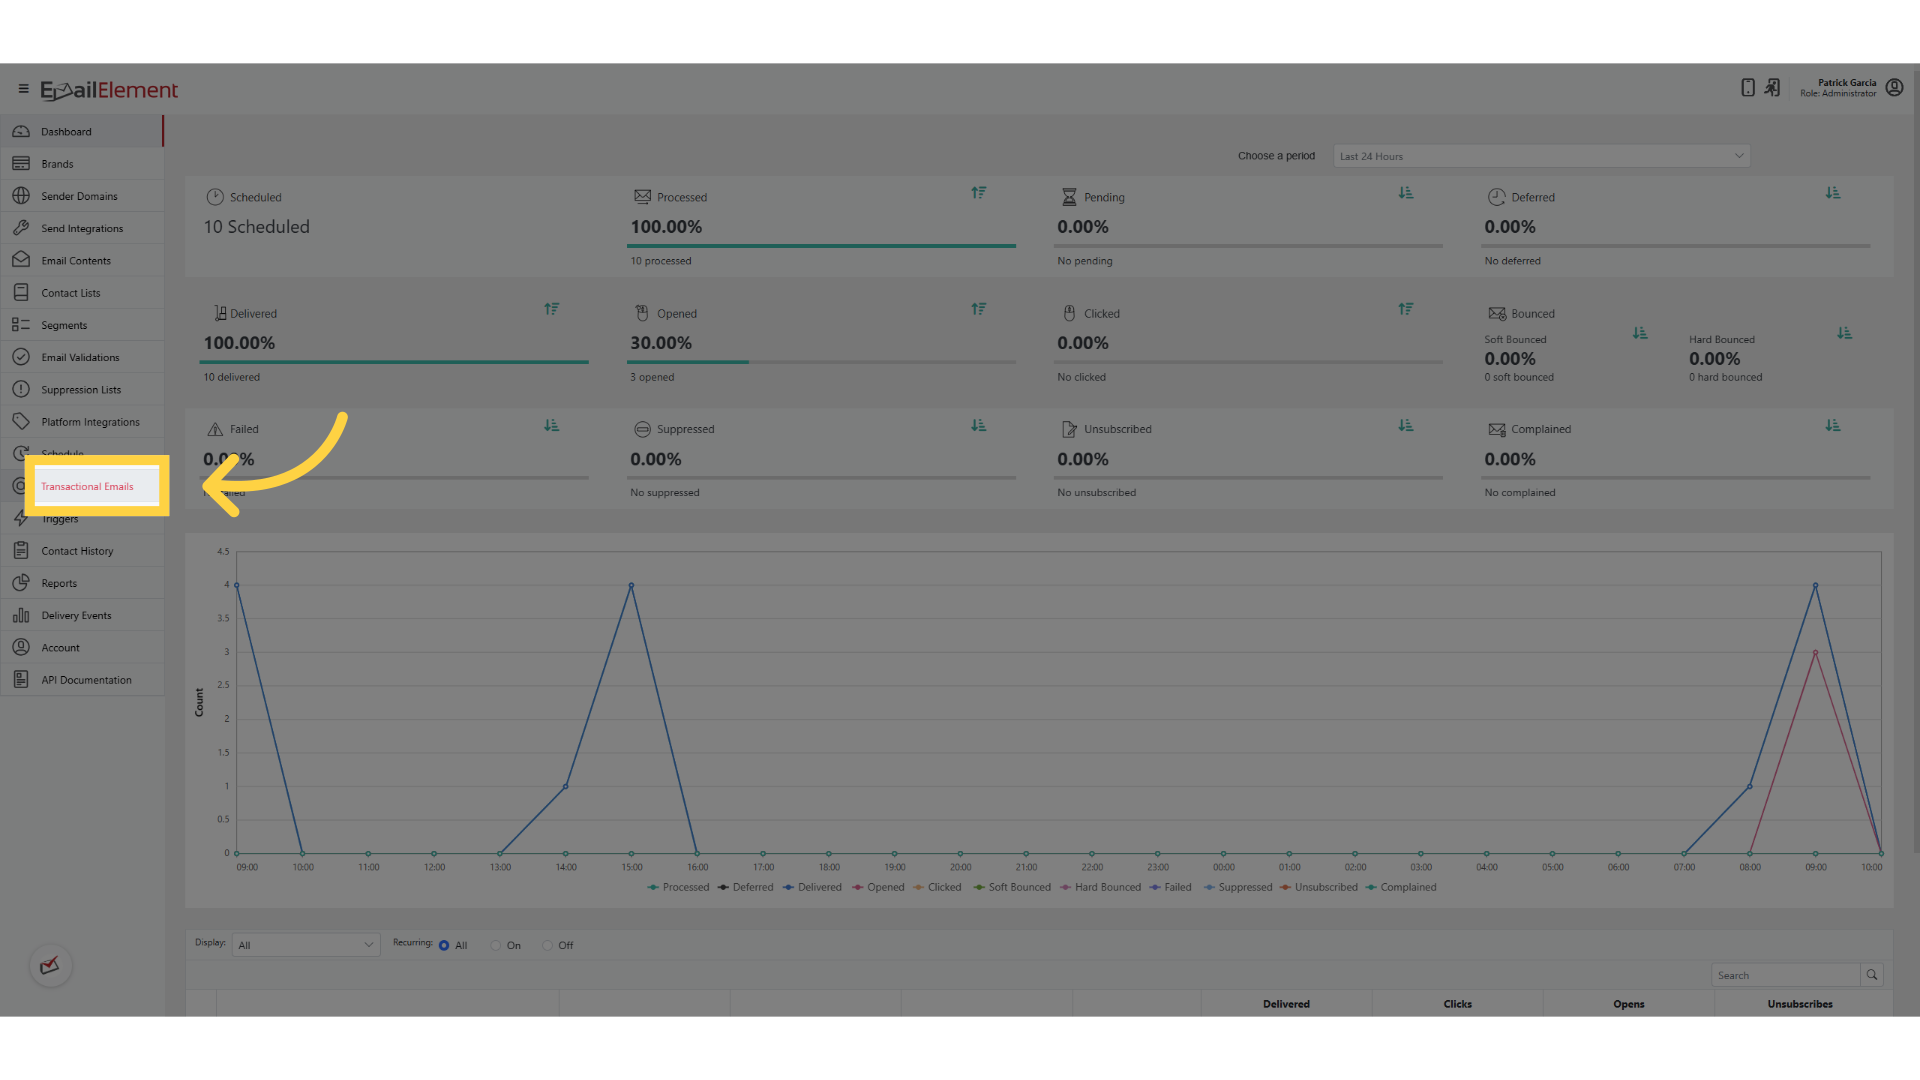
Click Create Transactional Relay
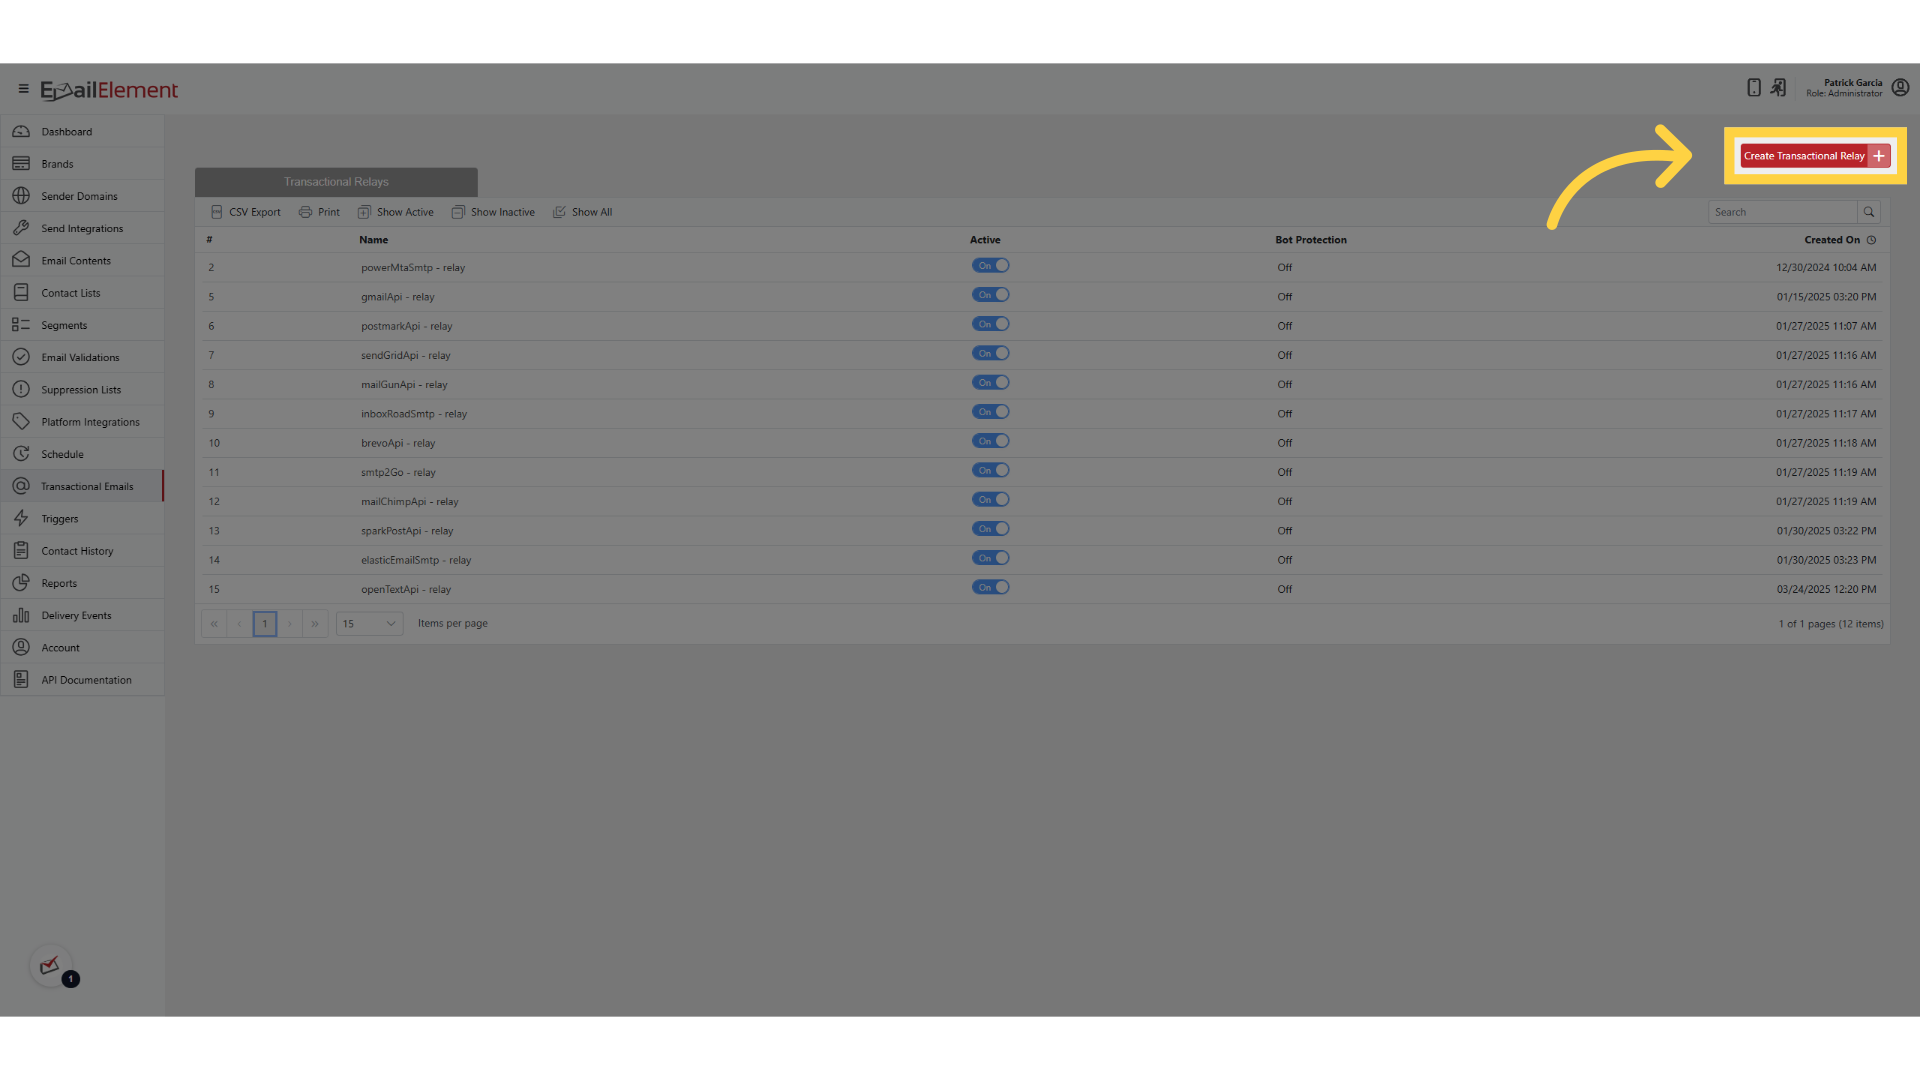
Enter a Name, for example "Password Reset Relay"
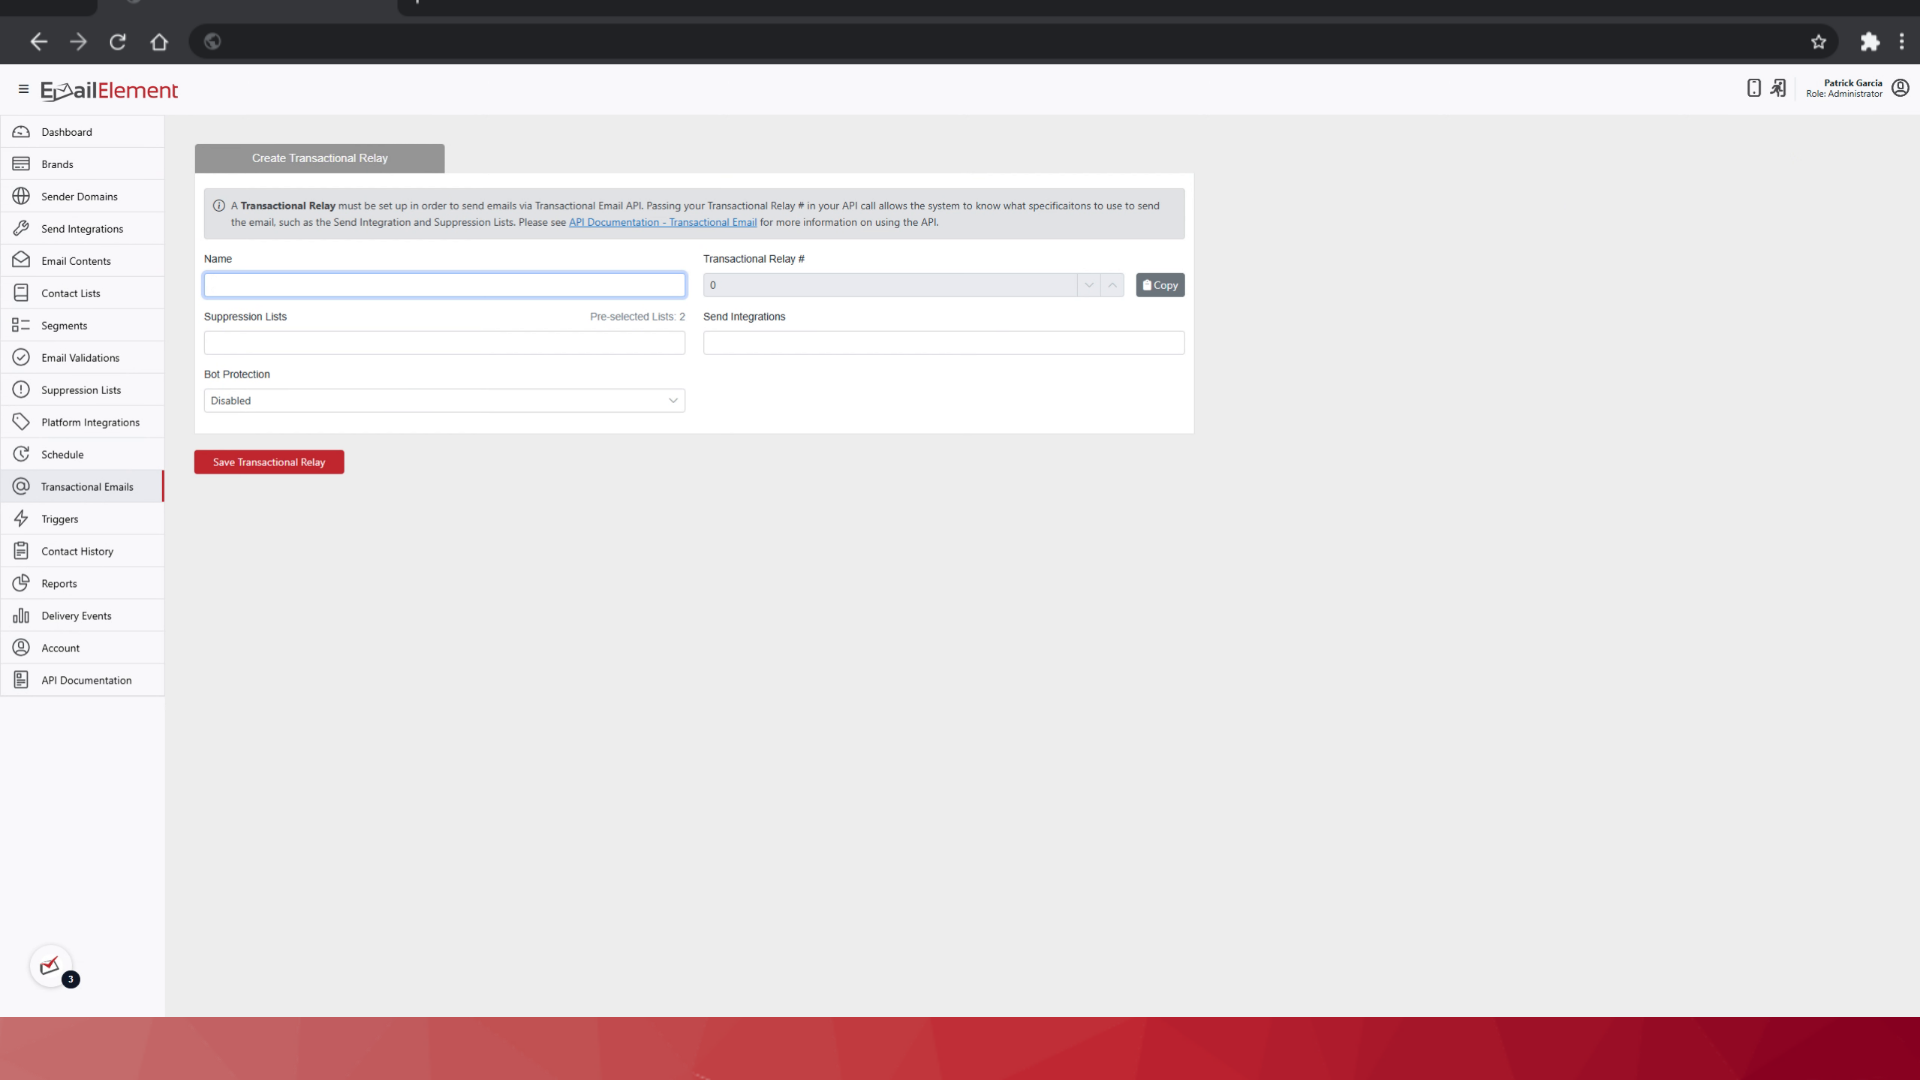
Select a Send Integration. This decides which ESP sends the email
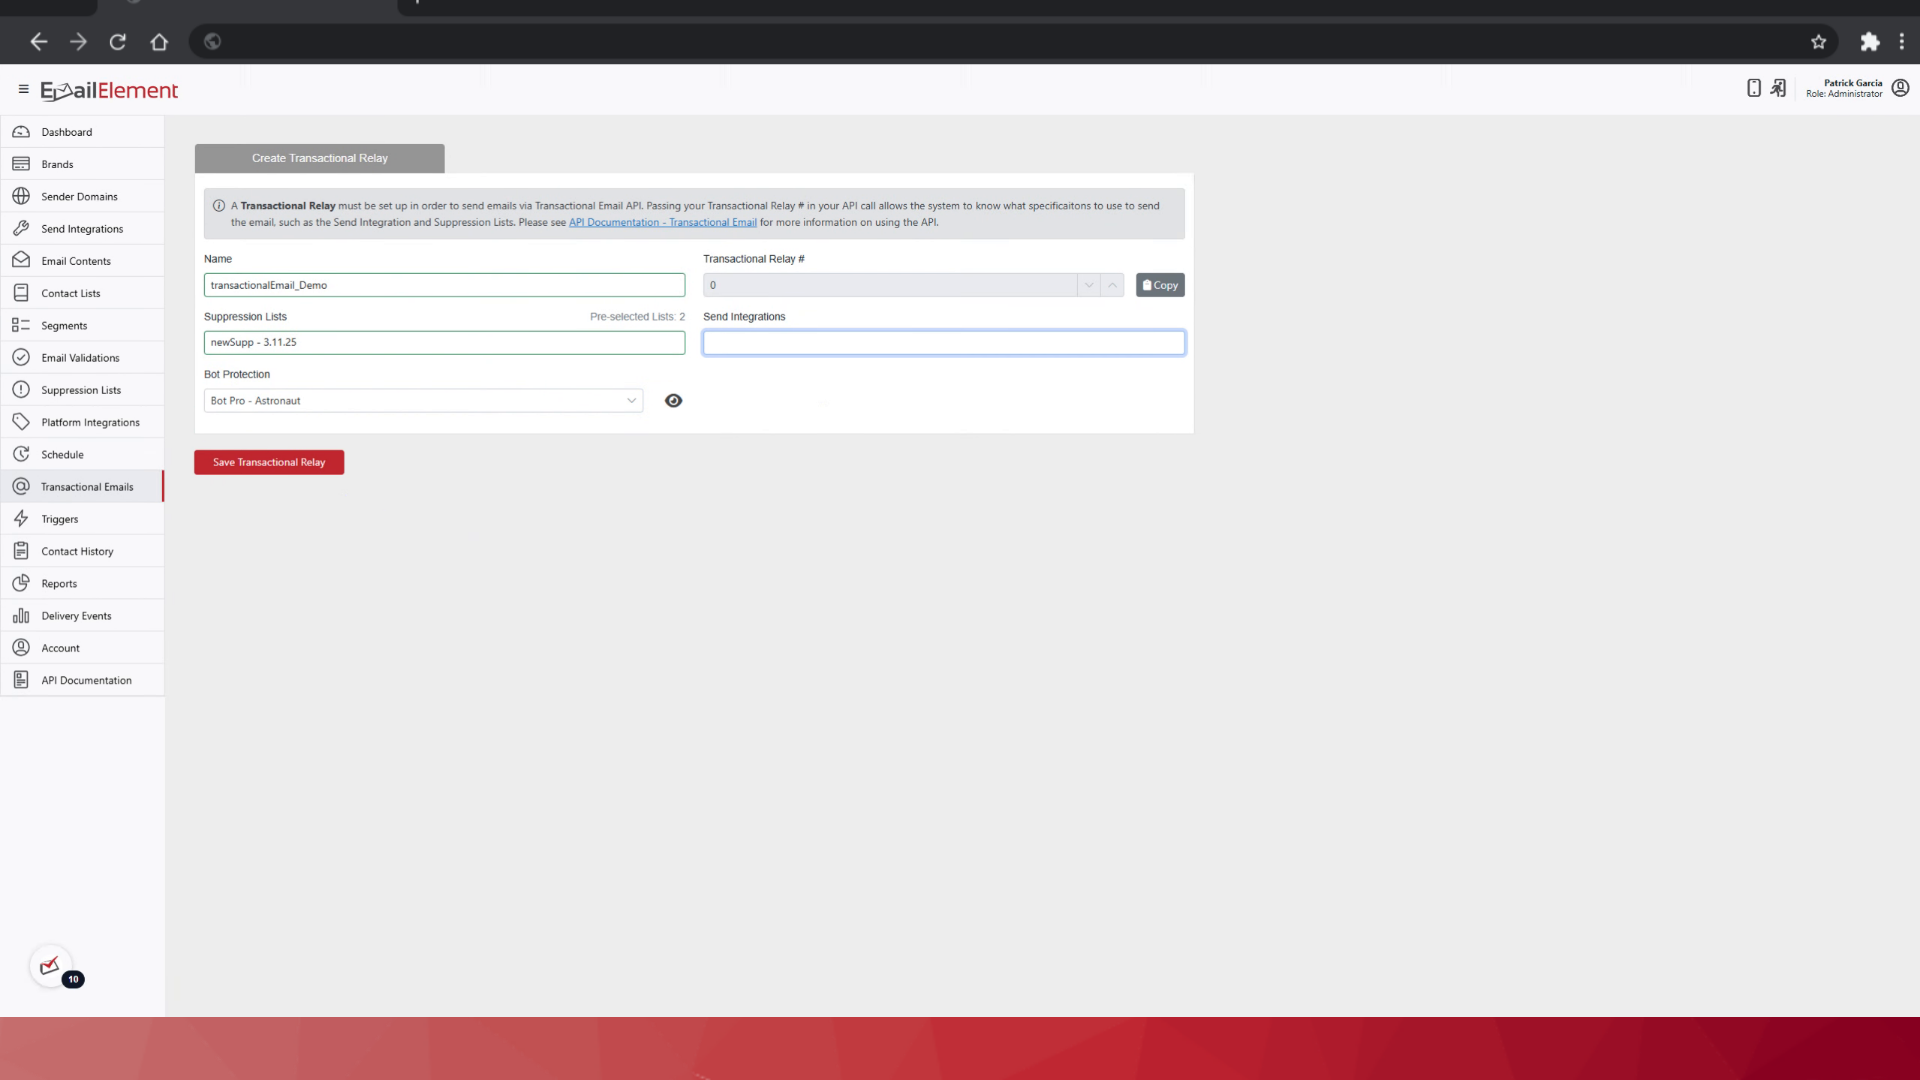
Optionally add Suppression Lists. Email to an address on one of them is blocked
Optionally select a Jump Page
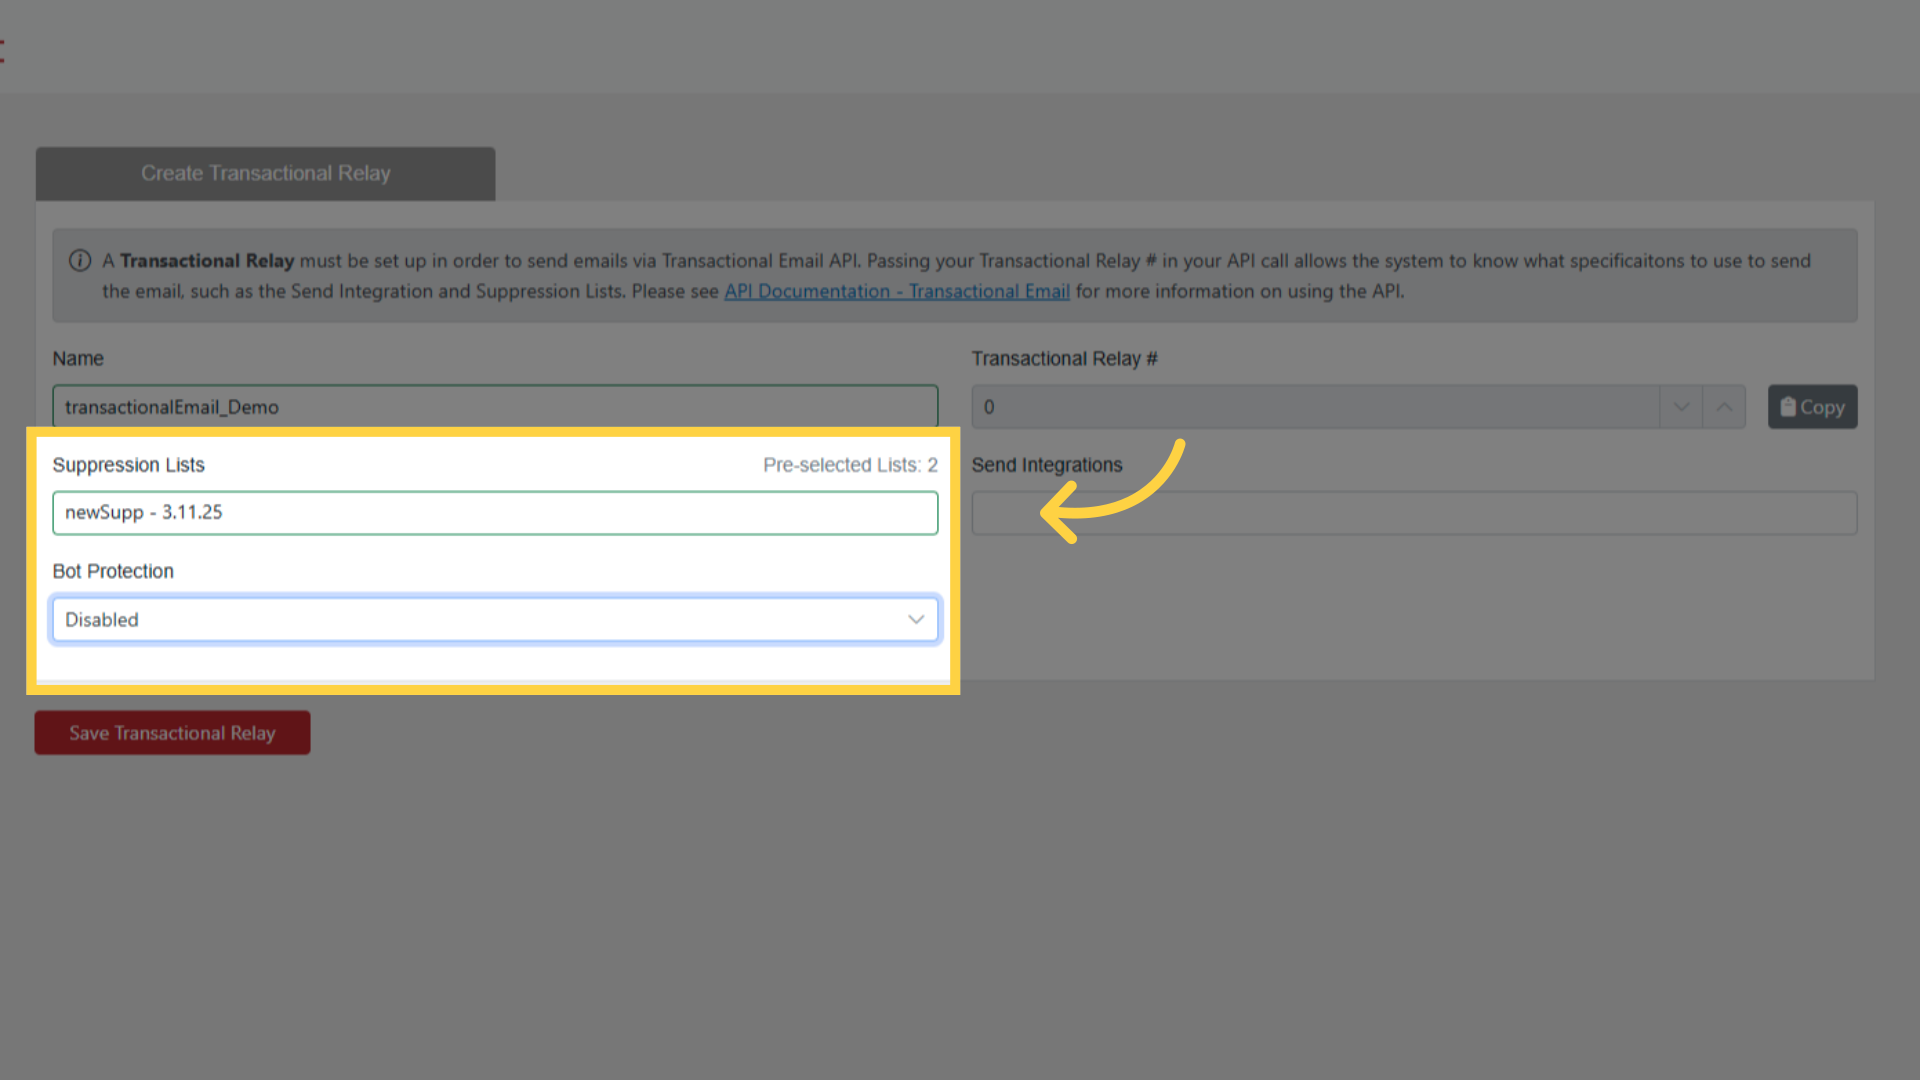
Click Save
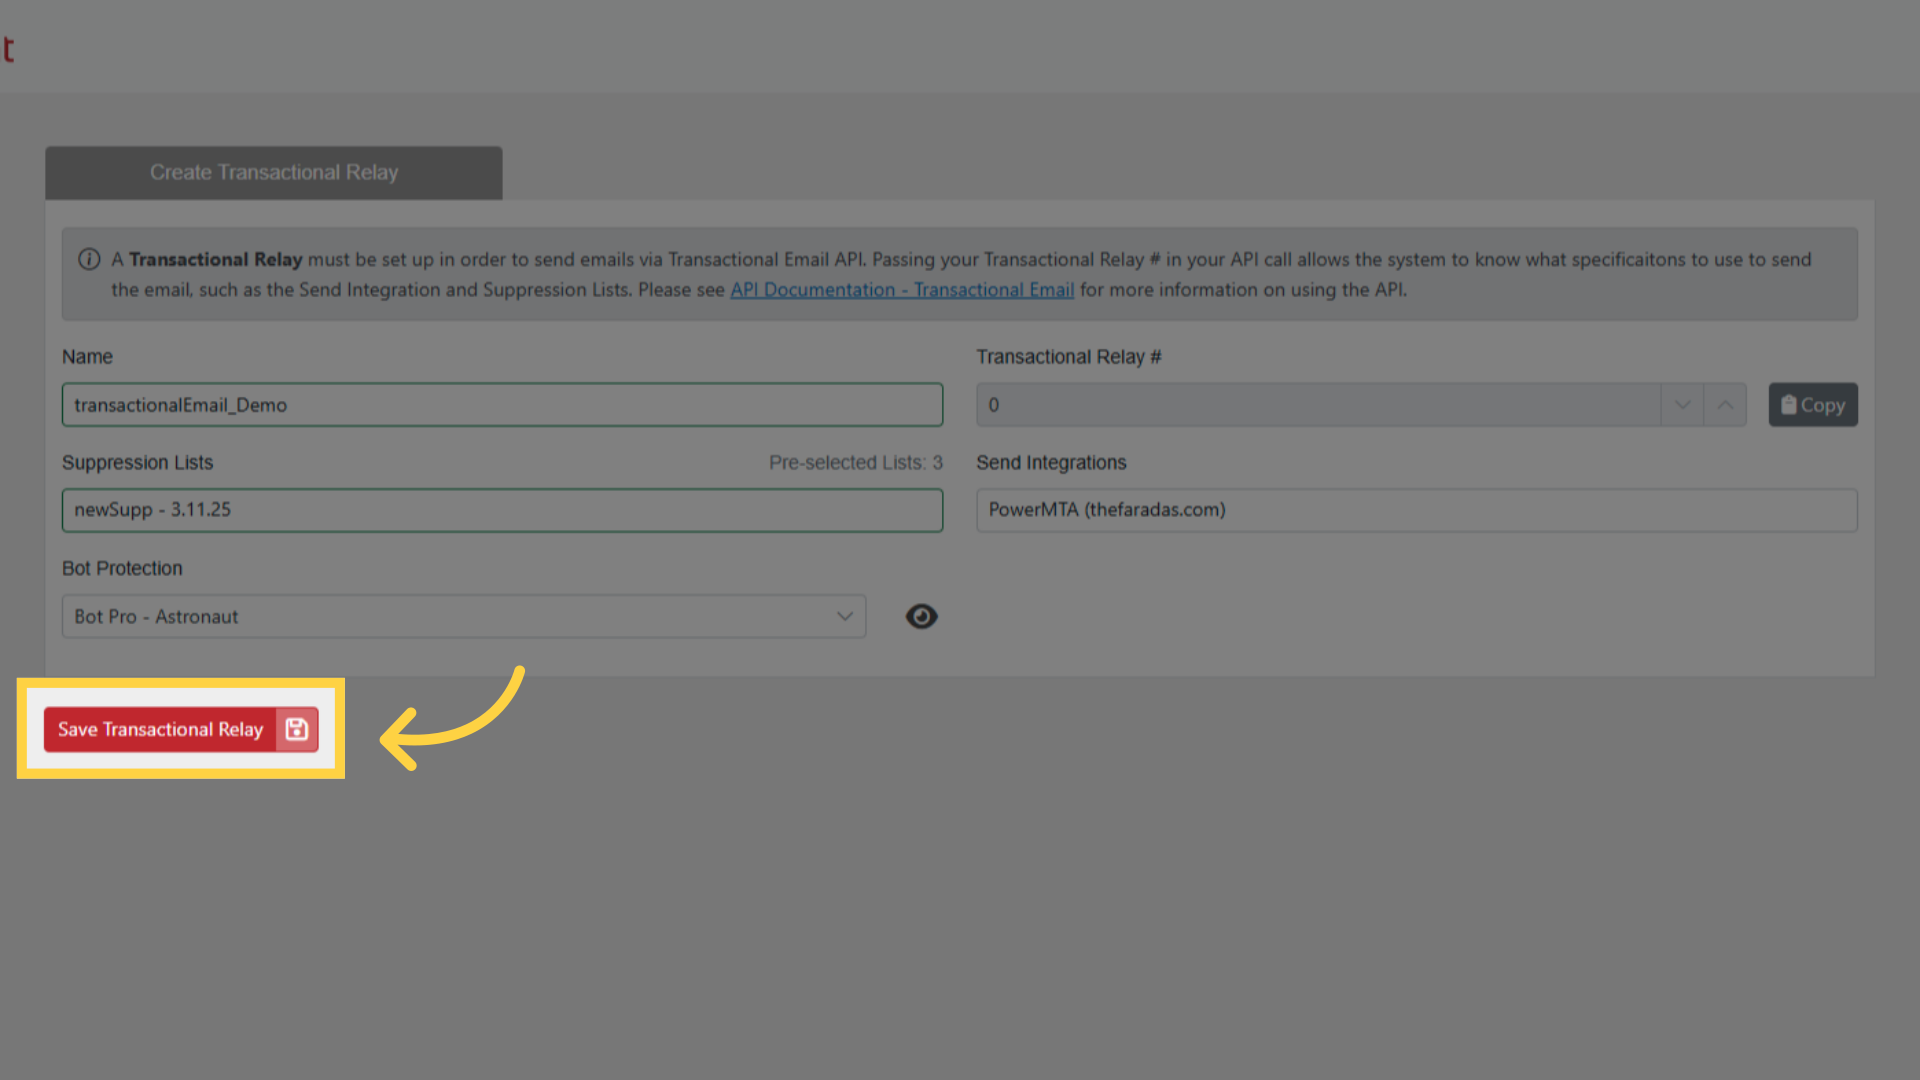
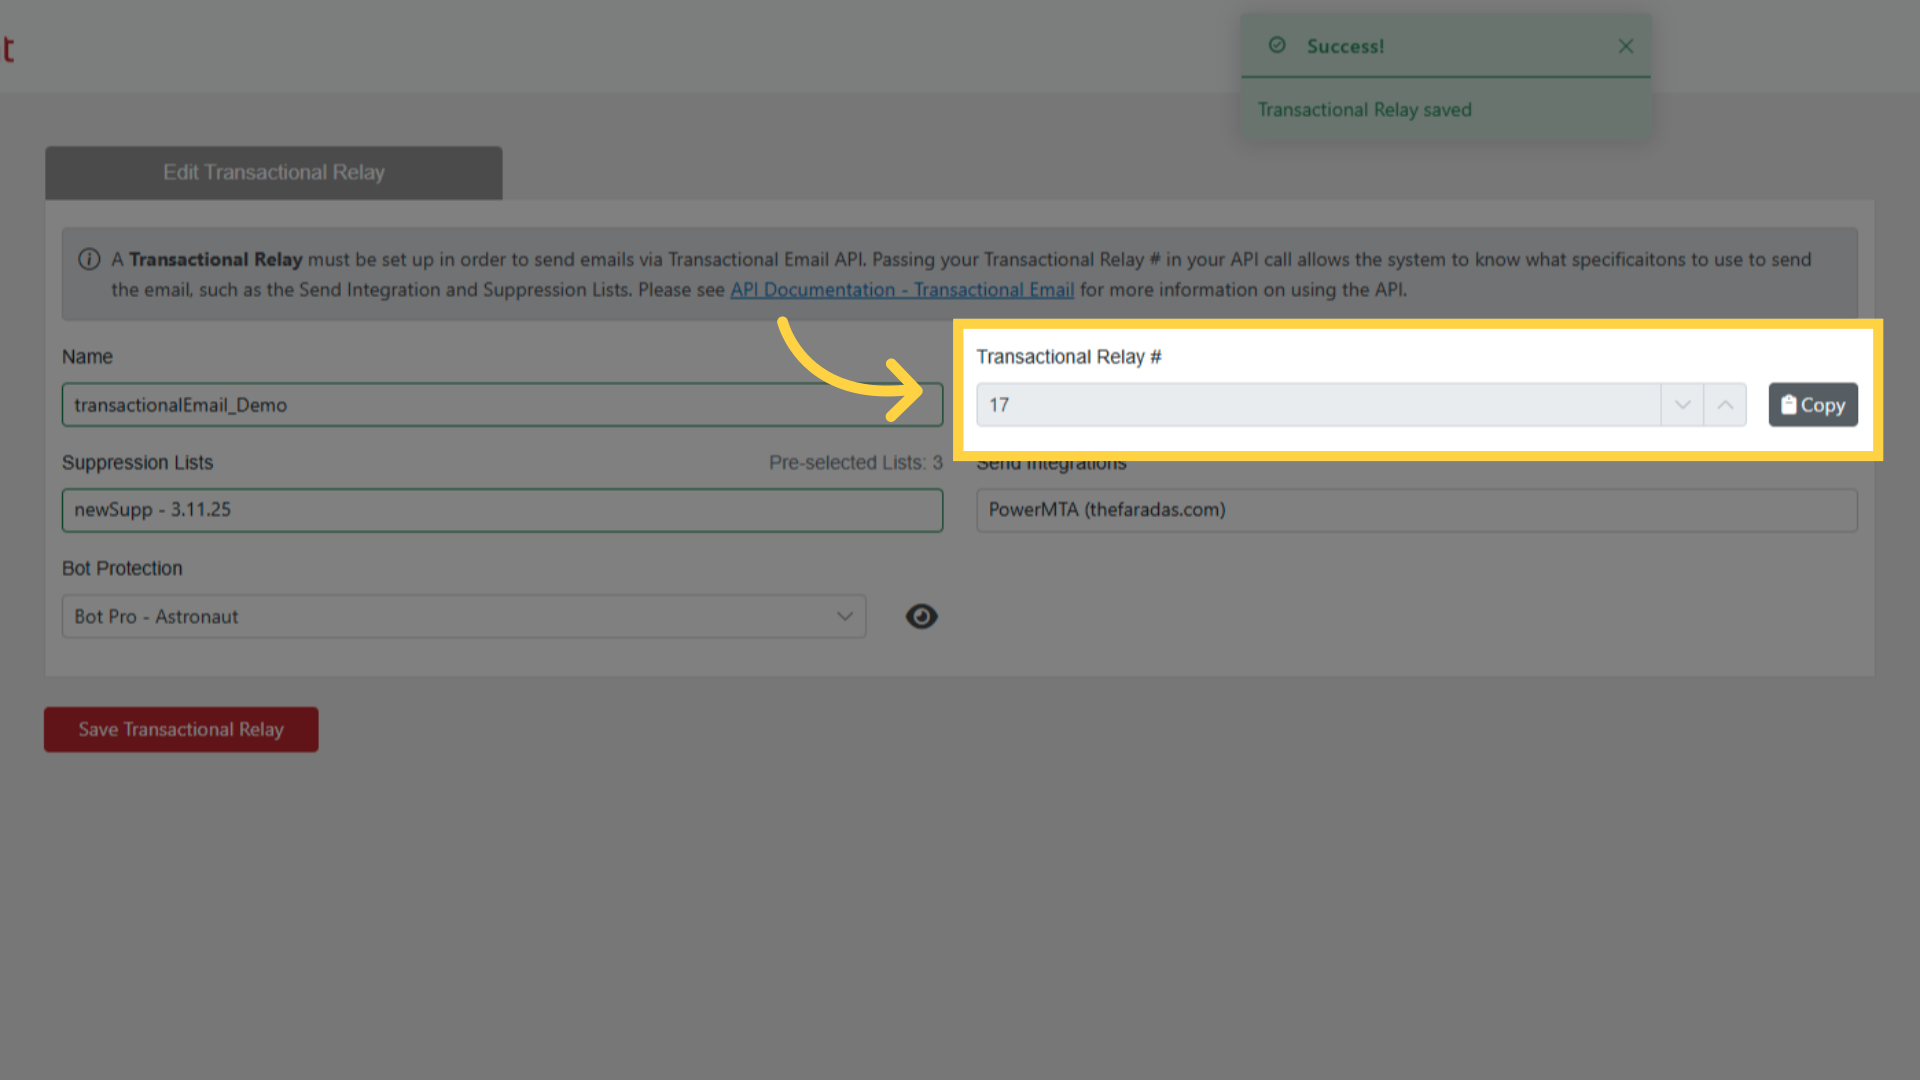
Copy the generated Transactional Relay ID. Every API call needs it
Step 2: Configure API Key Permissions
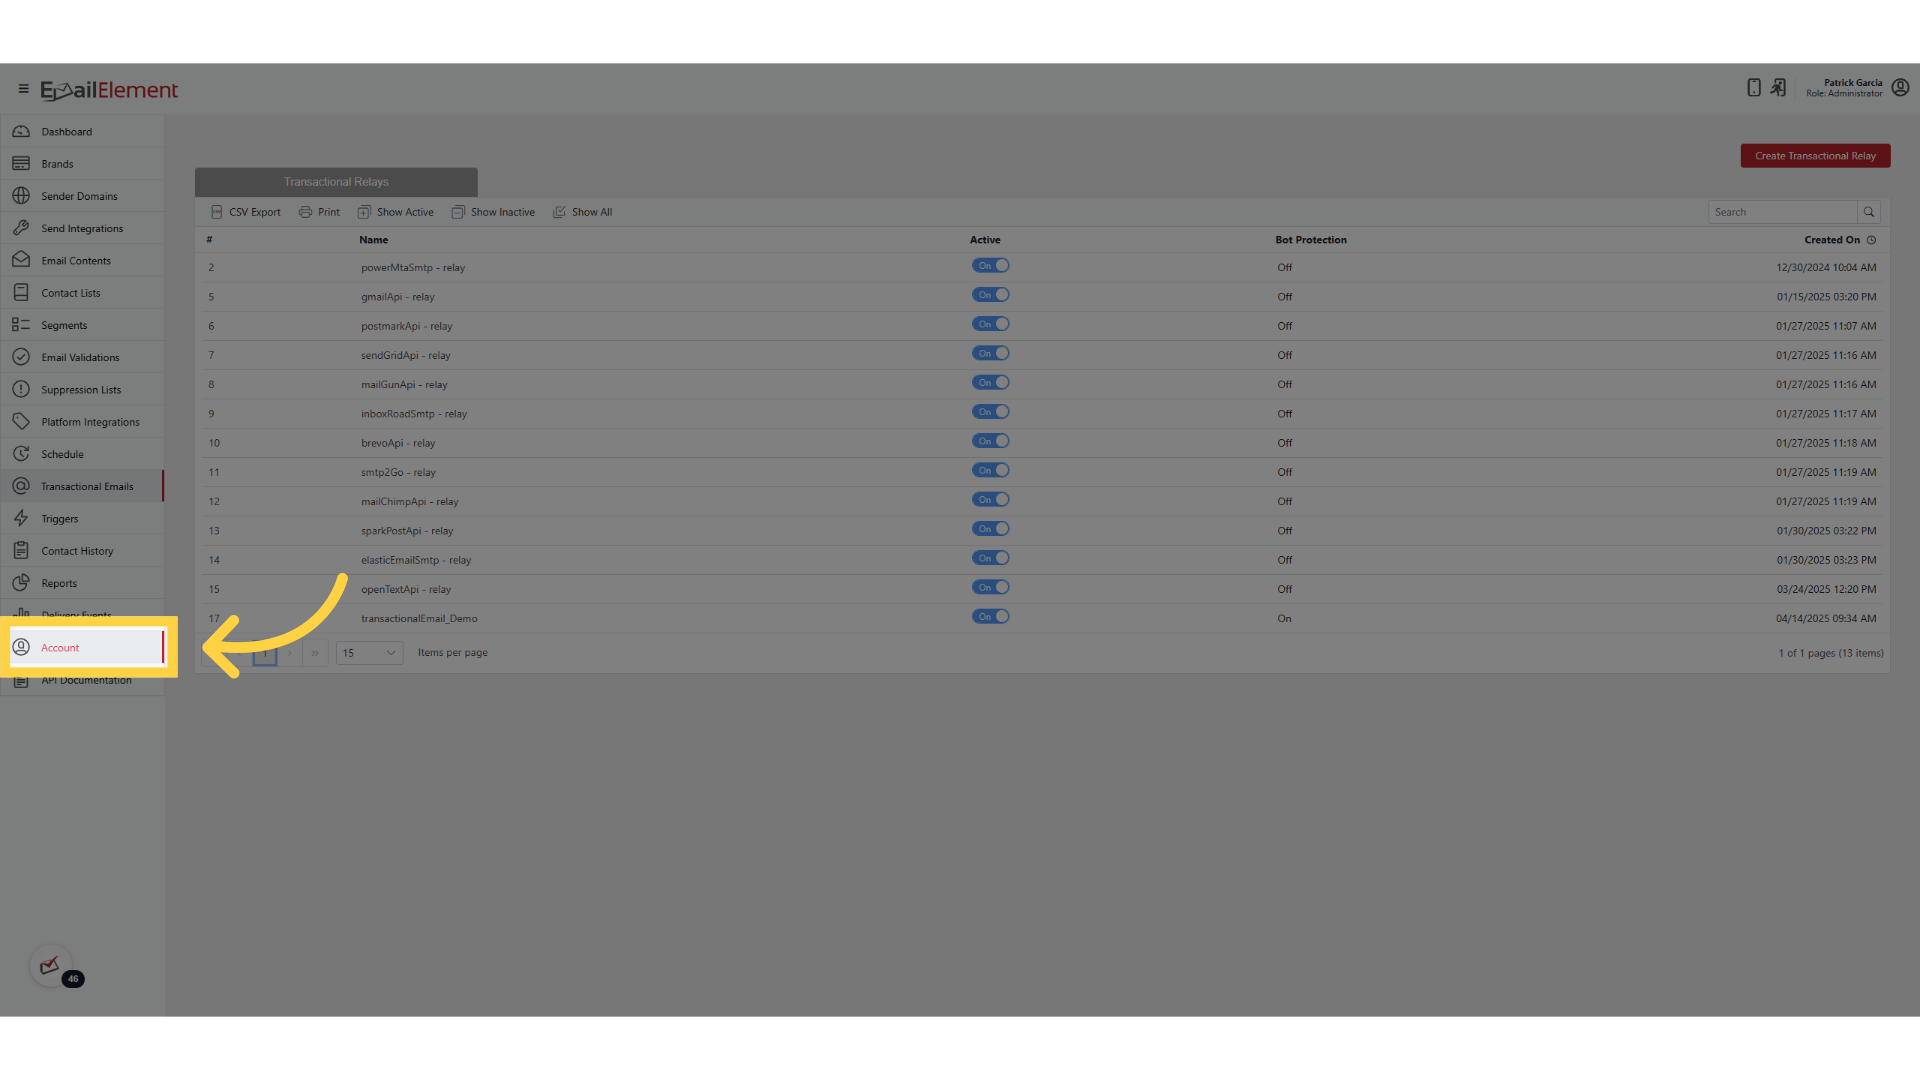
Navigate to Account > API Keys
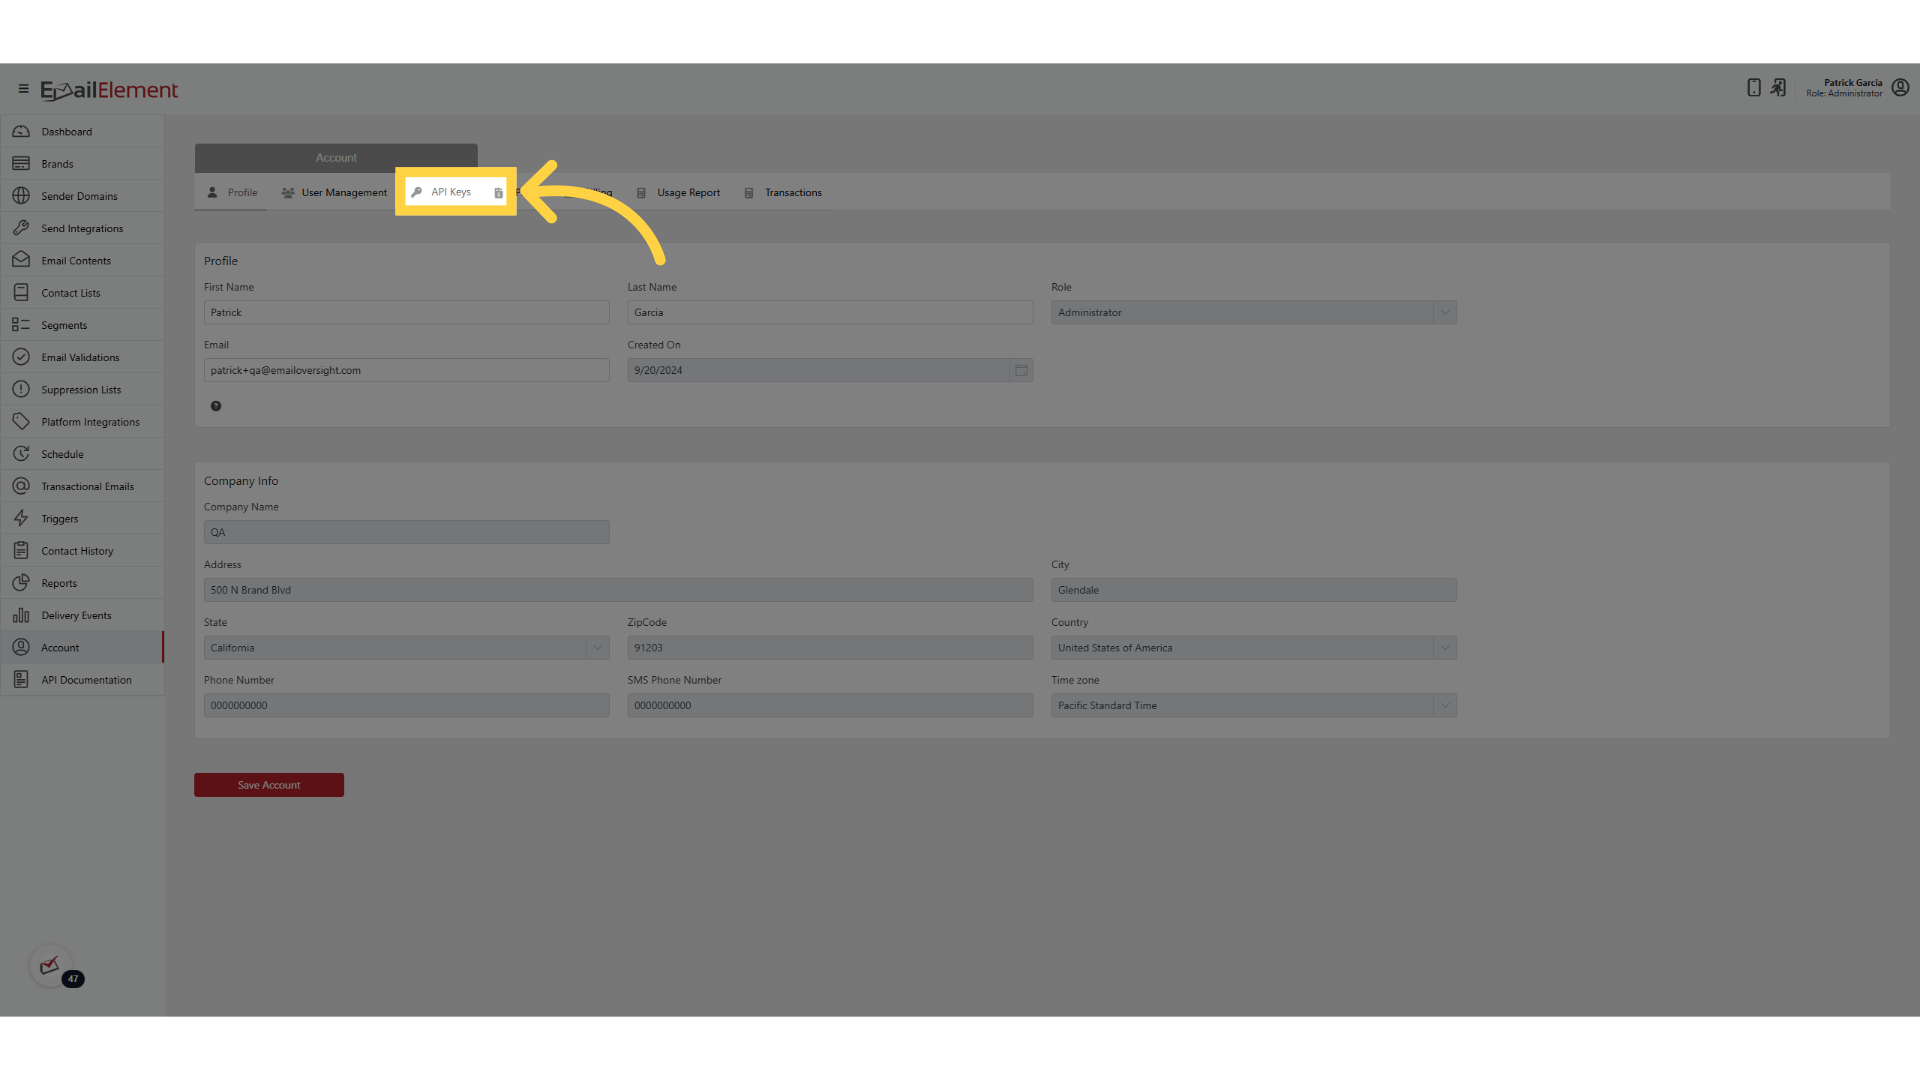
Click an existing key, or Add to create one
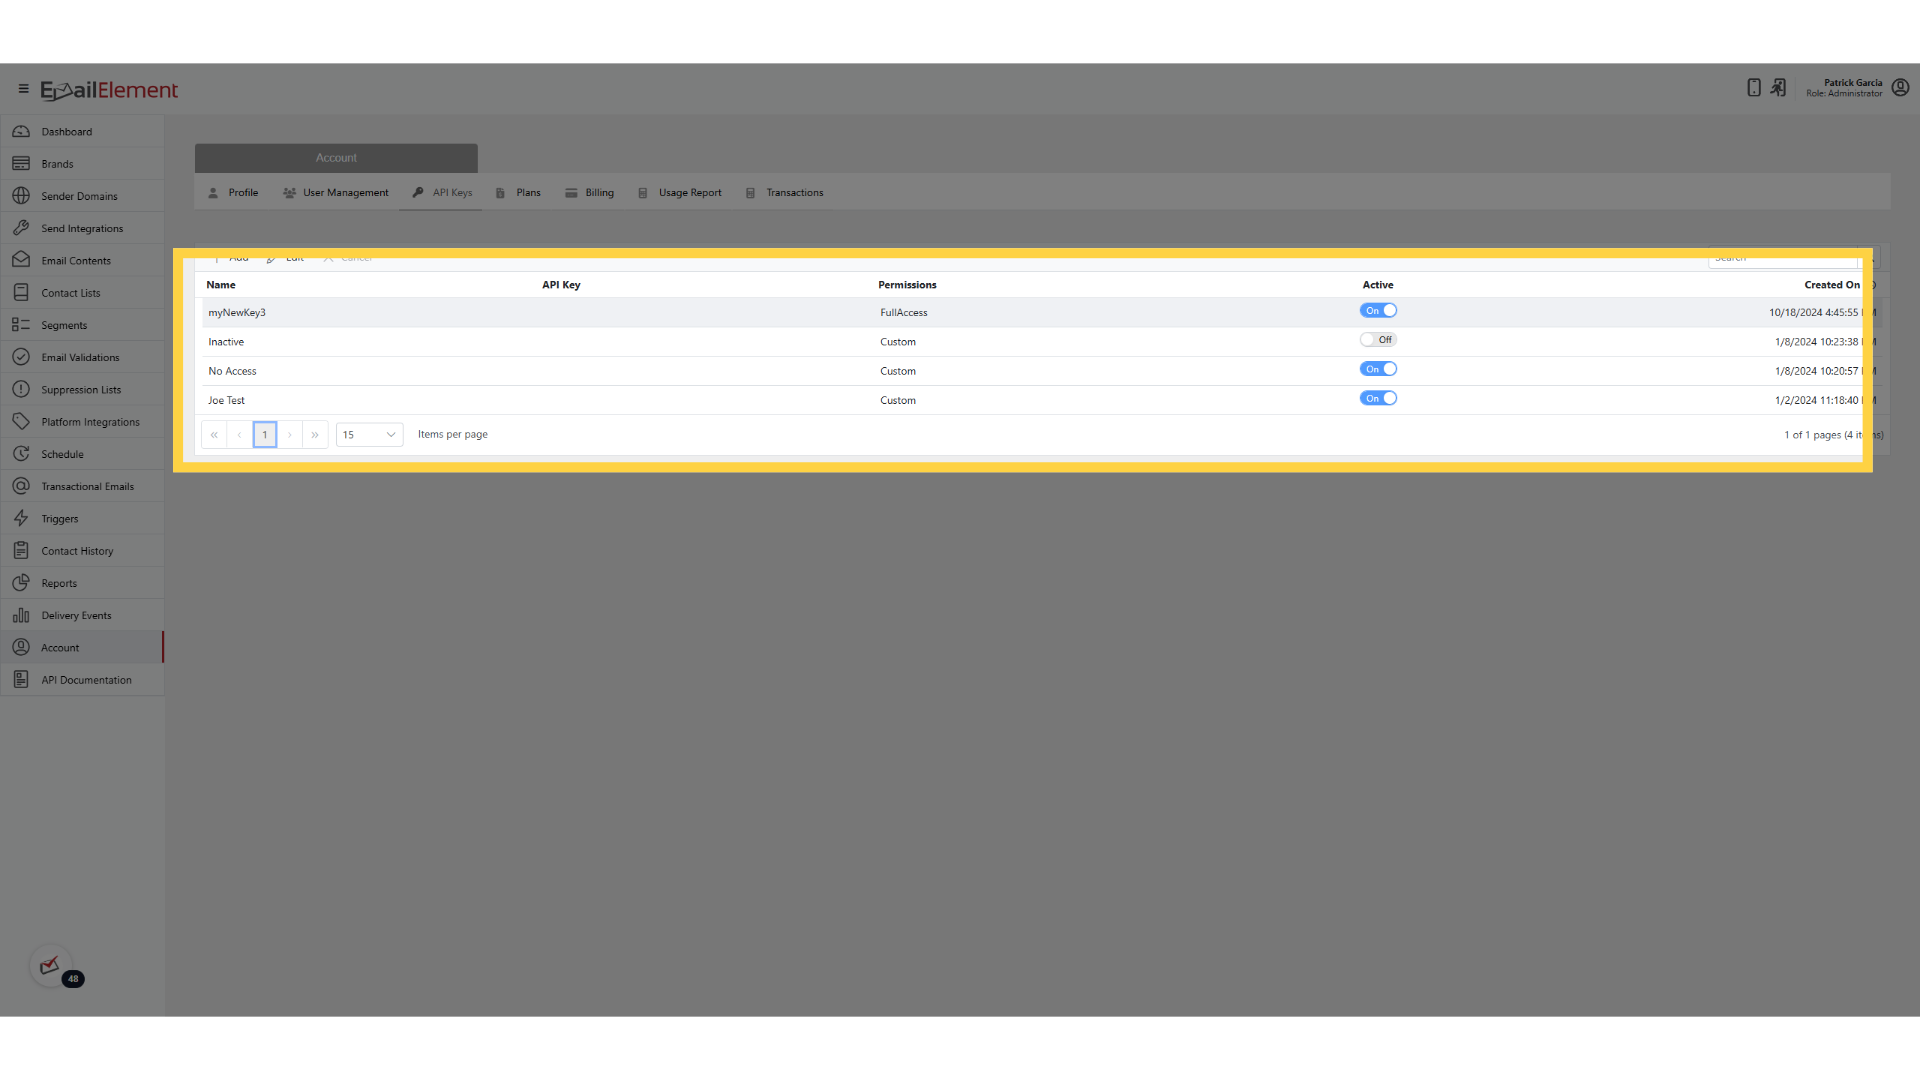
Set Transactional Email API to Full Access
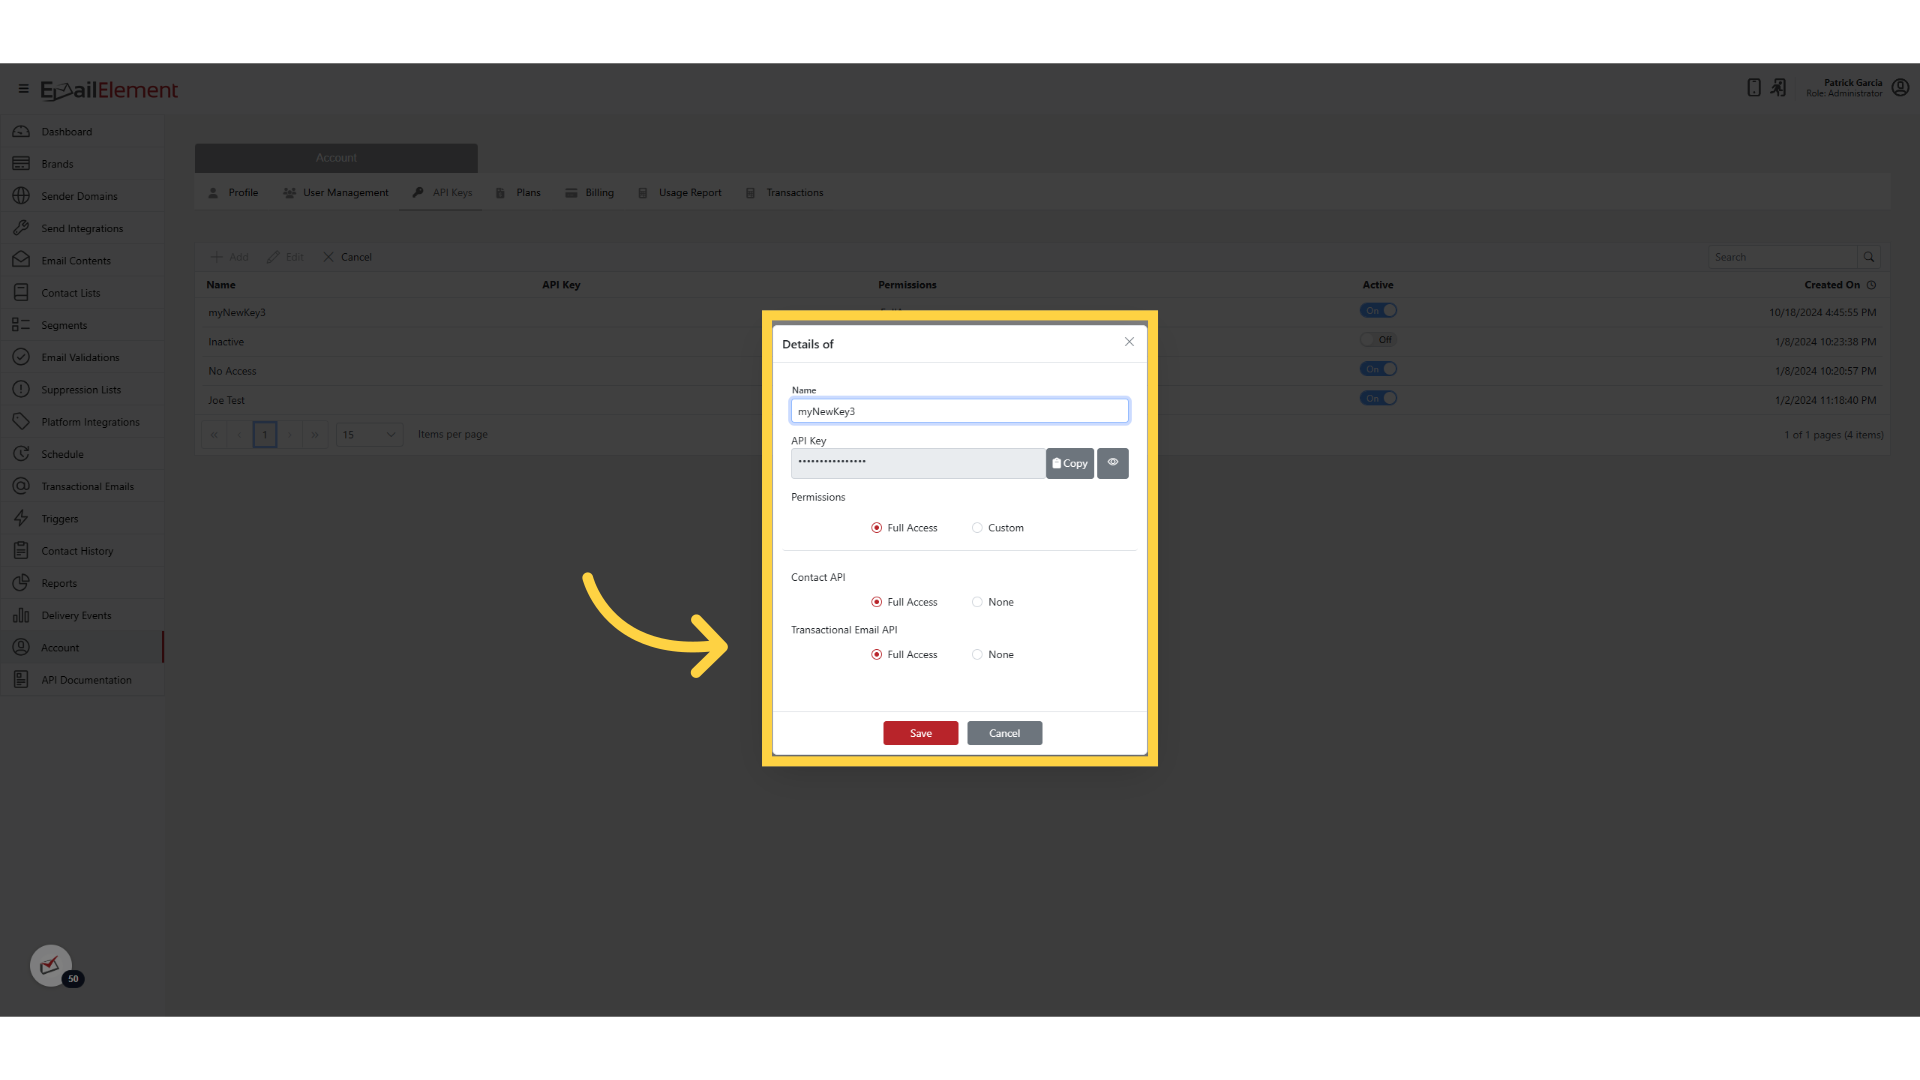
Click Save, then Copy
Step 3: Build the API Request
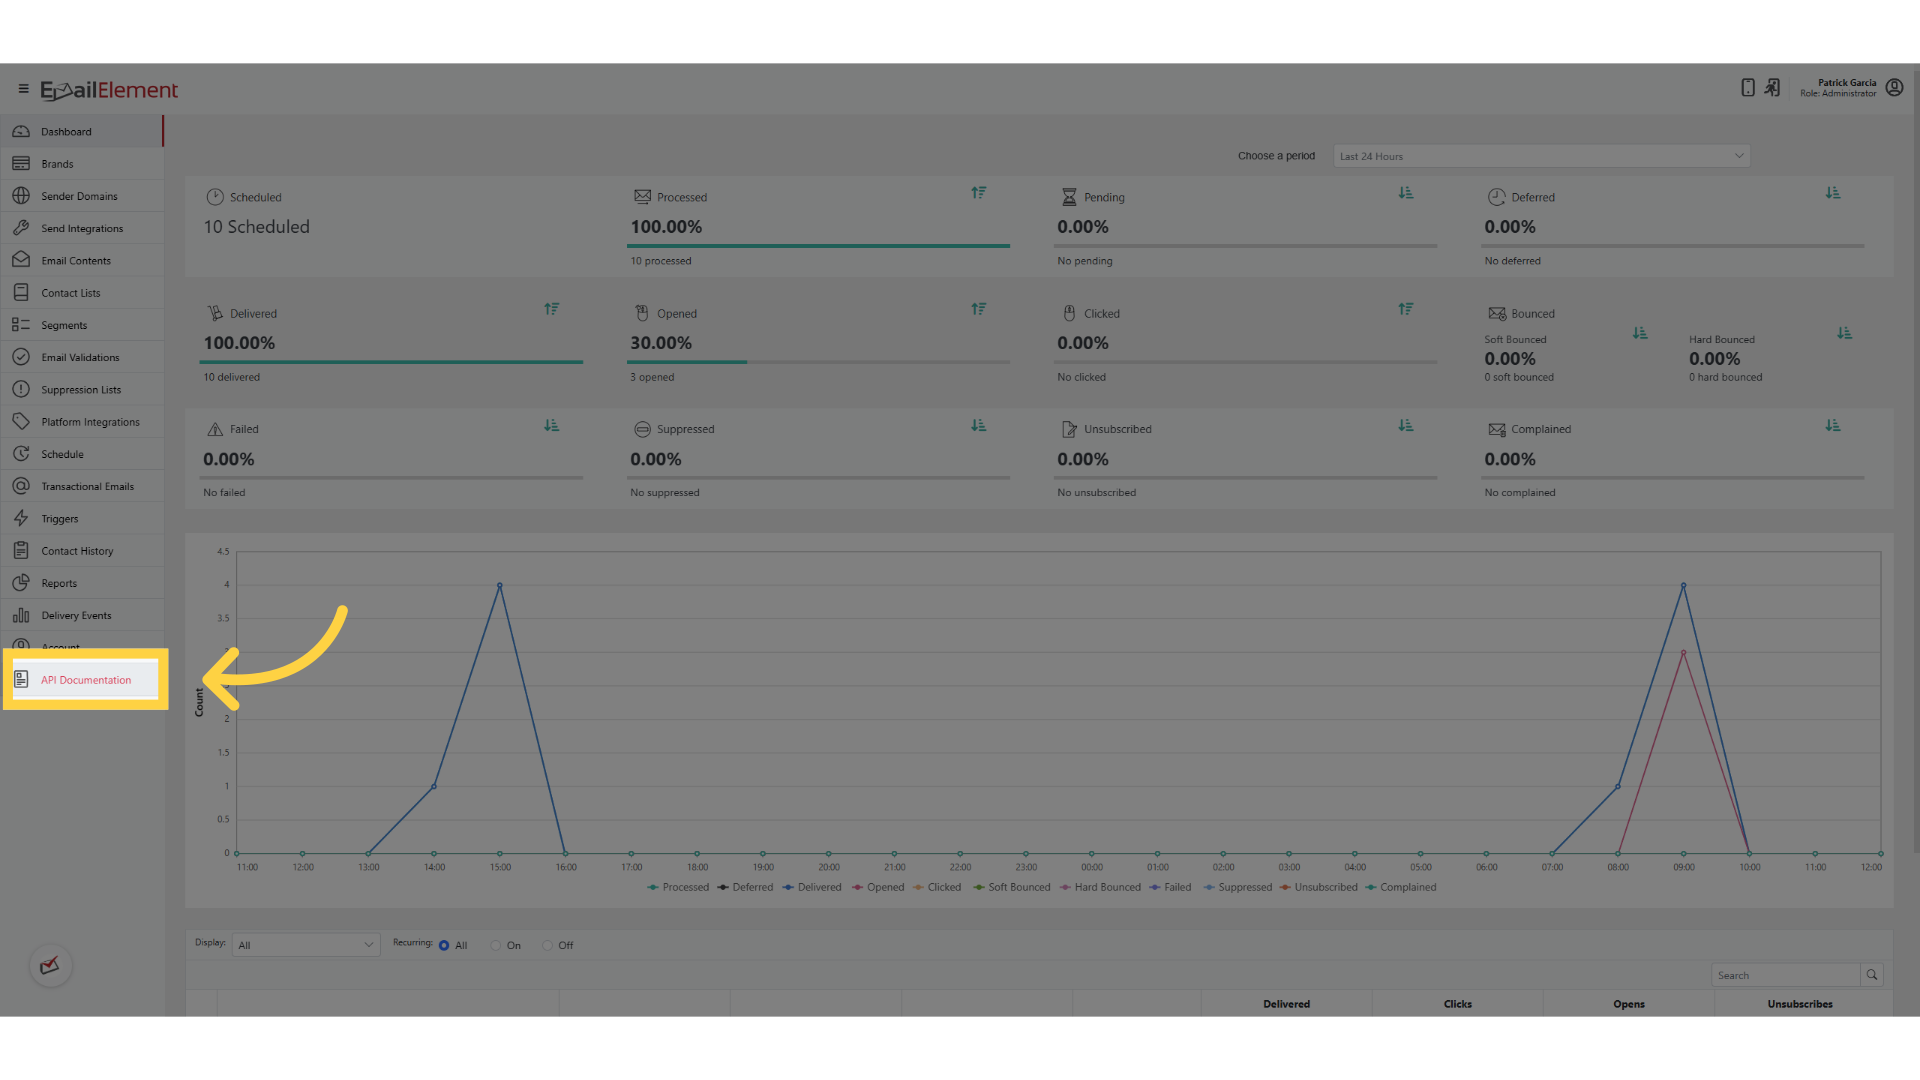
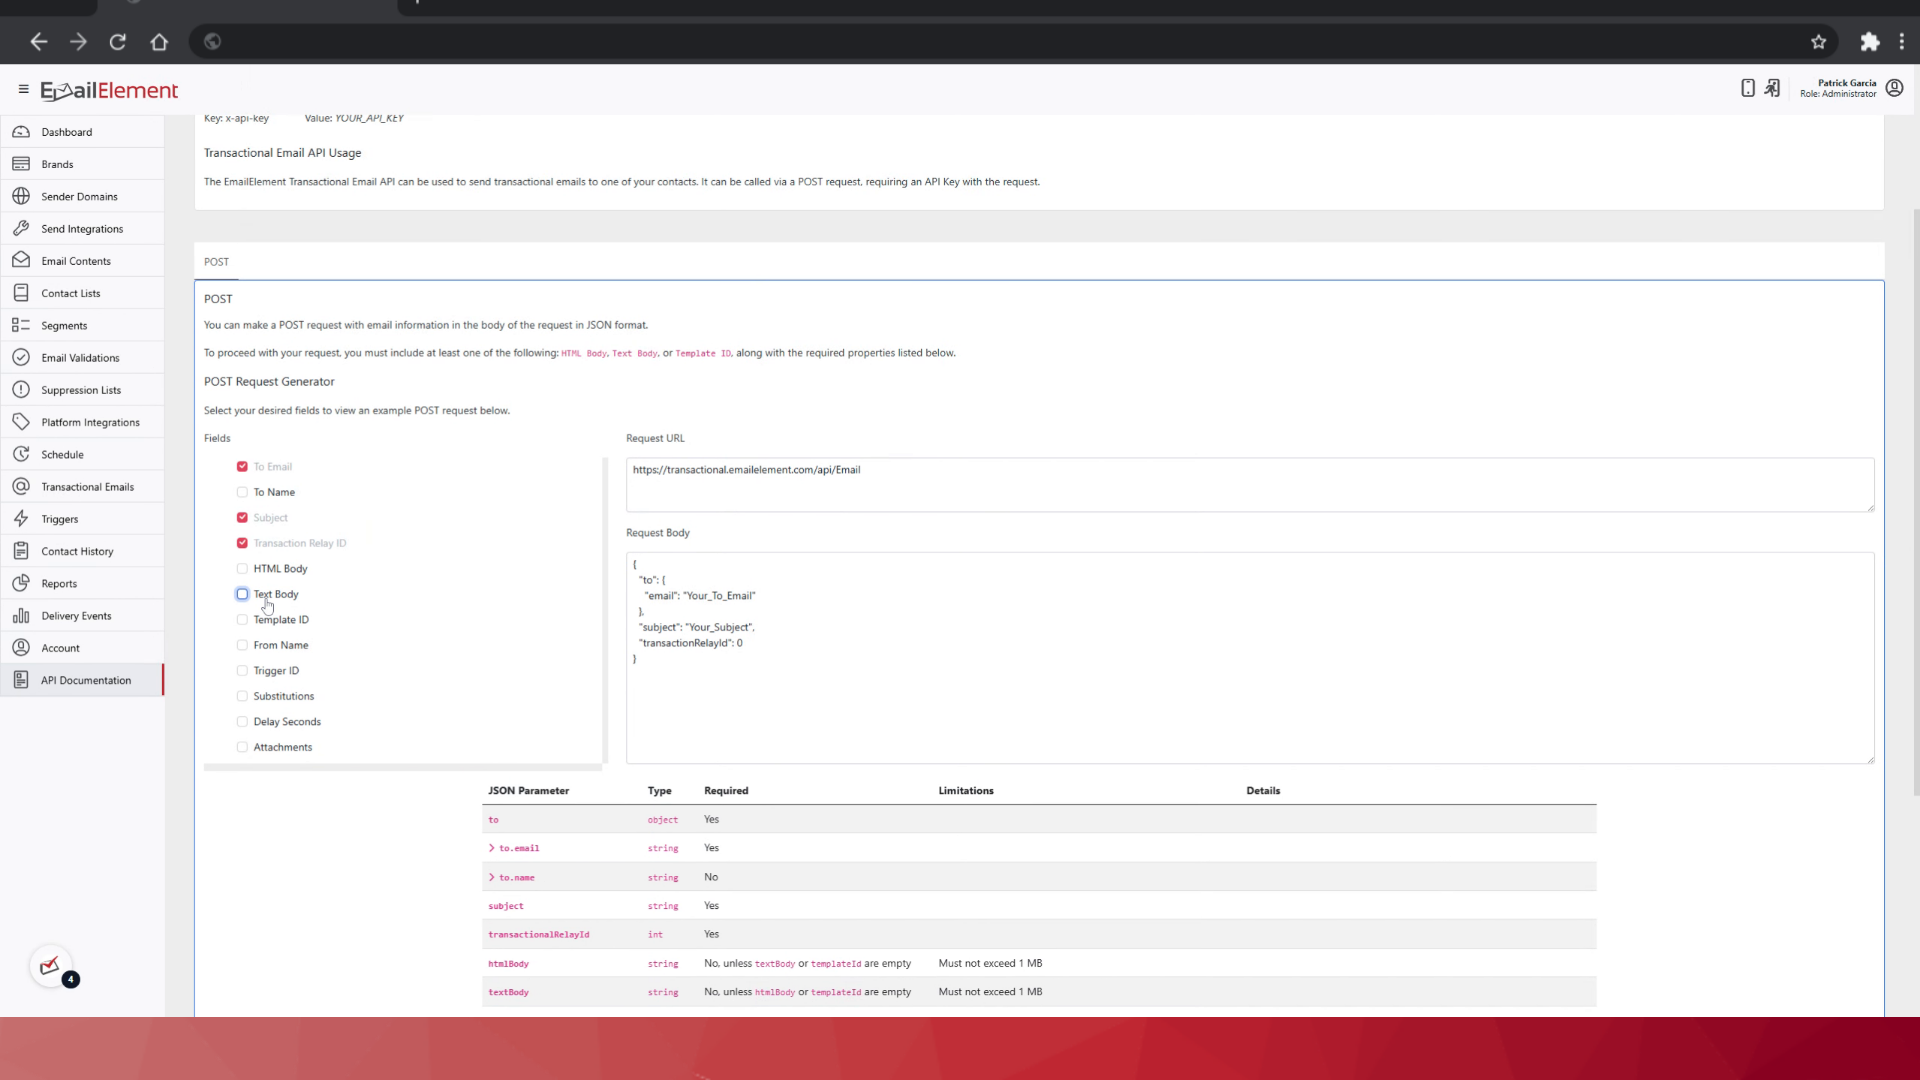
Navigate to API Documentation > Transactional Email API
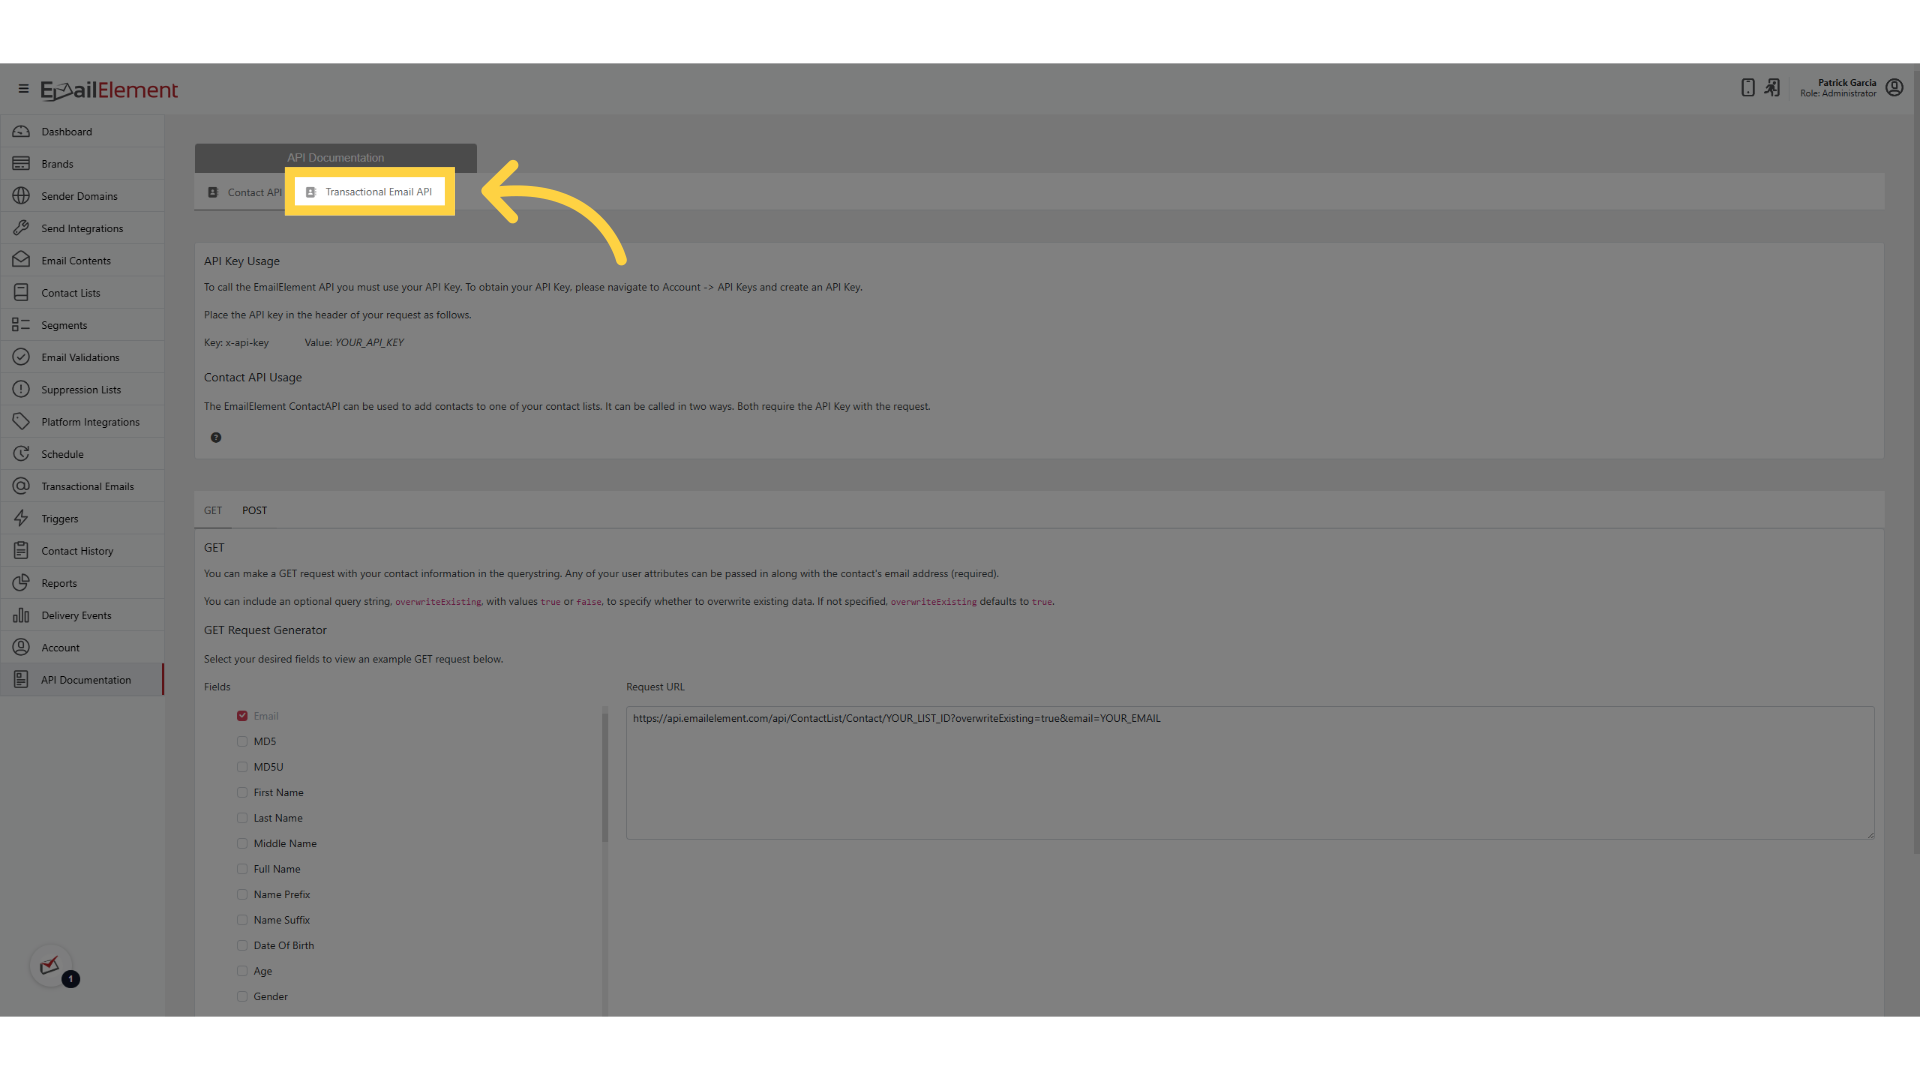
The page lists every field with its type, whether it is required, and its size limit
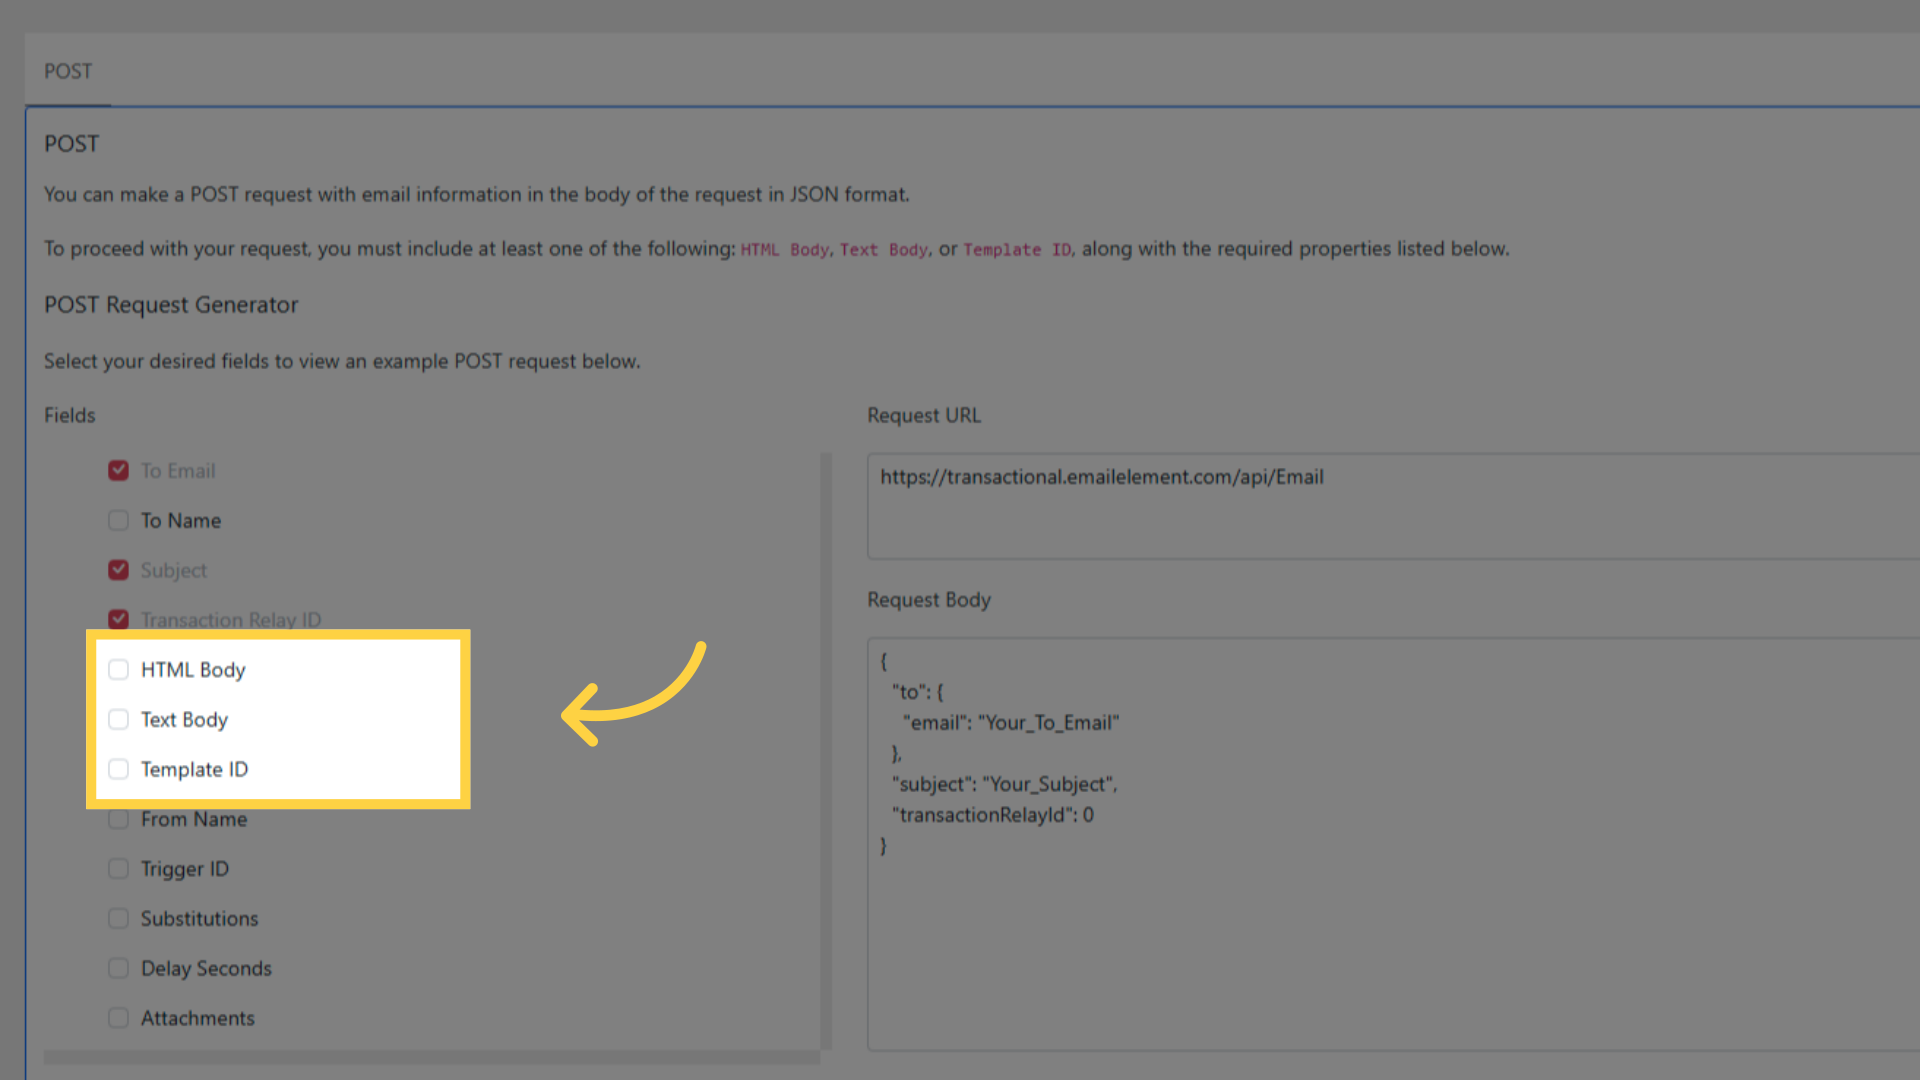
Tick the fields you want in the POST Request Generator.
to.email,subjectandtransactionRelayIdare required, and you need at least one of HTML Body, Text Body or Template ID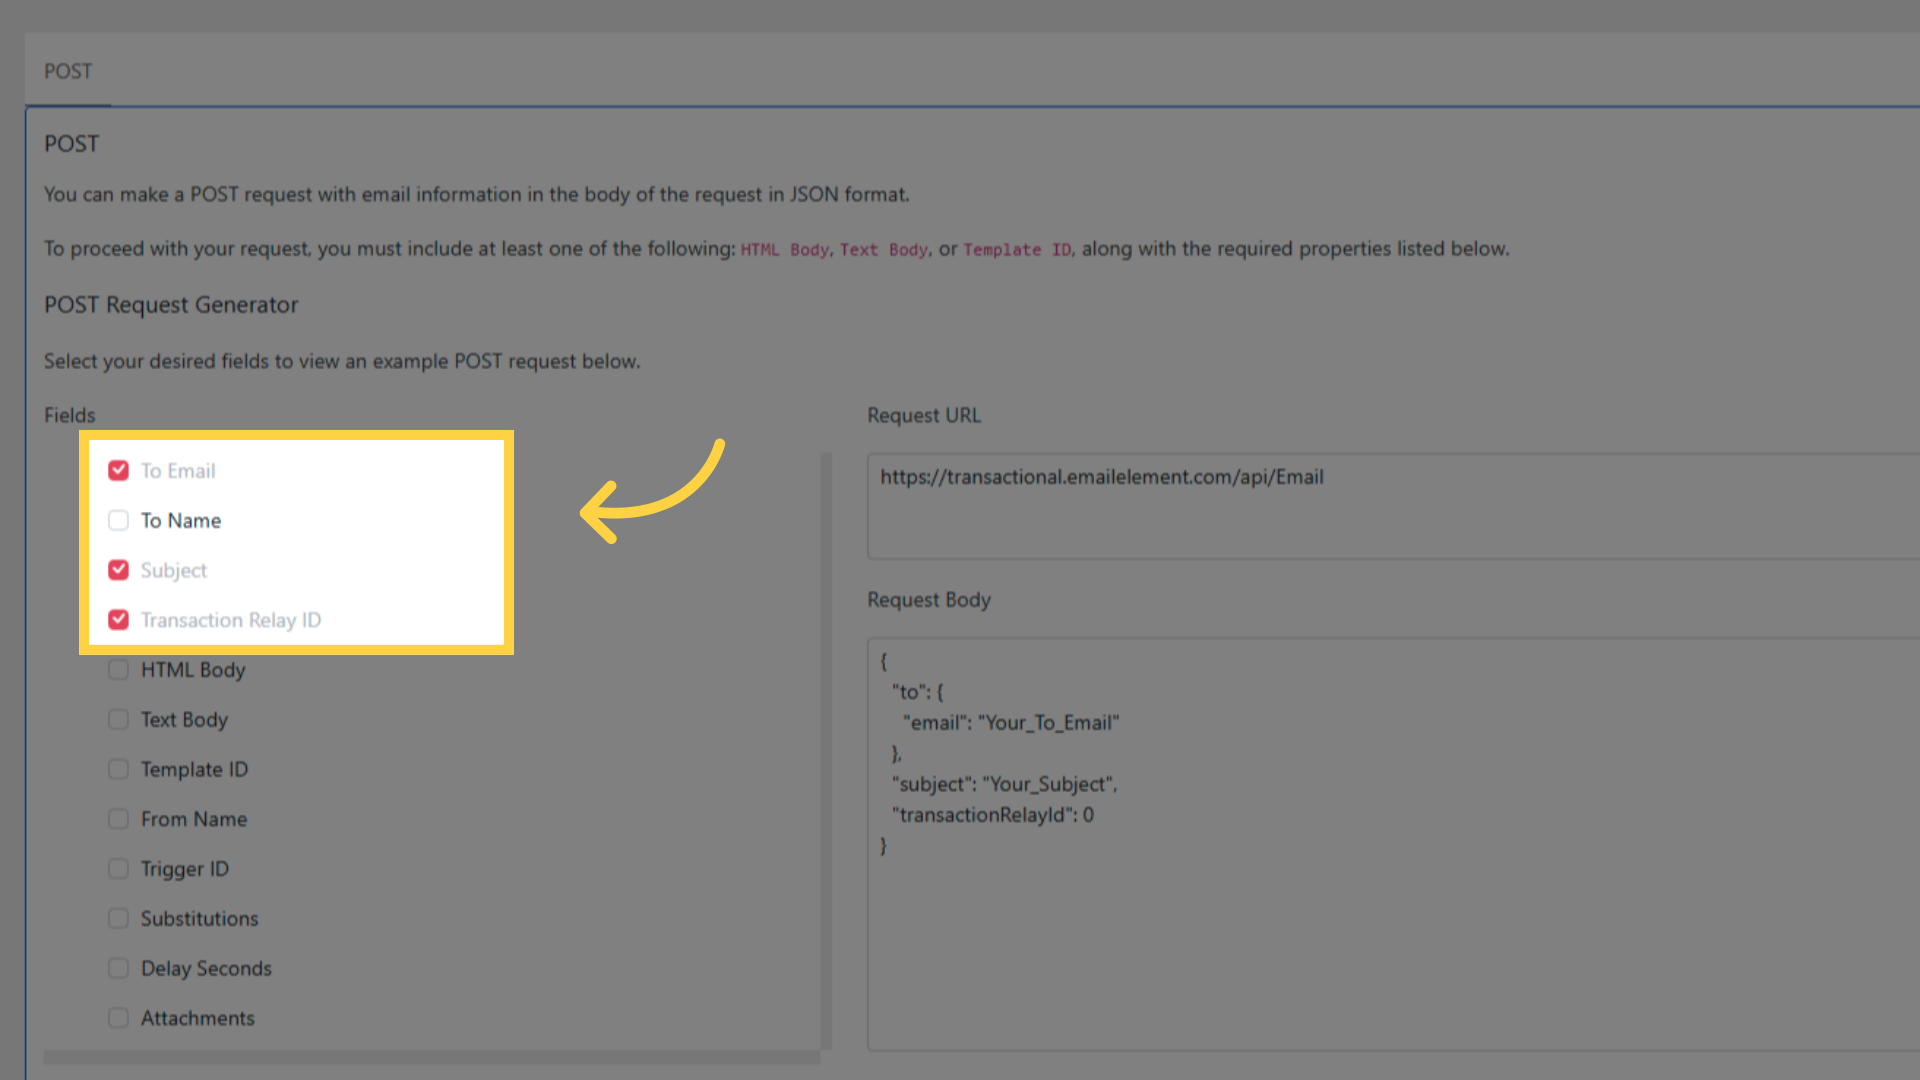
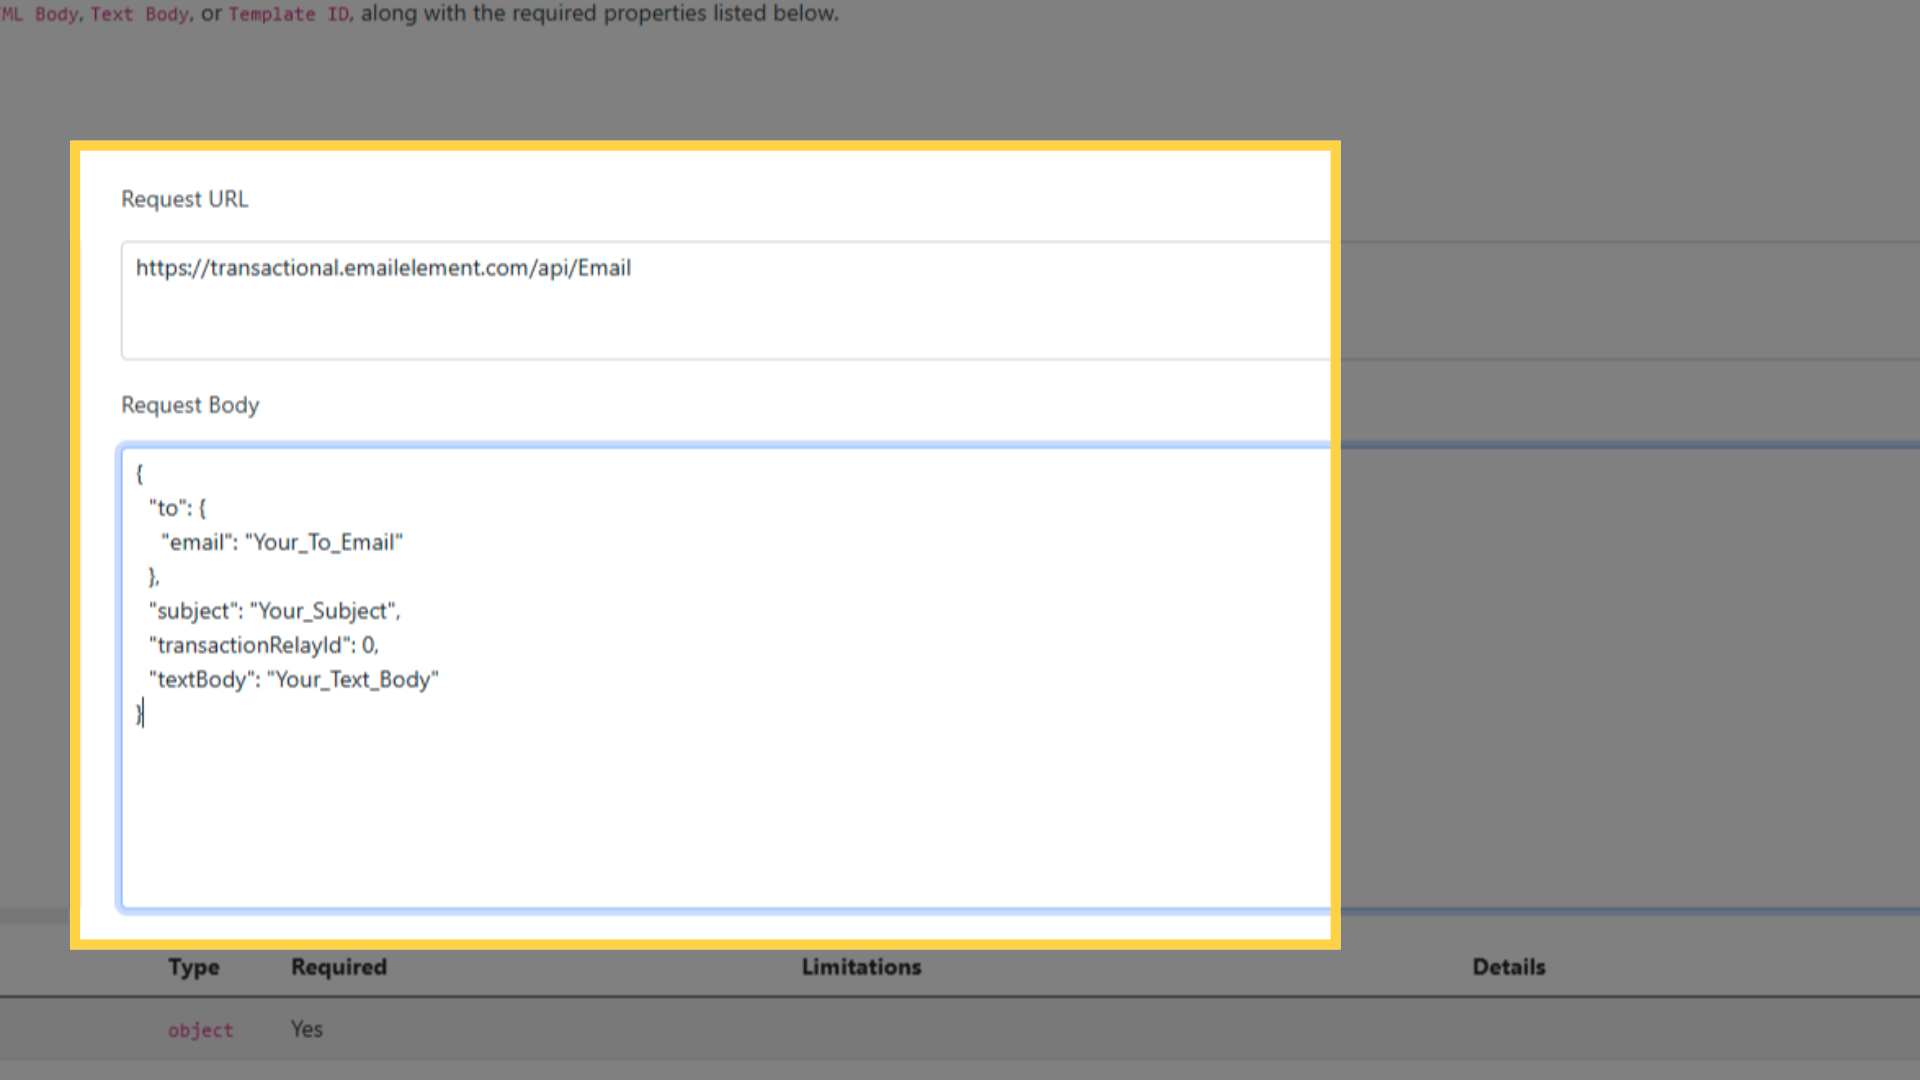
Copy the Request URL and Request Body
Scroll to the response list. It gives every code this call returns with an example body
Step 4: Send a Transactional Email
Using Postman
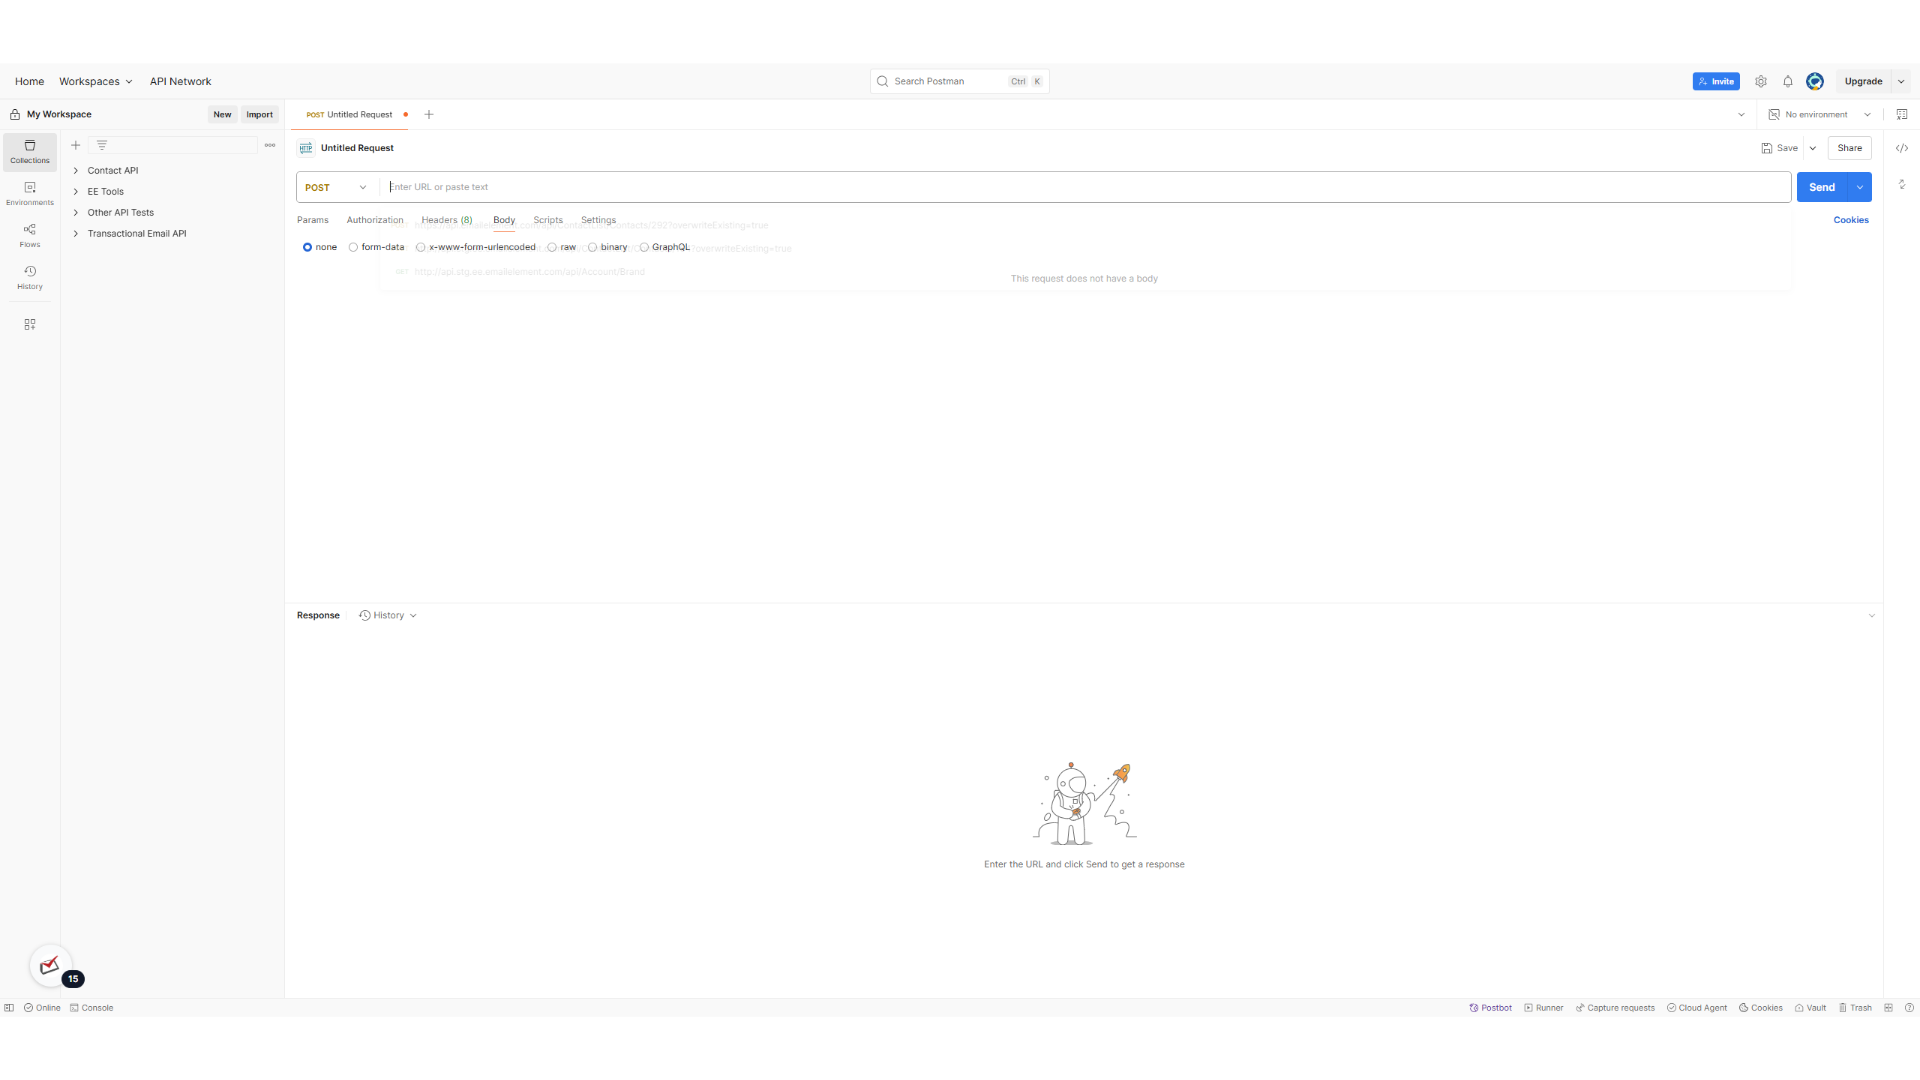
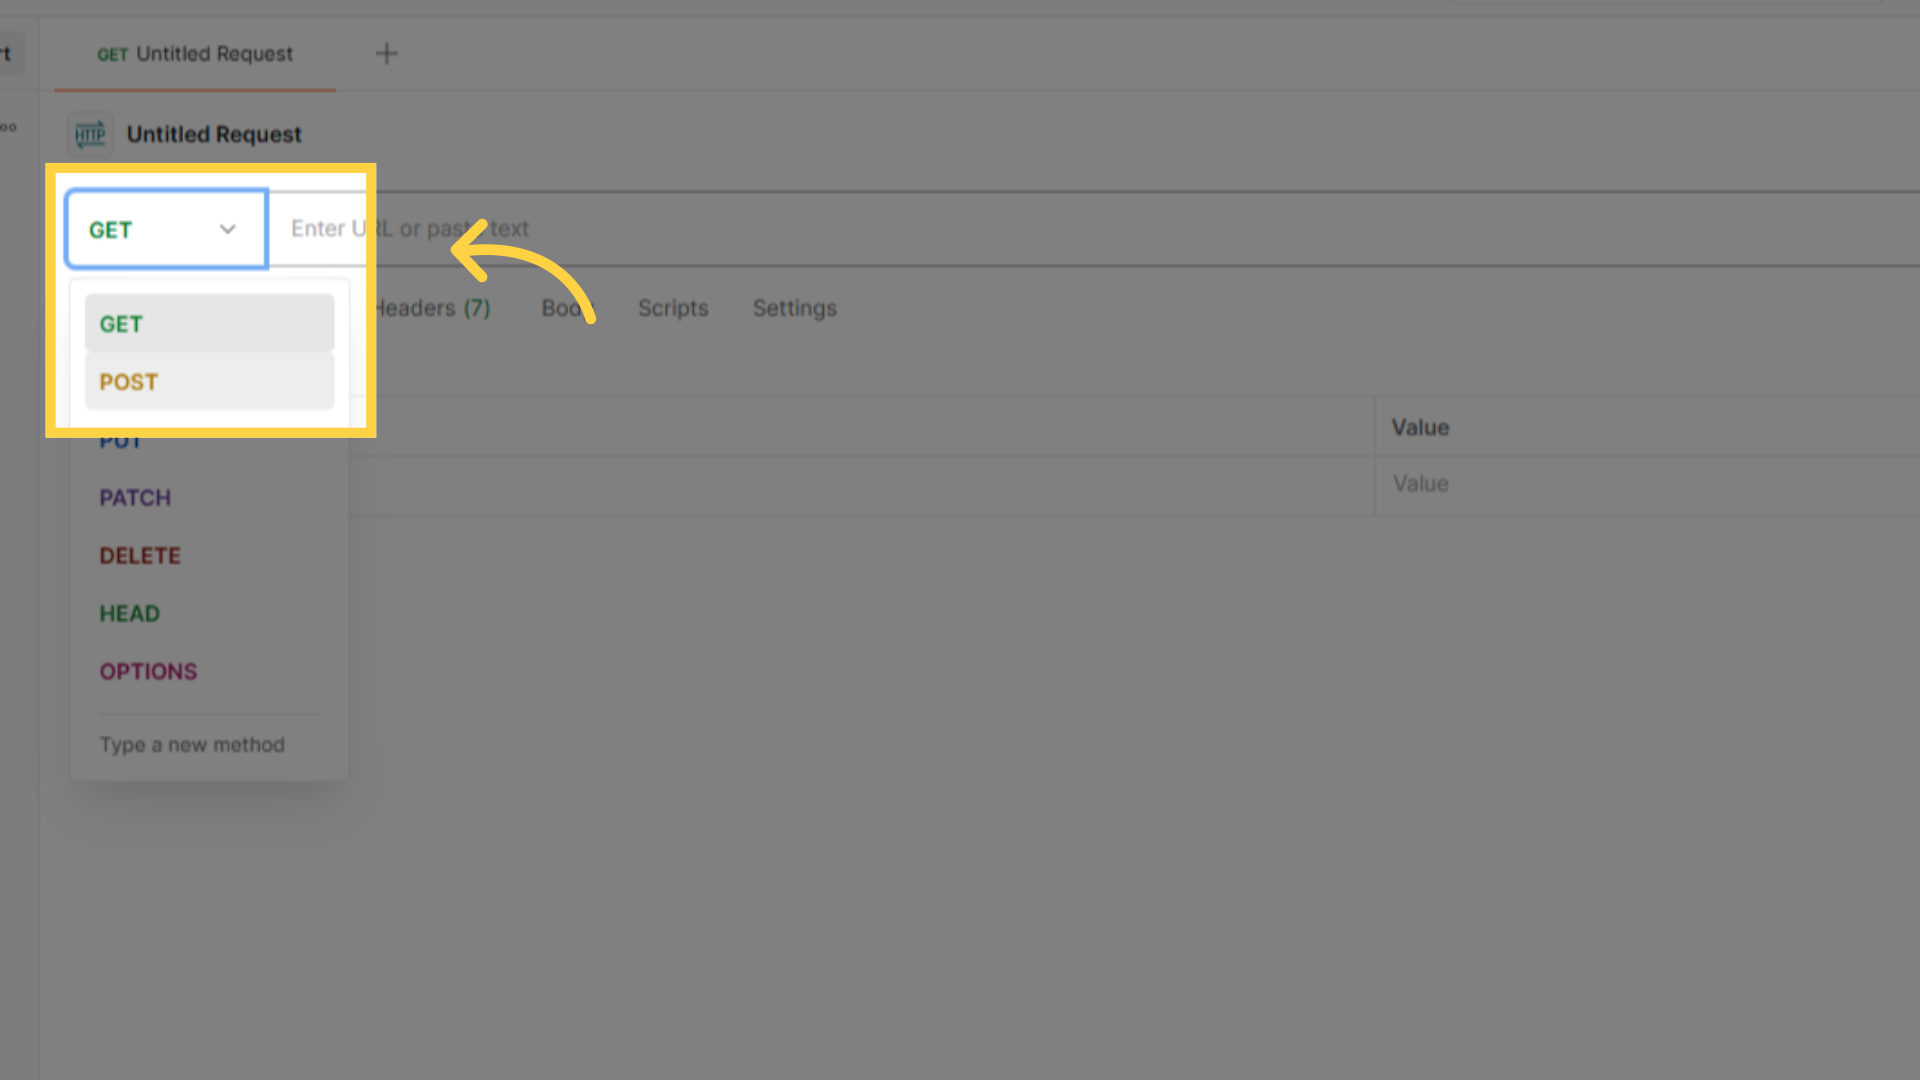
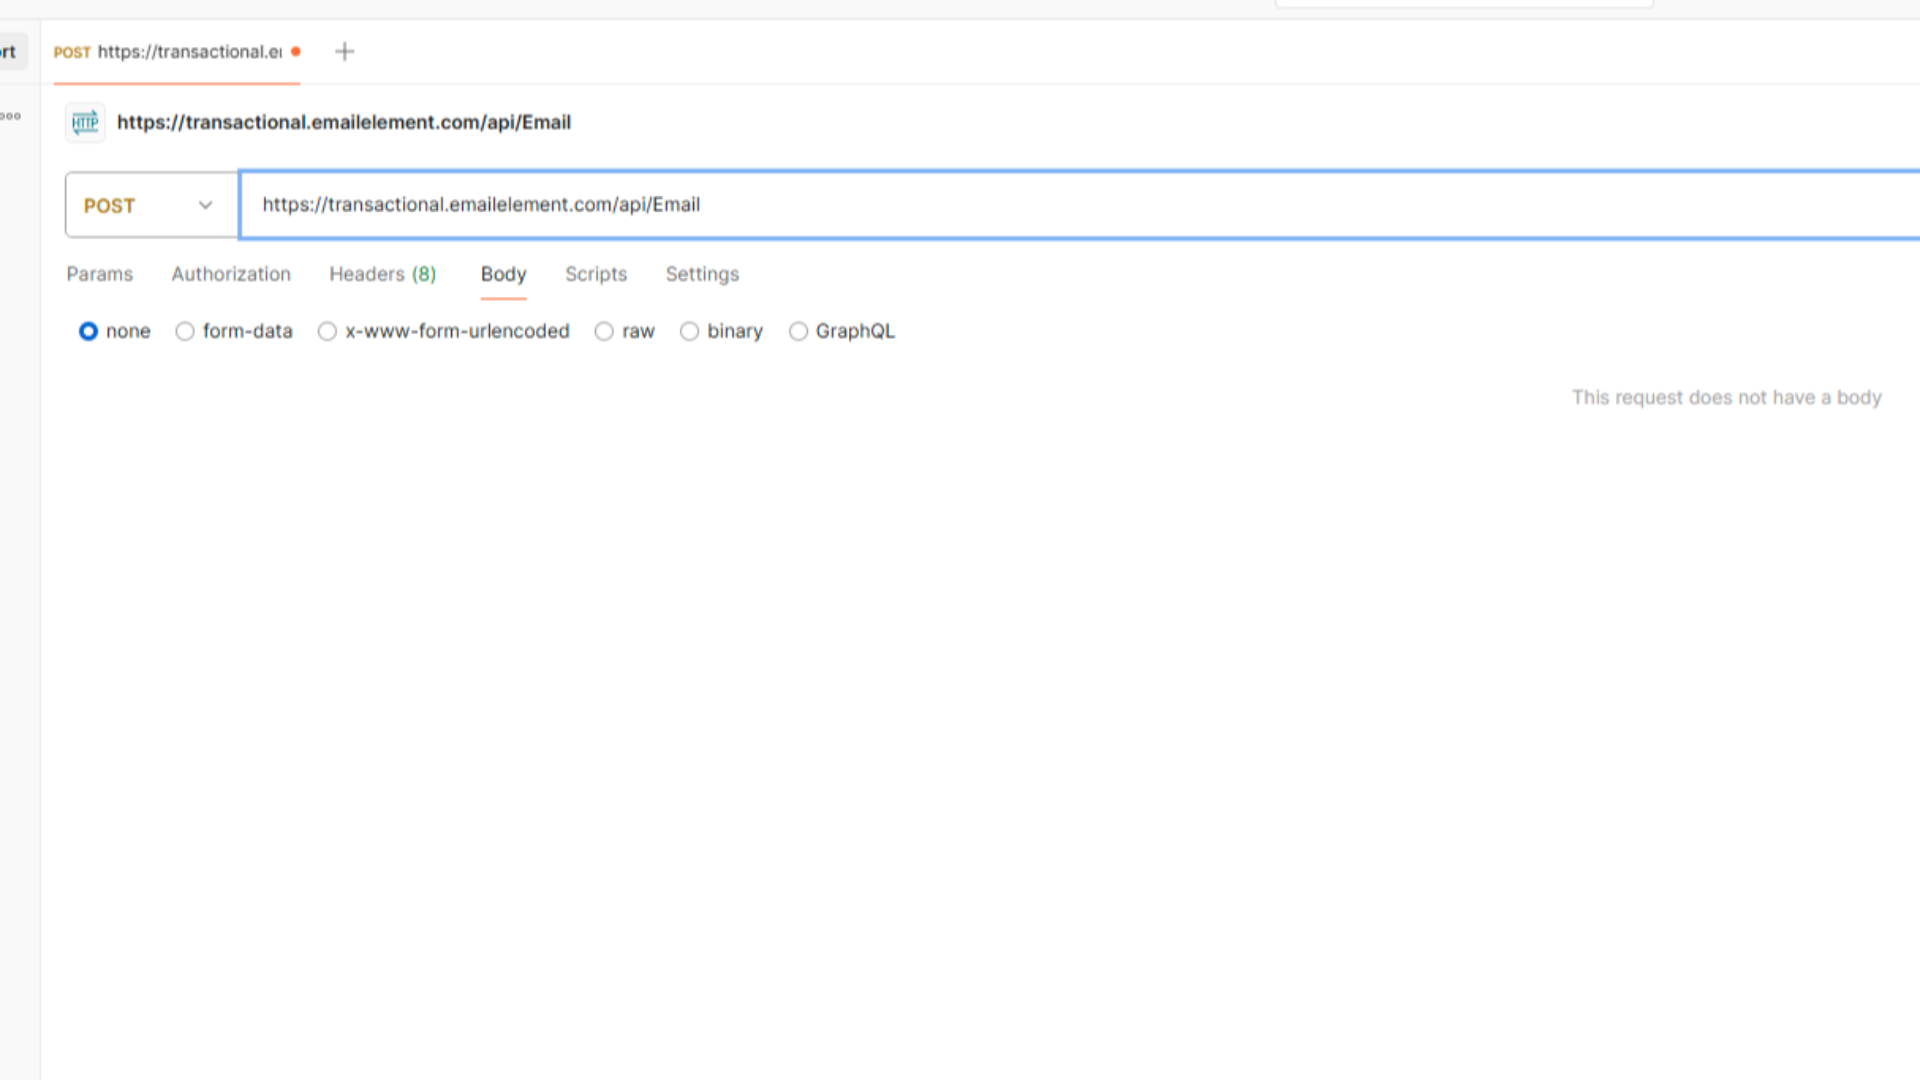
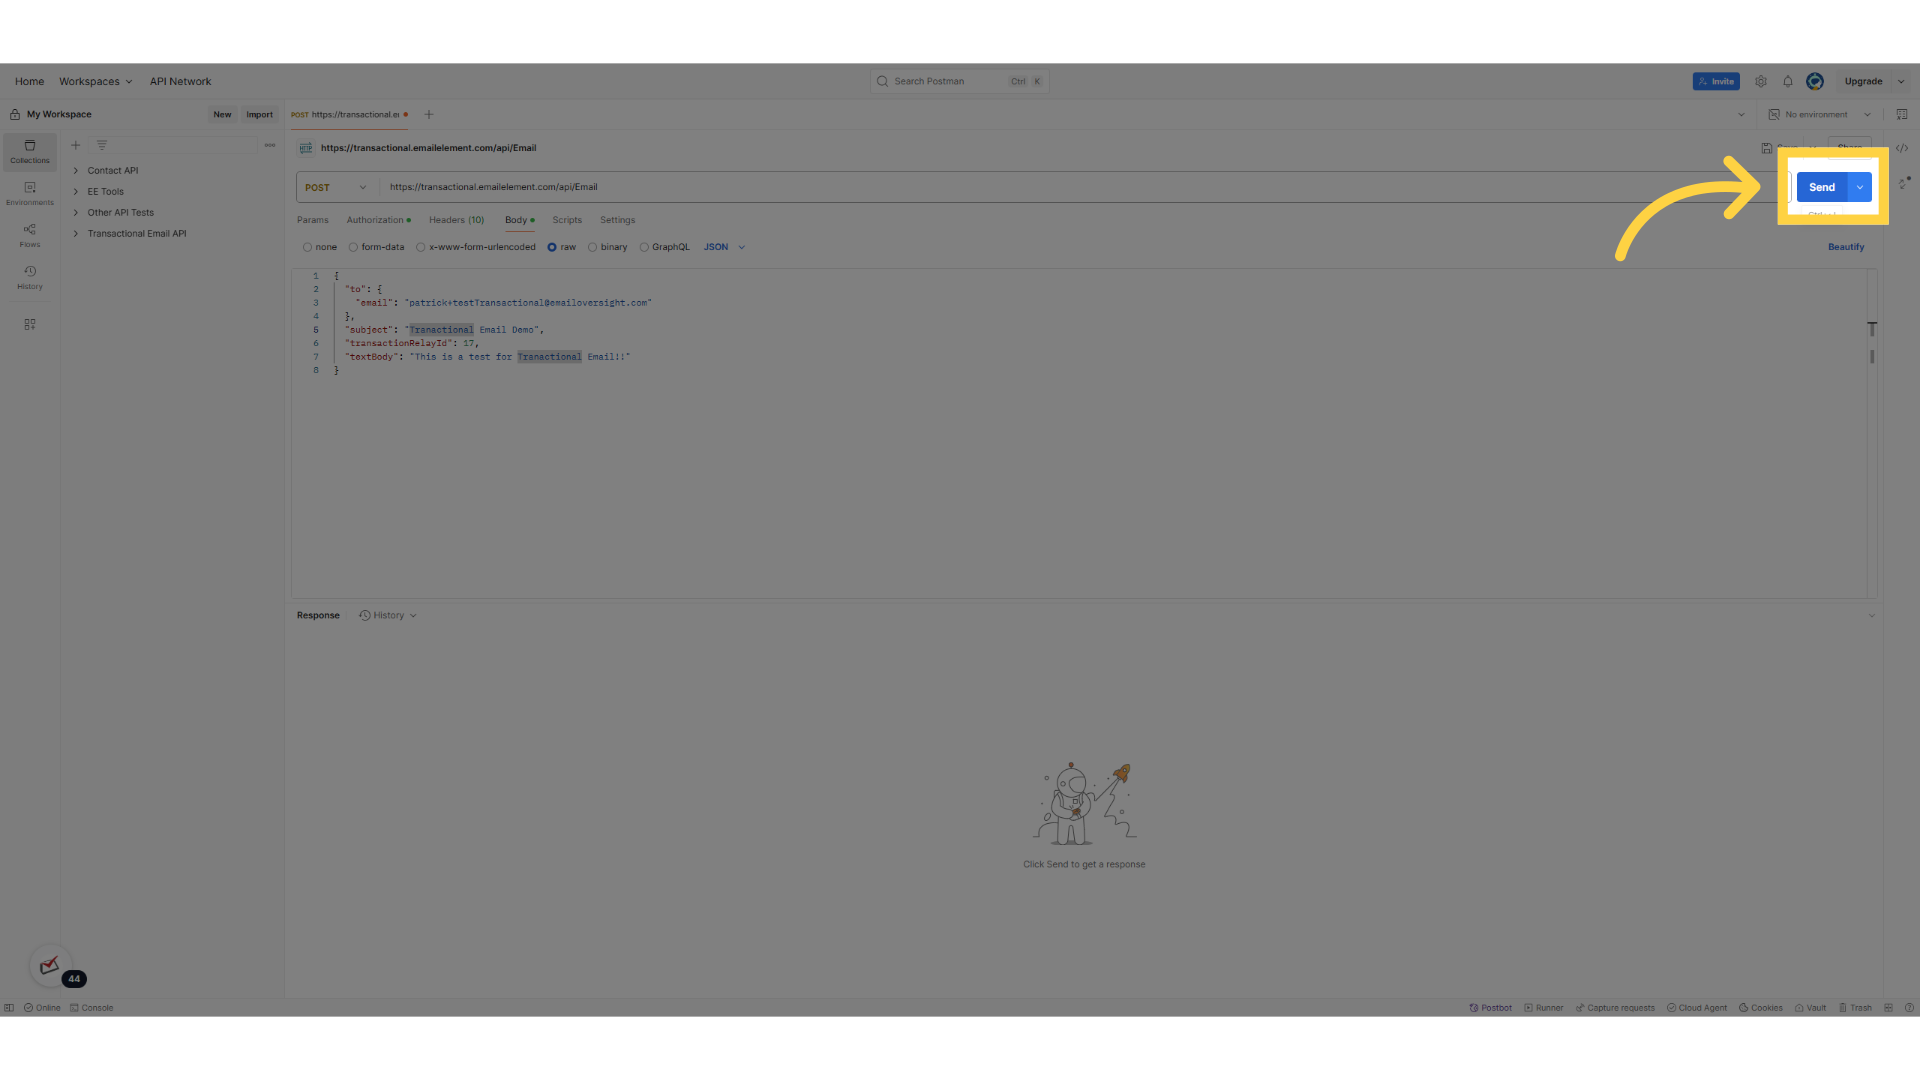
Create a POST request
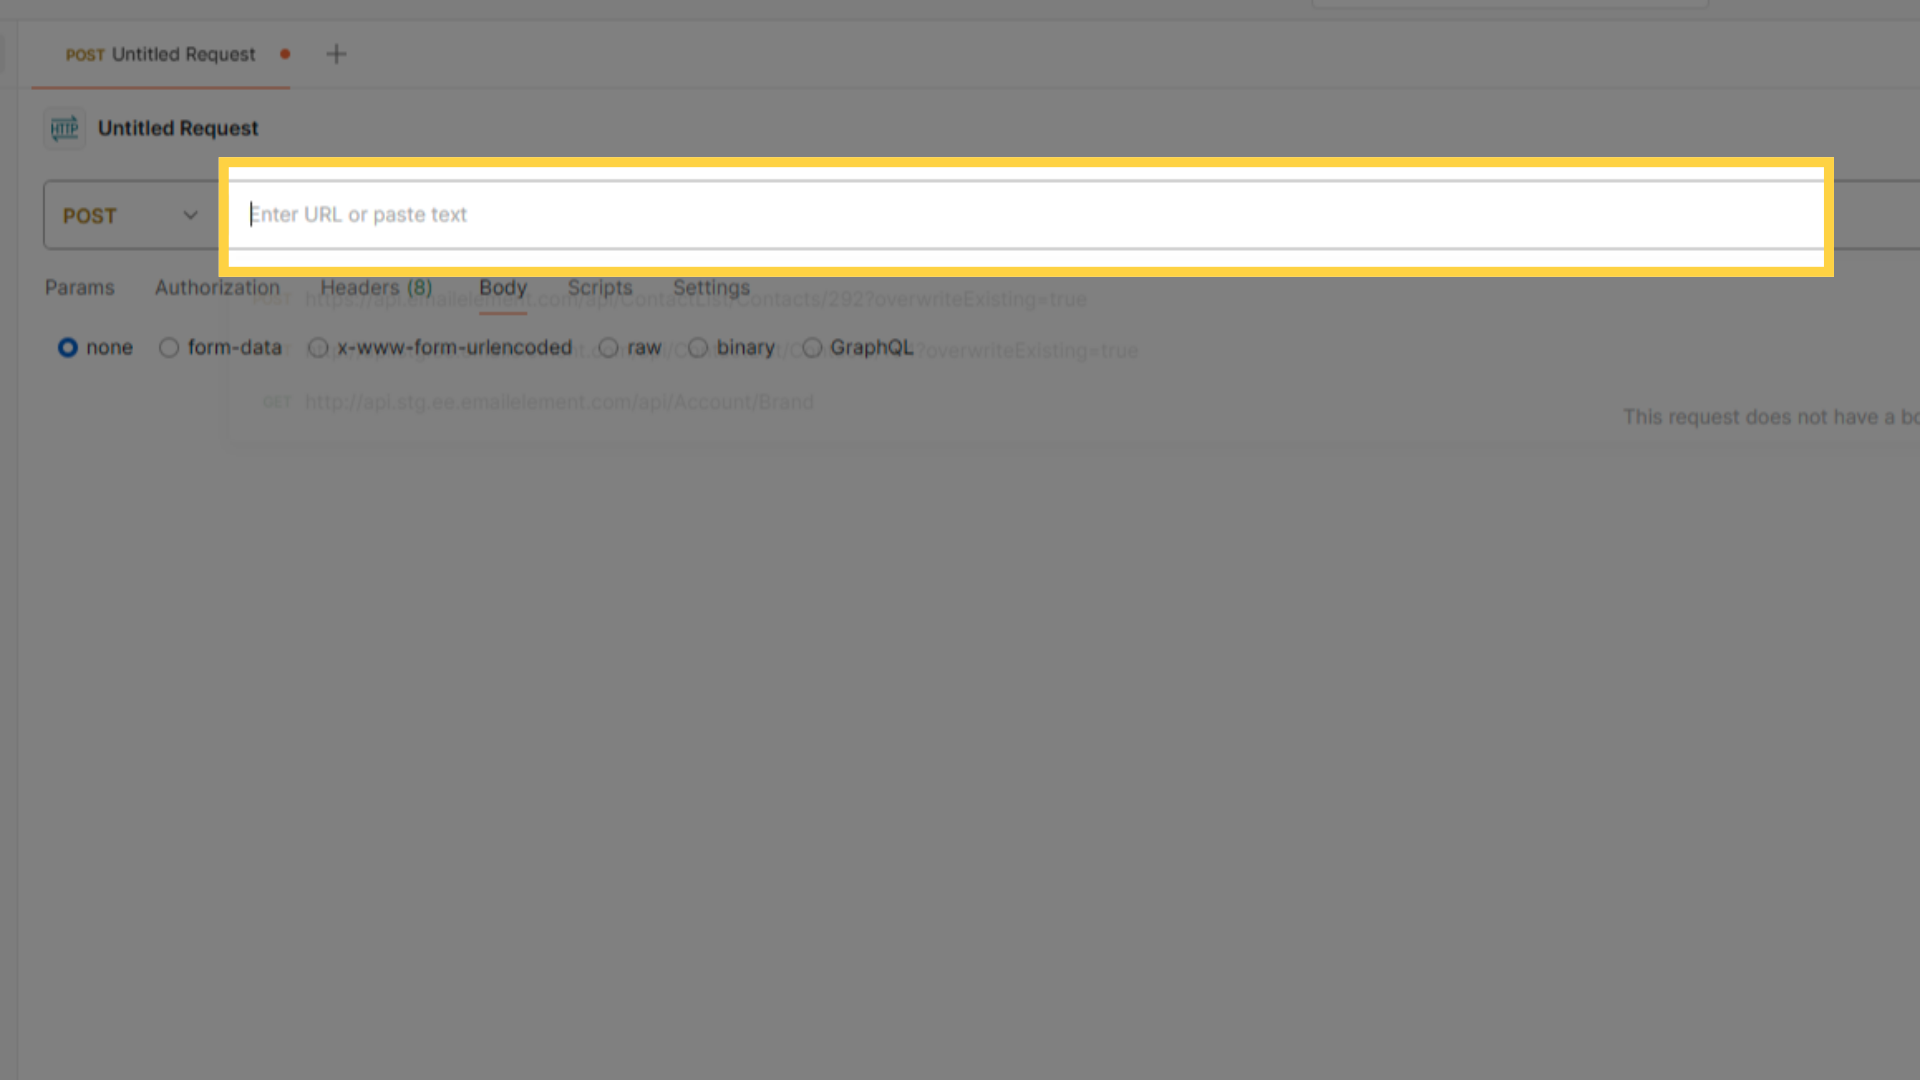
Paste the Request URL
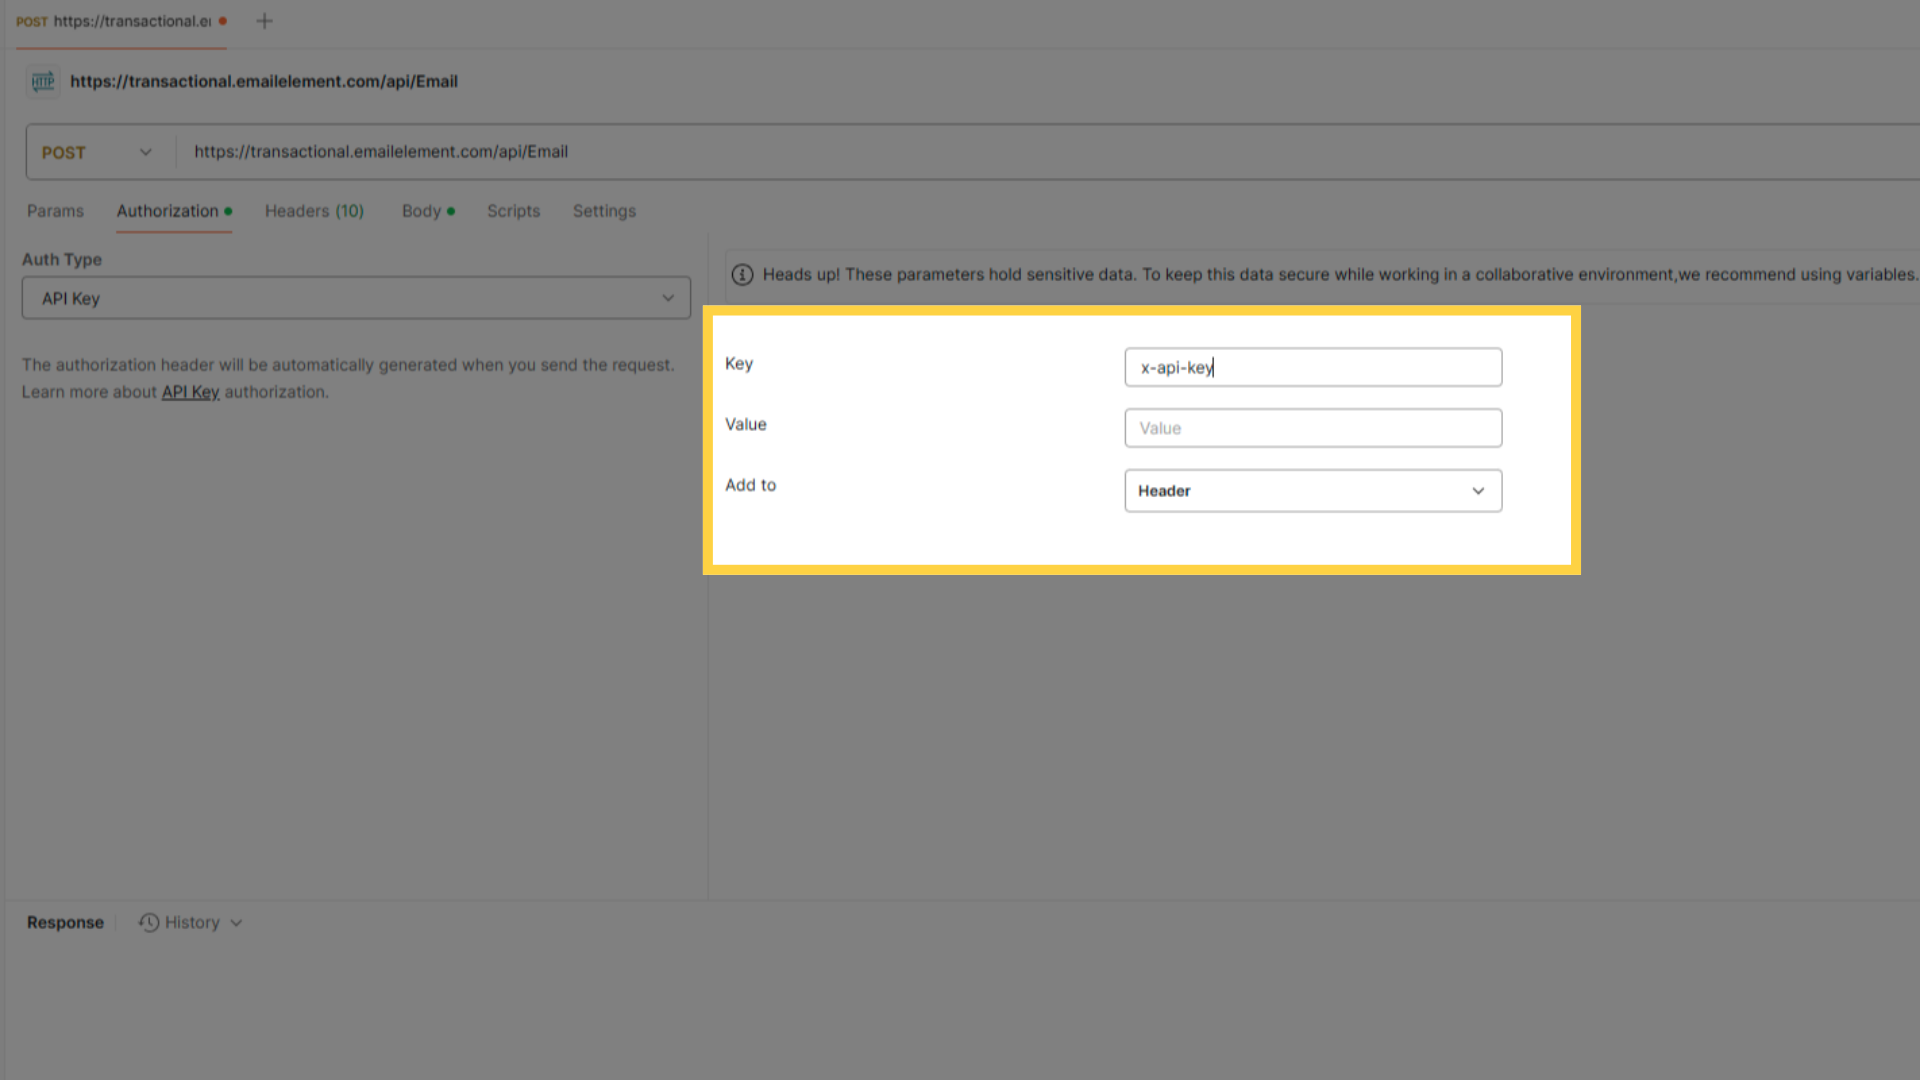
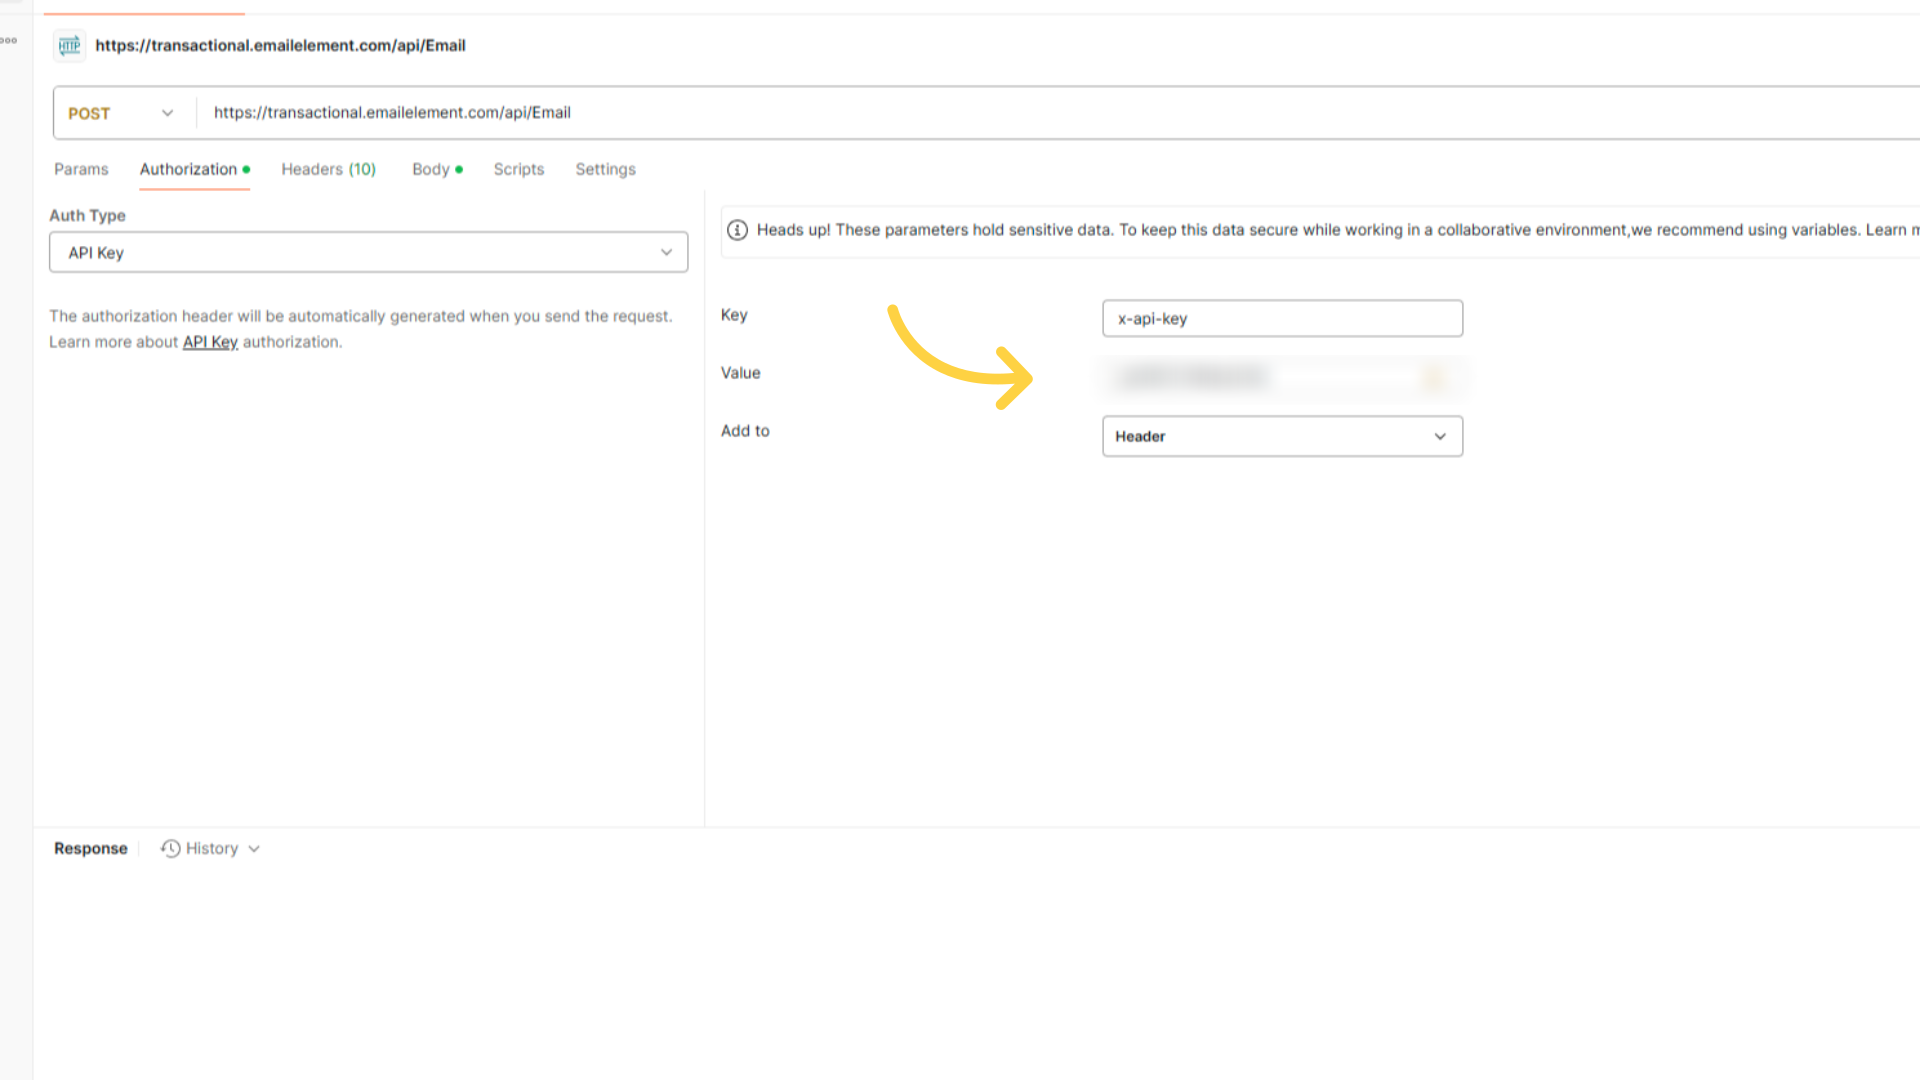
Add header
x-api-keywith your API key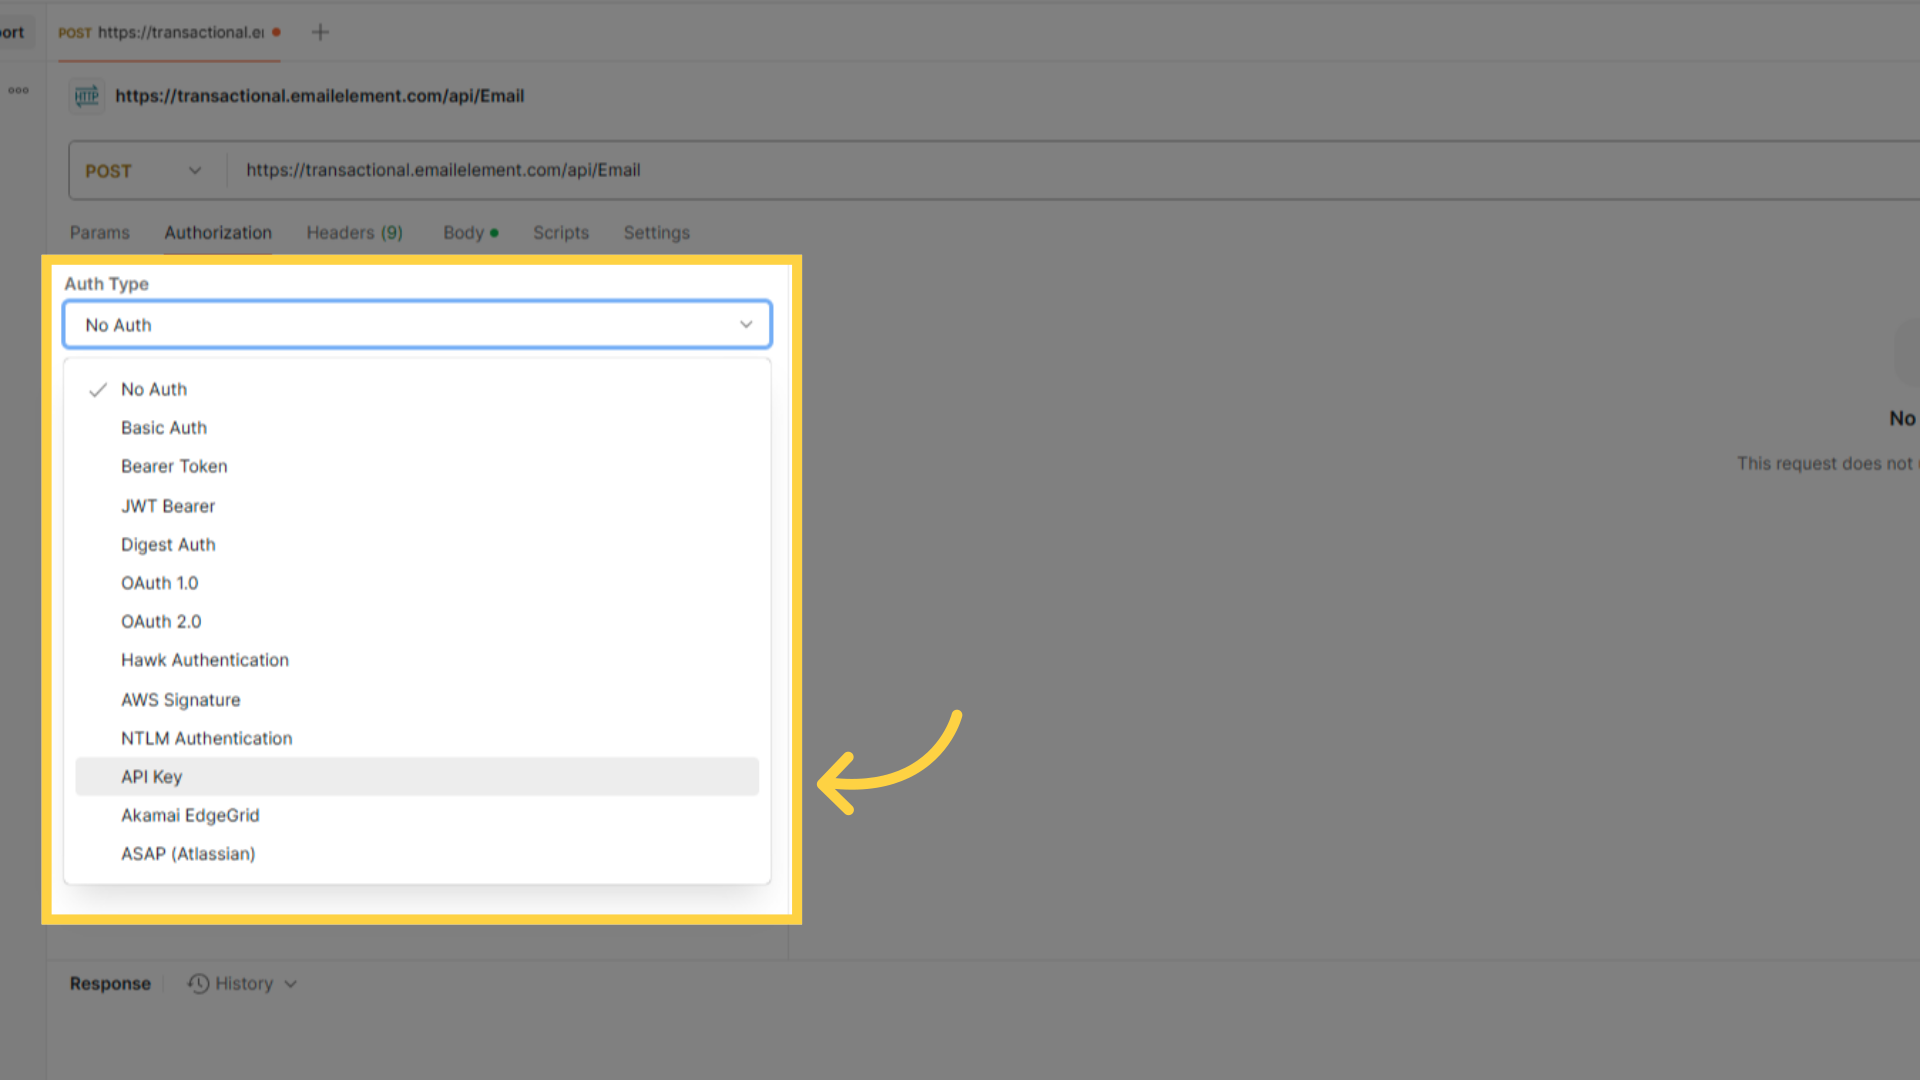
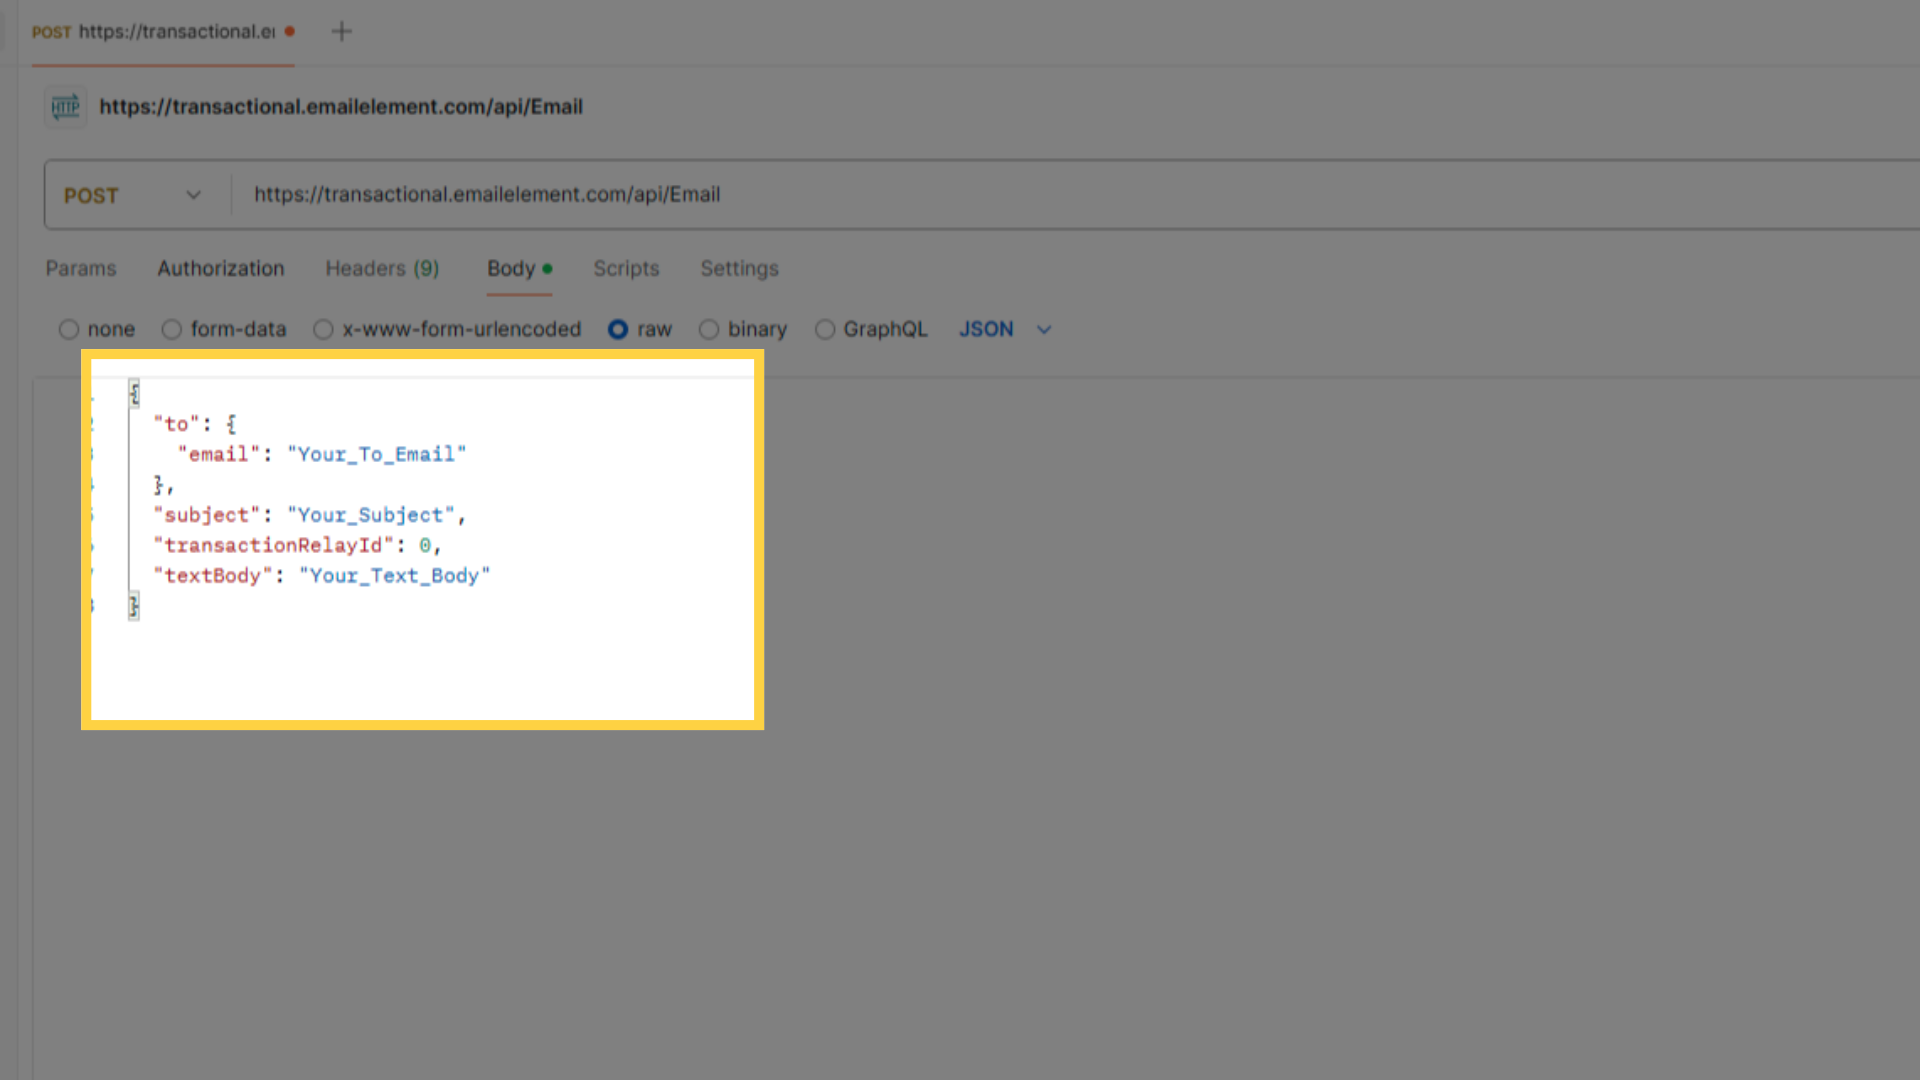
Under Body > Raw > JSON, paste the request body
Fill in
to.email,subject, your content, andtransactionRelayId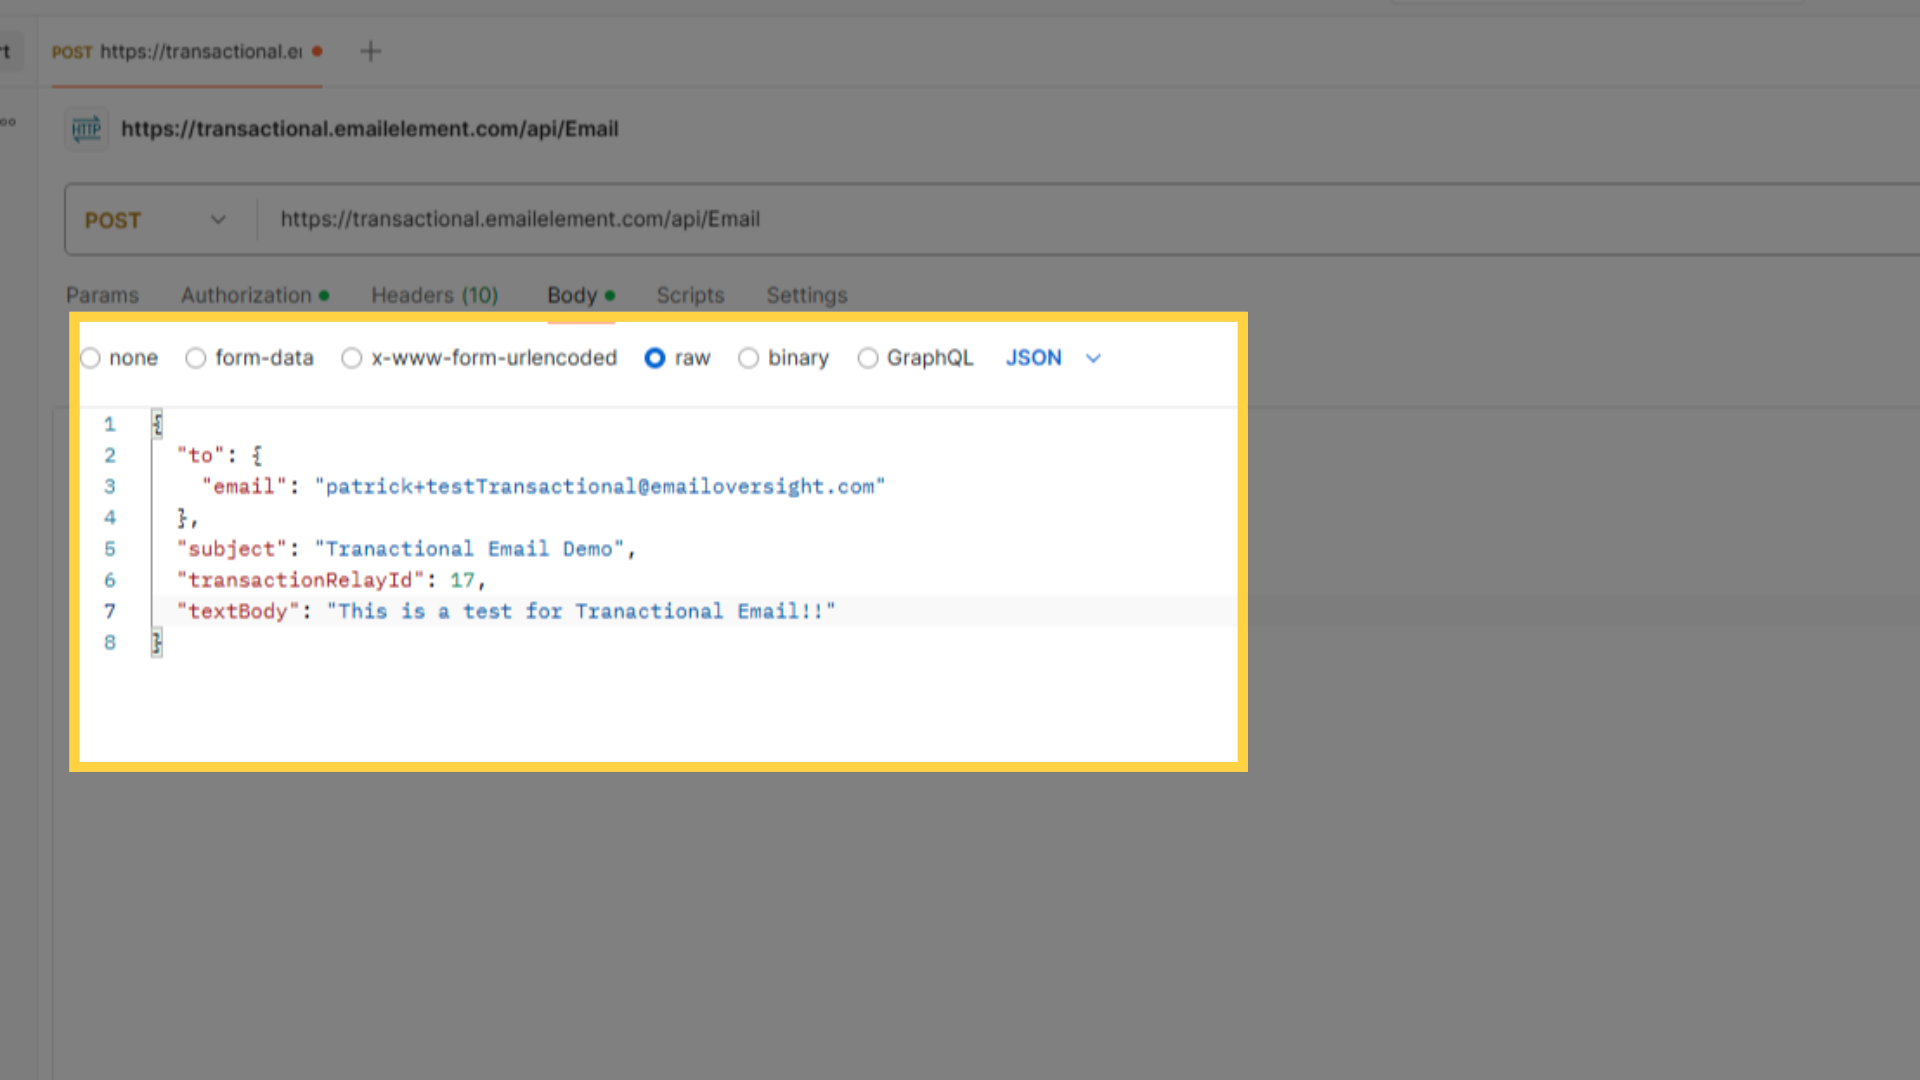
Click Send
Using cURL
curl -X POST "https://transactional.emailelement.com/api/Email"   -H "x-api-key: YOUR_API_KEY"   -H "Content-Type: application/json"   -d '{
    "to": { "name": "Jane Doe", "email": "jane.doe@example.com" },
    "subject": "Your order confirmation",
    "transactionRelayId": 42,
    "htmlBody": "<h1>Thank you for your order</h1>"
  }'
to is an object. There is no top-level email field.
Step 5: Verify
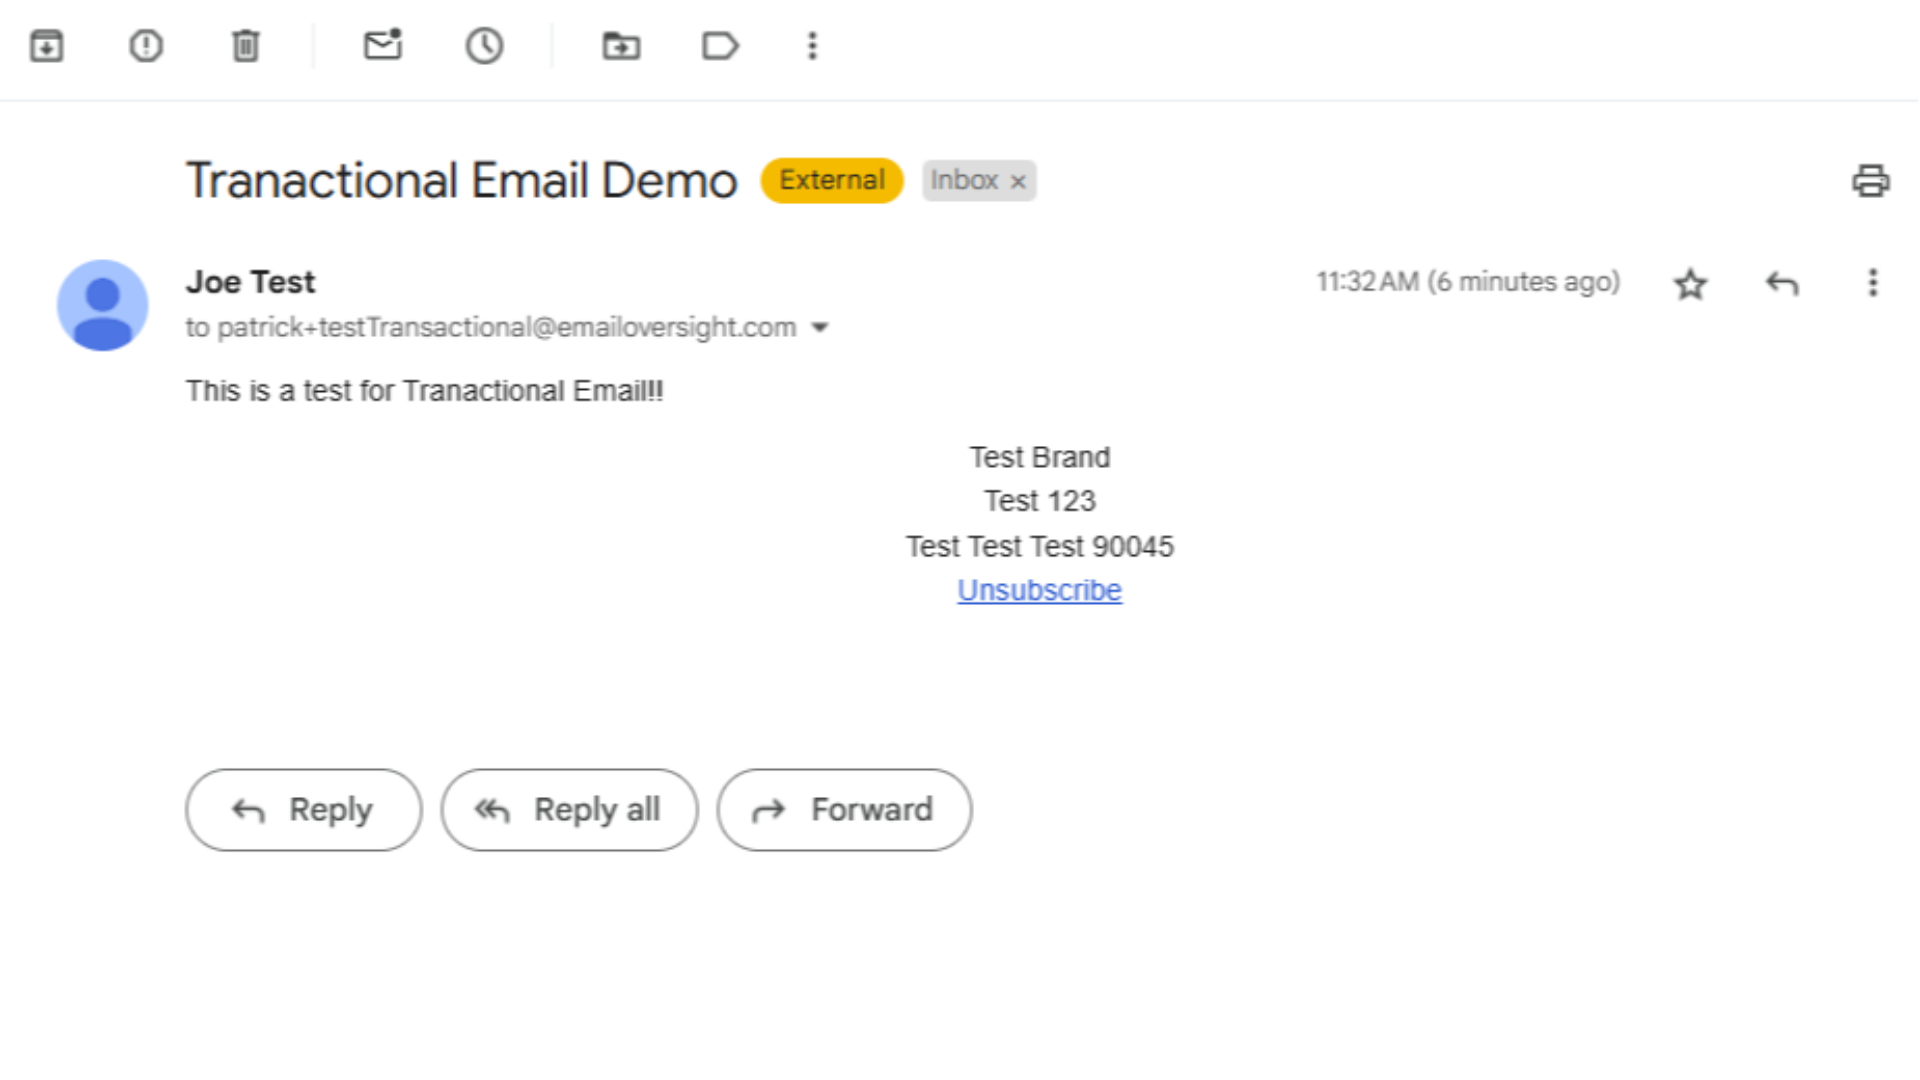
A 200 means the email was accepted and queued
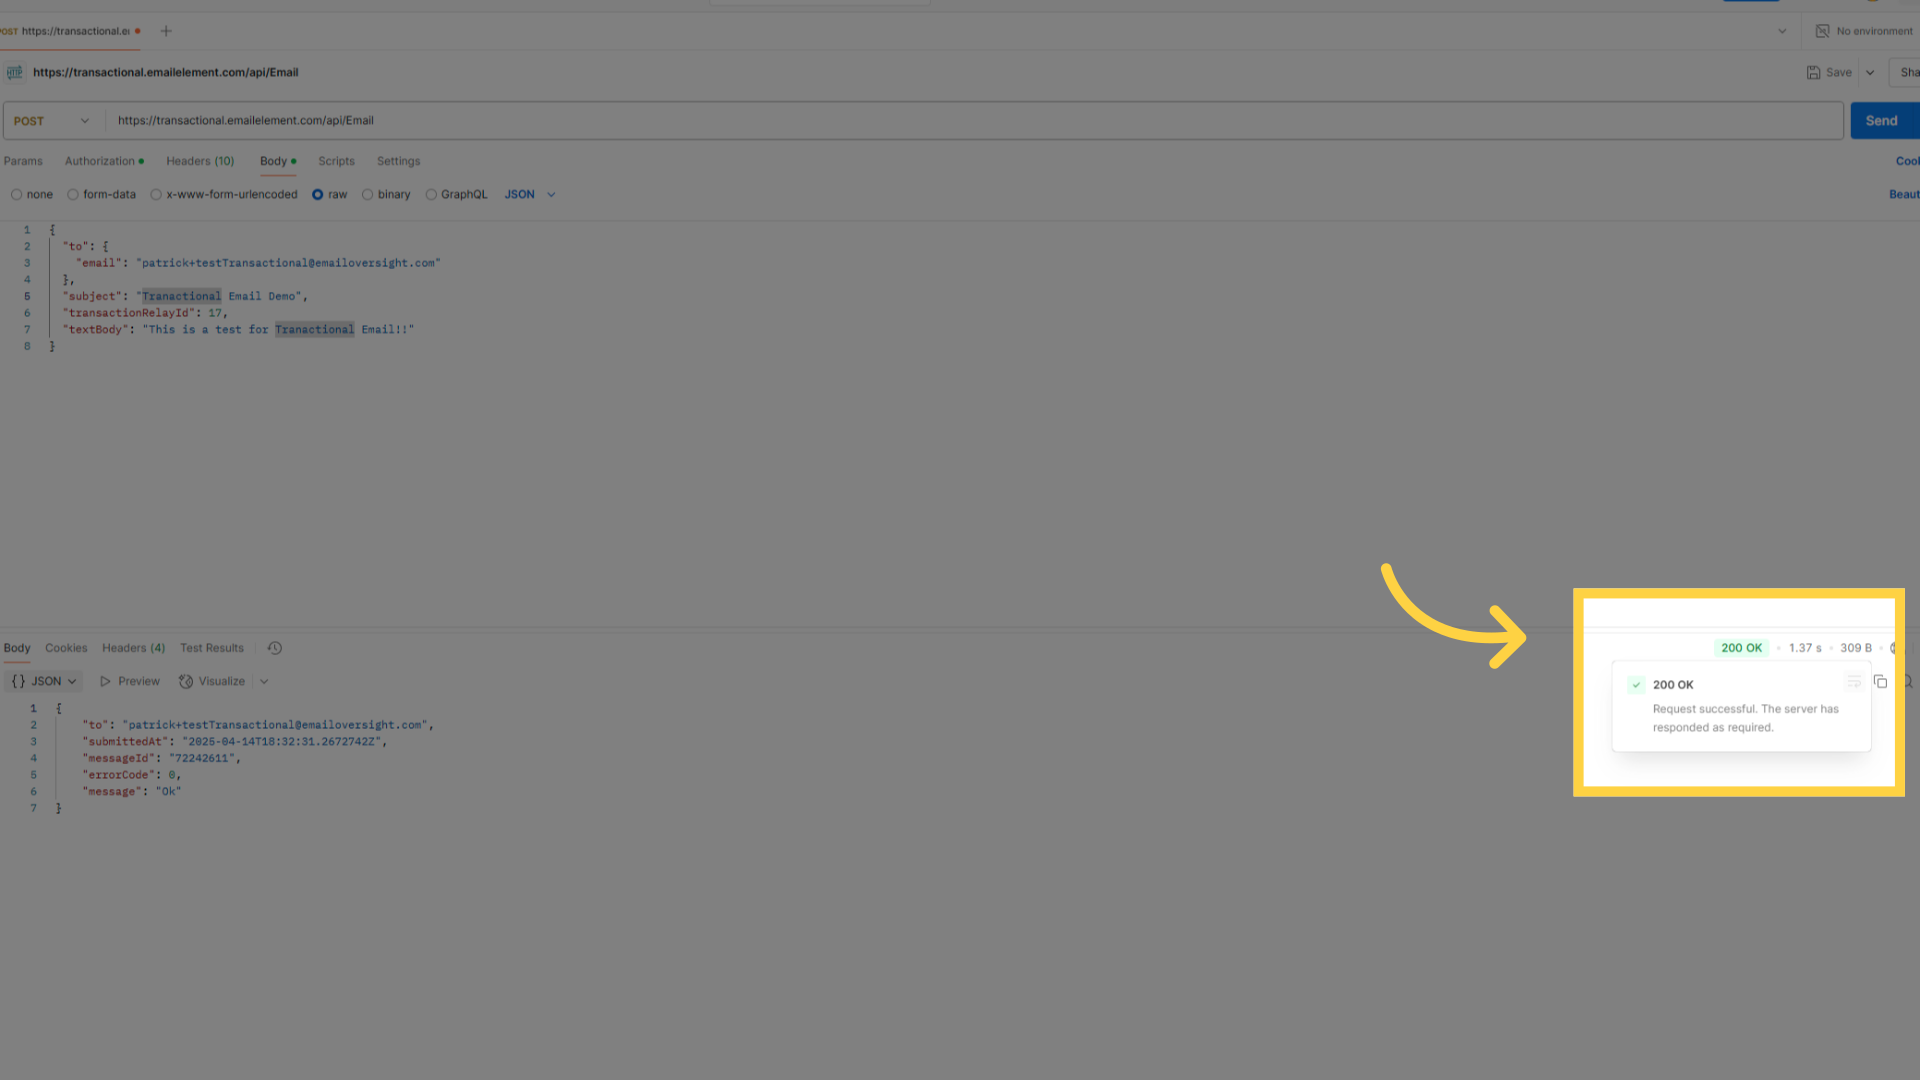
Keep the
messageIdfrom the response. It is the run id, and it is what ties webhook events back to this requestCheck Delivery Events to follow the send. The relay name appears in the event details
Optional Fields Worth Knowing
| Field | What it does |
|---|---|
from |
An object with name and localPart. fromName still works but is only there for older integrations |
substitutions |
Key-value pairs. Each key in the content is replaced by its value |
delaySeconds |
Hold the send for up to 43199 seconds, which is 12 hours |
triggerId |
Start a triggered sequence whose trigger event is Transactional Email API |
attachments |
filename, contentType and Base64 content |
trackId1 to trackId5 |
Your own reference values, at most 255 characters each |
The API does not accept replyTo, cc or bcc. Those fields are not in the request model. If someone asks for them, say the field does not exist rather than guessing at a spelling.
Size Limits
htmlBodyandtextBody: 1 MB each- Attachments: 20 MB across all of them, measured on the Base64 text, not the original files. Base64 is about a third larger than the bytes it encodes, so roughly 15 MB of actual files is the real ceiling
Managing Transactional Relays
- View all relays on the Transactional Emails page
- Edit a relay to change the Send Integration, Suppression Lists or Jump Page
- Delete a relay when it is no longer needed. API calls using that relay id will fail afterwards
- Each relay works on its own. Use separate relays for different kinds of transactional email