

Mapp Engage
Mapp Engage carries your email through your own Engage system, so the integration is made with a system user from your Engage account rather than with an API key. To set up Mapp Engage for integration with EmailElement, you'll need:
- An API user in Mapp Engage
- The Response Queue switched on for your account, carrying bounces and unsubscribes
- The base API URL of your Engage system
- One sender domain, on a domain your Engage system hosts
Create an API User
Every call is authenticated with the email address and password of a system user, and only a user whose type is API or Hybrid can be used. Make an API user rather than reusing a person's login: keeping the two apart shows who made which change.
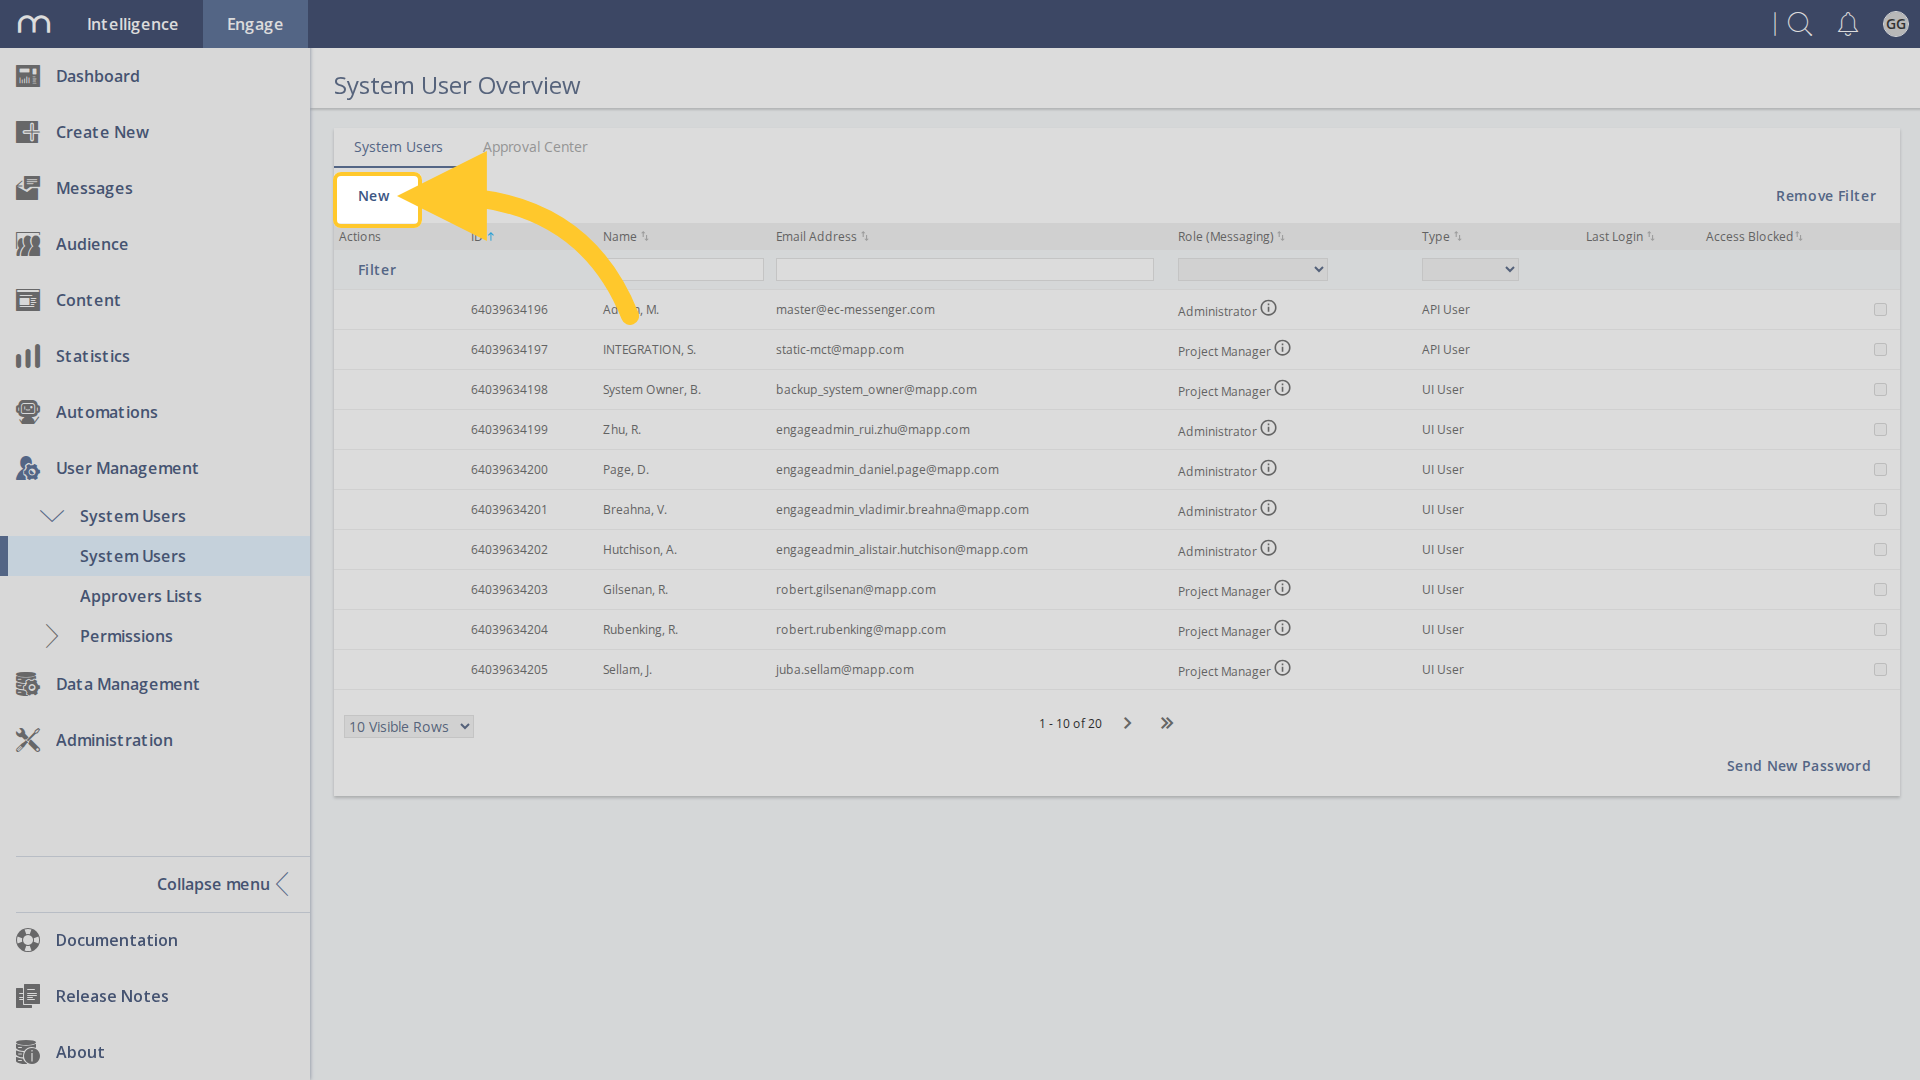
- In Mapp Engage, go to User Management > System Users > System Users.
- Click New.
- Under Type, select API User.
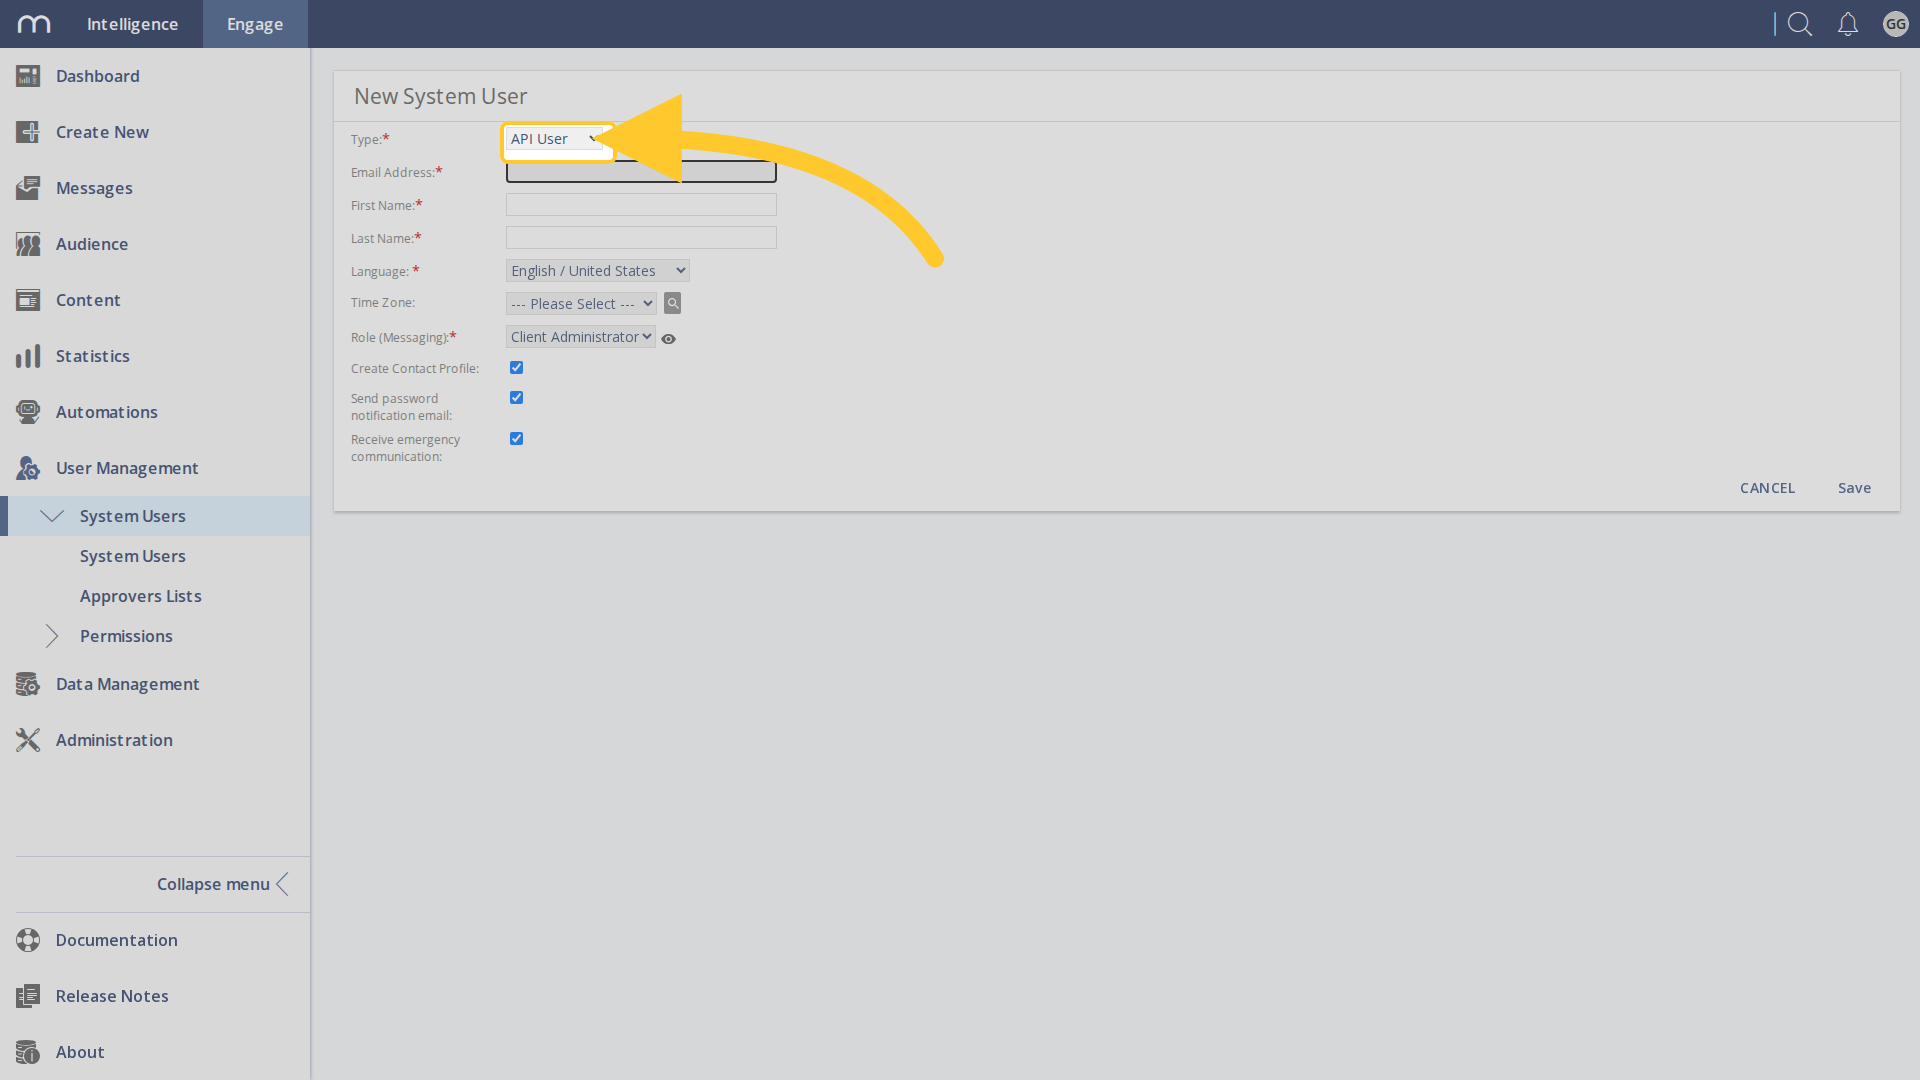
- Enter the email address, first name and last name, and set Role (Messaging) to Client Administrator.
- Leave Send password notification email ticked so the password is sent to that address, and click Save.
Switch On the Response Queue
EmailElement reads what happened to each email from the Response Queue on your Engage account. Mapp switch that on for you, and they decide which types of response it carries. Ask them for mtaResponse, which is bounces, and unsubscribe. Without those two we never learn that an address bounced or that somebody unsubscribed inside Mapp, and neither reaches us any other way.
Ask them to include the external transaction id on both. That is the value EmailElement sends with every email, and it is what ties a bounce back to the send it came from.
Find Your Base API URL
Take the address you sign in to Engage with and drop the page path. Signing in at https://email.yourdomain.com/home/login.jsp makes the base API URL https://email.yourdomain.com. EmailElement adds the rest of the address itself.
Set Up Mapp Engage in EmailElement
- Go to Send Integrations and click Create Send Integration.
- Choose the integration type, pick Mapp Engage from the list, and click Next.
- Enter a name for the integration.
- Select the sender domain. Mapp Engage takes one domain per integration, so a second domain is a second integration.
- Enter the Base API URL, then the Username and Password of the API user. The username is that user's email address.
- Click Create.
Saving the integration creates a group and a message in your Engage system, both named after the sender domain it sends from, and every email the integration sends goes out through them. Leave both in place. Changing the sender domain on the integration makes a new group and a new message, and later sends go out under the new From details.
Switch On Transactional Sending
Saving the integration creates the group, and Mapp Engage will not report what happened to an email until that group has transactional sending switched on. That setting can only be changed in Mapp Engage.
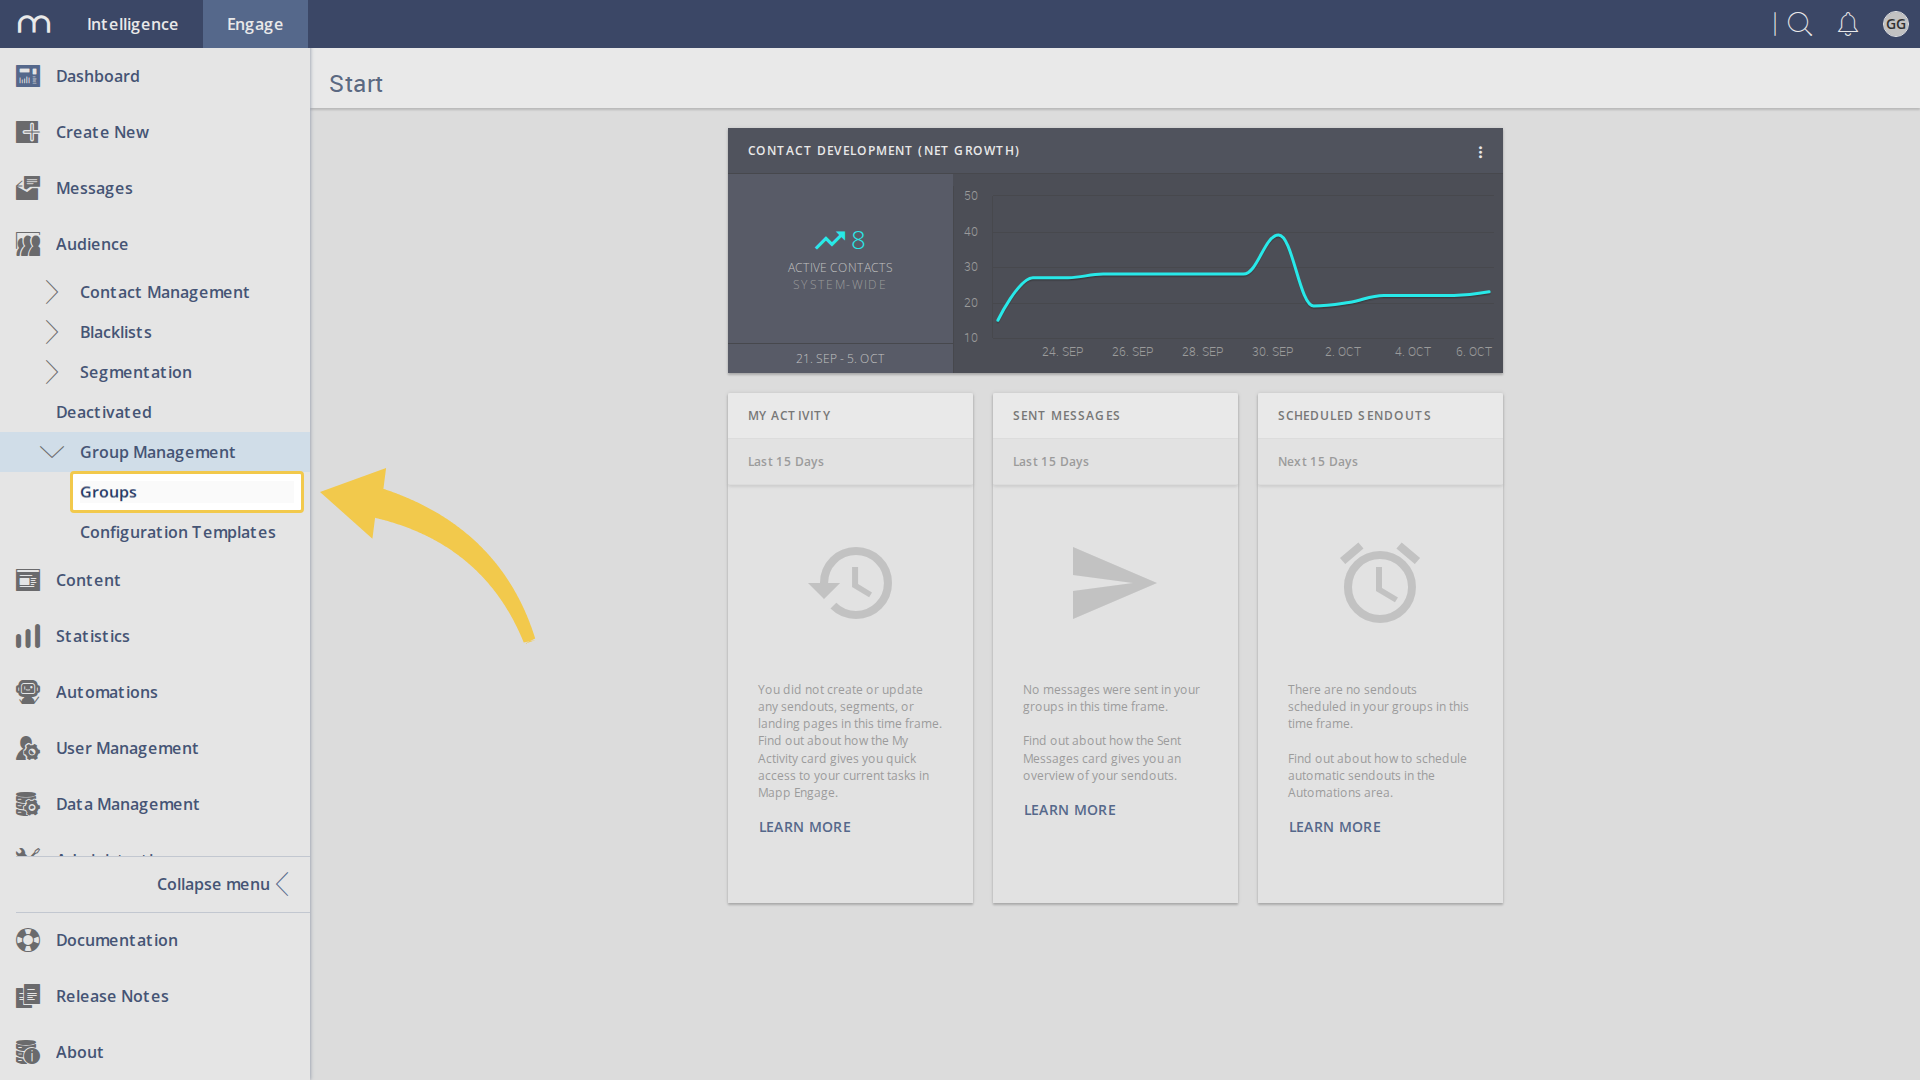
- Sign in to Mapp Engage and go to Audience > Group Management > Groups.
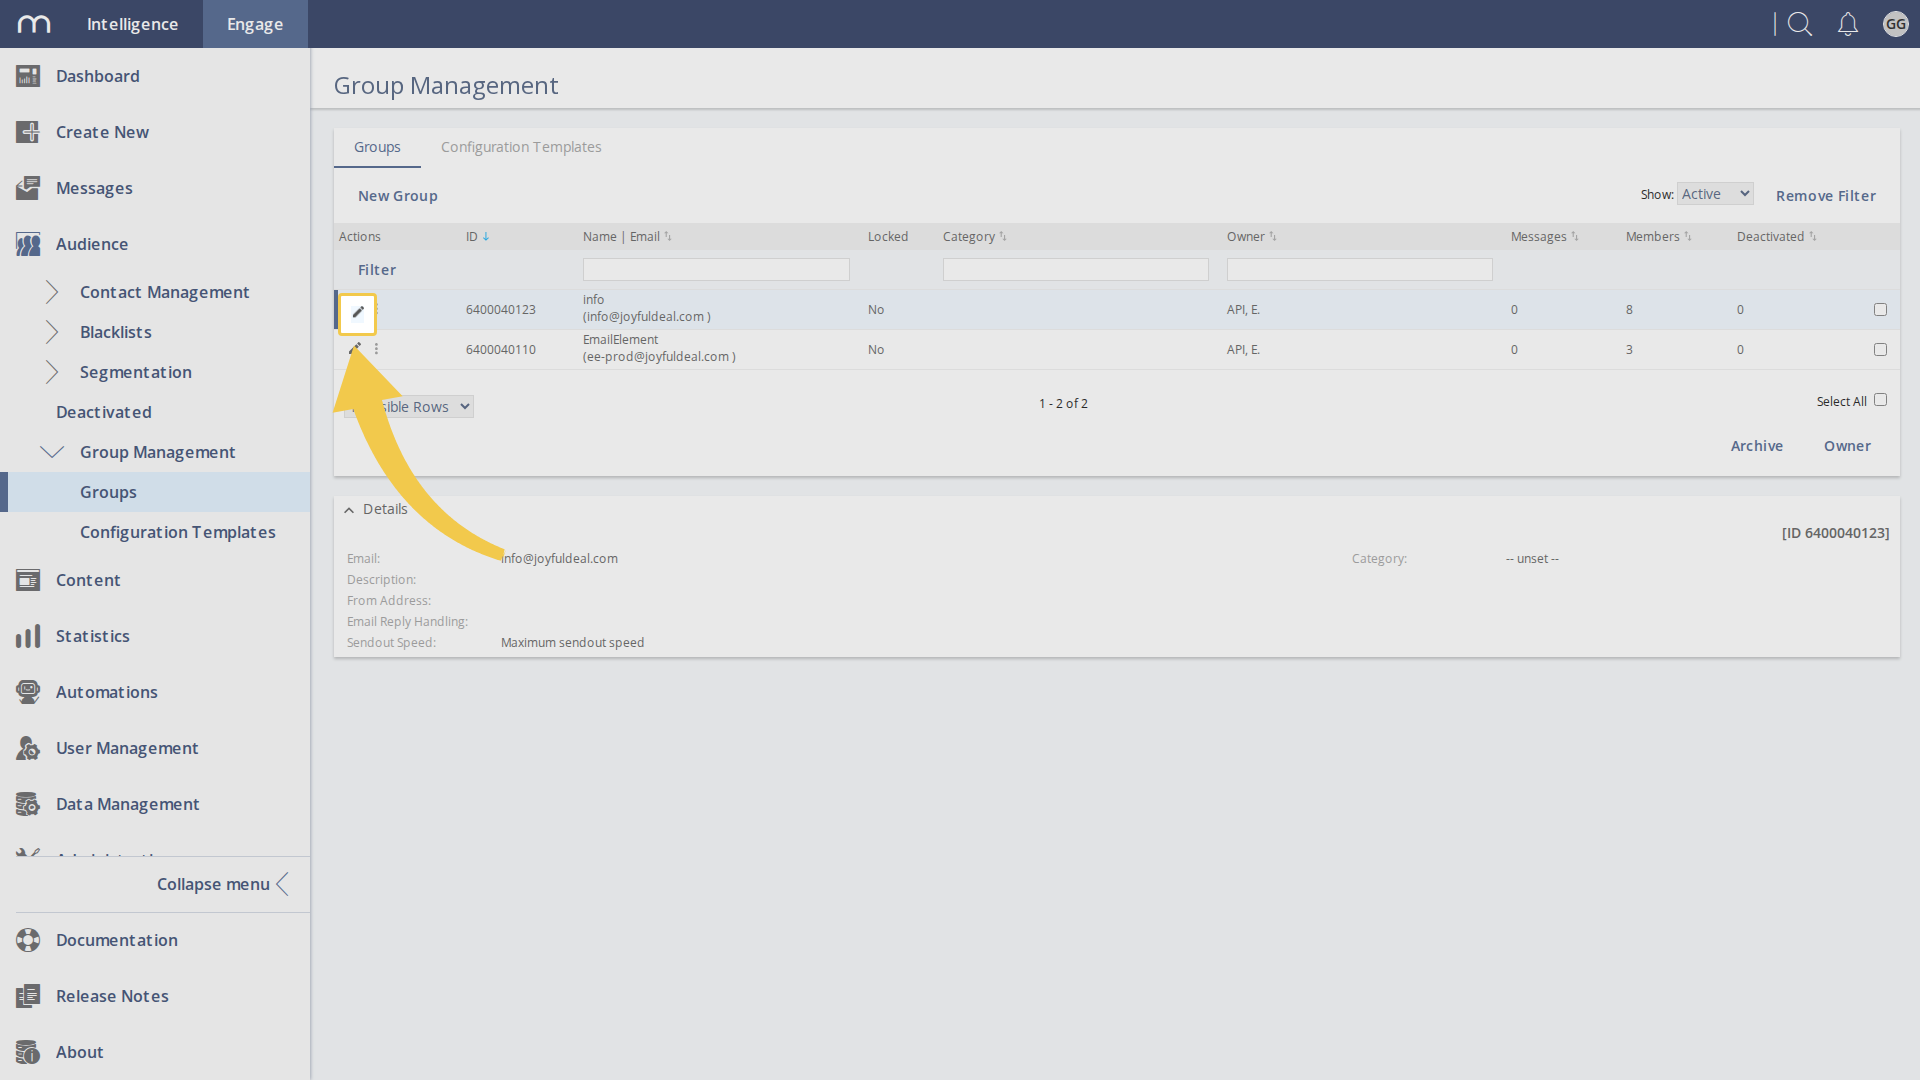
- Find the group named after your sender domain and click the pencil to open it. EmailElement shows the group number on the send integration.
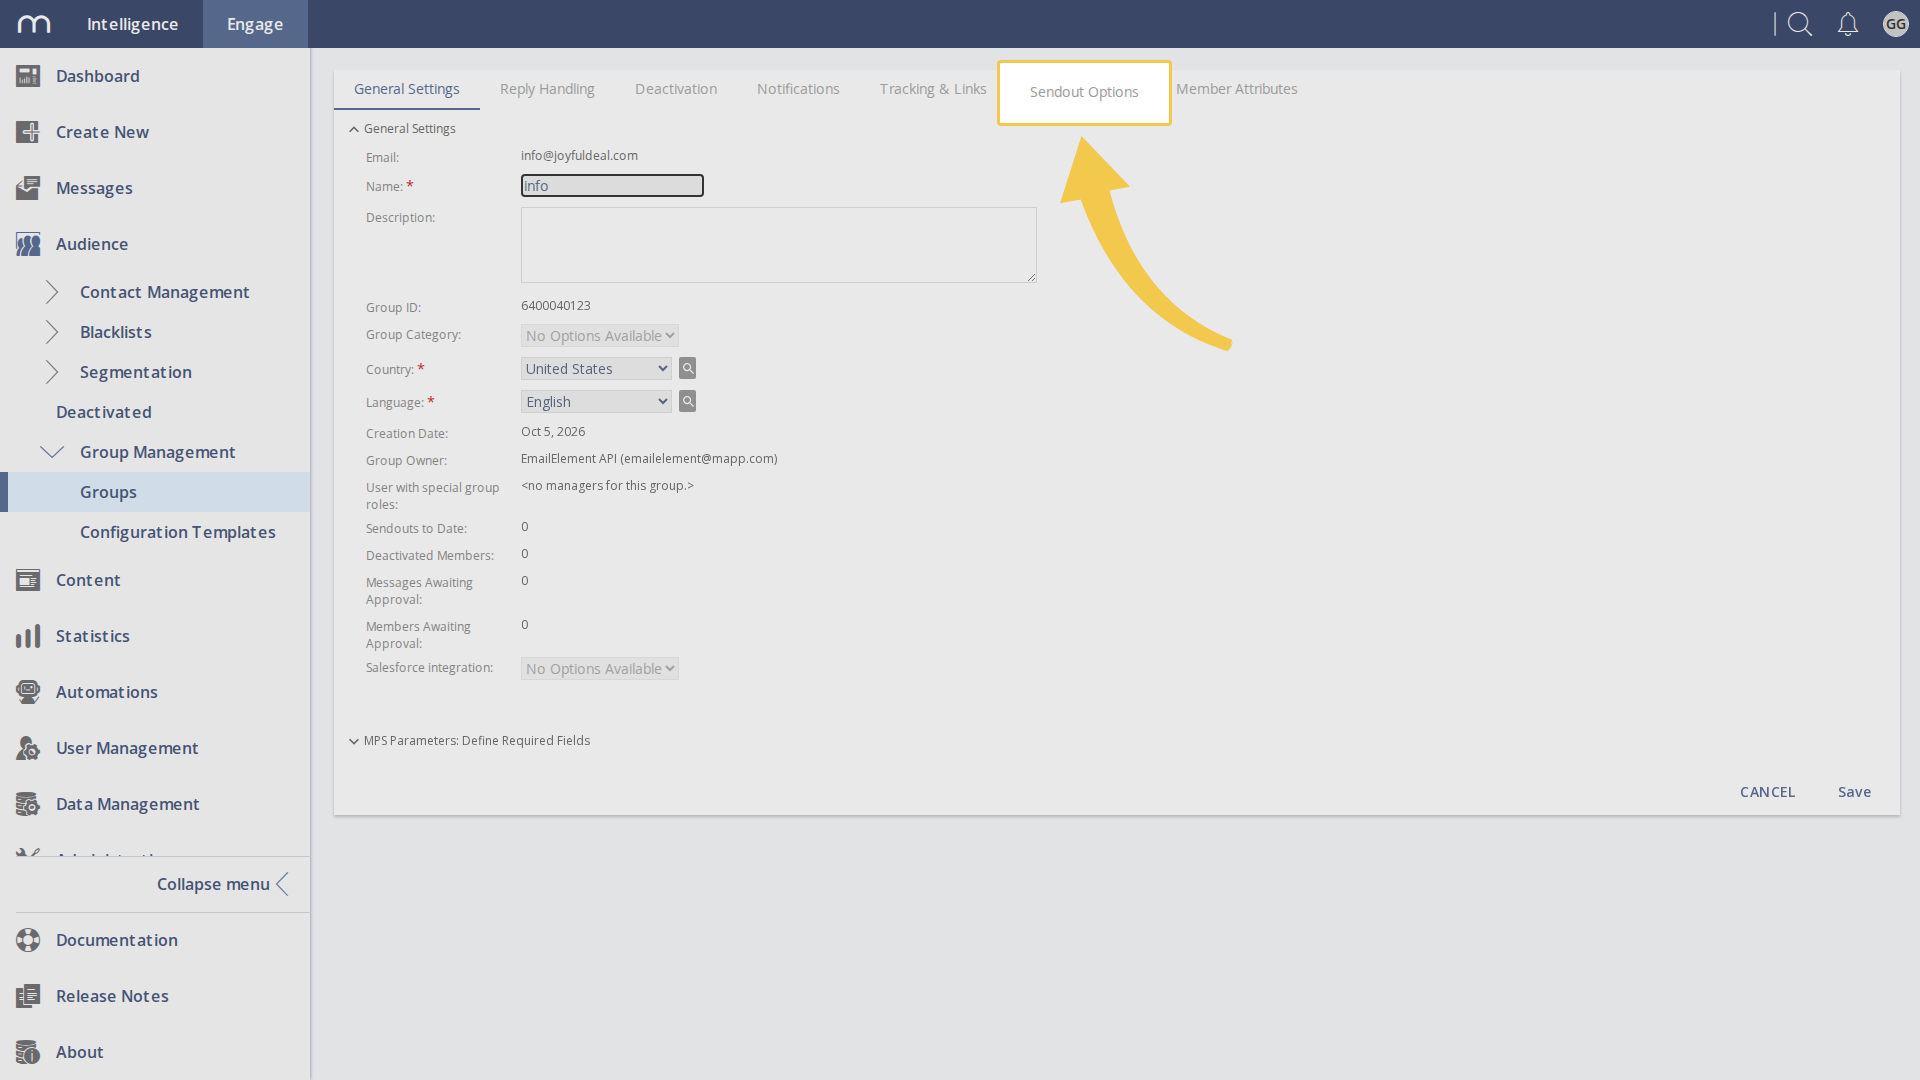
- Open the Sendout Options tab.
- Expand Transactional Messages, set Transactional Message Mode to On, and enter
u=<%{user['PK']}%>m=<%${message['PK']}%>as the pattern for the TMID.
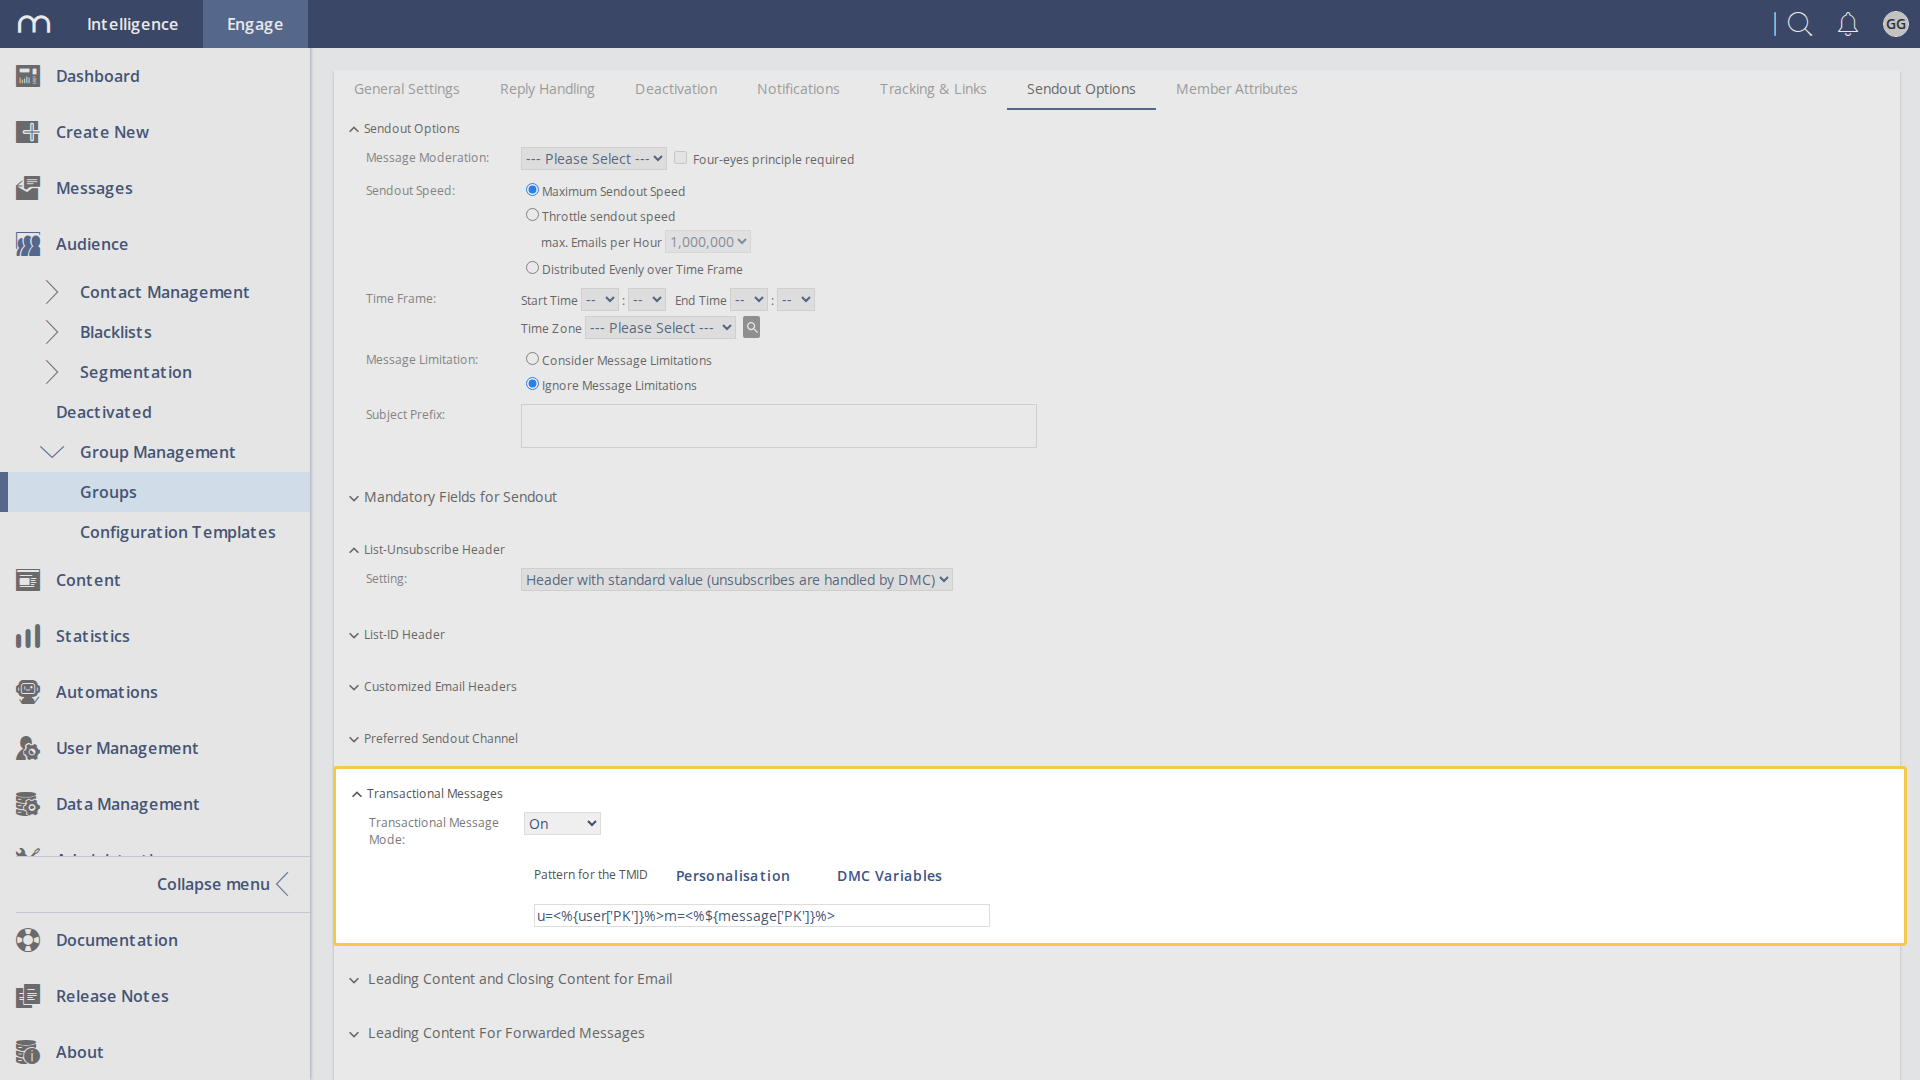
- Click Save. Saving with the pattern empty leaves the mode off without saying so.
Add the Reply-To Header
Mapp Engage does not pass on the reply-to address EmailElement sends with the email, so a reply goes back to the group's own address instead of yours. One custom header on the group fixes that for every send.
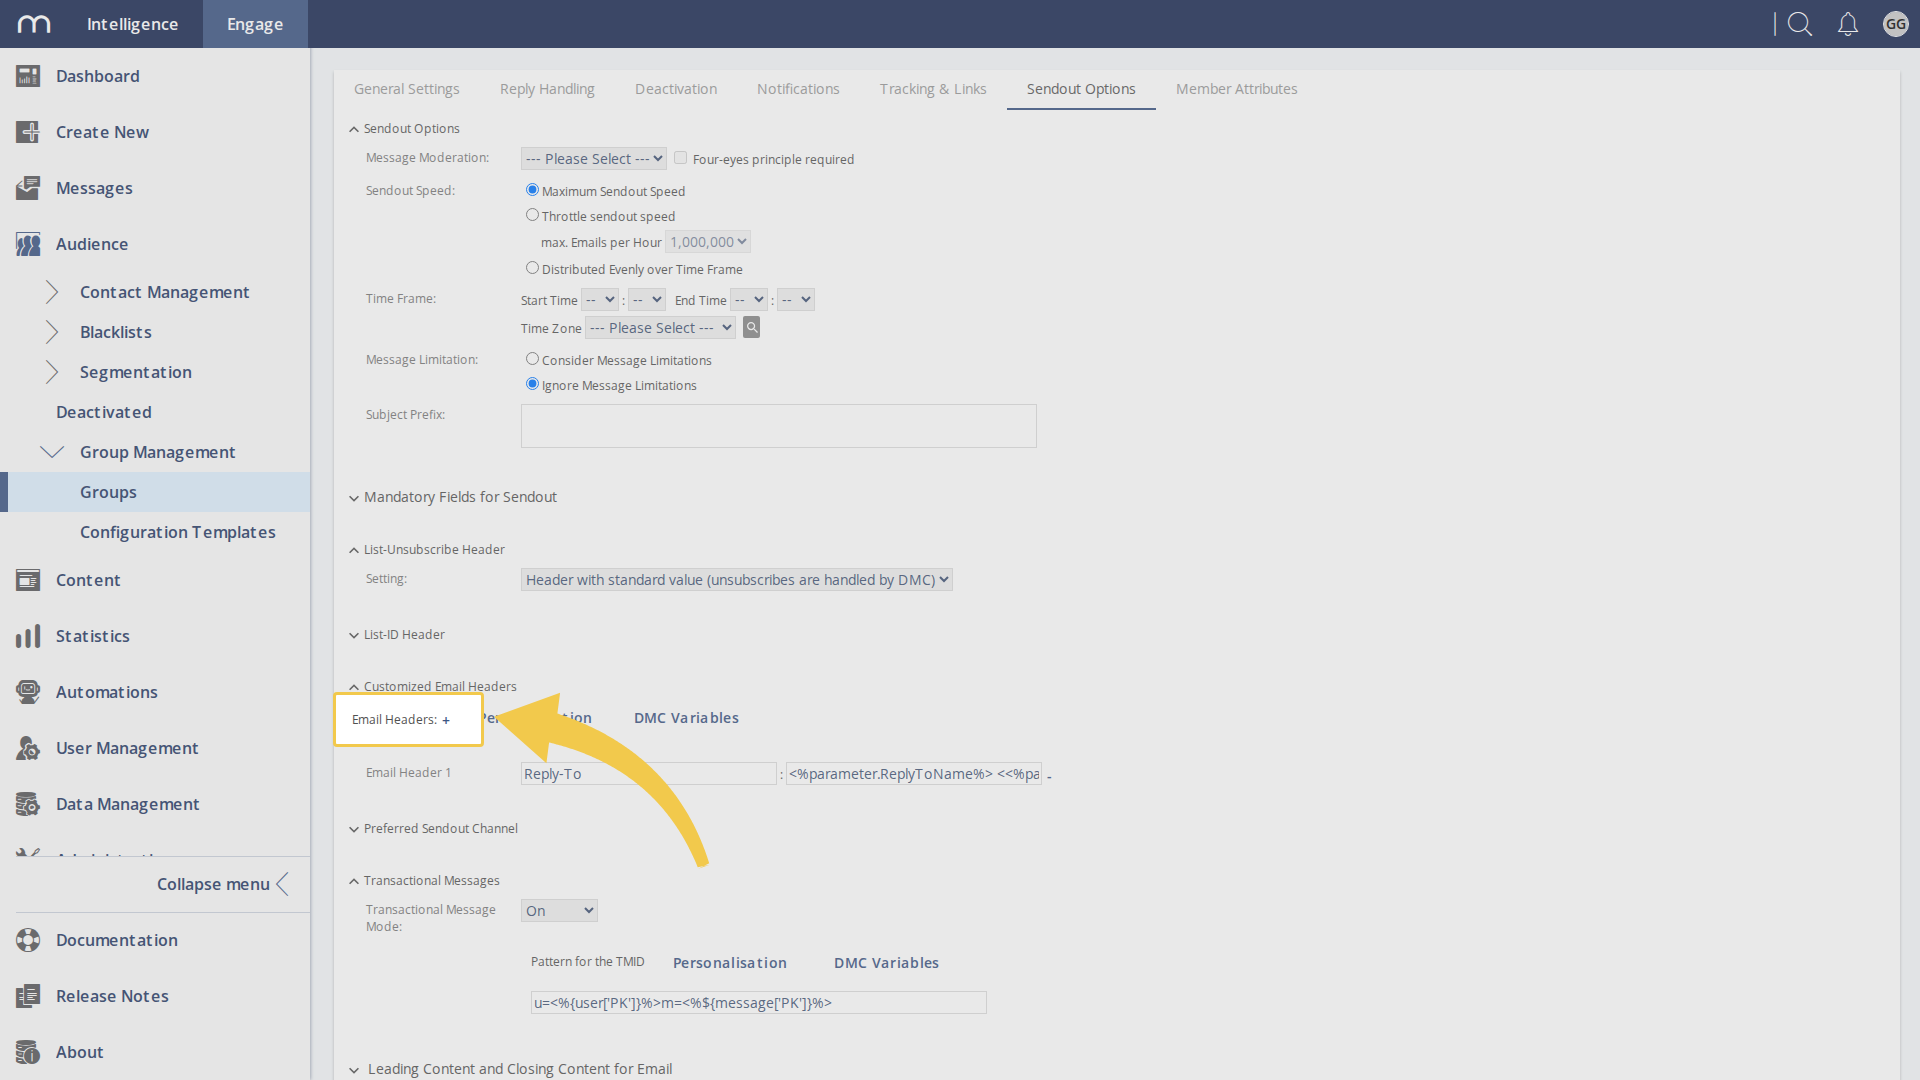
- On the same group, open Sendout Options and expand Customized Email Headers, then click the + beside Email Headers.
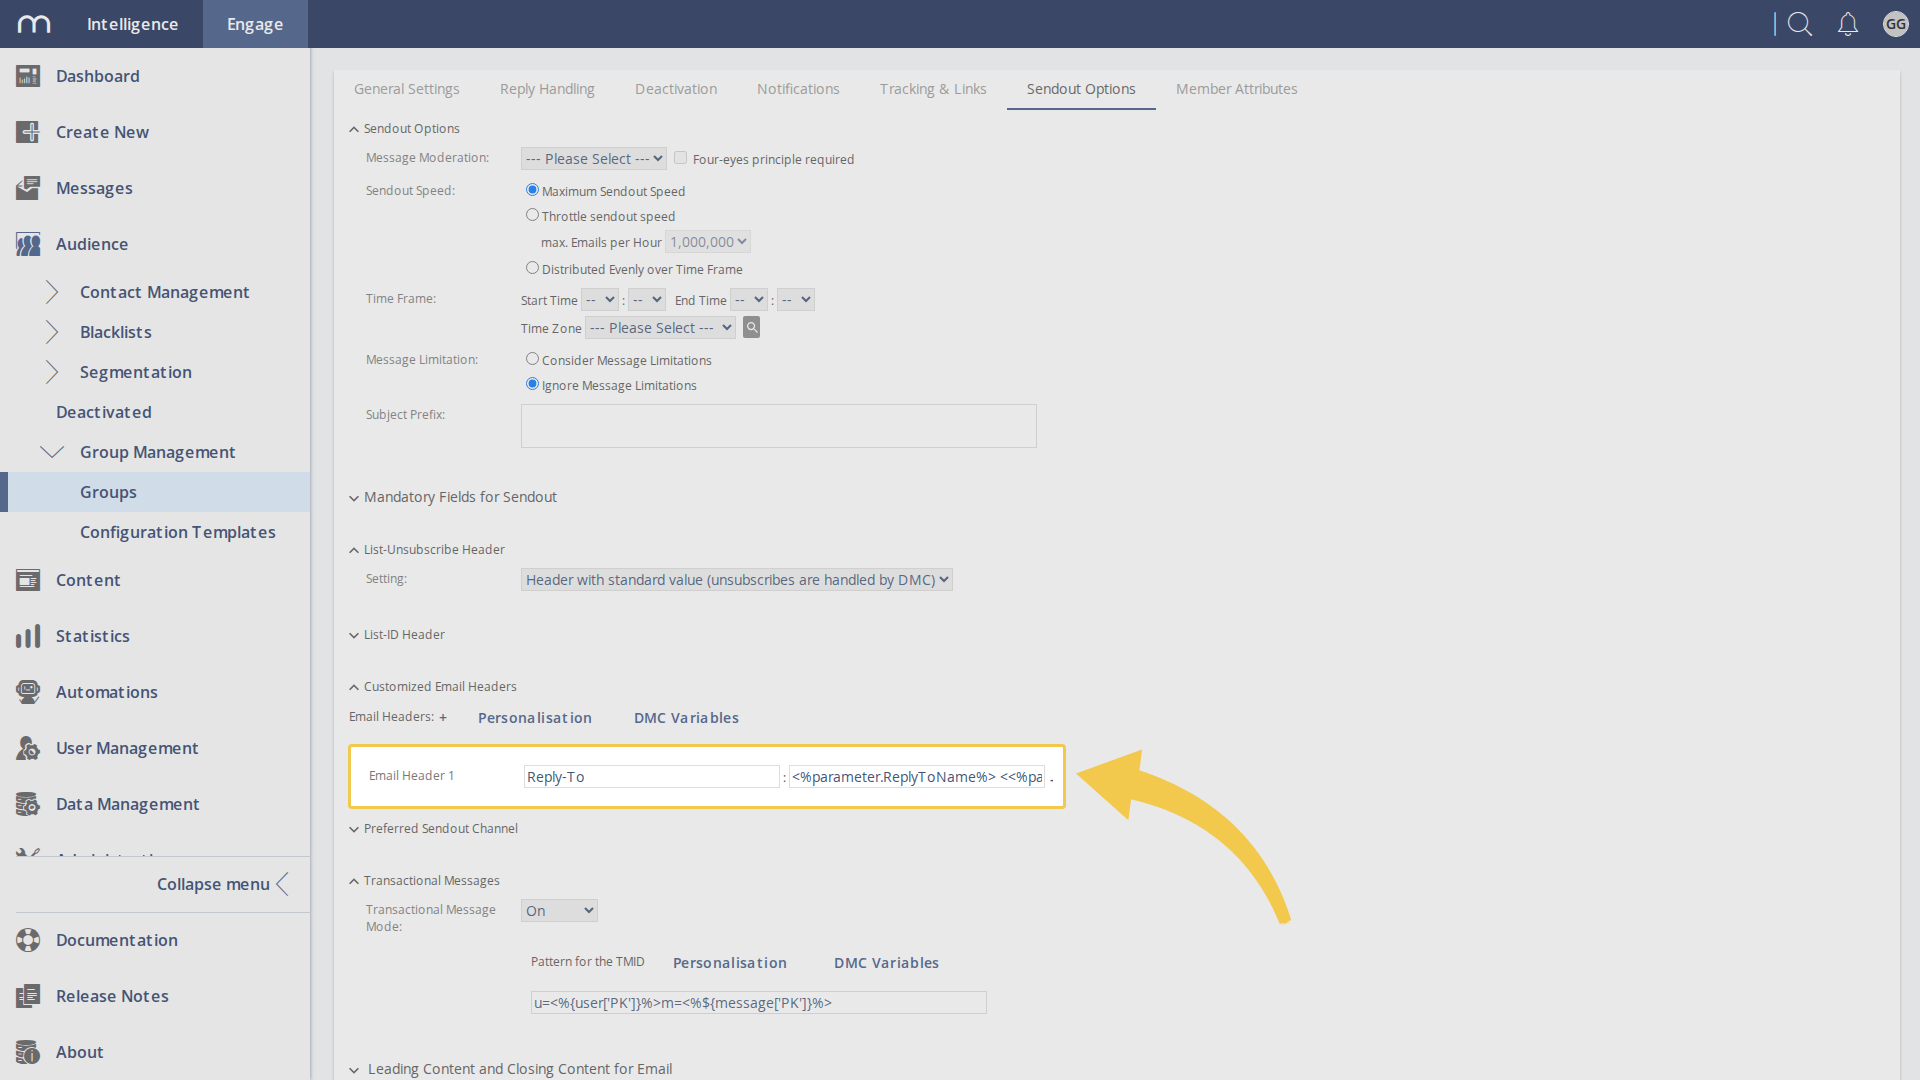
- Enter
Reply-Toas the header name and<%parameter.ReplyToName%> <<%parameter.ReplyToAddress%>>as its value.
- Click Save.
Switch Off Mapp Engage Tracking
EmailElement puts its own tracking pixel in the message and rewrites the links before the email is handed over, so opens and clicks are already counted. Leaving Mapp Engage to do it as well counts every open and click twice and replaces our links with Mapp's, which breaks the reports.
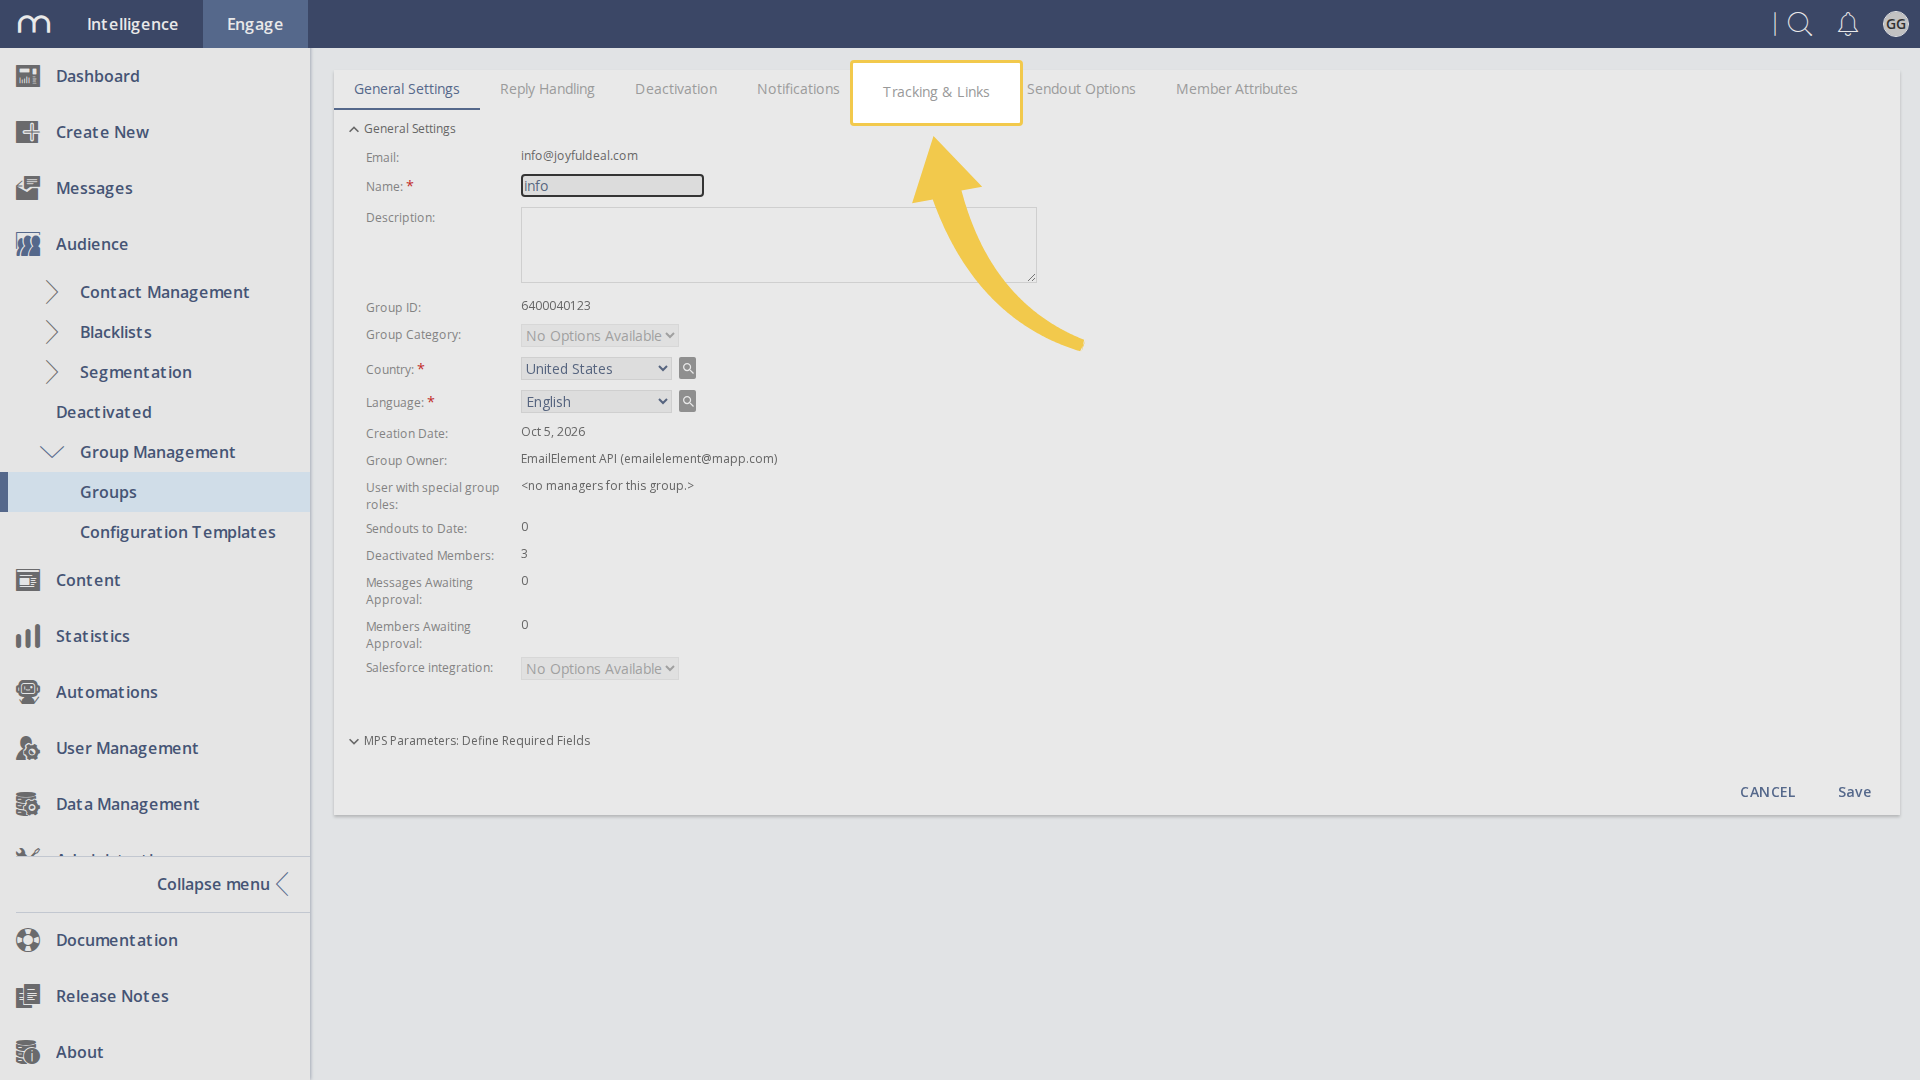
- On the same group, open the Tracking & Links tab.
- Under Message Tracking, clear every box: Track HTML Opens with Invisible Tracking Pixel, Track Text Message Links, Track HTML Message Links, Track Personalized Links and Track System Links.
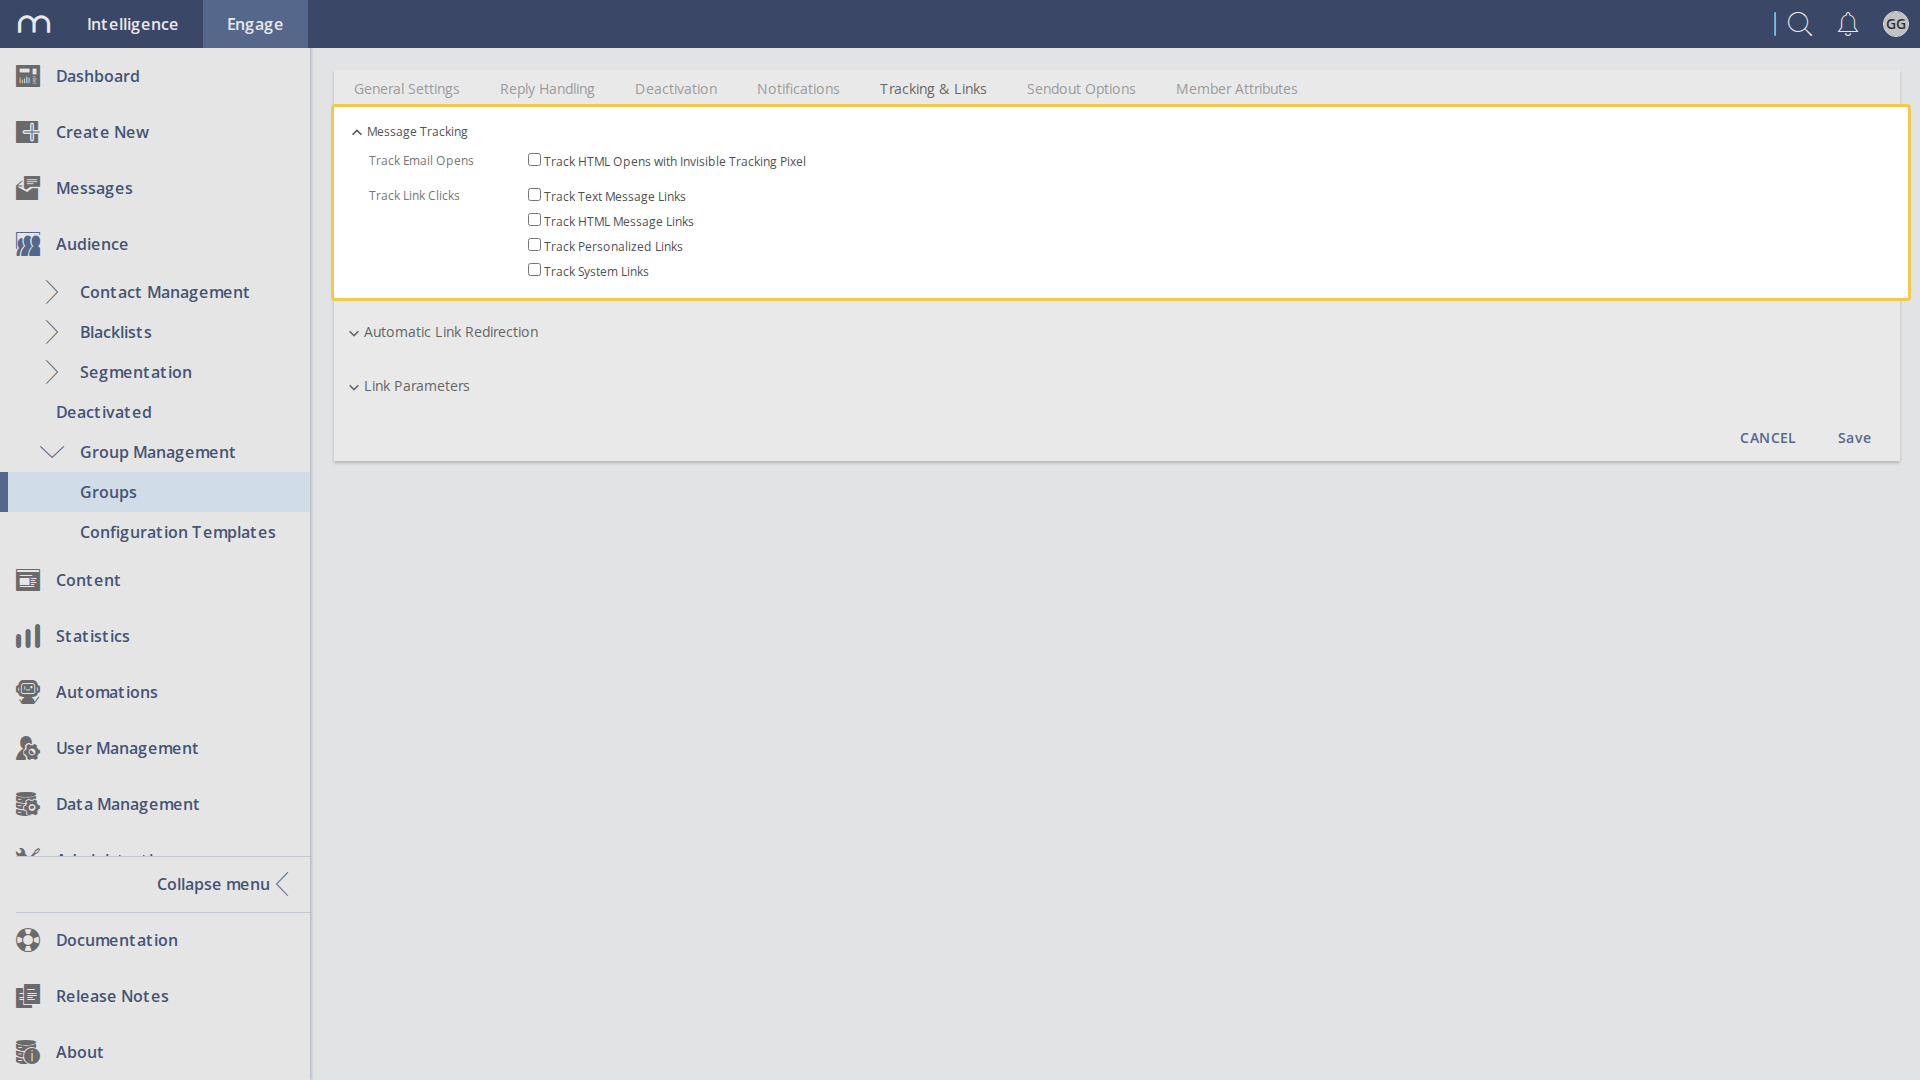
- Click Save.
Test the Integration
- Click Run Test on the integration.
- The result is reported for each sender domain on it.
- One domain succeeding is enough for the integration to go active.
Troubleshooting
| Issue | Solution |
|---|---|
| The integration will not save, and the error says HTTP Status 403 | Mapp refuses the username or the password. Check both for a missing character, and check the user's type is API or Hybrid: a UI user is refused with the same code and the message that you are not allowed to use the API. |
| Saving the integration fails | Check the Base API URL is your Engage sign-in address with the page path removed. |
| Domain not verified | The sender domain has to be verified in EmailElement, and its From address has to be on a domain your Engage system hosts. Check its SPF and DKIM records. |
| Run Test fails for one domain | That domain is not set up in Mapp Engage. Check it there, and check its DNS records. |