SendX
To set up a SendX Send Integration, the following are required:
- A Sending Domain setup and configured with all required records.
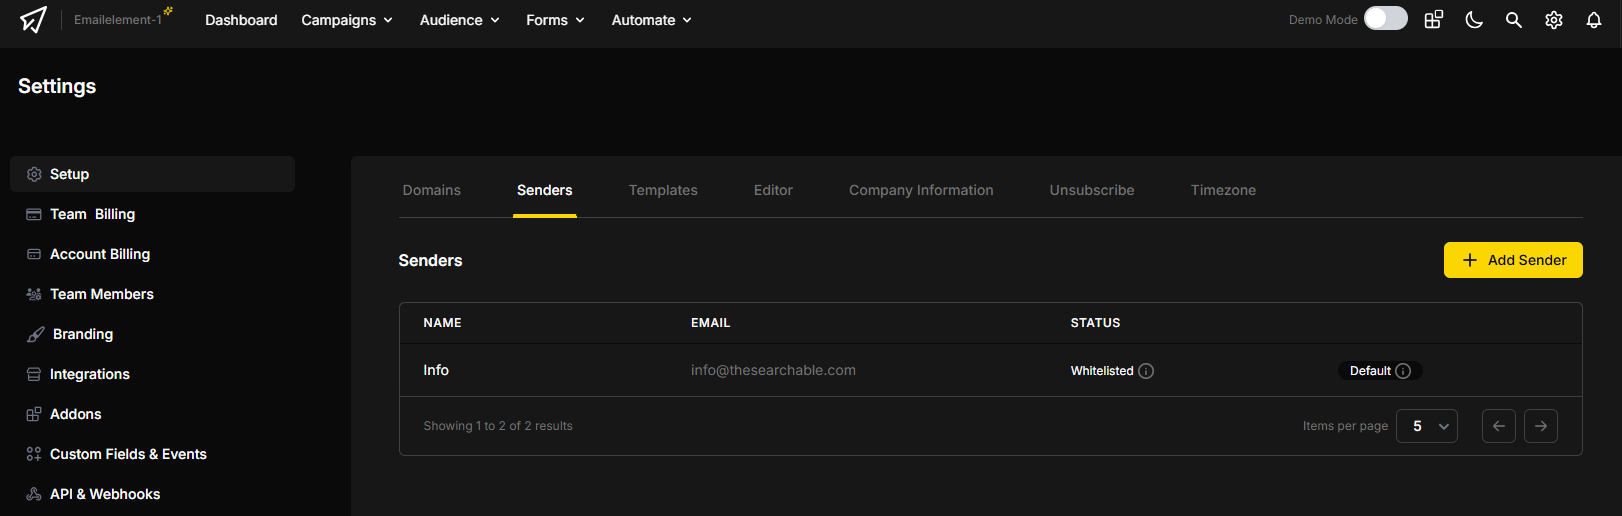
- A “Sender” added to use as the “From Name” field in EmailElement
- API Key
- Webhook setup for bulk sending
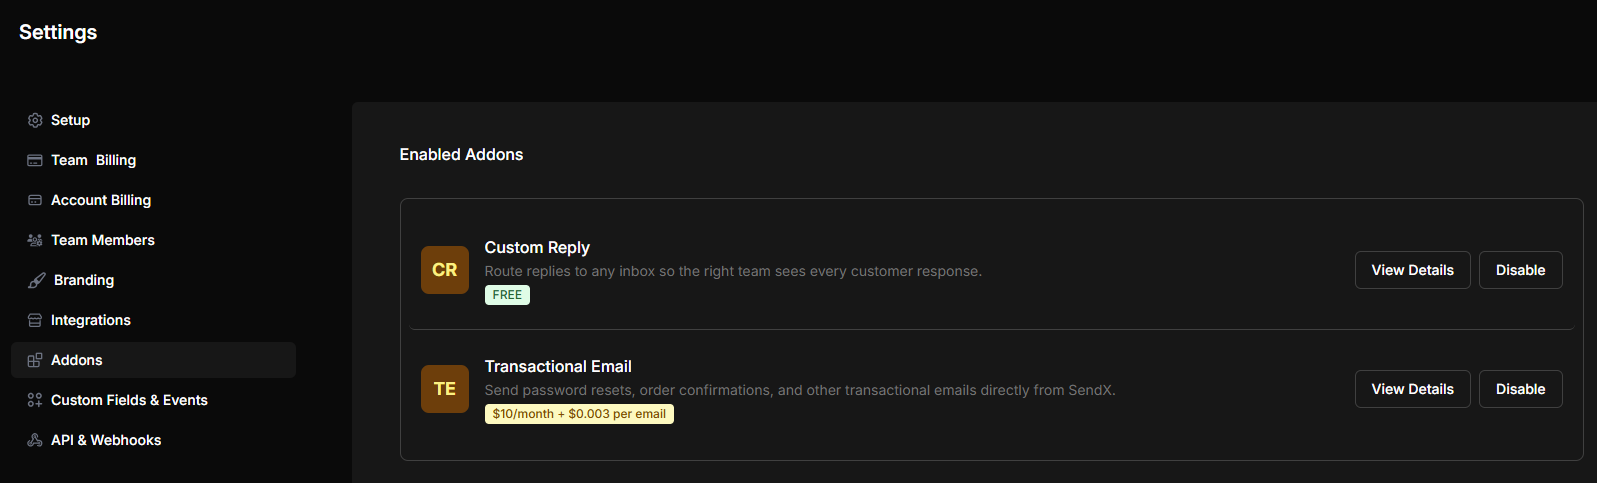
- Transactional Email Add On, with Transactional Email webhook (requires SendX help to setup)
Add a Sender
- Go to Settings and select the “Senders” tab
- Click “Add Sender” and follow the prompts. This Sender name and email will be what you need to add to the “From Name” and “From Email” fields for the Sender Domain you're using in EmailElement.
Get API Key
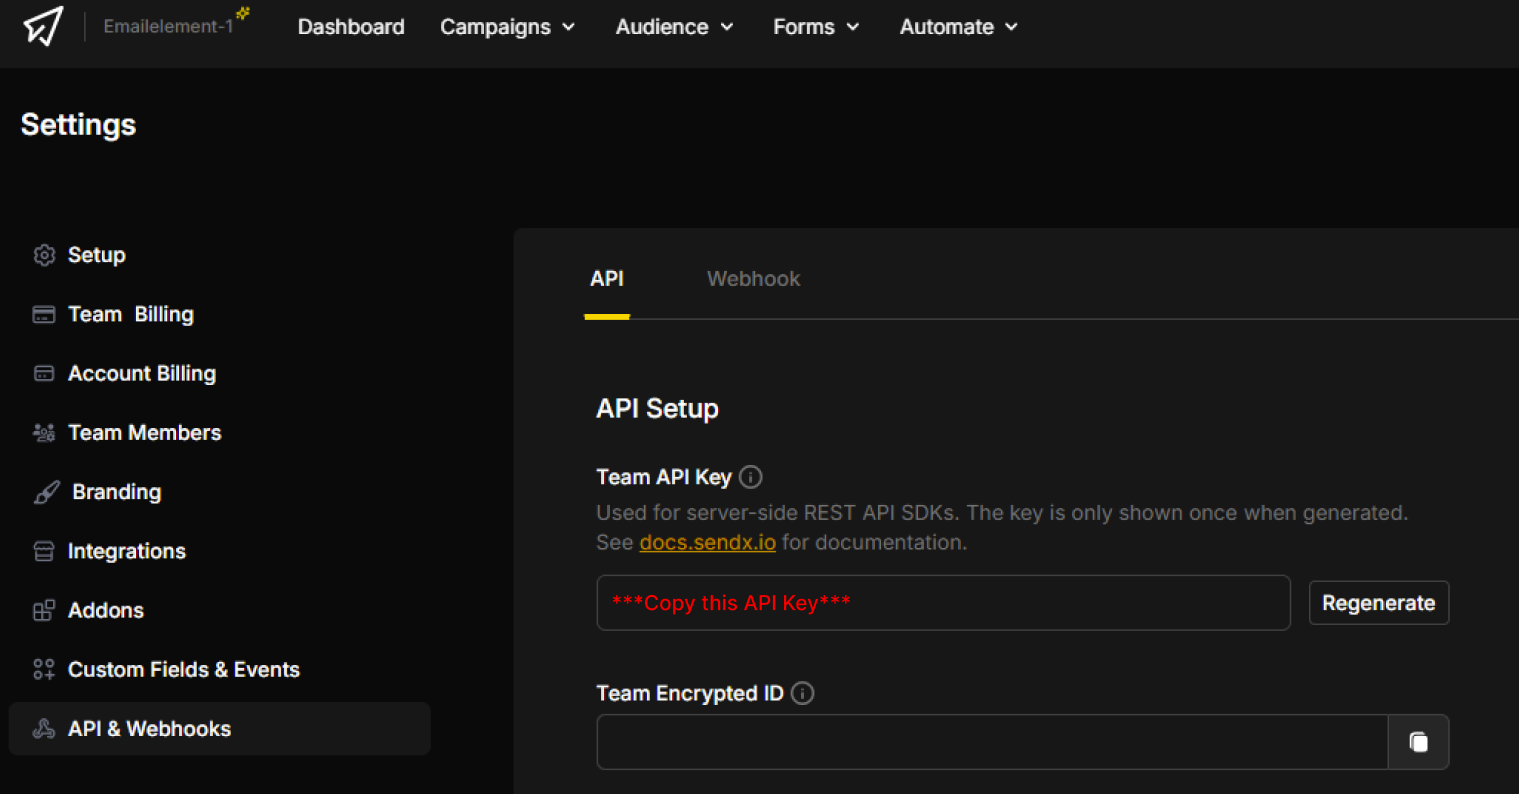
- From the Settings, go to API & Webhooks
- In the API tab, there'll be a “Team API Key” already generated, but you can use the button to generate a new one. Copy this key and have it ready for setup in EmailElement.
Create Webhook for Bulk Sending
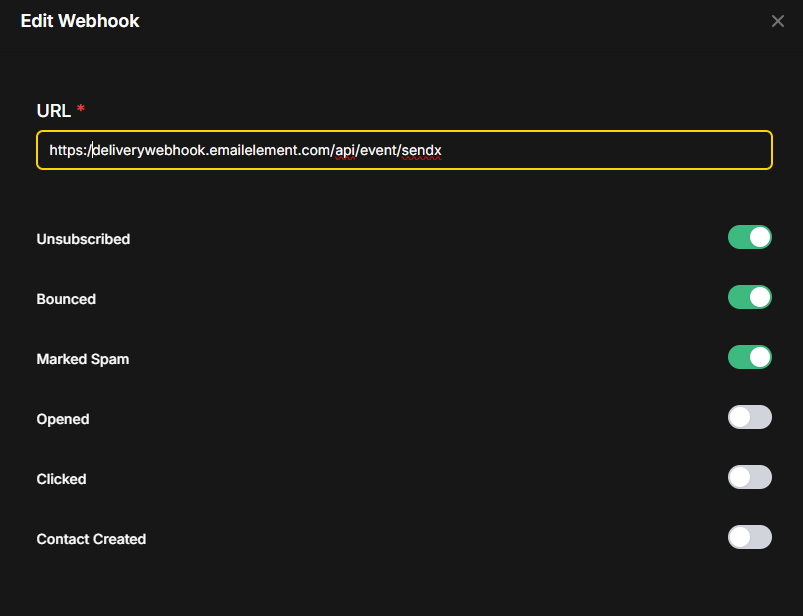
- Switch over to the Webhook tab and click “Add Webhook”
- Enter the URL: https:/deliverywebhook.emailelement.com/api/event/sendx
- Enable Unsubscribed, Bounced, Marked Spam, and save the webhook.
Add the Transactional Email Add-On
- Go to the Addons from Settings
- Find the Transactional Email Add-On and click the button to Enable it.