
Jump Pages Walkthrough
What Is a Jump Page
A Jump Page is the page a contact is redirected to when they click a tracking link from an EmailElement email. Use it for:
- Consent notices
- Legal disclaimers
- Age gates
- Any interstitial step required before the contact reaches the final destination
Creating a Jump Page
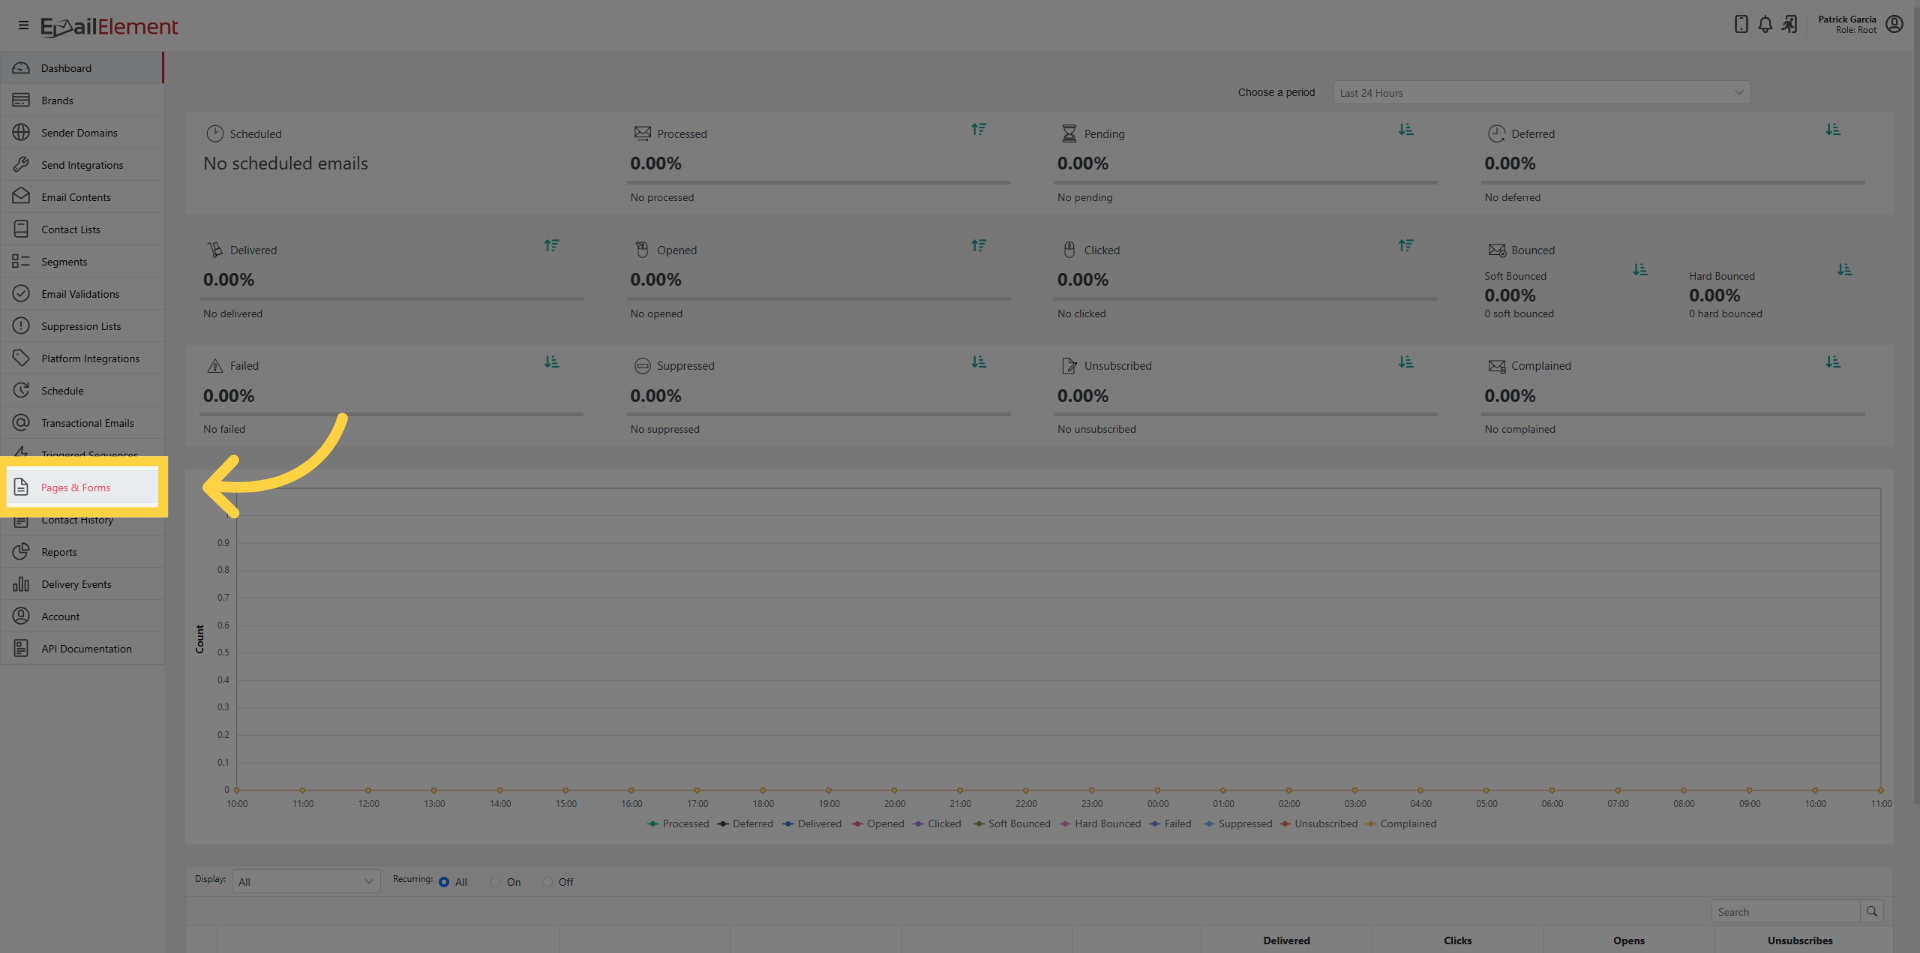
Click Pages & Forms in the navigation panel
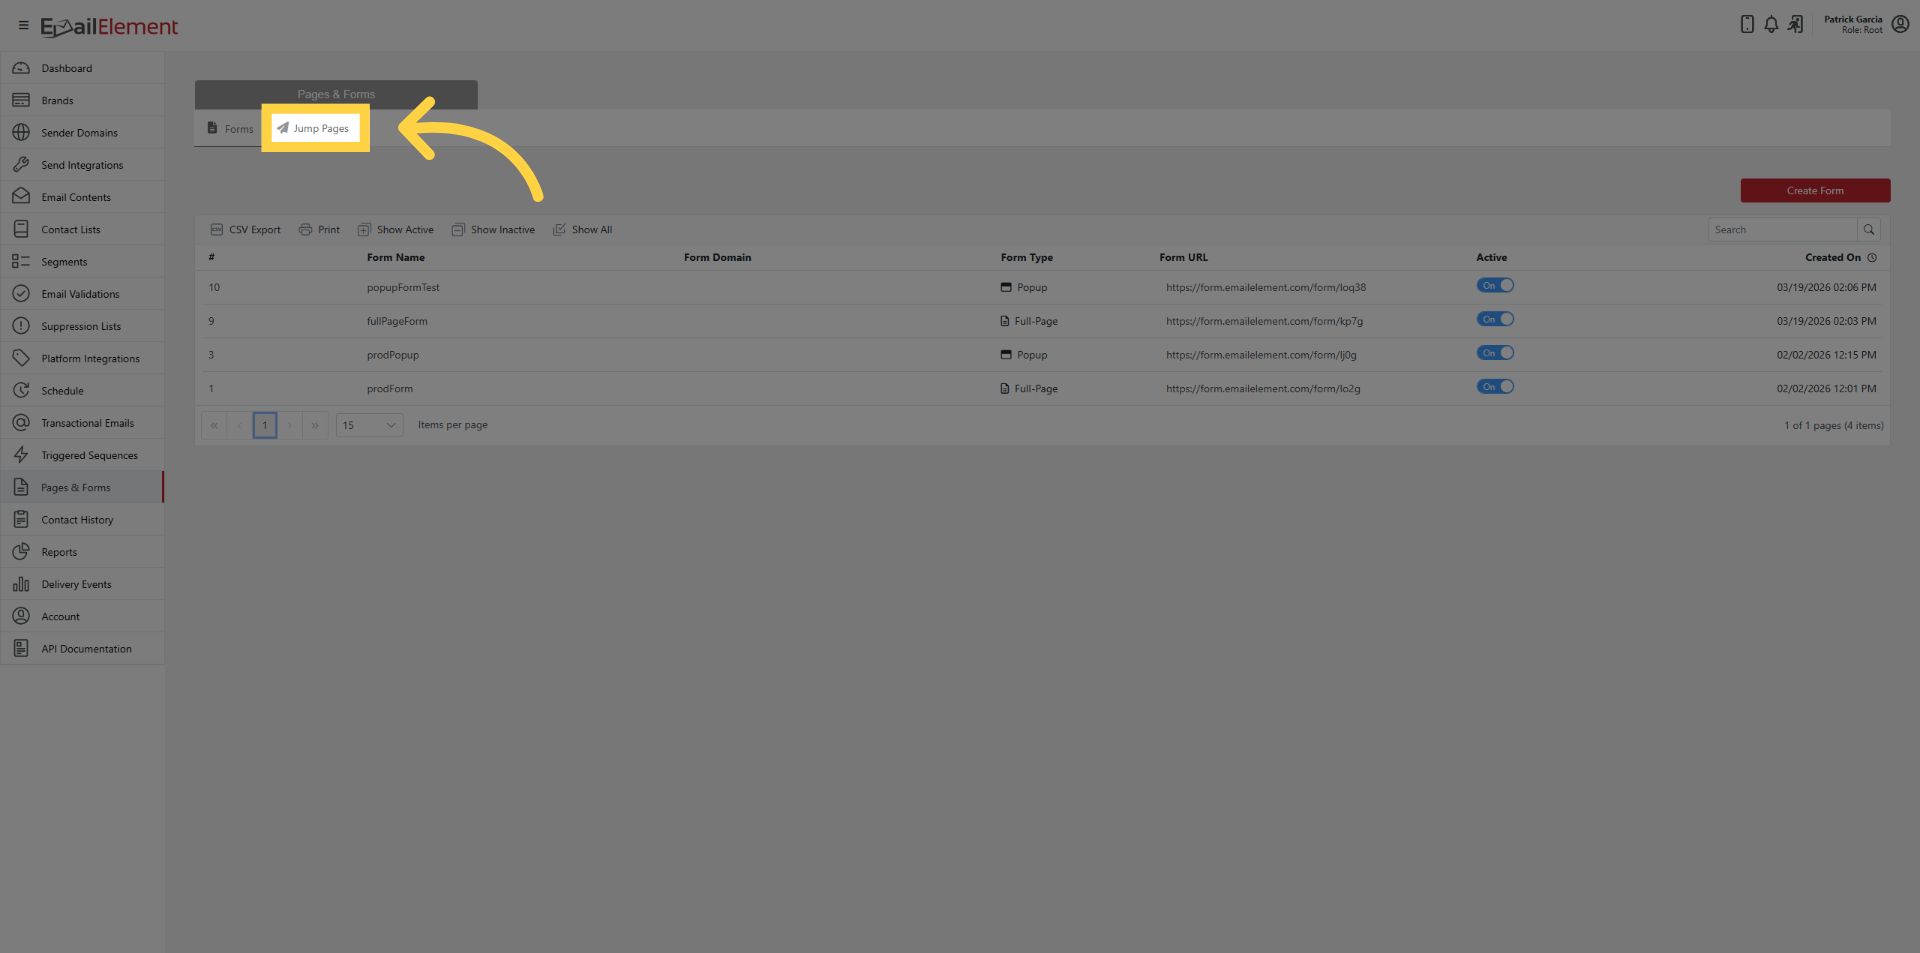
Click the Jump Pages tab
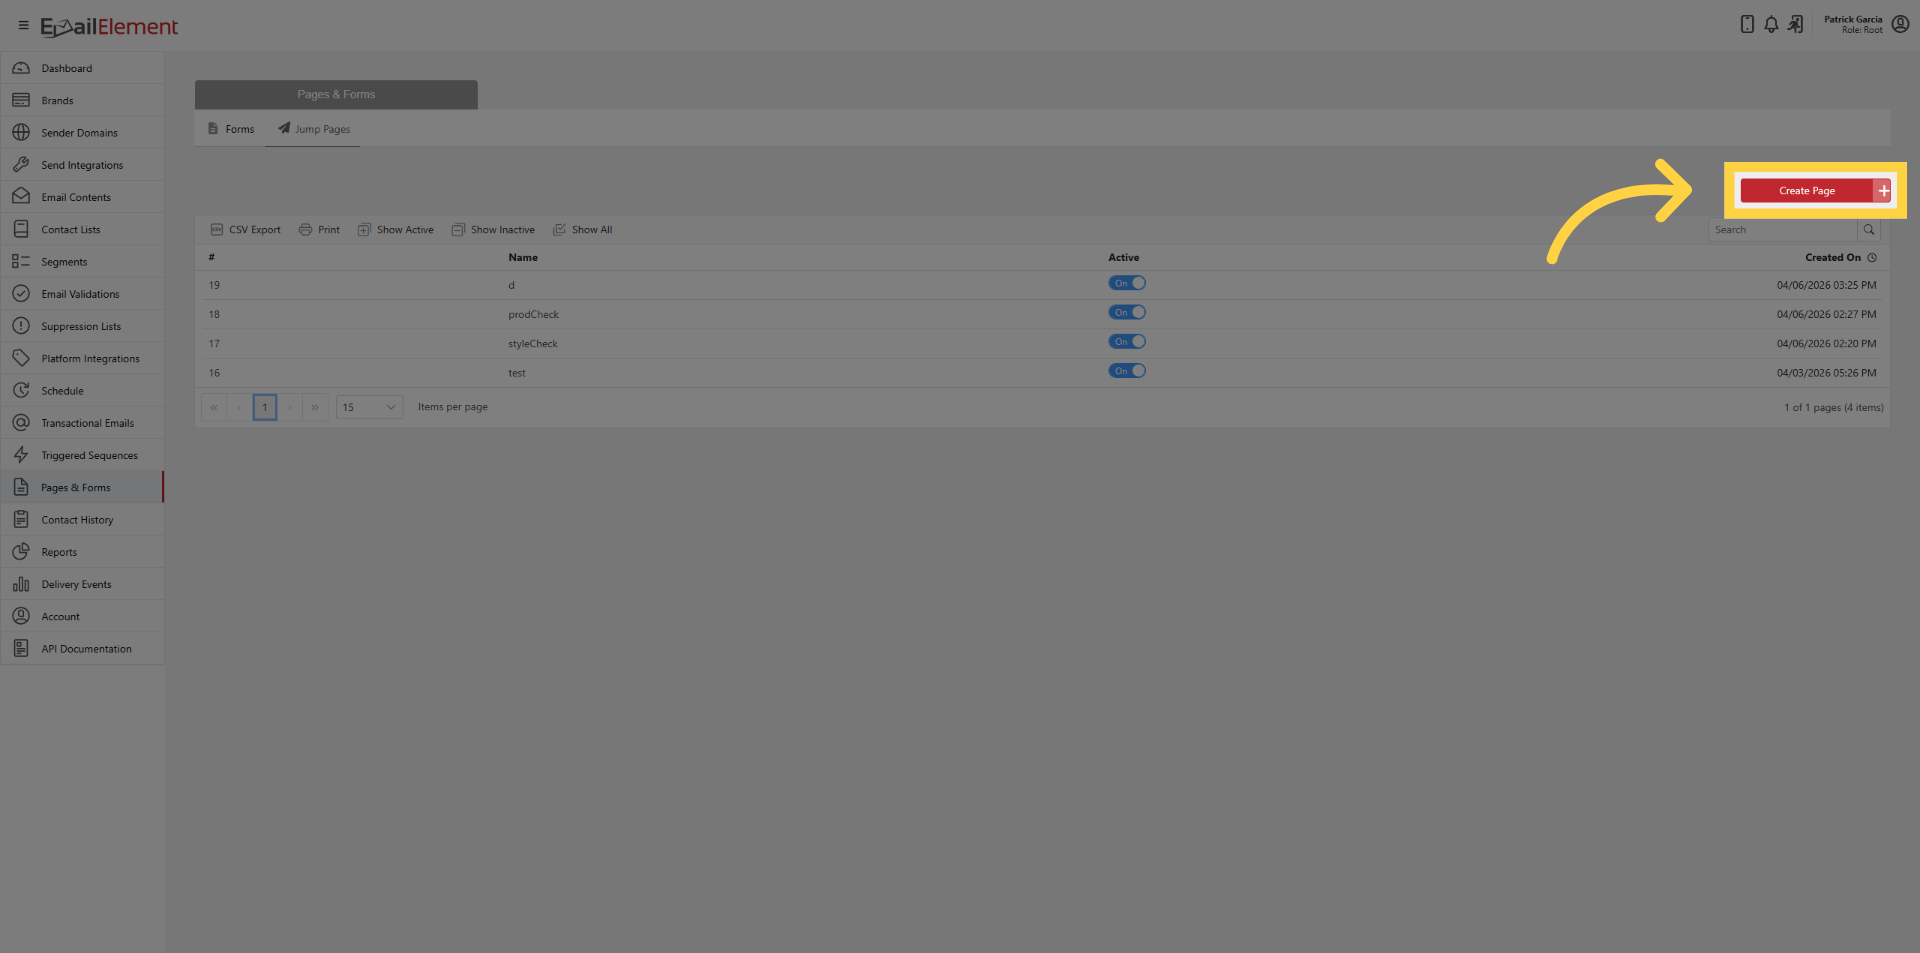
Click Create Page
Enter a name for the Jump Page
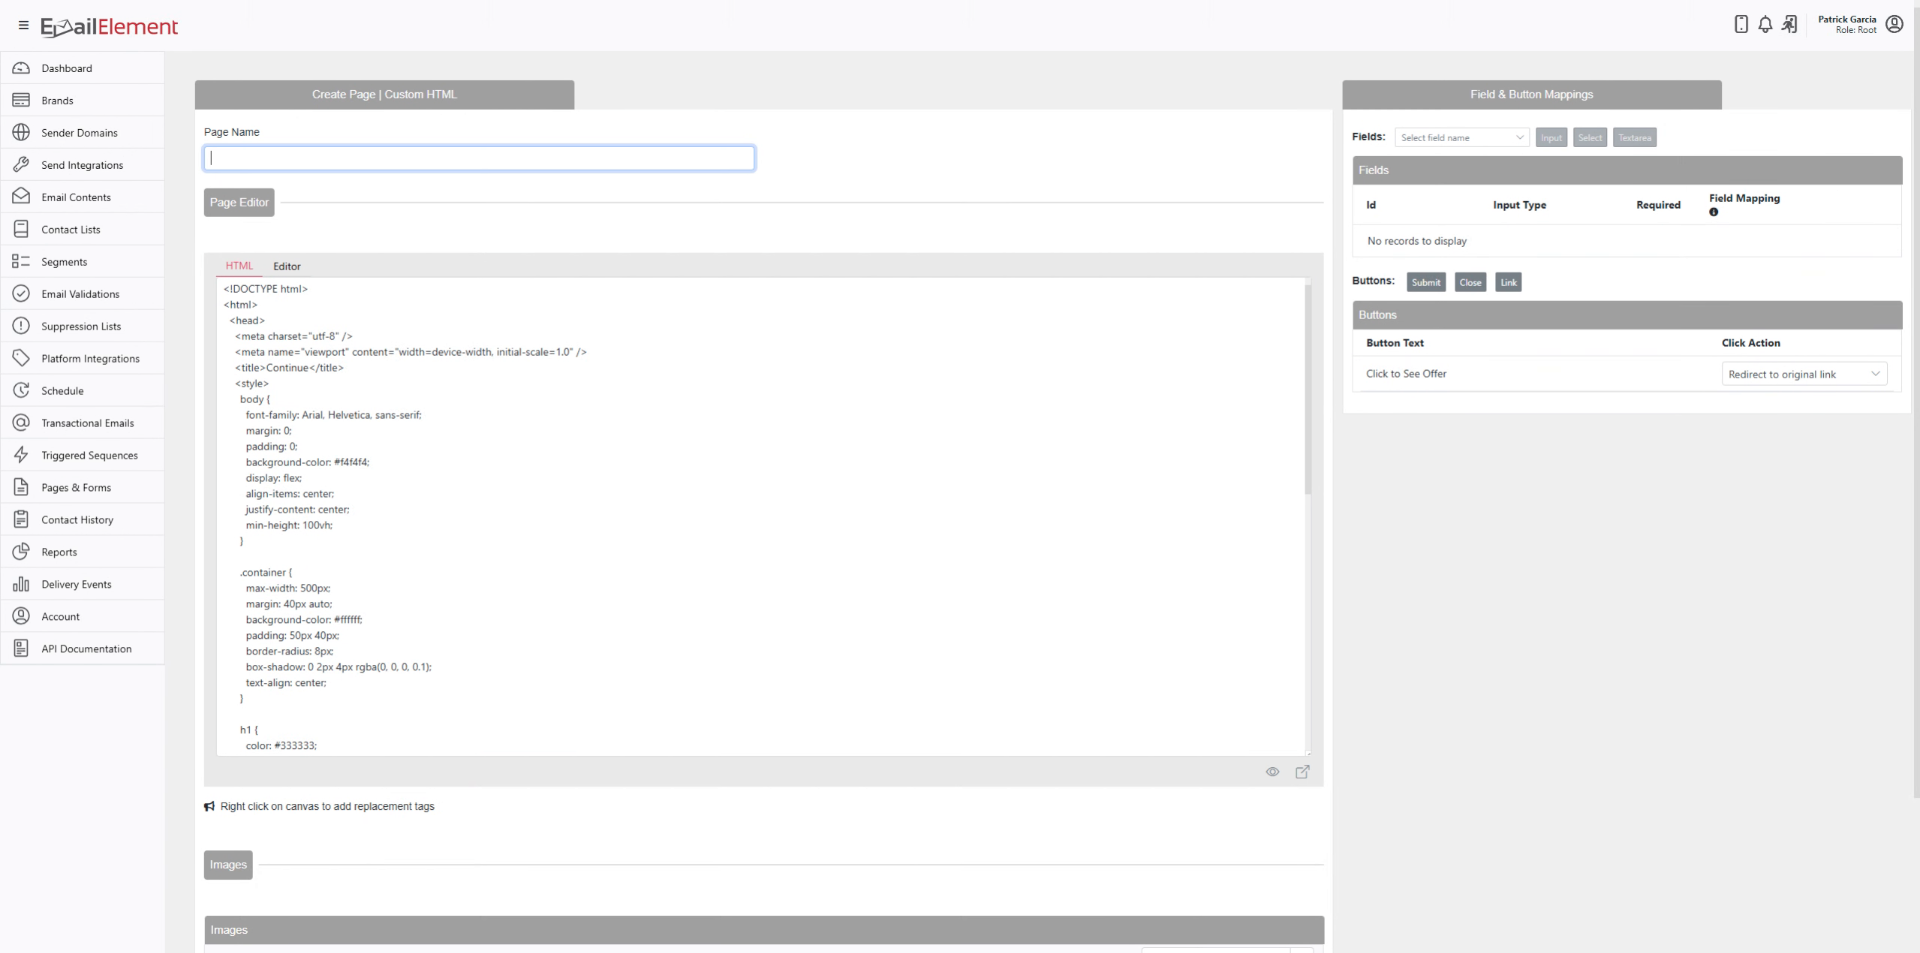
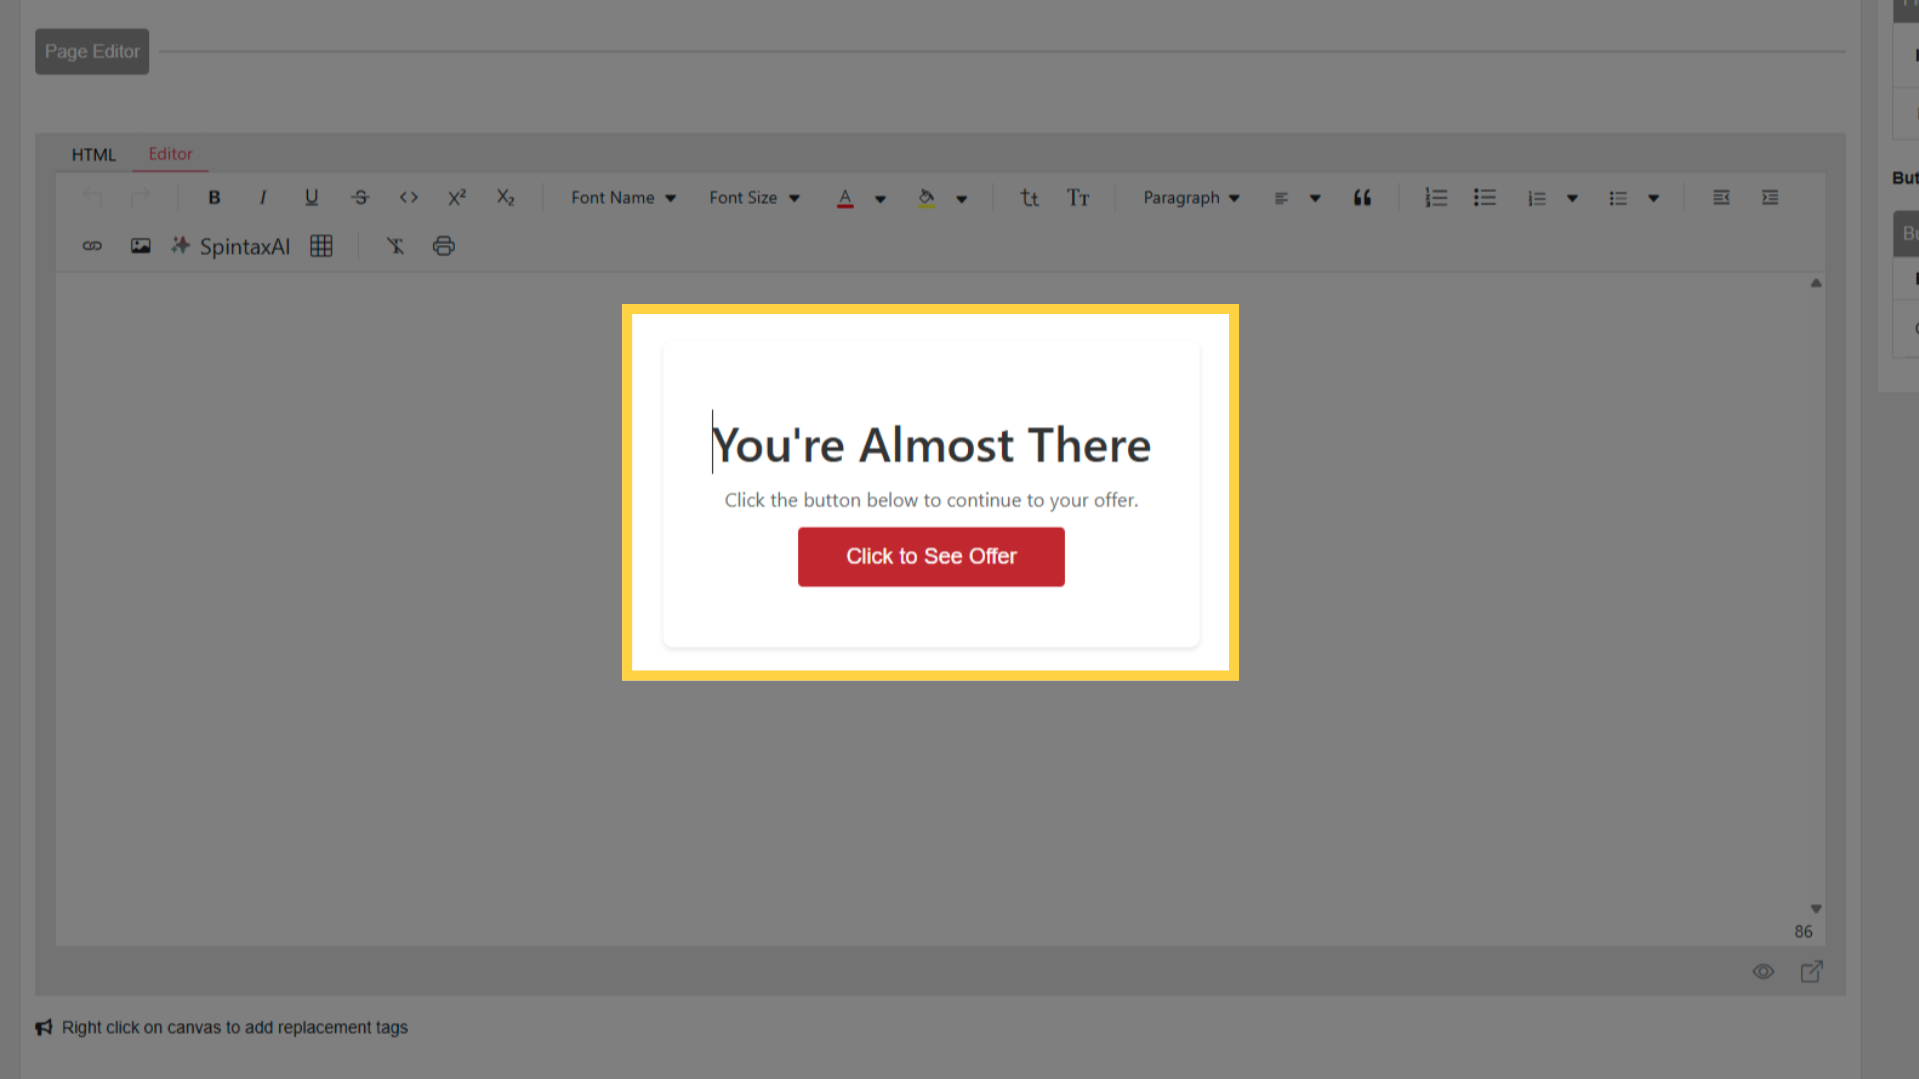
The editor opens on a default template — a working starting point with a container, sample text, and a default submit button
Customizing the HTML
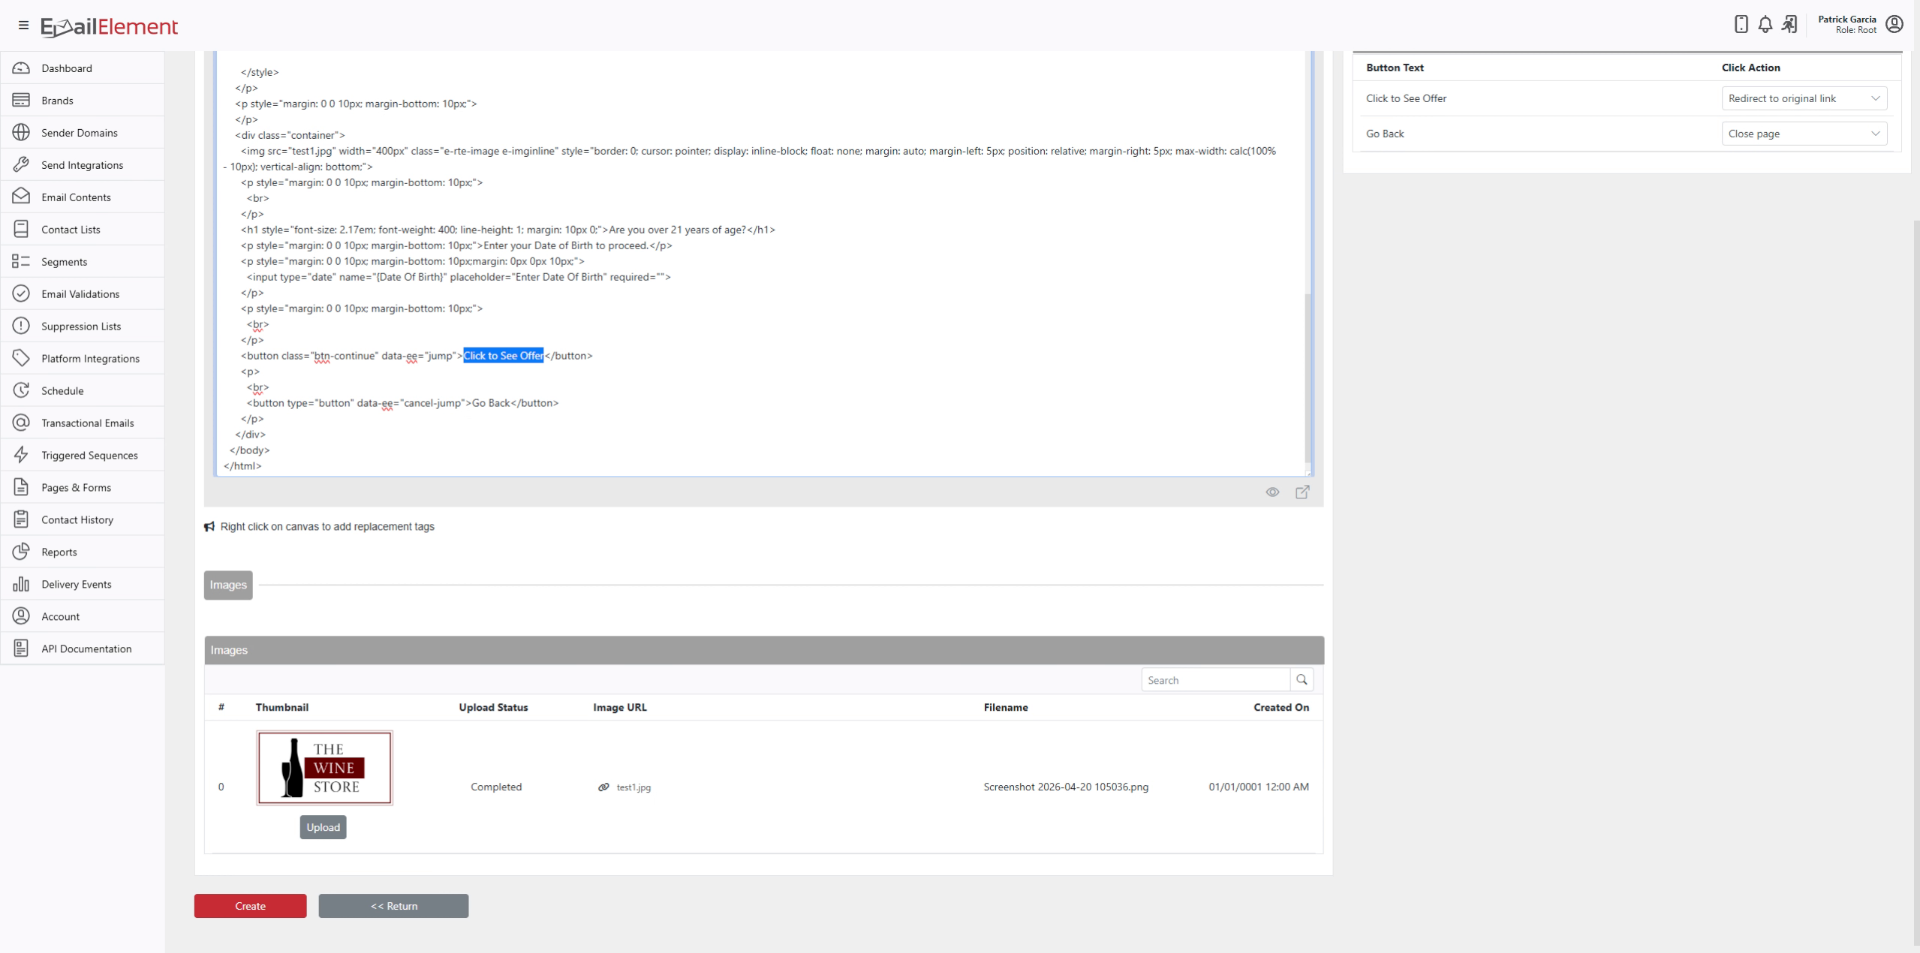
Add a logo by inserting an
<img>tag inside the default container in the HTML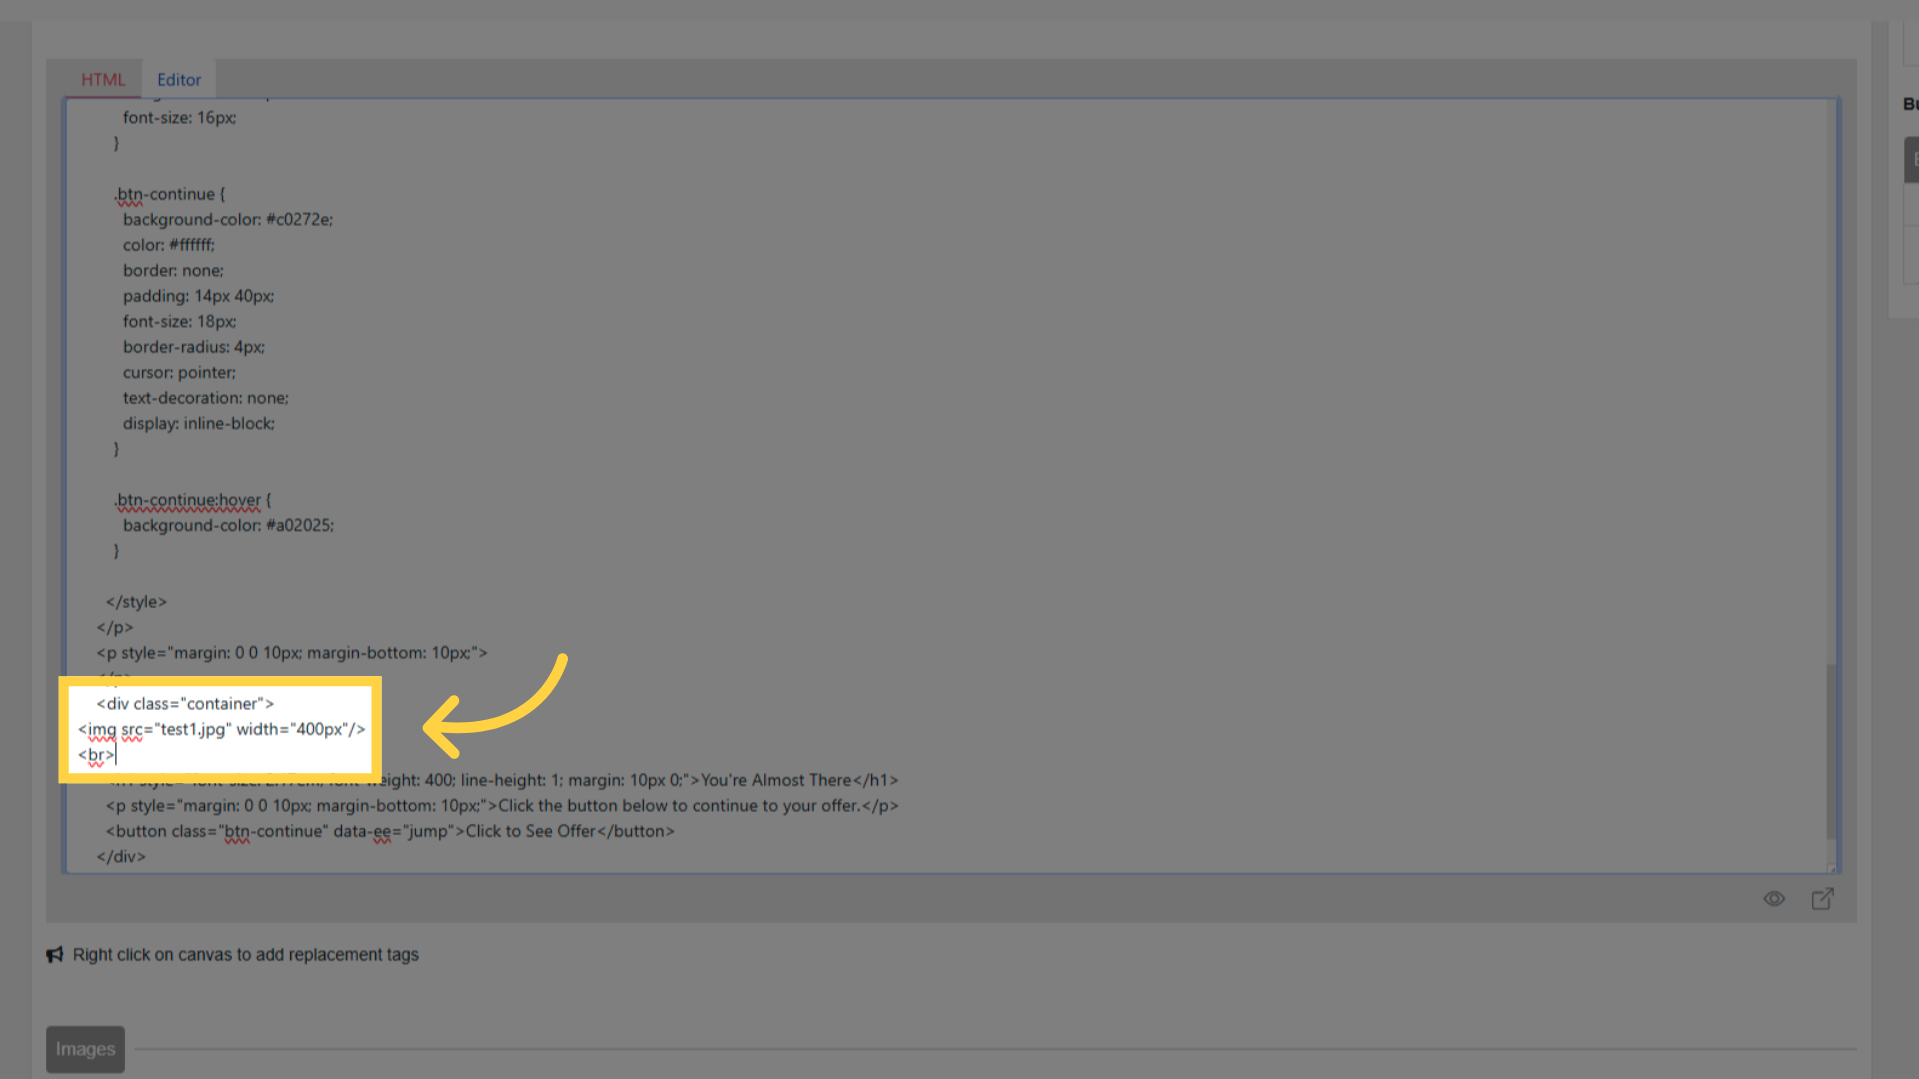
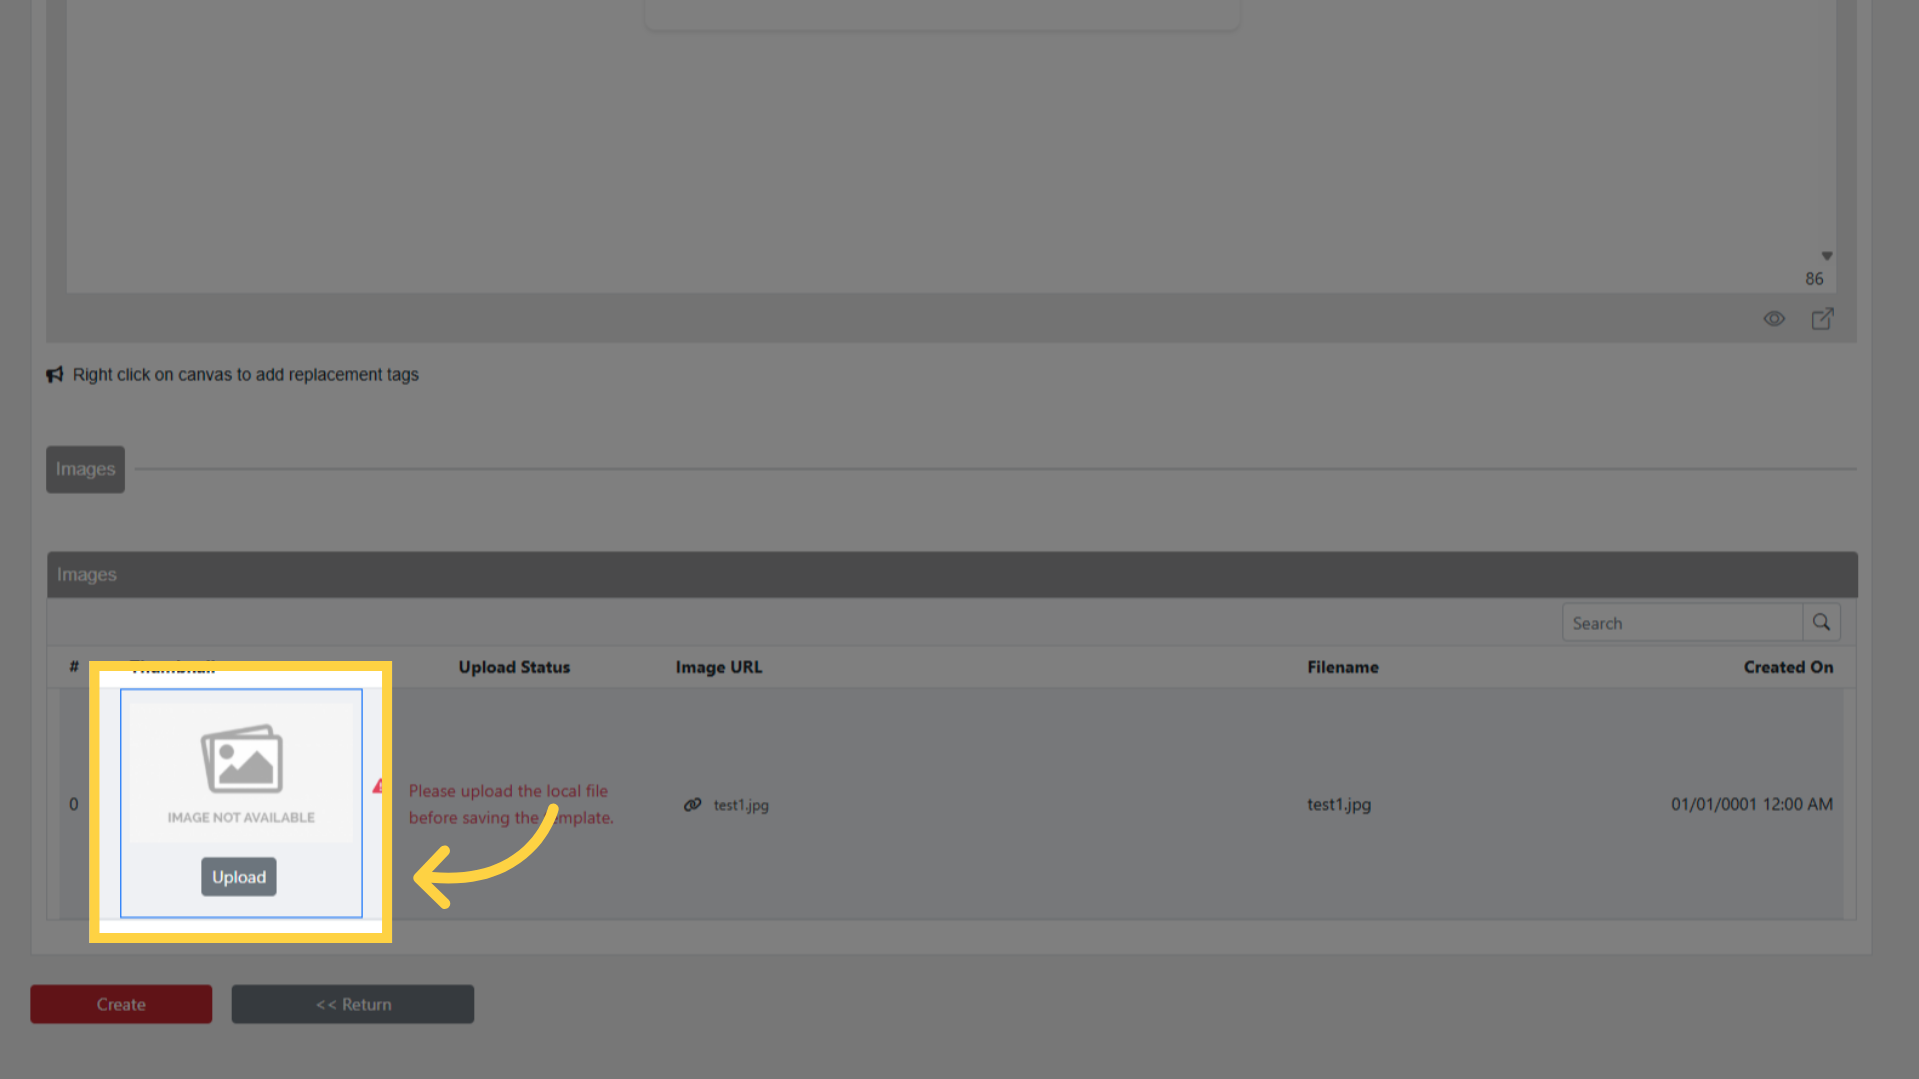
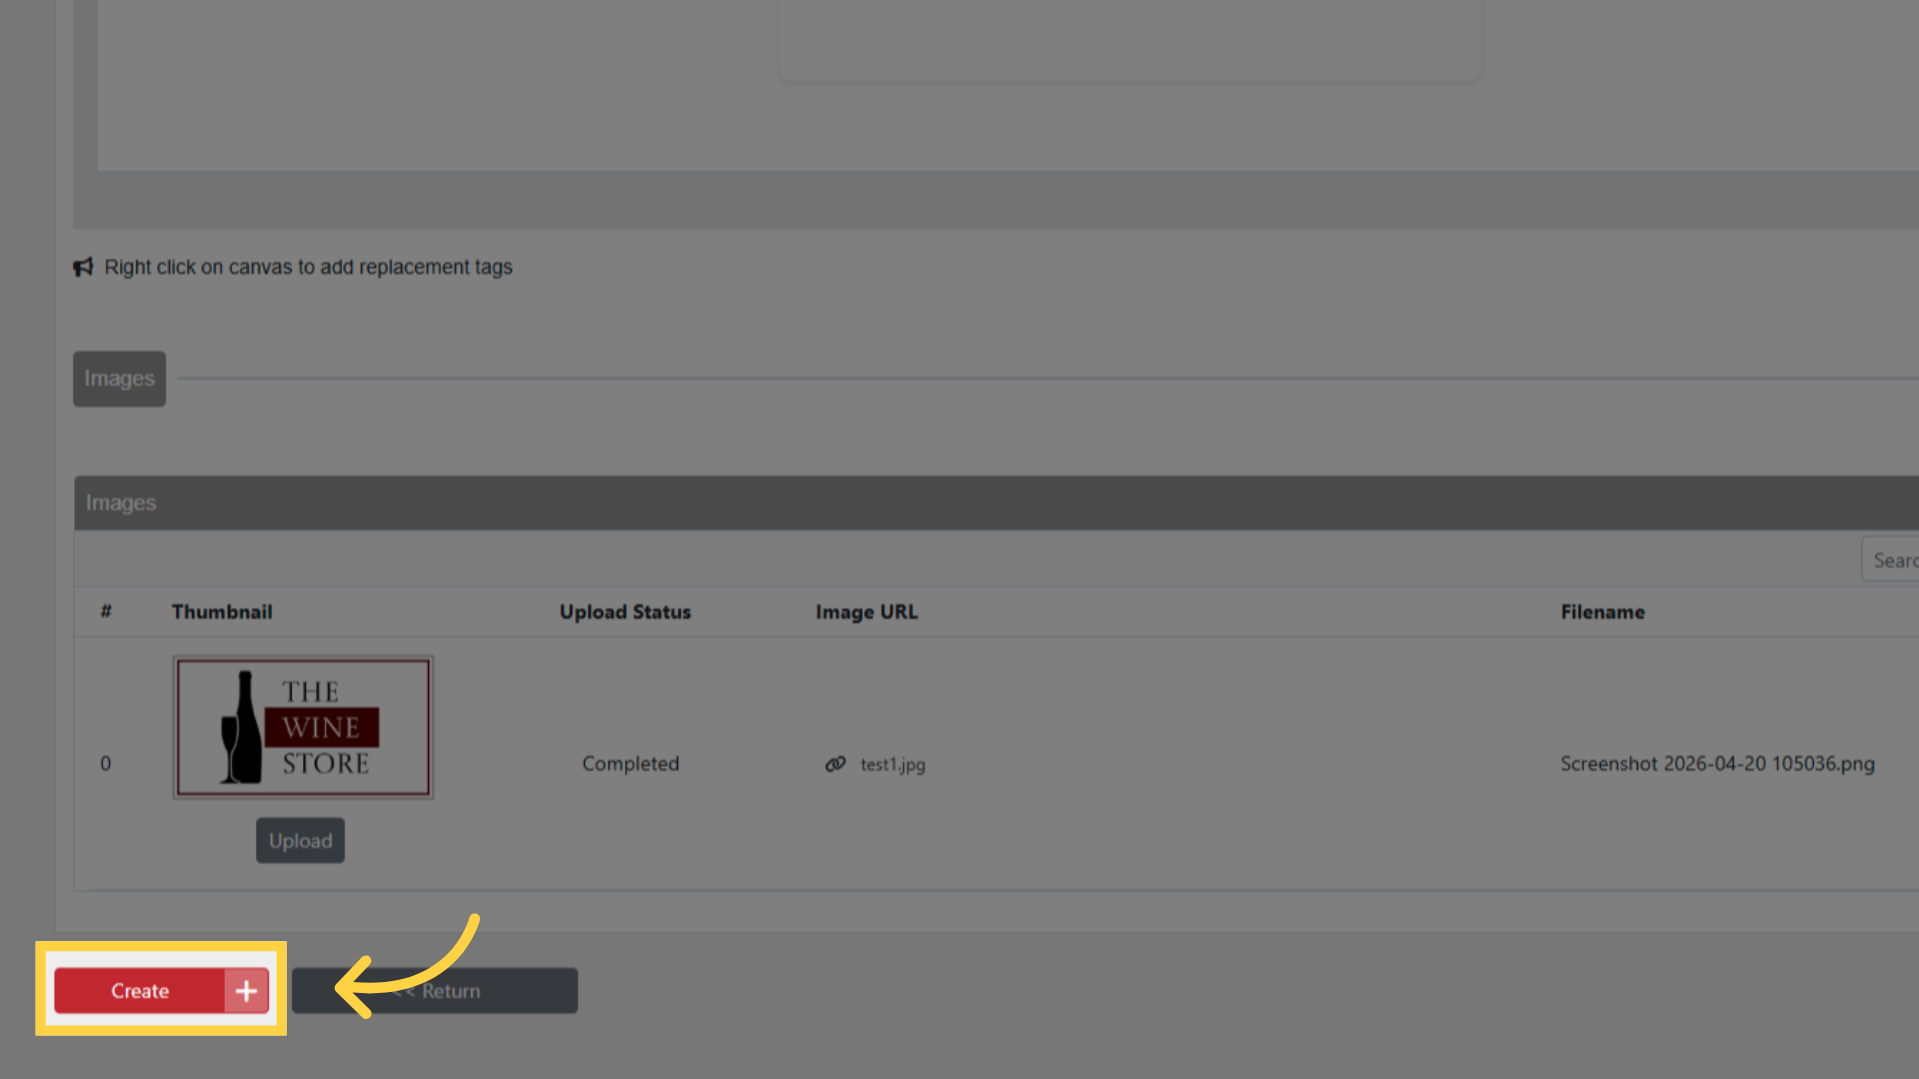
Once the editor detects the image tag, an Upload button appears in the Images section — click it to upload your logo file
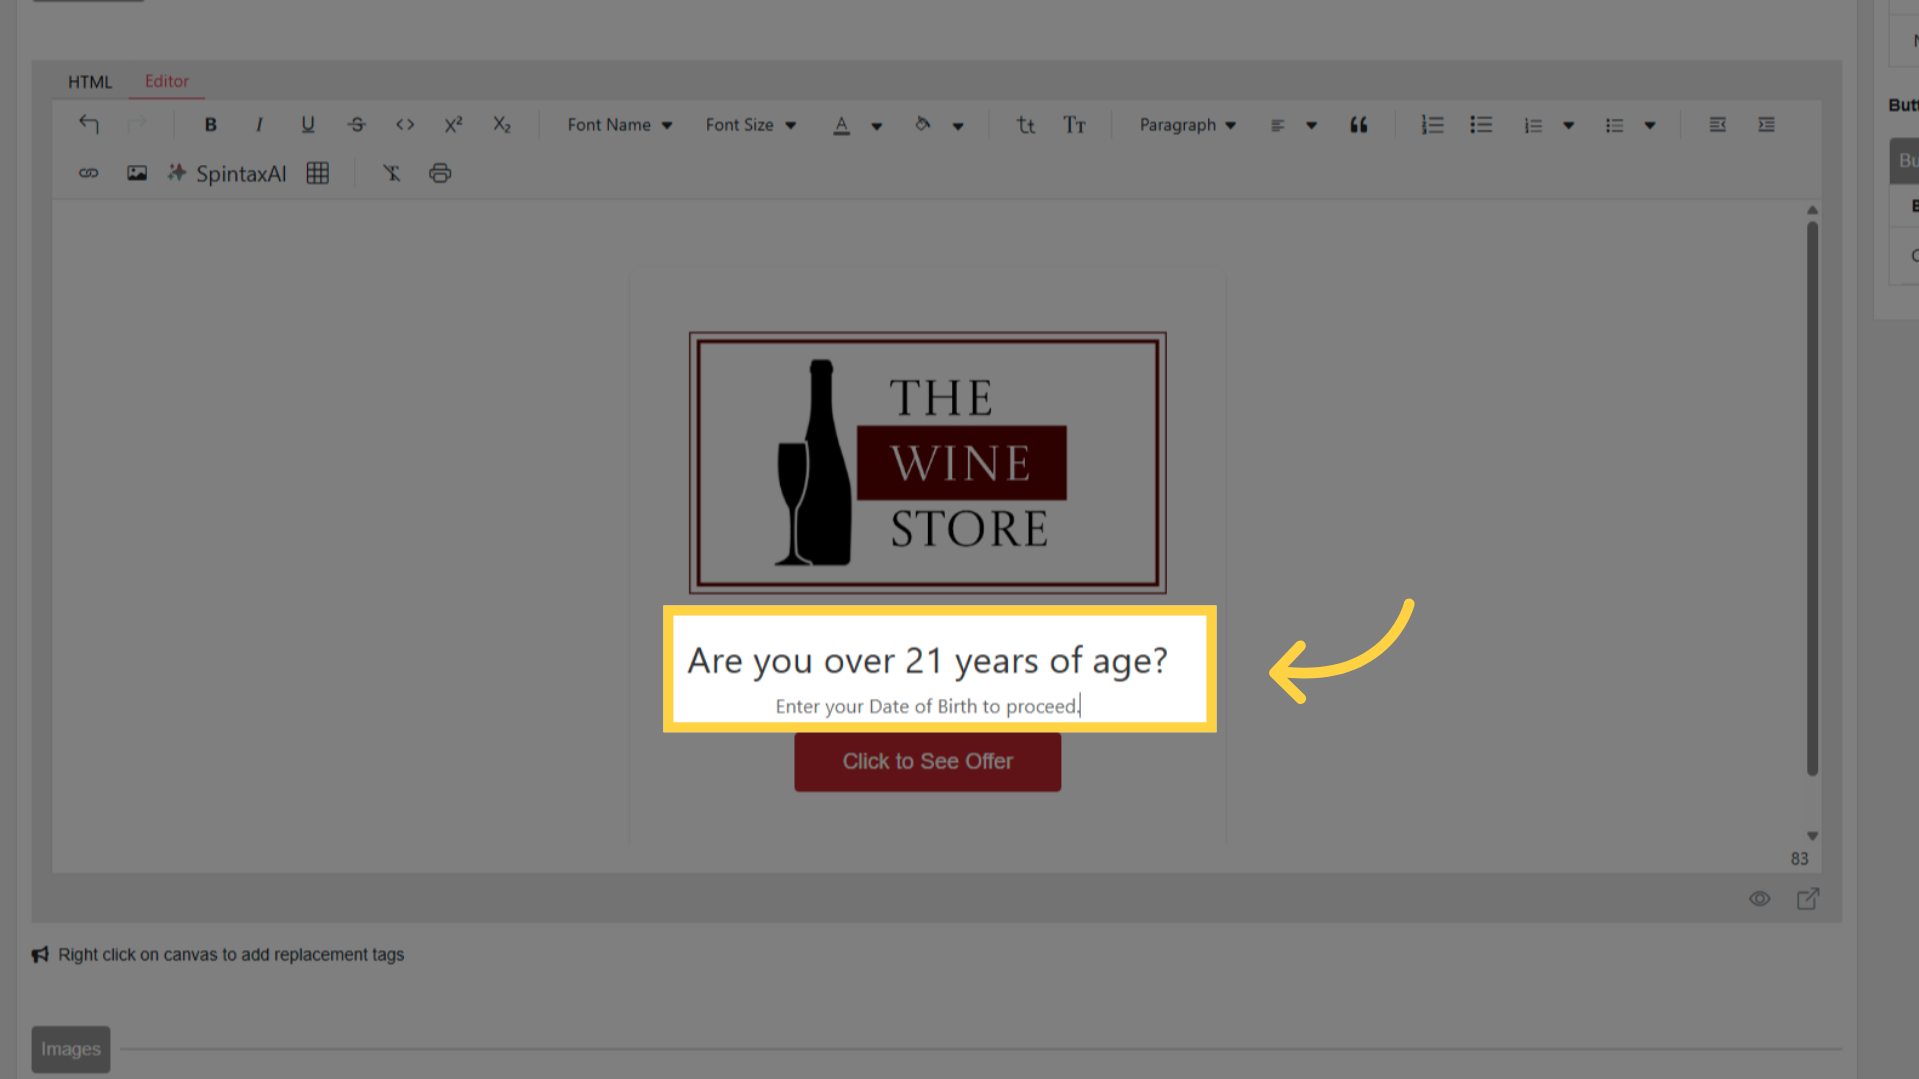
Update the placeholder text to match the use case (e.g., age-gate copy, legal disclaimer)
Adding Fields
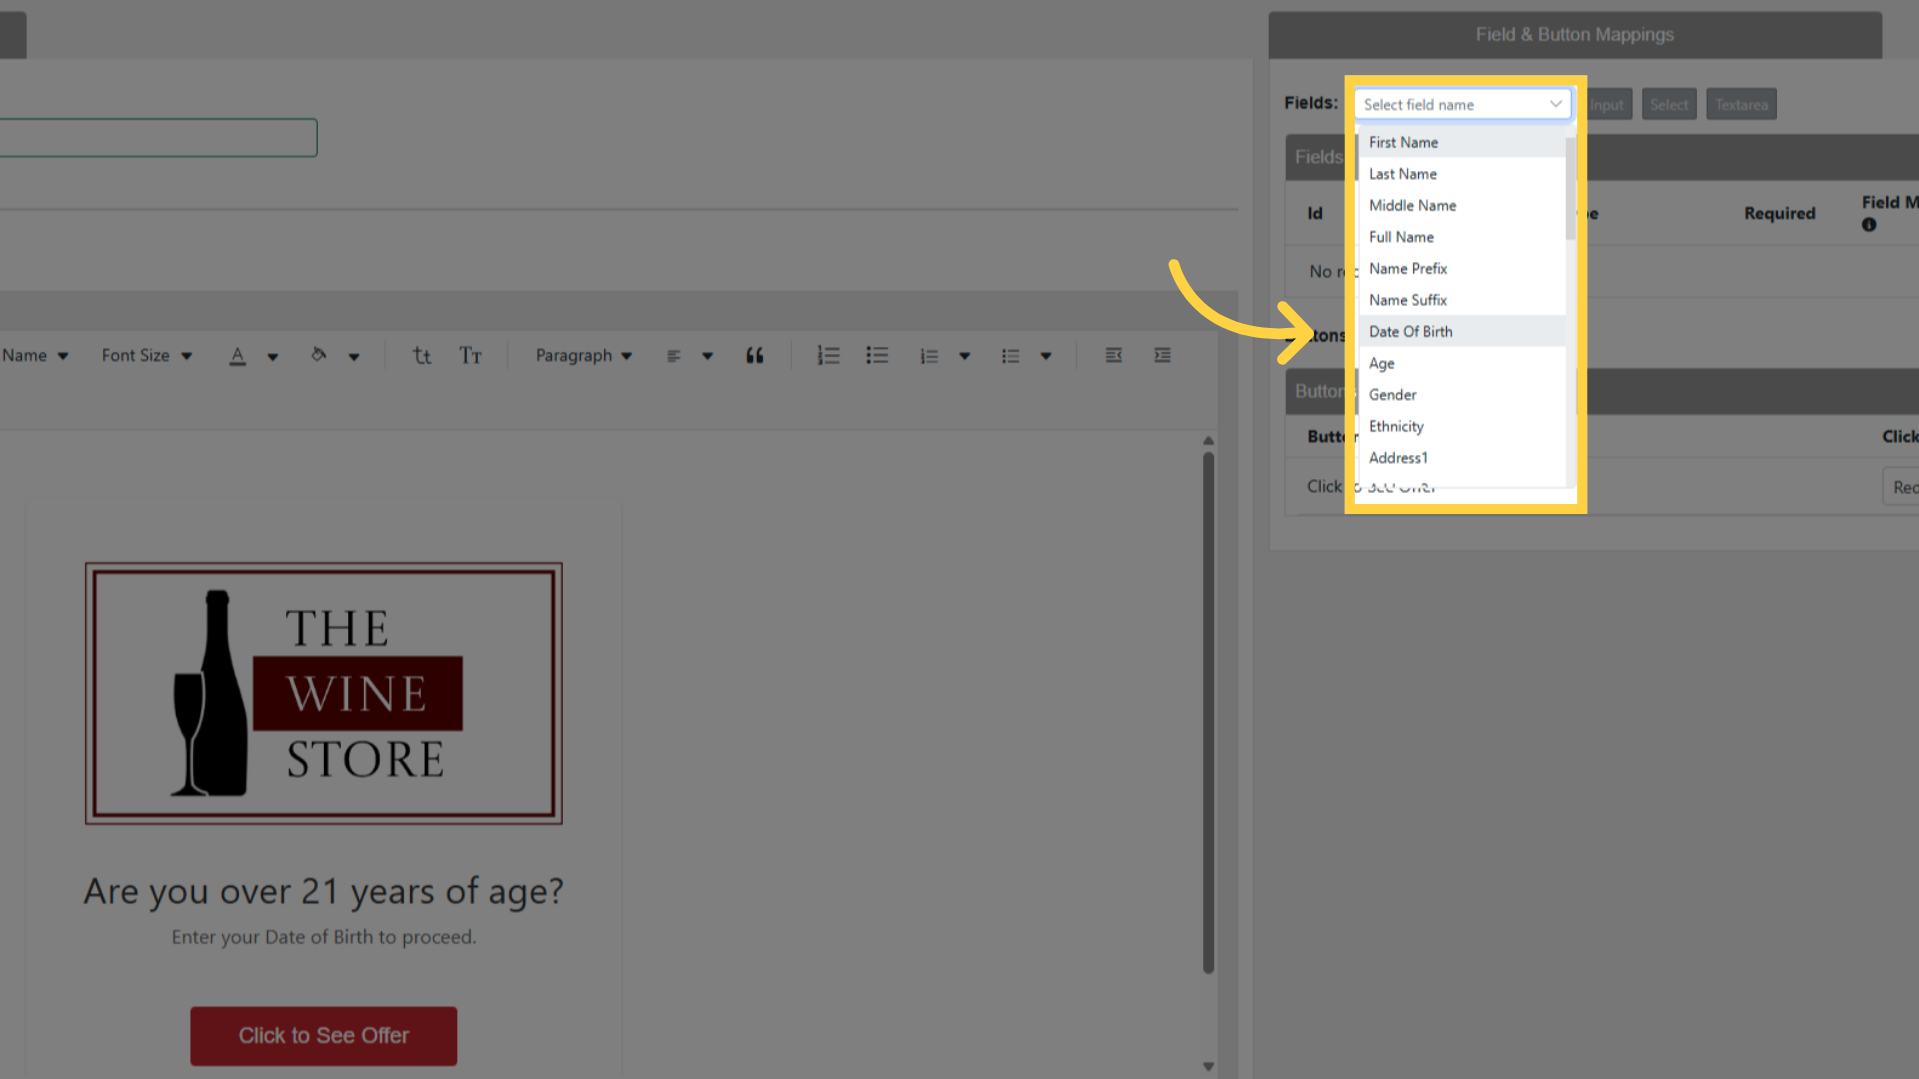
Open the Fields dropdown in the right panel
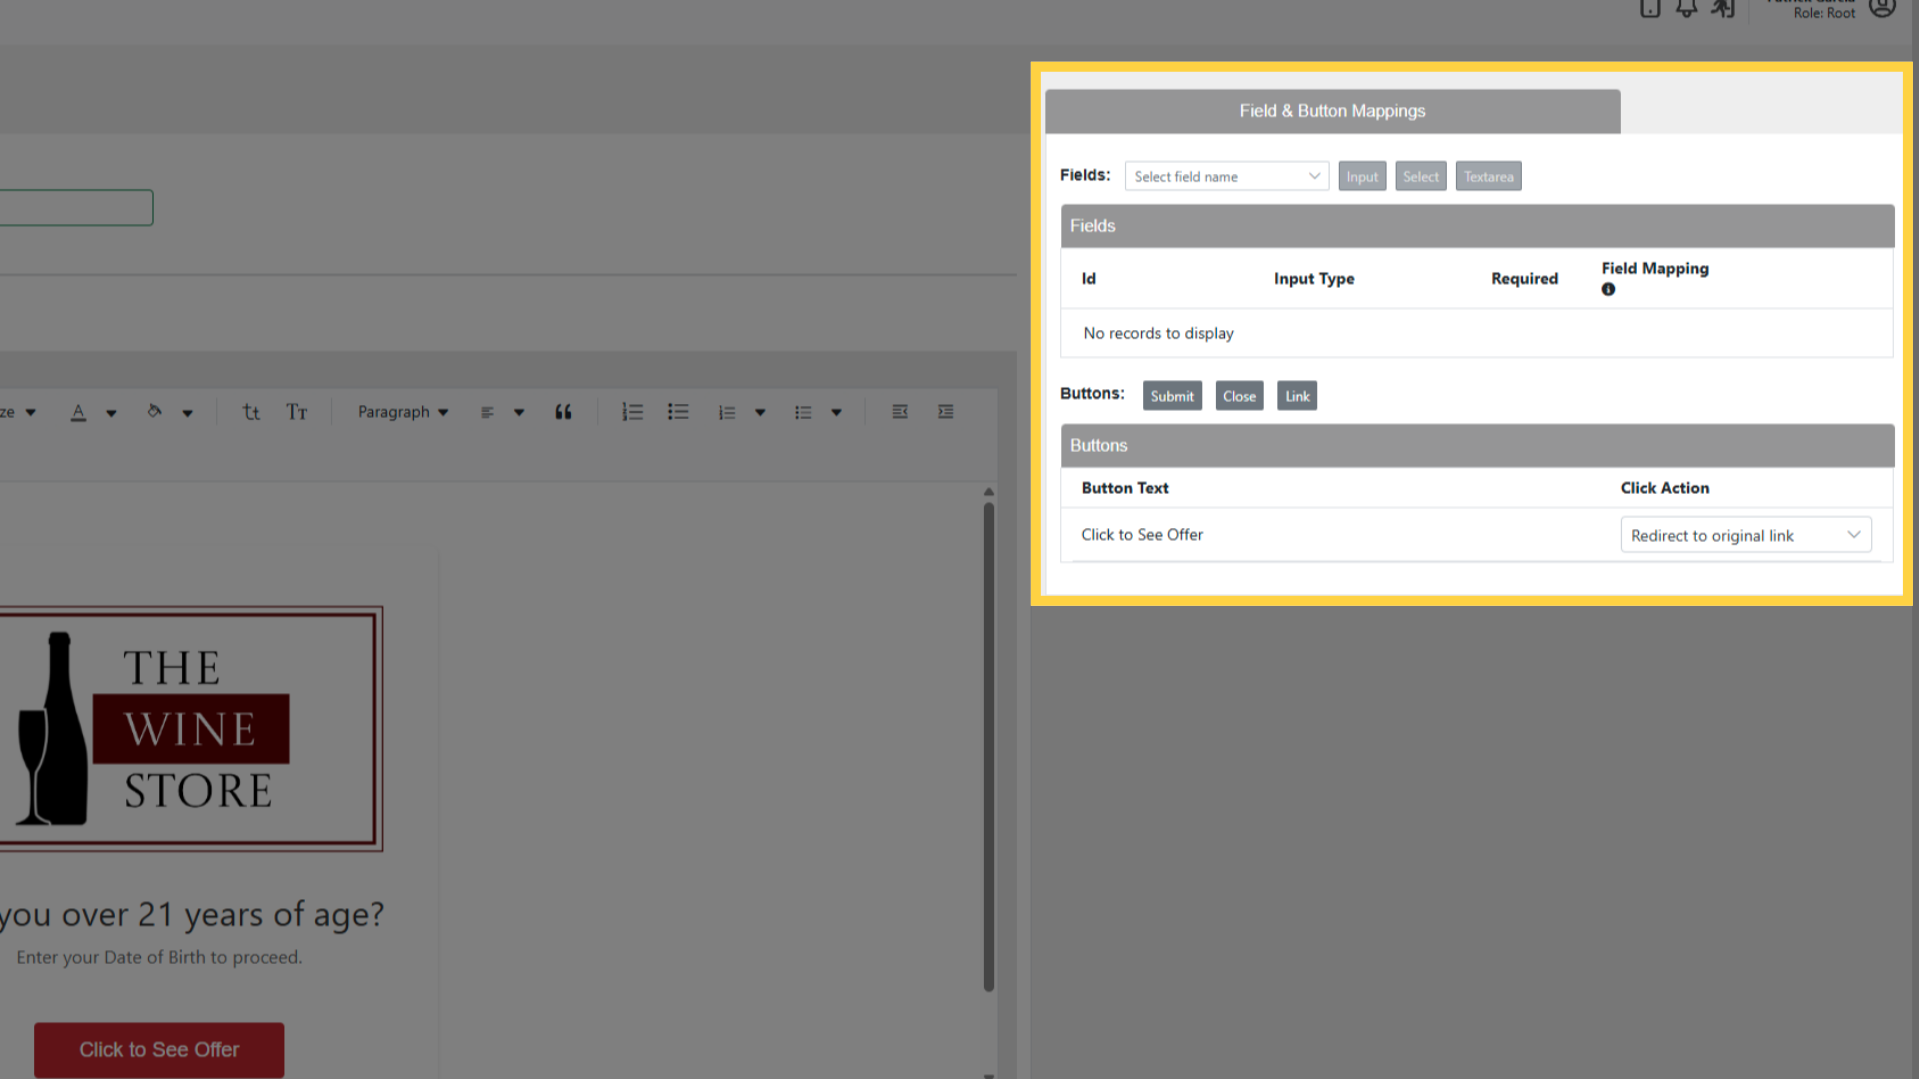
Select a field (e.g., Date of Birth) — the editor inserts it on the page
Choose the field type:
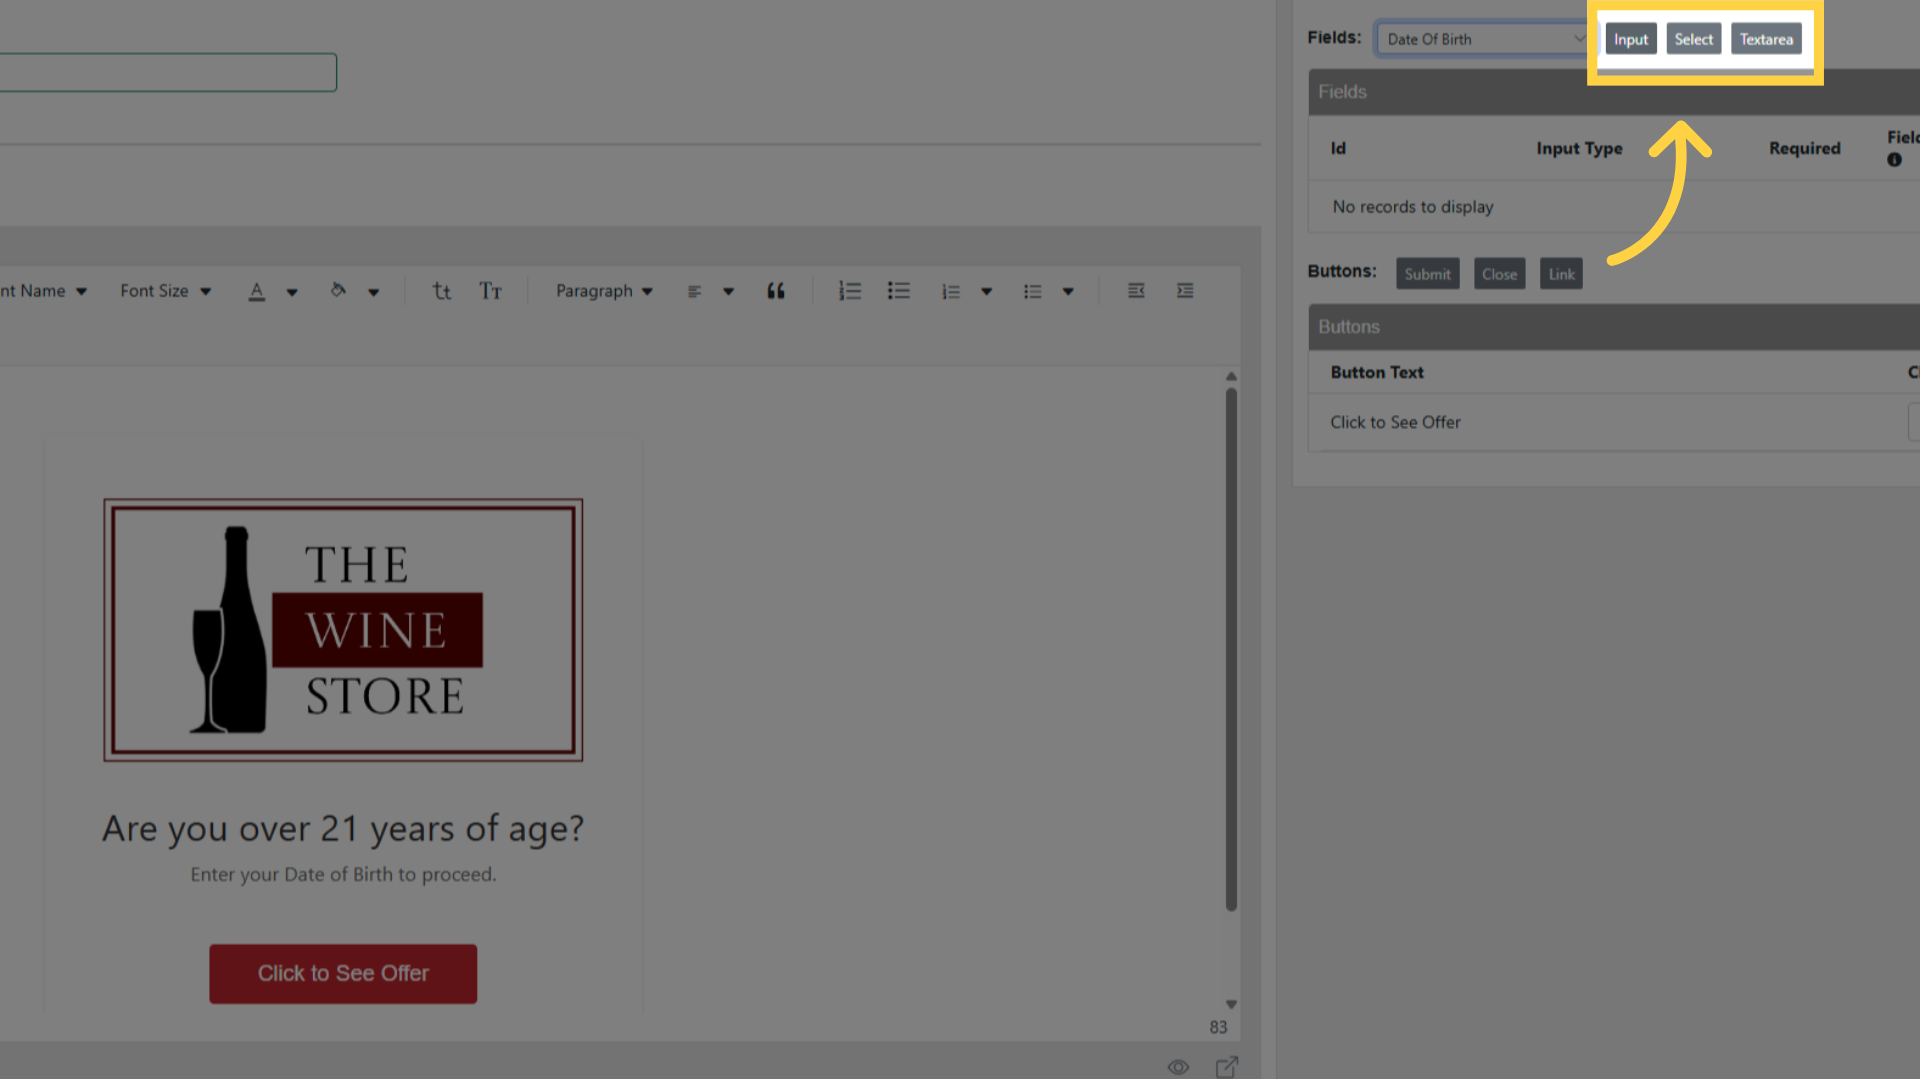
- Input — single-line textbox
- Select — dropdown
- Textarea — multi-line textbox
Configure field options:
Toggle Required so the contact must enter a value before proceeding
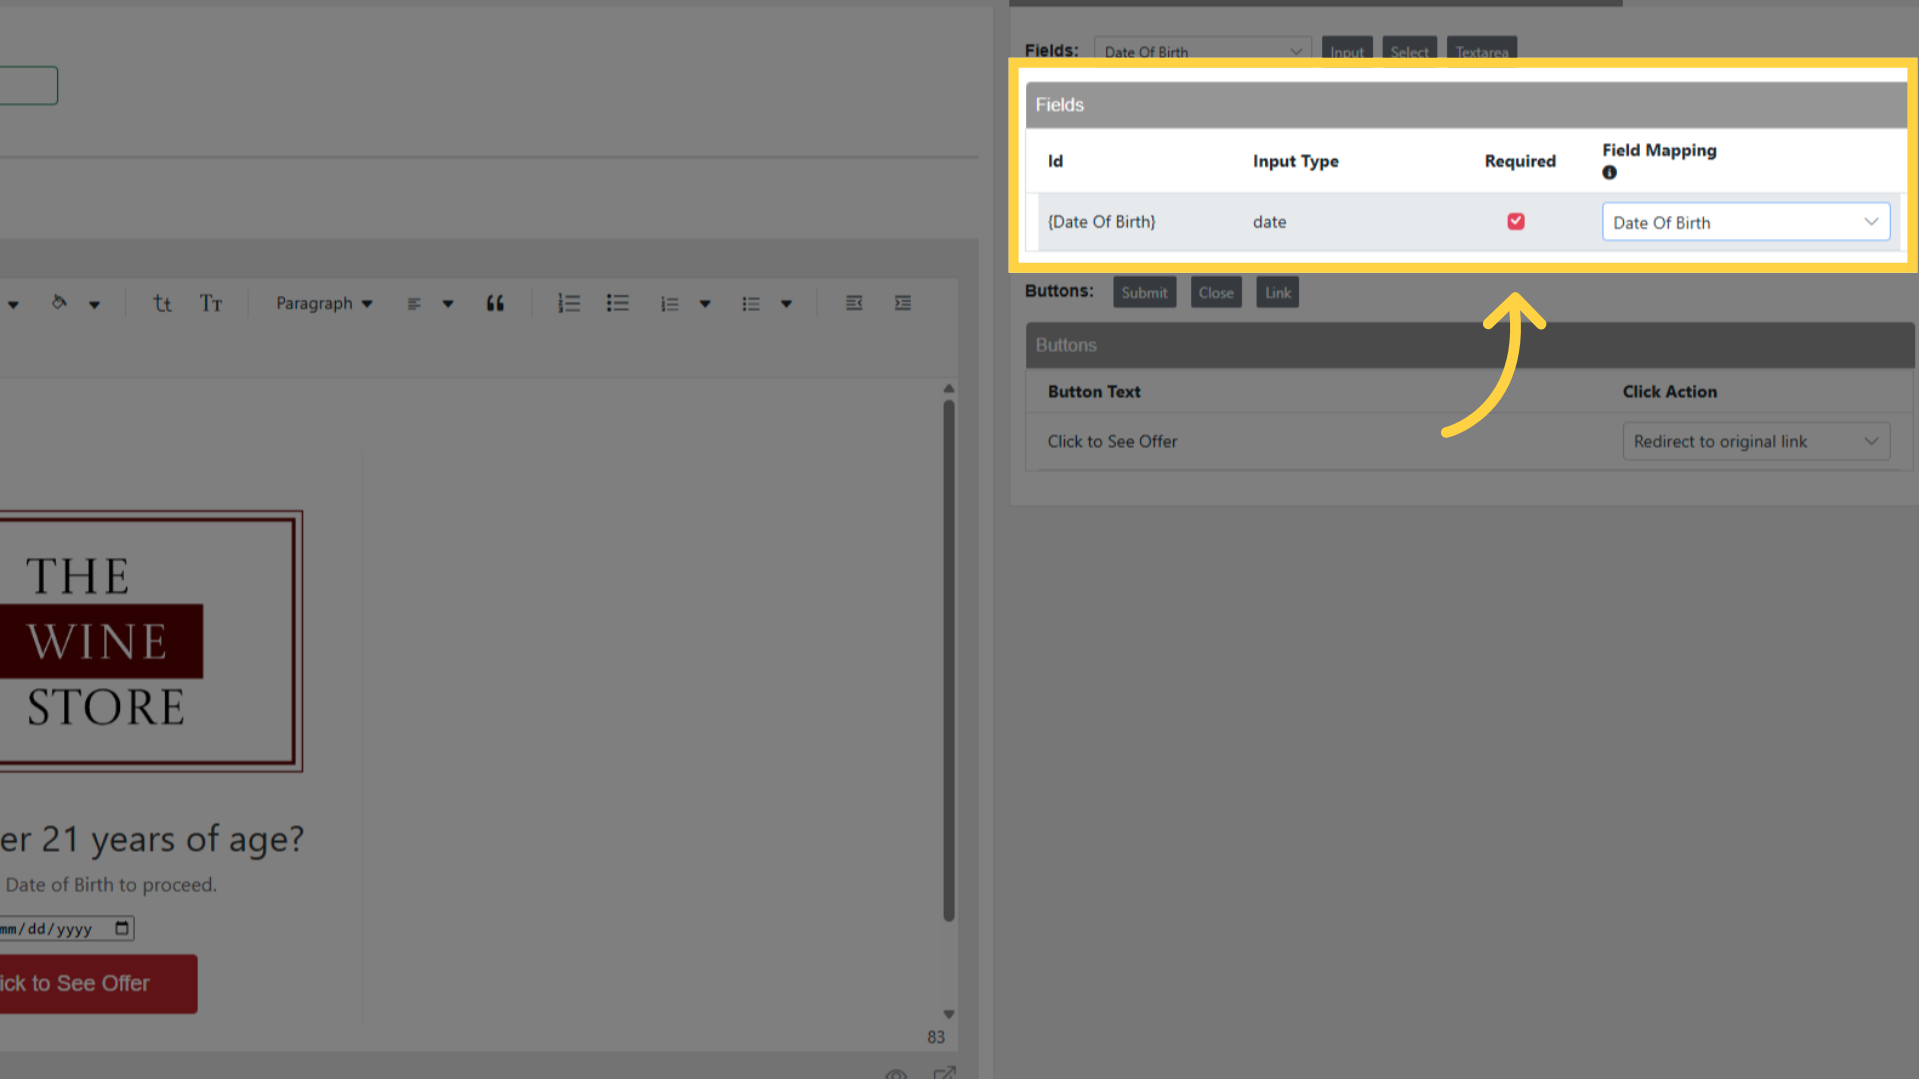
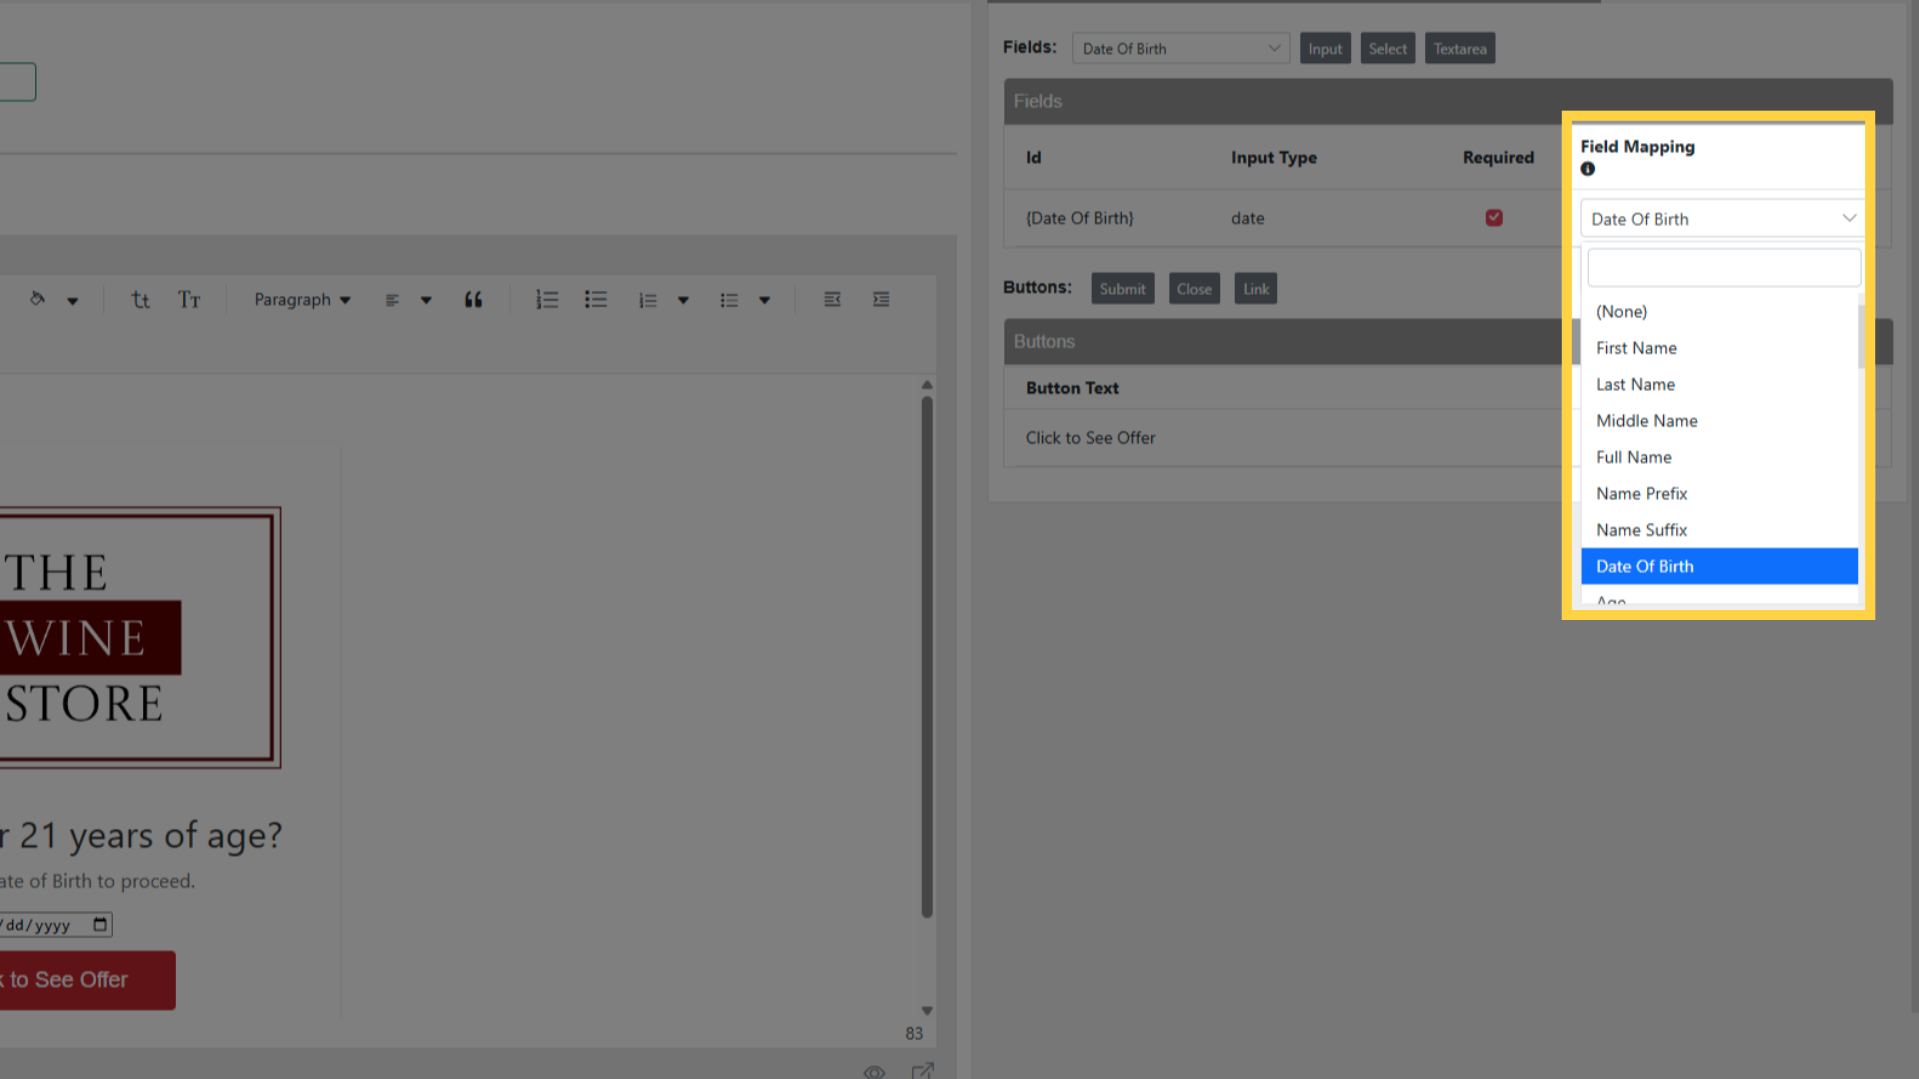
Adjust field mapping if the default mapping is not what you want (most common fields default correctly)
Adding Buttons
Open the Buttons section in the right panel
Insert one of:
Submit — submits the form
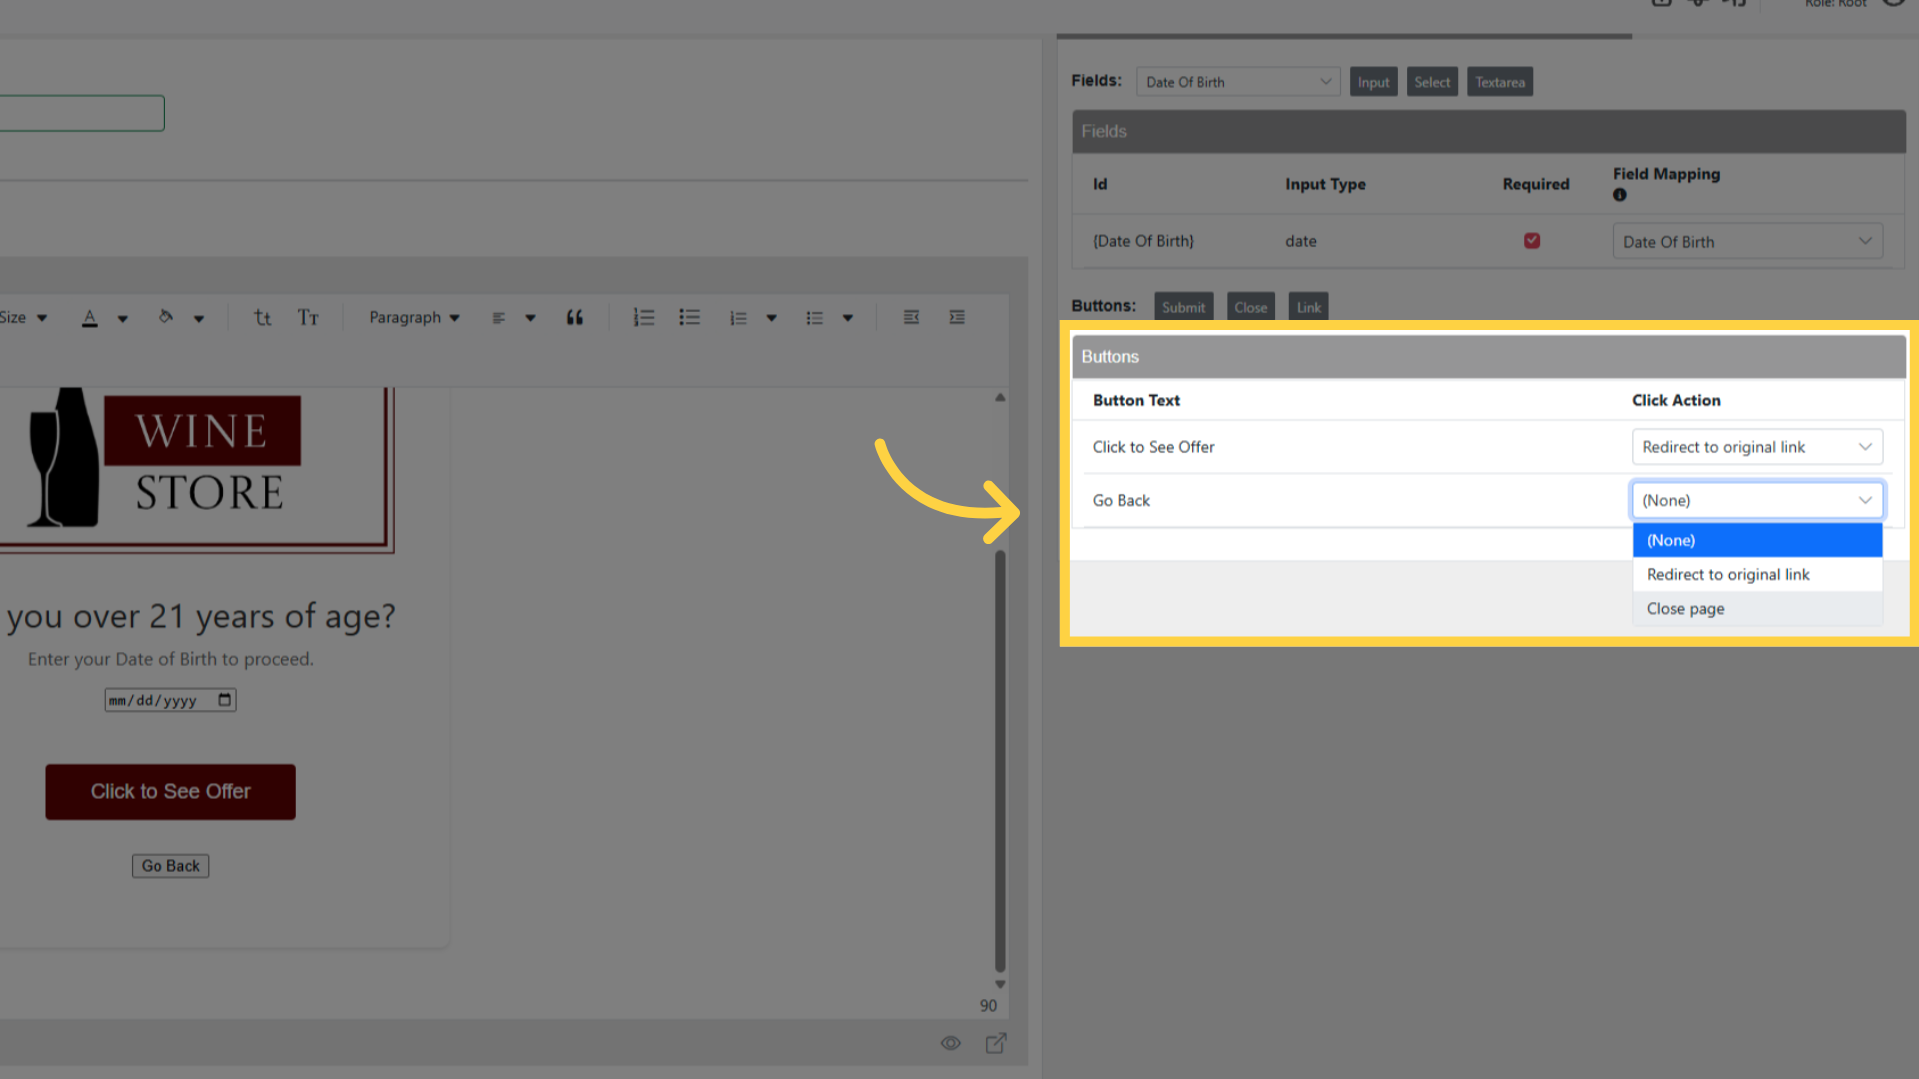
Close — closes the page; pair with action Close Page for a back/decline button
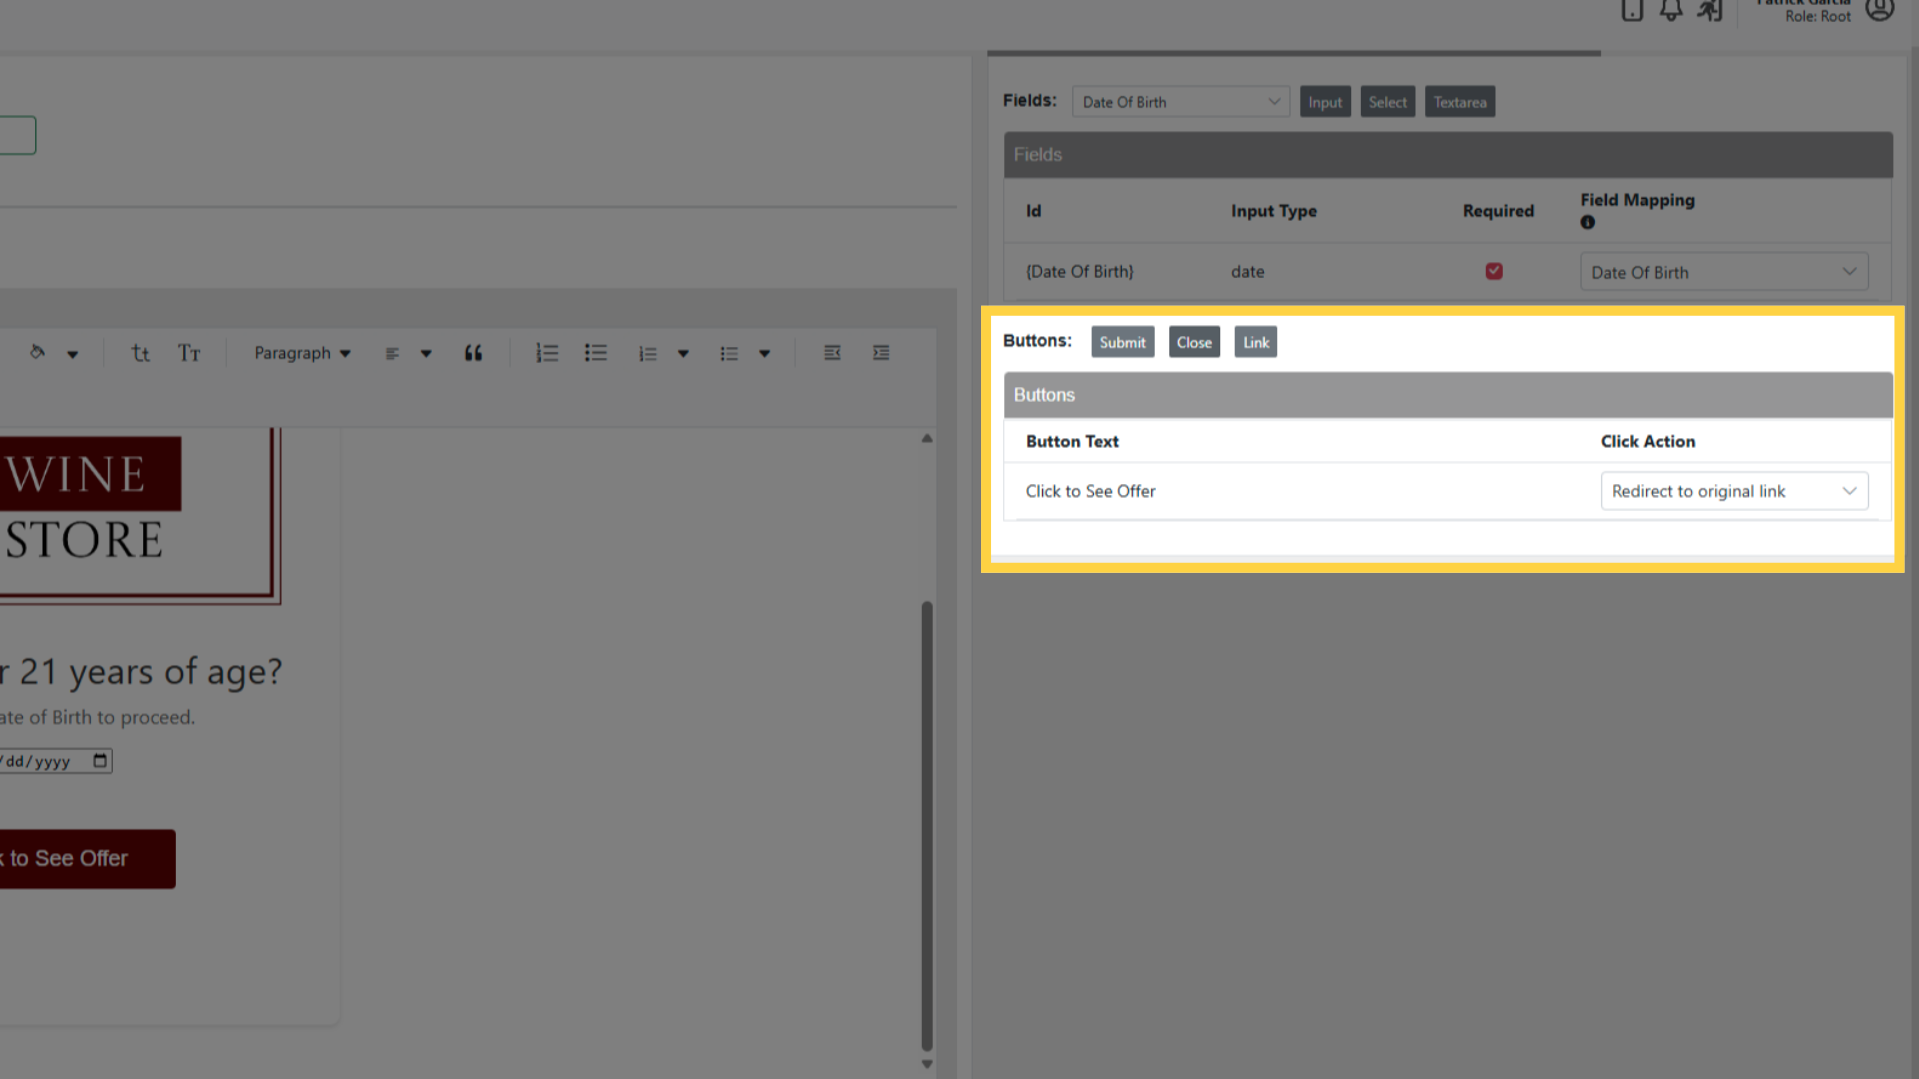
Link — navigates to a URL
Update the button label (e.g., "Go Back", "Continue")
For Close buttons, set Click Action to Close Page
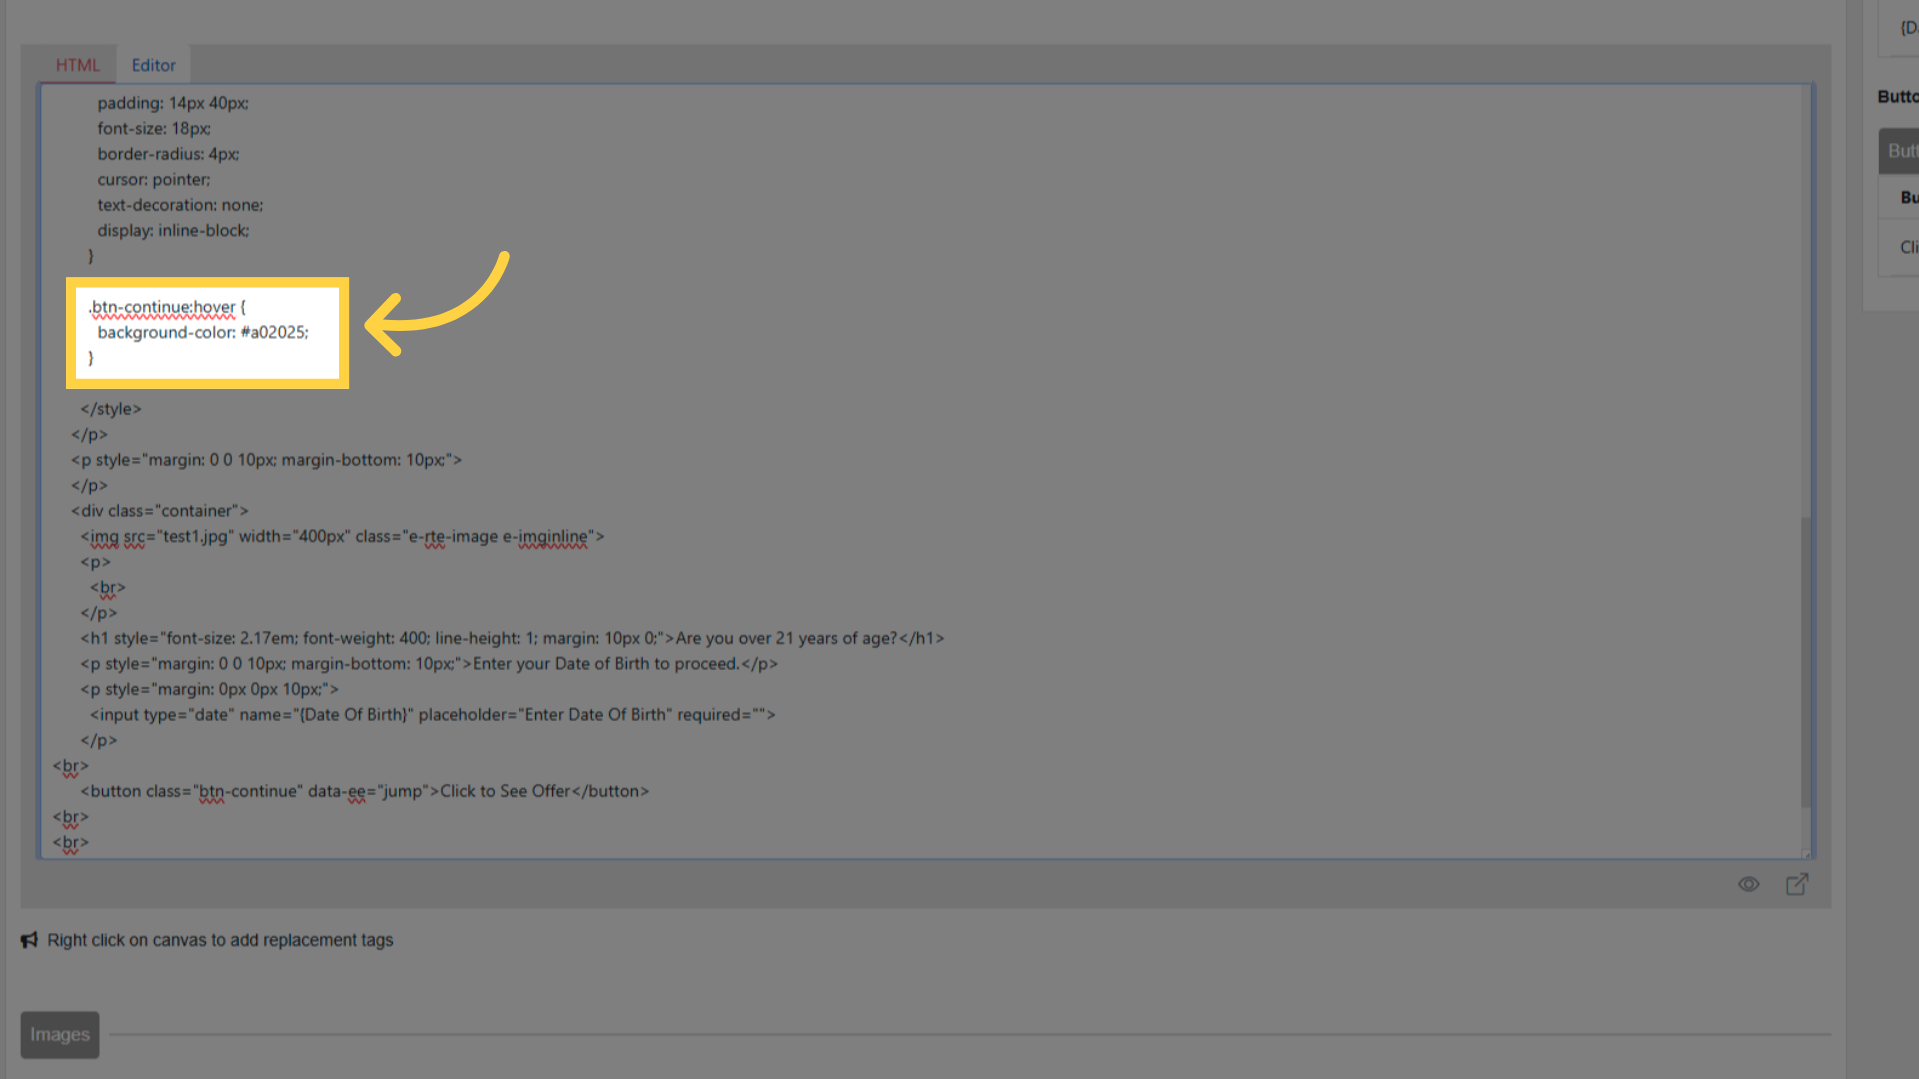
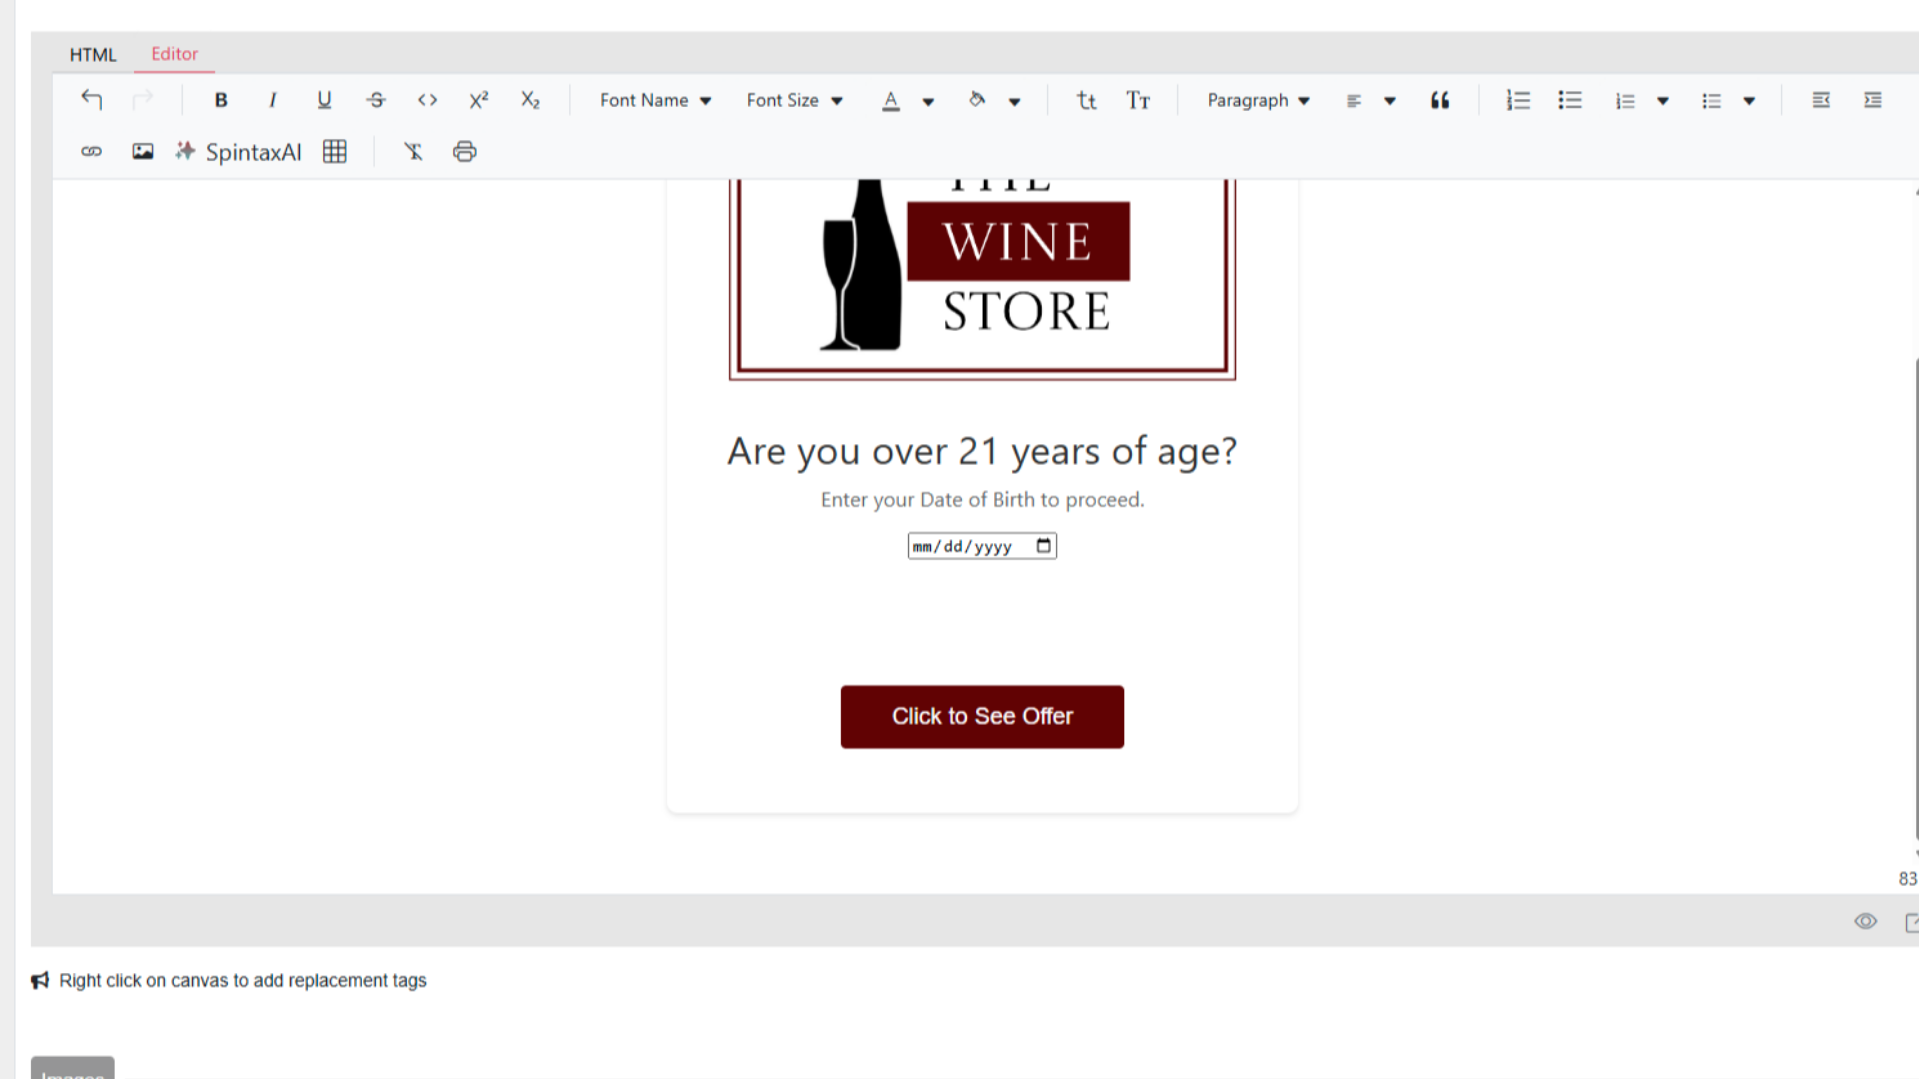
Update the button background color hex value to match brand colors when the default does not fit
Previewing and Saving
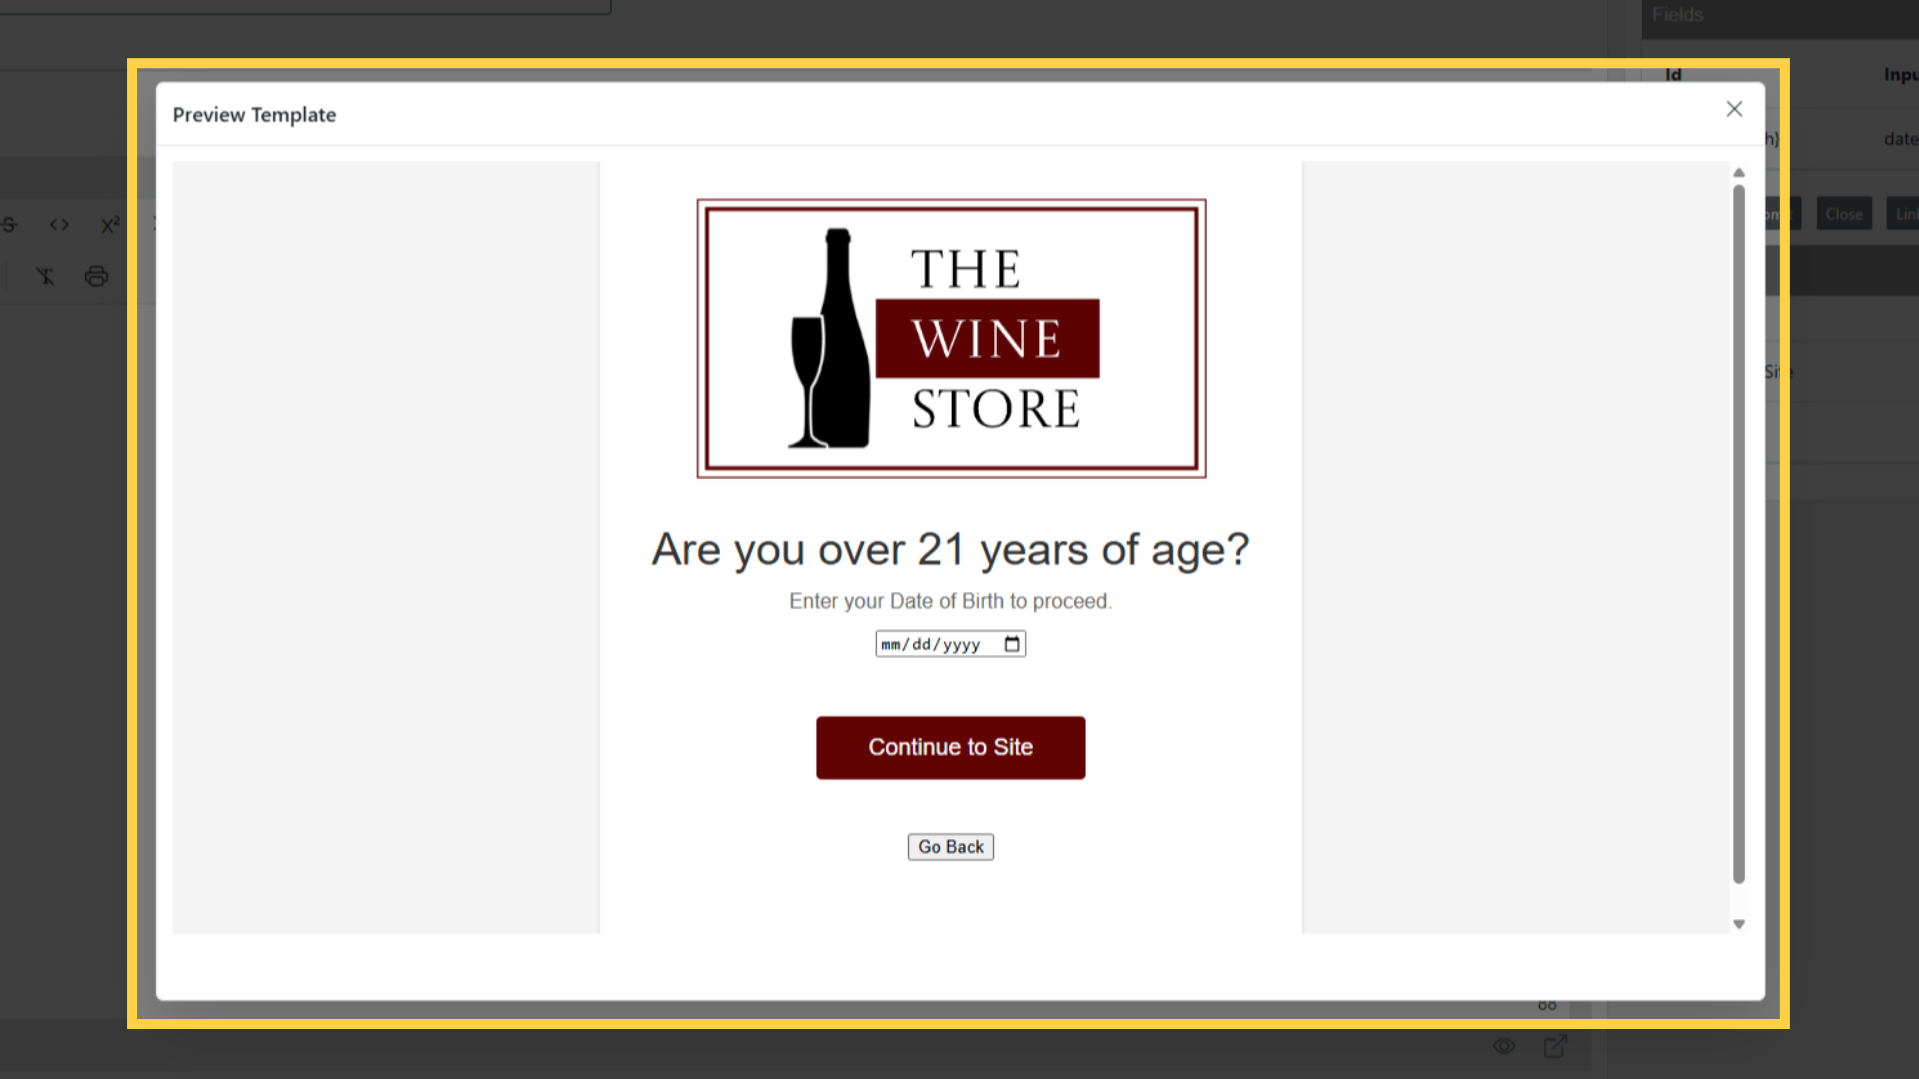
Click the Preview button to see what the page will look like to a contact
Click Create to save the Jump Page
Using a Jump Page
The saved Jump Page appears in any Jump Page dropdown in EmailElement
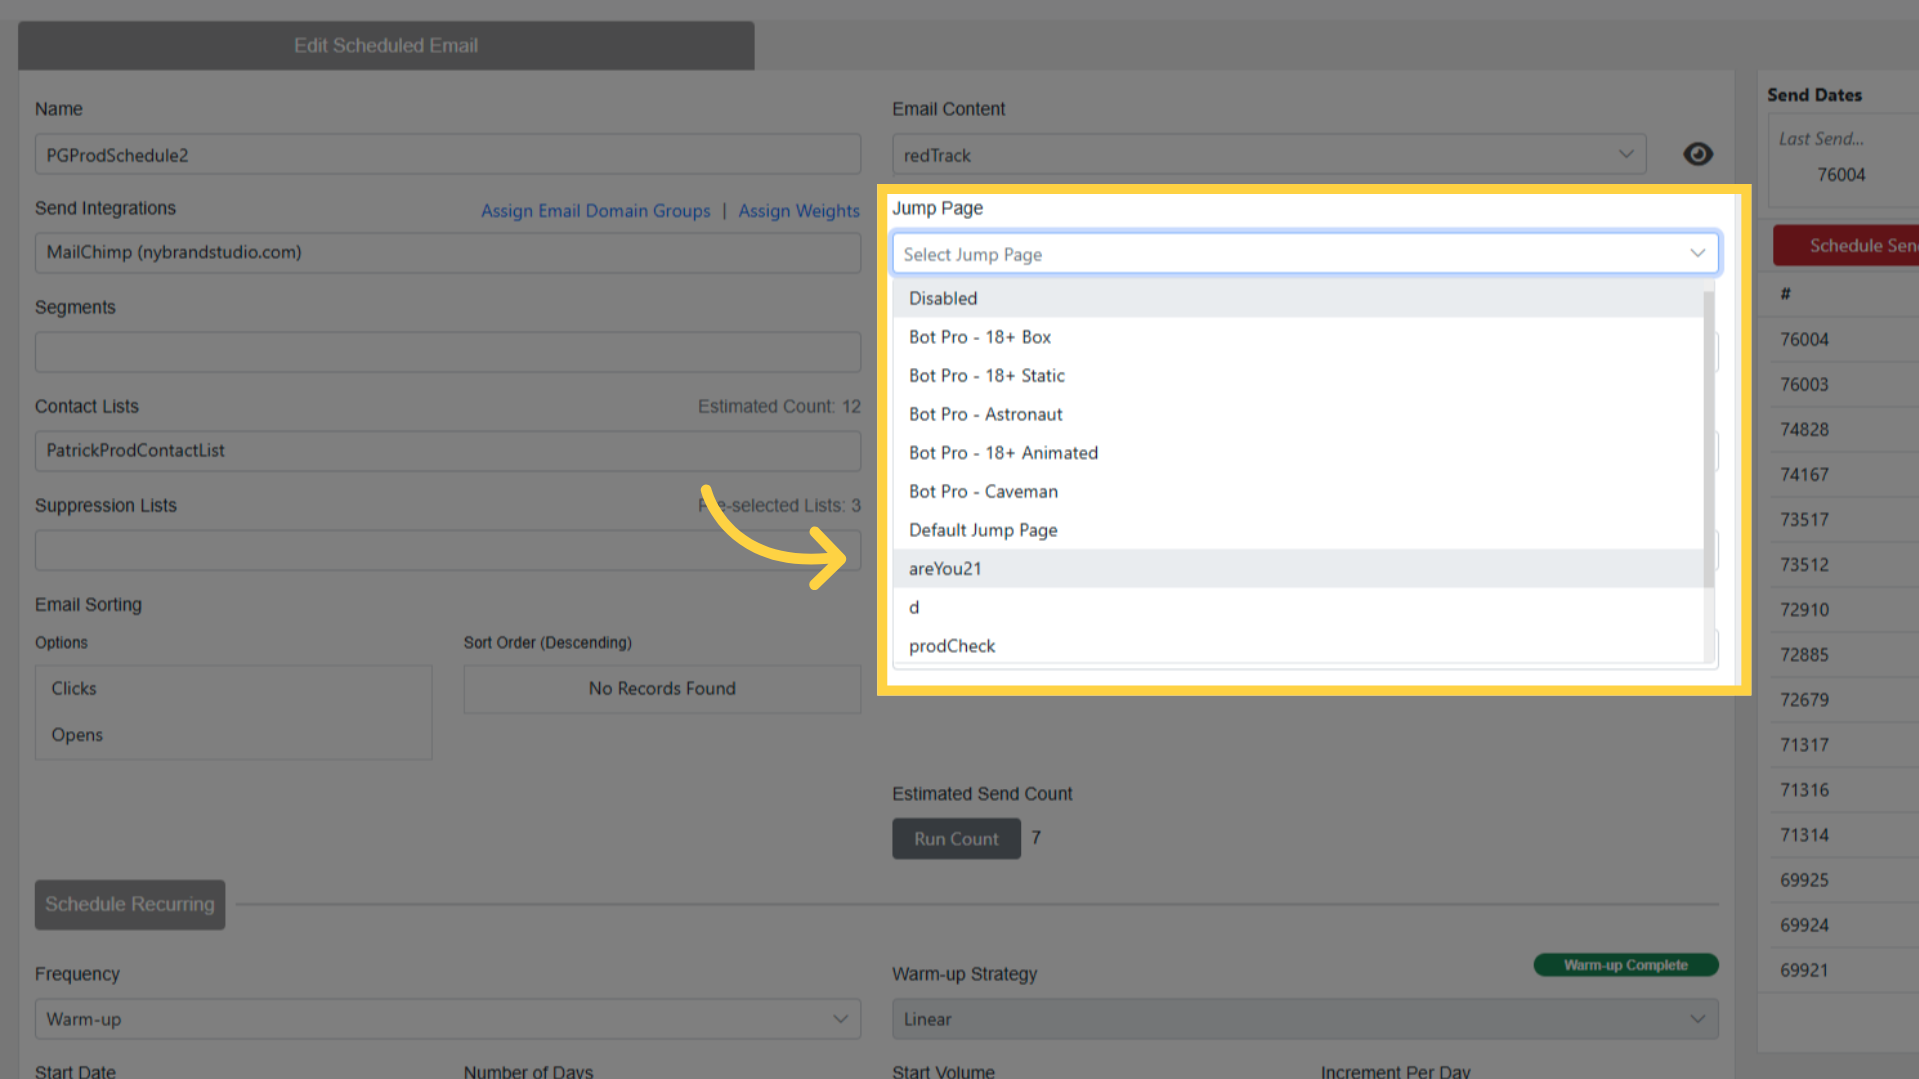
The most common place to set it is Scheduled Email — select the Jump Page when configuring the send
When a contact clicks a tracking link in an email that has a Jump Page set, they are redirected to the Jump Page first
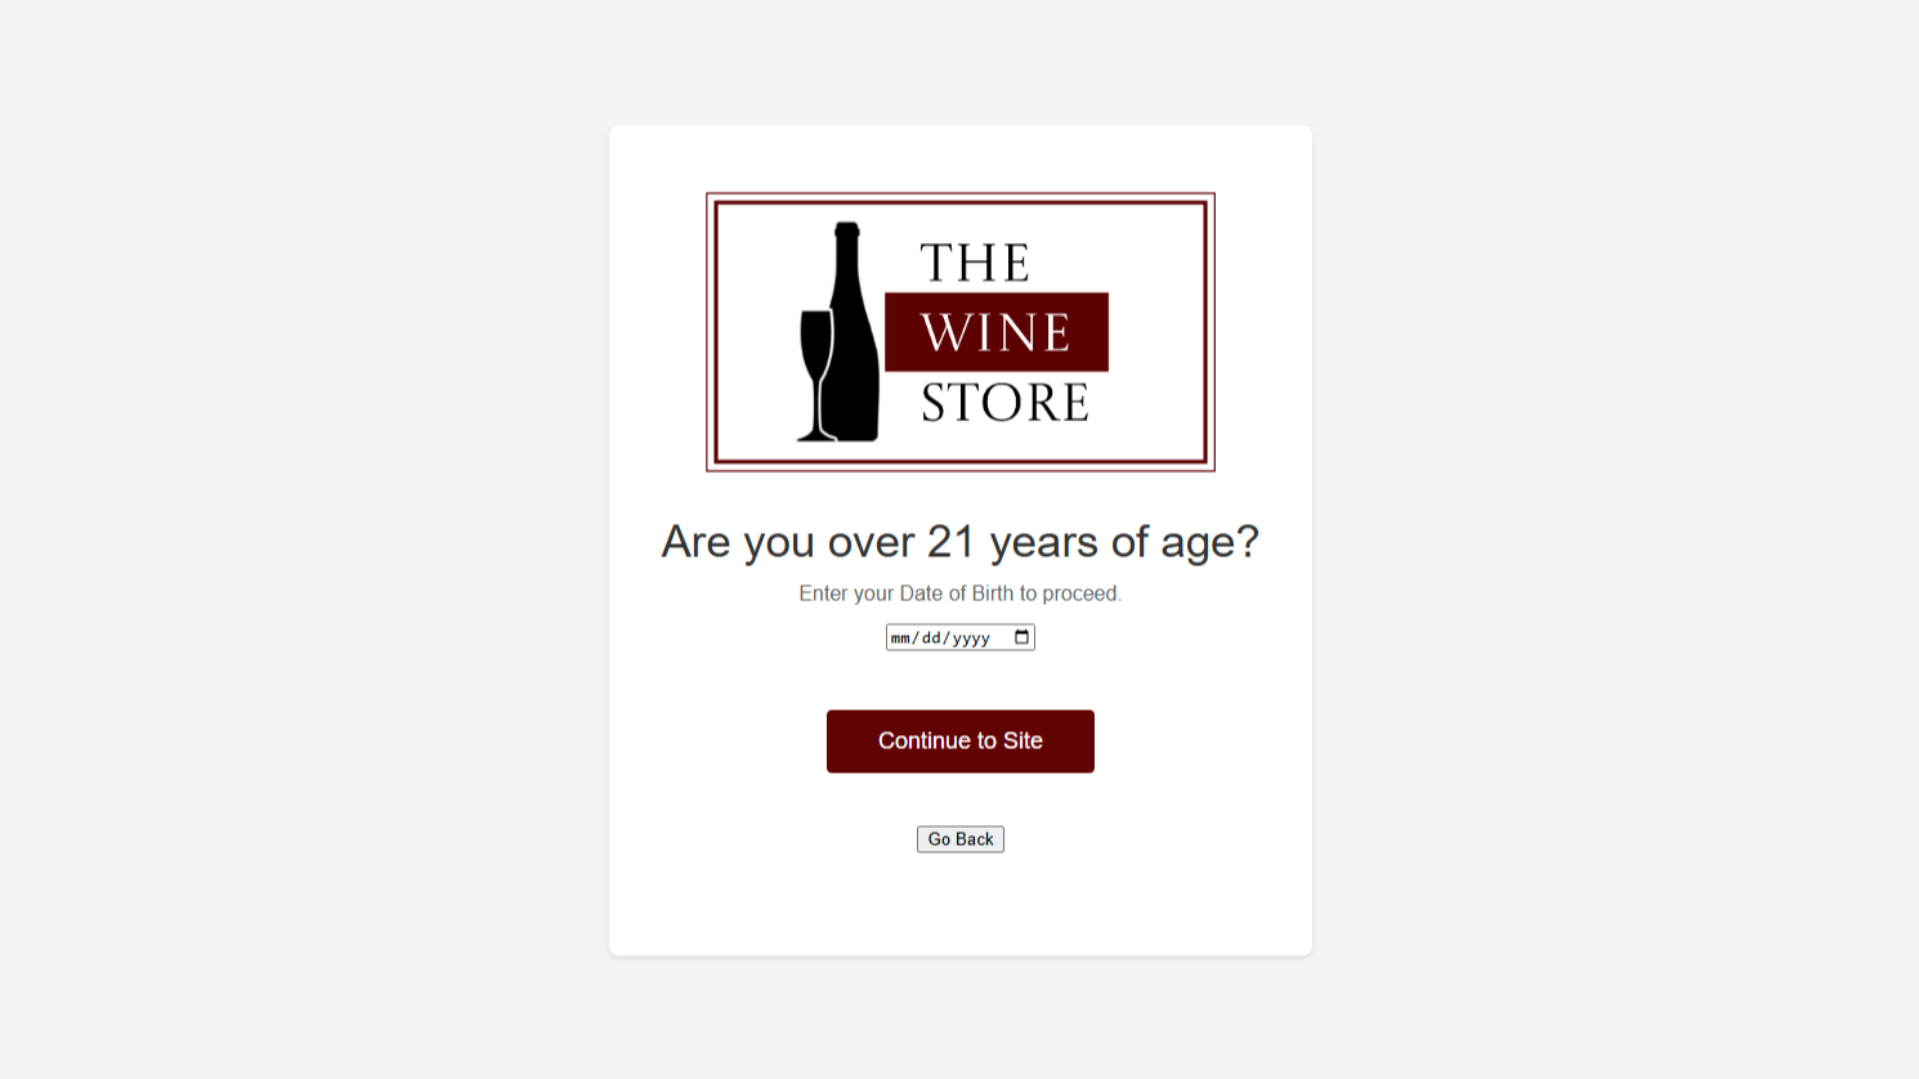
After completing the Jump Page (e.g., entering age, accepting consent), they continue to the original link destination
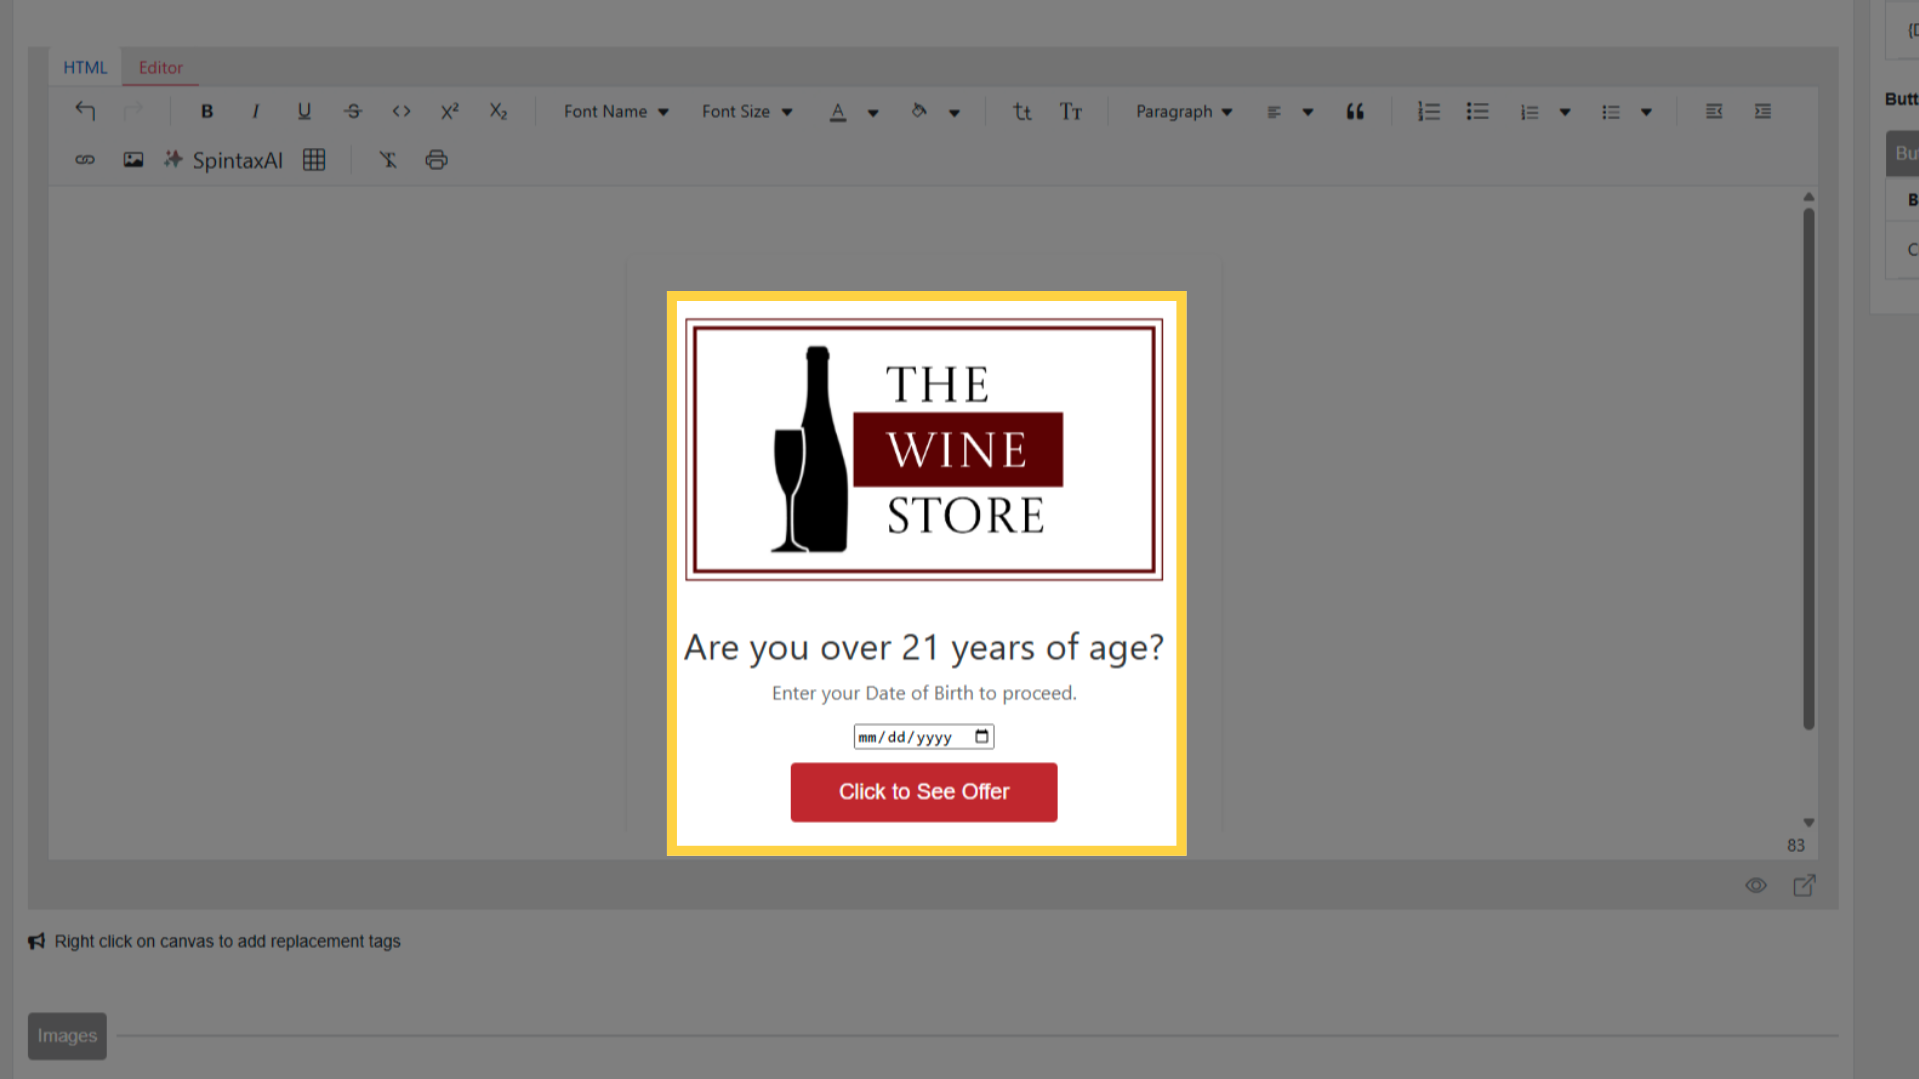
Example: Age Gate
- Logo at the top
- Body text: "You must be 21 or older to enter."
- Date of Birth input field, marked Required
- Submit button styled to brand color (e.g., red hex)
- Close button labeled "Go Back" with Close Page action for visitors under 21