
Segment Creation Walkthrough
This reference provides a detailed walkthrough for creating and managing audience segments in EmailElement.
Creating a Segment
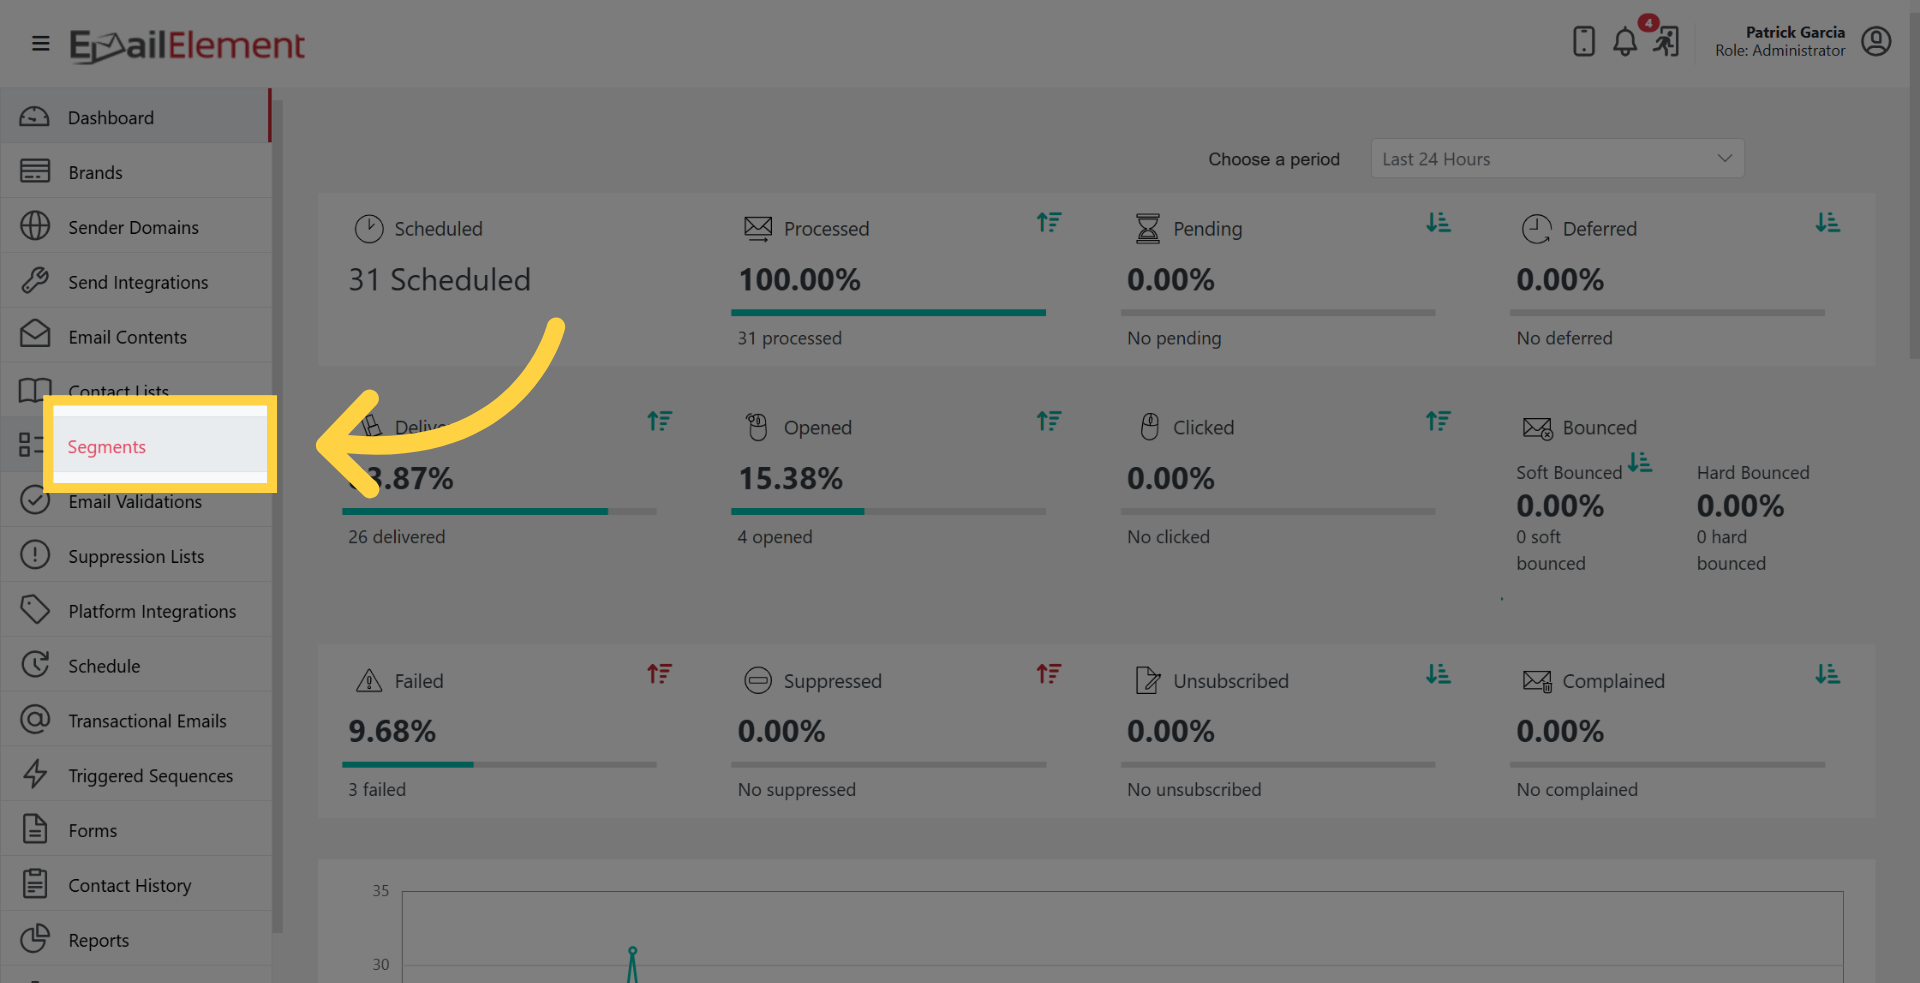
Navigate to Segments from the main navigation menu.
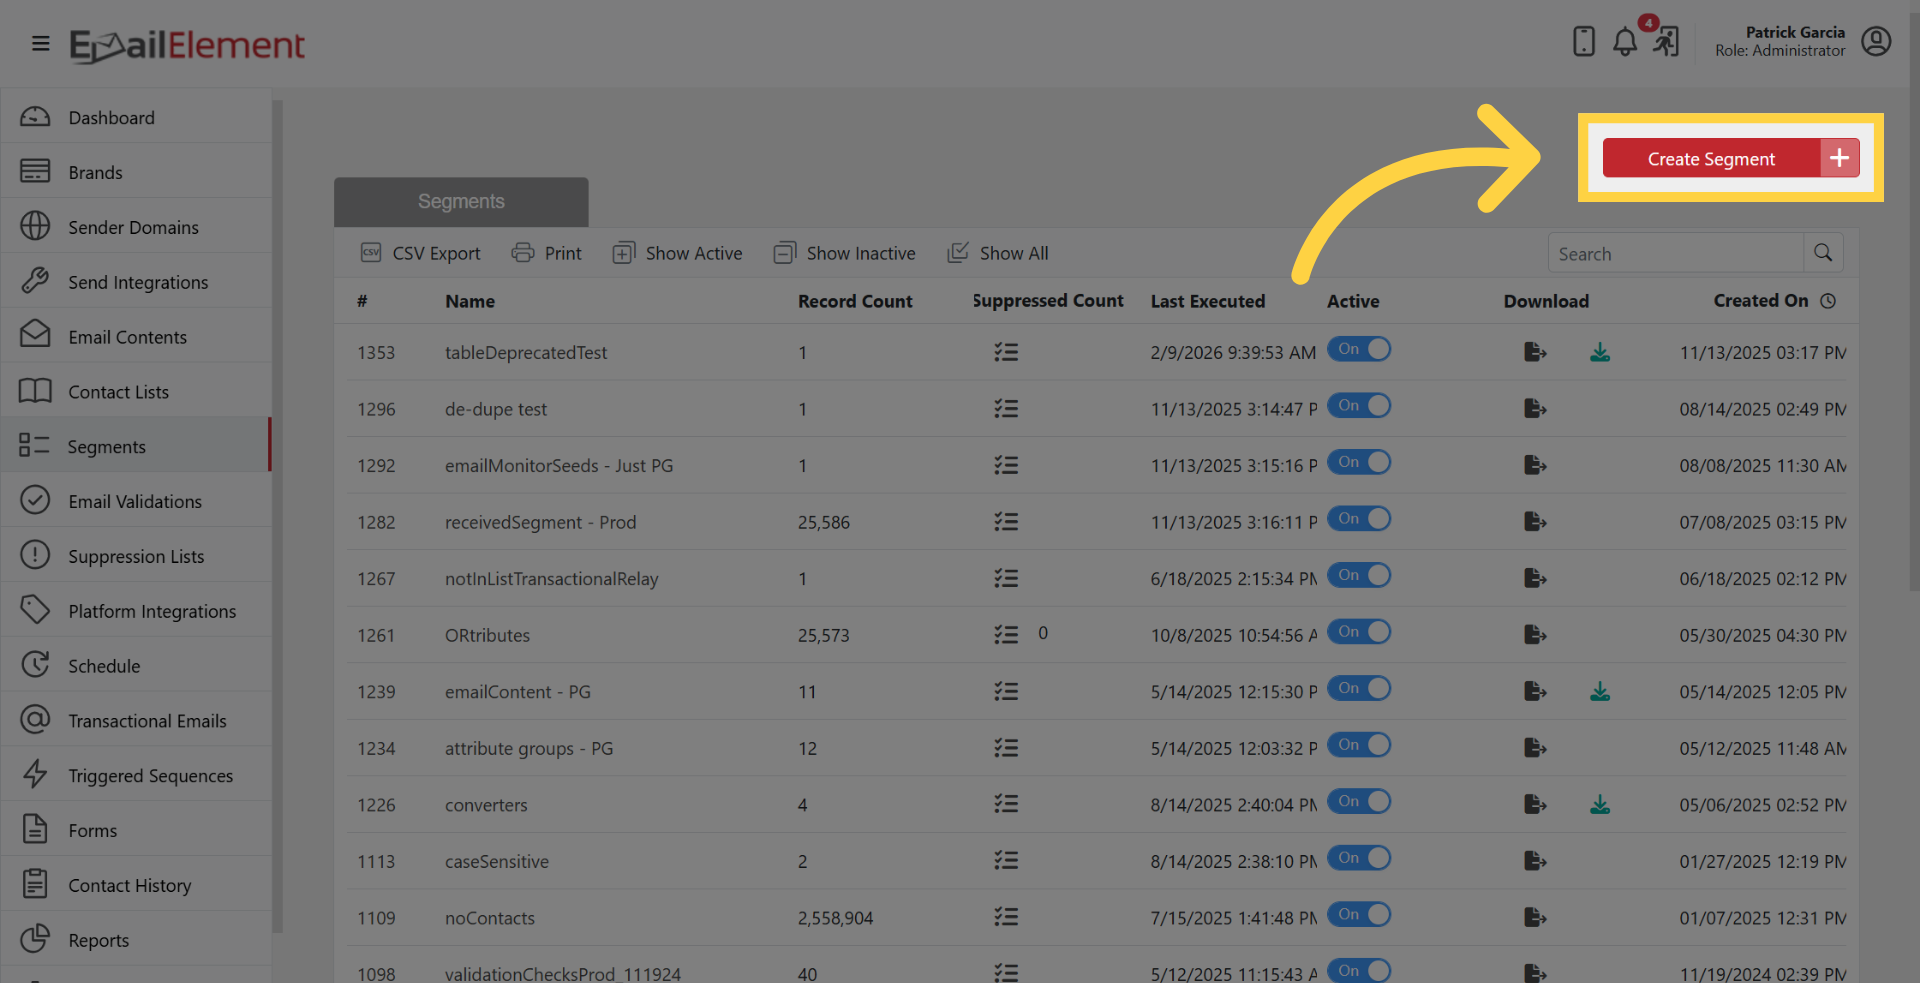
Click Create Segment in the top-right corner.
Enter a descriptive Segment Name (e.g., "Gmail Openers Last 30 Days").
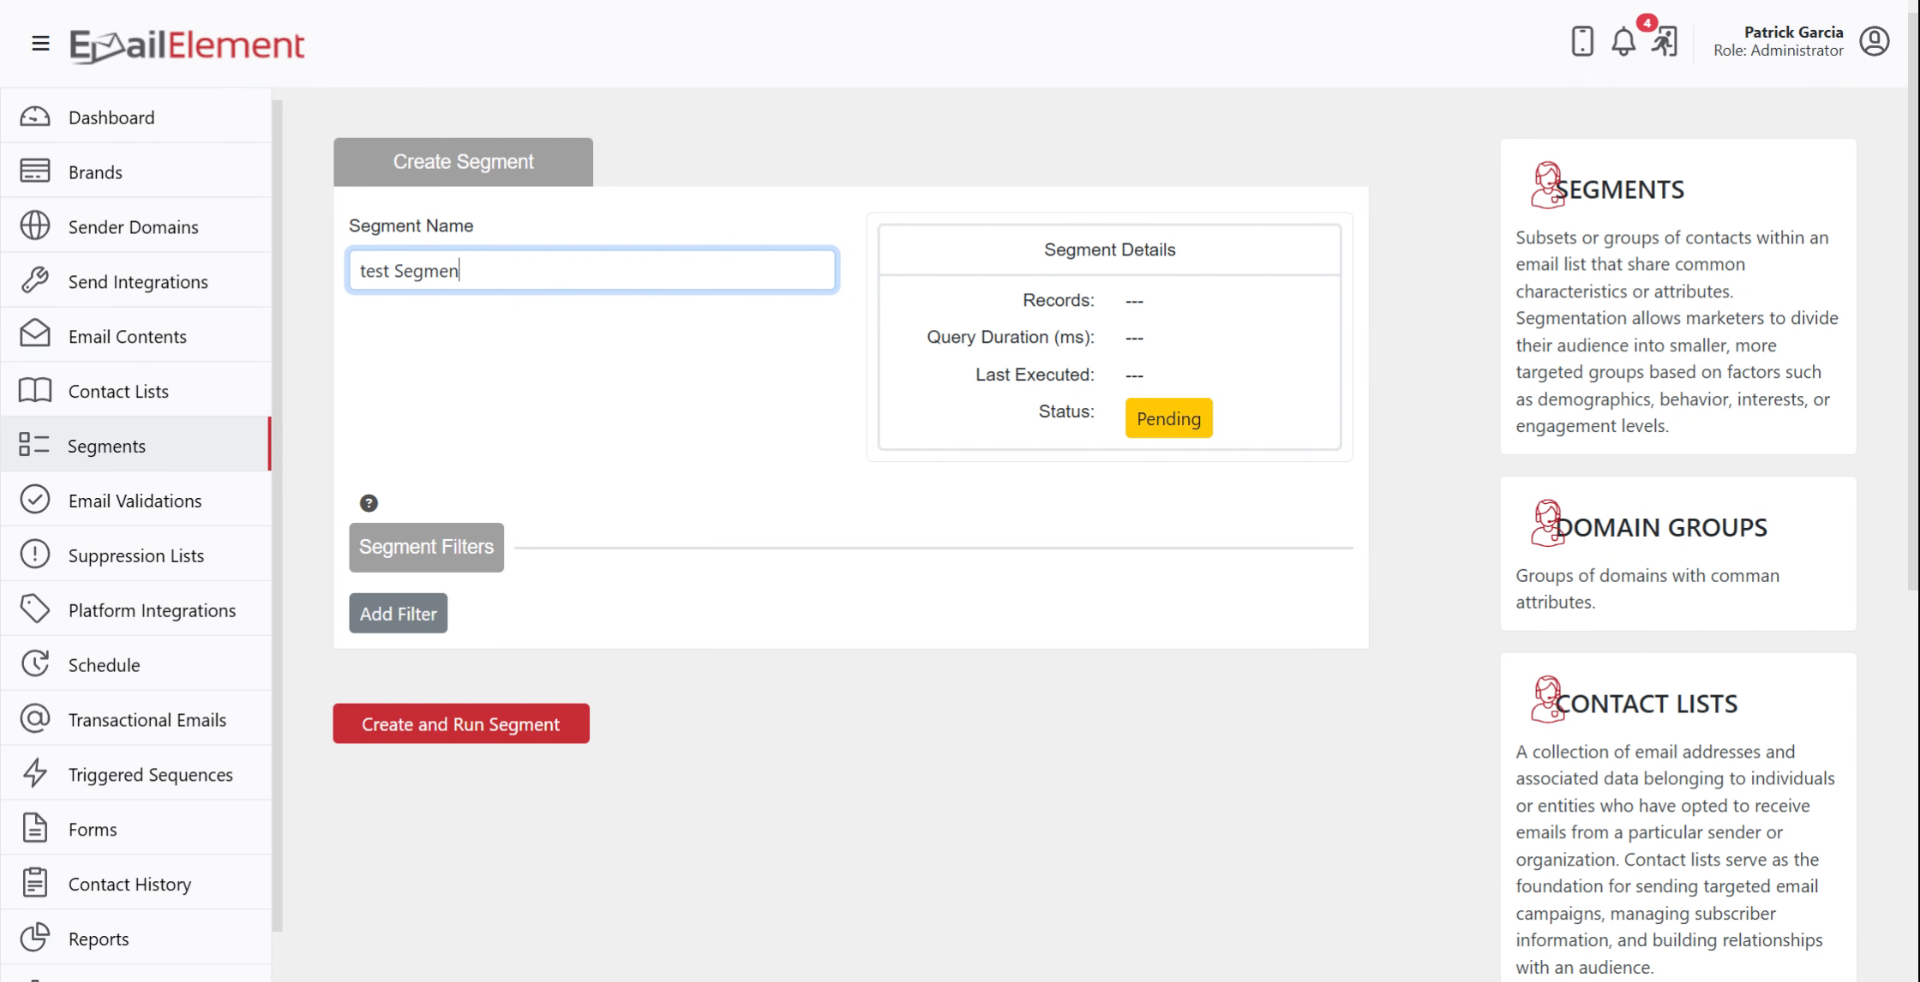
The segment builder opens with a blank filter area.
Adding Filters
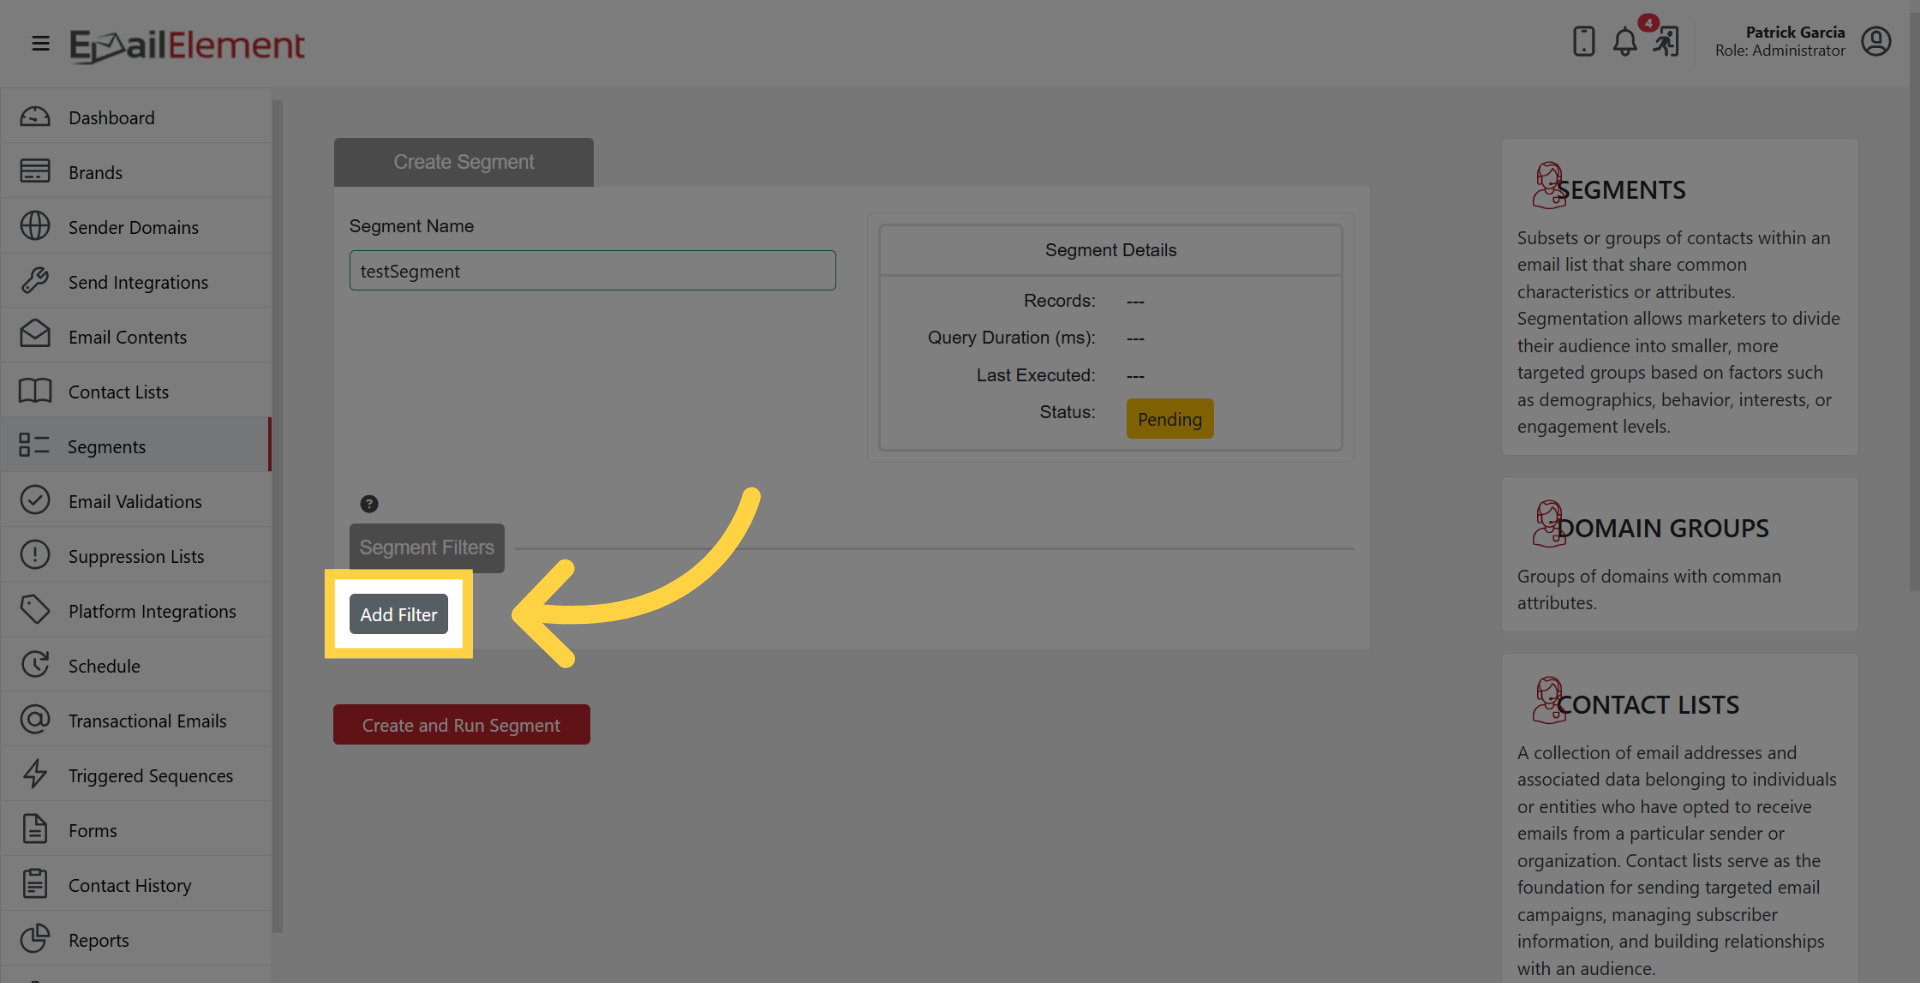
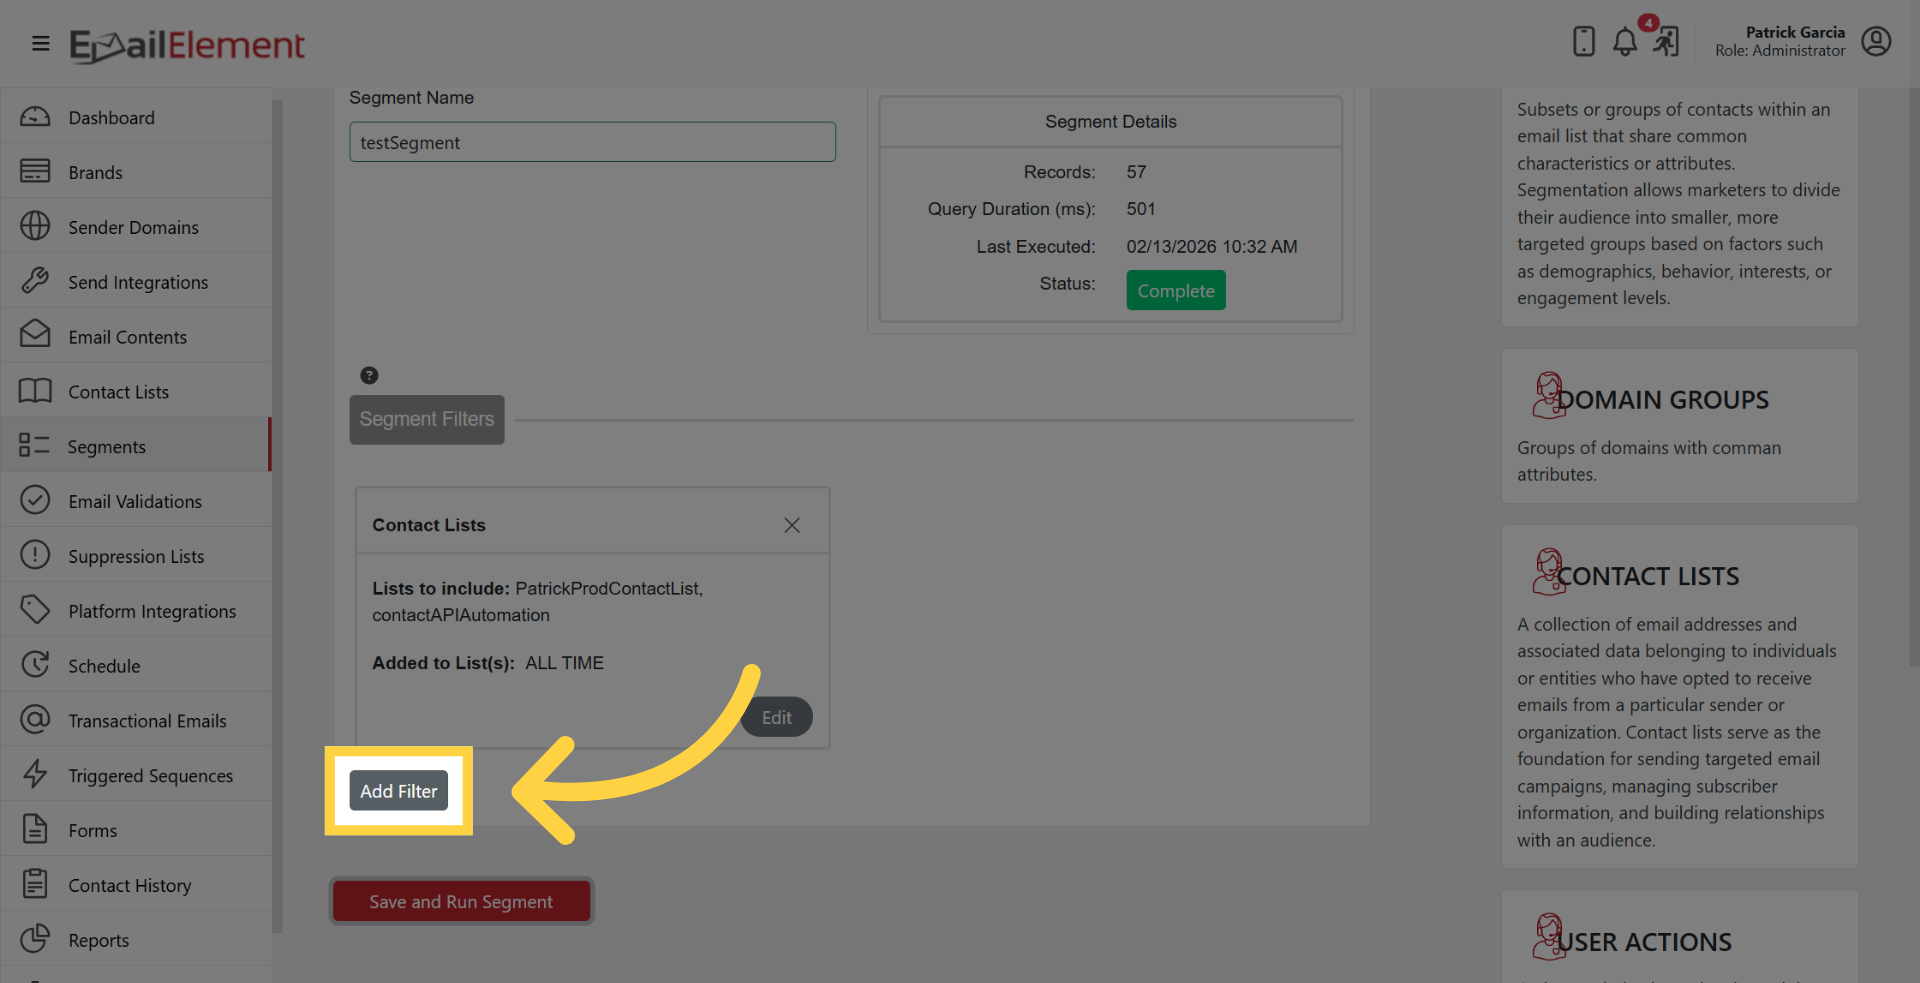
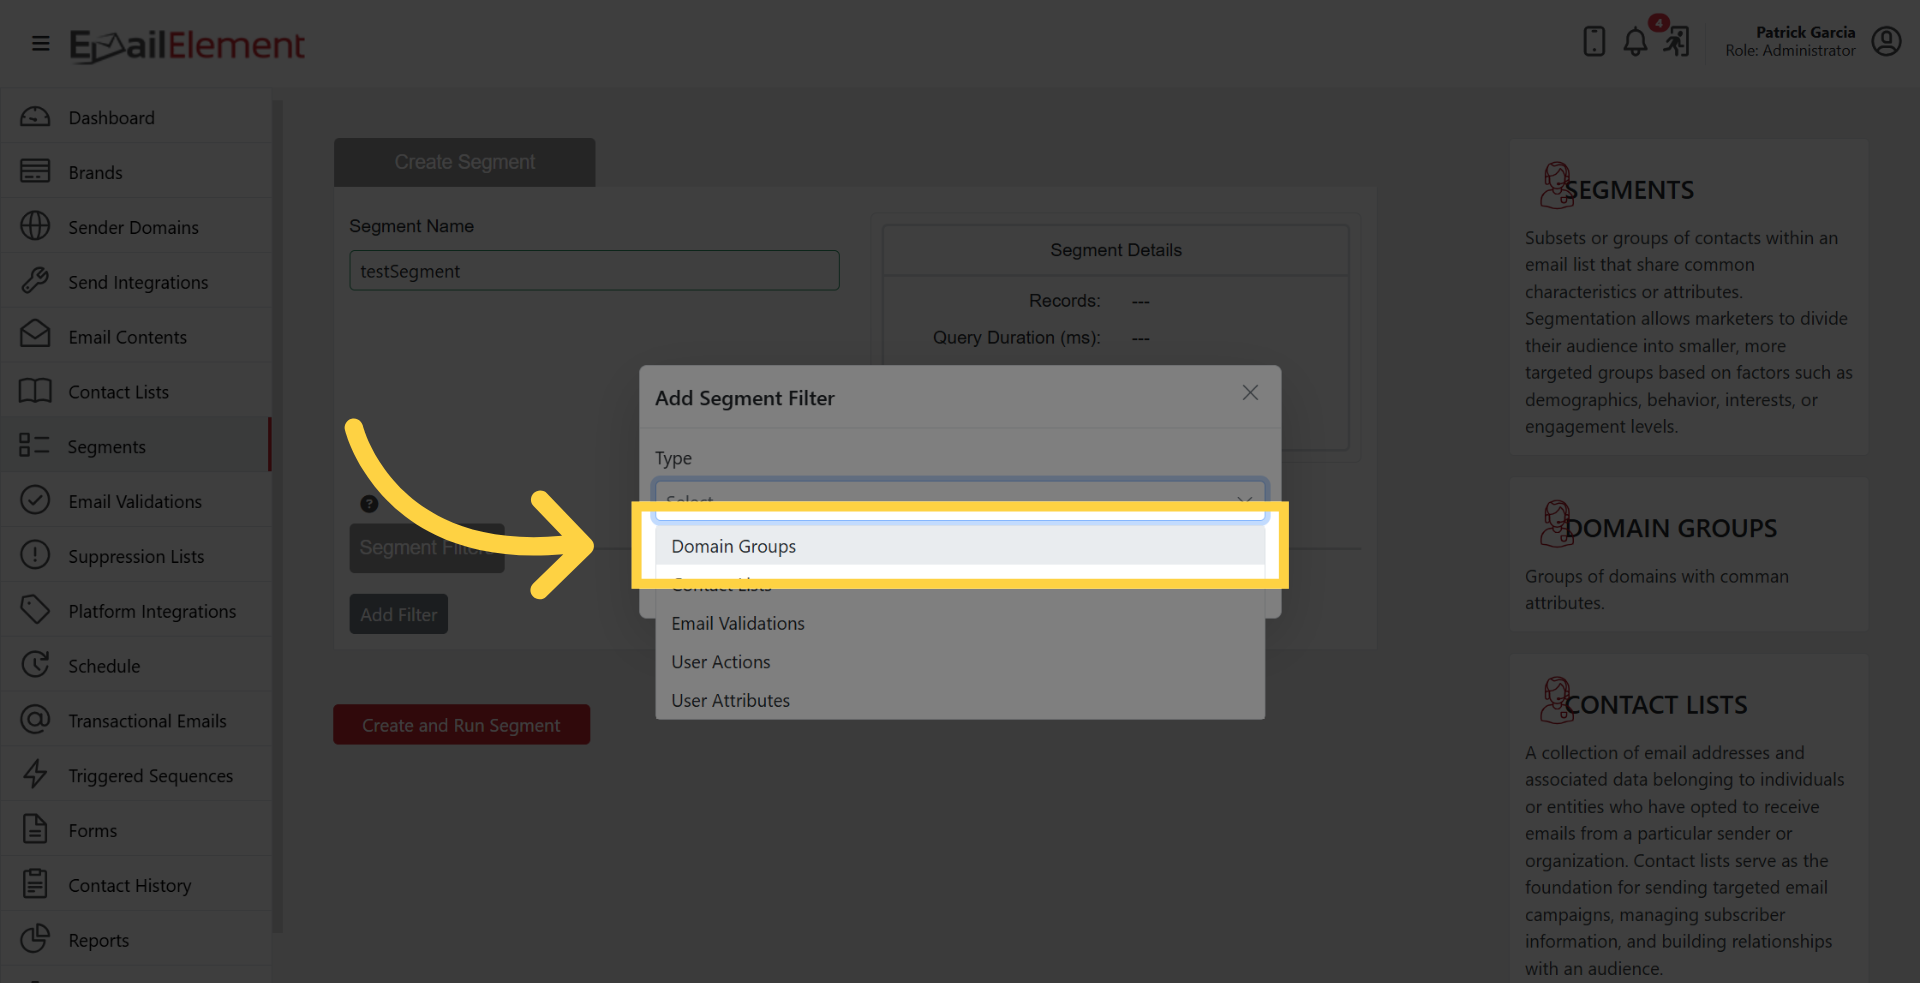
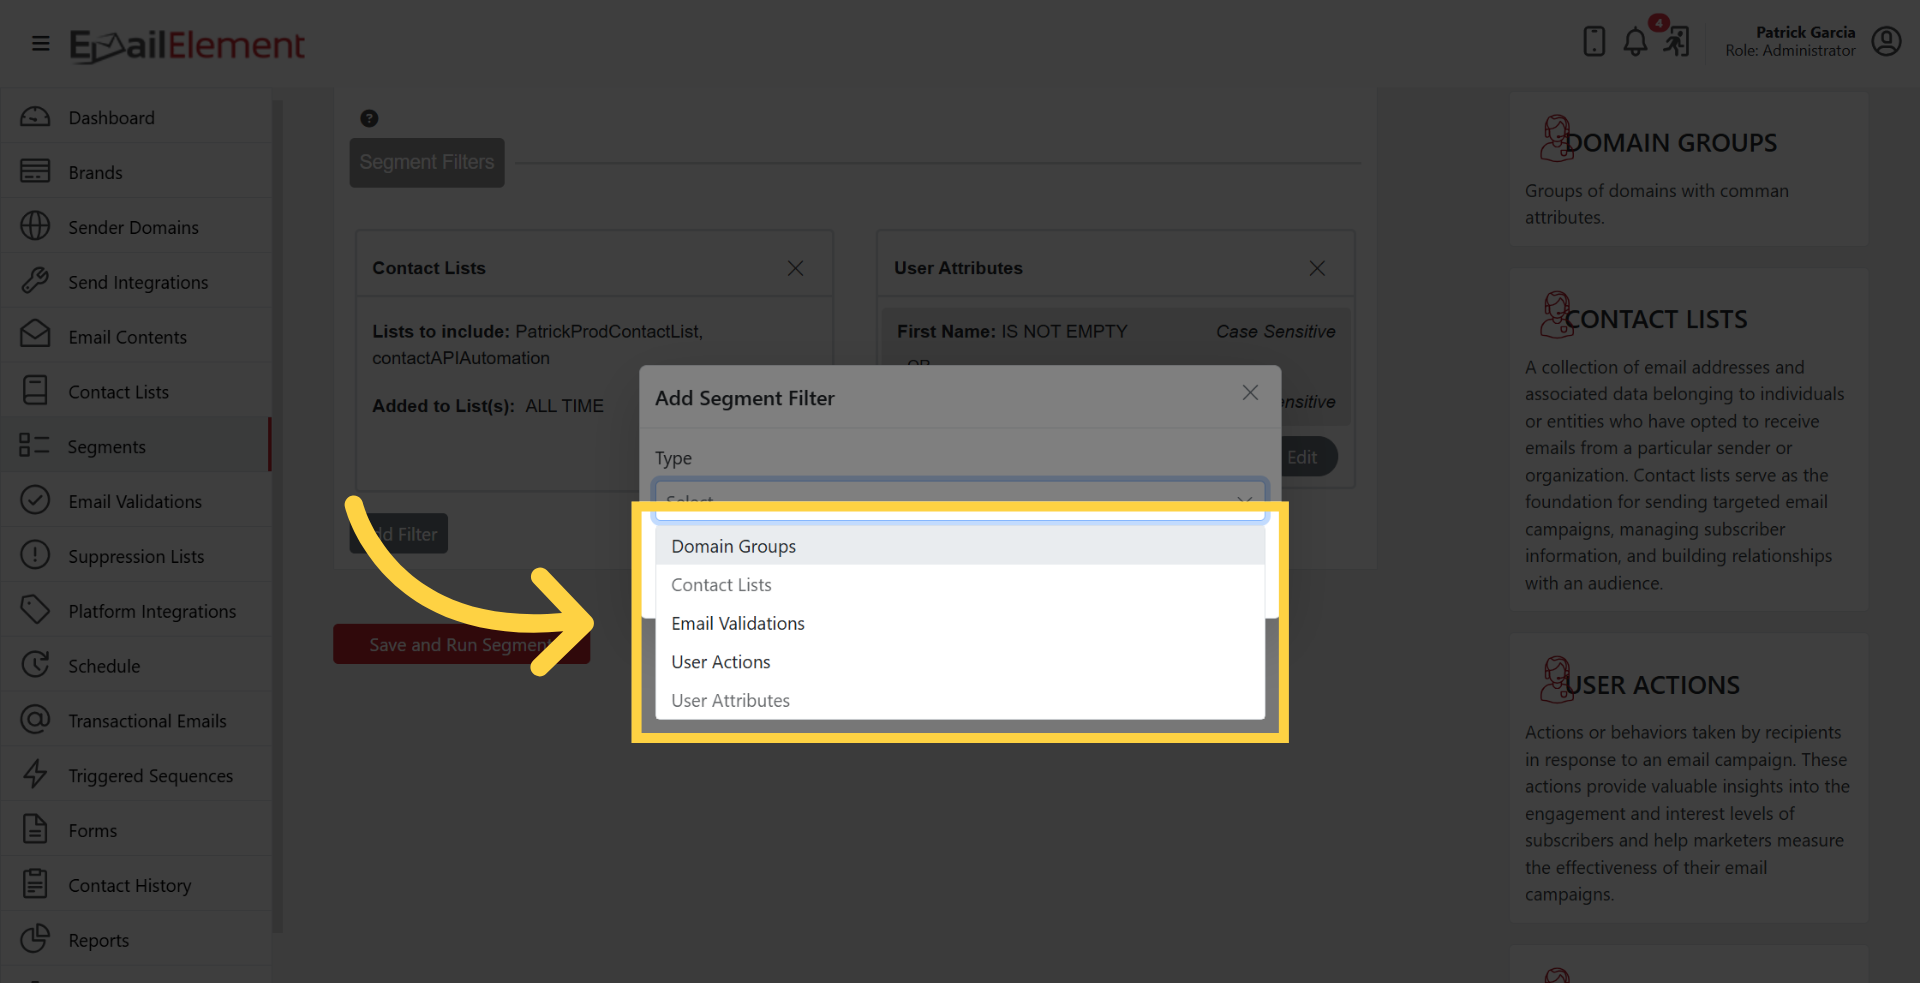
Click Add Filter to open the filter type selector. Choose from the following:
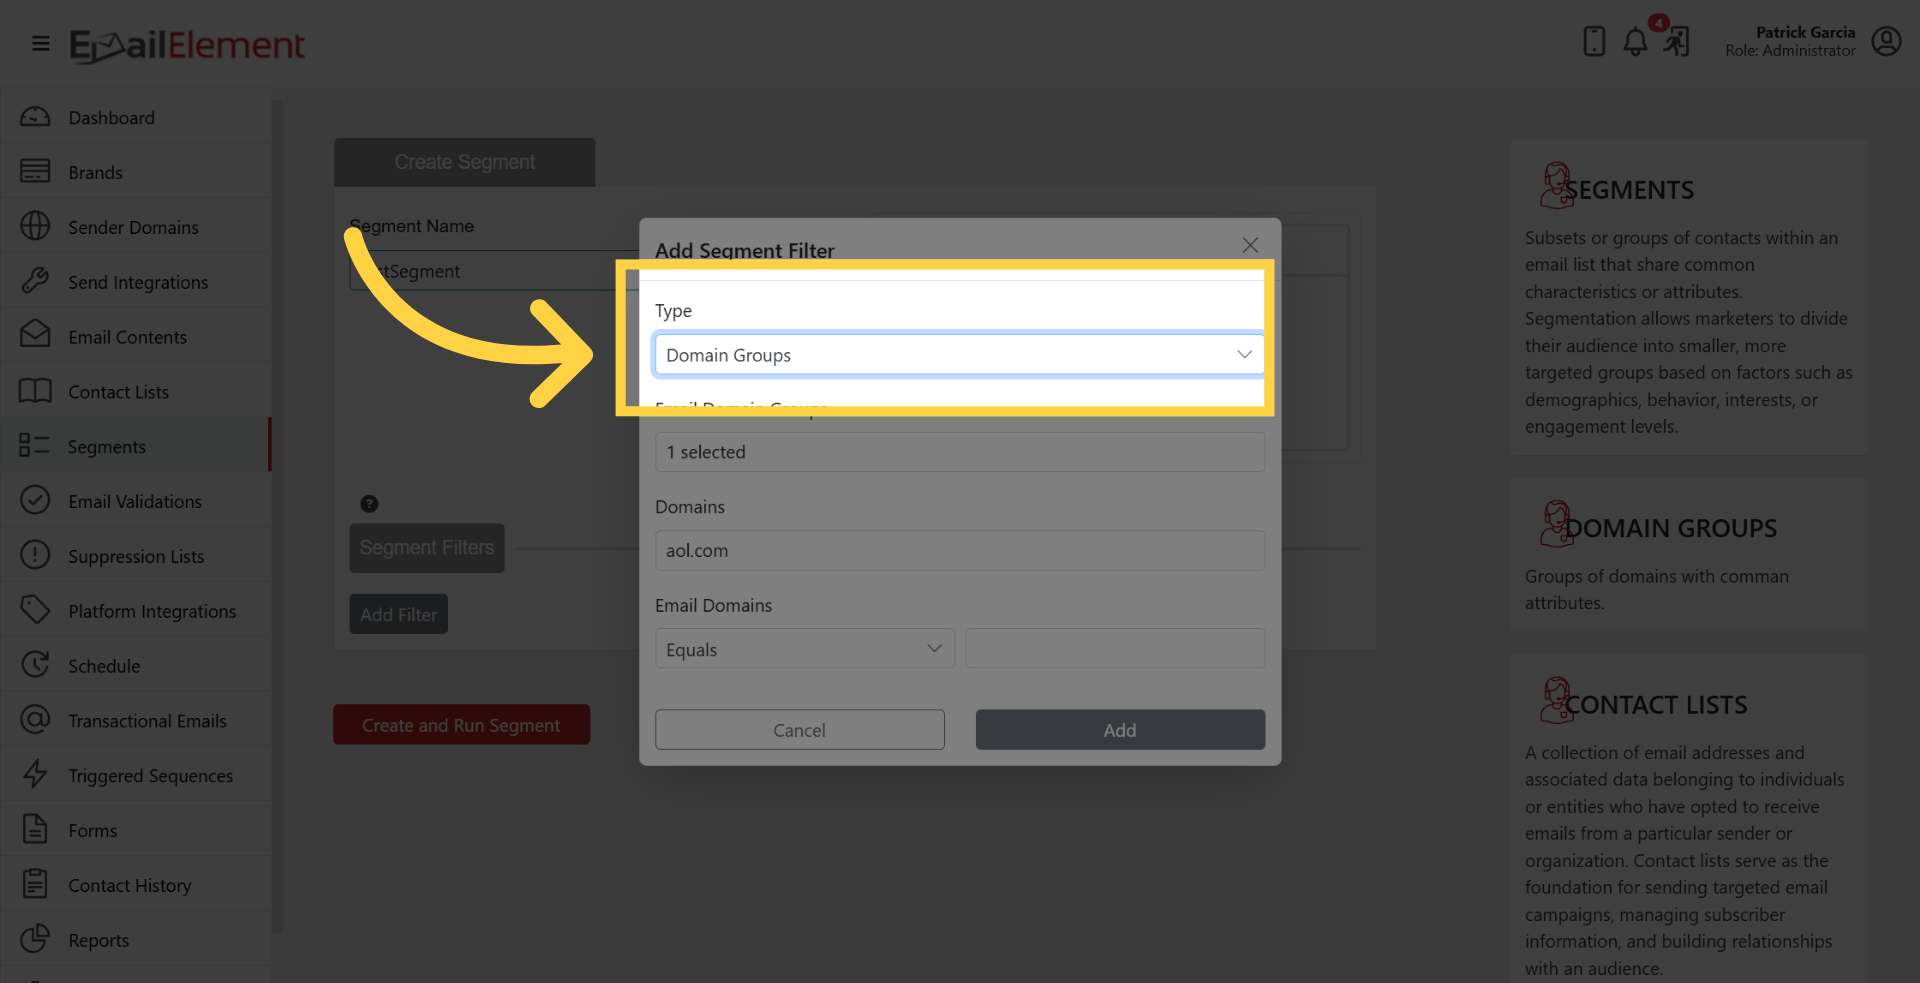
Domain Groups Filter
Select Domain Groups from the filter type dropdown.
Choose a domain group from the list (e.g., AOL, Google, Microsoft, Yahoo).
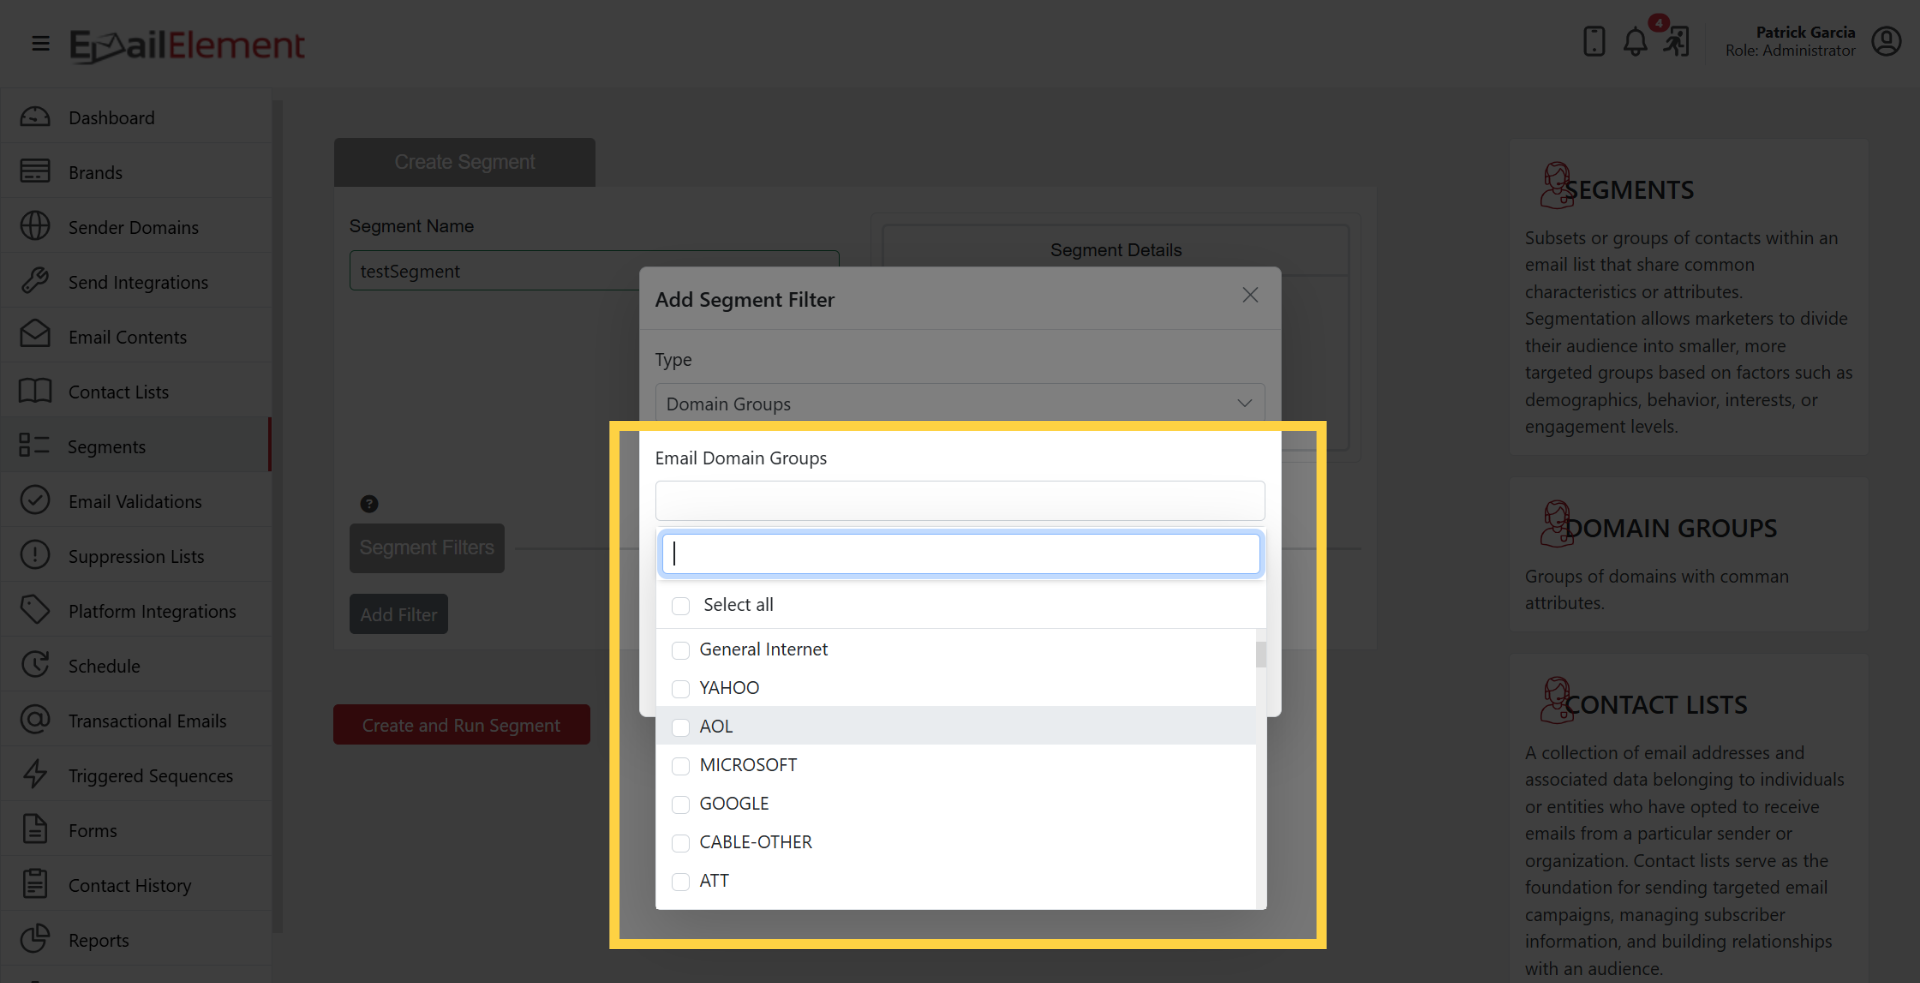
Each domain group contains multiple related domains (e.g., Google includes gmail.com, googlemail.com).
You can also filter by specific TLDs or use string matching on the domain.
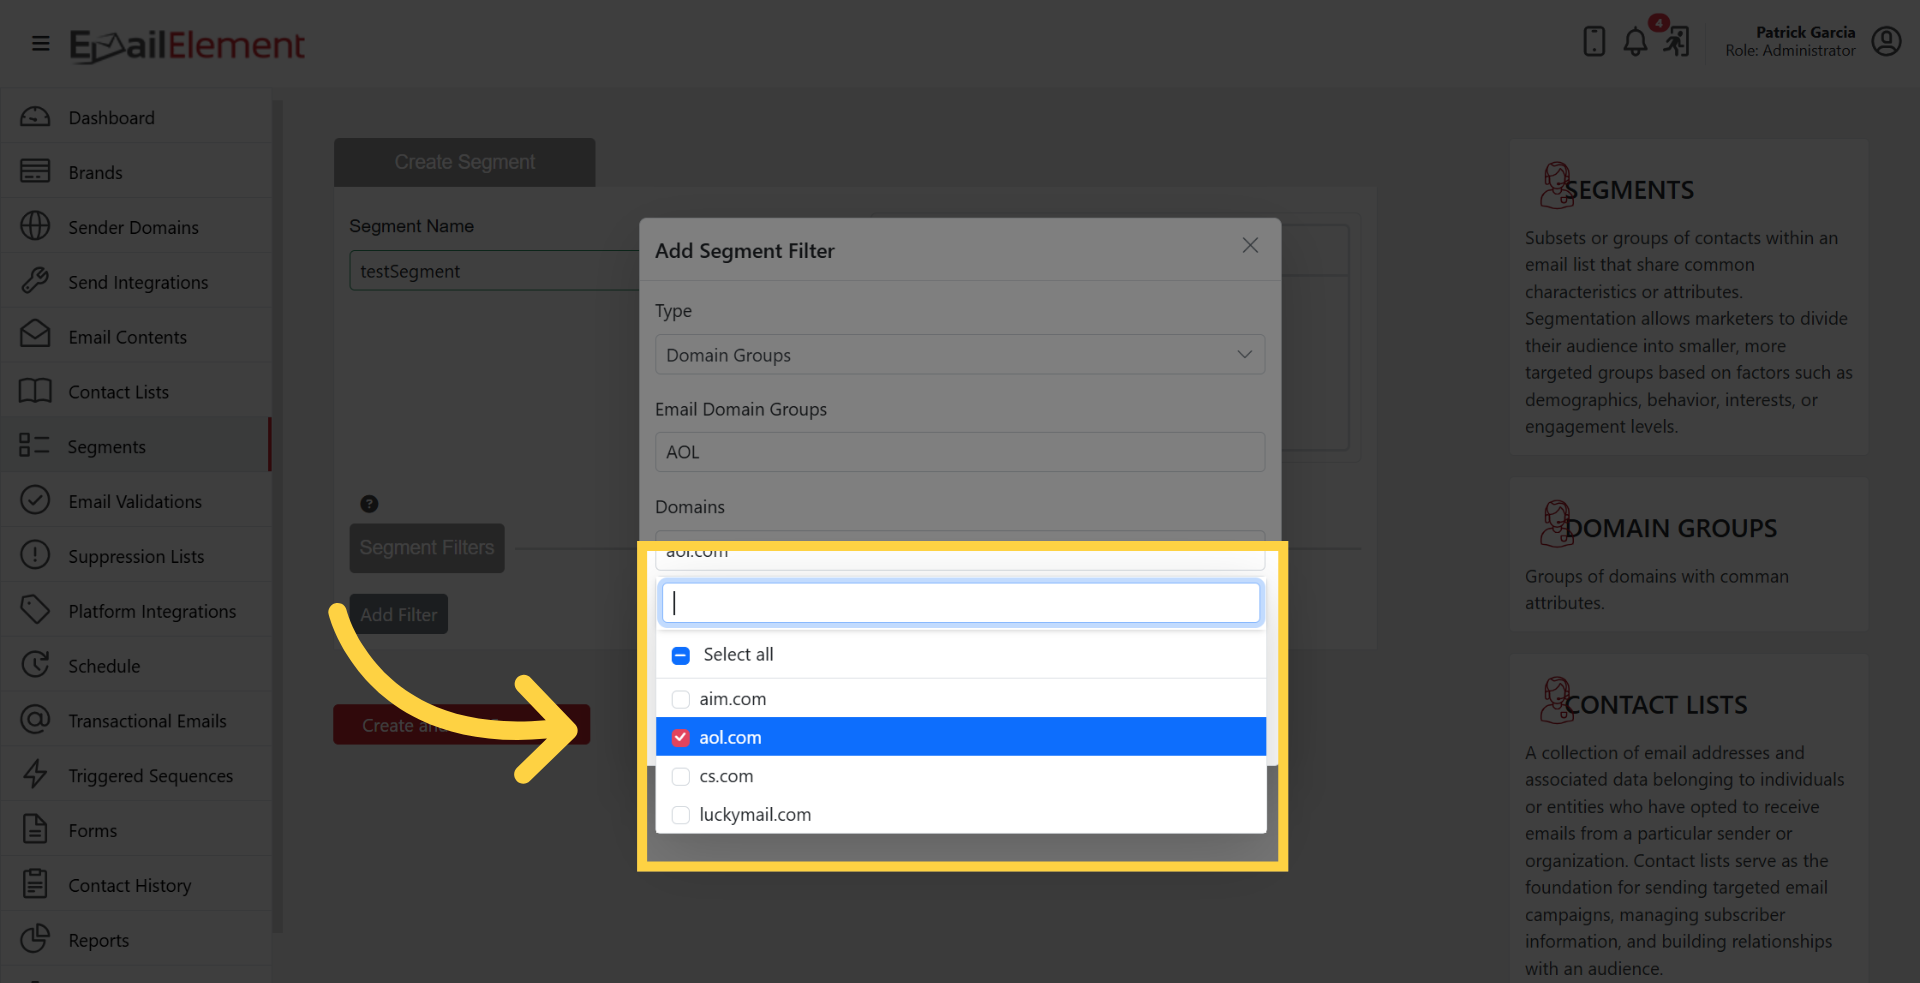
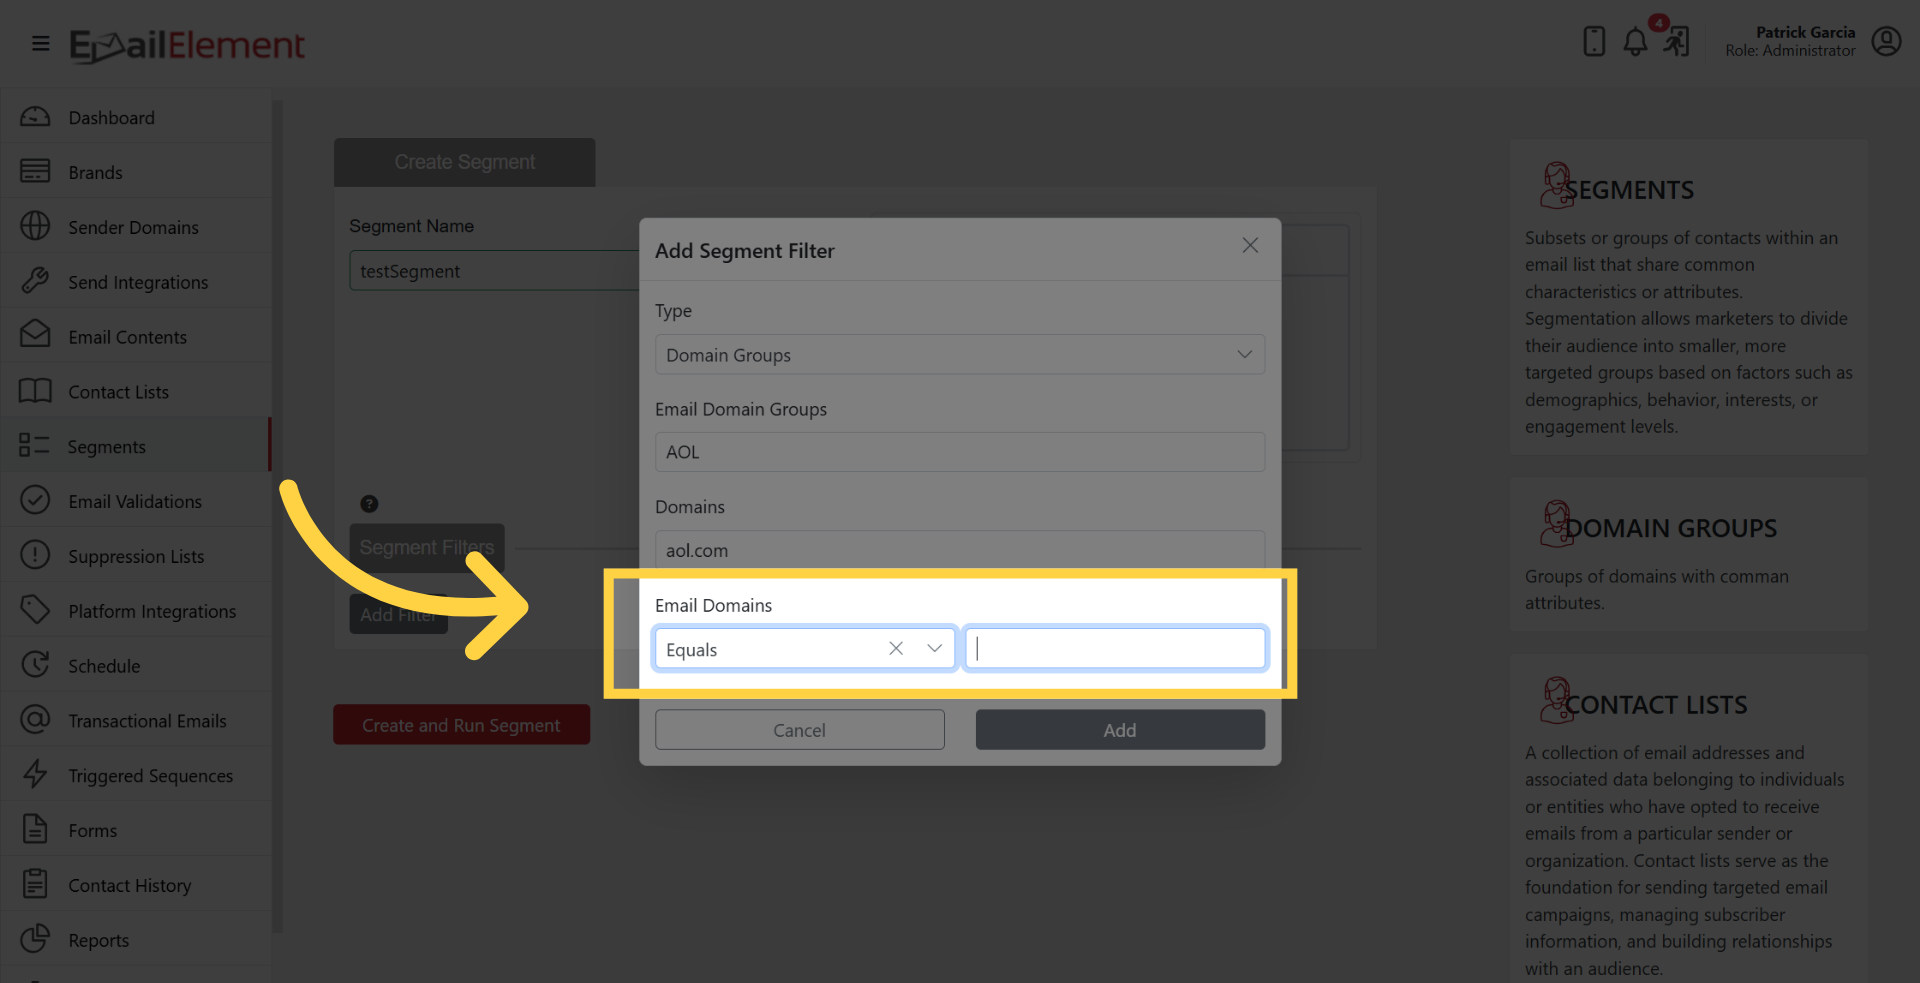
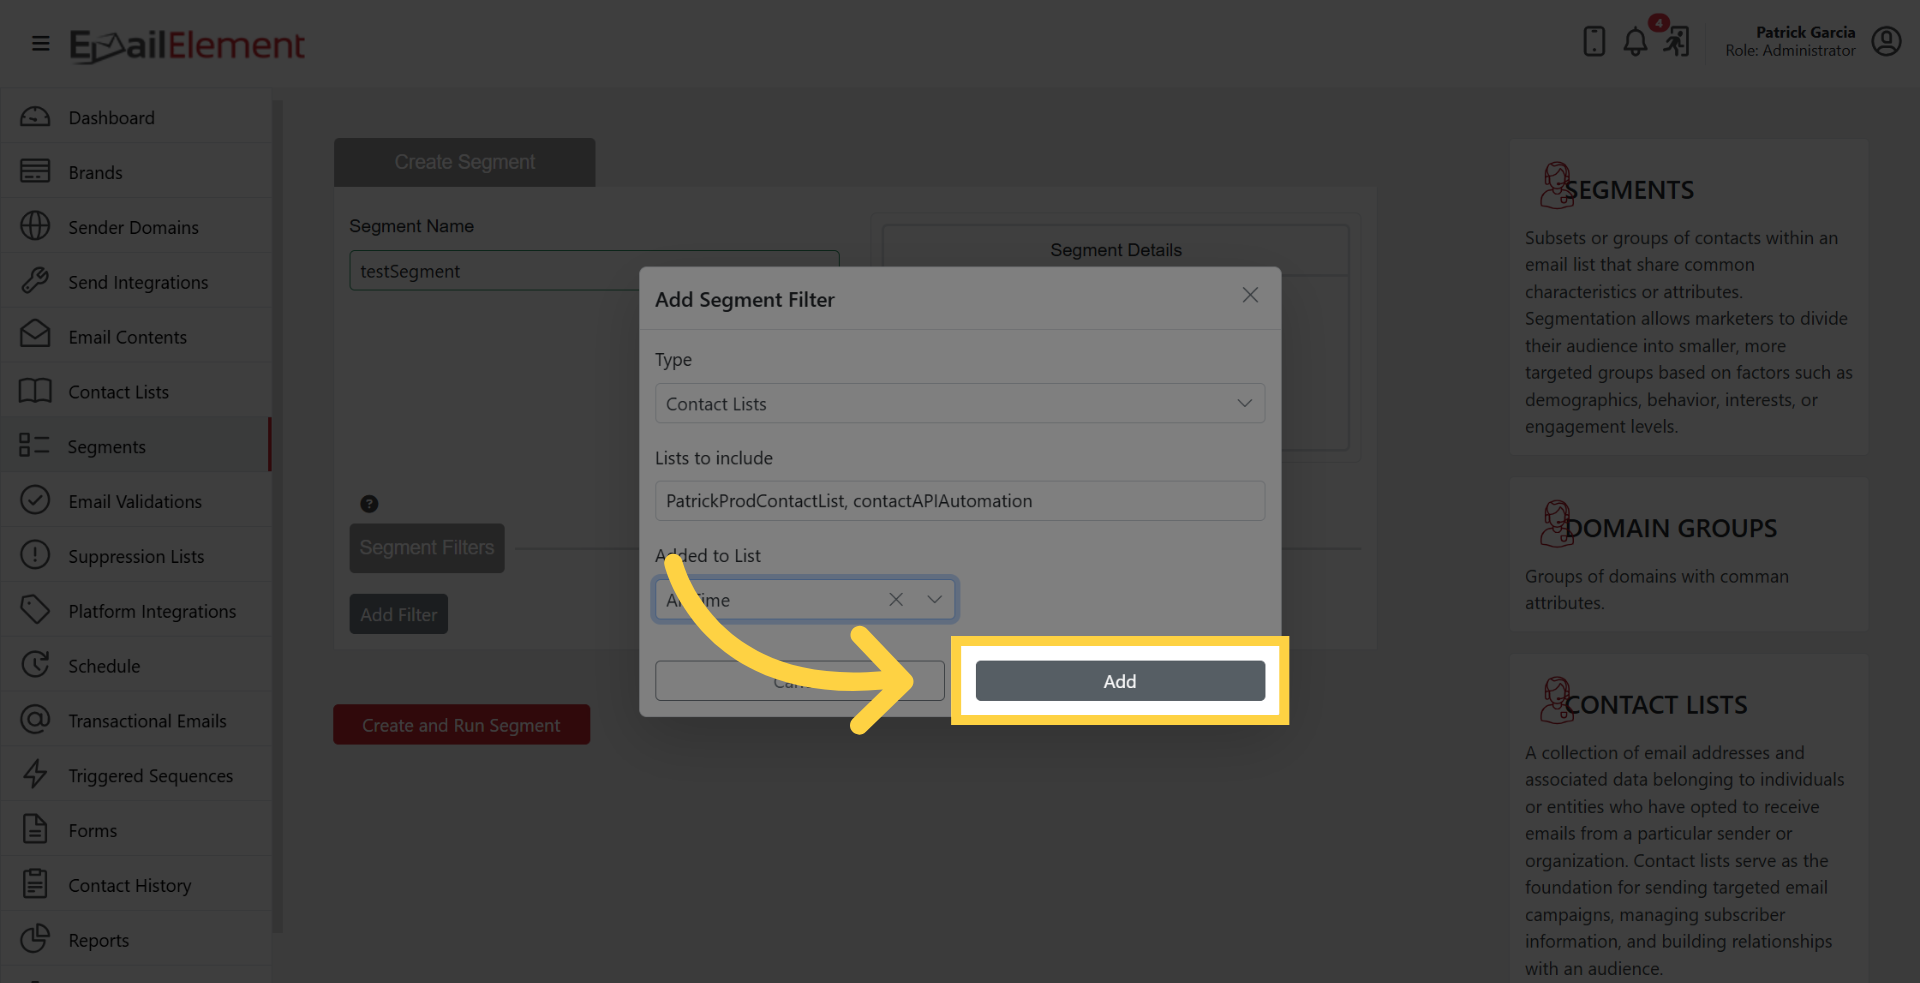
Click Add to apply the filter.
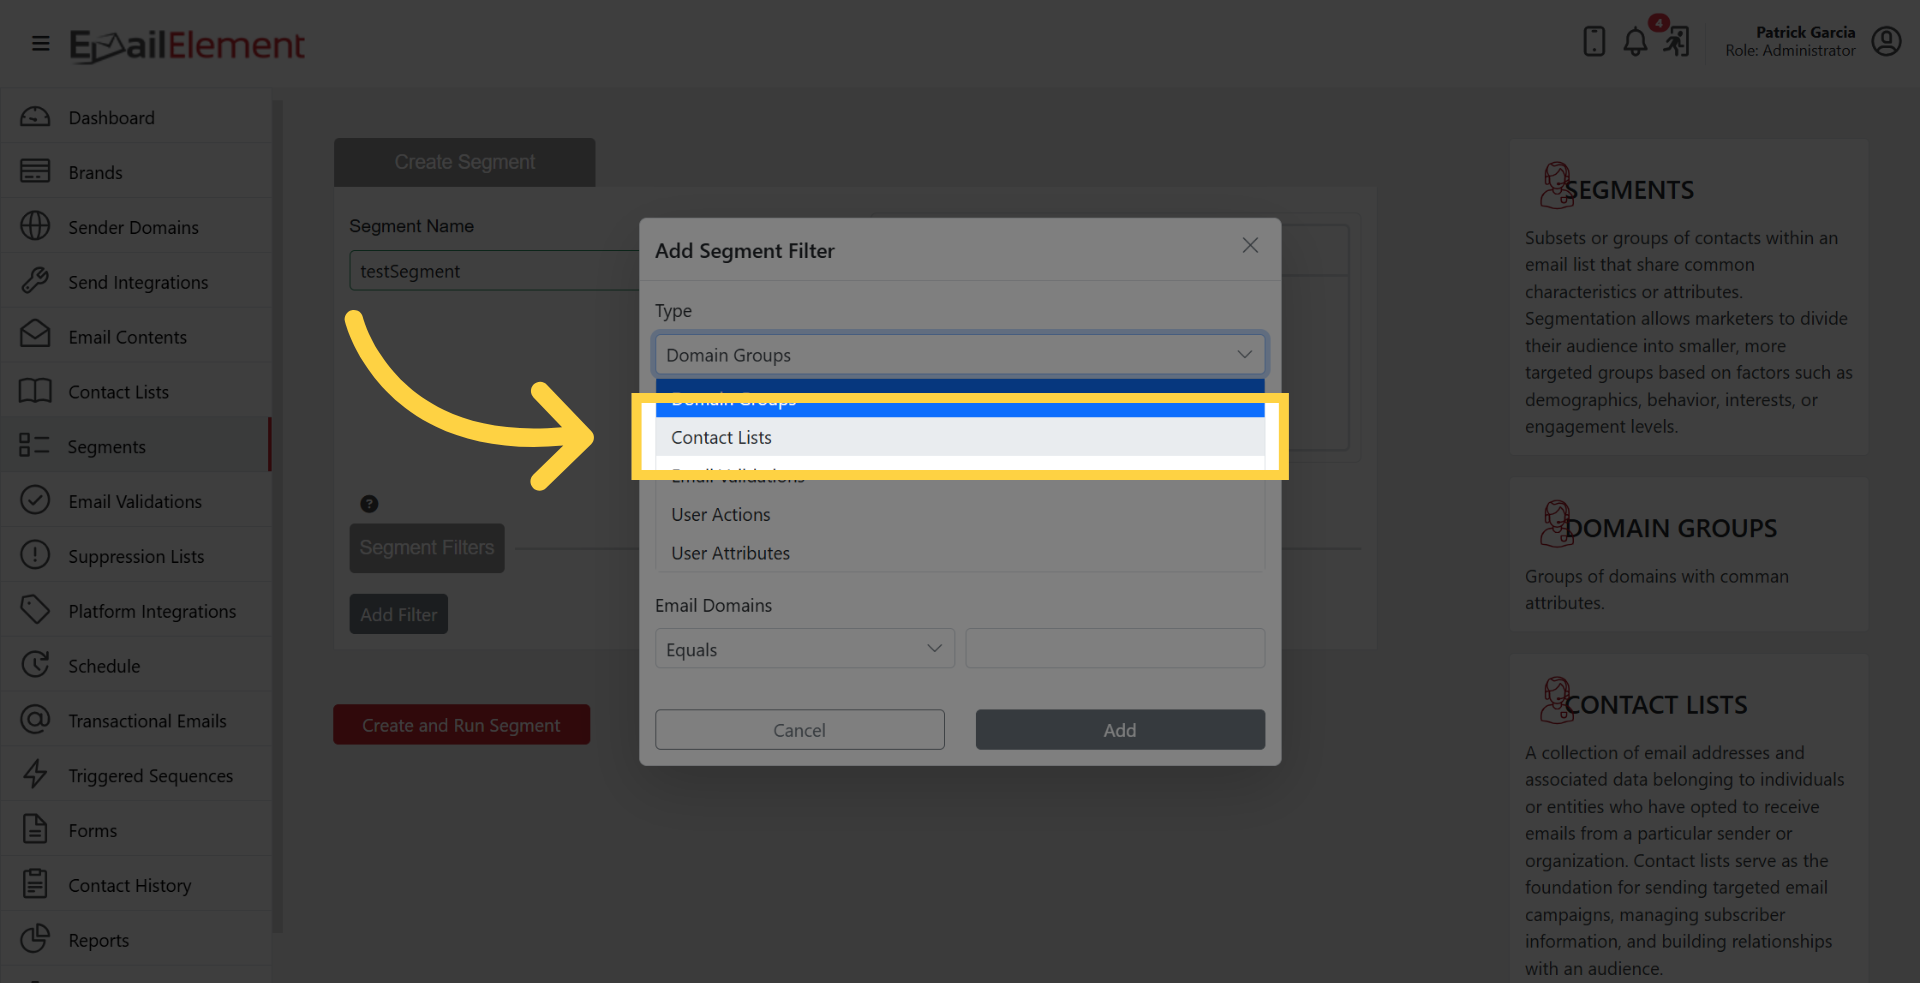
Contact Lists Filter
Select Contact Lists from the filter type dropdown.
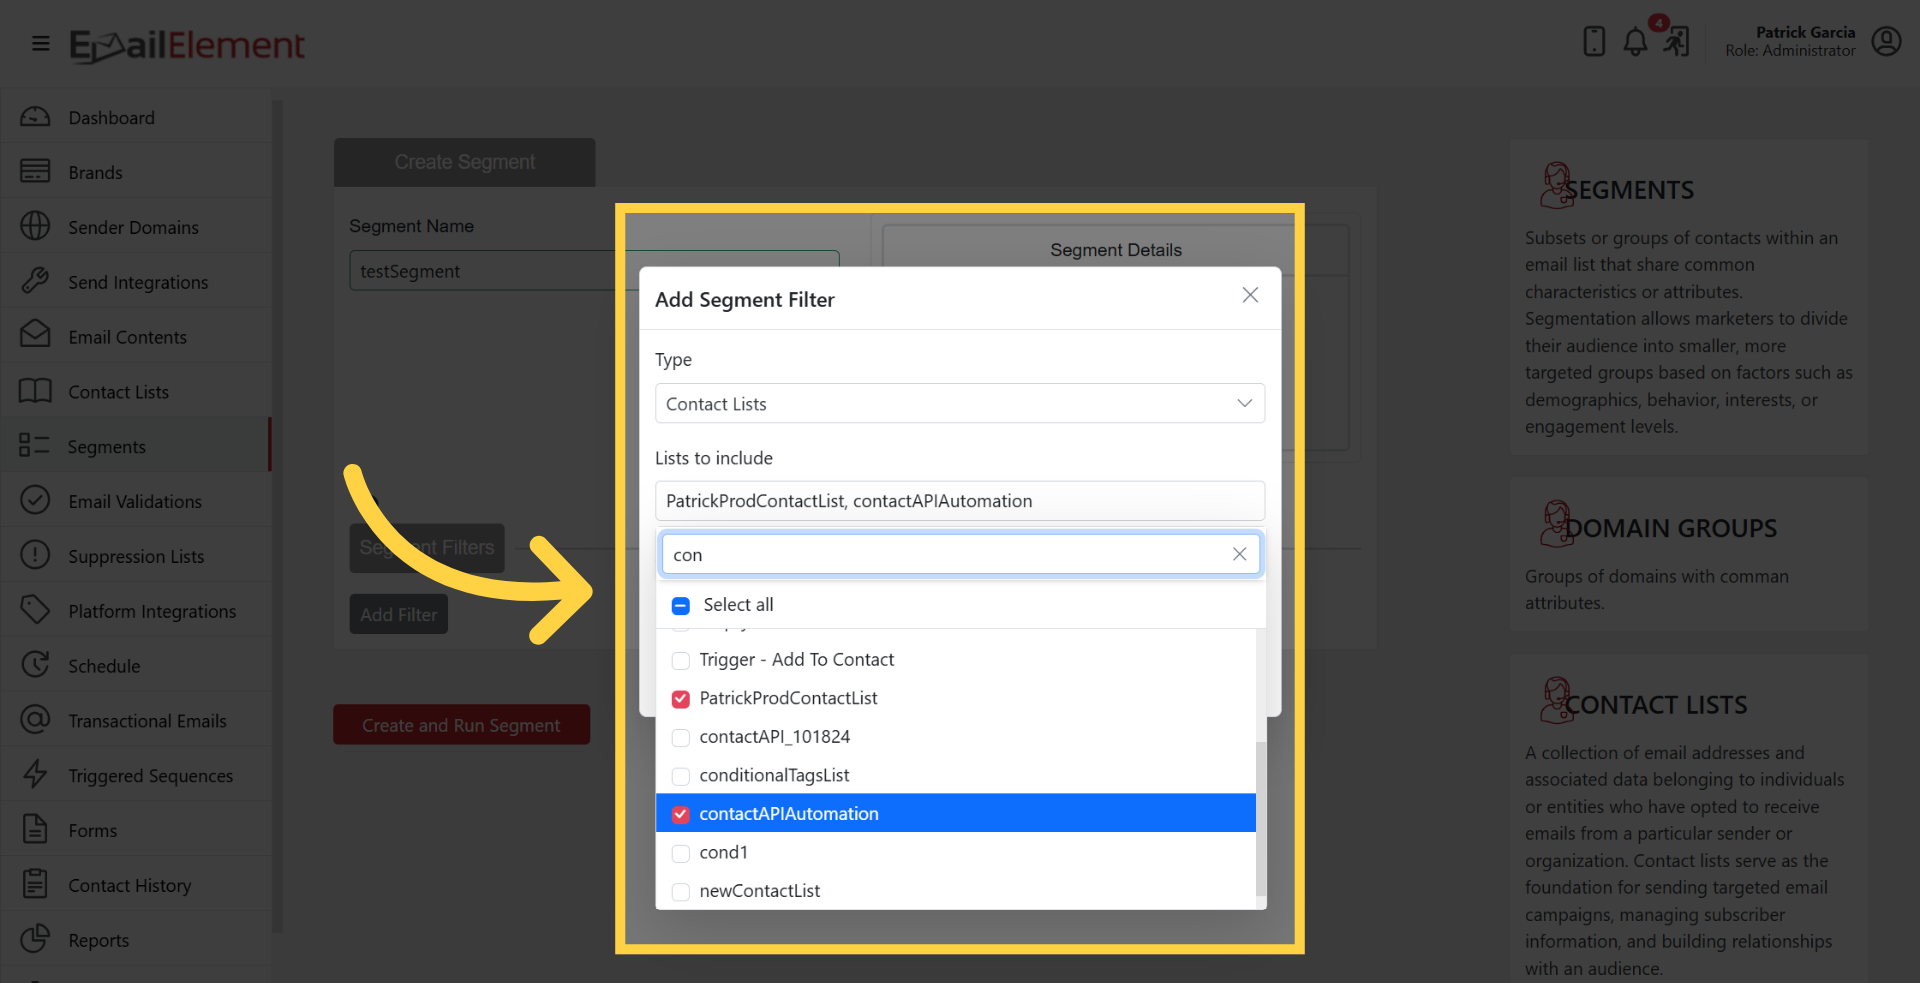
Choose Include or Exclude to control whether contacts on the selected lists are included or removed.
Select one or more contact lists from the dropdown.
Set a Date Range to limit by when contacts were added: All Time, Last 7 Days, Last 30 Days, Last 90 Days, or a Custom date range.
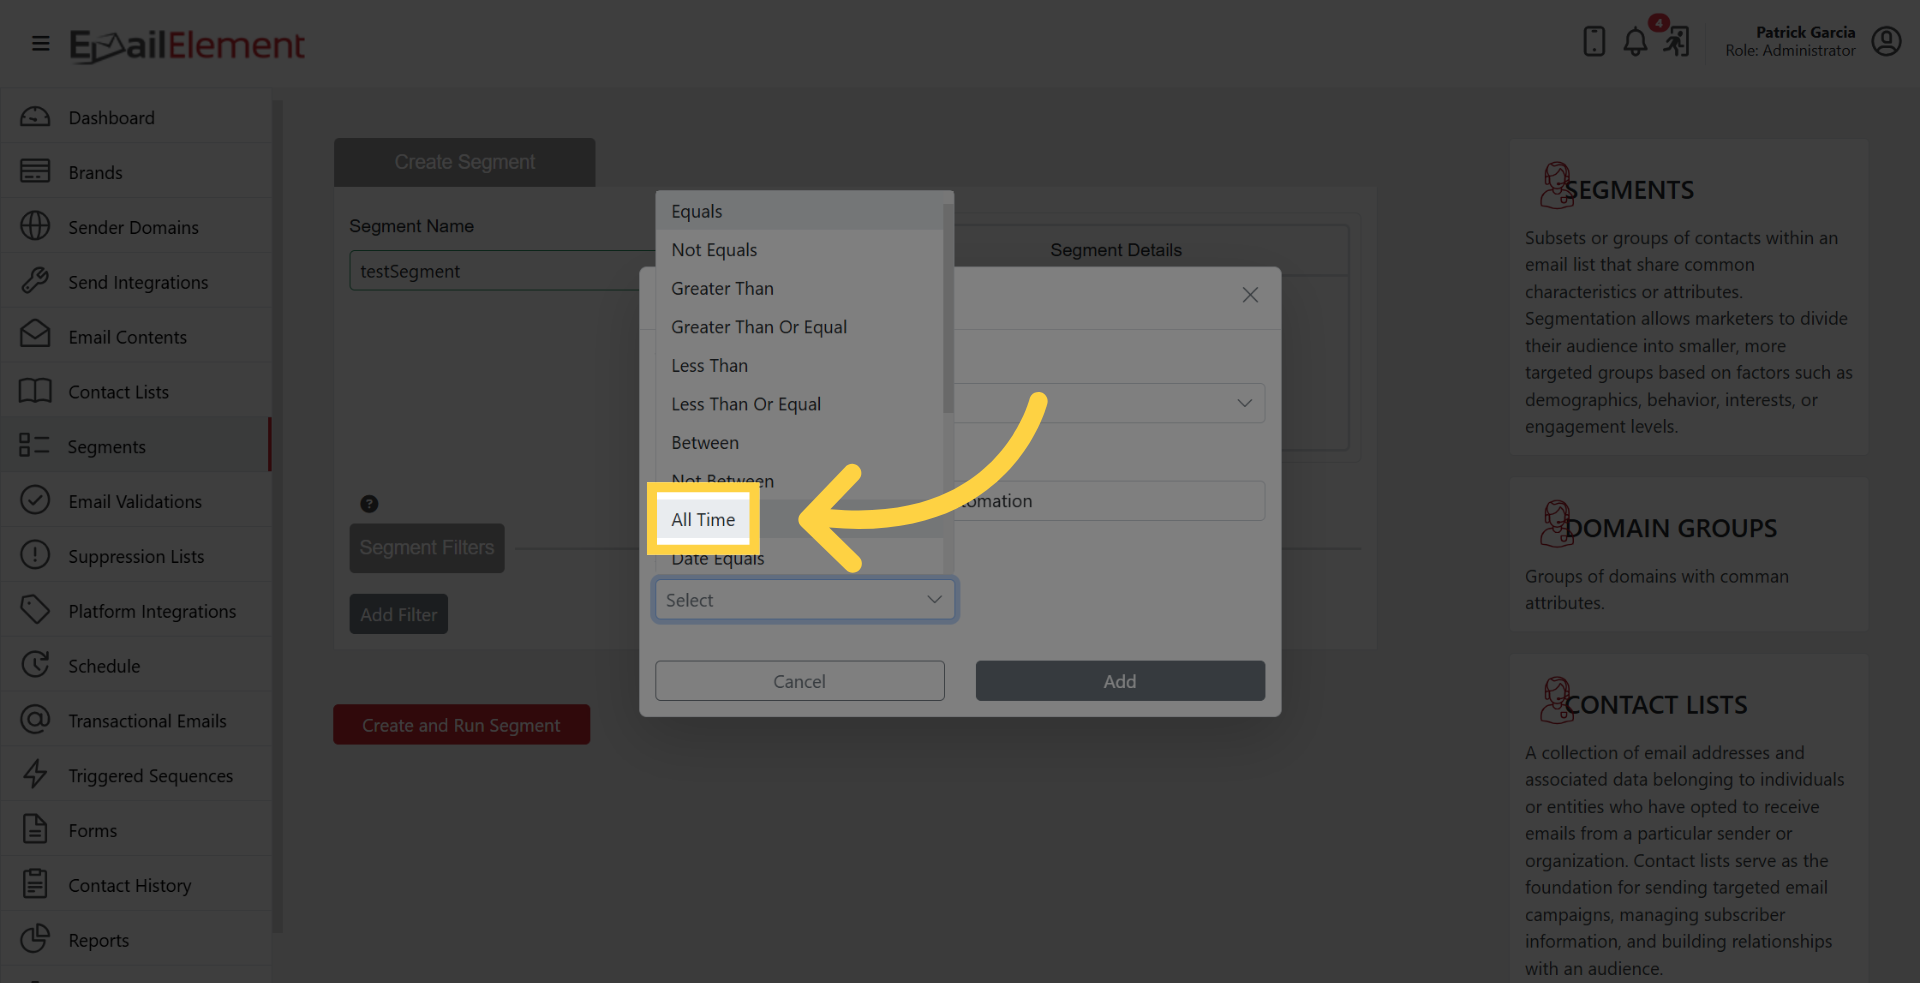
Click Add to apply the filter.
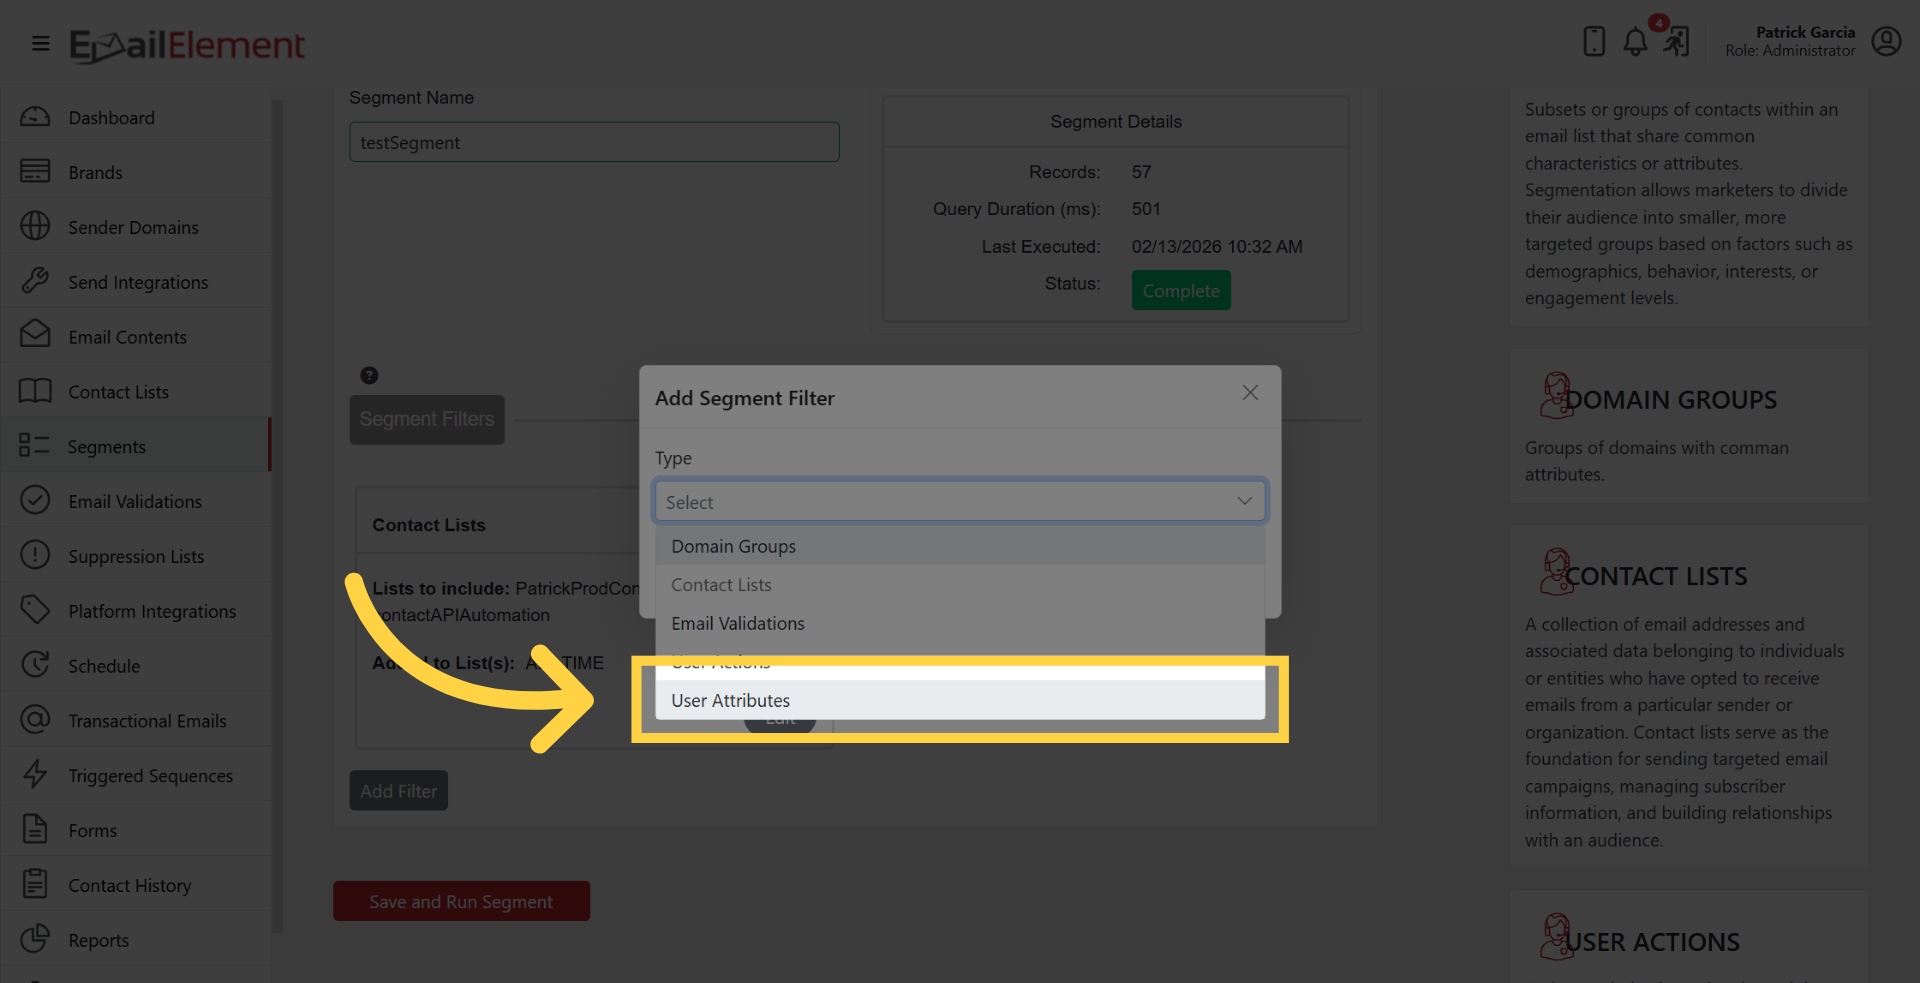
Contact Attributes Filter
Select Contact Attributes from the filter type dropdown.
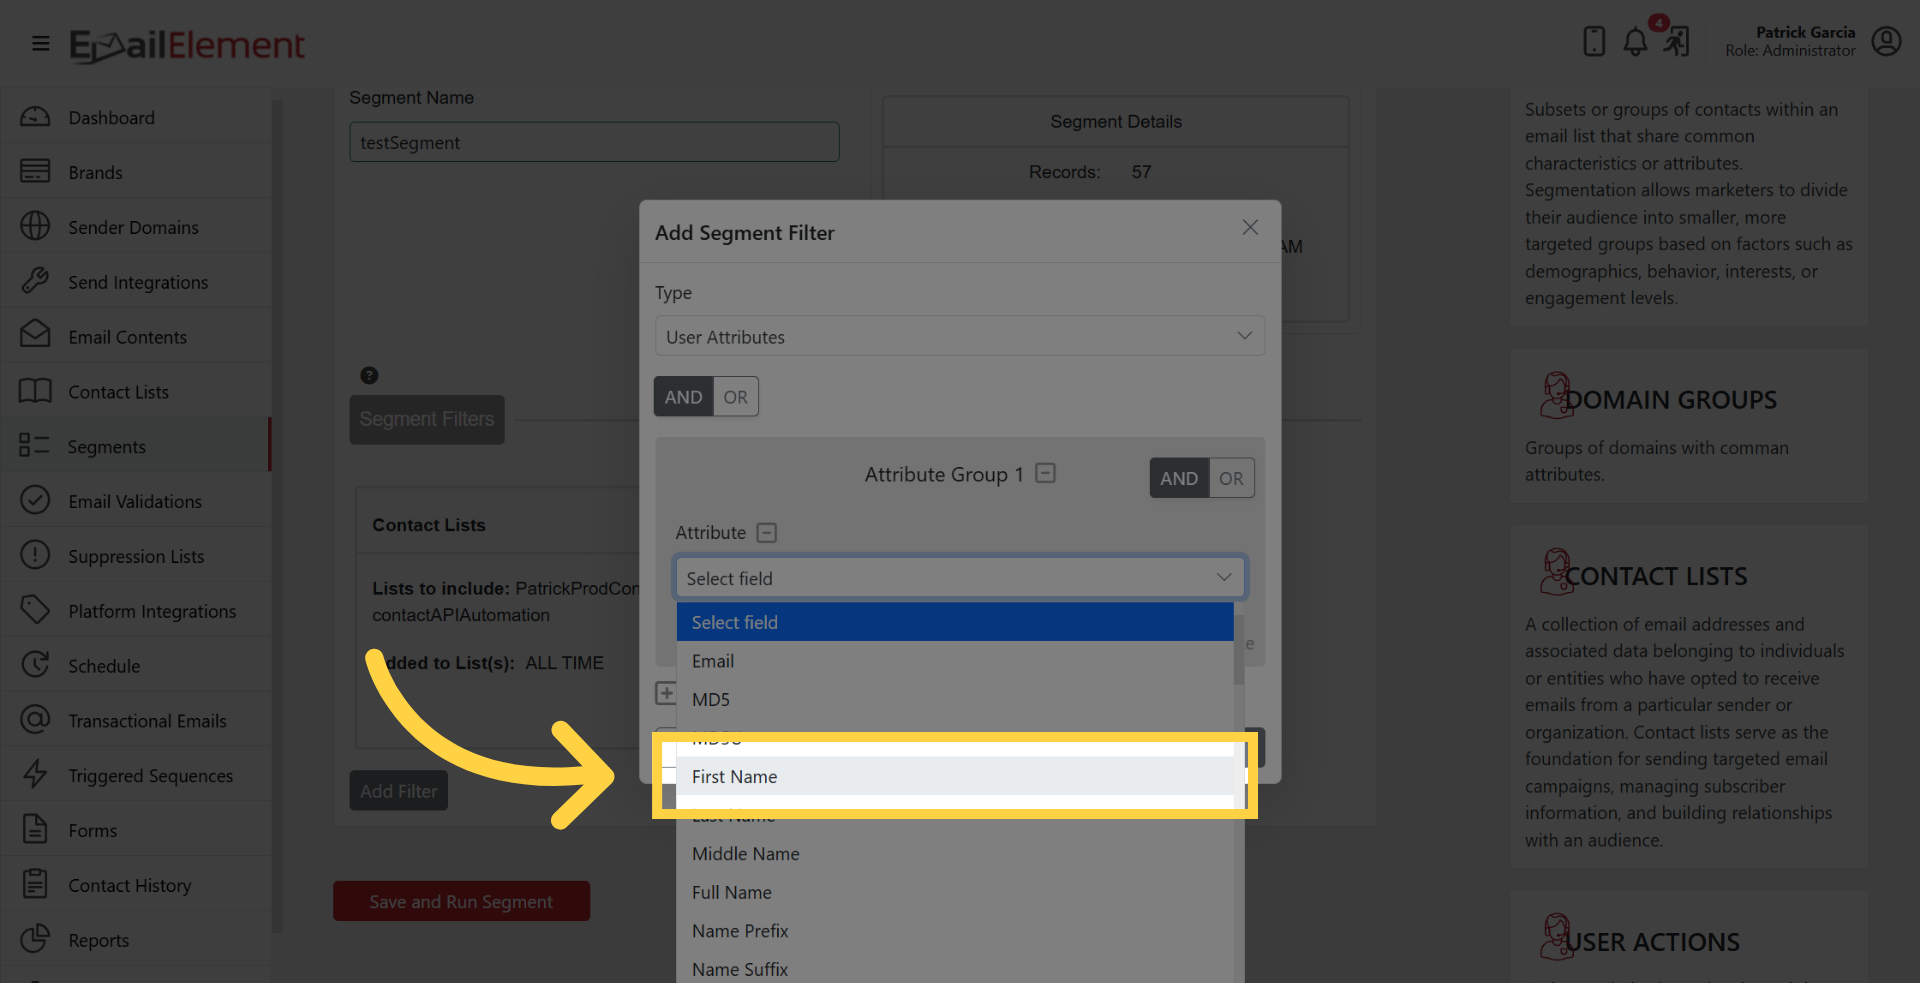
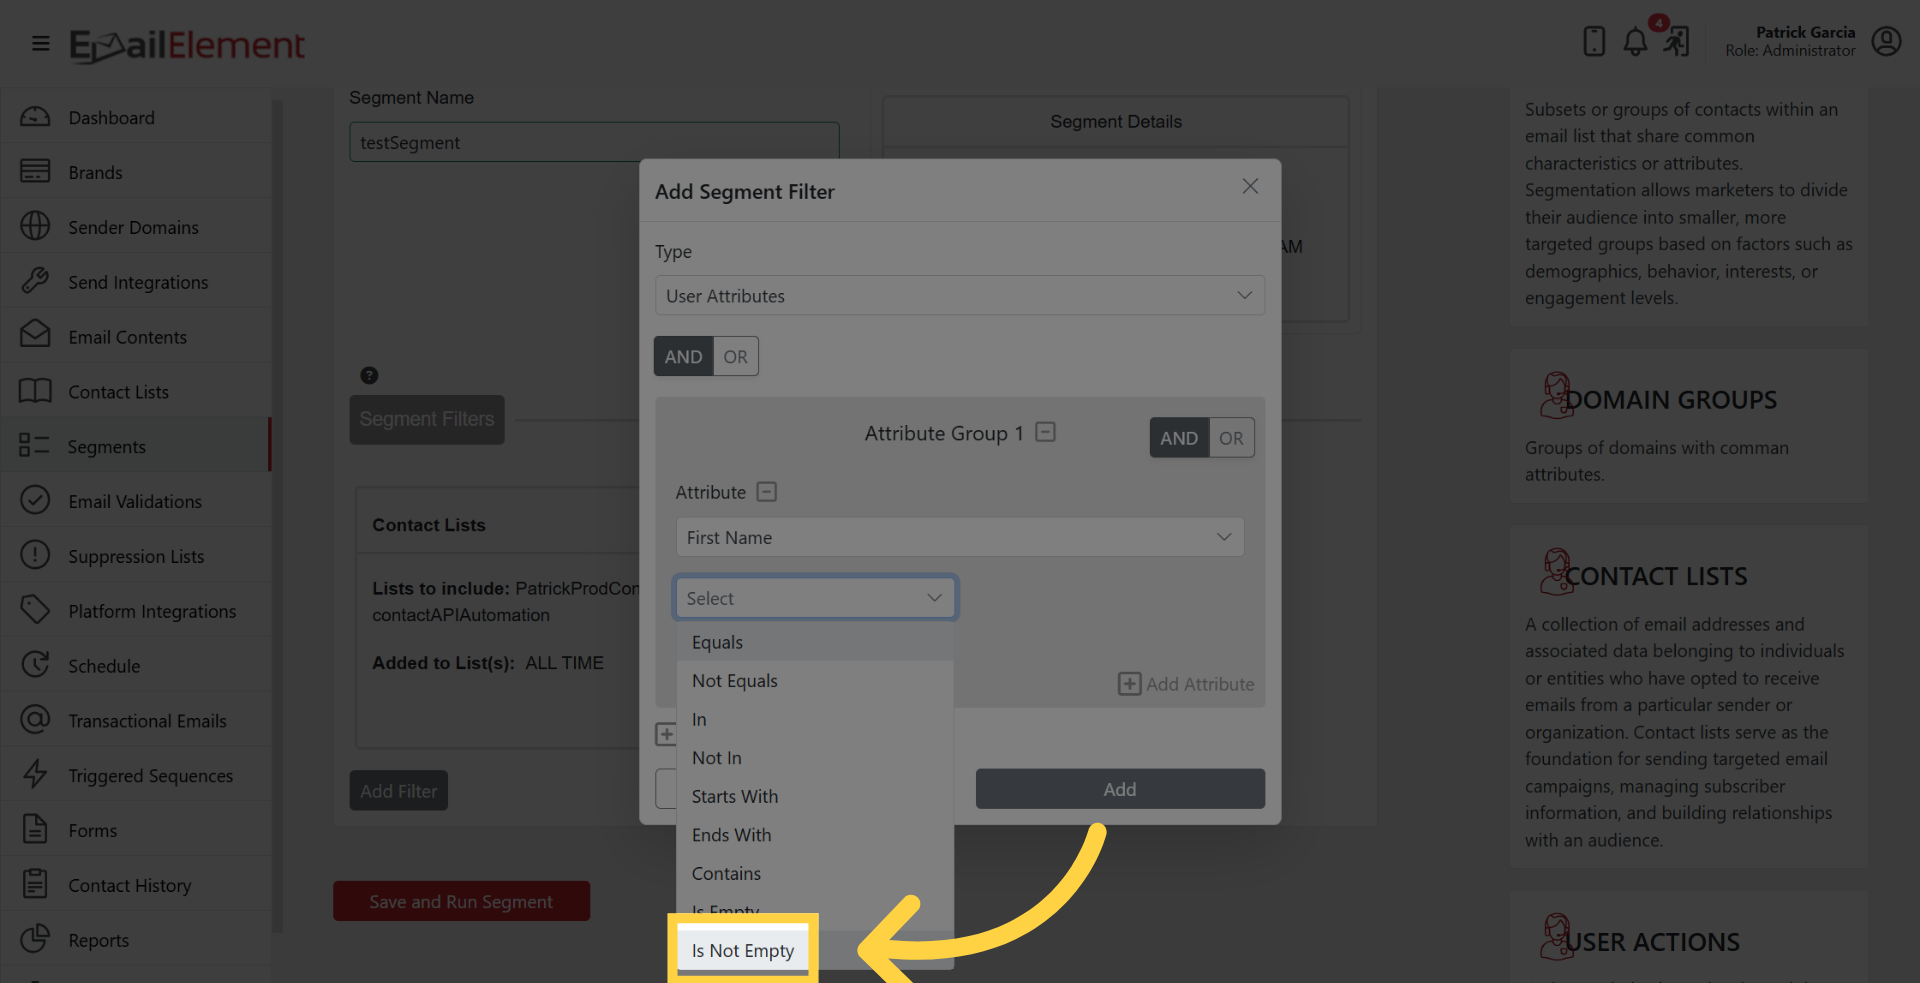
Choose a contact field from the dropdown (e.g., Email, First Name, Last Name, City, State, or any custom field).
Select an operator:
- Is Empty — field has no value
- Is Not Empty — field has a value
- Contains — field contains the specified text
- Does Not Contain — field does not contain the specified text
- Equals — exact match
- Does Not Equal — not an exact match
- Greater Than — numeric/date comparison
- Less Than — numeric/date comparison
- Starts With — field begins with the specified text
- Ends With — field ends with the specified text
Enter the comparison value (if required by the operator).
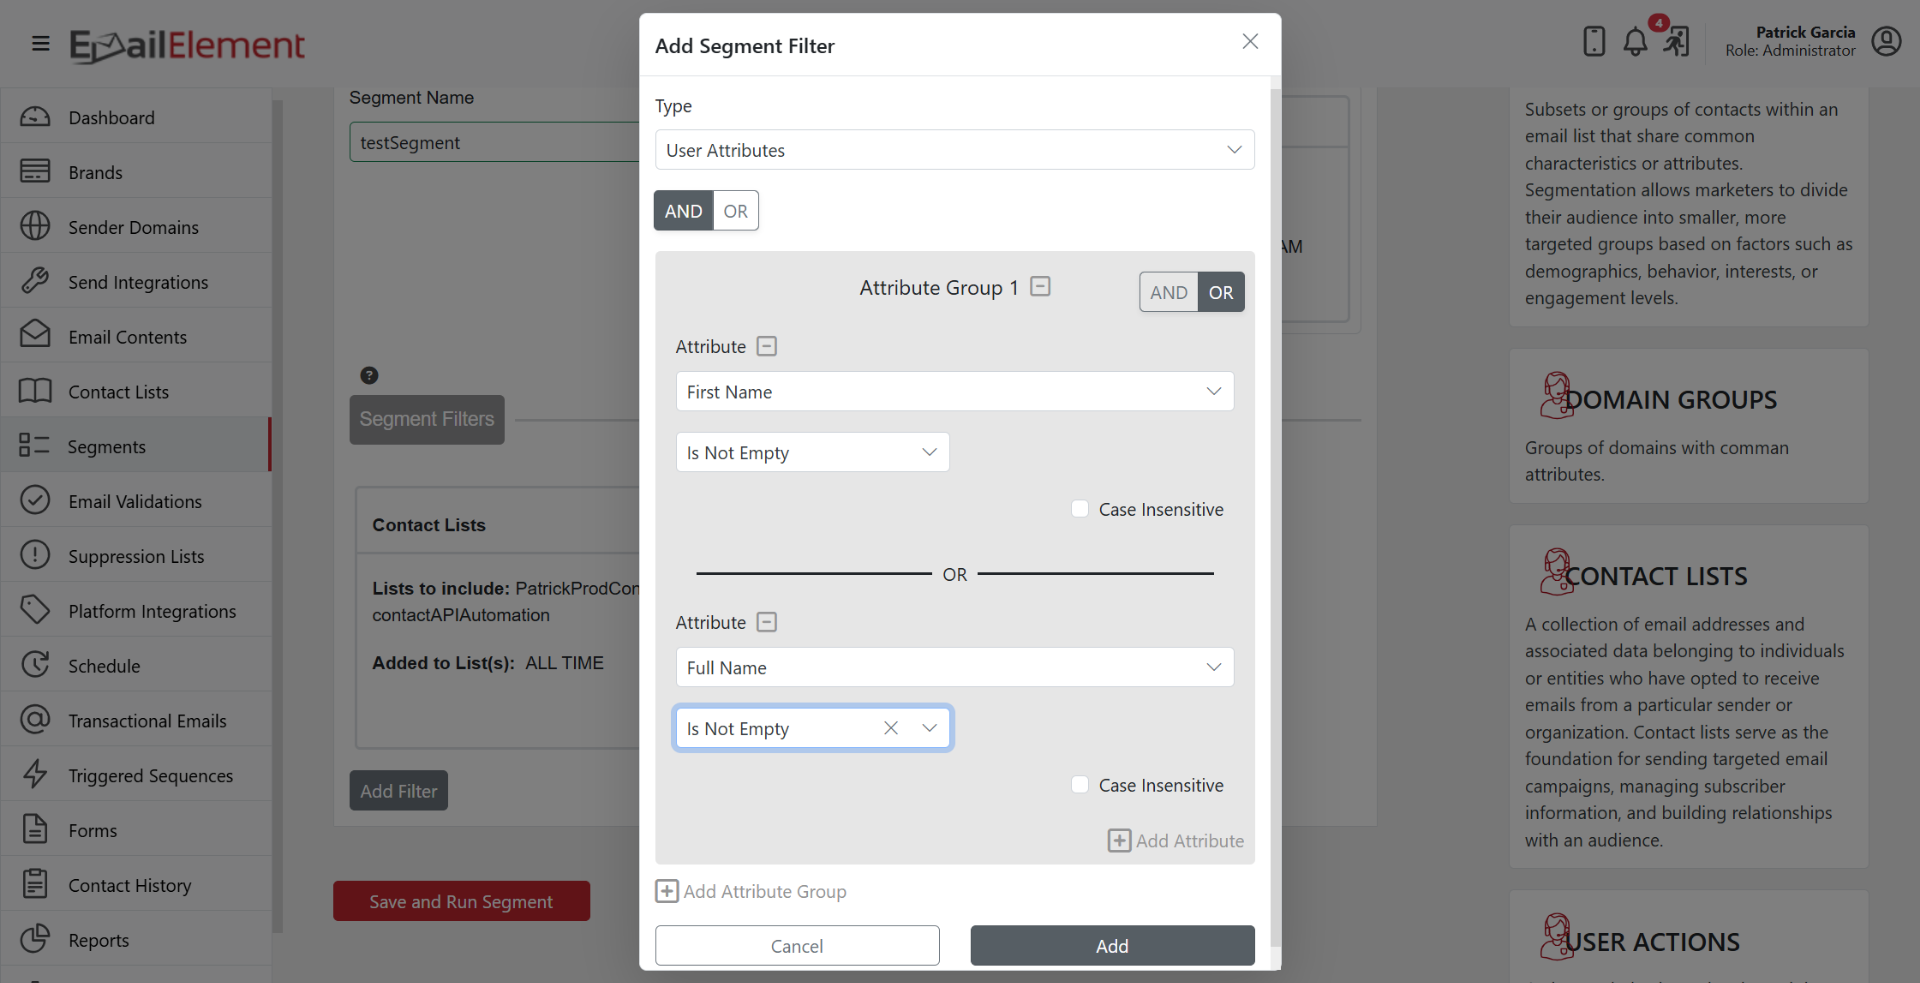
To add multiple conditions, click the + button:
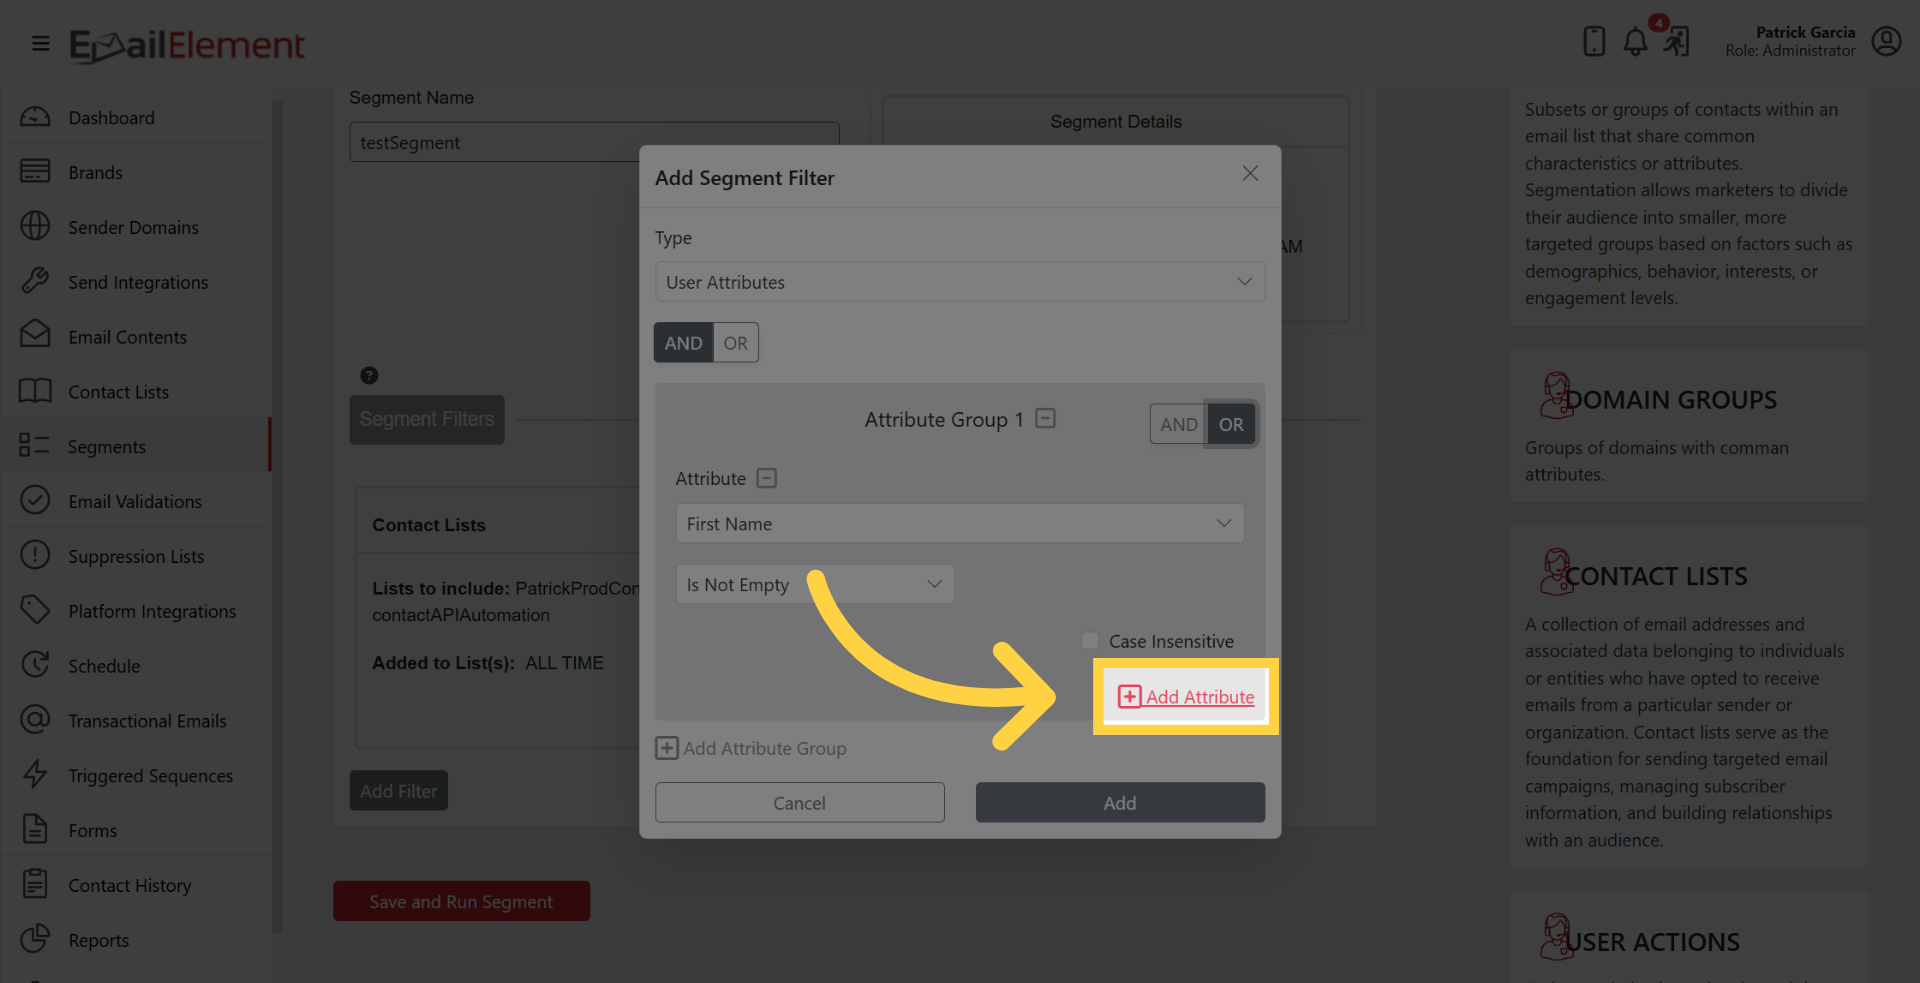
AND — contact must match ALL conditions
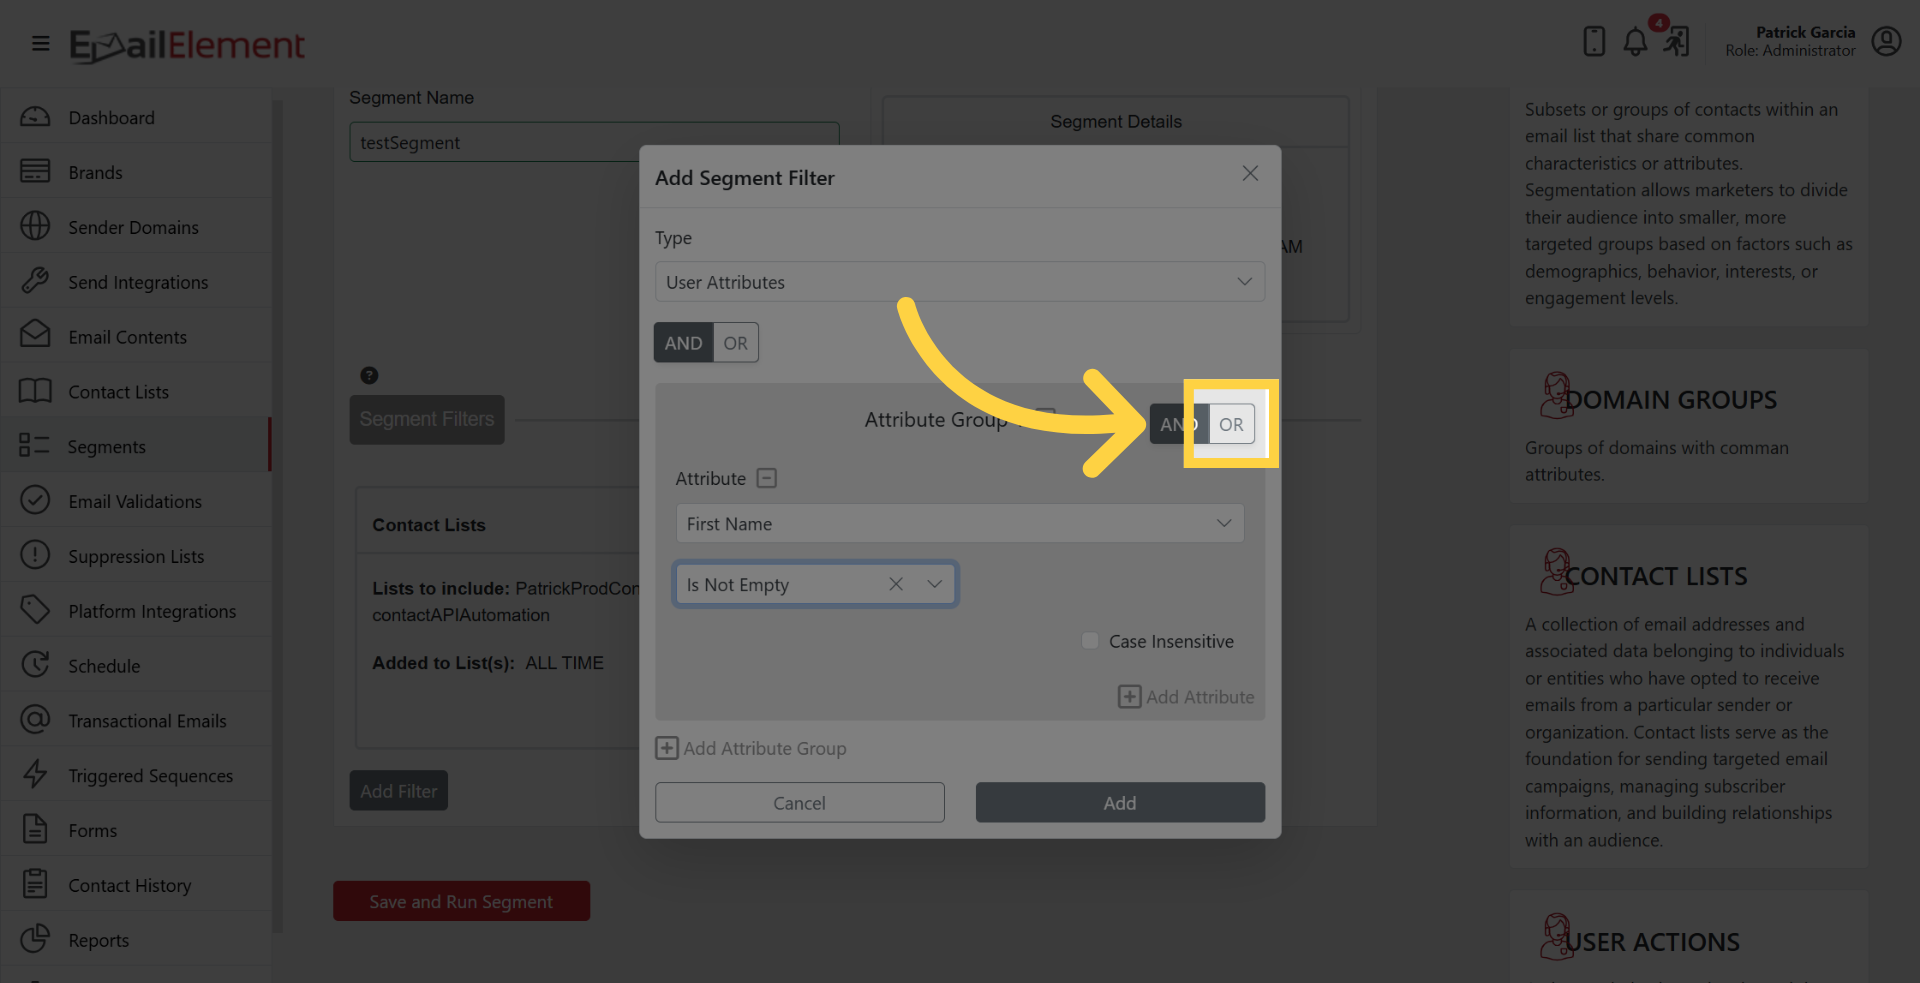
OR — contact must match ANY condition
Click Add to apply the filter.
Contact Actions Filter
Select Contact Actions from the filter type dropdown.
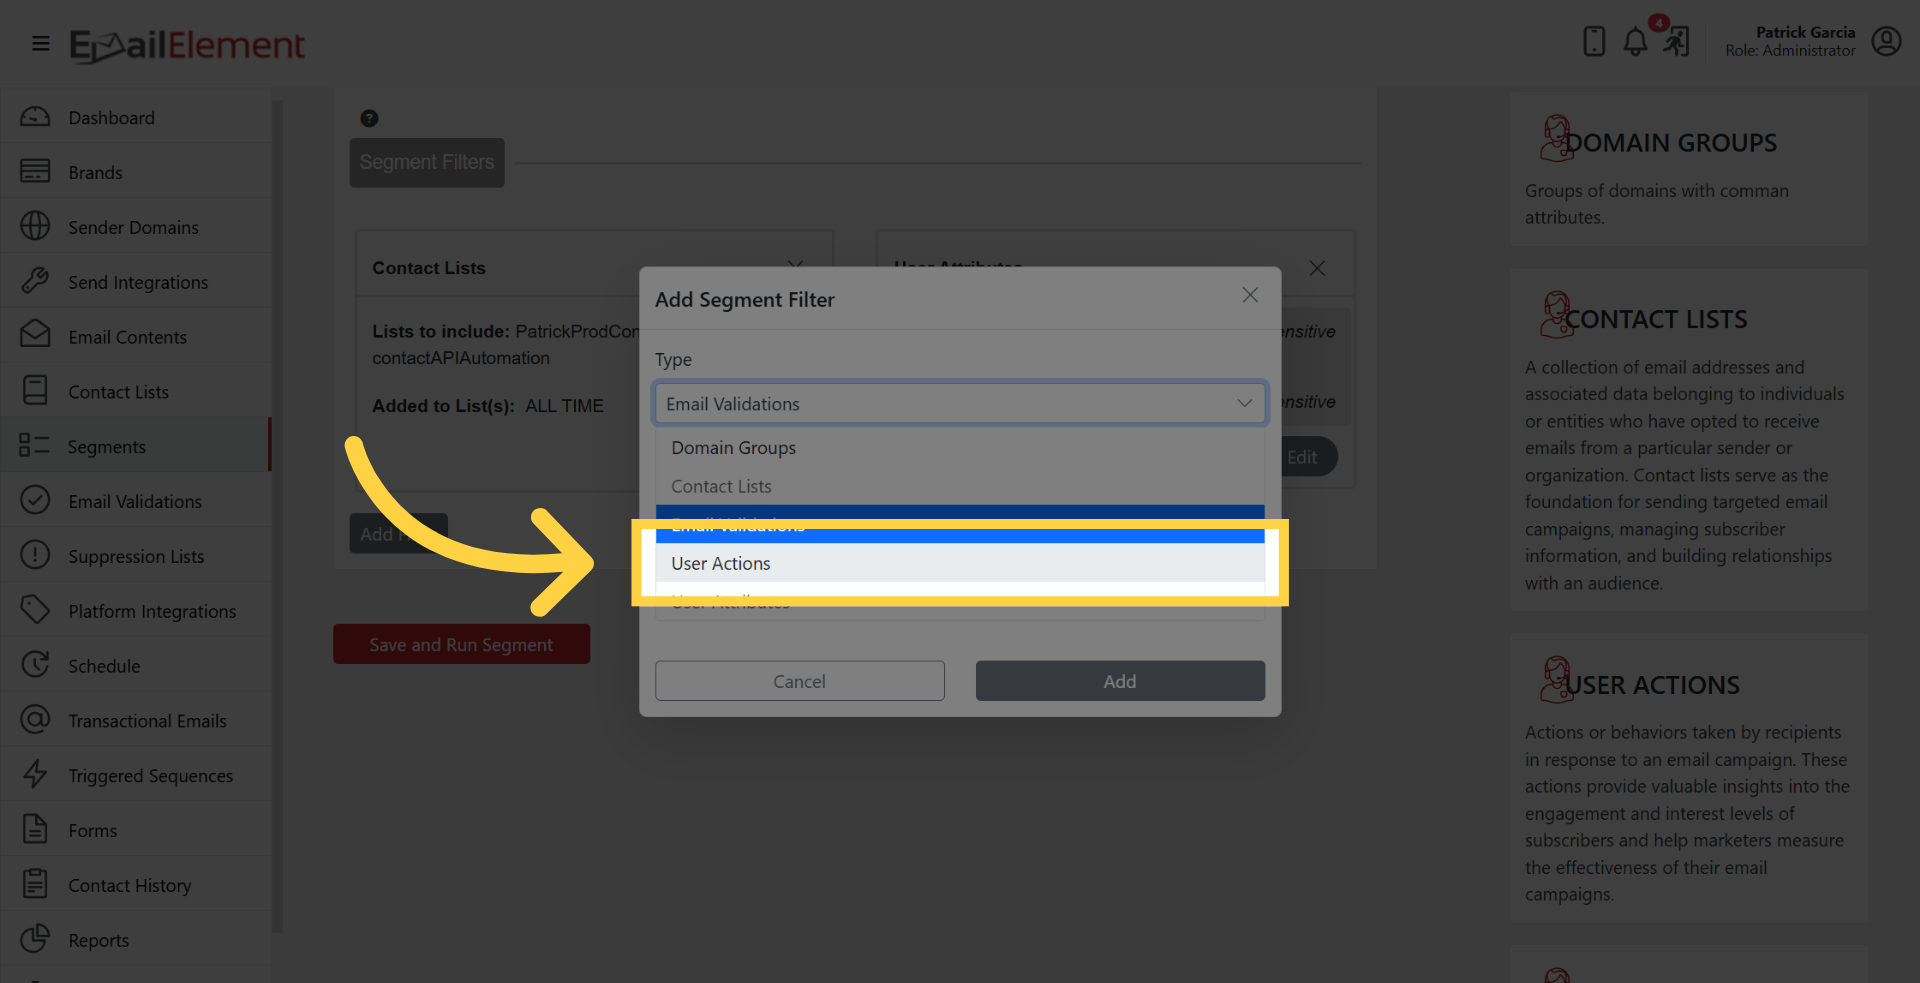
Choose an action type:
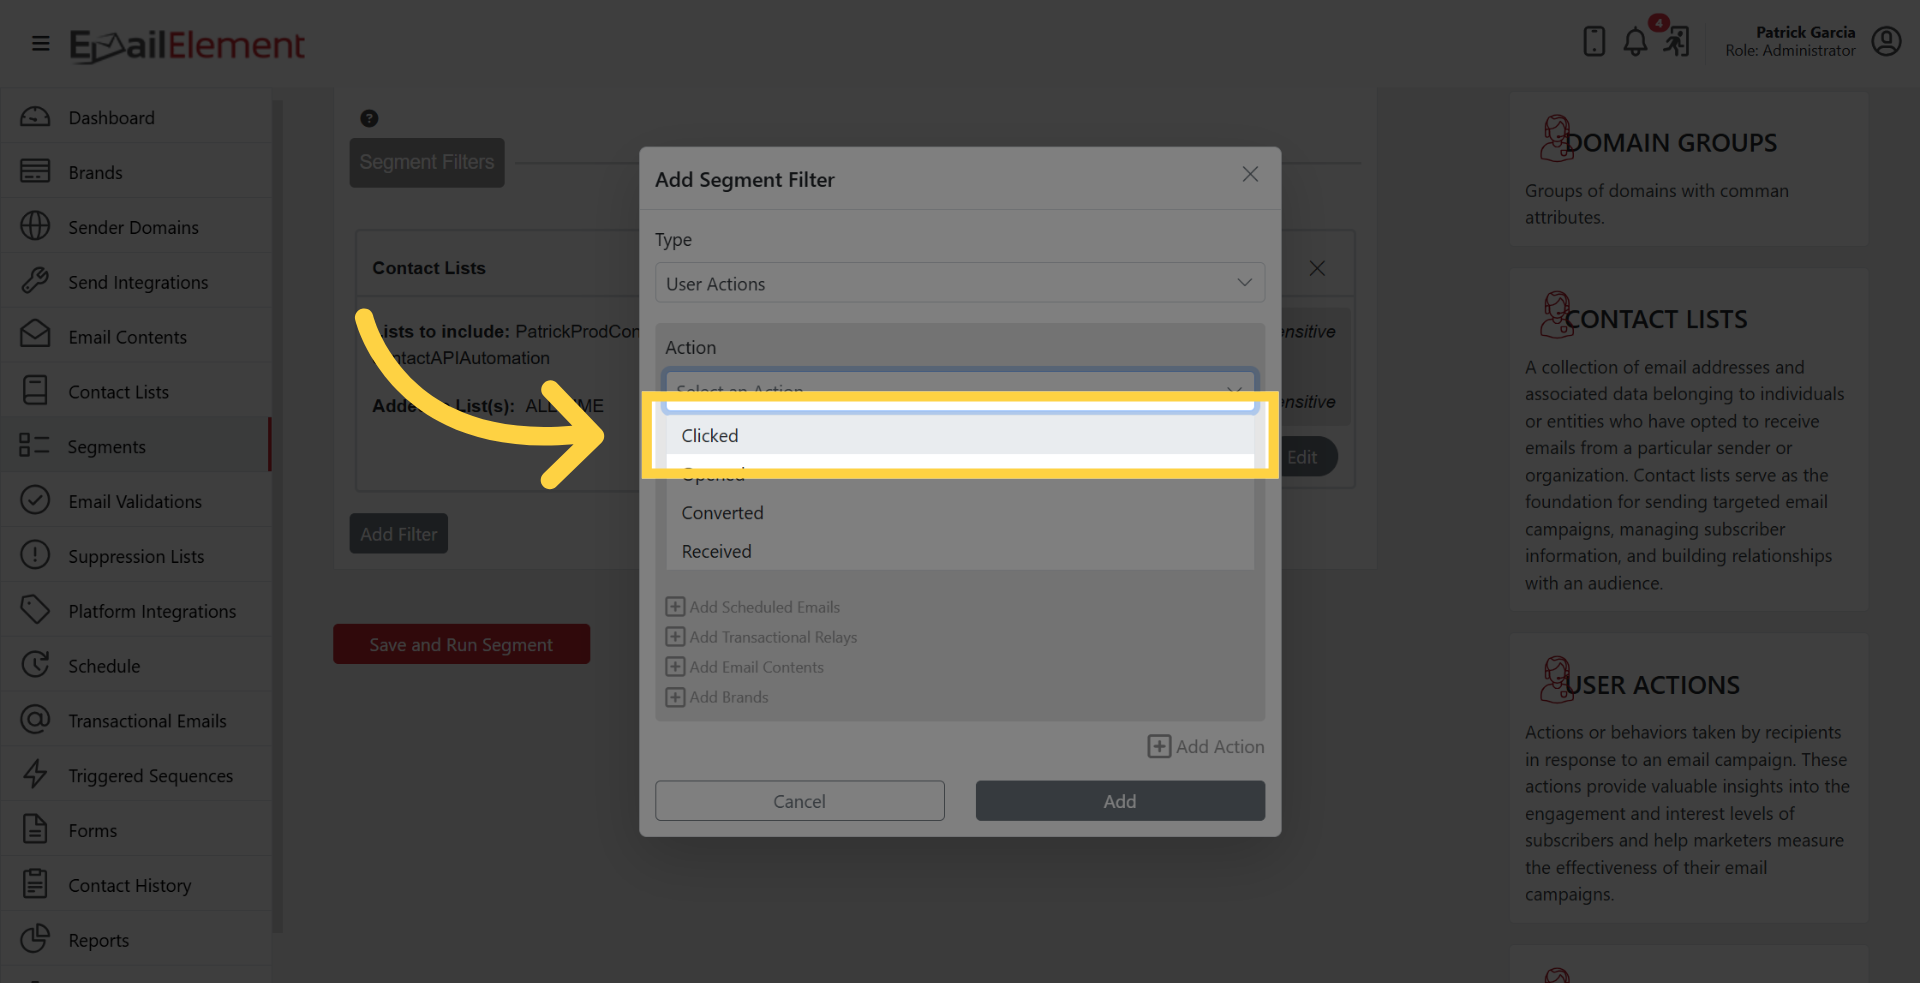
- Clicked — contact clicked a link in an email
- Opened — contact opened an email. Bot opens do not count: an open from an IP address or user agent on our bot list, which covers mailbox privacy proxies such as Apple Mail Privacy Protection, is stored separately and never matches this filter. Clicked works the same way for bot clicks.
- Converted — contact completed a conversion
- Received — contact was sent an email
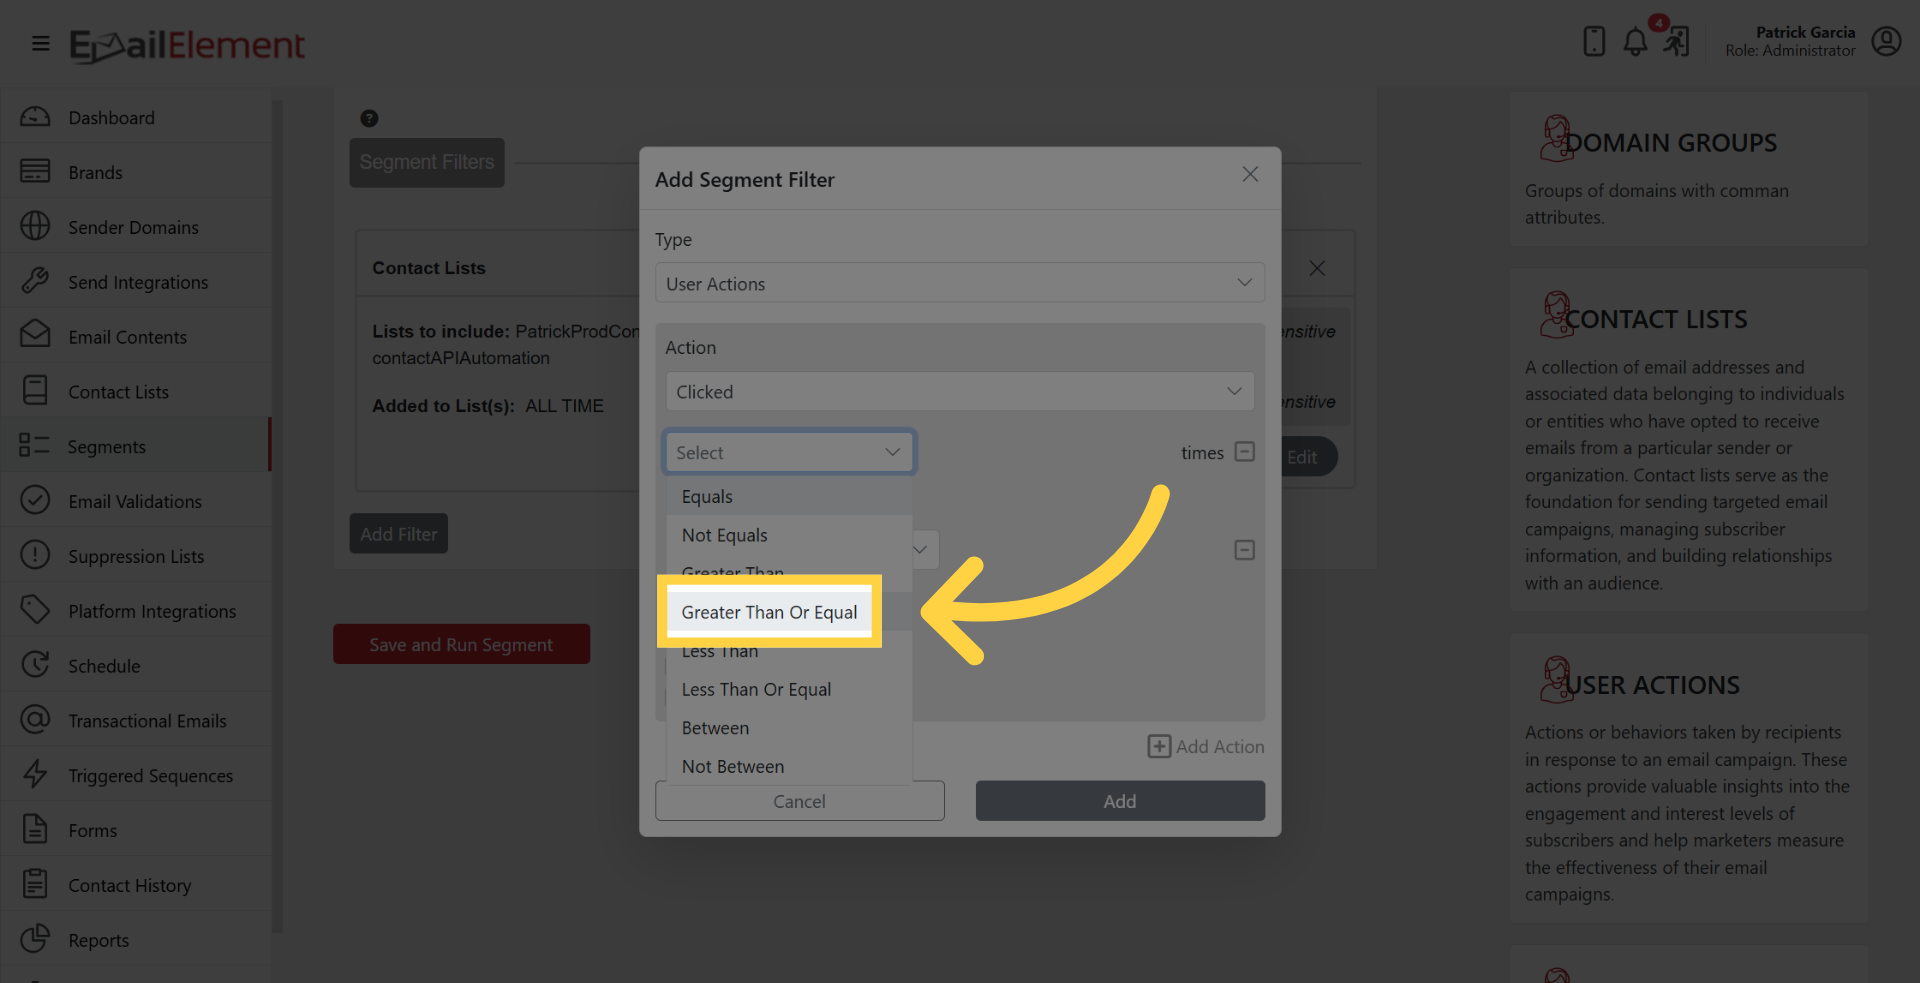
Set a count operator (e.g., at least, at most, exactly) and a value.
Optionally filter by a specific Scheduled Email or Email Content.
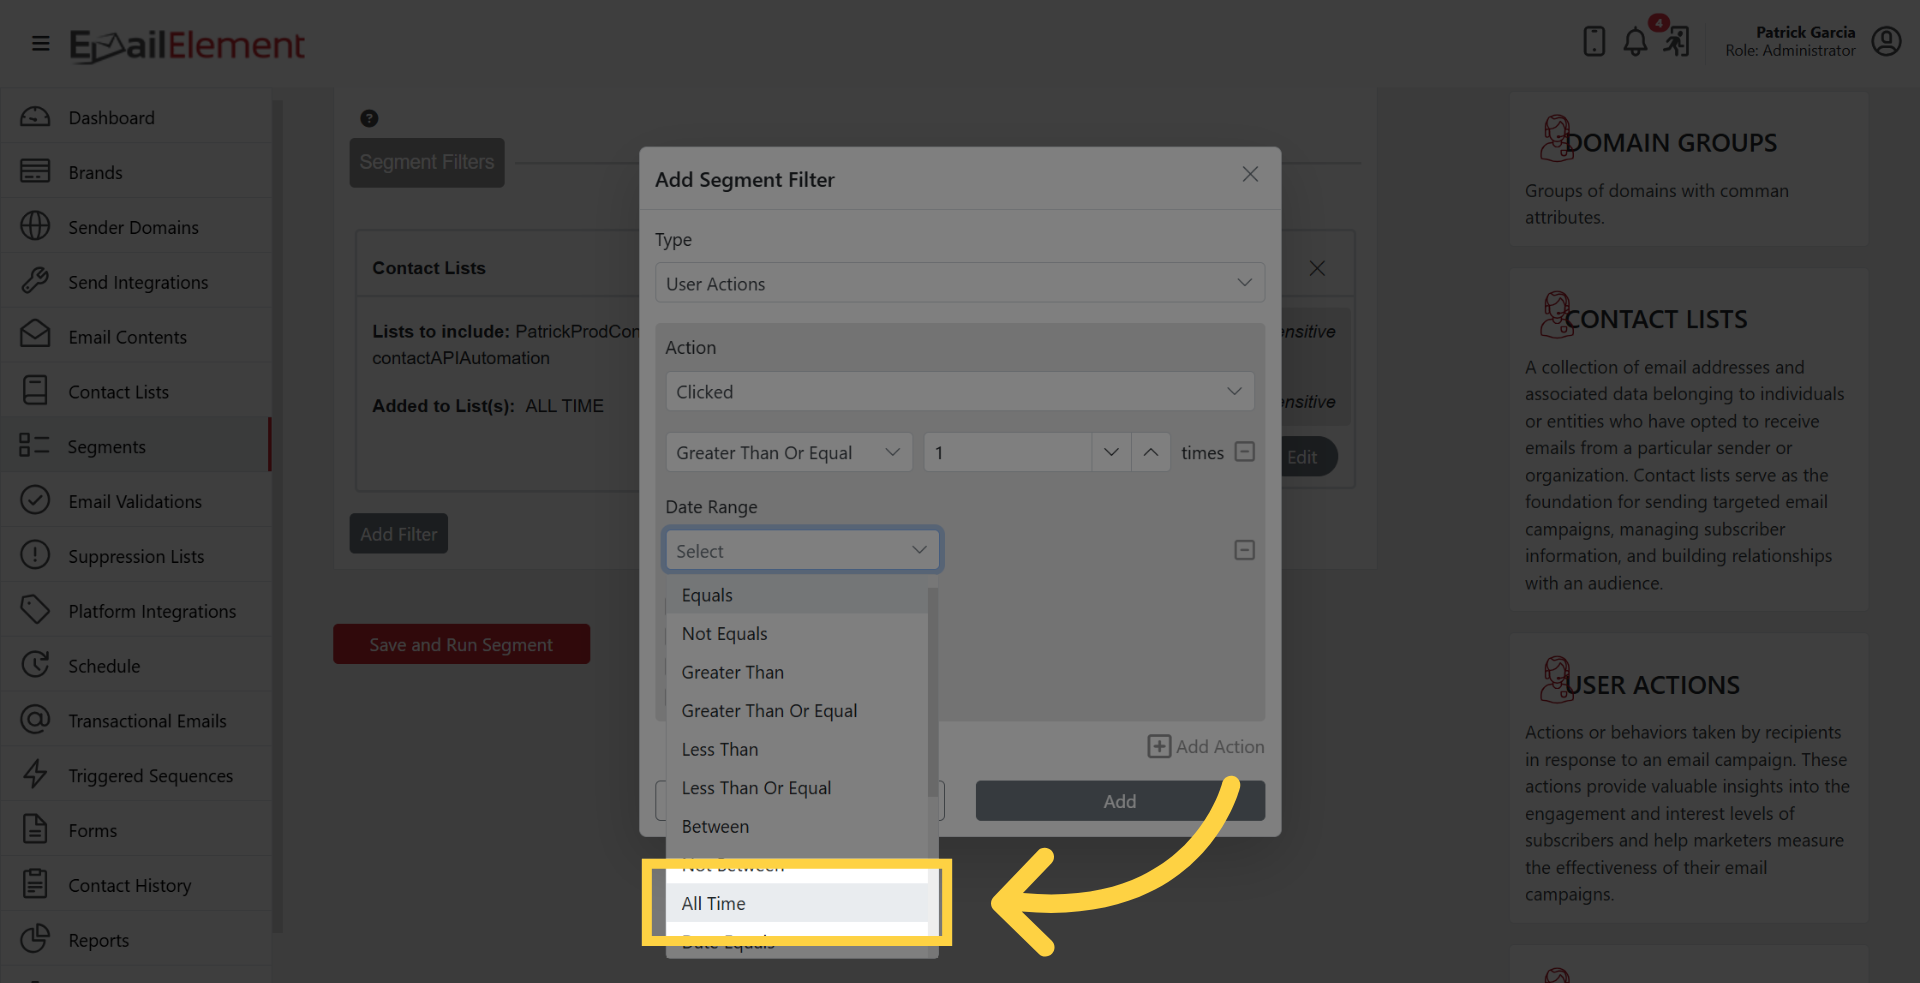
Set a Date Range for when the action occurred.
Click Add to apply the filter.
Email Validations Filter
Select Email Validations from the filter type dropdown.
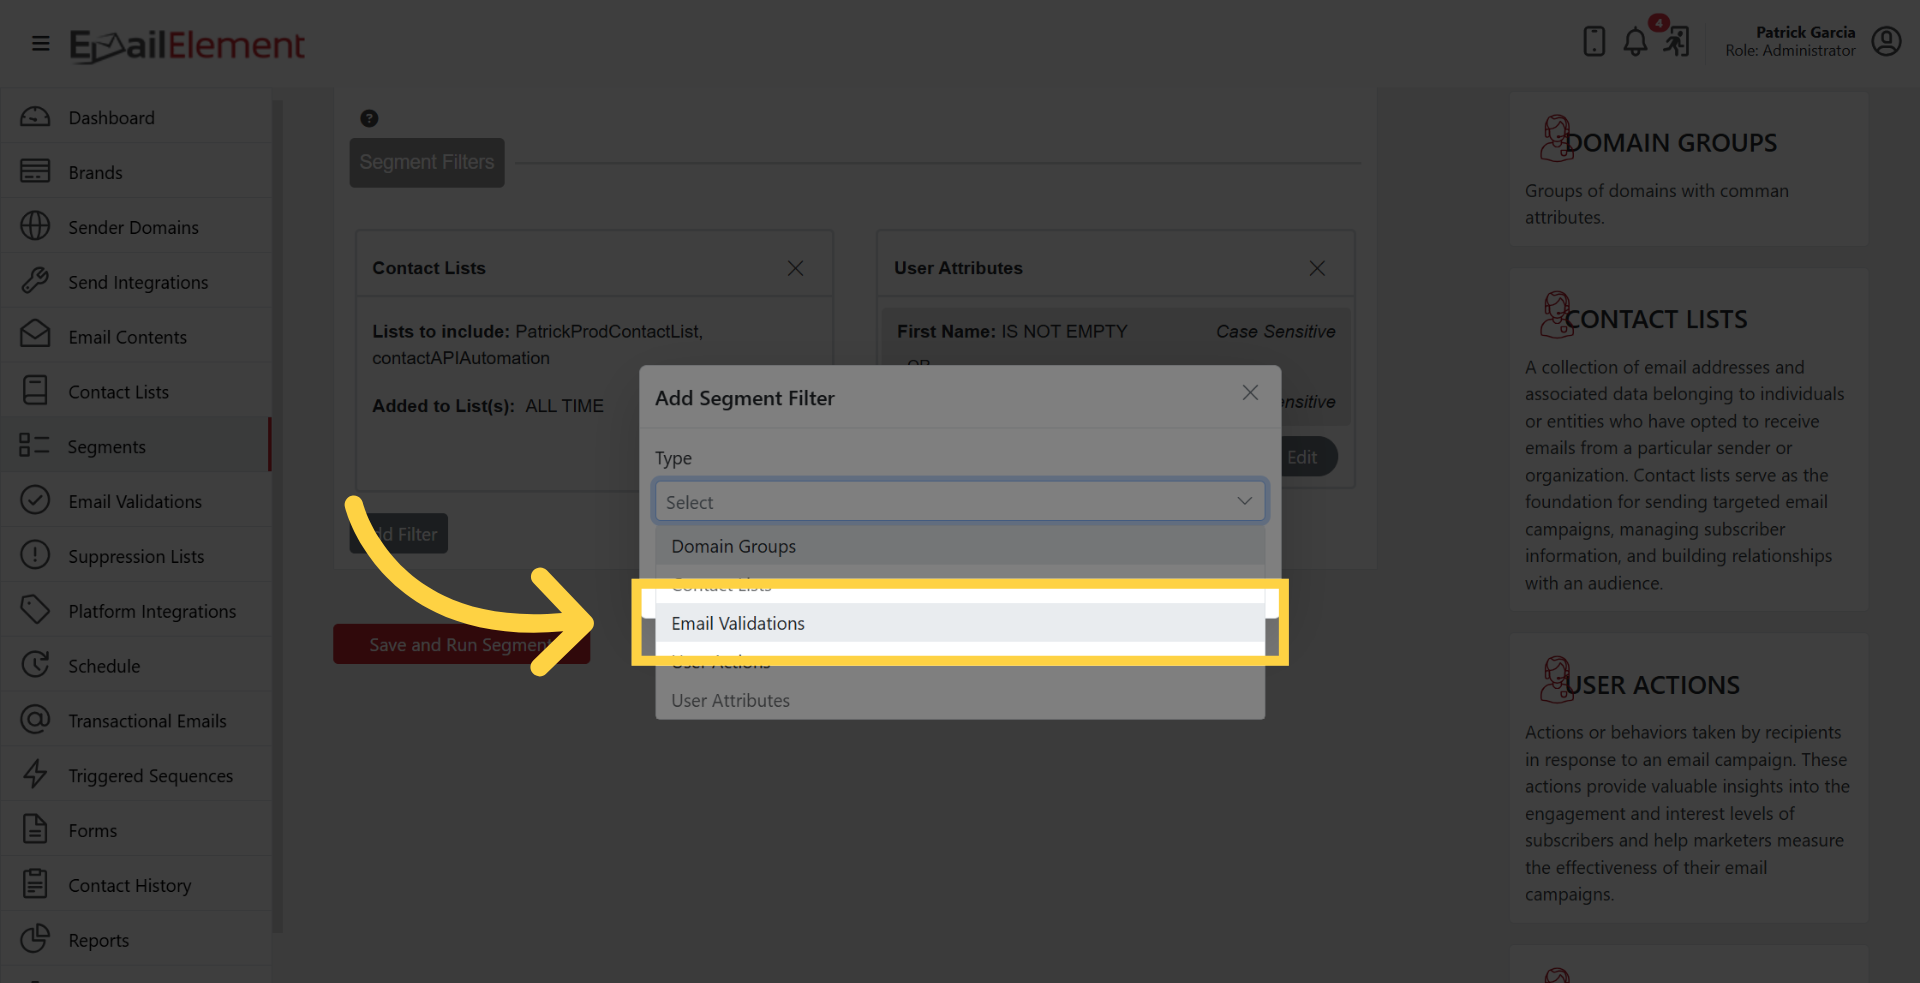
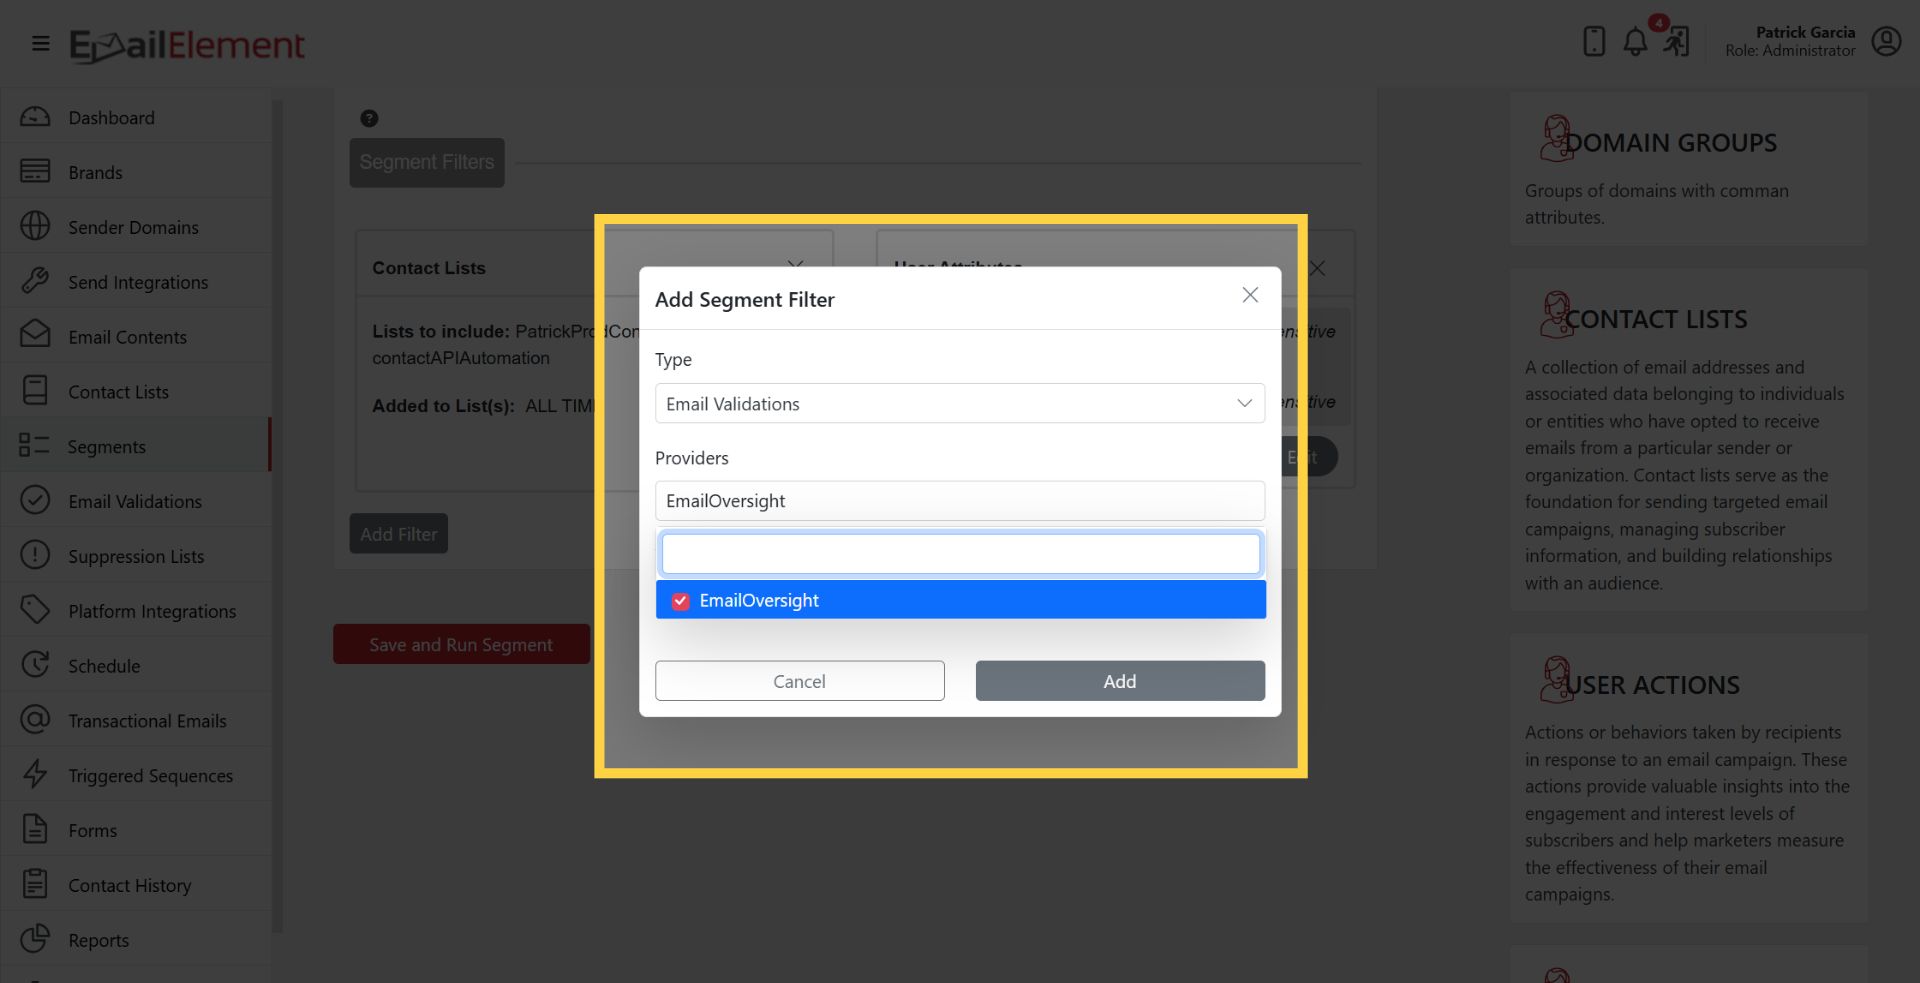
Choose a validation Provider (e.g., EmailOversight).
Select In or Not In to include or exclude contacts with specific validation statuses.
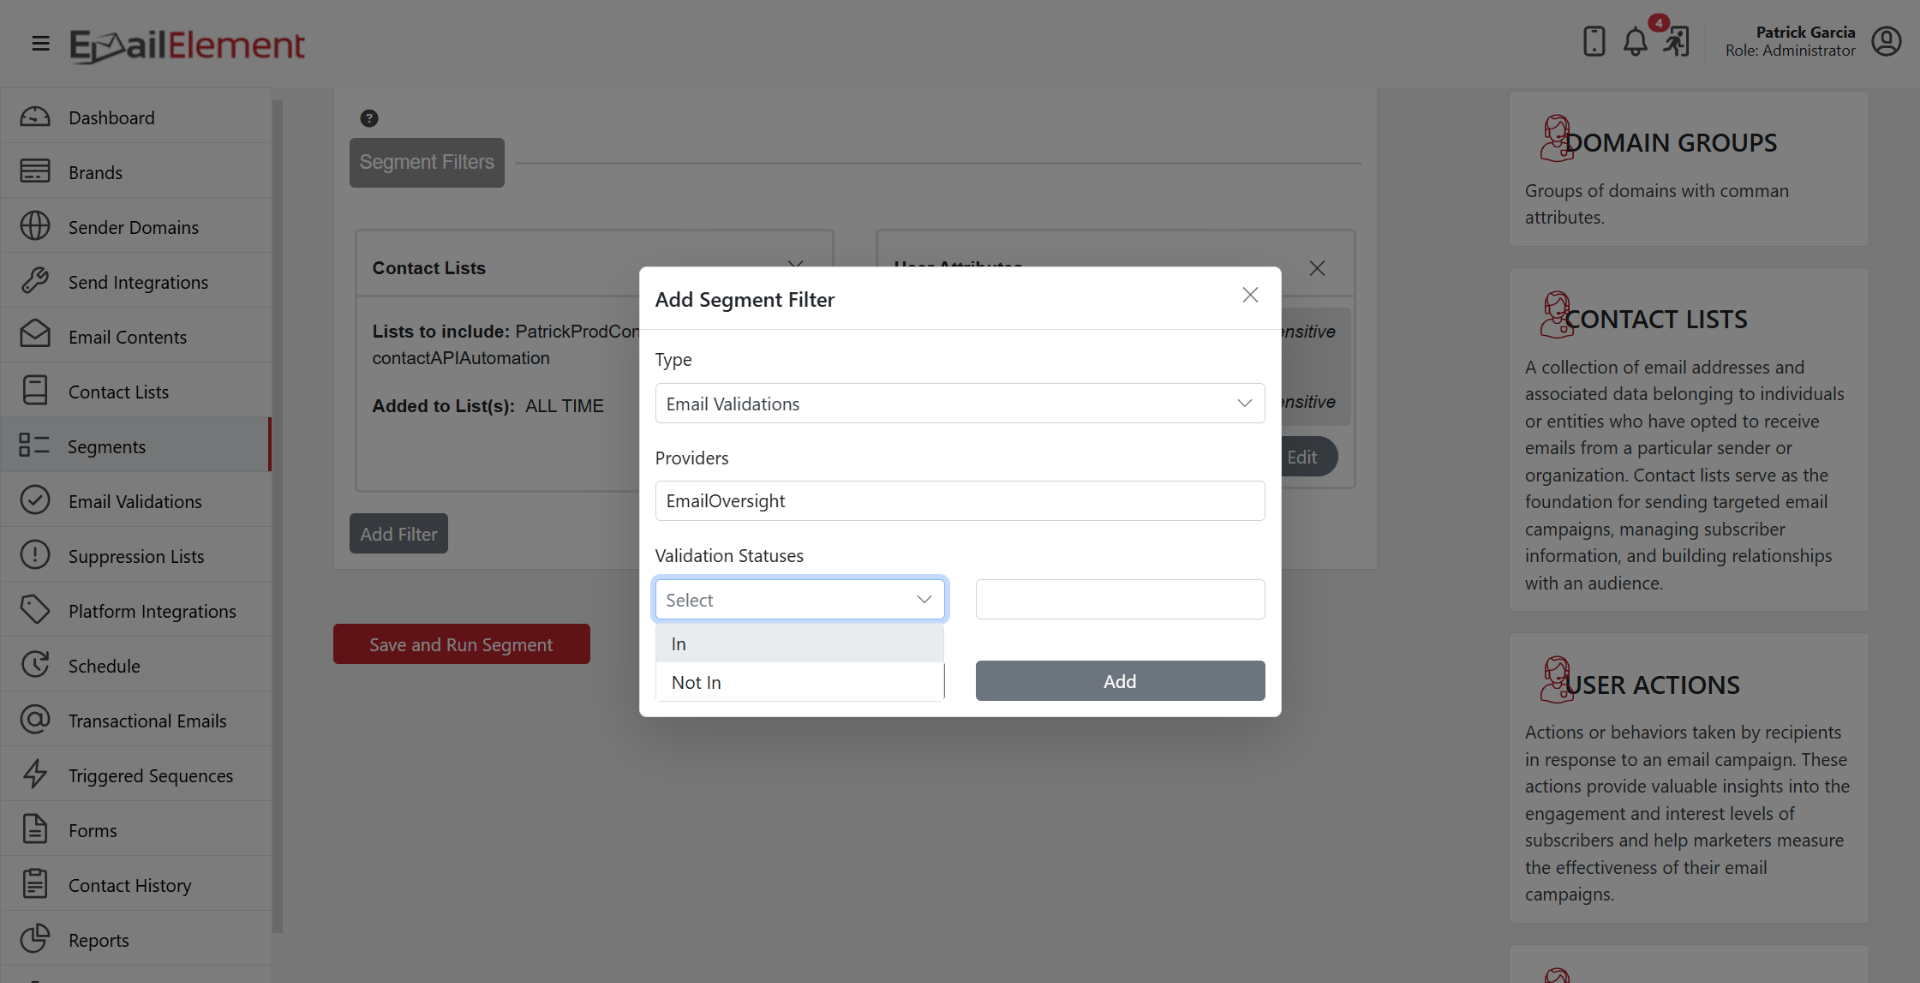
Choose one or more validation statuses:
- Verified — confirmed valid email
- Undeliverable — email will bounce
- Unknown — validation inconclusive
- Accept All — domain accepts all addresses
- Disposable — temporary/throwaway email
- Spam Trap — known spam trap address
Click Add to apply the filter.
Running and Managing Segments
After adding all desired filters, click Create and Run Segment (for new segments) or Save and Run Segment (for existing segments).
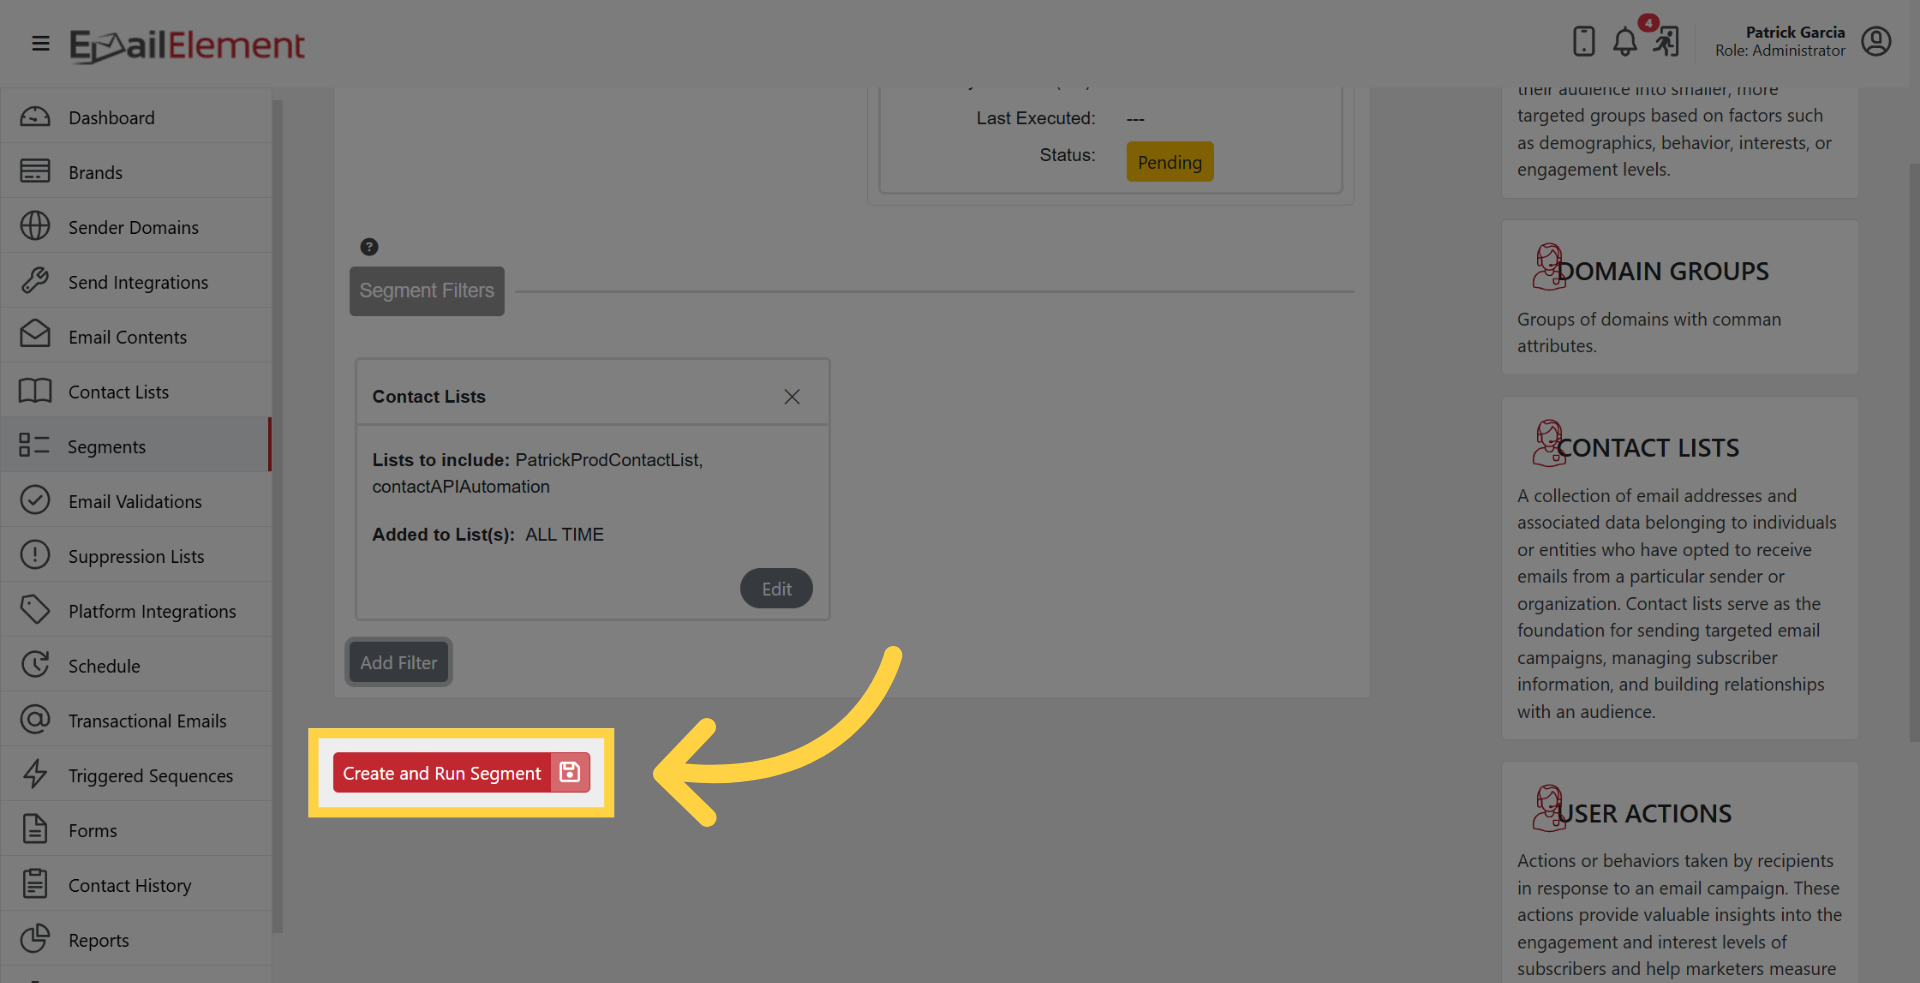
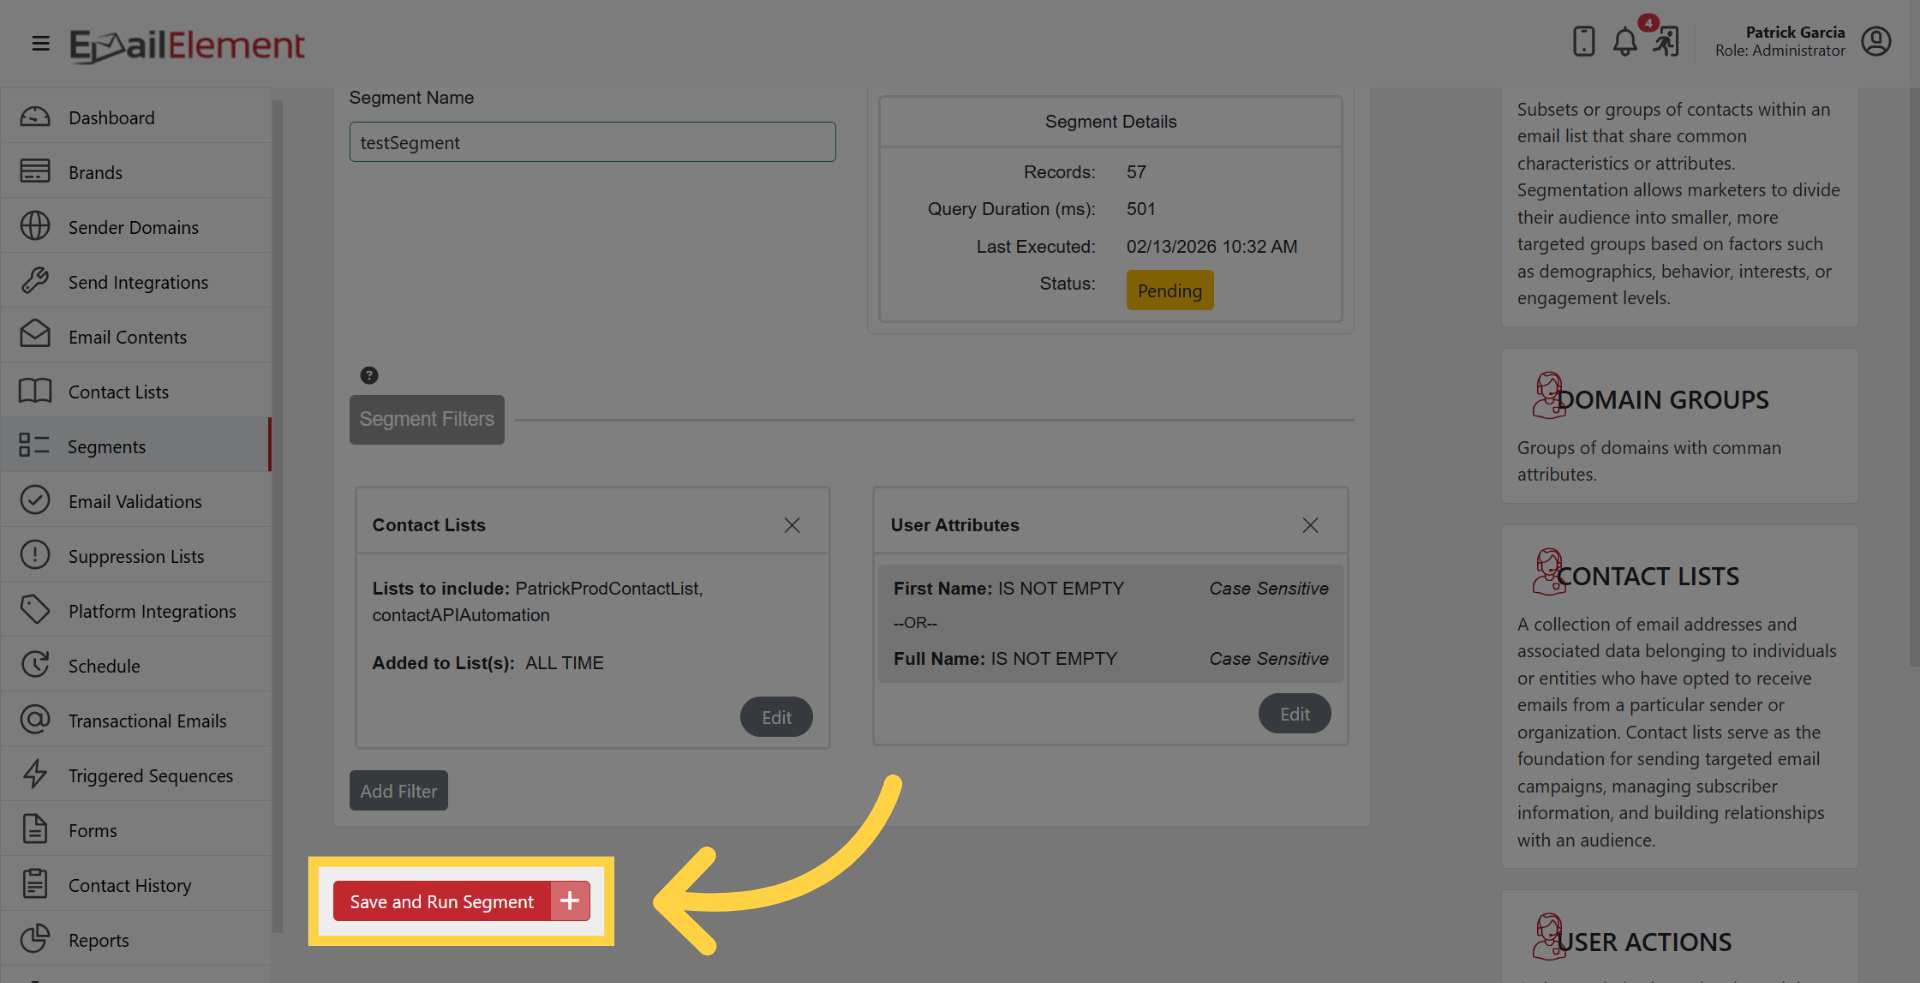
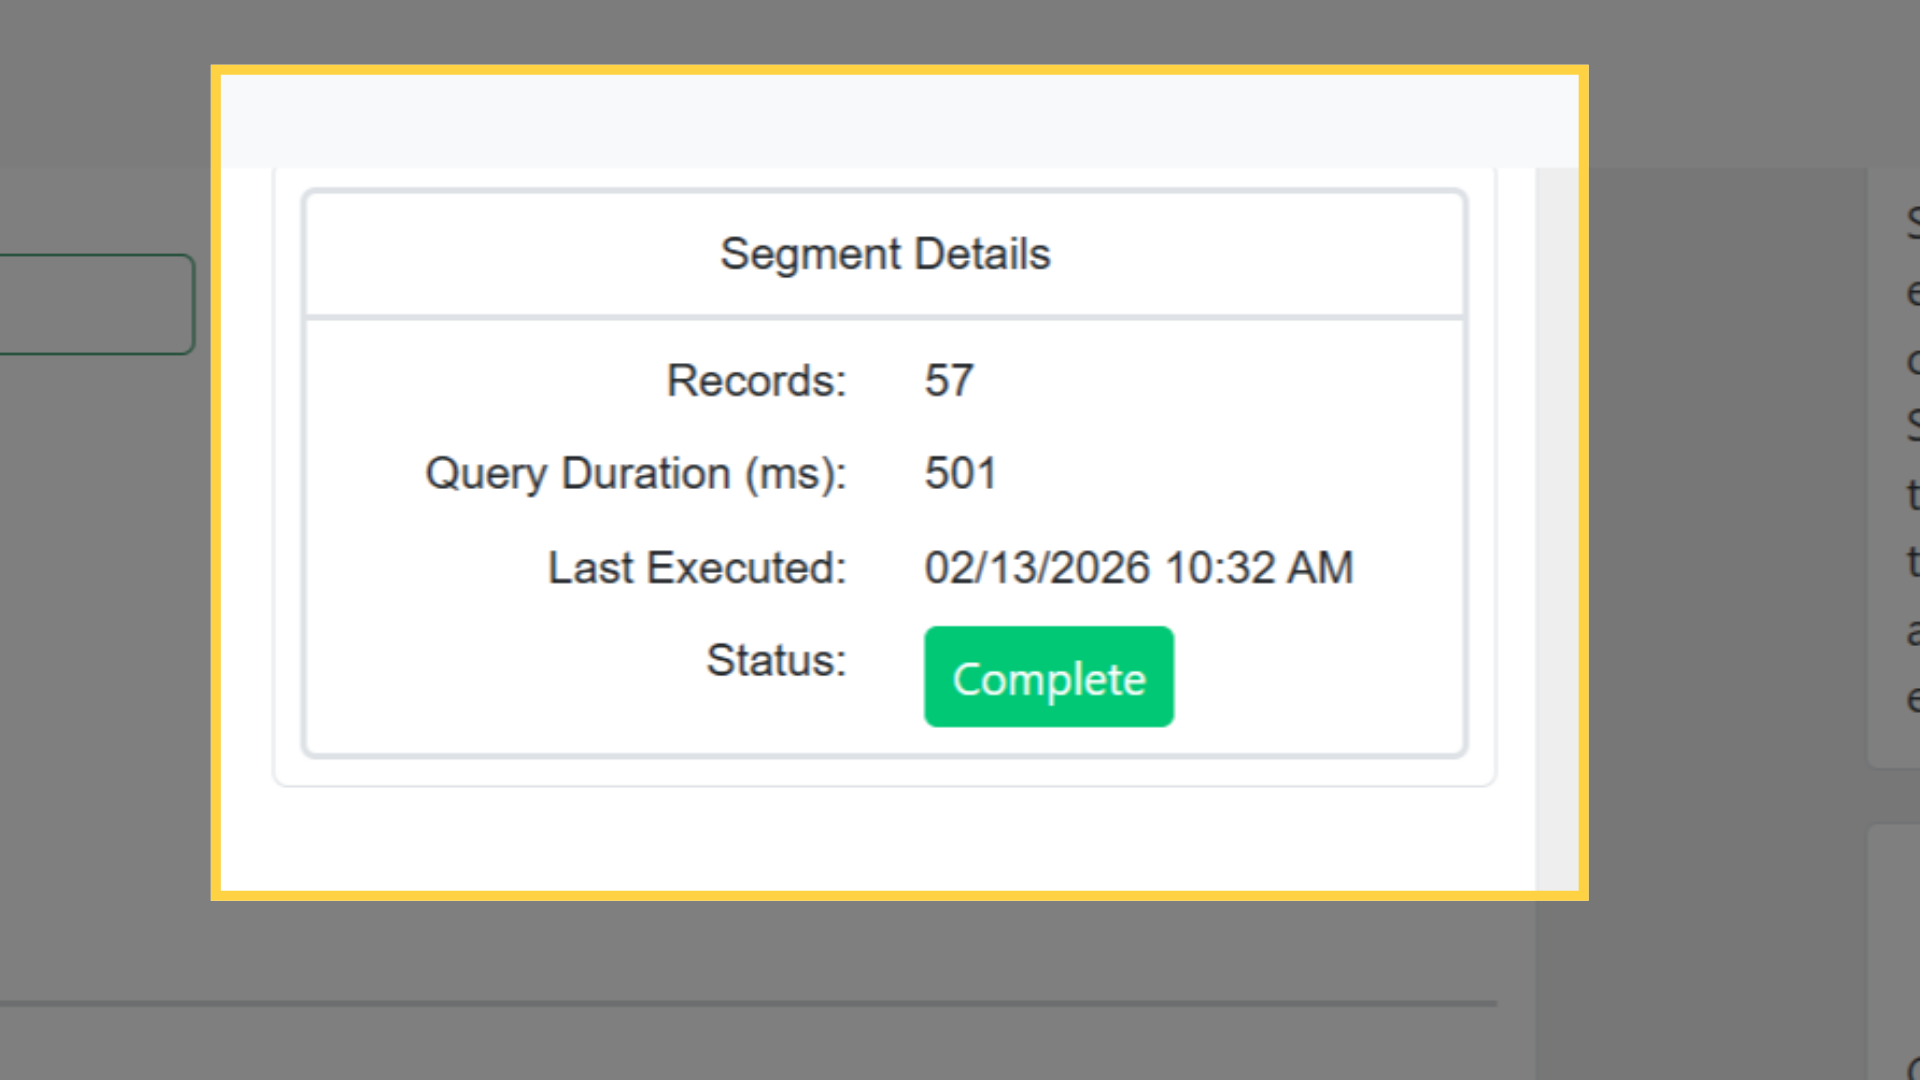
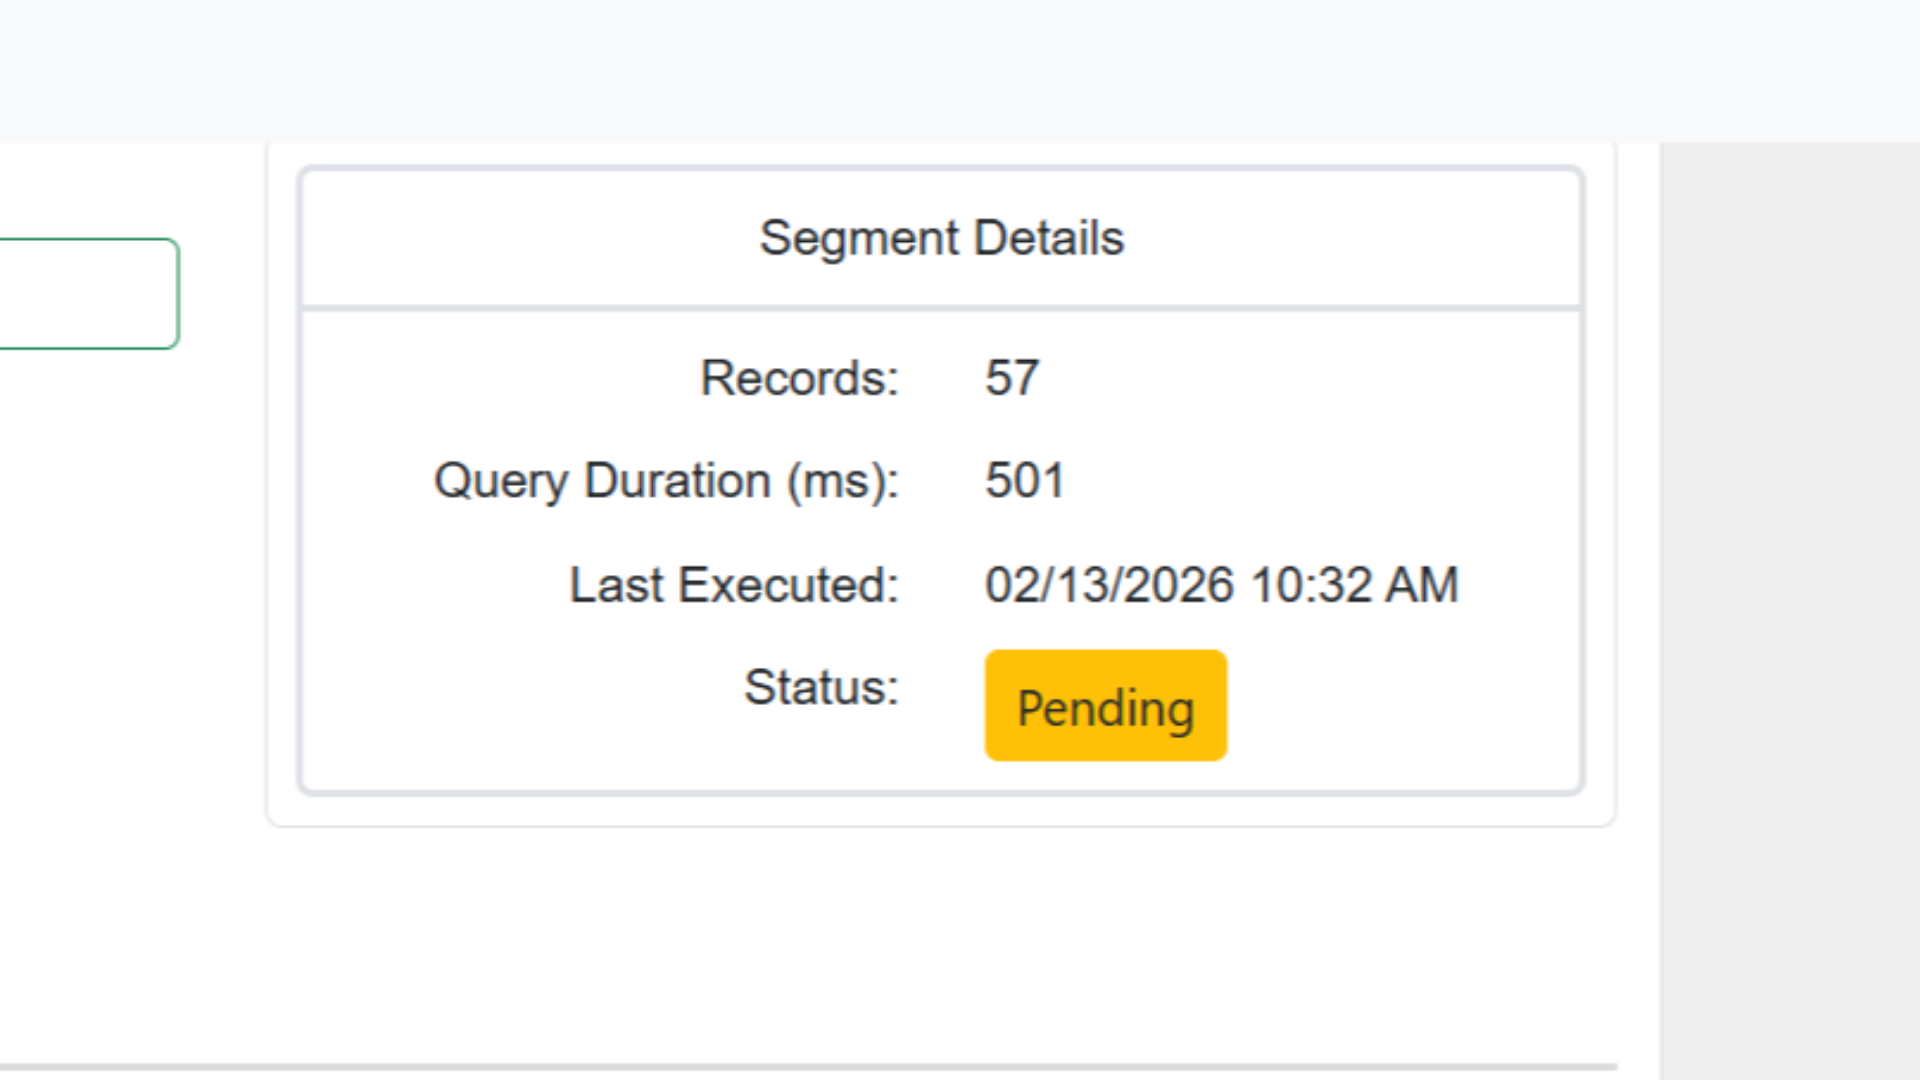
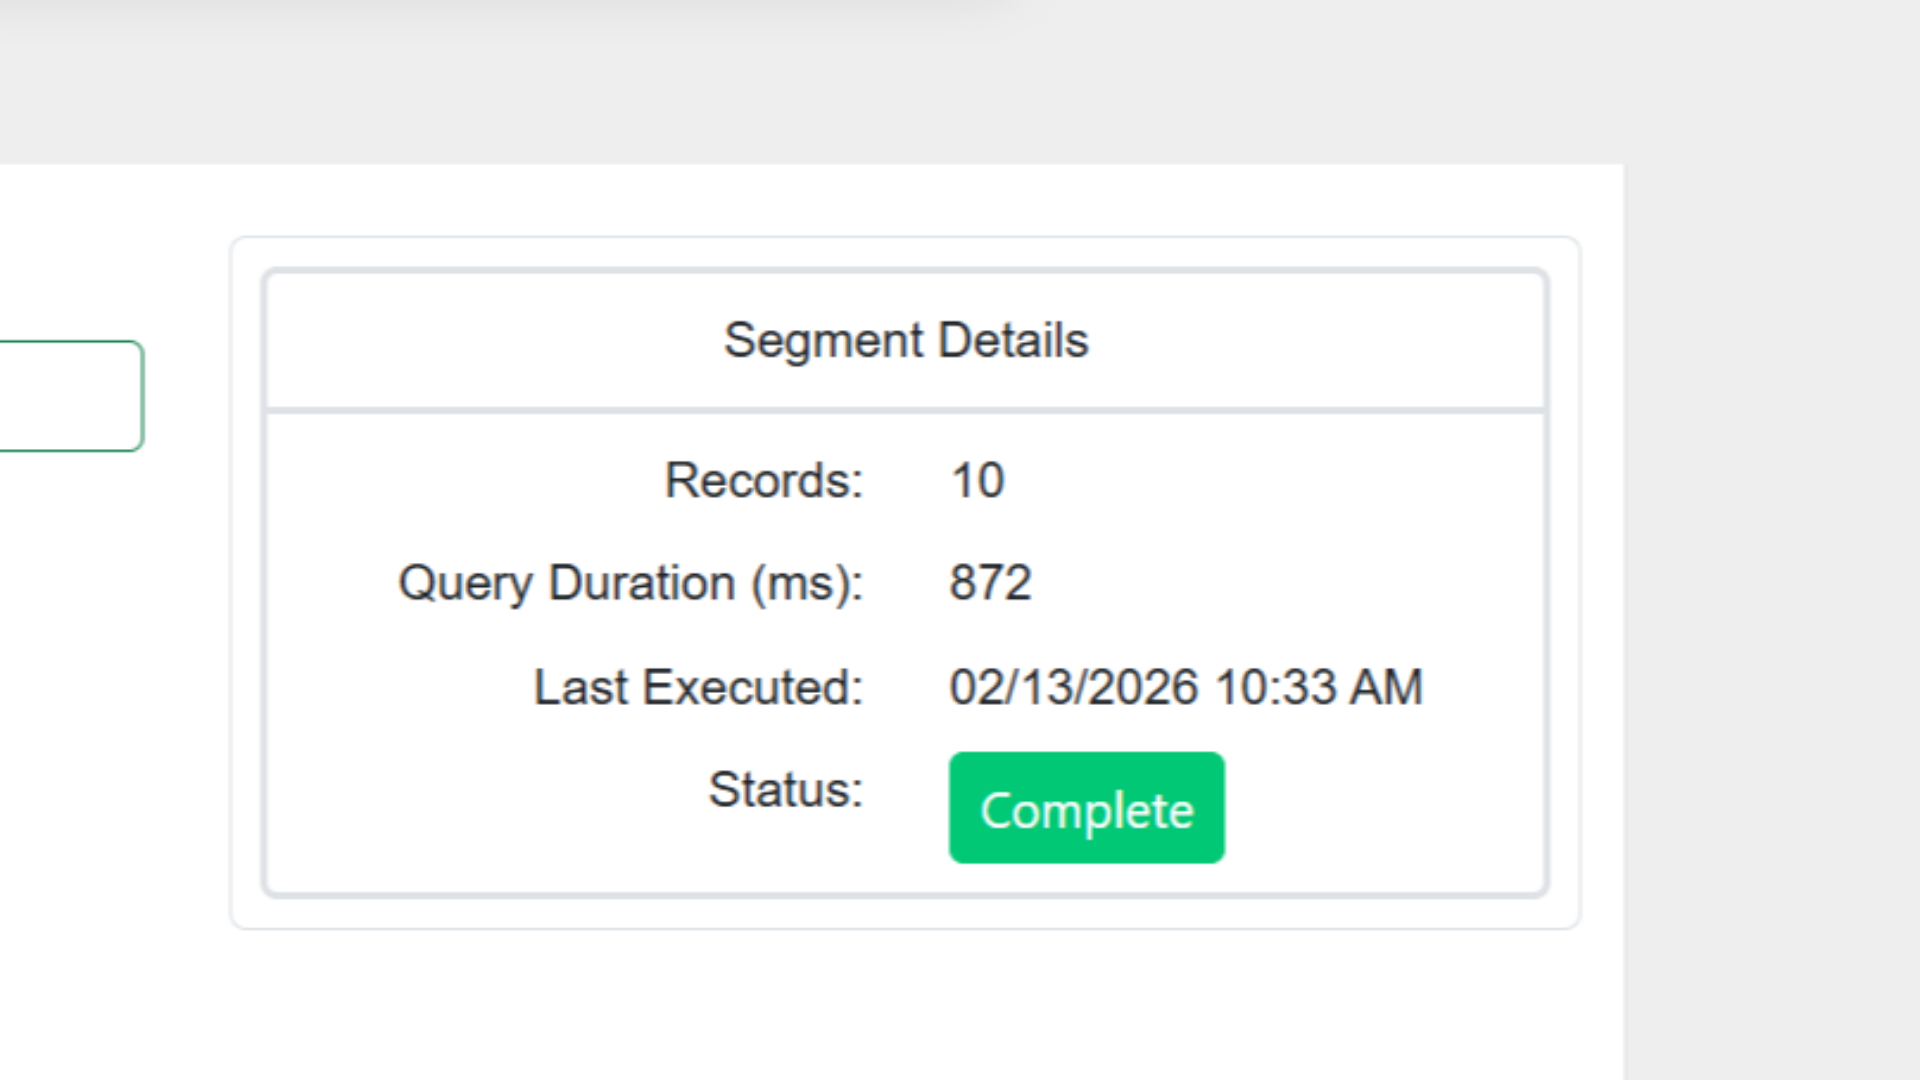
The segment processes in the background. The Count column in the segment grid updates when processing completes.
Already-used filter types are grayed out in the Add Filter dropdown to prevent duplicates.
To edit a segment, double-click it in the grid or click the edit icon.
Understanding Suppression Counts
The segment grid displays two counts:
Segment Count — total contacts matching the filters
Suppression Count — adjusted count after global and assigned suppression lists are applied
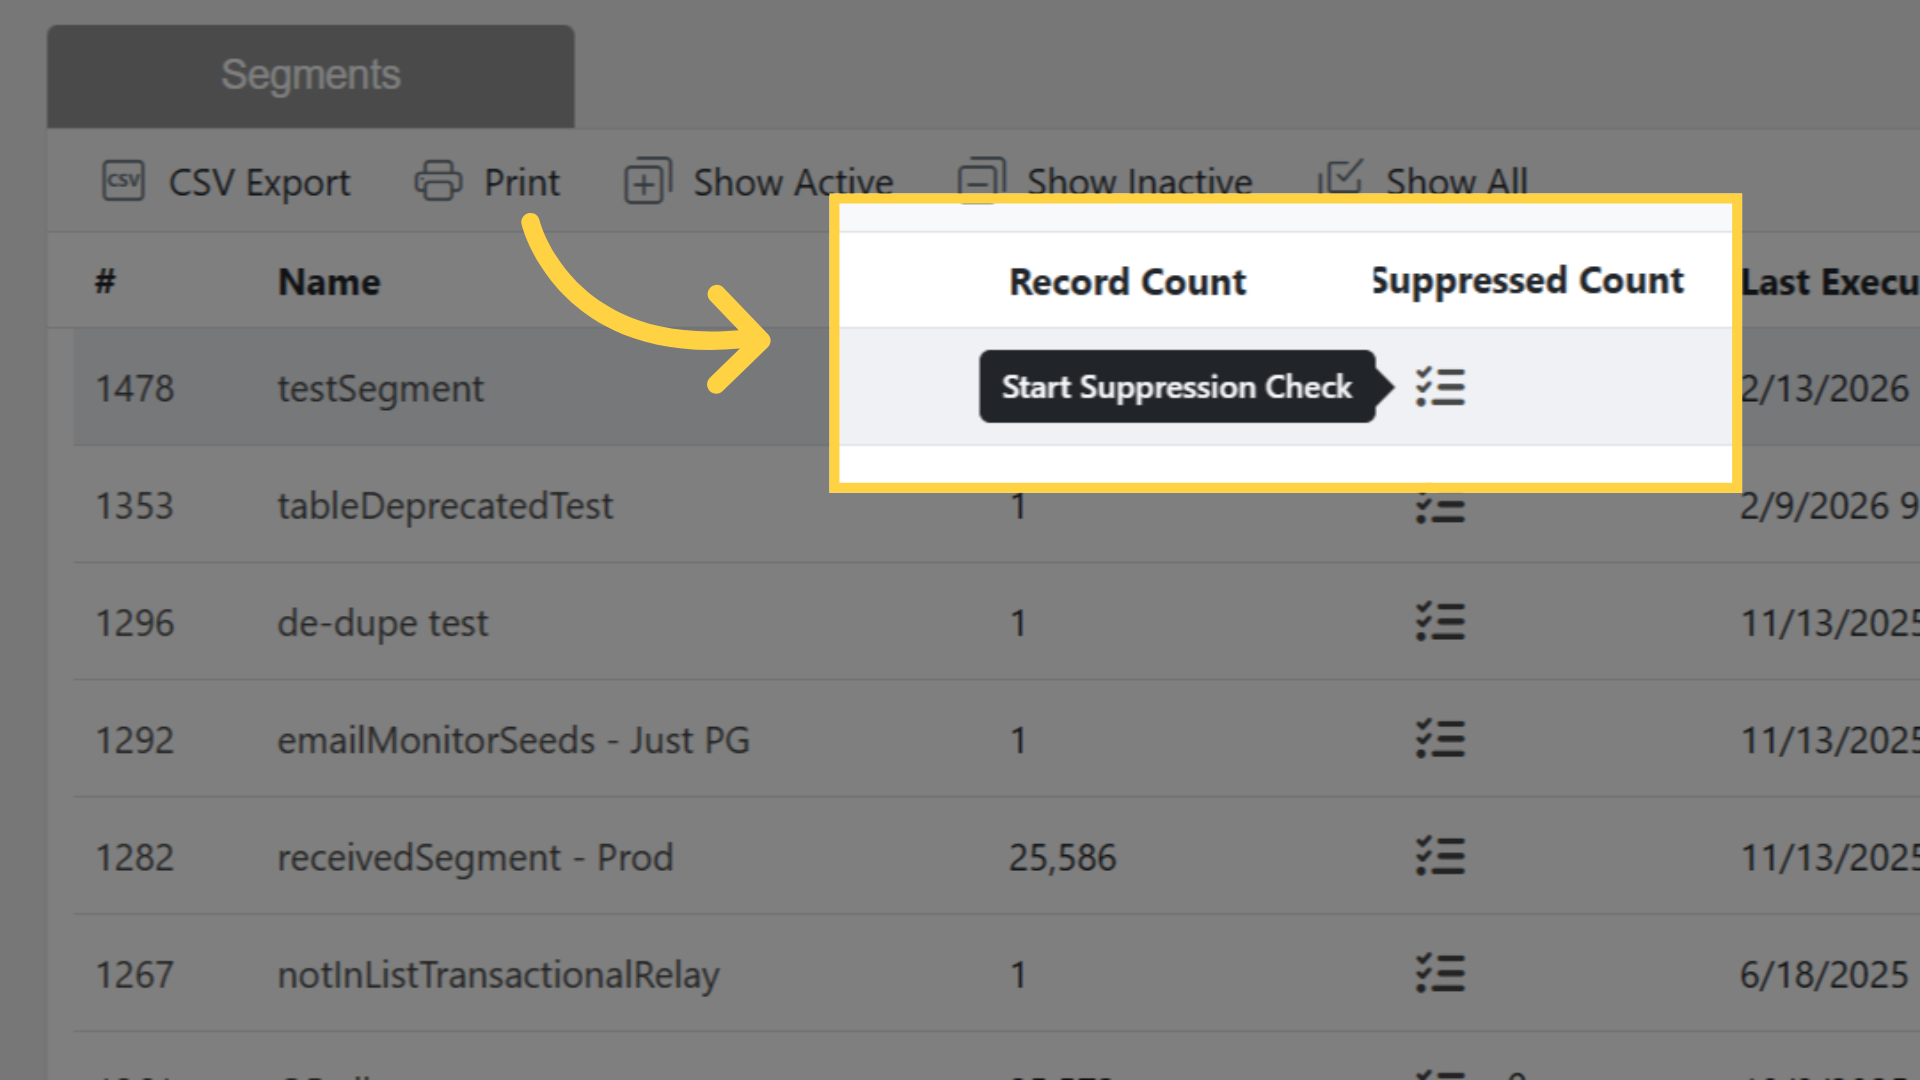
Click the list icon next to the suppression count to see which suppression lists were applied and how many contacts each removed.
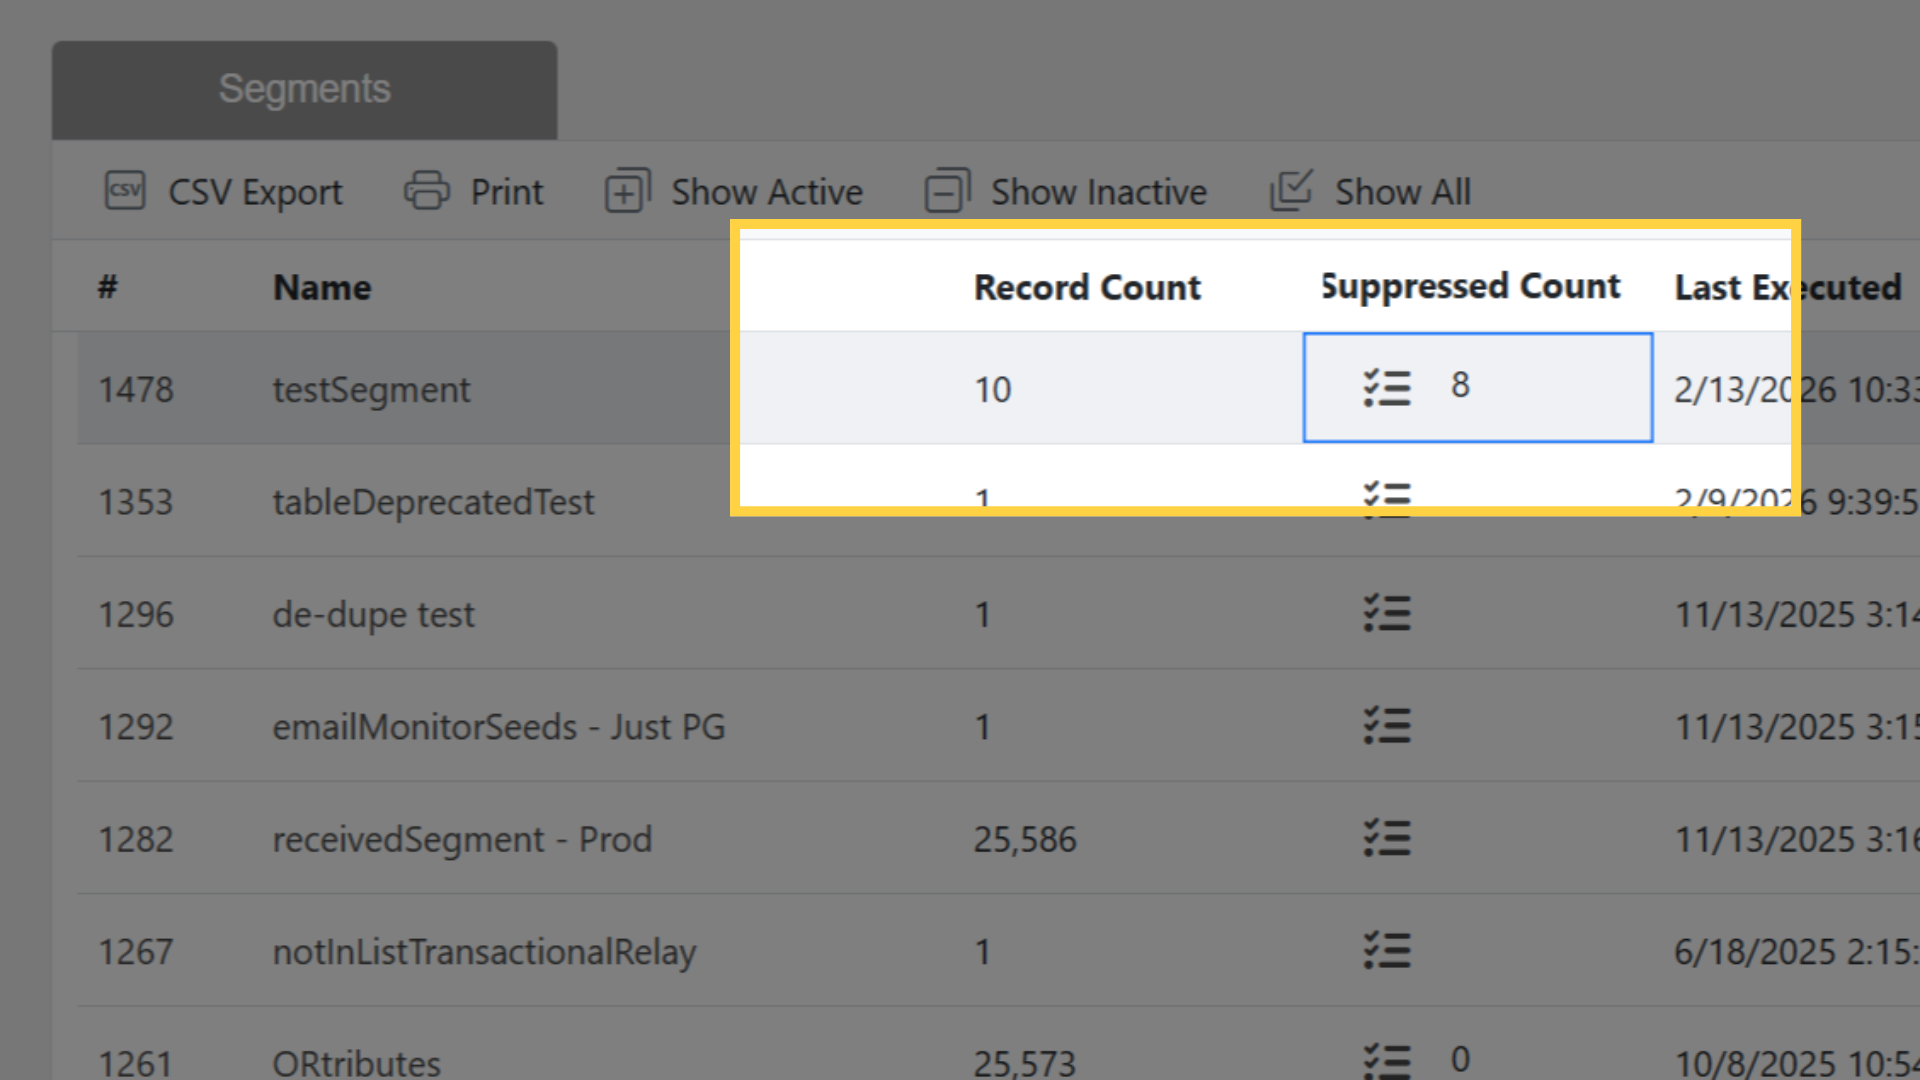
The suppression count reflects the actual number of contacts that will receive an email when this segment is used in a scheduled send.
Tips
- Combine multiple filter types for precise targeting (e.g., Domain Groups + Contact Actions to find "Gmail users who opened in the last 30 days").
- Use Contact Attributes with AND/OR logic for complex criteria.
- Re-run segments before each send to get the latest counts.
- Check the suppression count to understand the true deliverable audience size.