
Google Workspace Inboxes Walkthrough
Every screen for setting up a send integration on the Google Workspace inboxes EmailElement manages for you, from the Send Integrations list to Run Test.
Before You Start
- At least one Google Workspace inbox assigned to your account. Google Workspace Inboxes says how to get them.
- A verified sender domain, under Sender Domains.
The Send Integrations Page
A Google Workspace inboxes integration shows EmailElement under Type and Gmail under ESP. Click its name to open it.
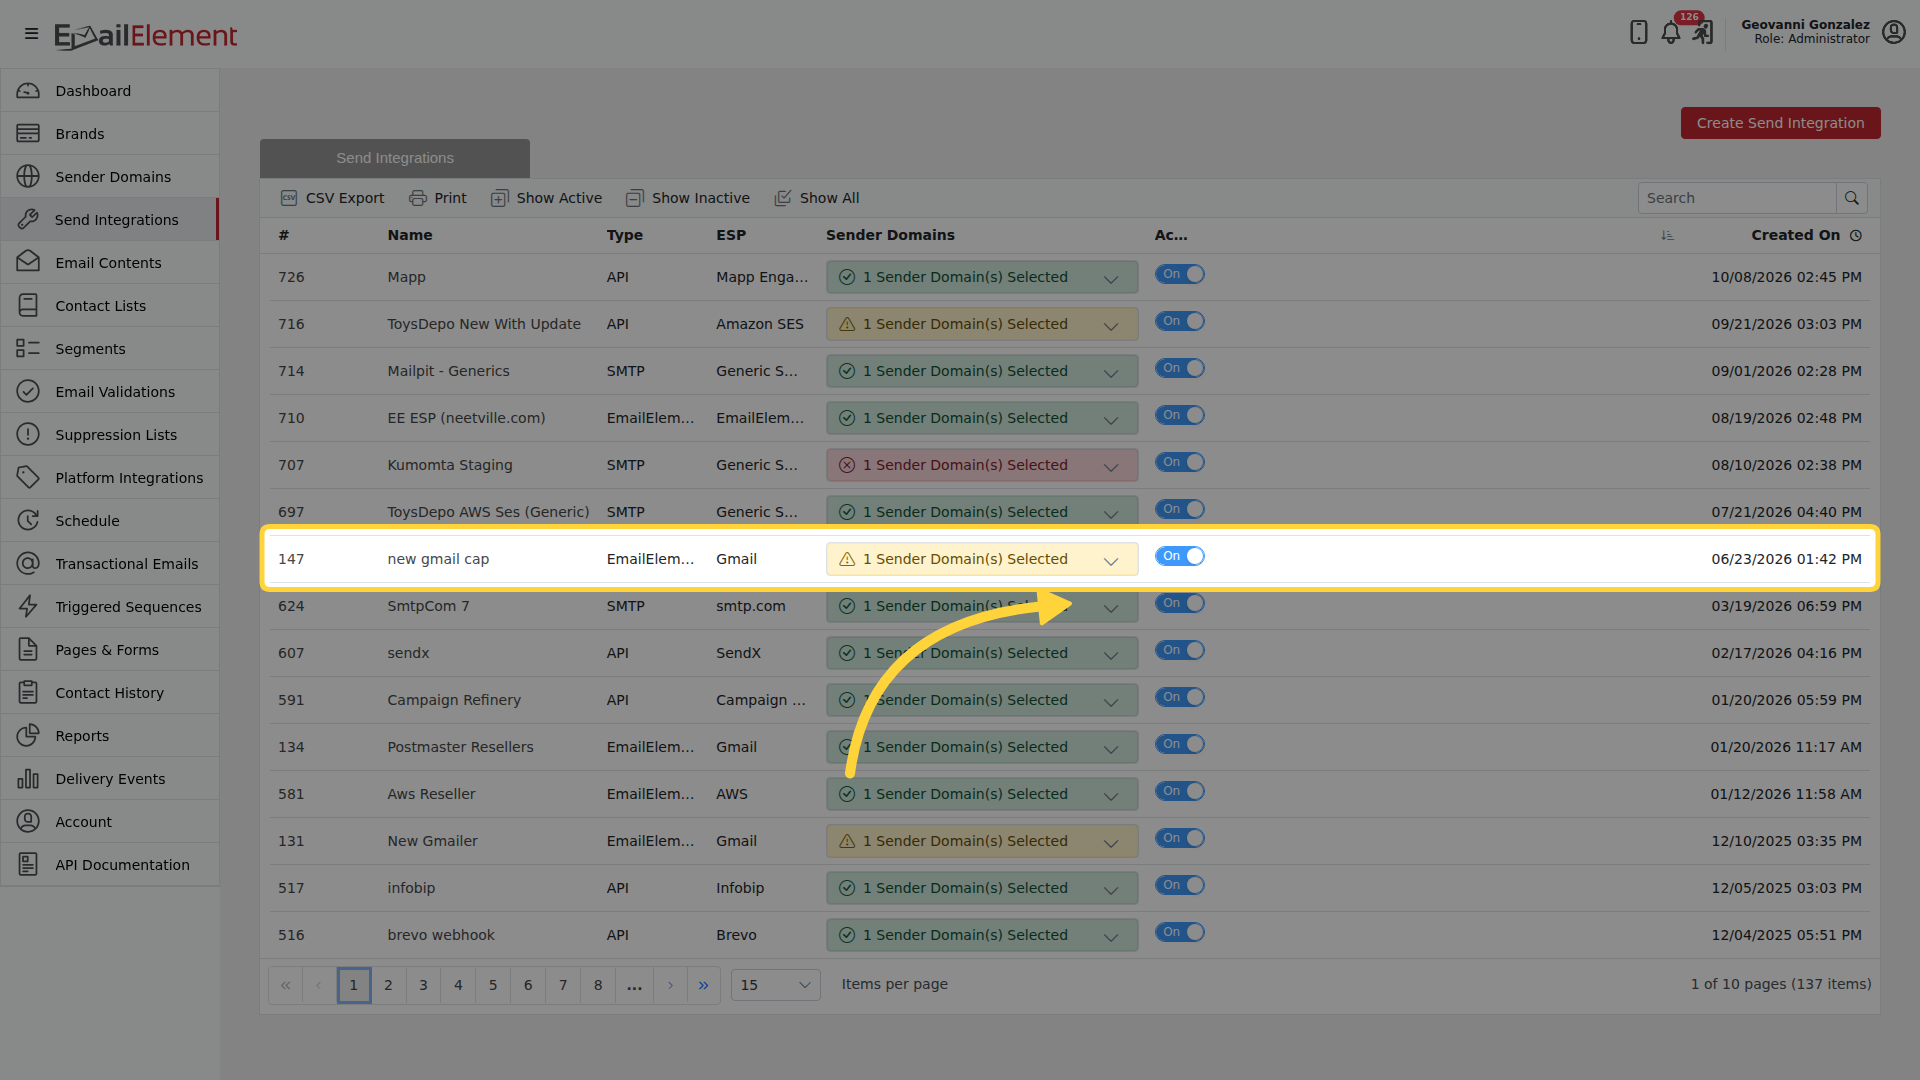
Step 1: Start the Integration
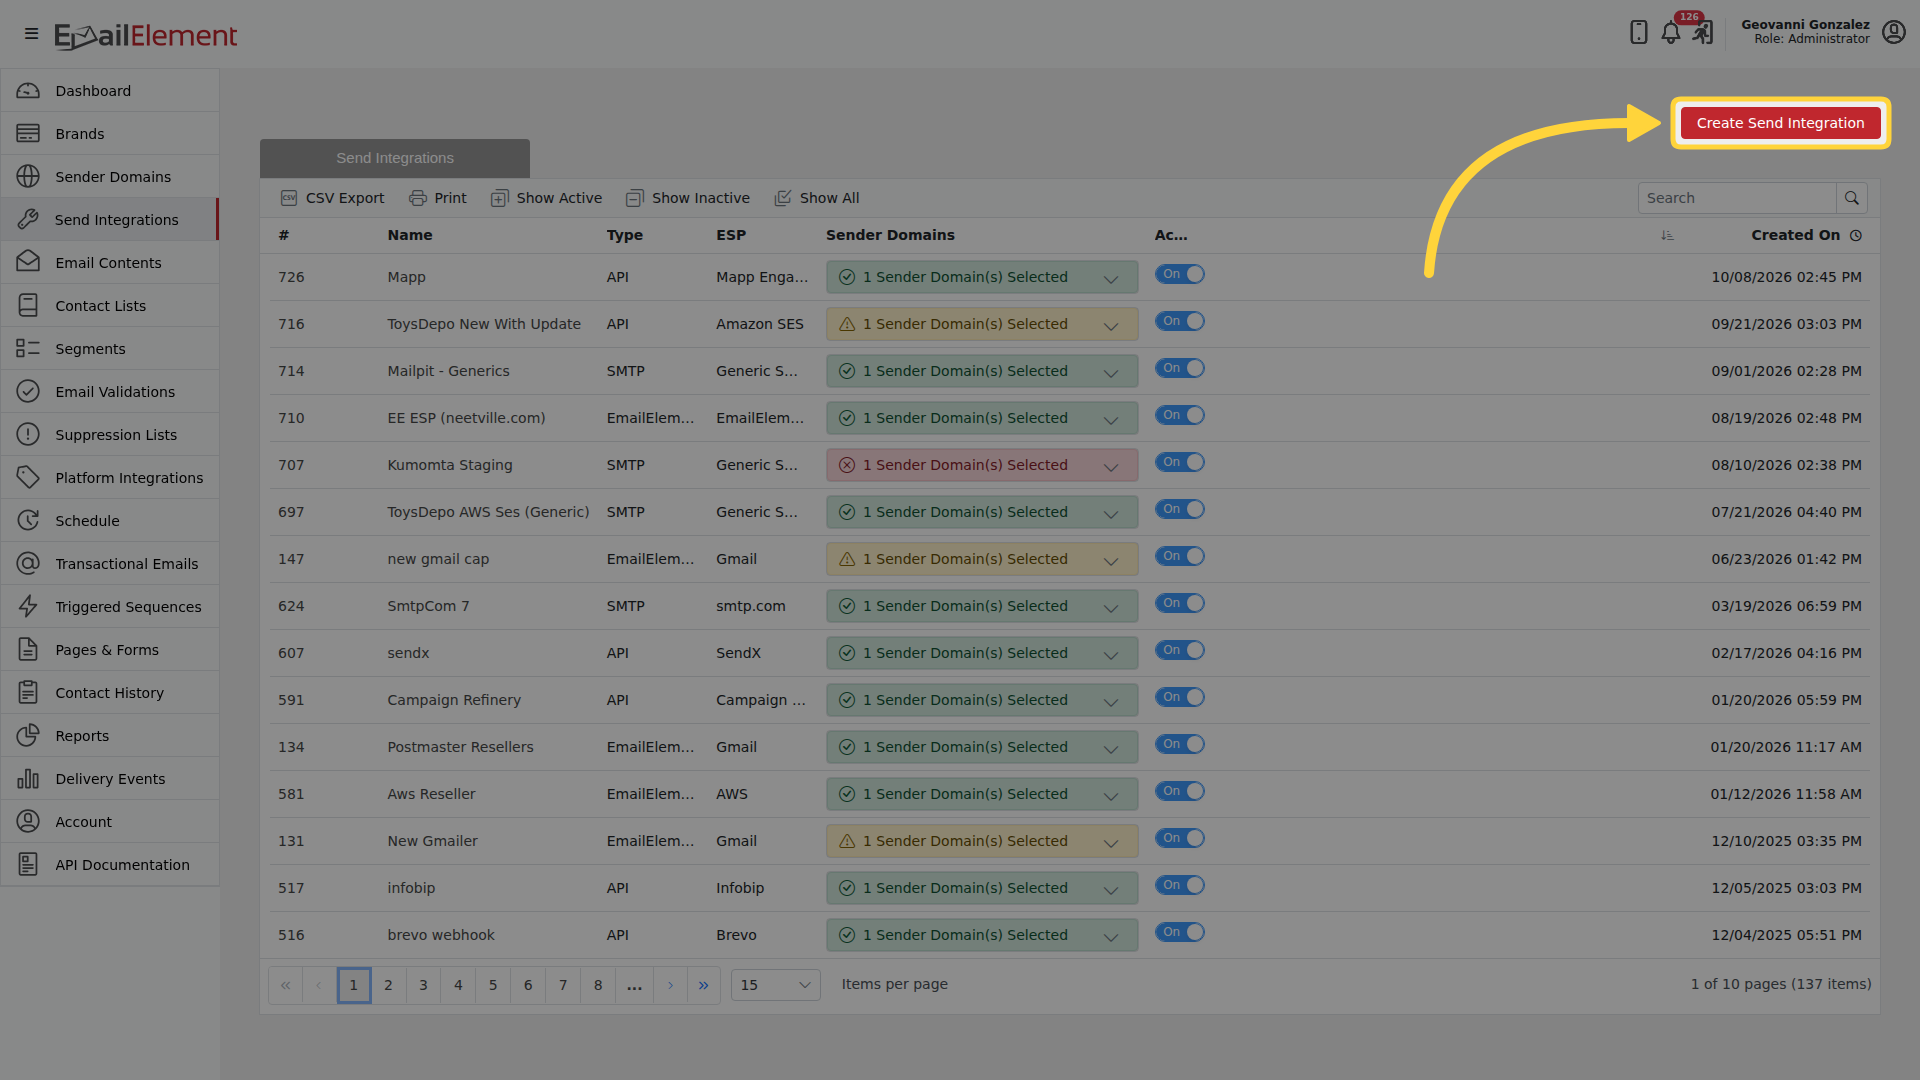
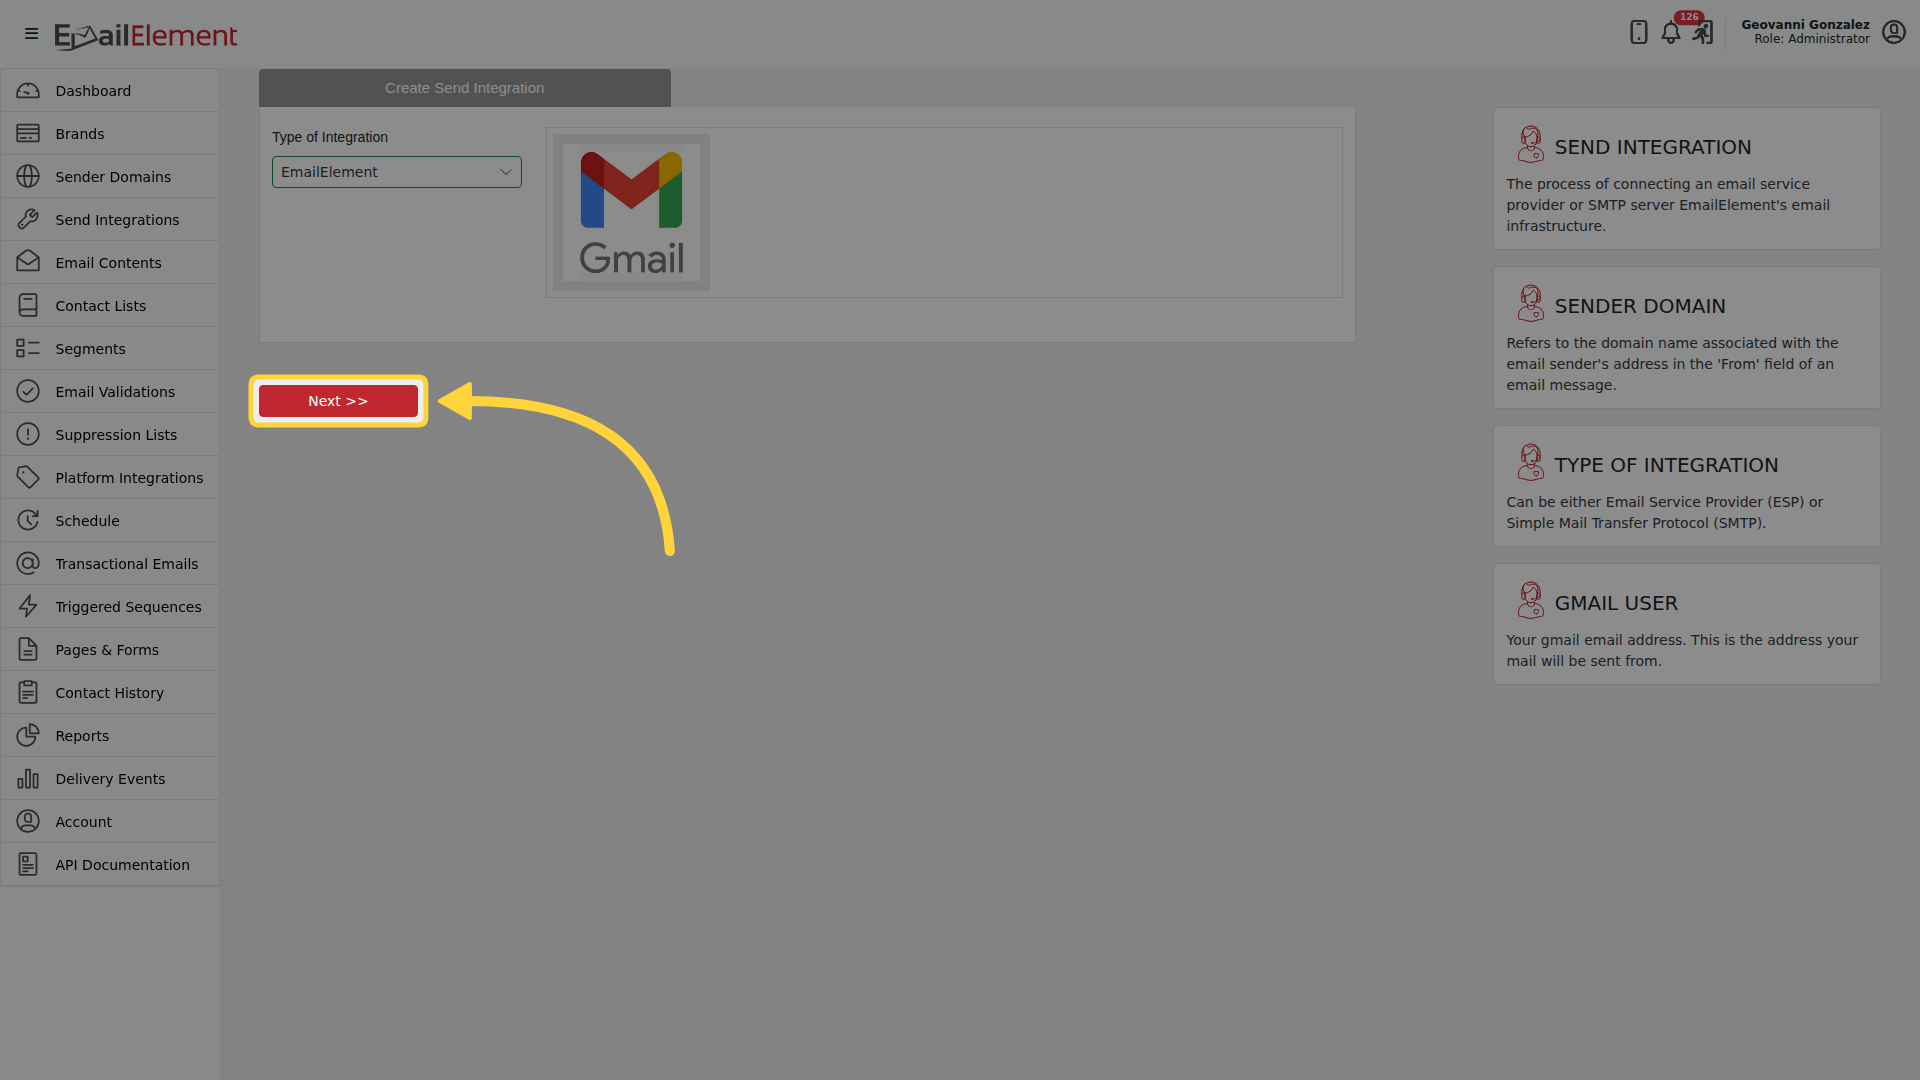
Click Create Send Integration
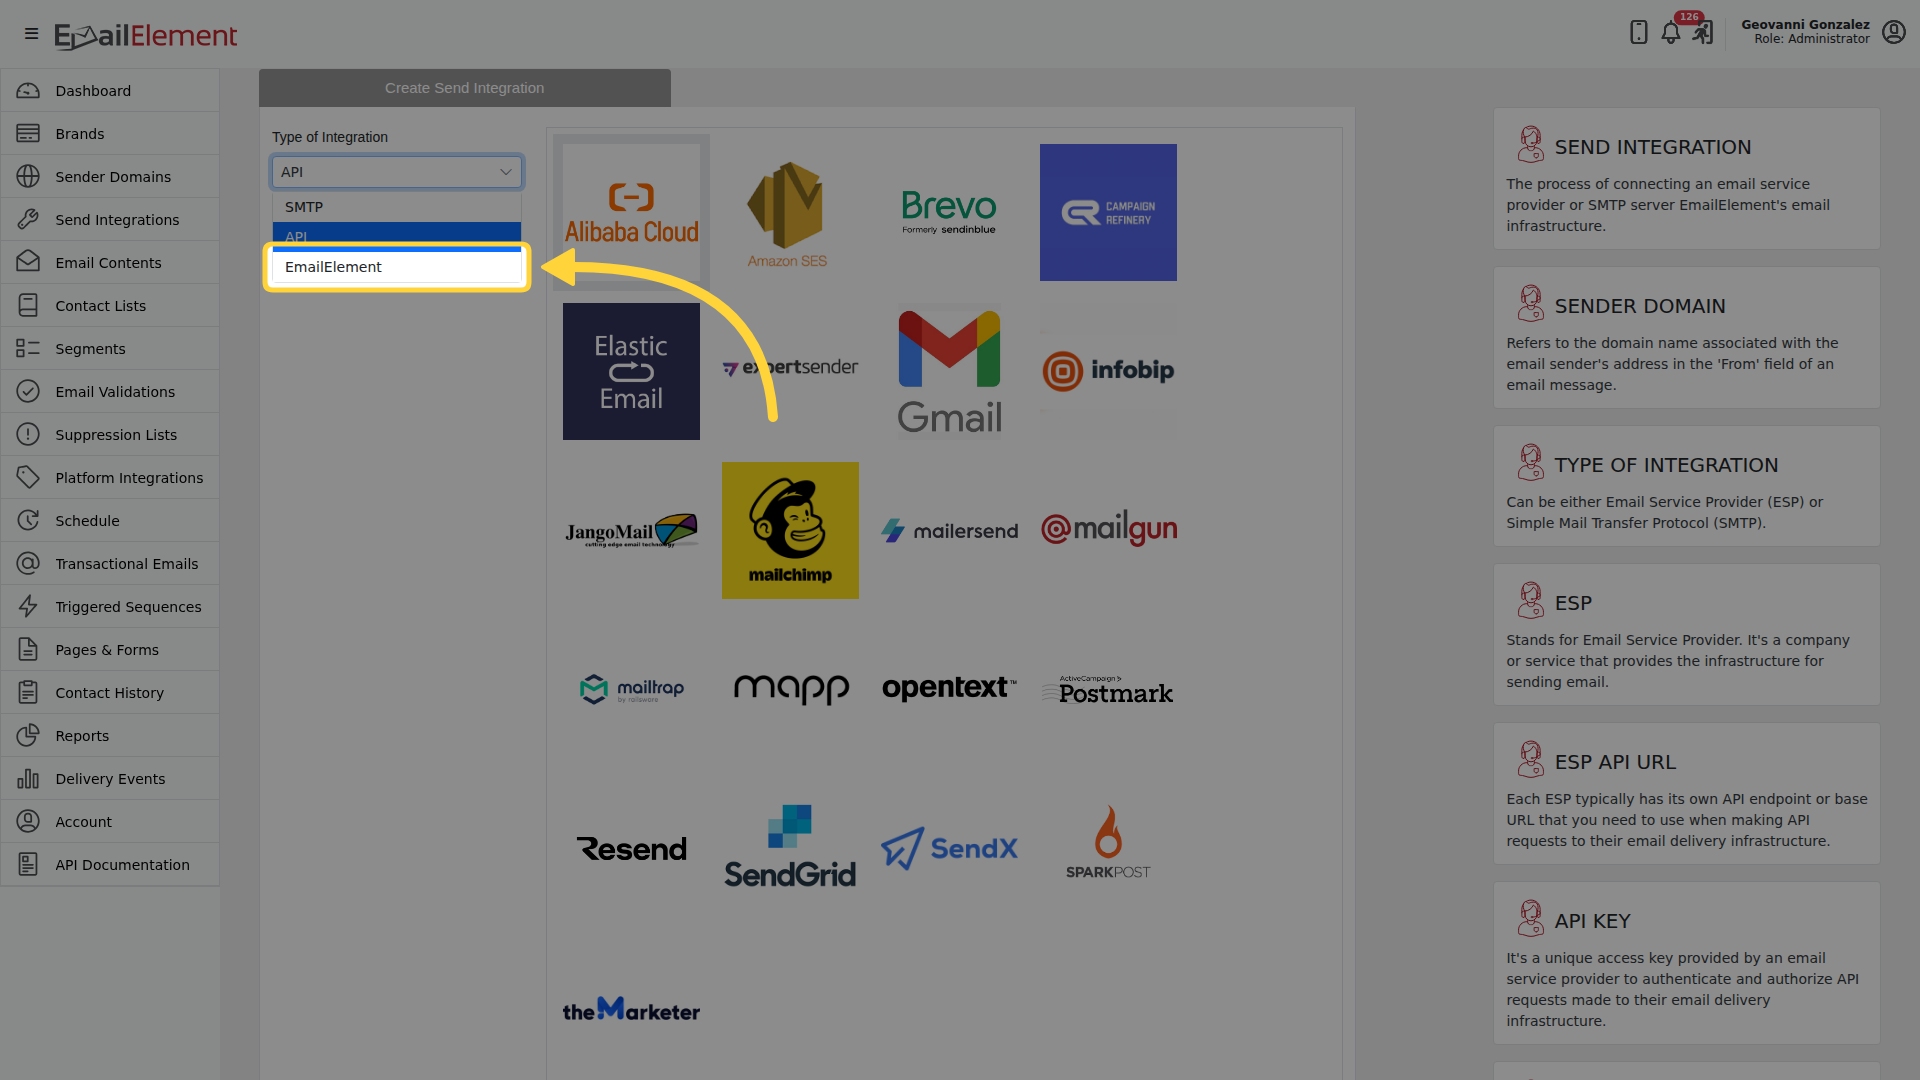
Open Type of Integration and choose EmailElement
Pick Gmail
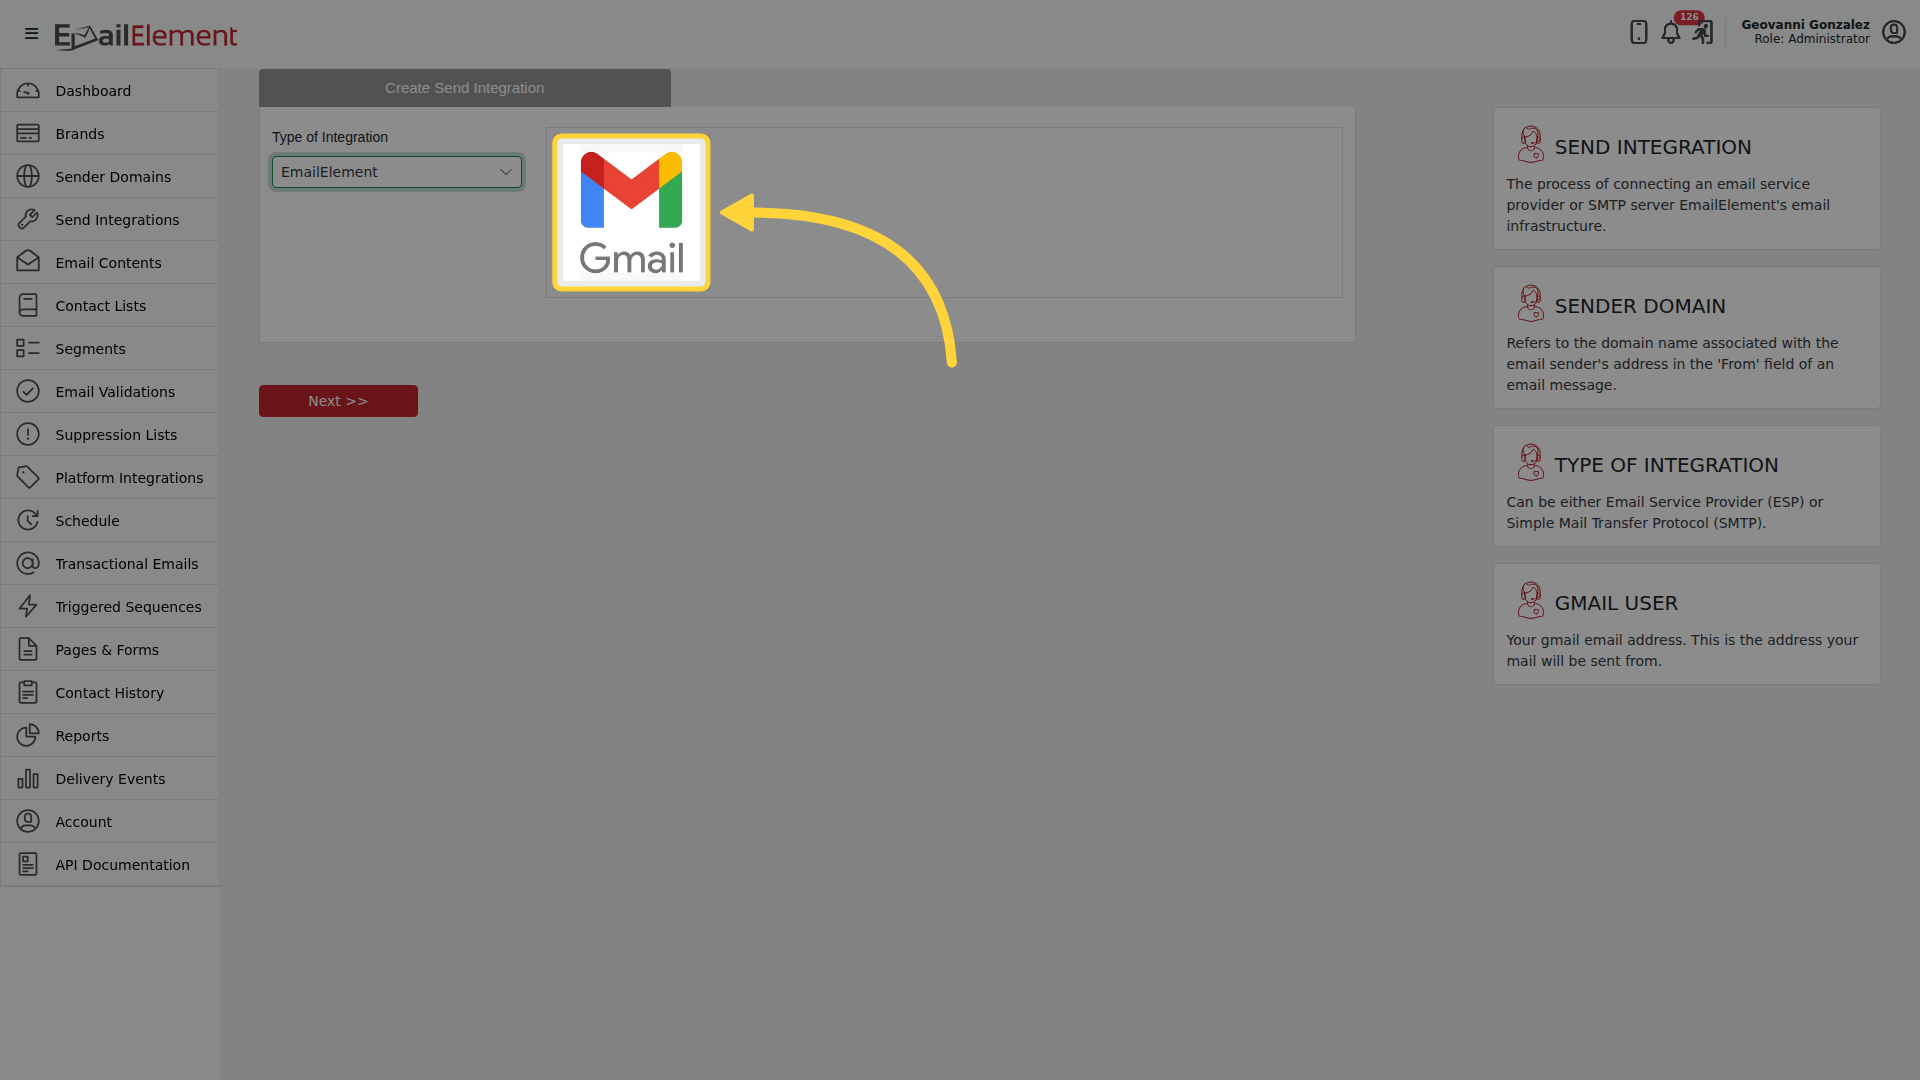
Click Next >>
Step 2: Fill In the Integration
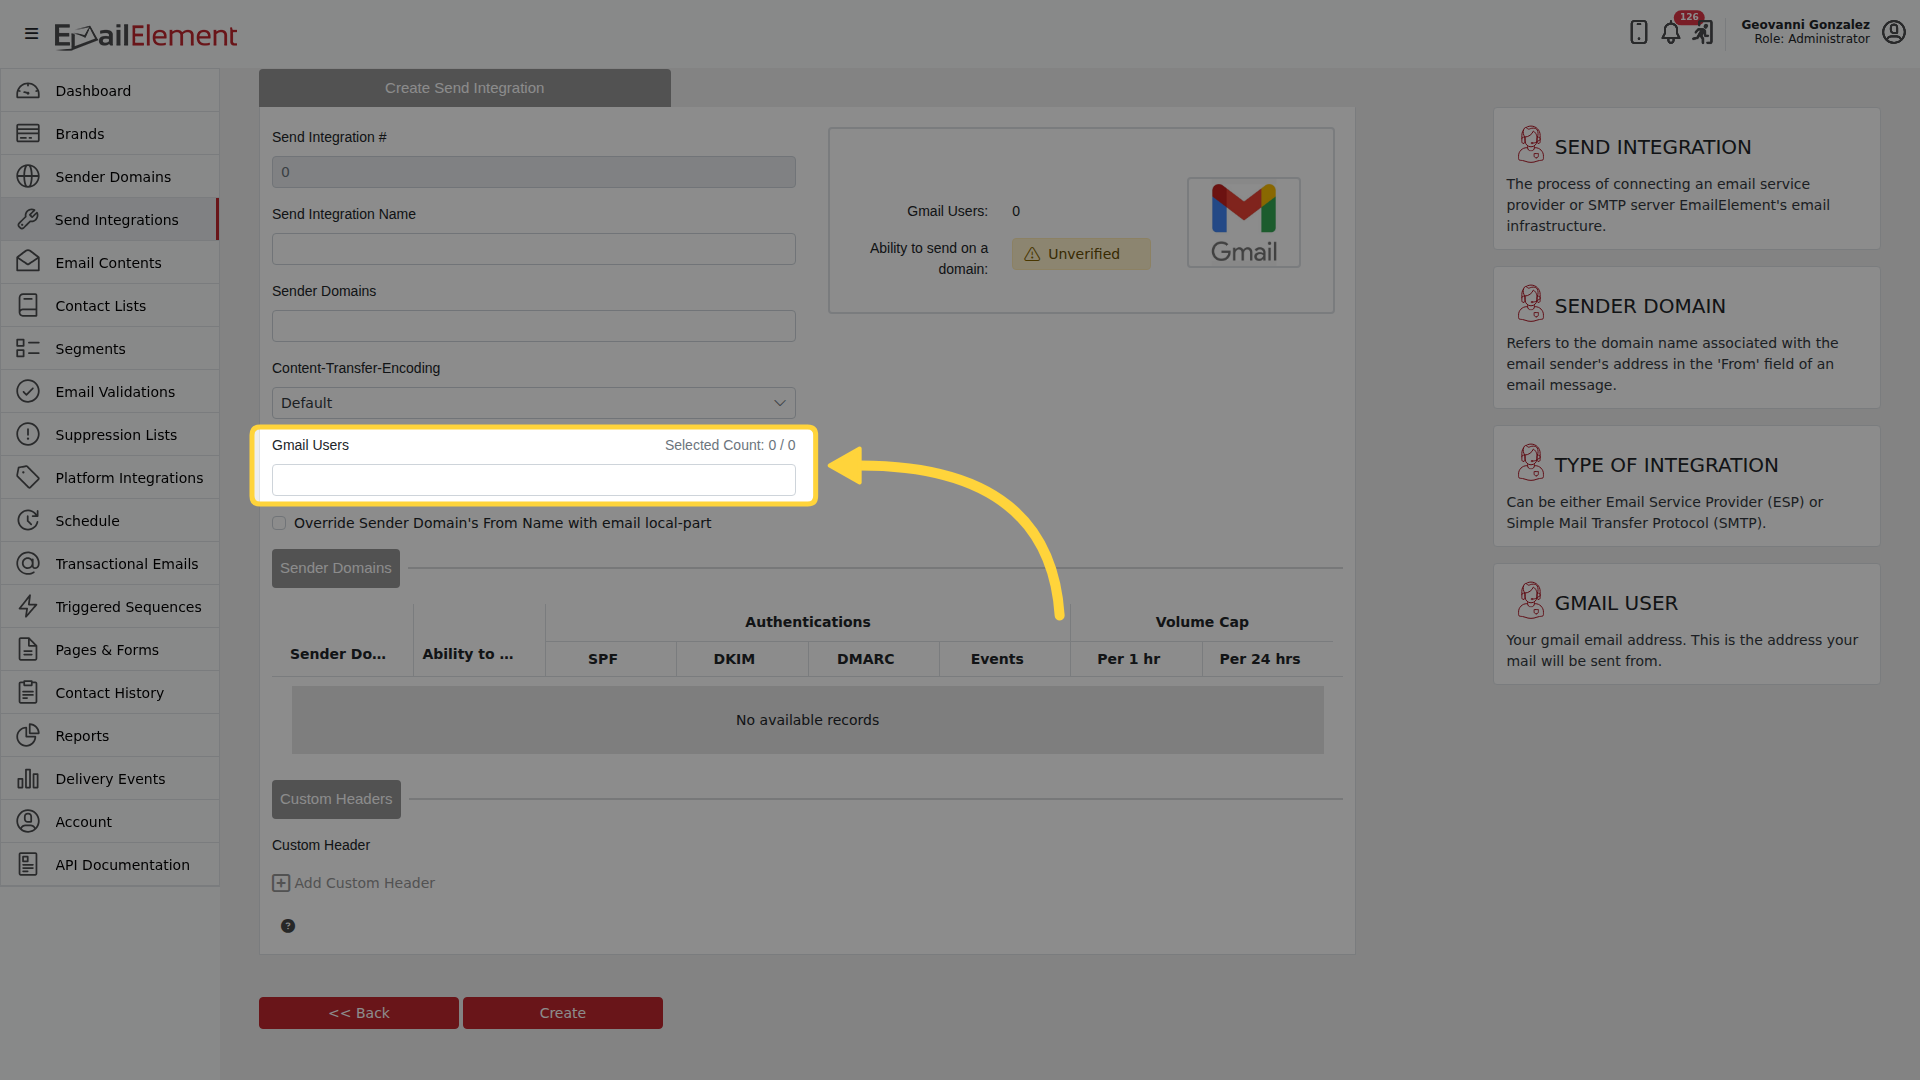
Enter a Send Integration Name, choose the Sender Domains, and leave Content-Transfer-Encoding on Default unless you have a reason.
Open Gmail Users and tick the inboxes to send through. Which inboxes the list offers is on Google Workspace Inboxes.
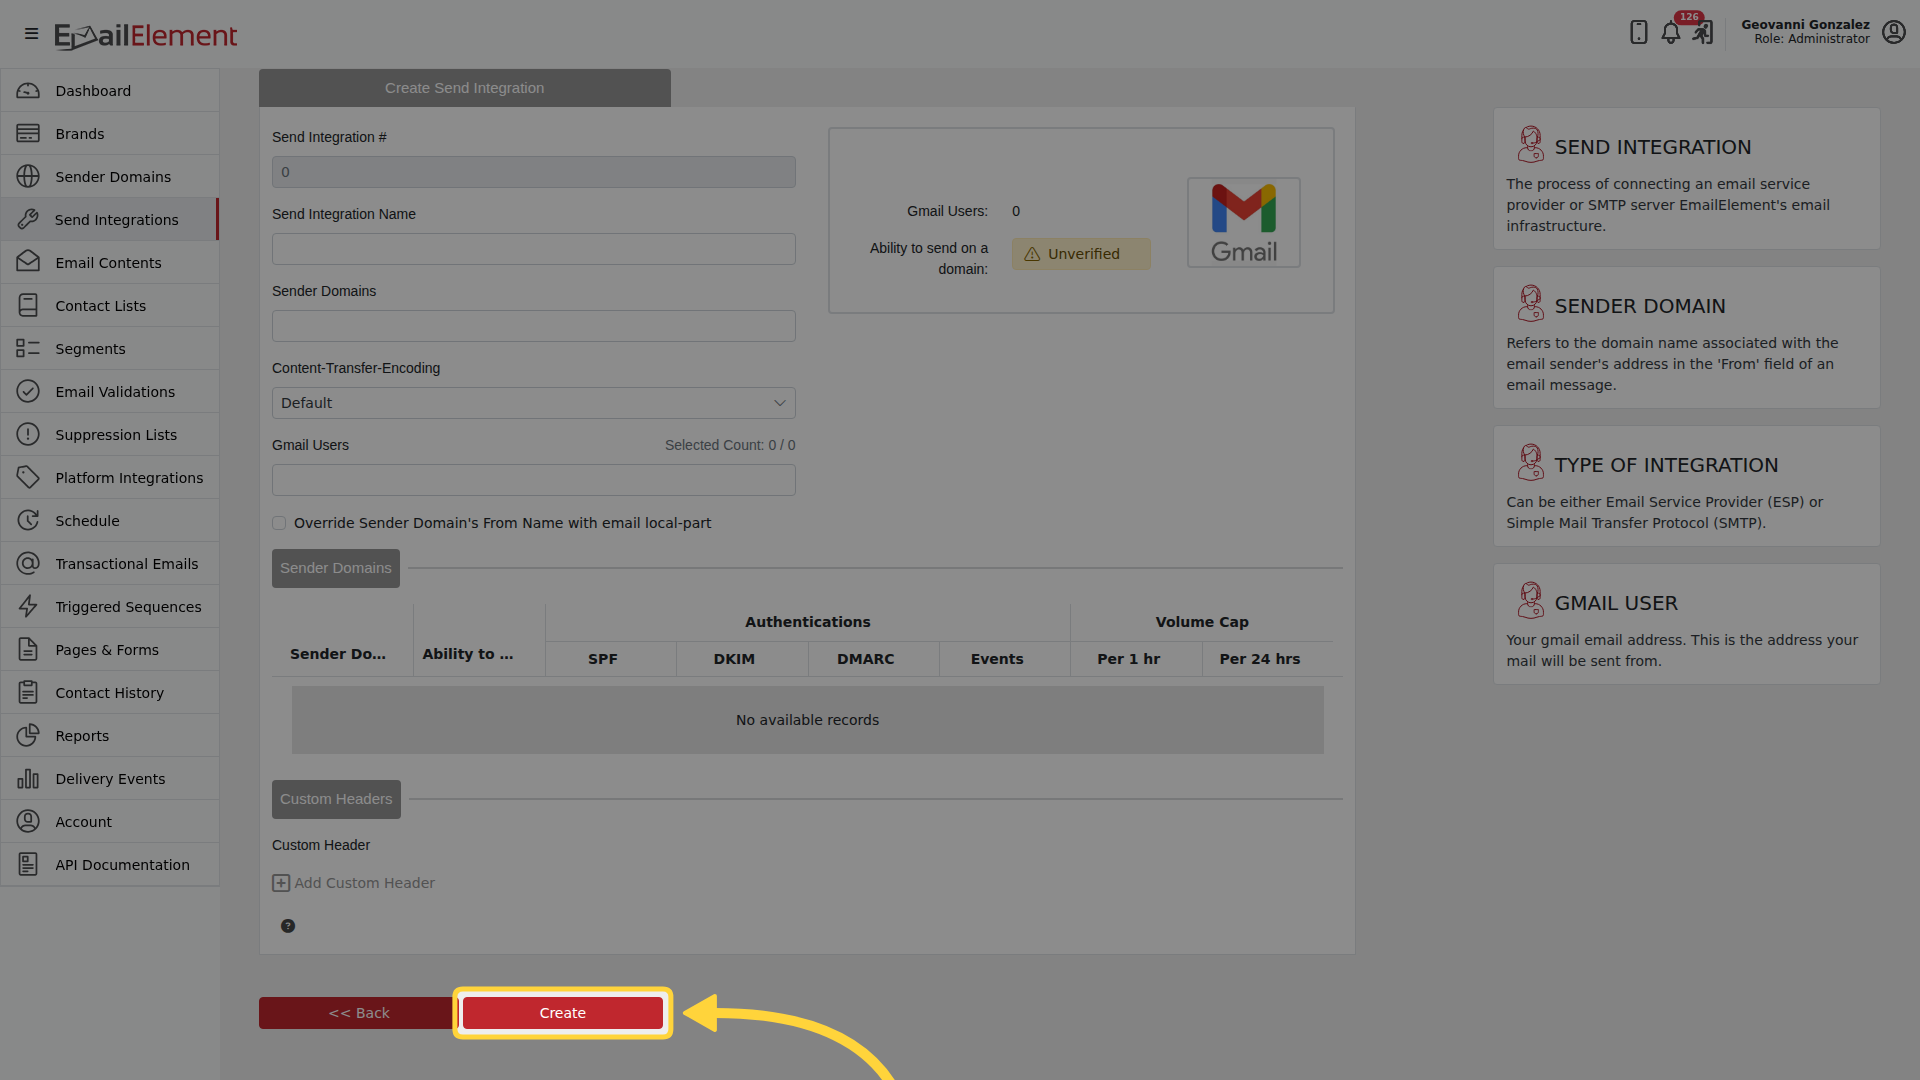
Click Create
Step 3: Change the Gmail Users
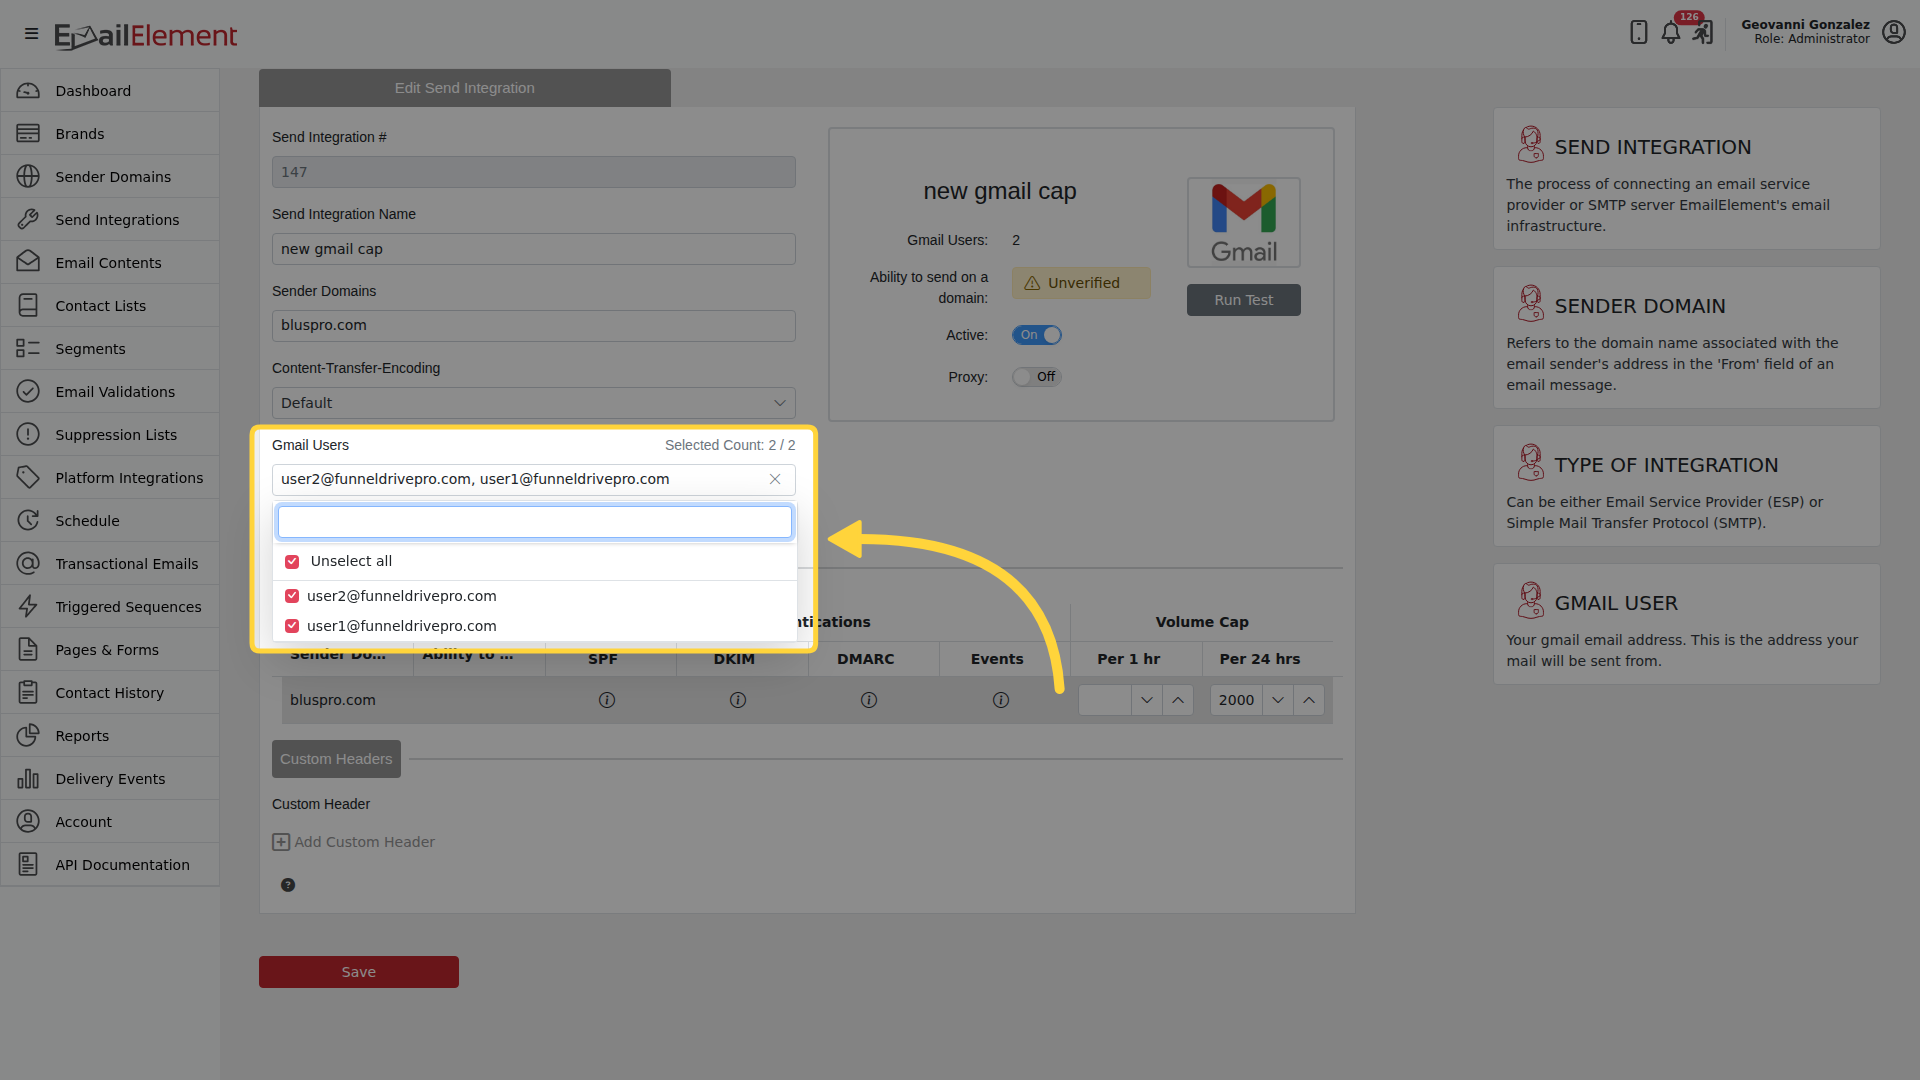
The picture shows an existing integration open for editing. Open Gmail Users to add or remove inboxes. Type in the box to filter the list, or use Select all and Unselect all. Changing the selection switches Run Test off until you save.
Step 4: Settings
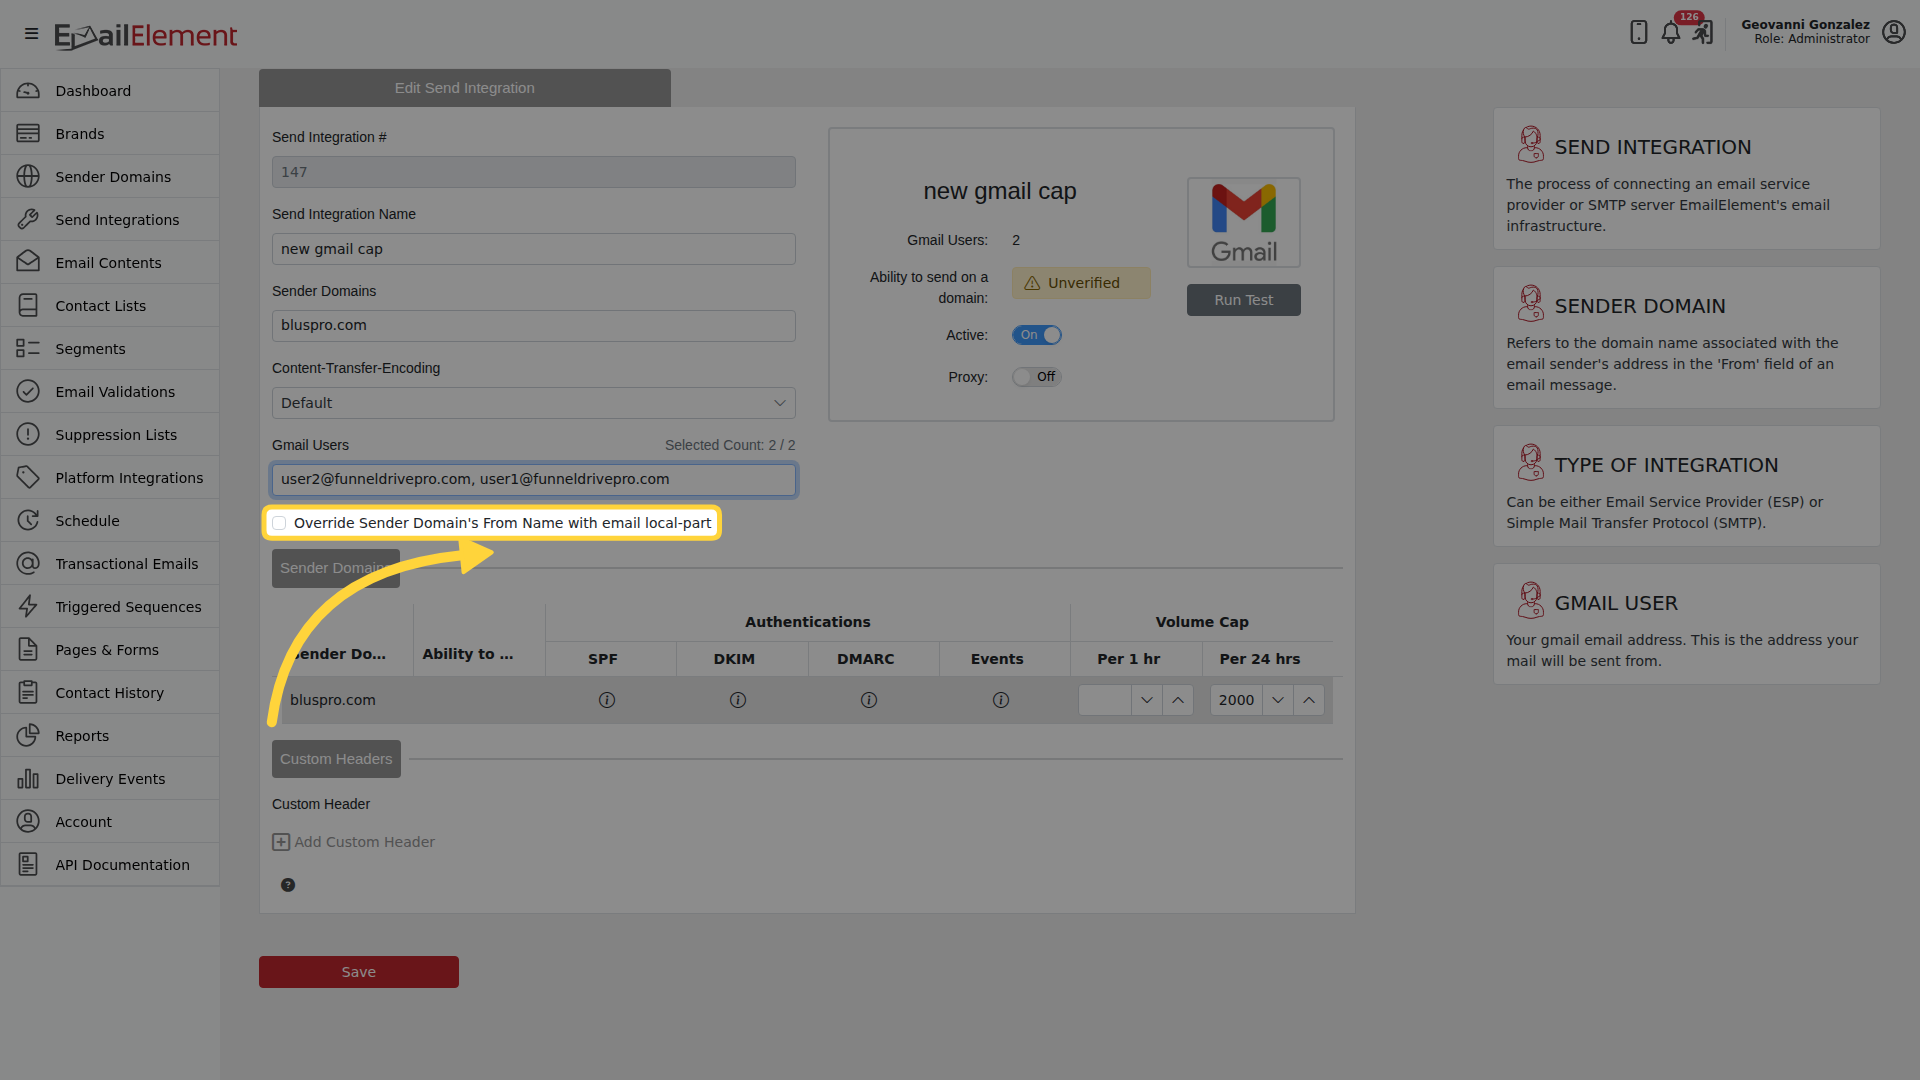
Override Sender Domain's From Name with email local-part sends each email under the name in front of the @ of the inbox sending it
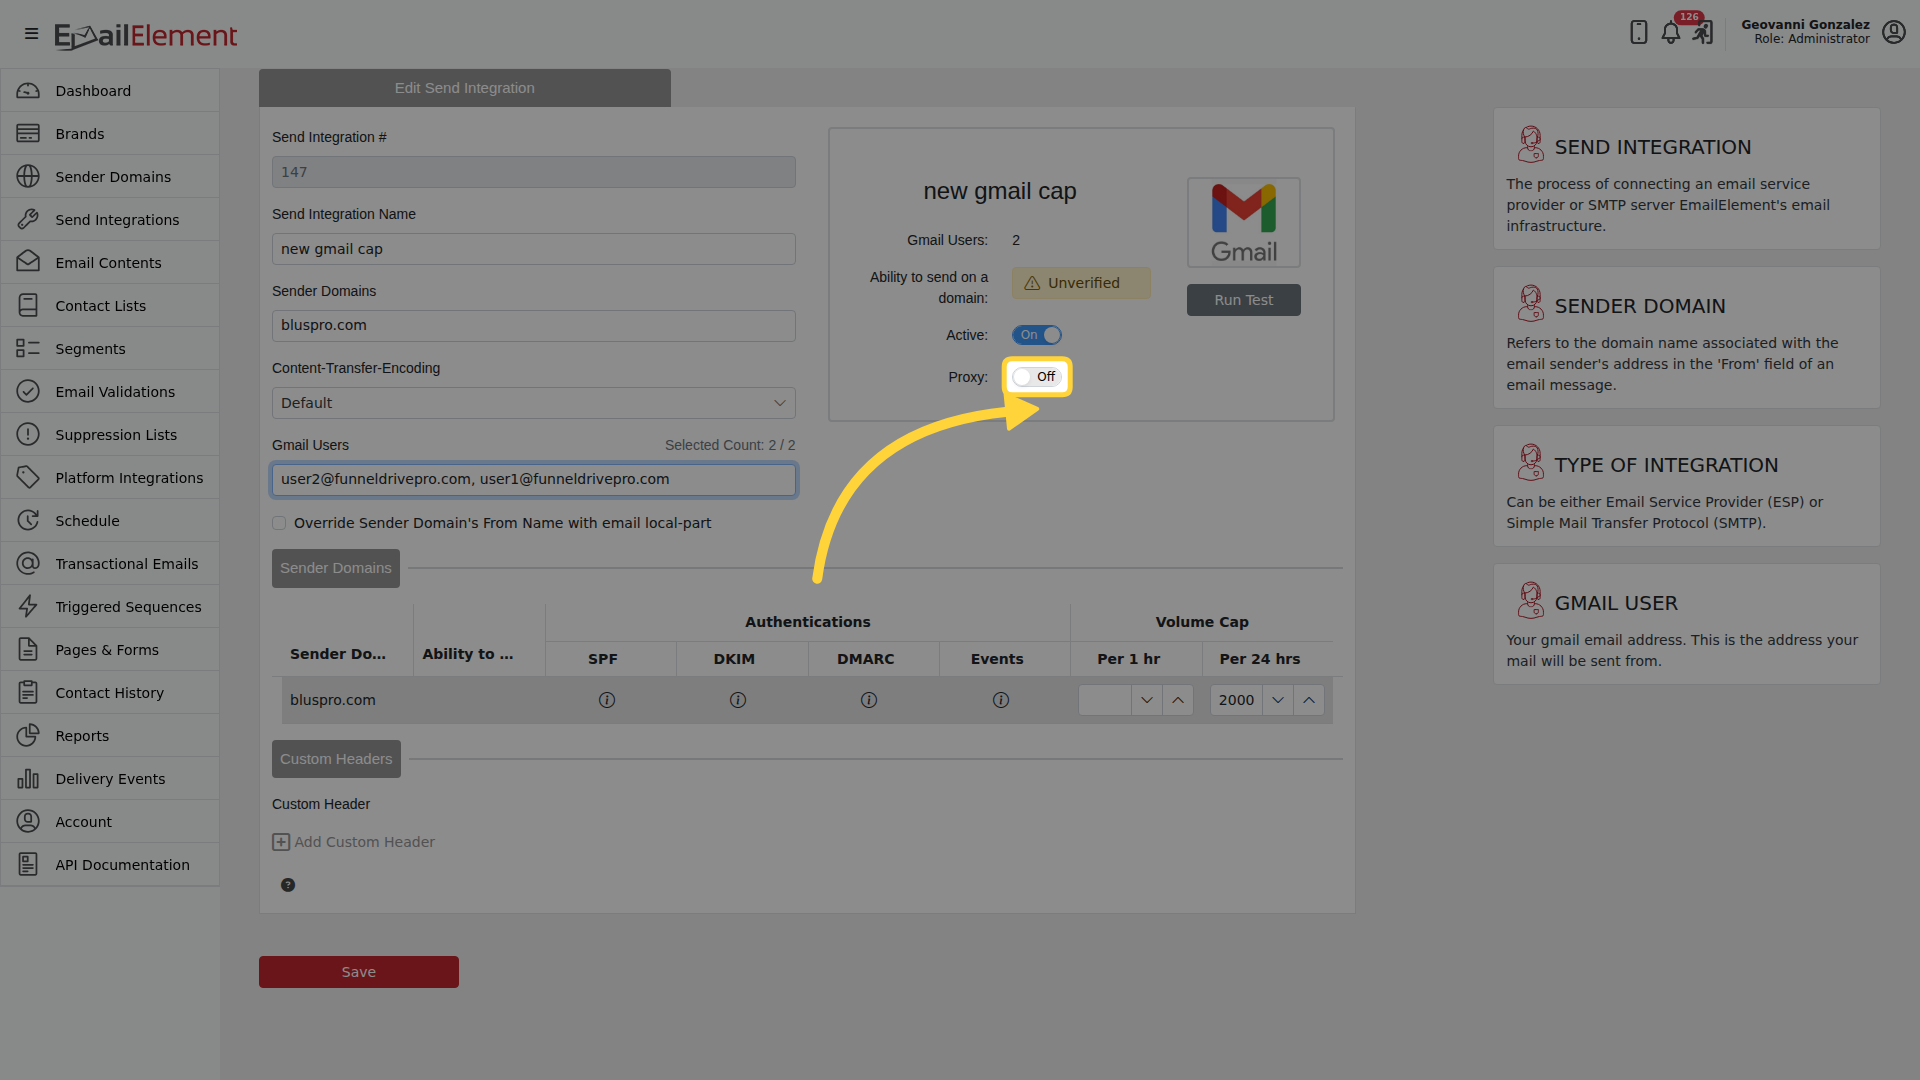
Proxy sends through a dedicated proxy IP. Whether you need it, and what it costs, is on Google Workspace Inboxes
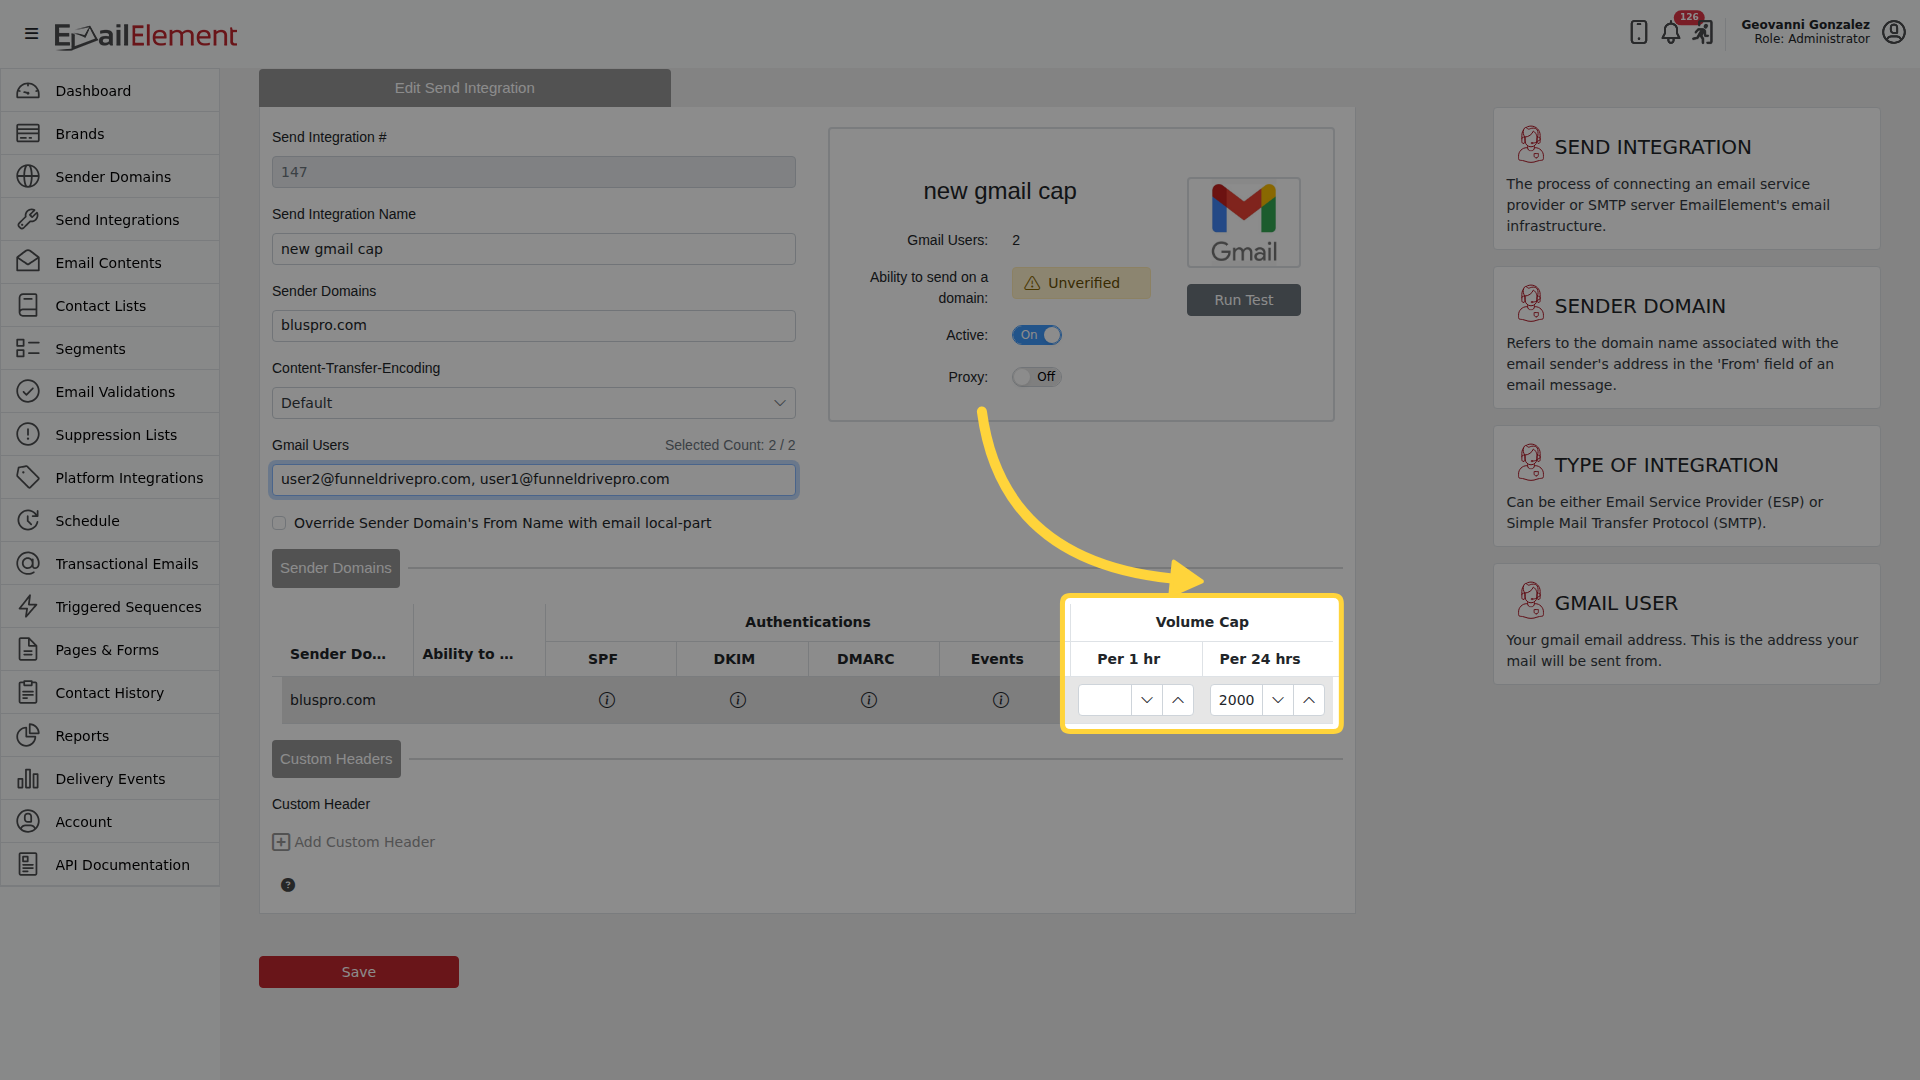
Volume Cap limits sending per sender domain, per 1 hour and per 24 hours. What it counts is on Google Workspace Inboxes
Step 5: Test It
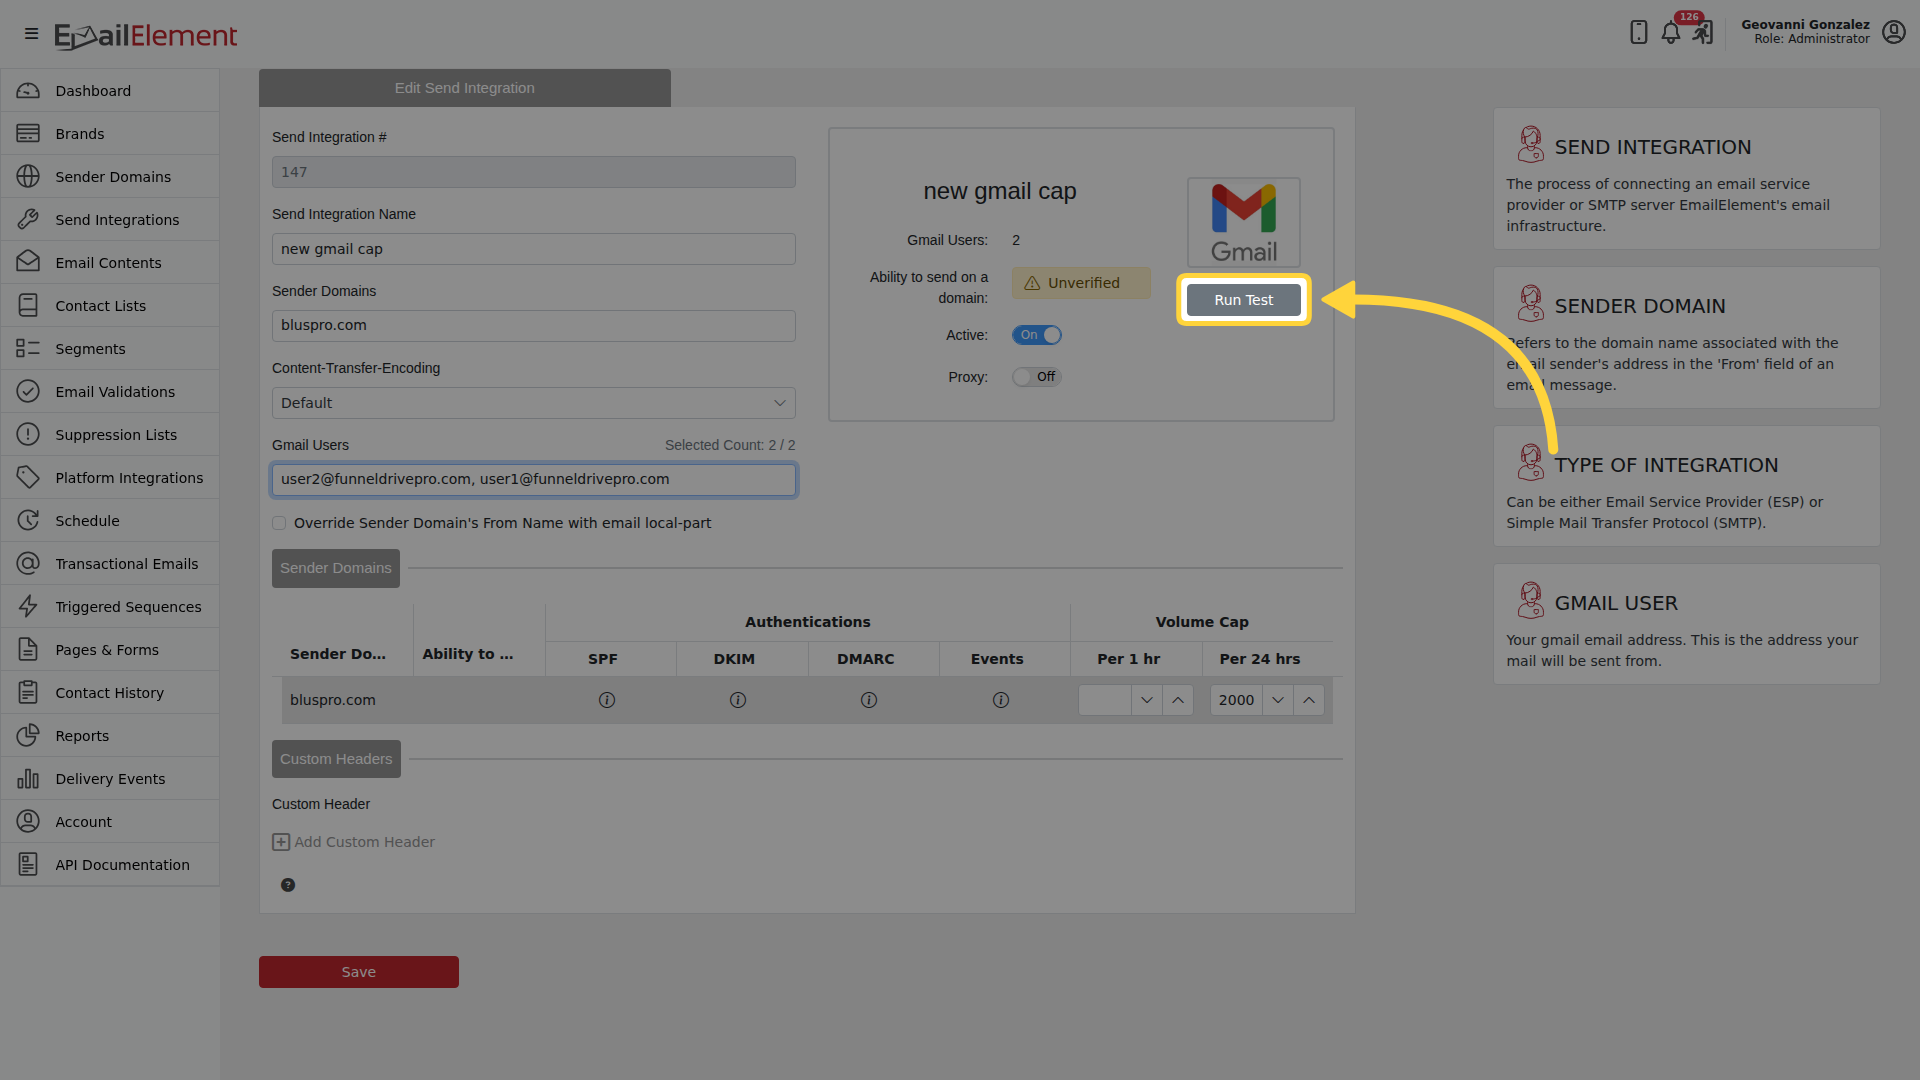
Click Save, then Run Test. It needs a sender domain and at least one inbox under Gmail Users saved on the integration.
Related pages
- Google Workspace Inboxes — what you can set, what you cannot, and how it is billed
- Gmail — Gmail send integrations
- Send Integrations Walkthrough — the same screens for an API or SMTP integration