
Triggered Sequence Walkthrough
This reference provides a detailed walkthrough for creating and managing triggered email sequences in EmailElement.
Creating a Sequence
Navigate to Triggered Sequences from the main navigation menu.
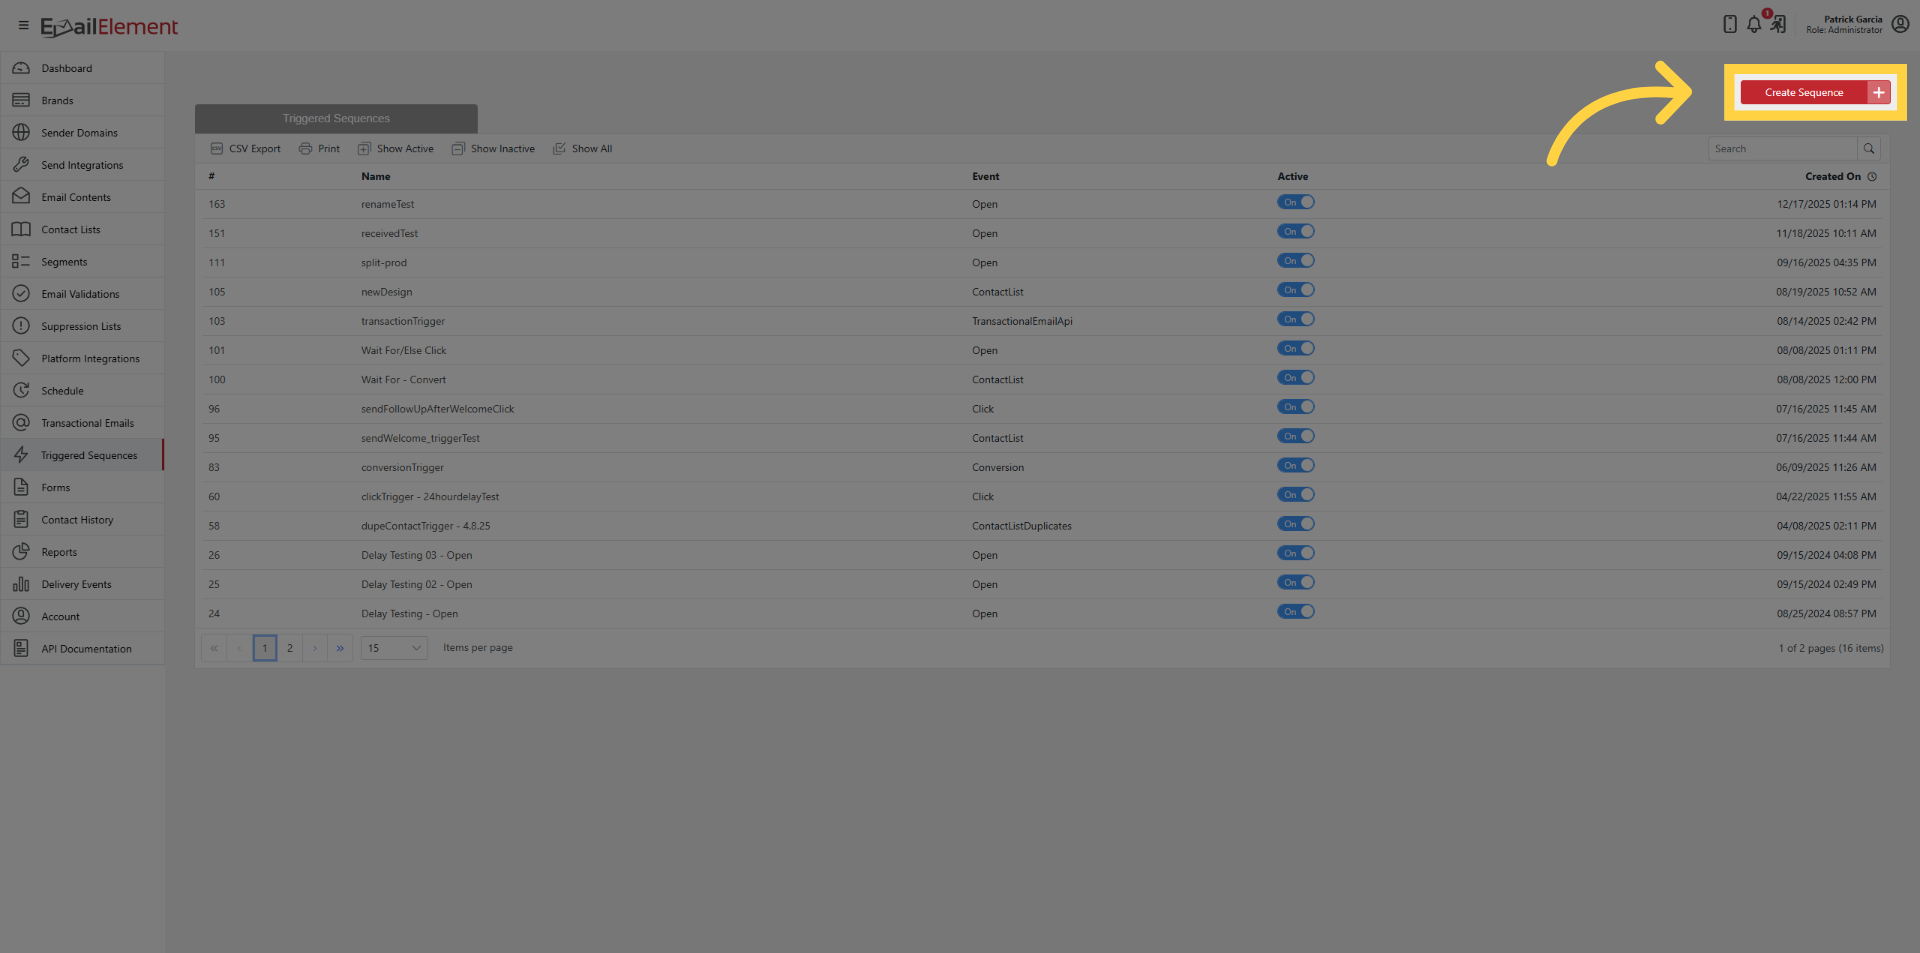
Click Create Sequence in the top-right corner.
Enter a descriptive Sequence Name (e.g., "Welcome Series - New Subscribers").
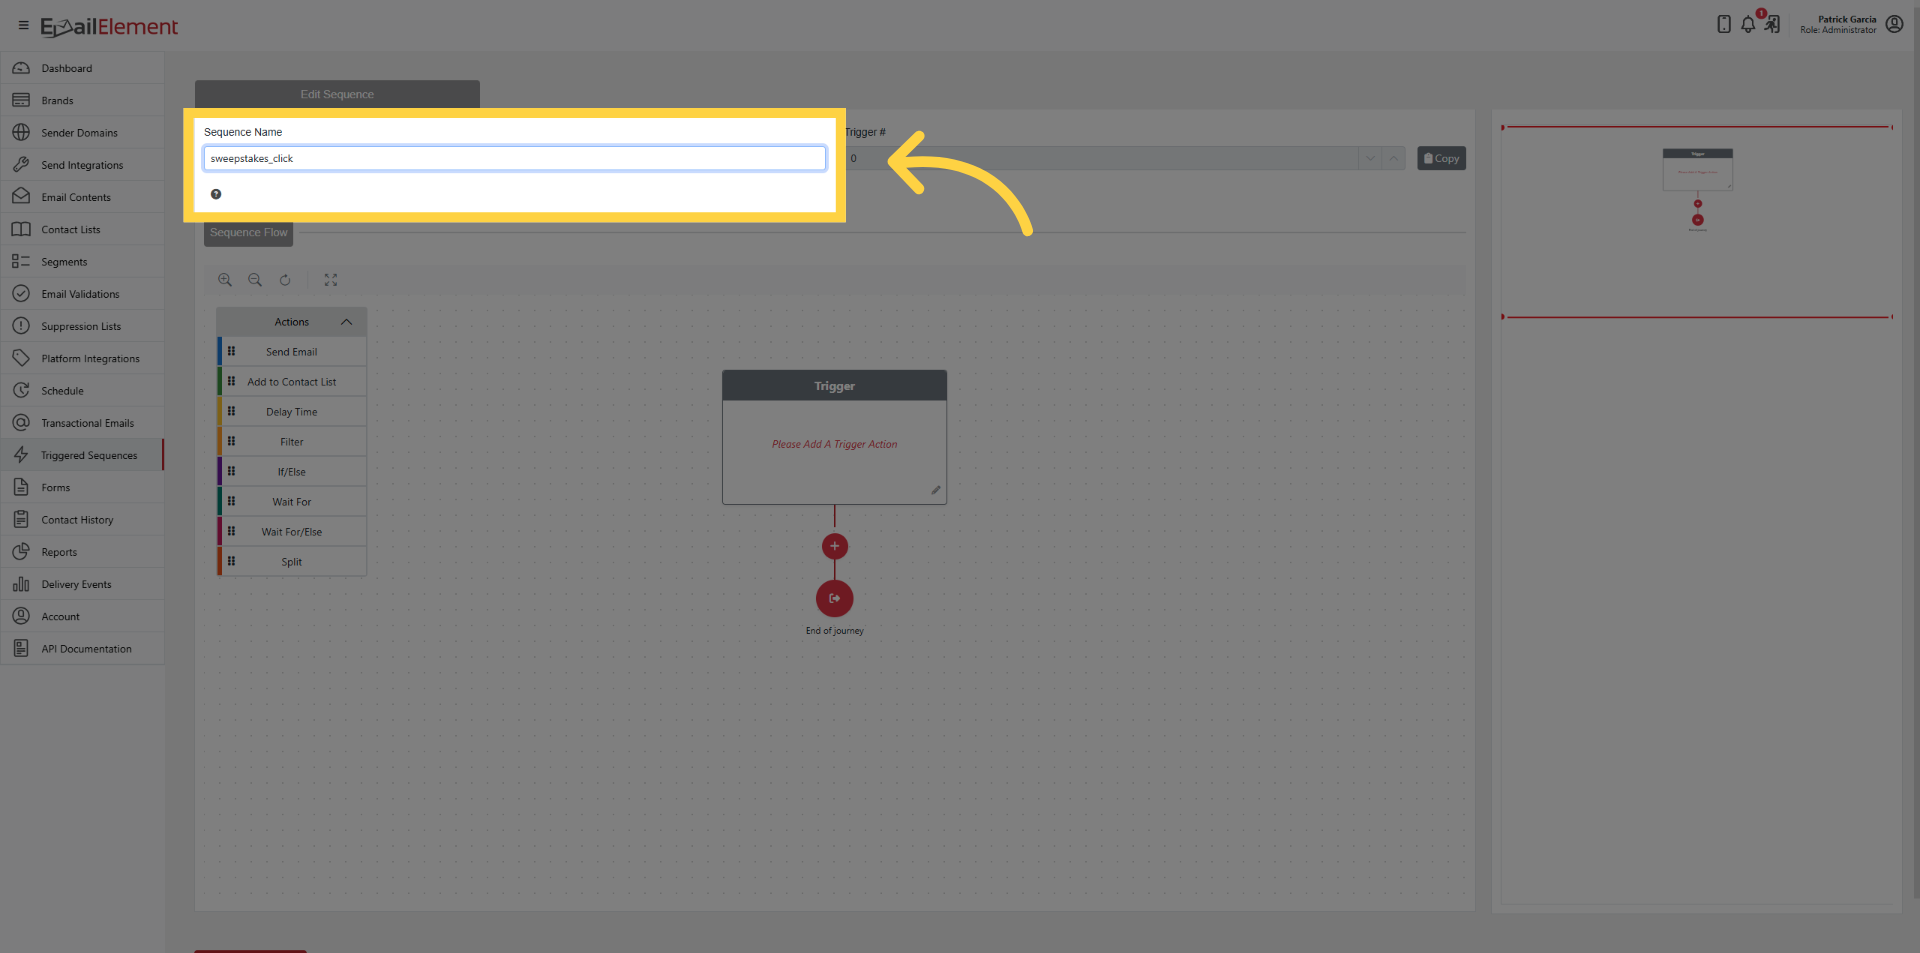
The visual workflow builder opens with a Trigger card at the top.
Sequence Entry Settings
These fields sit above the sequence flow and apply to the whole sequence. They decide which contacts enter it and how many.
- Days before a contact can re-enter this sequence — 0 to 365 days, defaulting to 60 on a new sequence.
- 0 — the contact enters every time the trigger event fires.
- 1 to 365 — after a contact enters, the sequence skips that contact until the set number of days has passed since their last entry.
- Max contacts entering per 1 hr — optional cap on how many contacts may enter the sequence in a rolling 1 hour window. Leave blank for no cap.
- Max contacts entering per 24 hrs — optional cap for a rolling 24 hour window. Leave blank for no cap. When both caps are set, the 24 hour cap must be greater than or equal to the 1 hour cap.
- Contacts over a cap are dropped, not queued — they do not enter during a later window.
- Neither the caps nor the re-entry days affect a contact who is already moving through the sequence.
See SEQUENCE_ENTRY_CONTROLS.md for full details and troubleshooting.
Configuring the Trigger
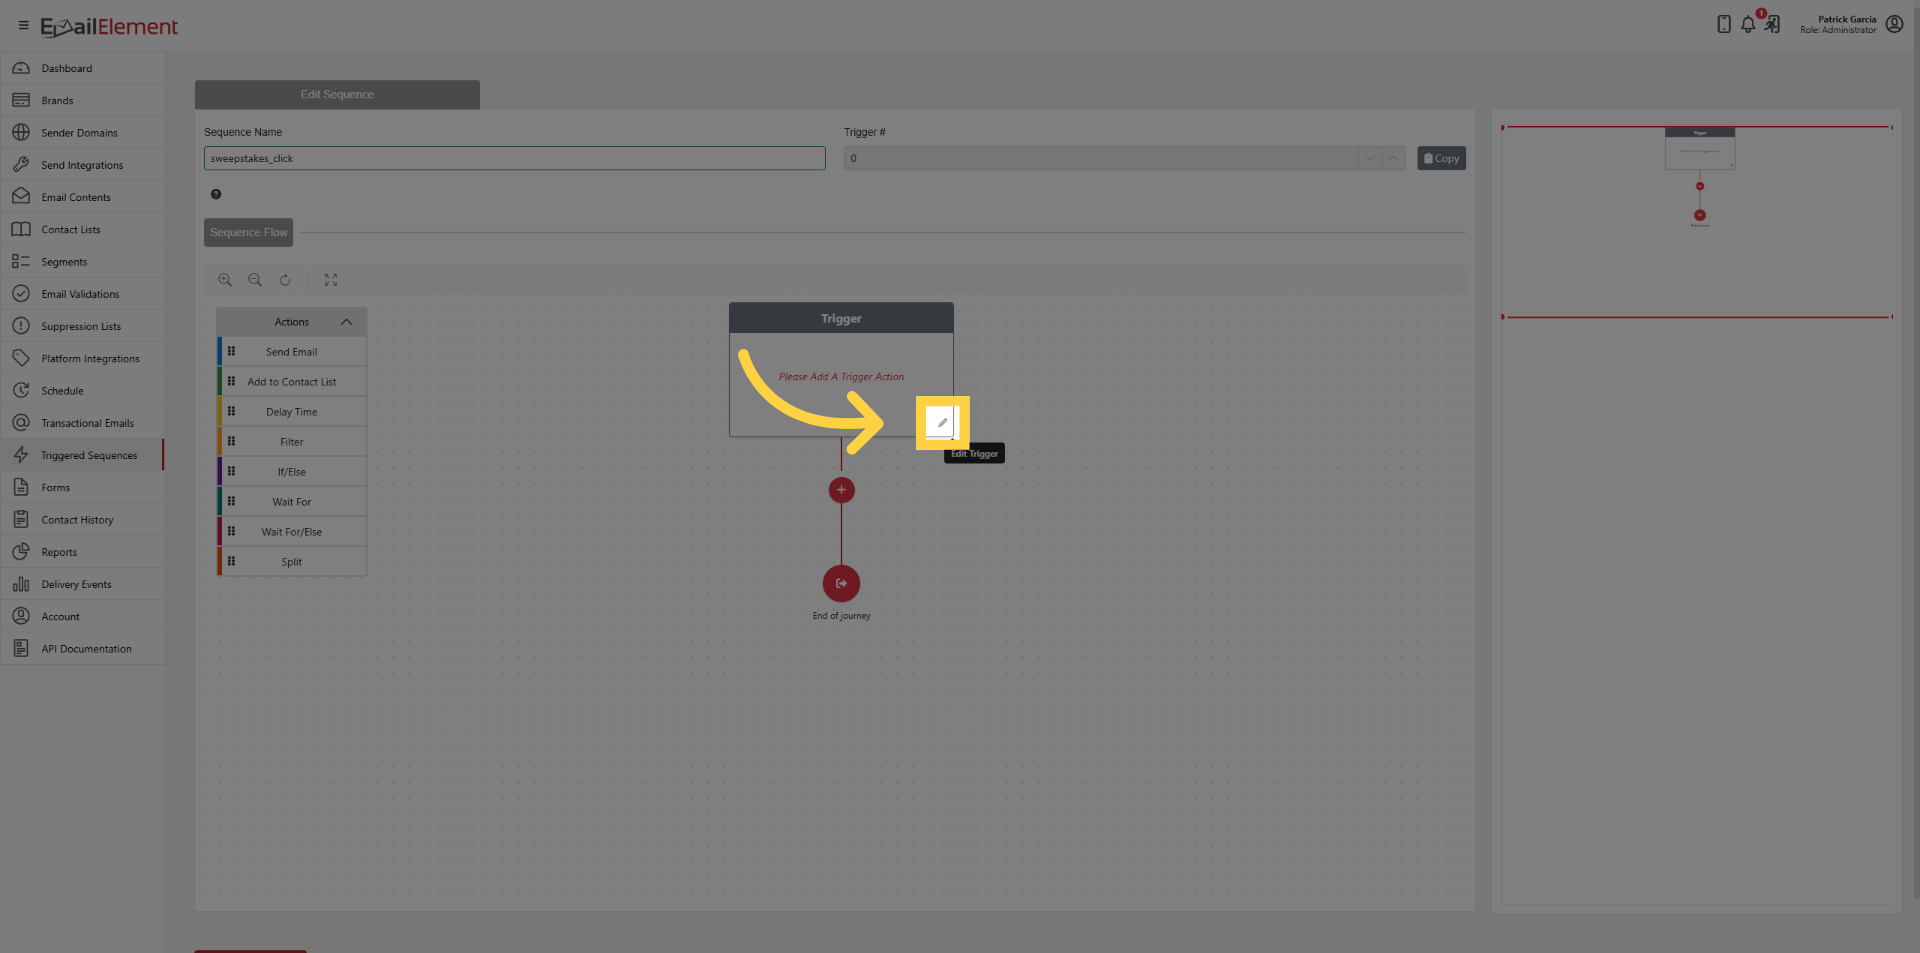
Click Edit on the Trigger card.
Select a trigger event type:
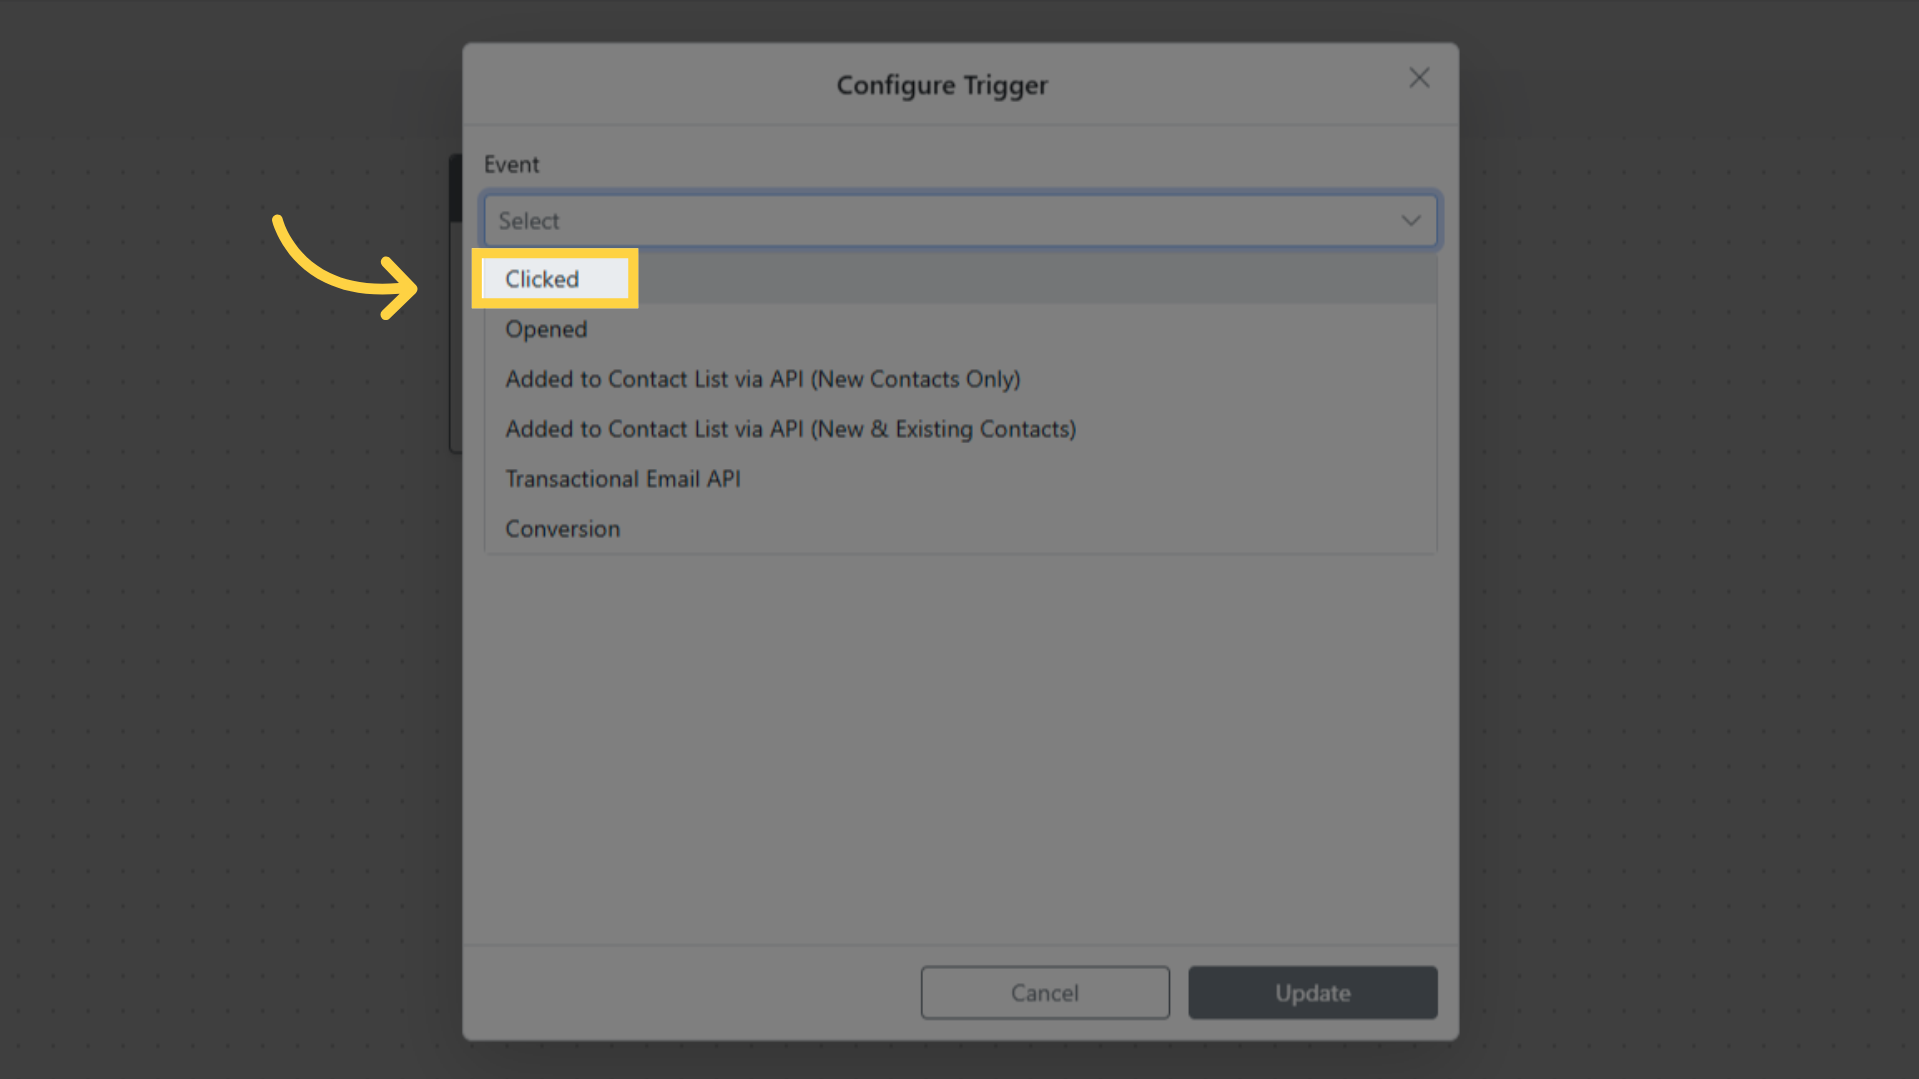
- Clicked — fires when a contact clicks a link in an email
- Opened — fires when a contact opens an email
- Unsubscribed — fires when a contact unsubscribes or complains in an email, or when the contact hard bounces
- Added to Contact List via API — fires when a contact is added to a list through the API
- Transactional Email API — fires when a transactional email is sent via the API
- Conversion — fires when a conversion is tracked via a Platform Integration
For Clicked and Opened triggers, optionally narrow the scope:
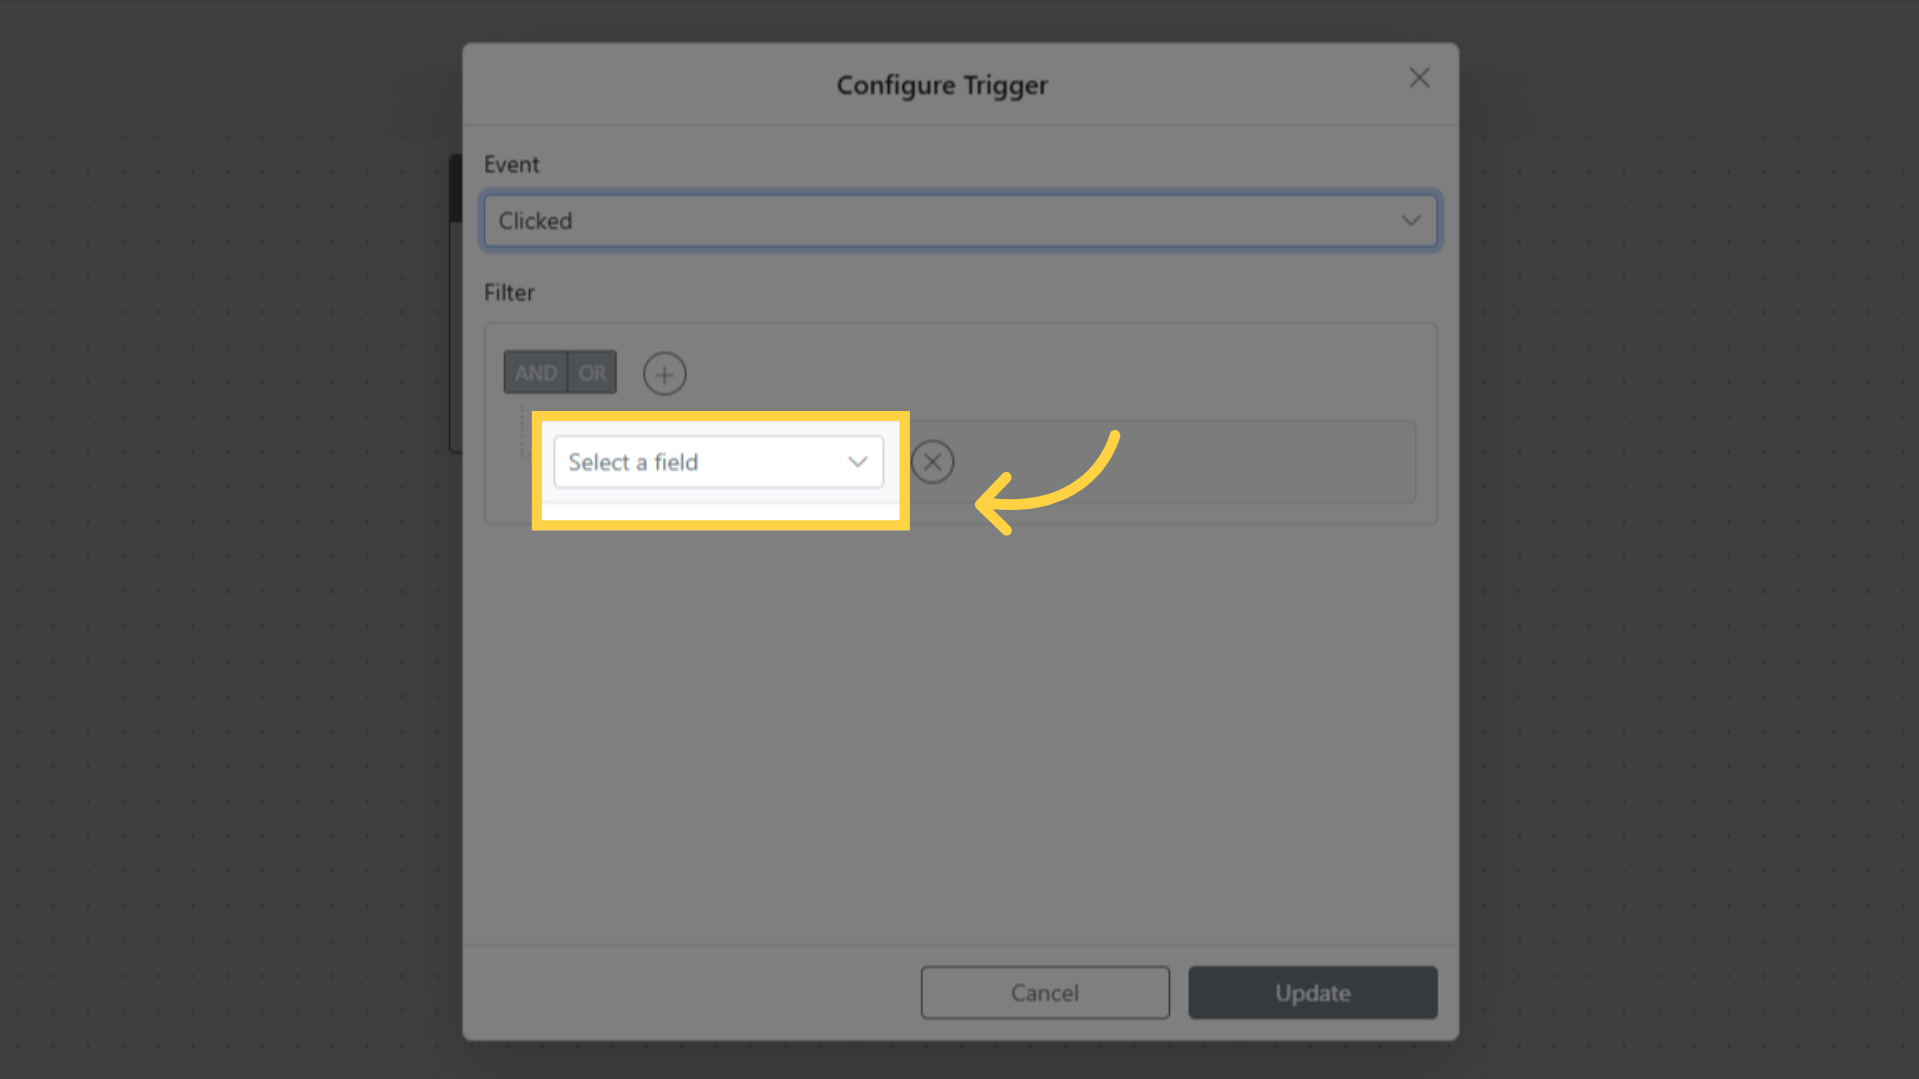
Select a specific Scheduled Email to trigger only from that campaign
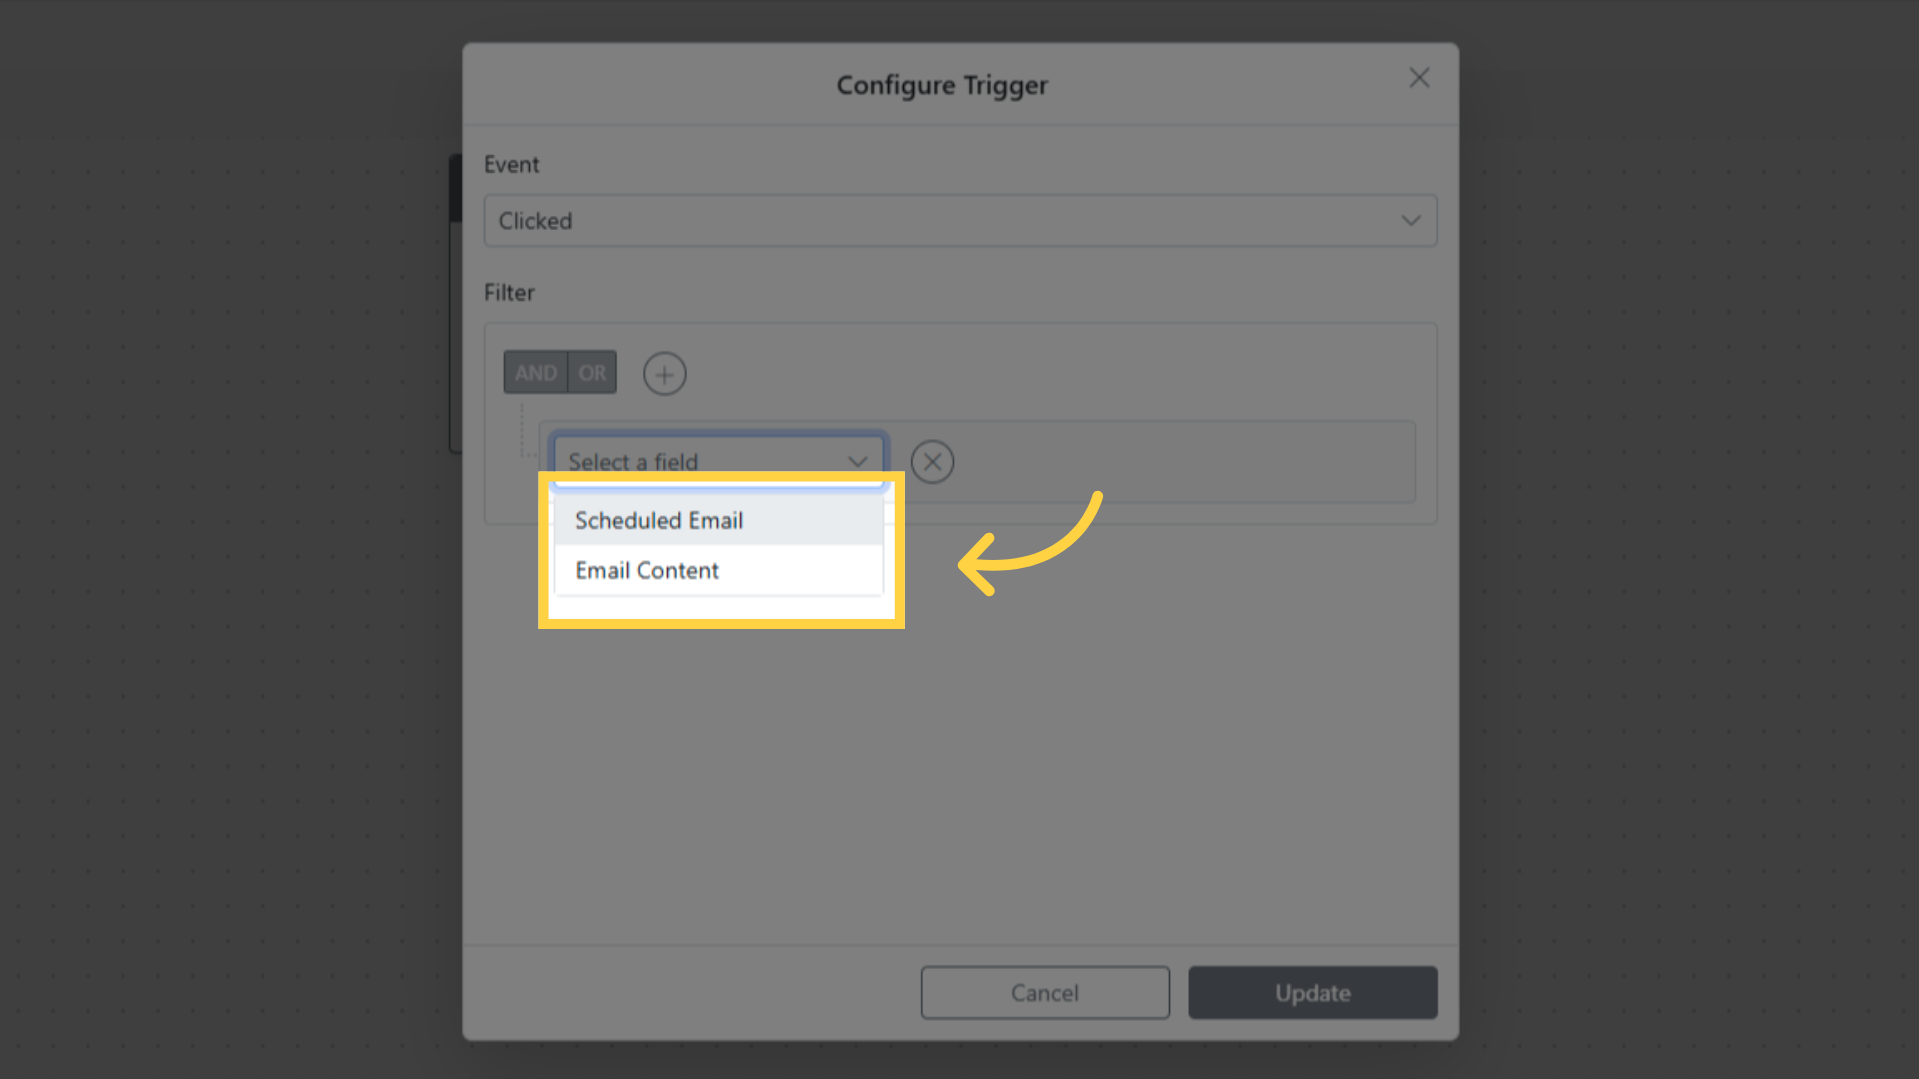
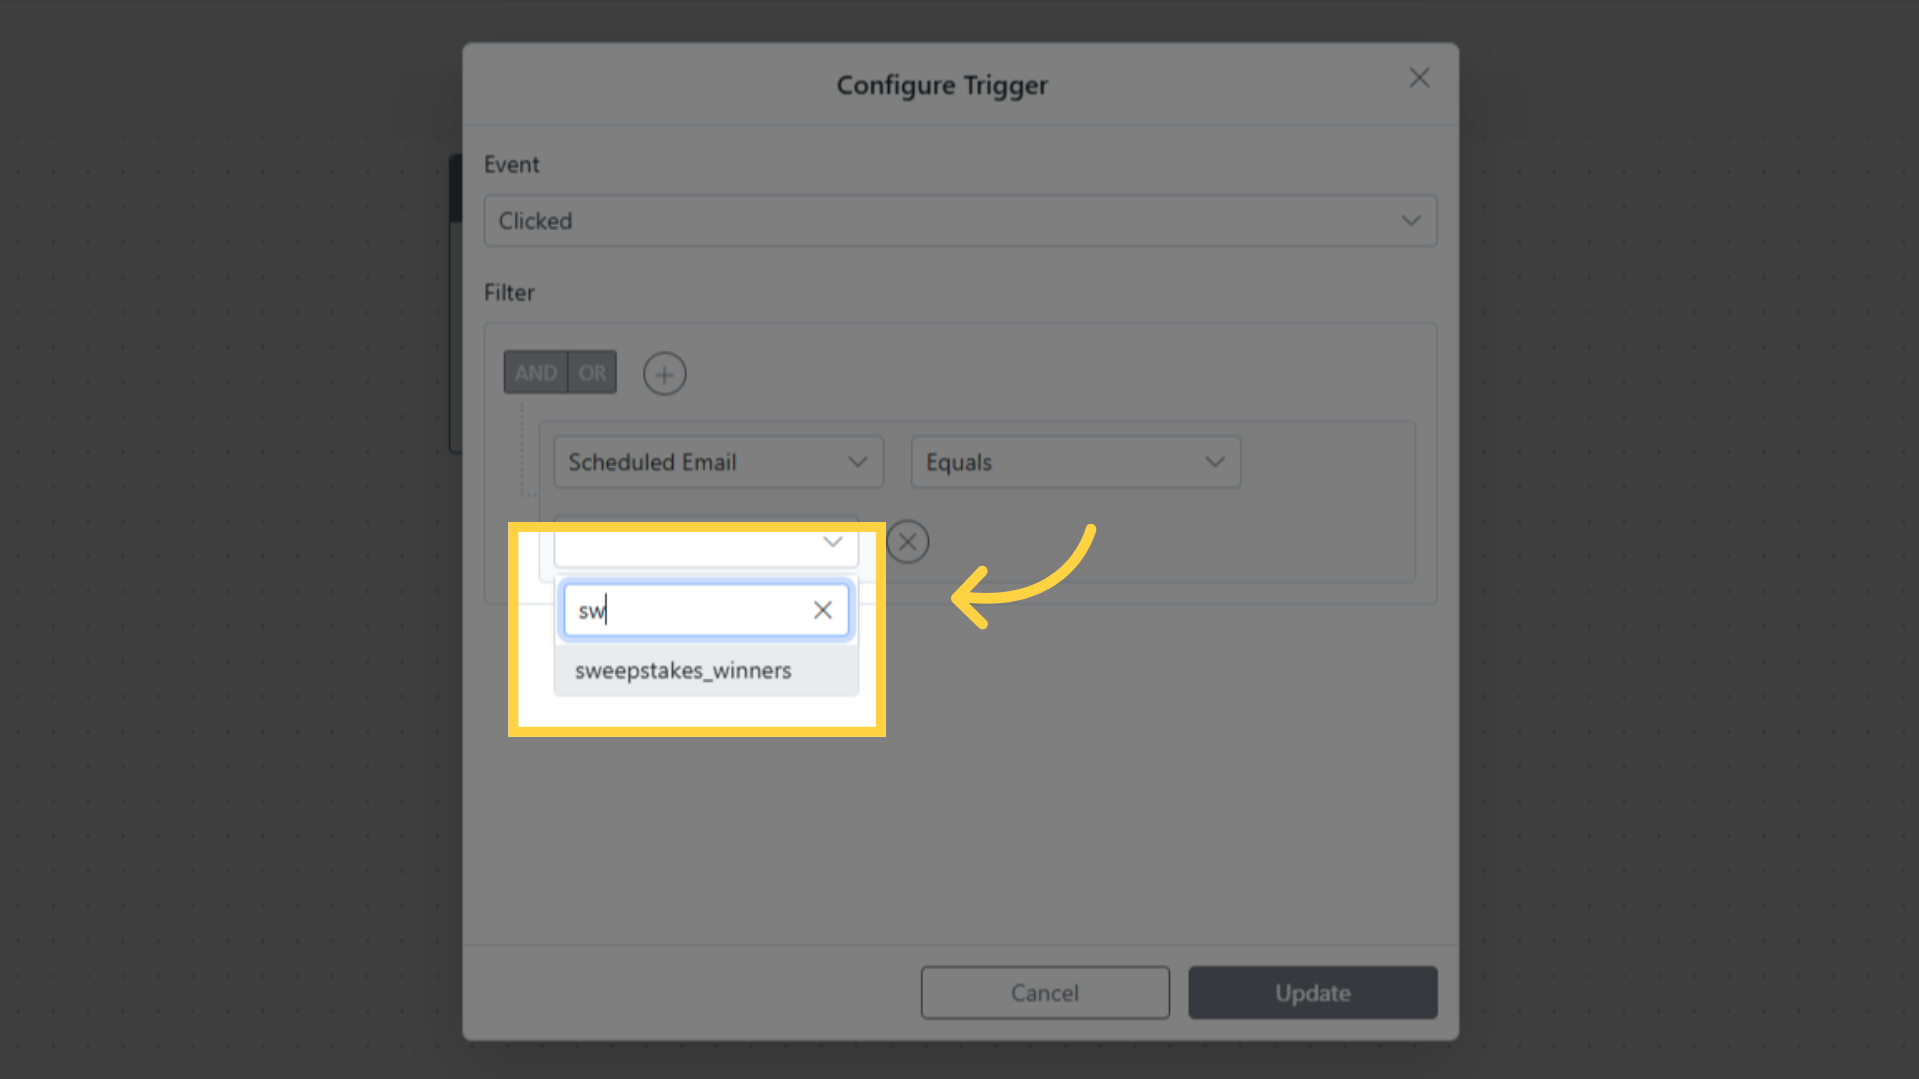
Select specific Email Content to trigger only from that template
For Unsubscribed, optionally select a Brand to trigger only when the email that caused the unsubscribe was sent for that brand. Leave the brand empty to trigger on every unsubscribe recorded for the account.
For Added to Contact List via API, select the Contact List that triggers the sequence.
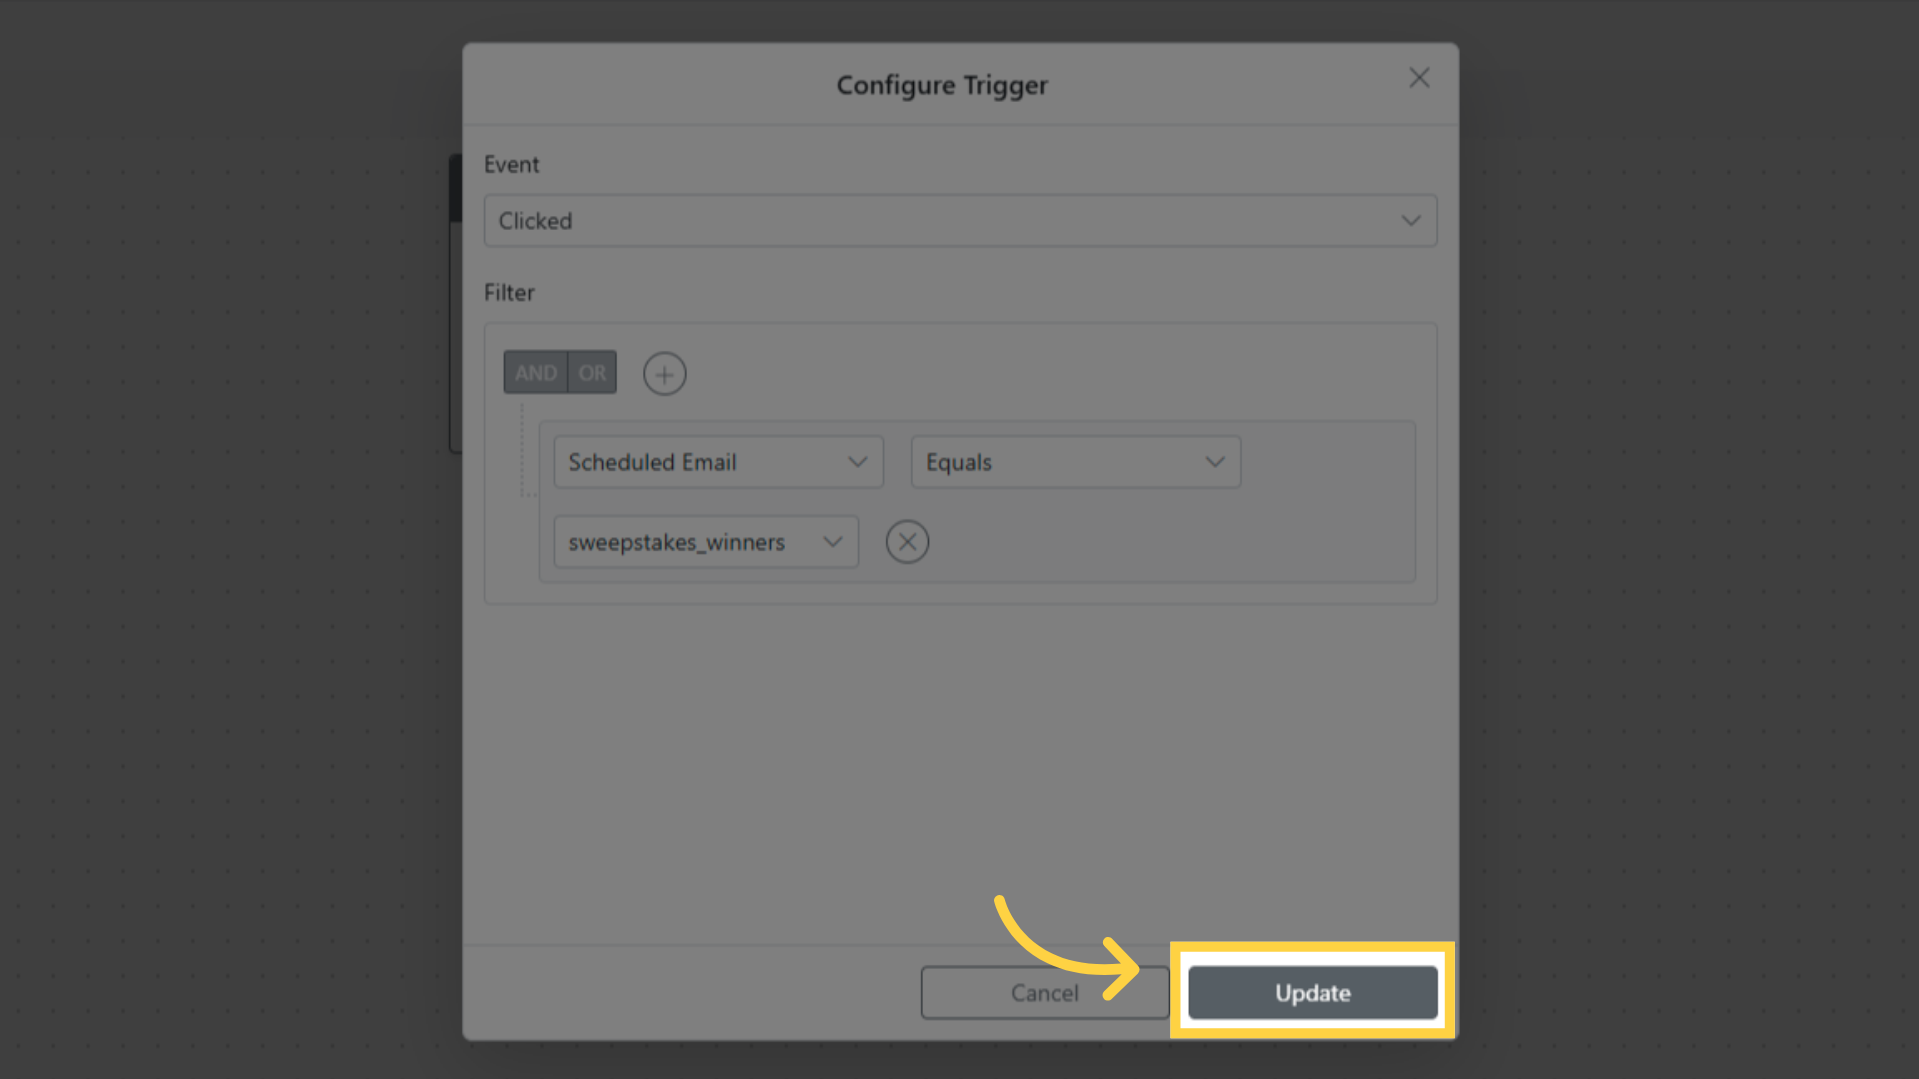
Click Save to confirm the trigger configuration.
Adding Actions
Actions are added below the trigger to define what happens when the trigger fires. Drag actions from the left panel or click the + (Add) node between existing steps.
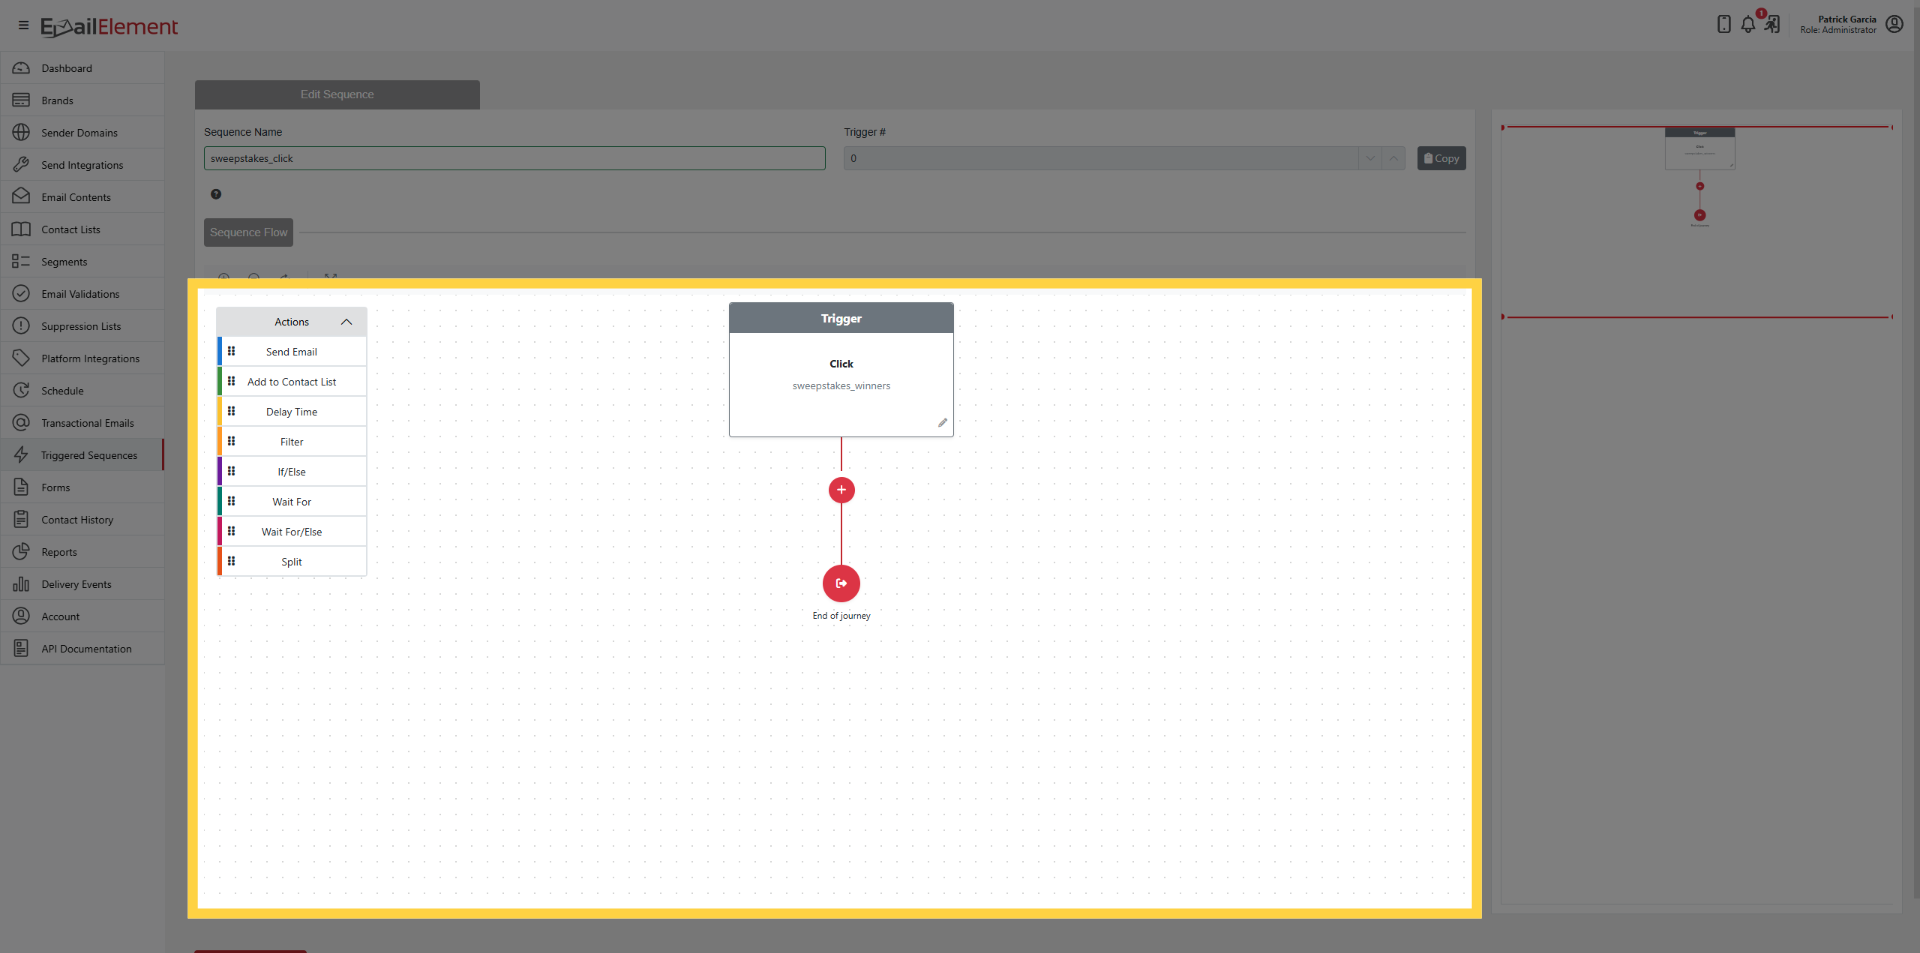
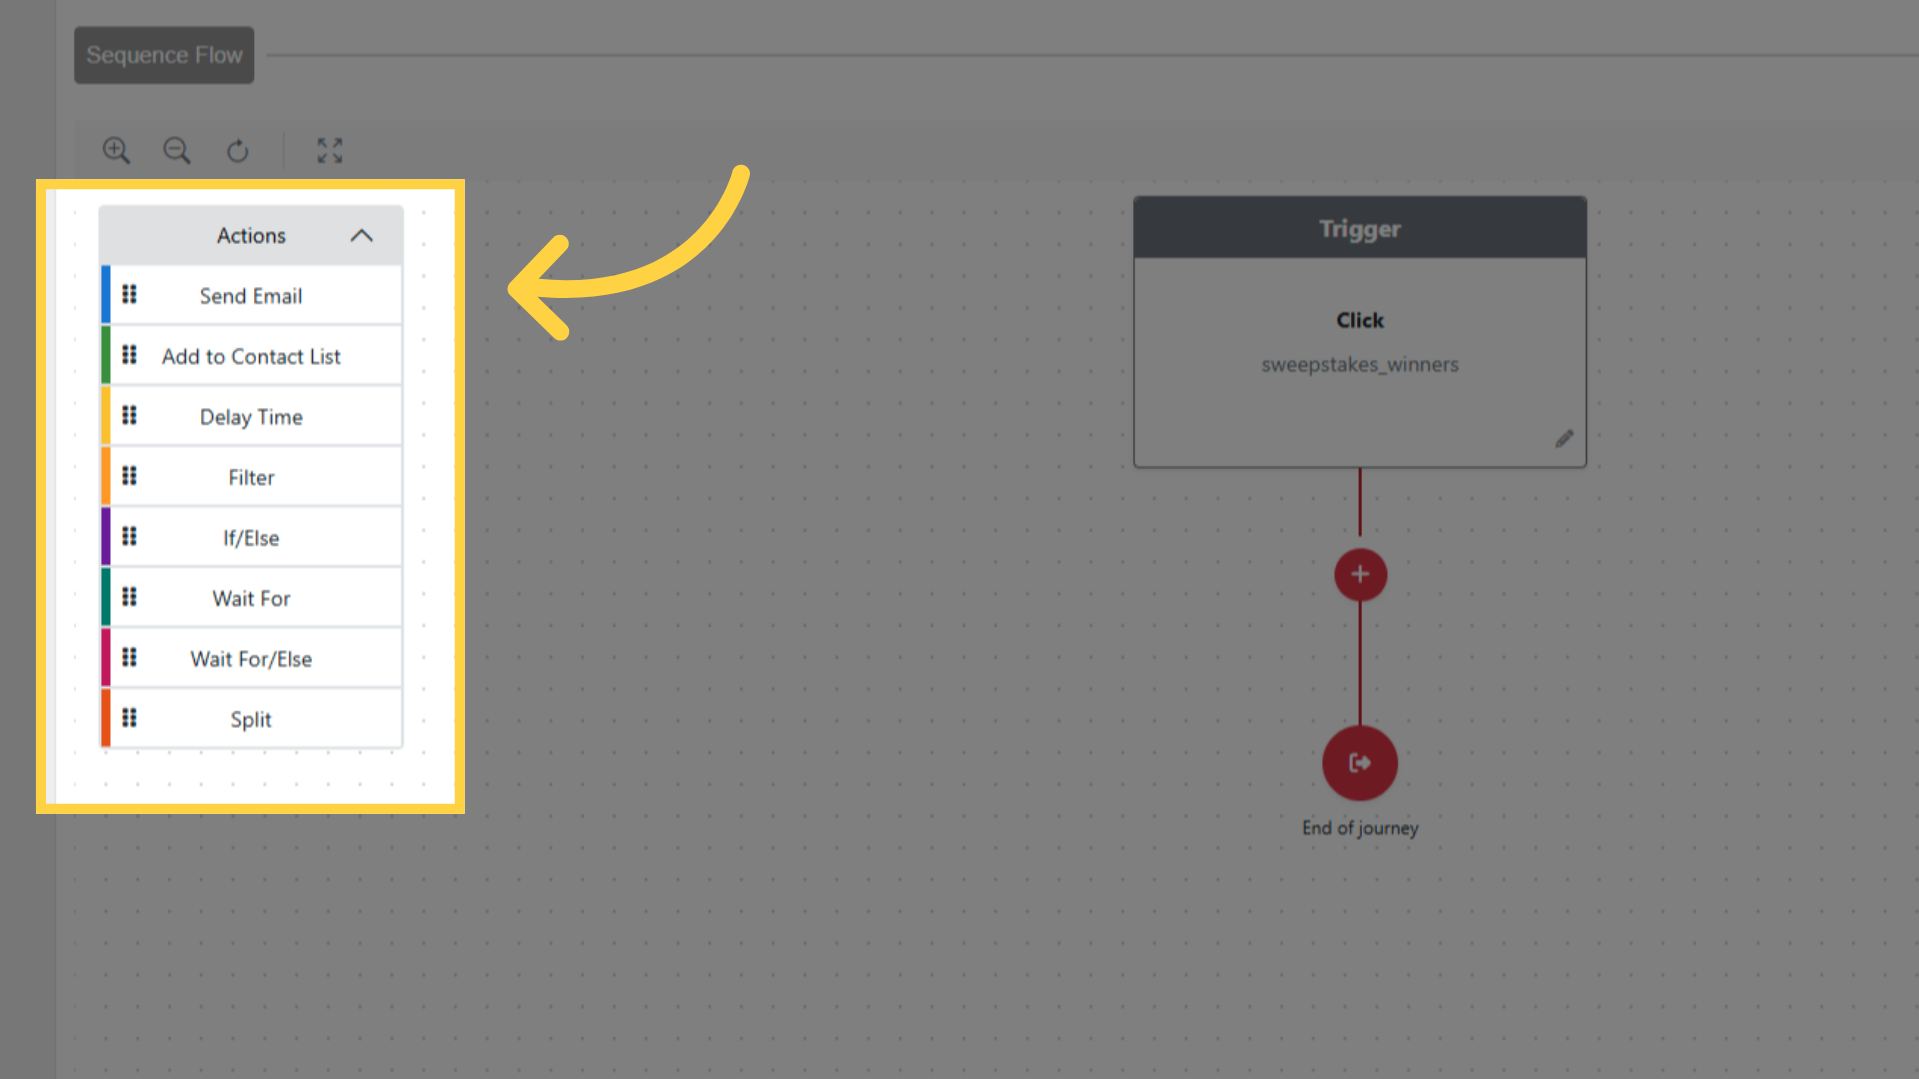
Send Email
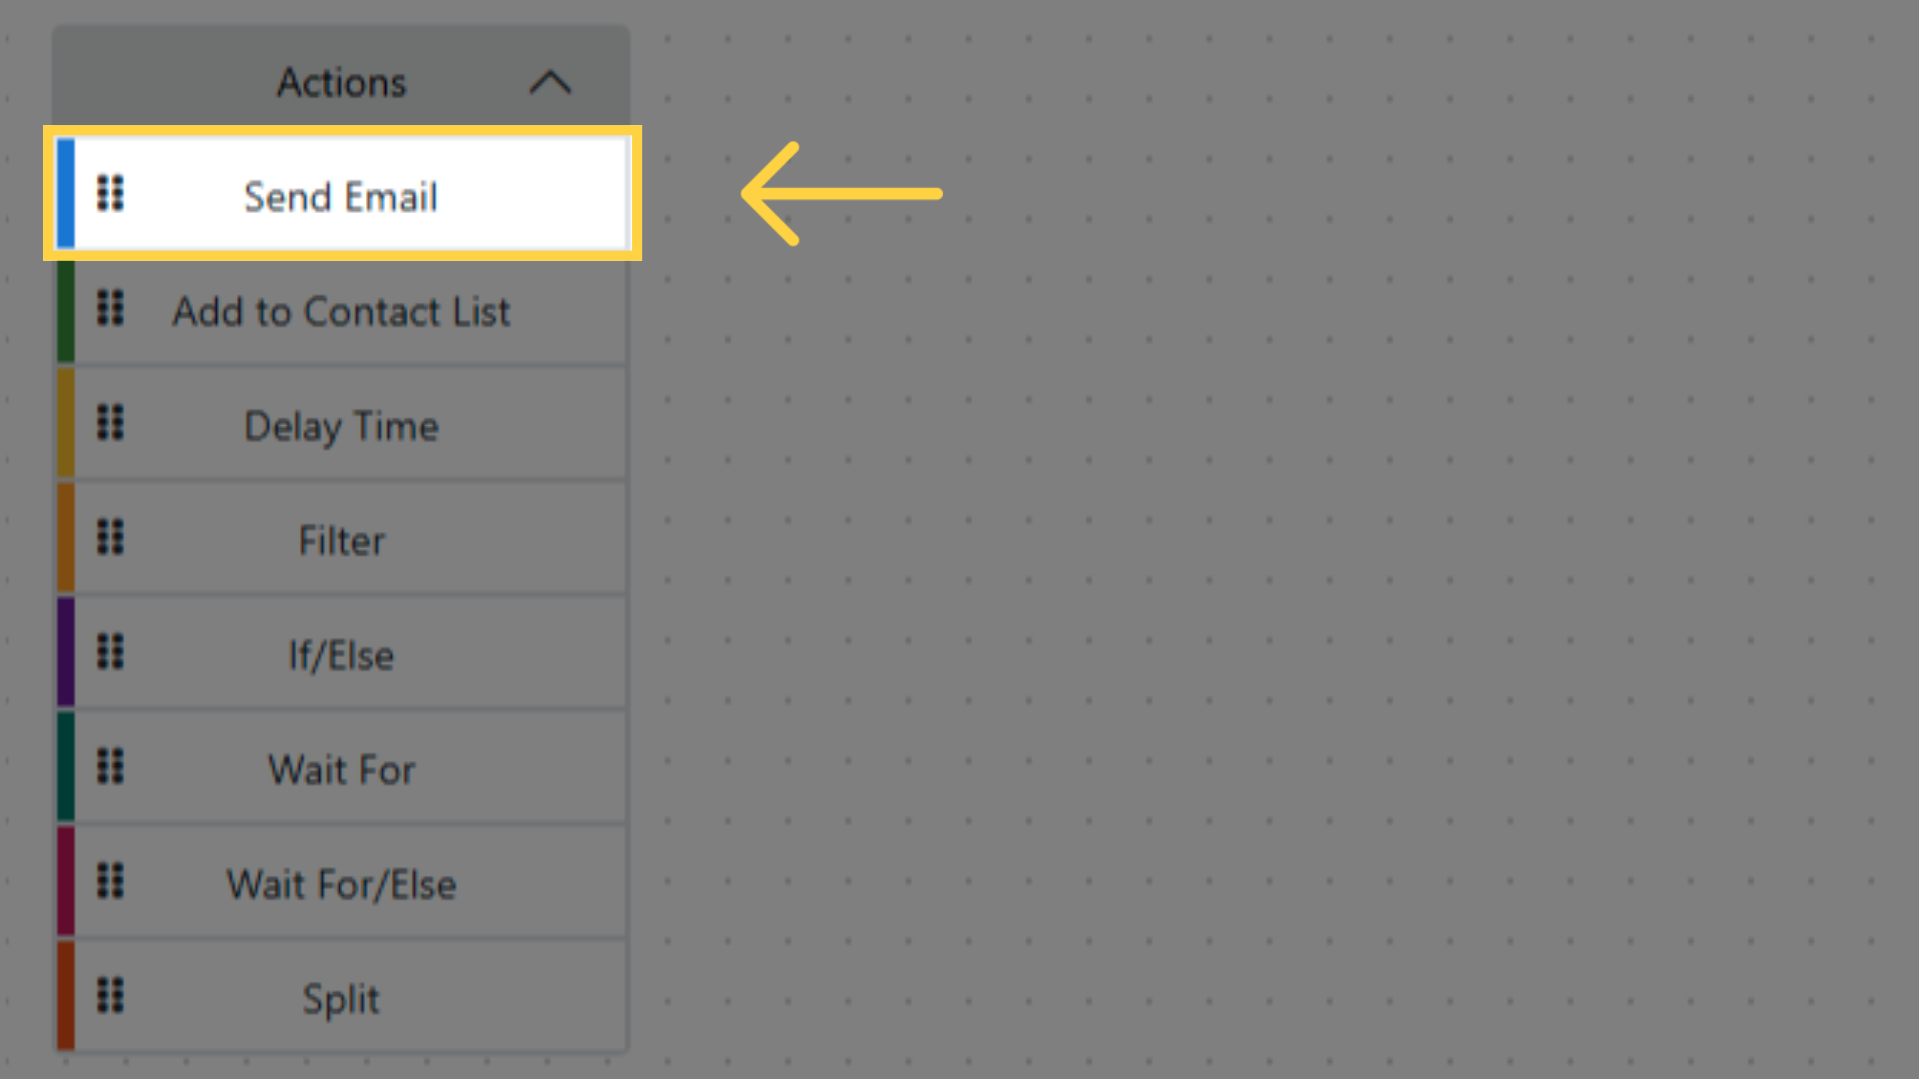
Drag Send Email onto the workflow canvas.
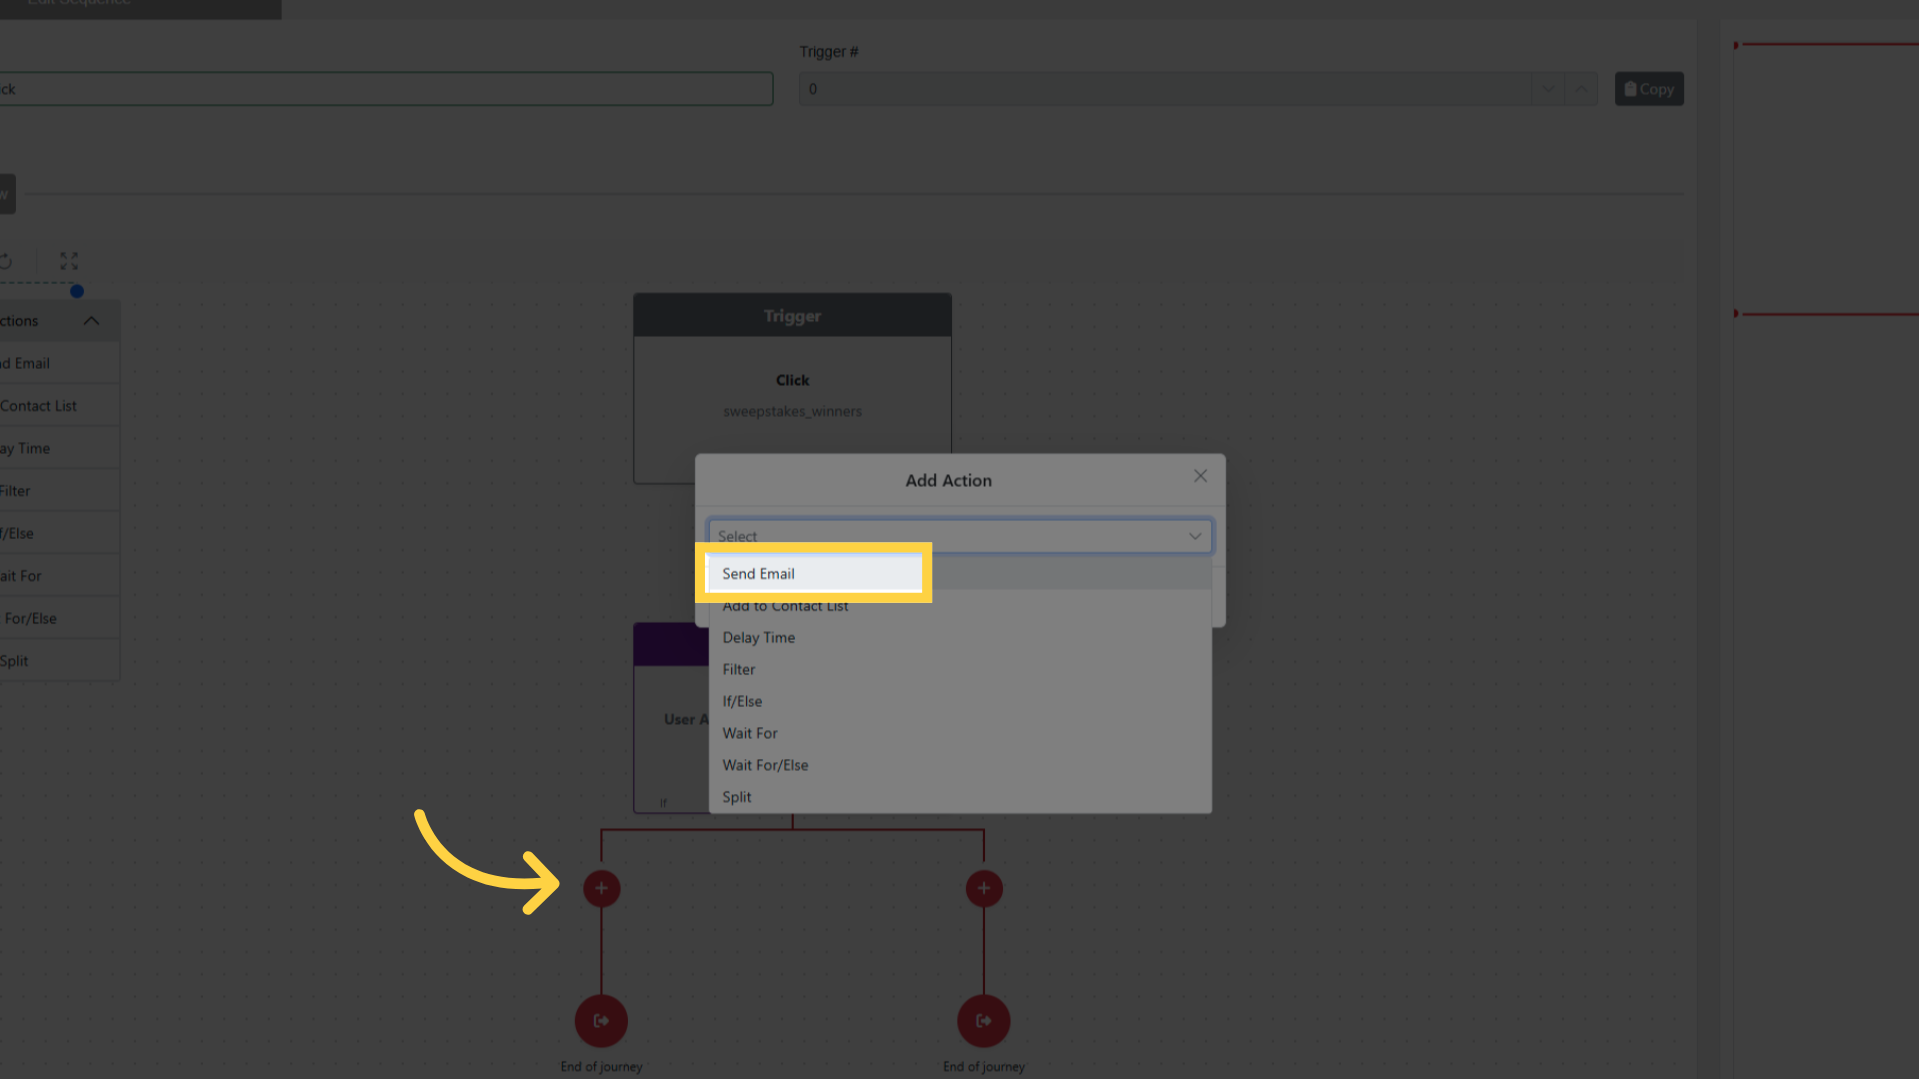
Click Edit on the action card.
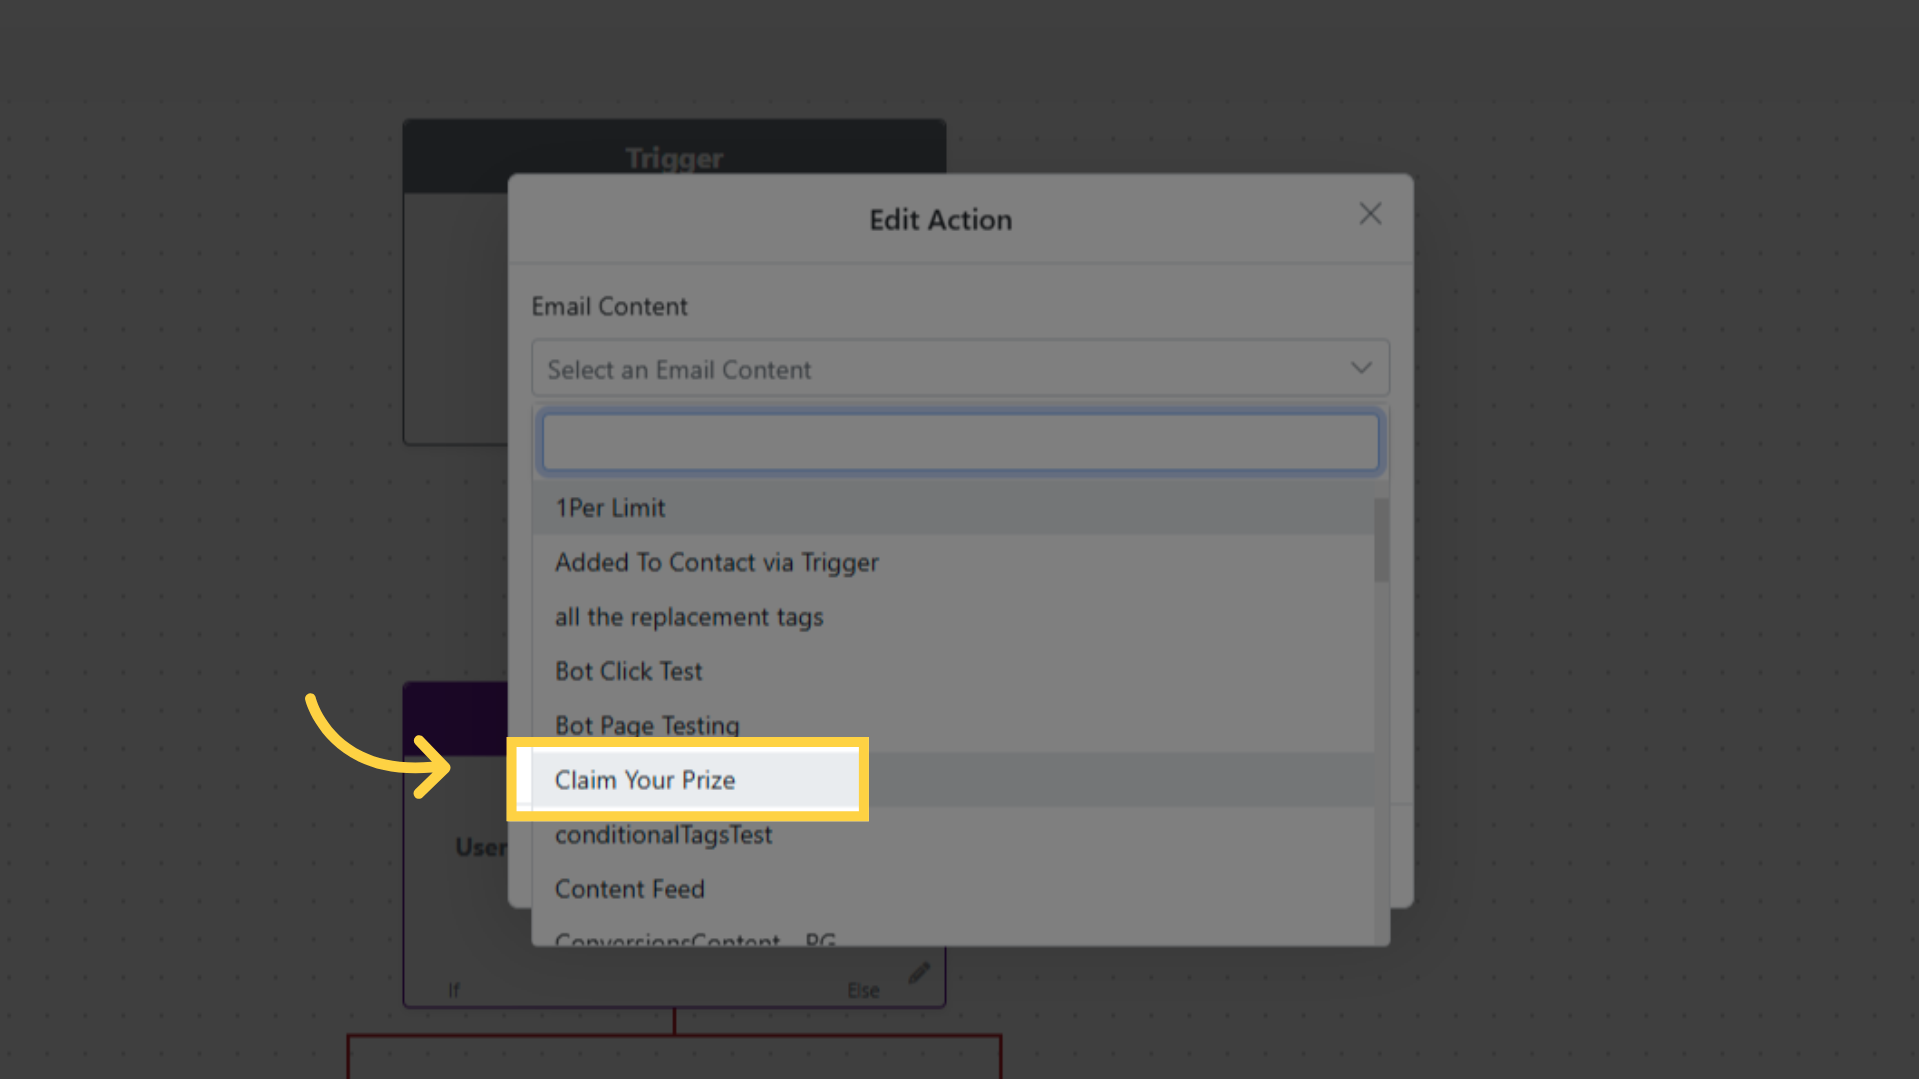
Select the Email Content to send.
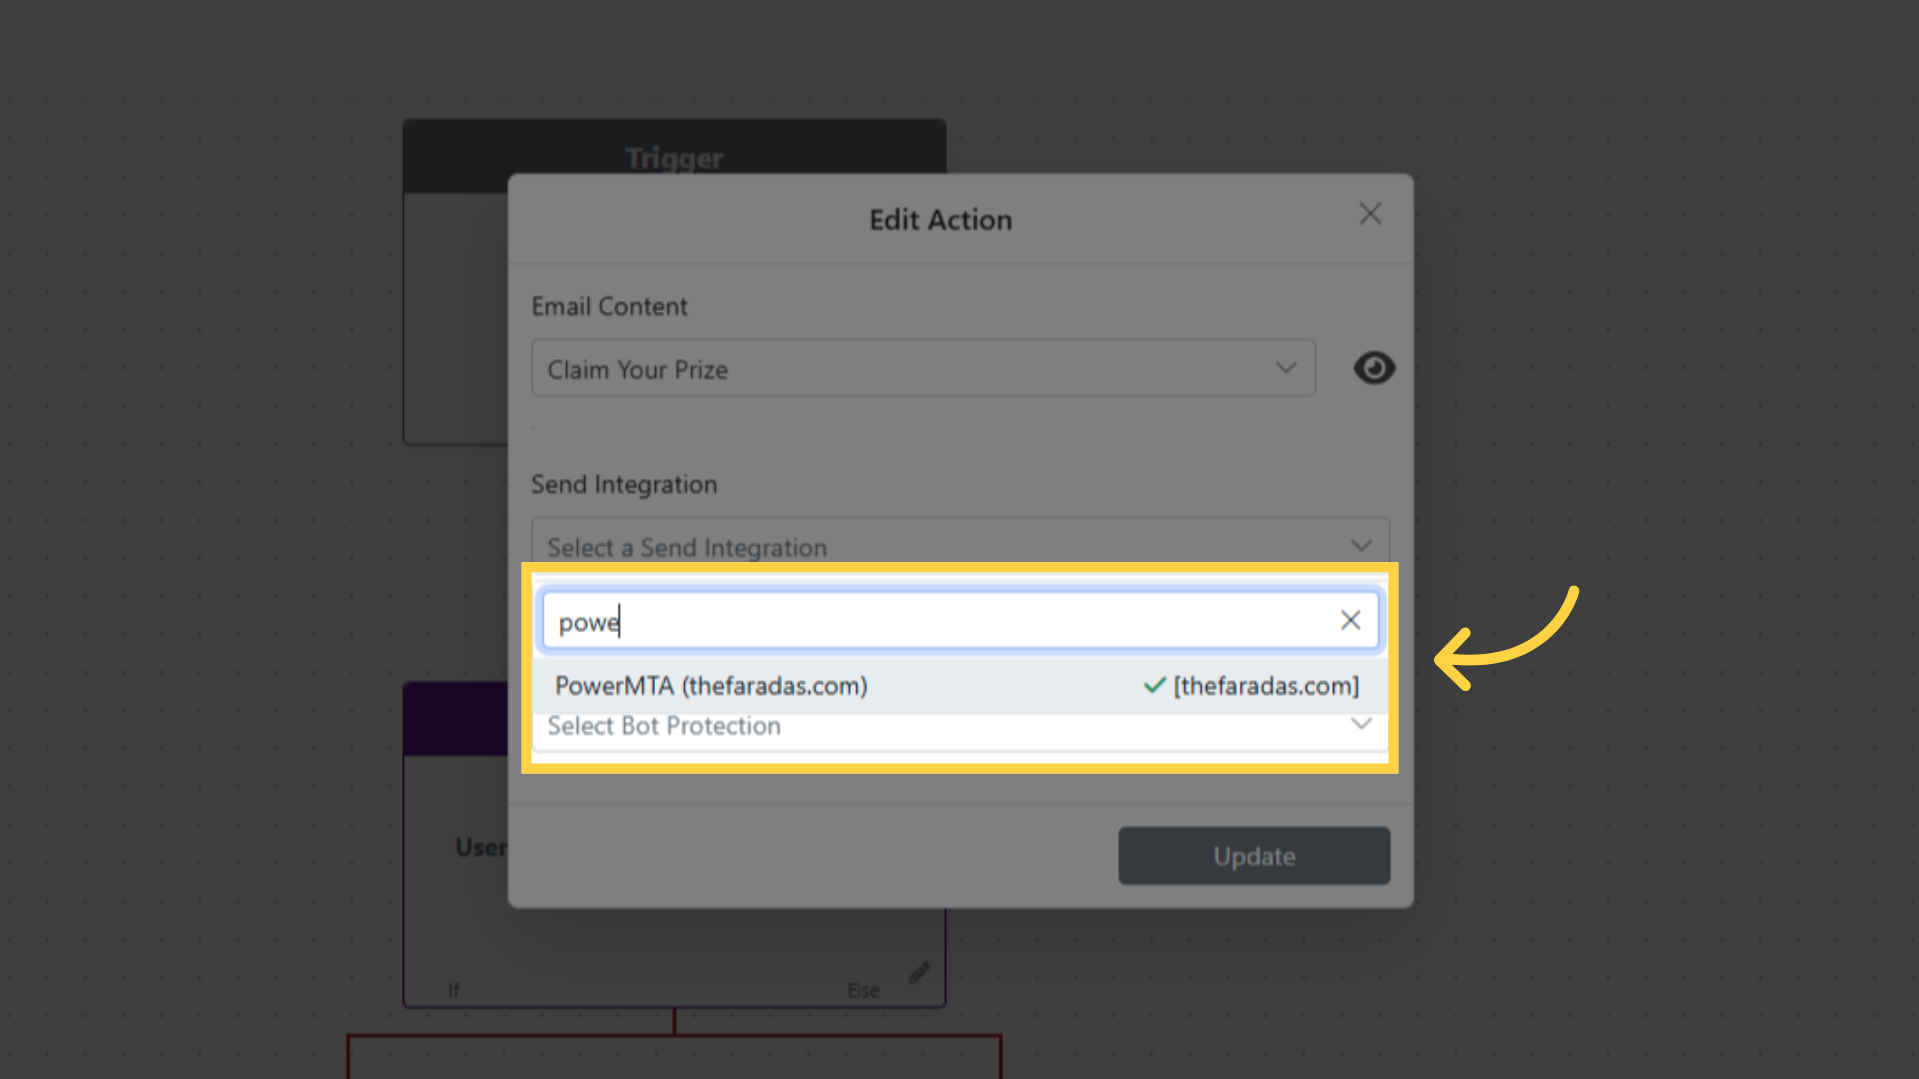
Select the Send Integration to use for delivery.
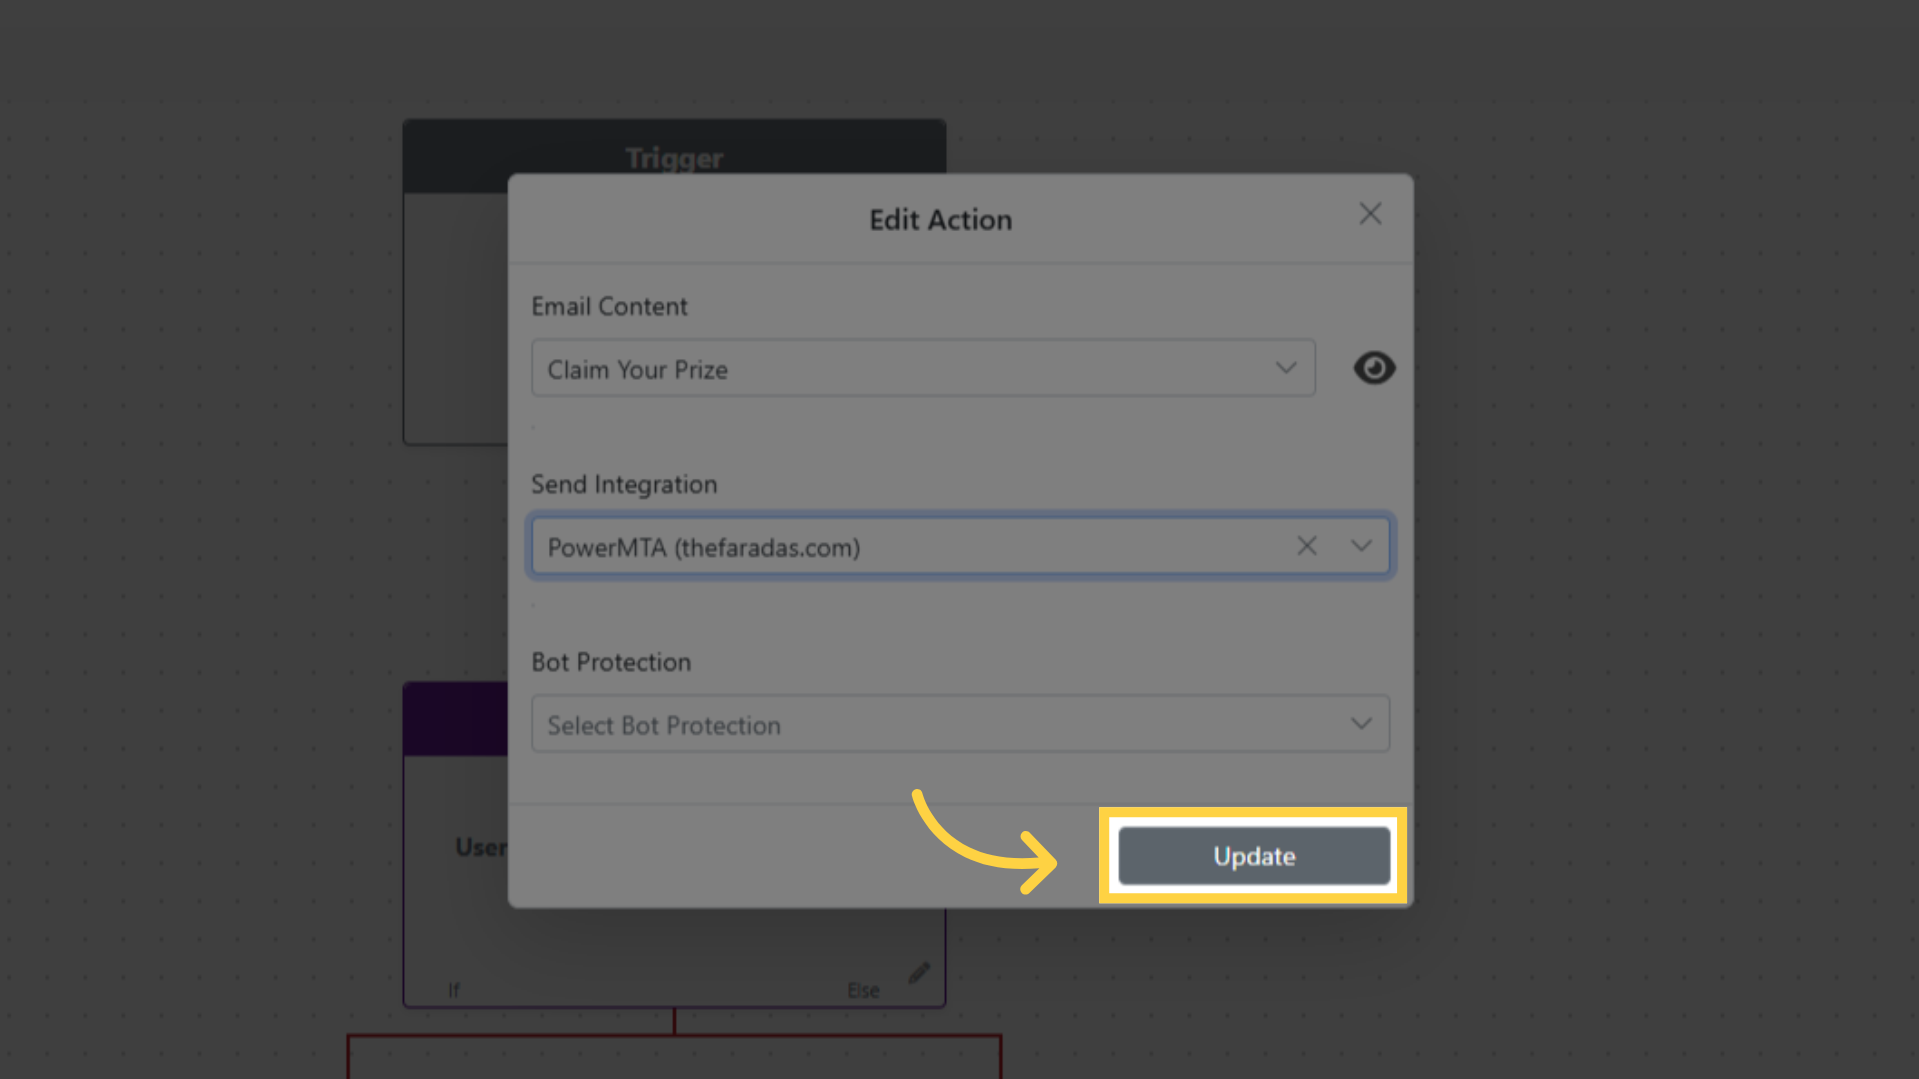
Optionally select a Jump Page to filter automated clicks.
Click Save.
Add to Contact List
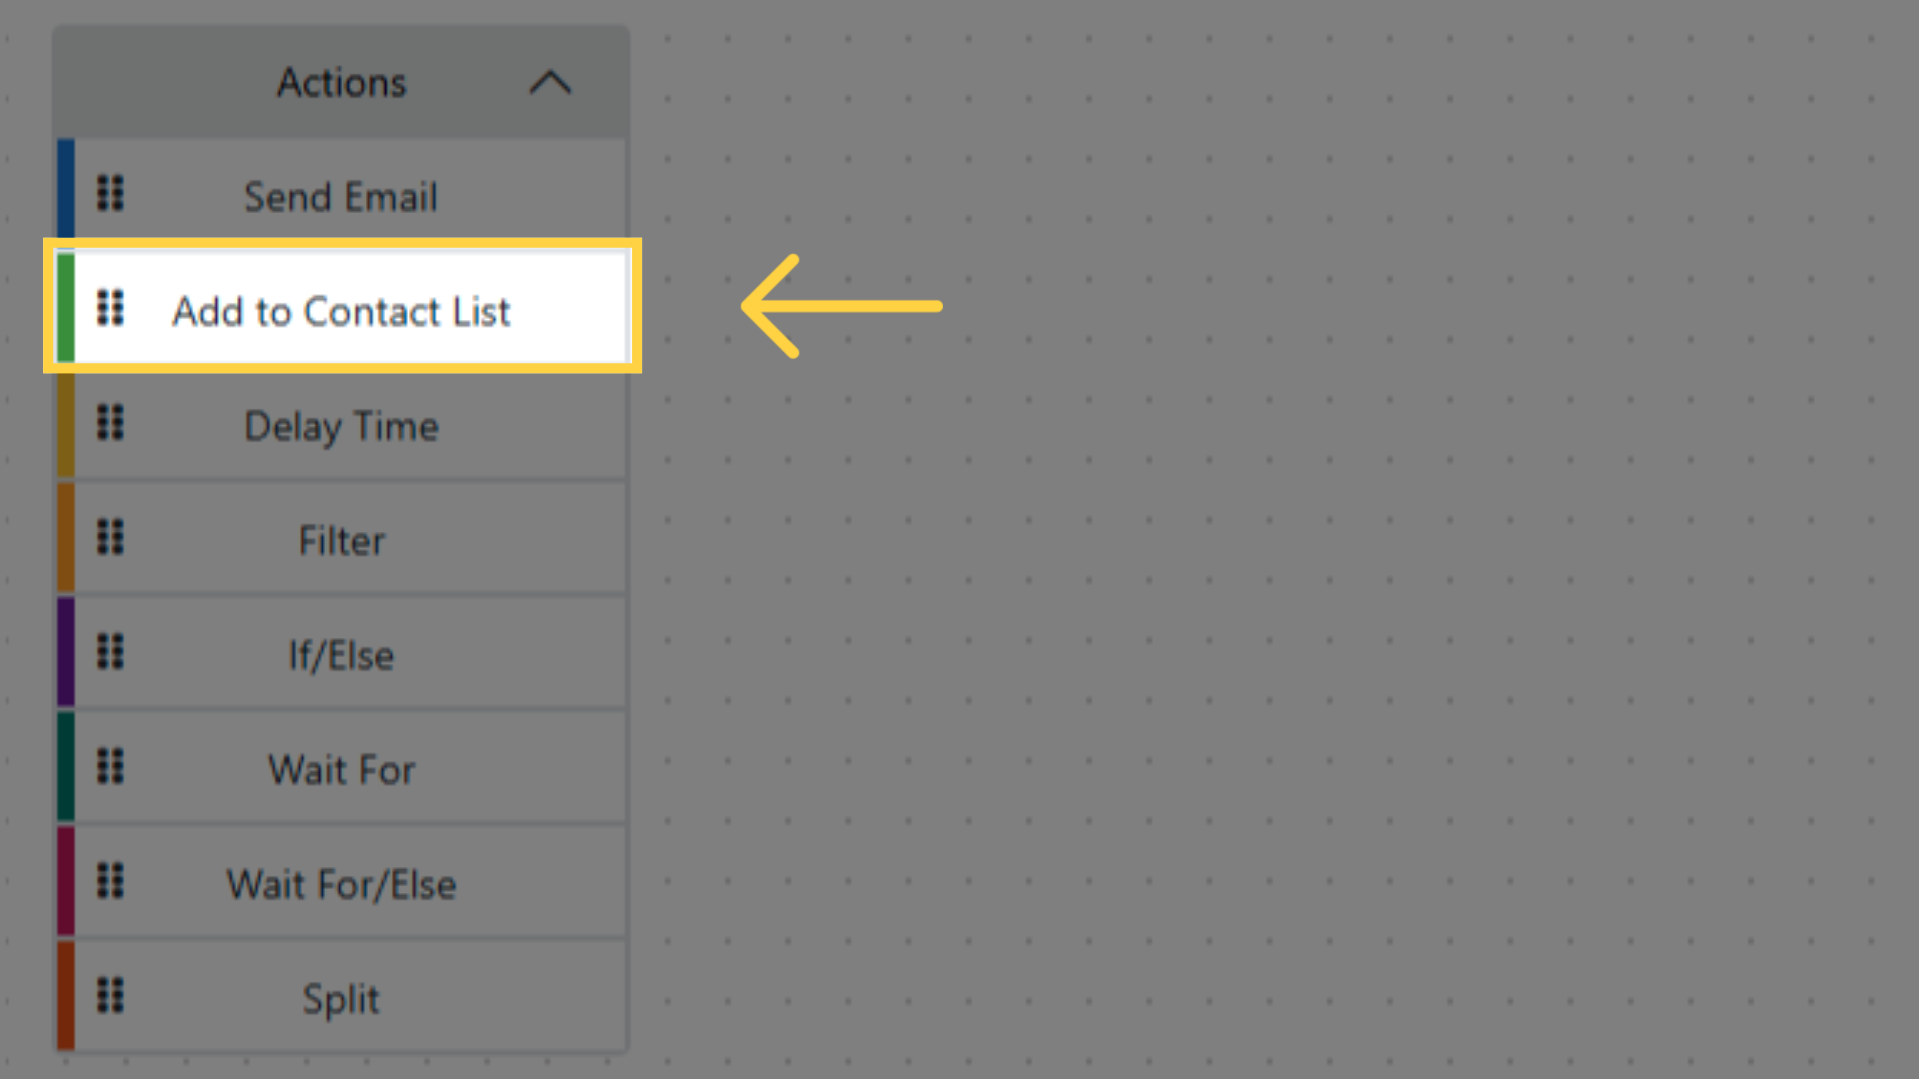
Drag Add to Contact List onto the workflow canvas.
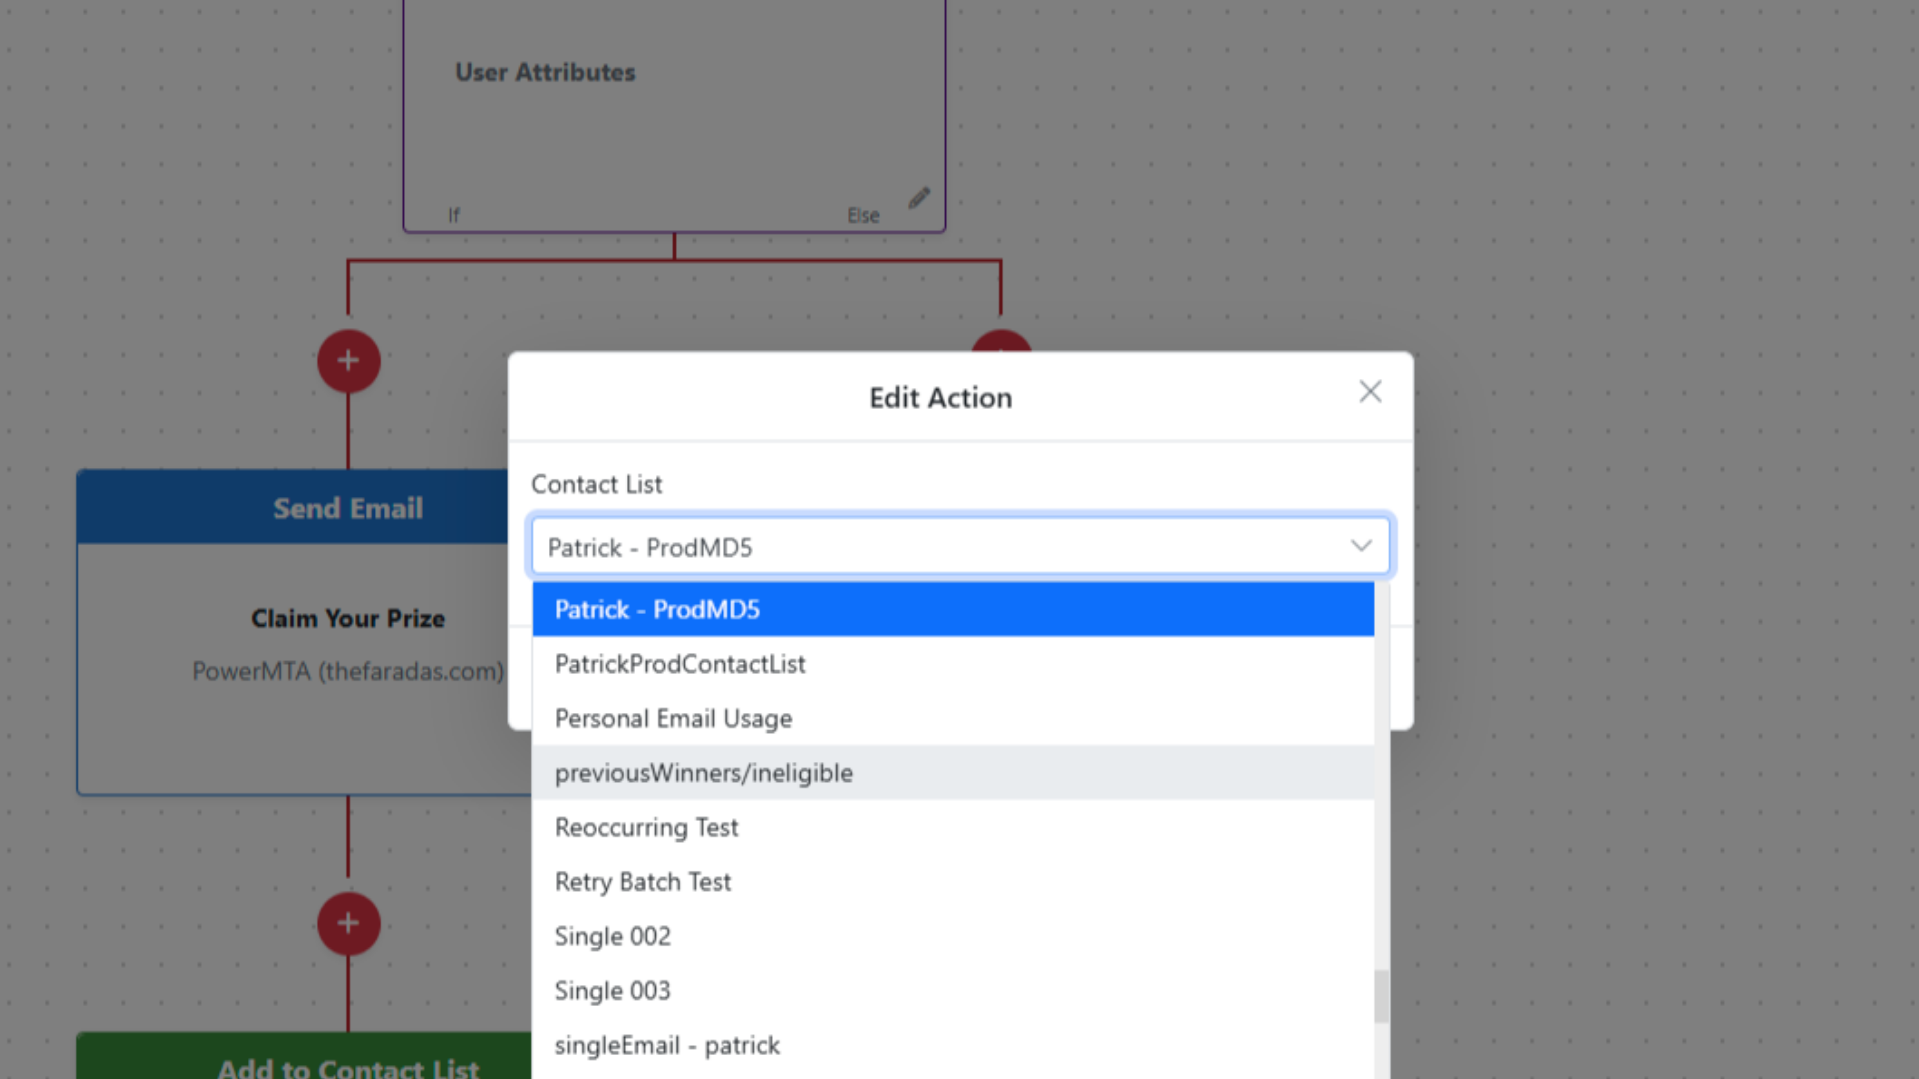
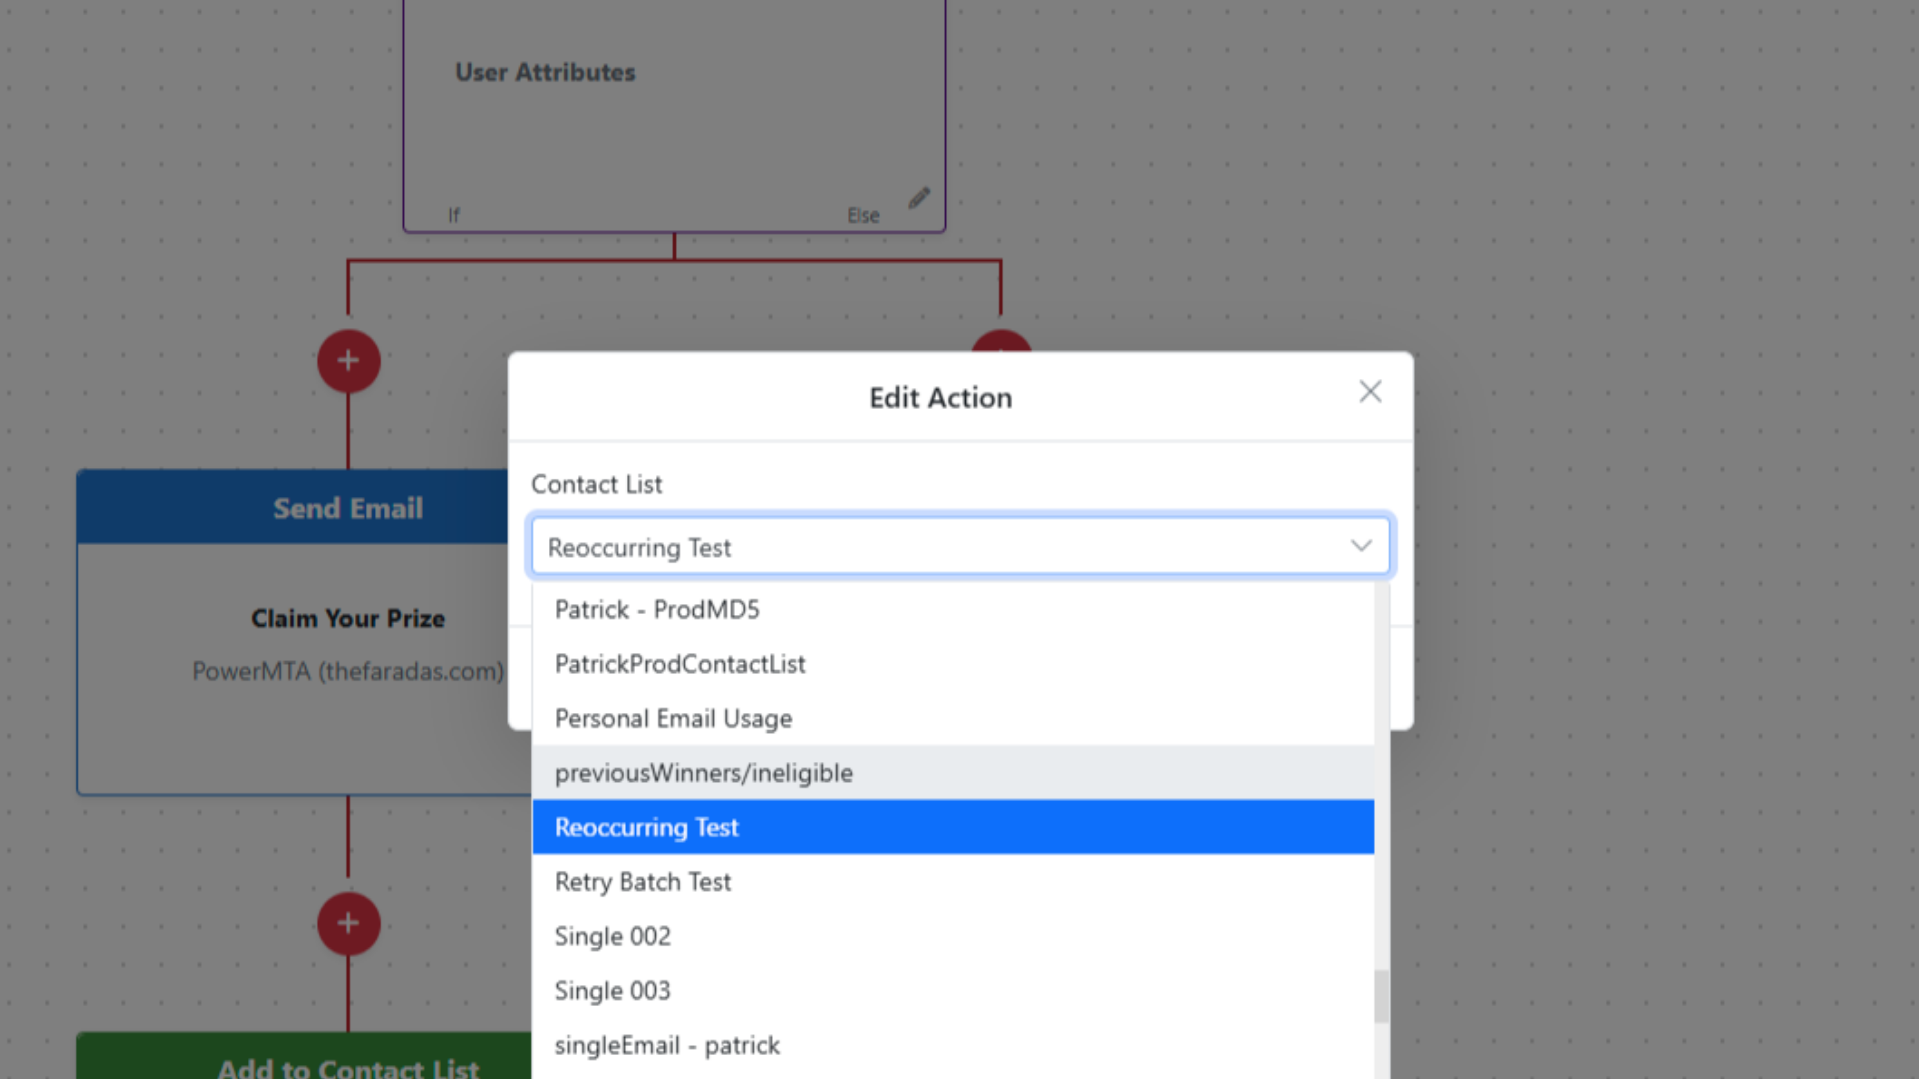
Click Edit on the action card.
Select the Contact List to add the subscriber to.
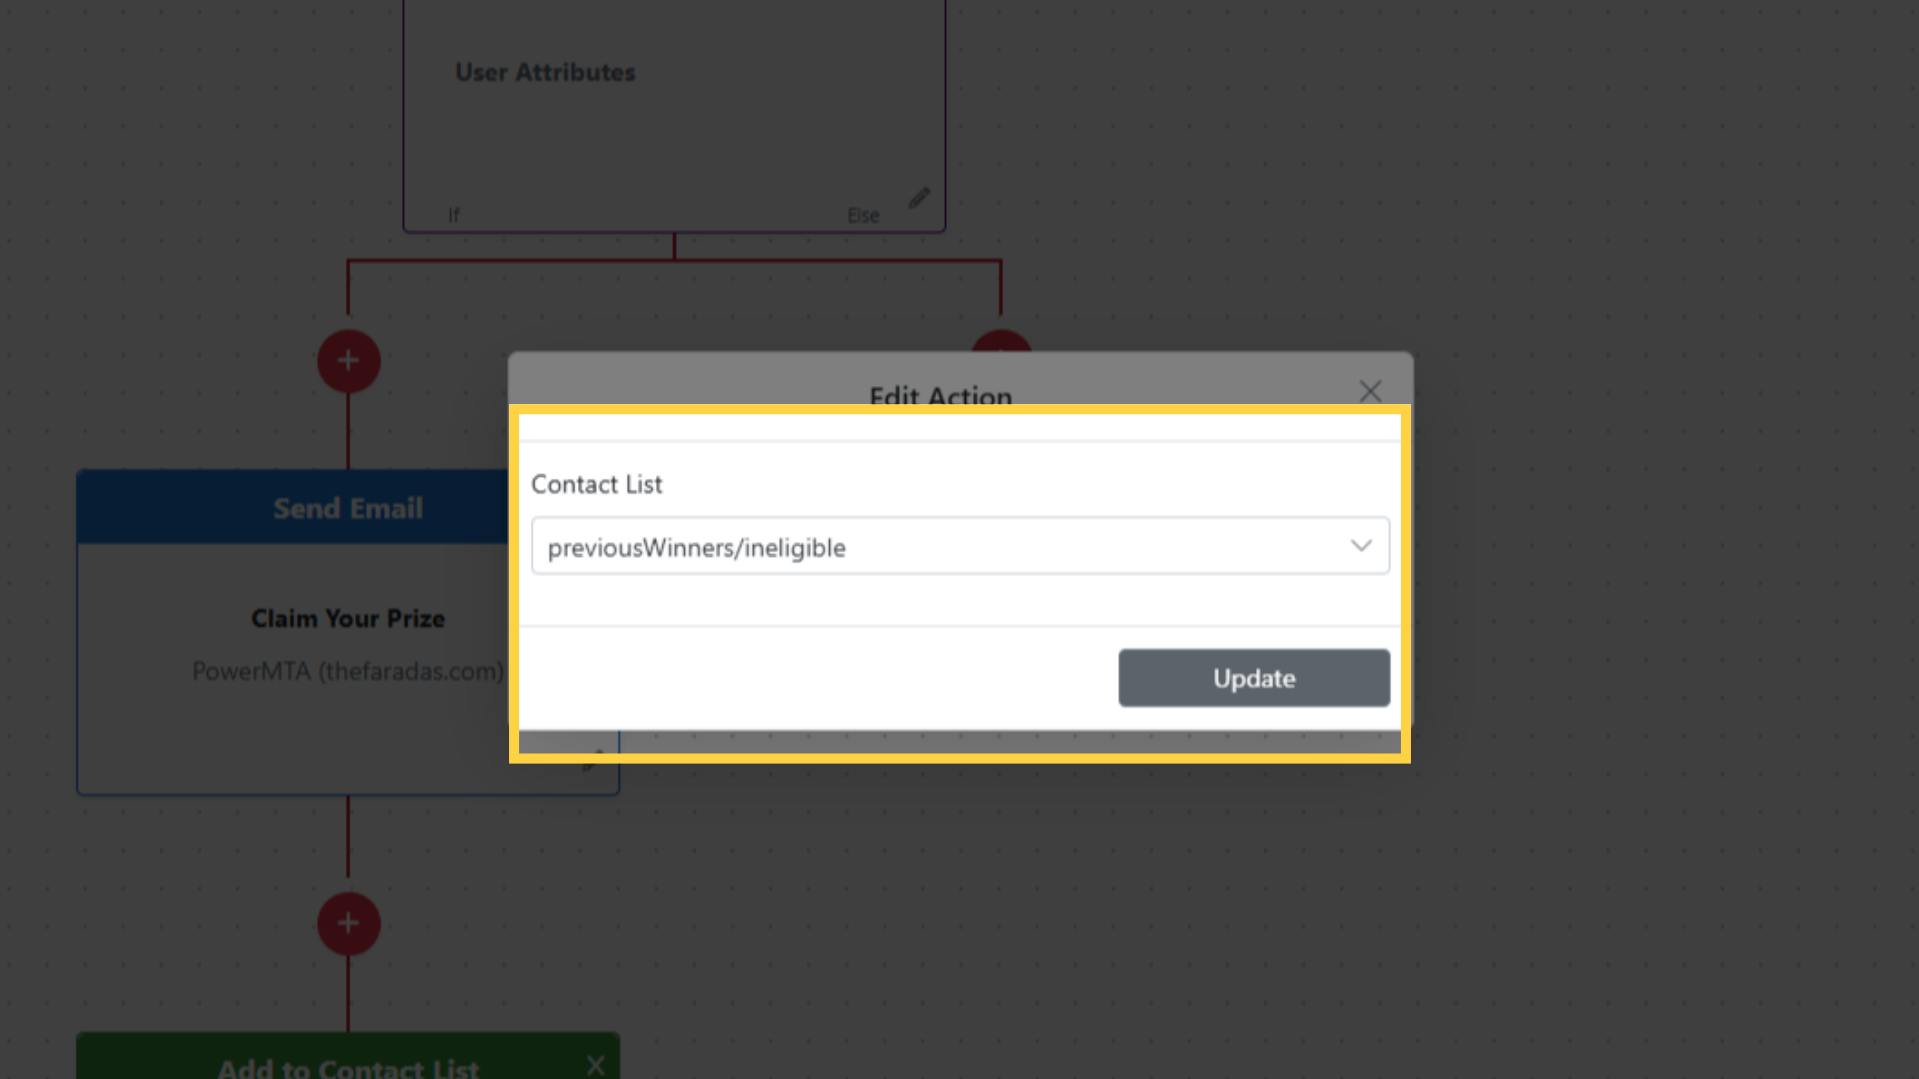
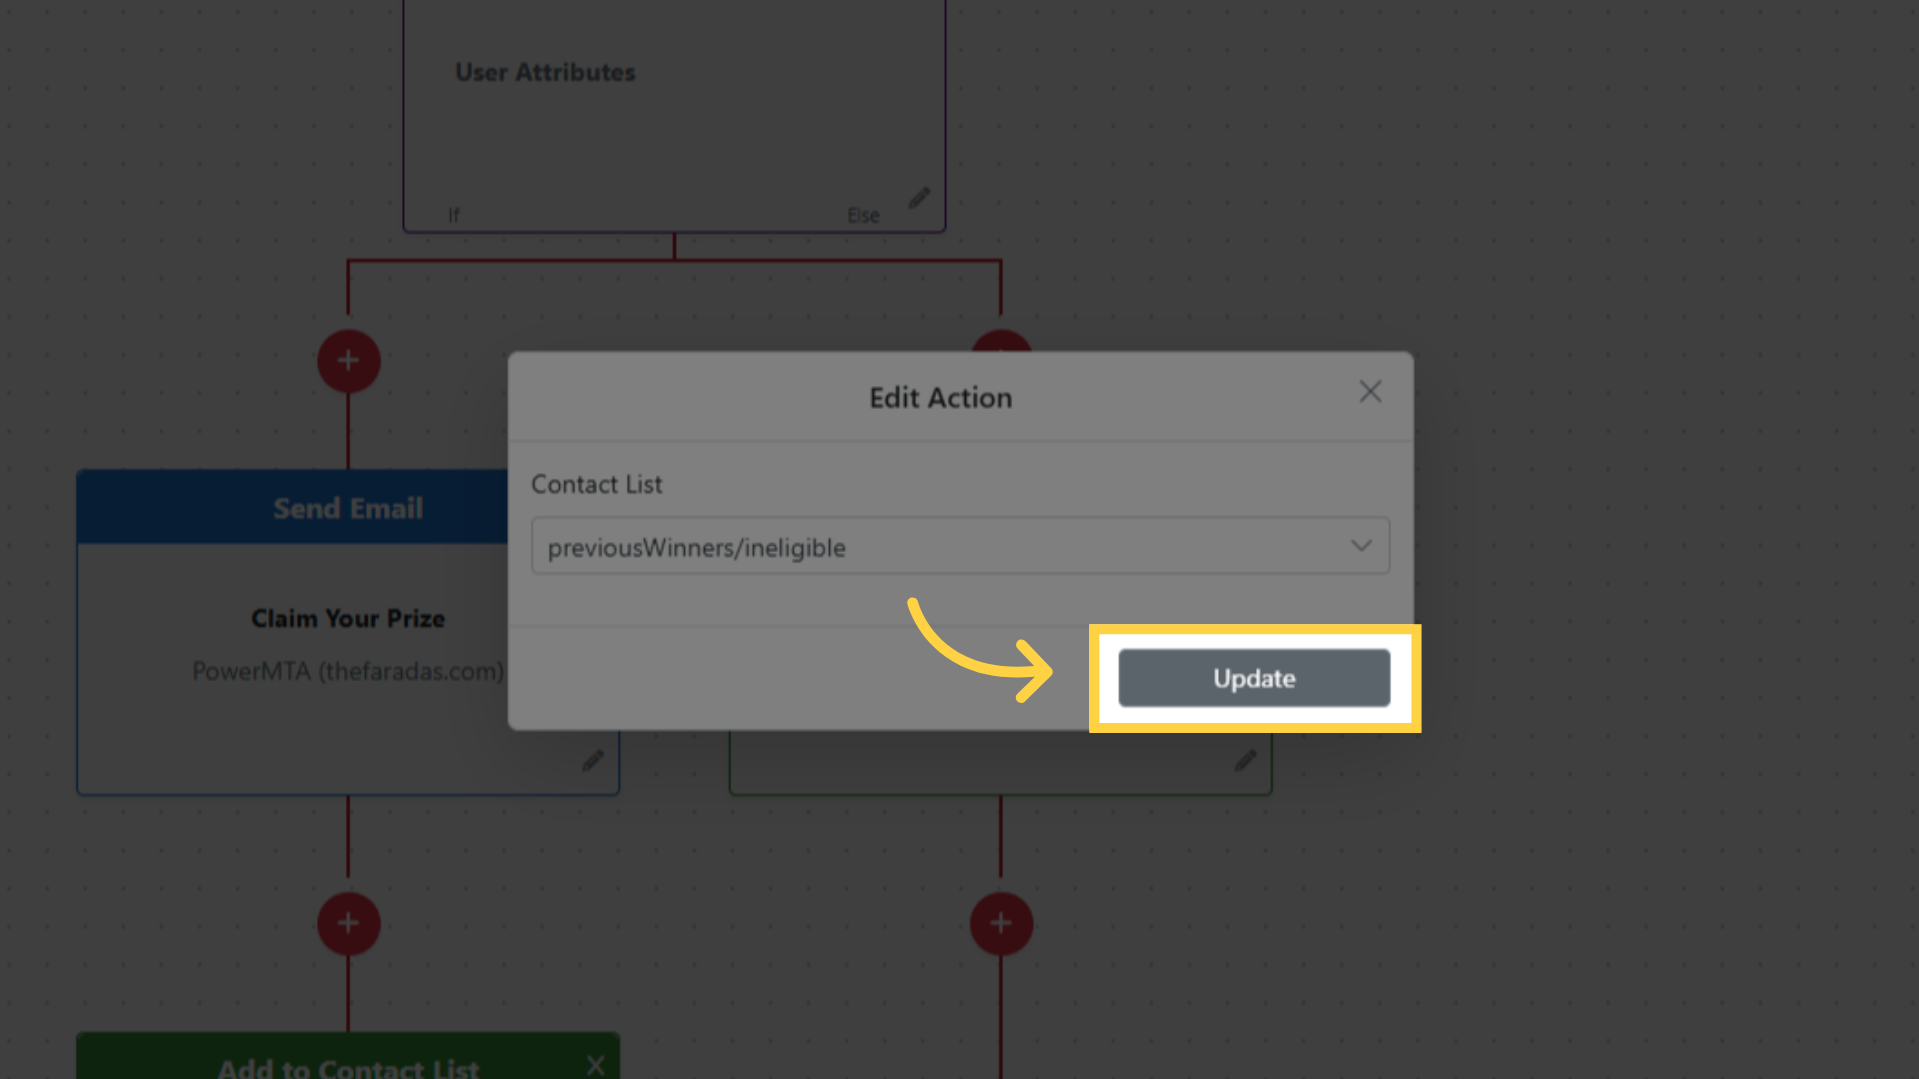
Click Save.
Delay Time
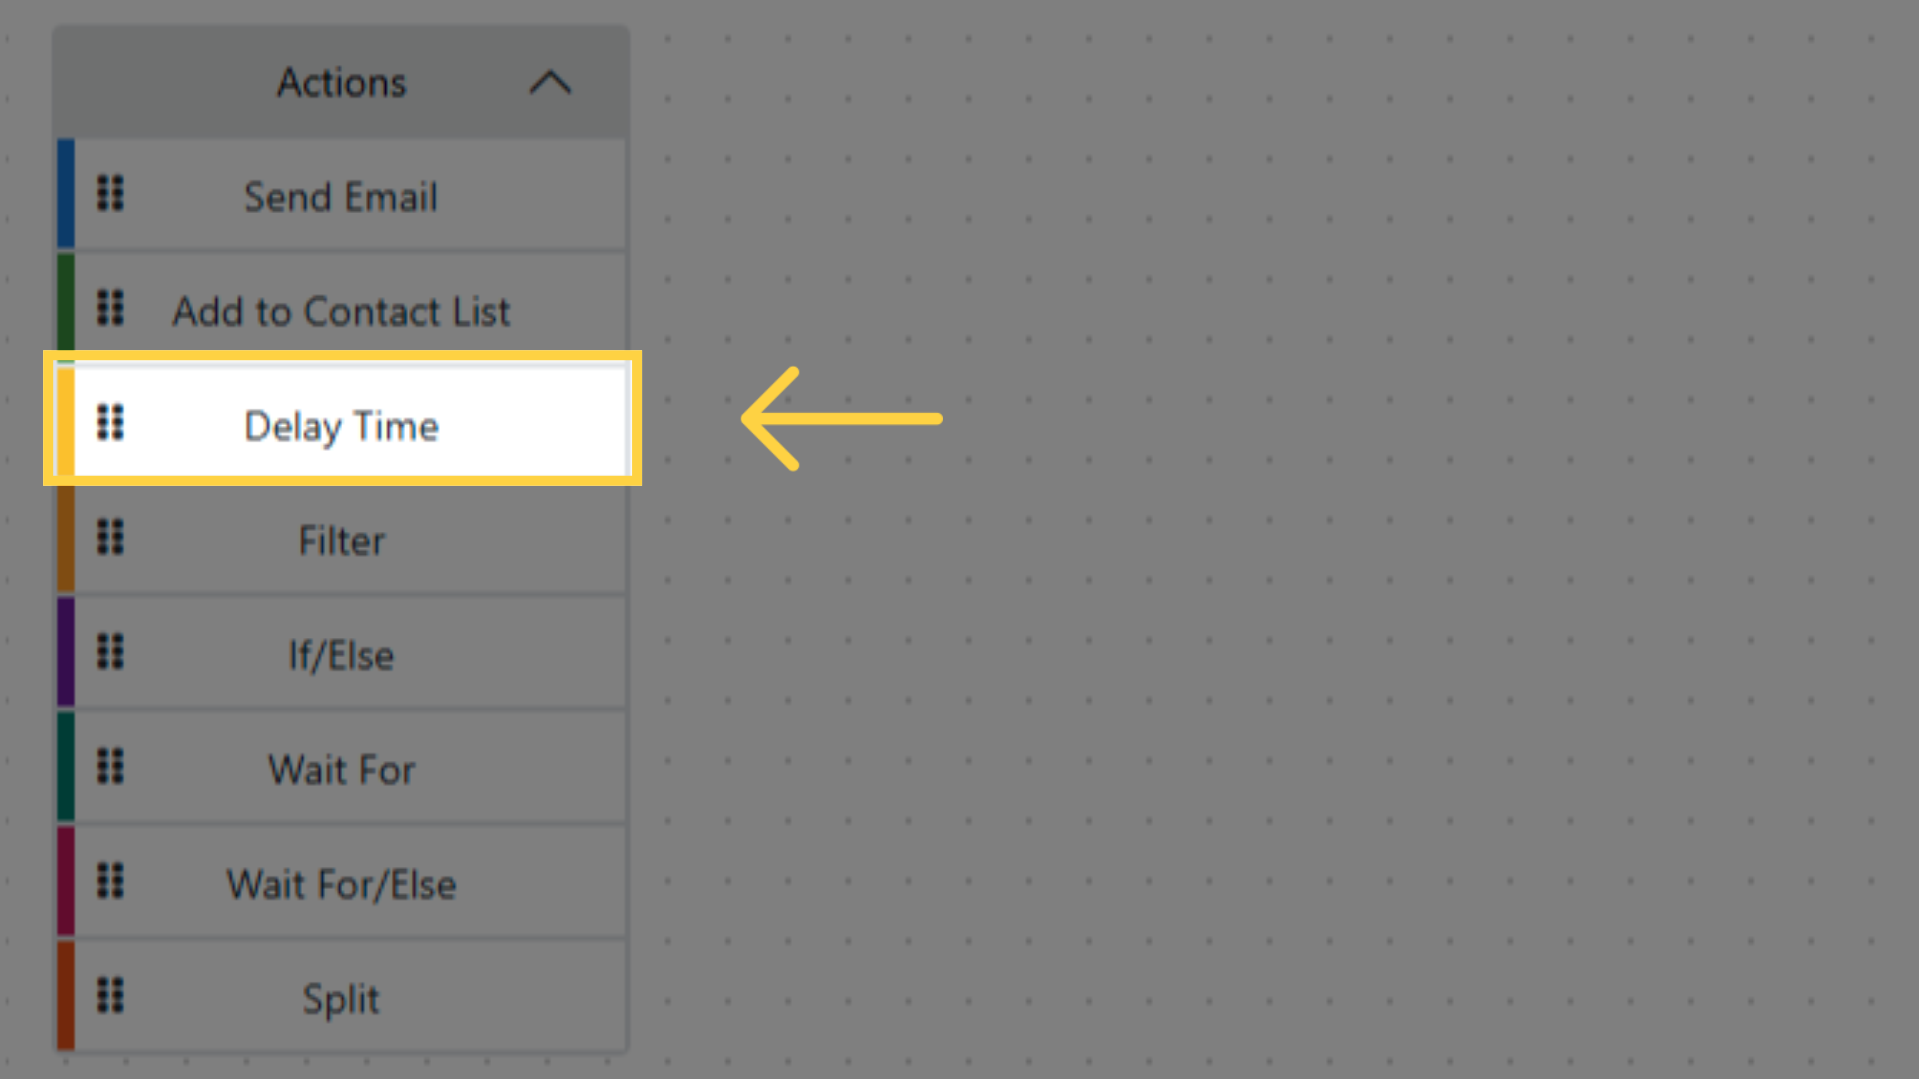
- Drag Delay Time onto the workflow canvas.
- Click Edit on the action card.
- Enter the delay duration and select the unit: Minutes, Hours, or Days.
- Click Save.
Filter
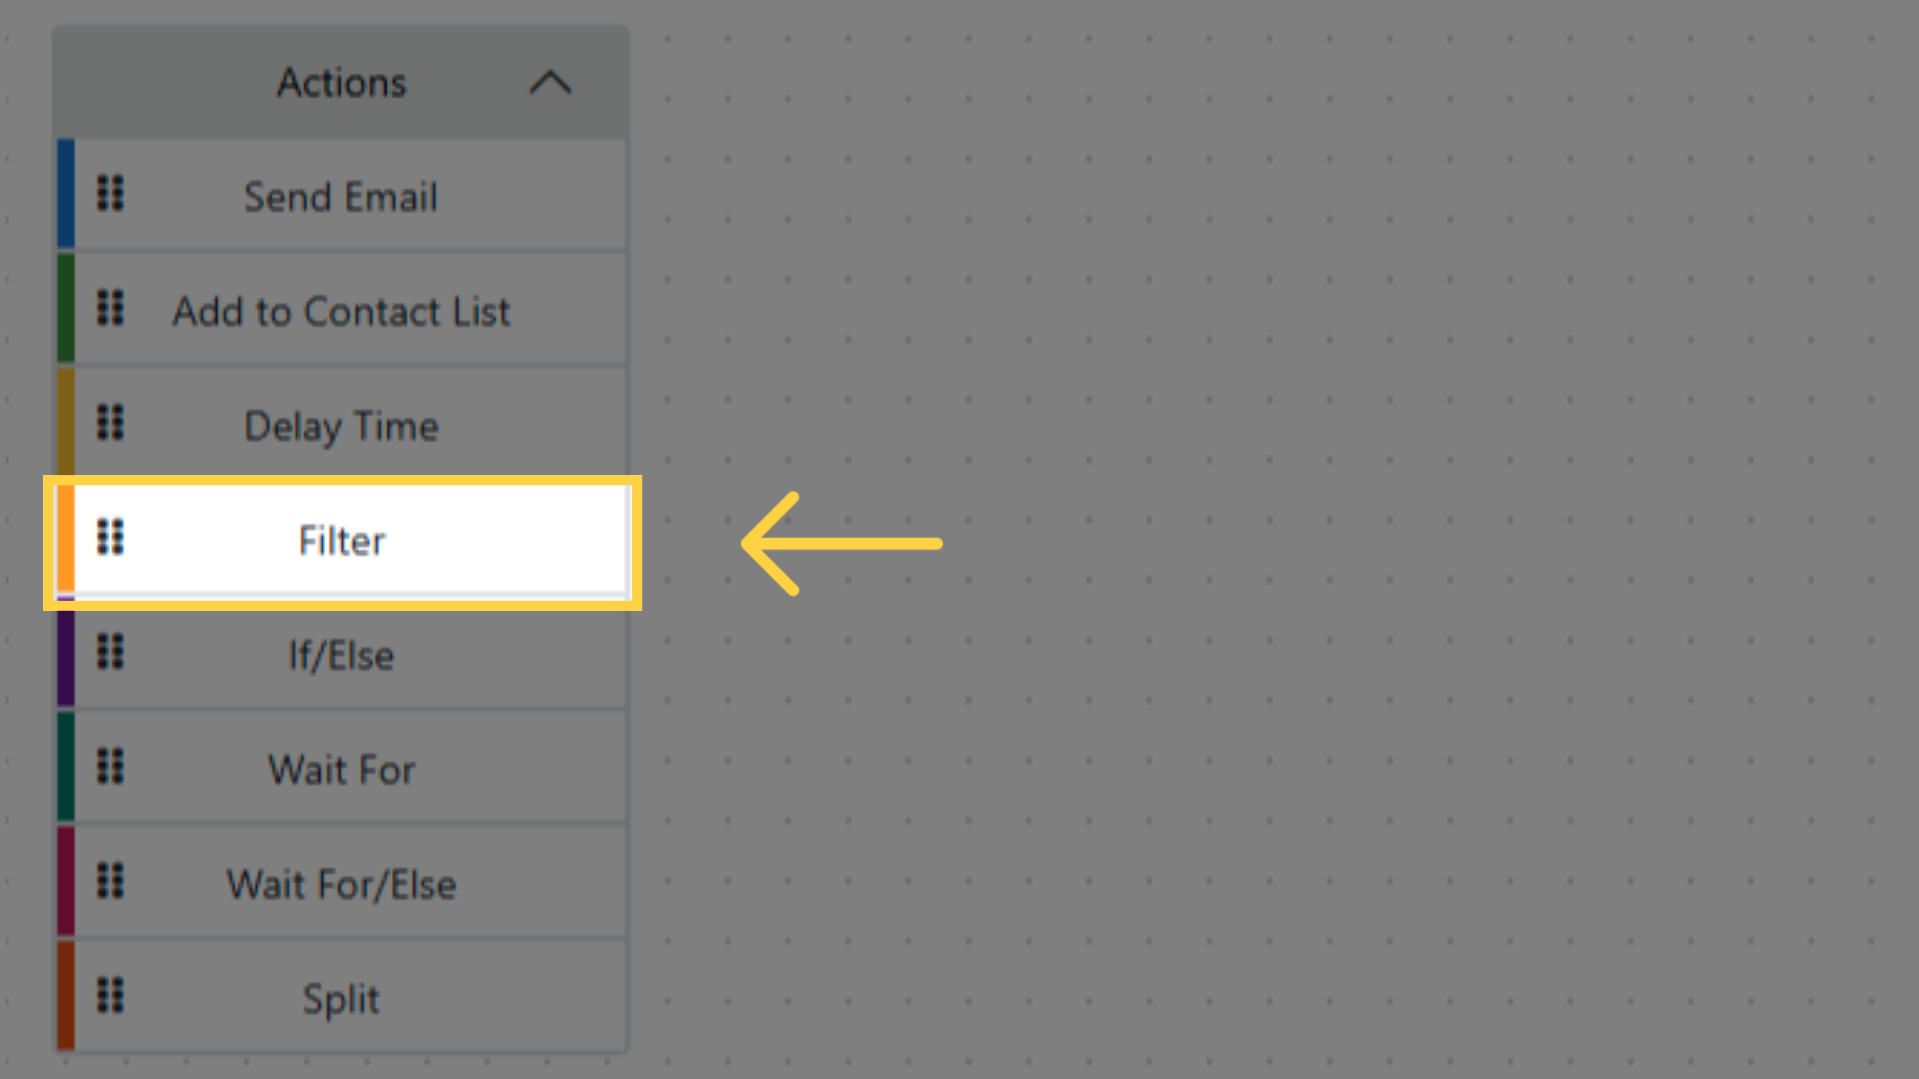
- Drag Filter onto the workflow canvas.
- Click Edit on the action card.
- Configure filter conditions using the same filter types available in Segments:
- Domain Groups — filter by email domain
- Contact Lists — filter by list membership
- Contact Attributes — filter by contact field values
- Contact Actions — filter by engagement history
- Email Validations — filter by validation status
- Only contacts matching the filter proceed to the next action.
- Click Save.
If/Else
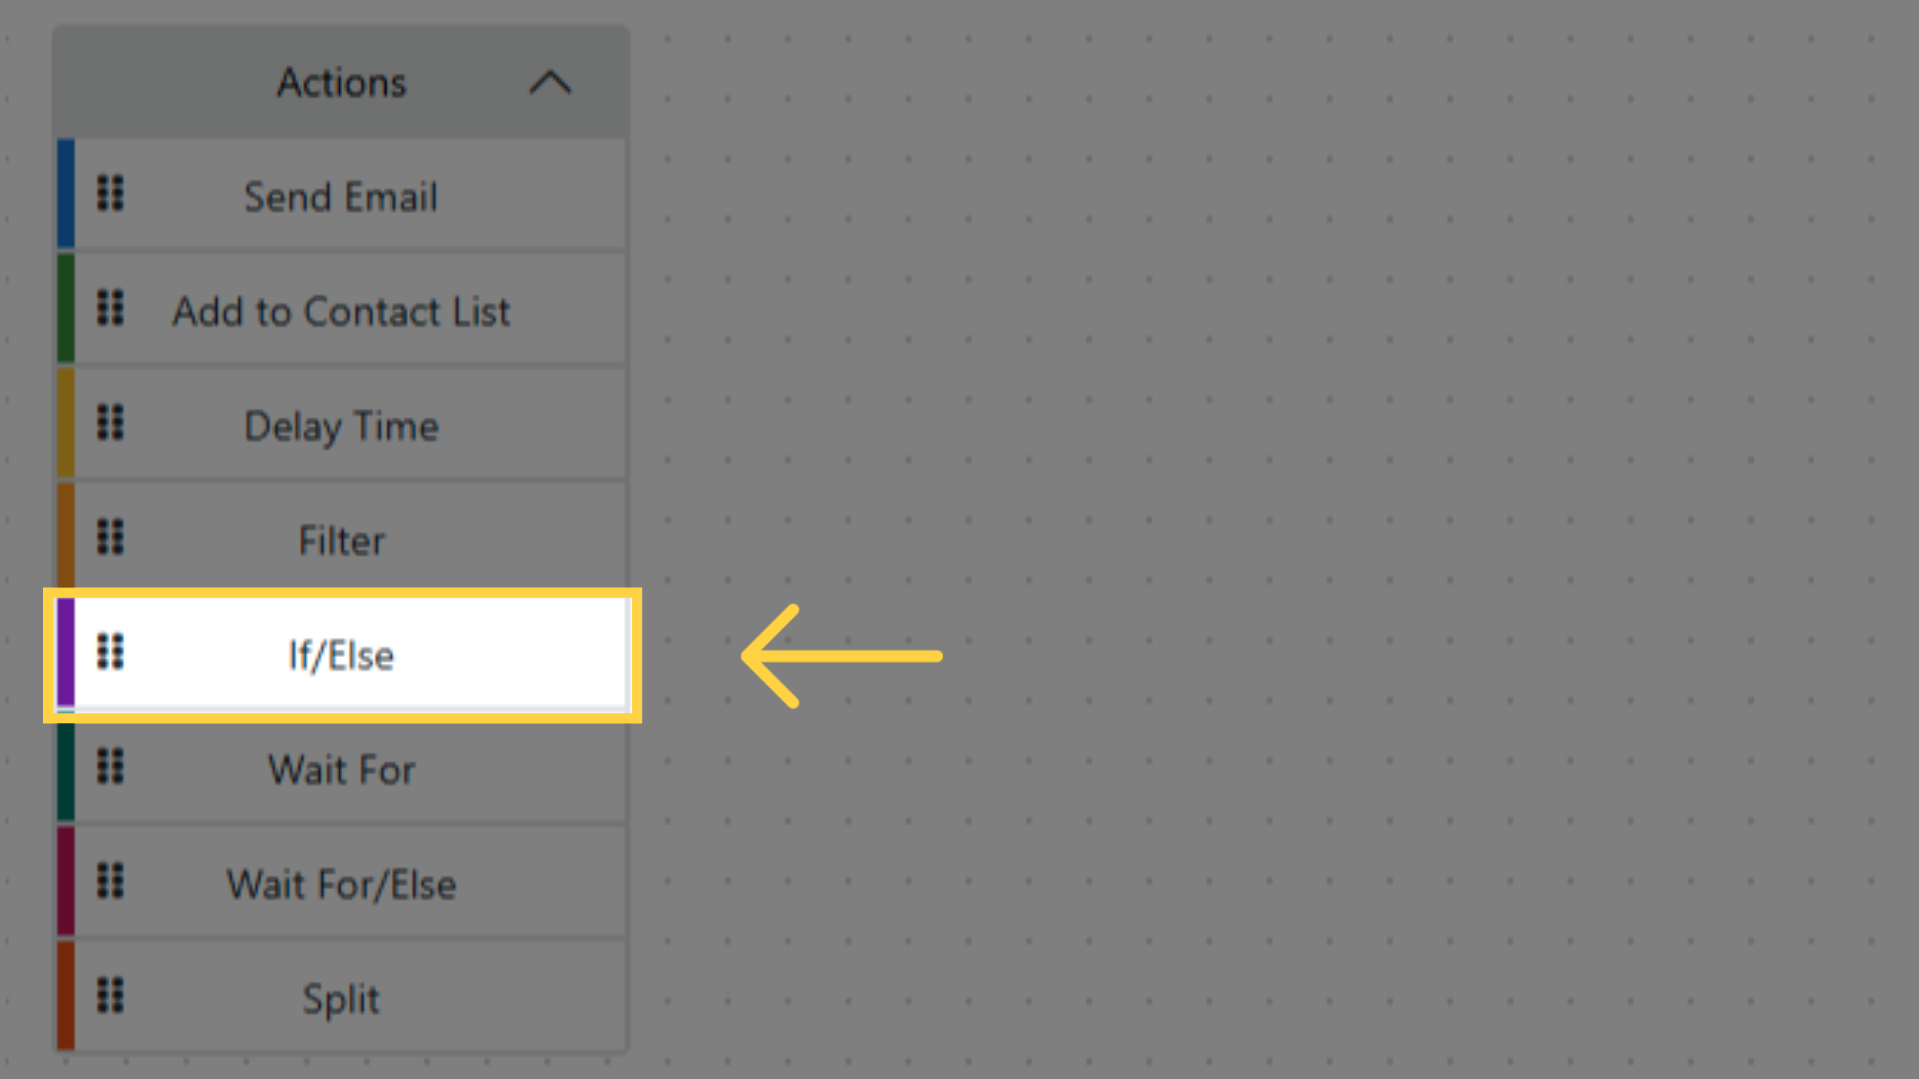
Drag If/Else onto the workflow canvas.
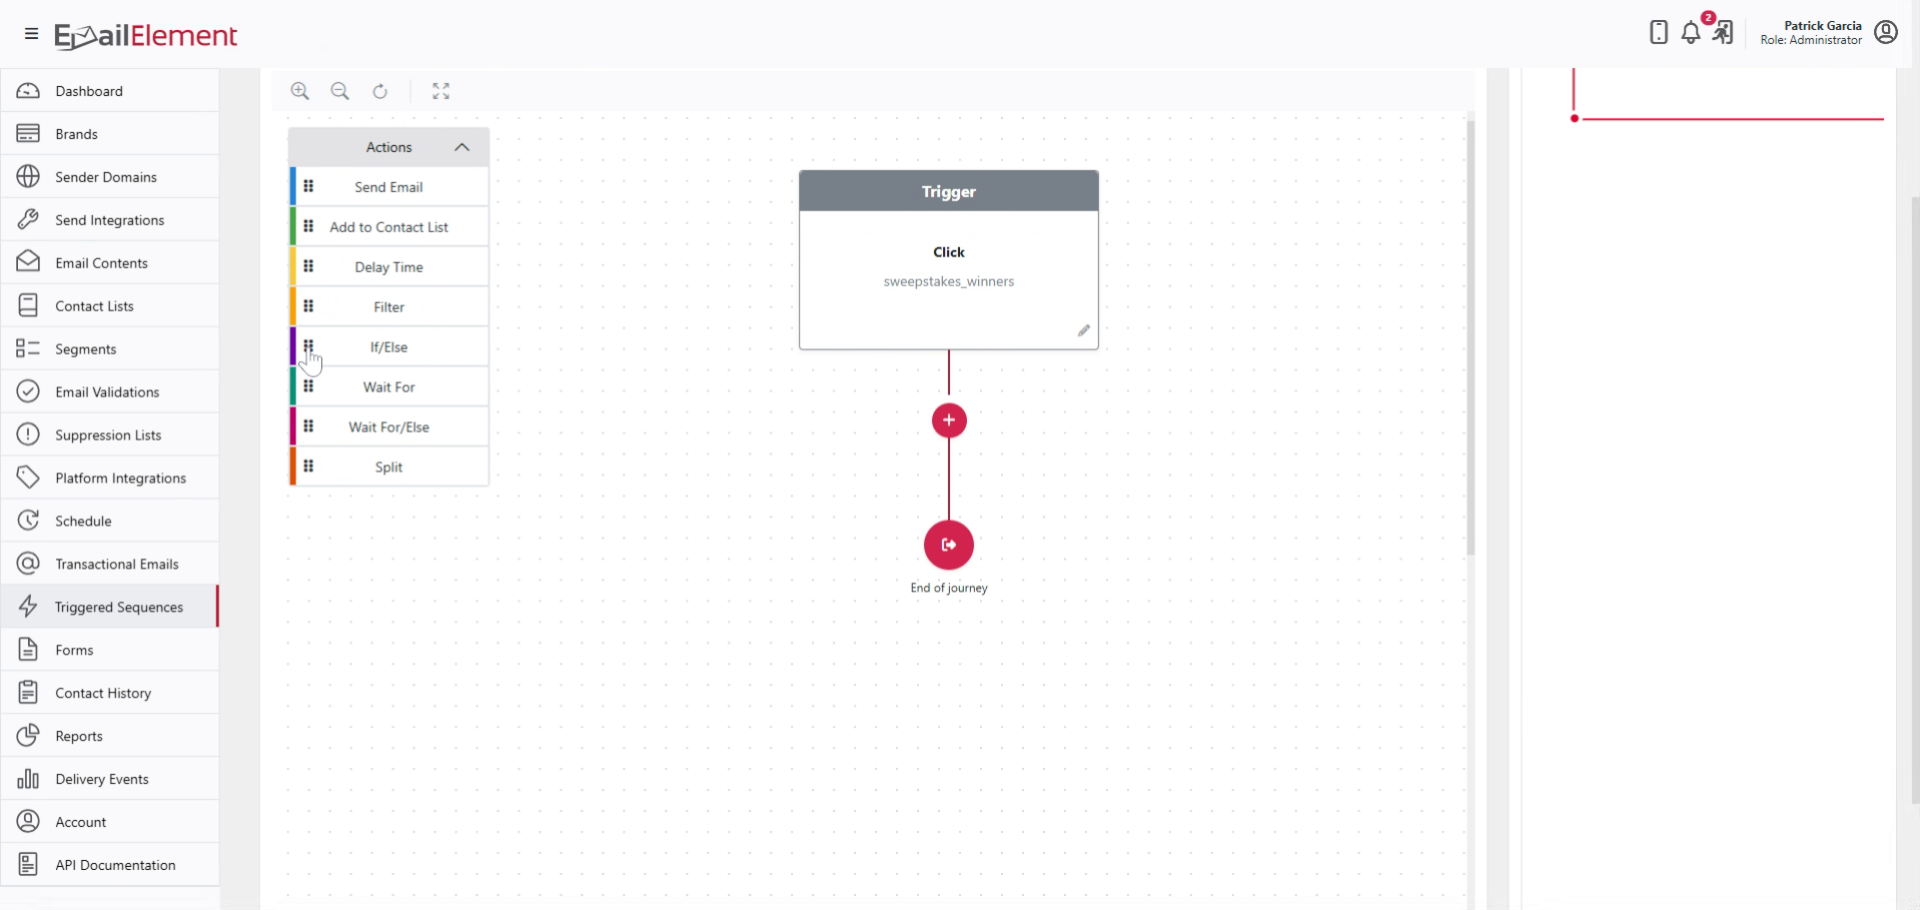
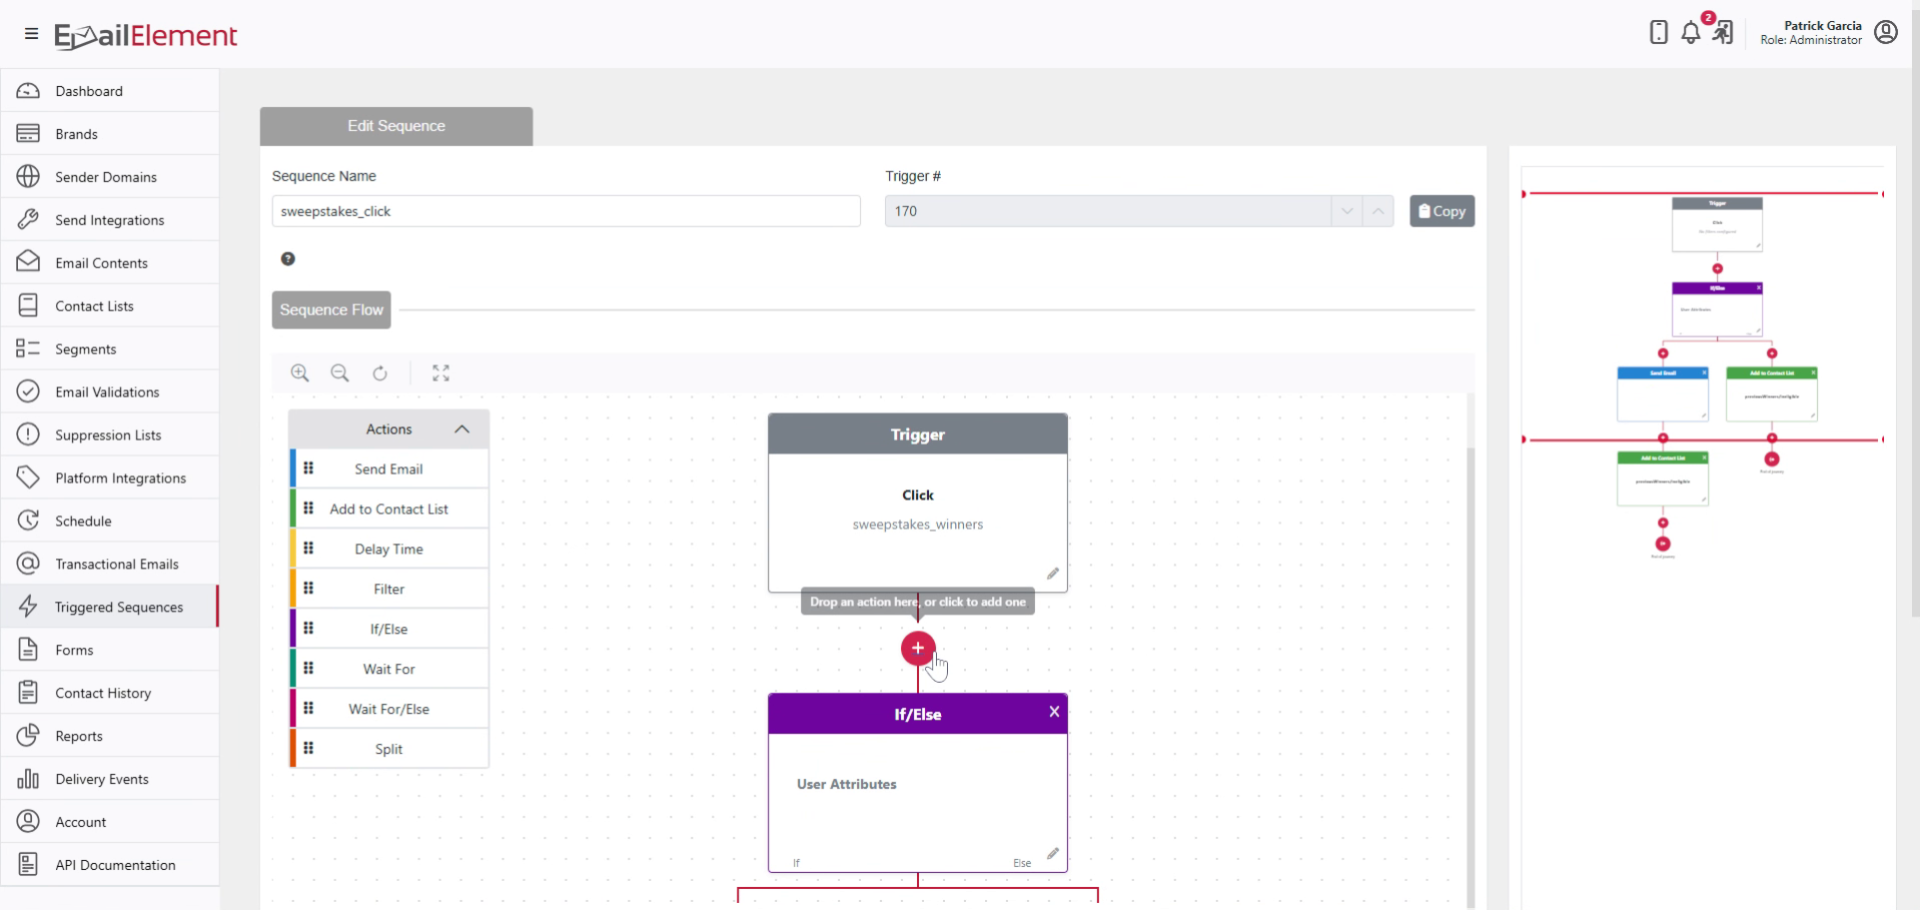
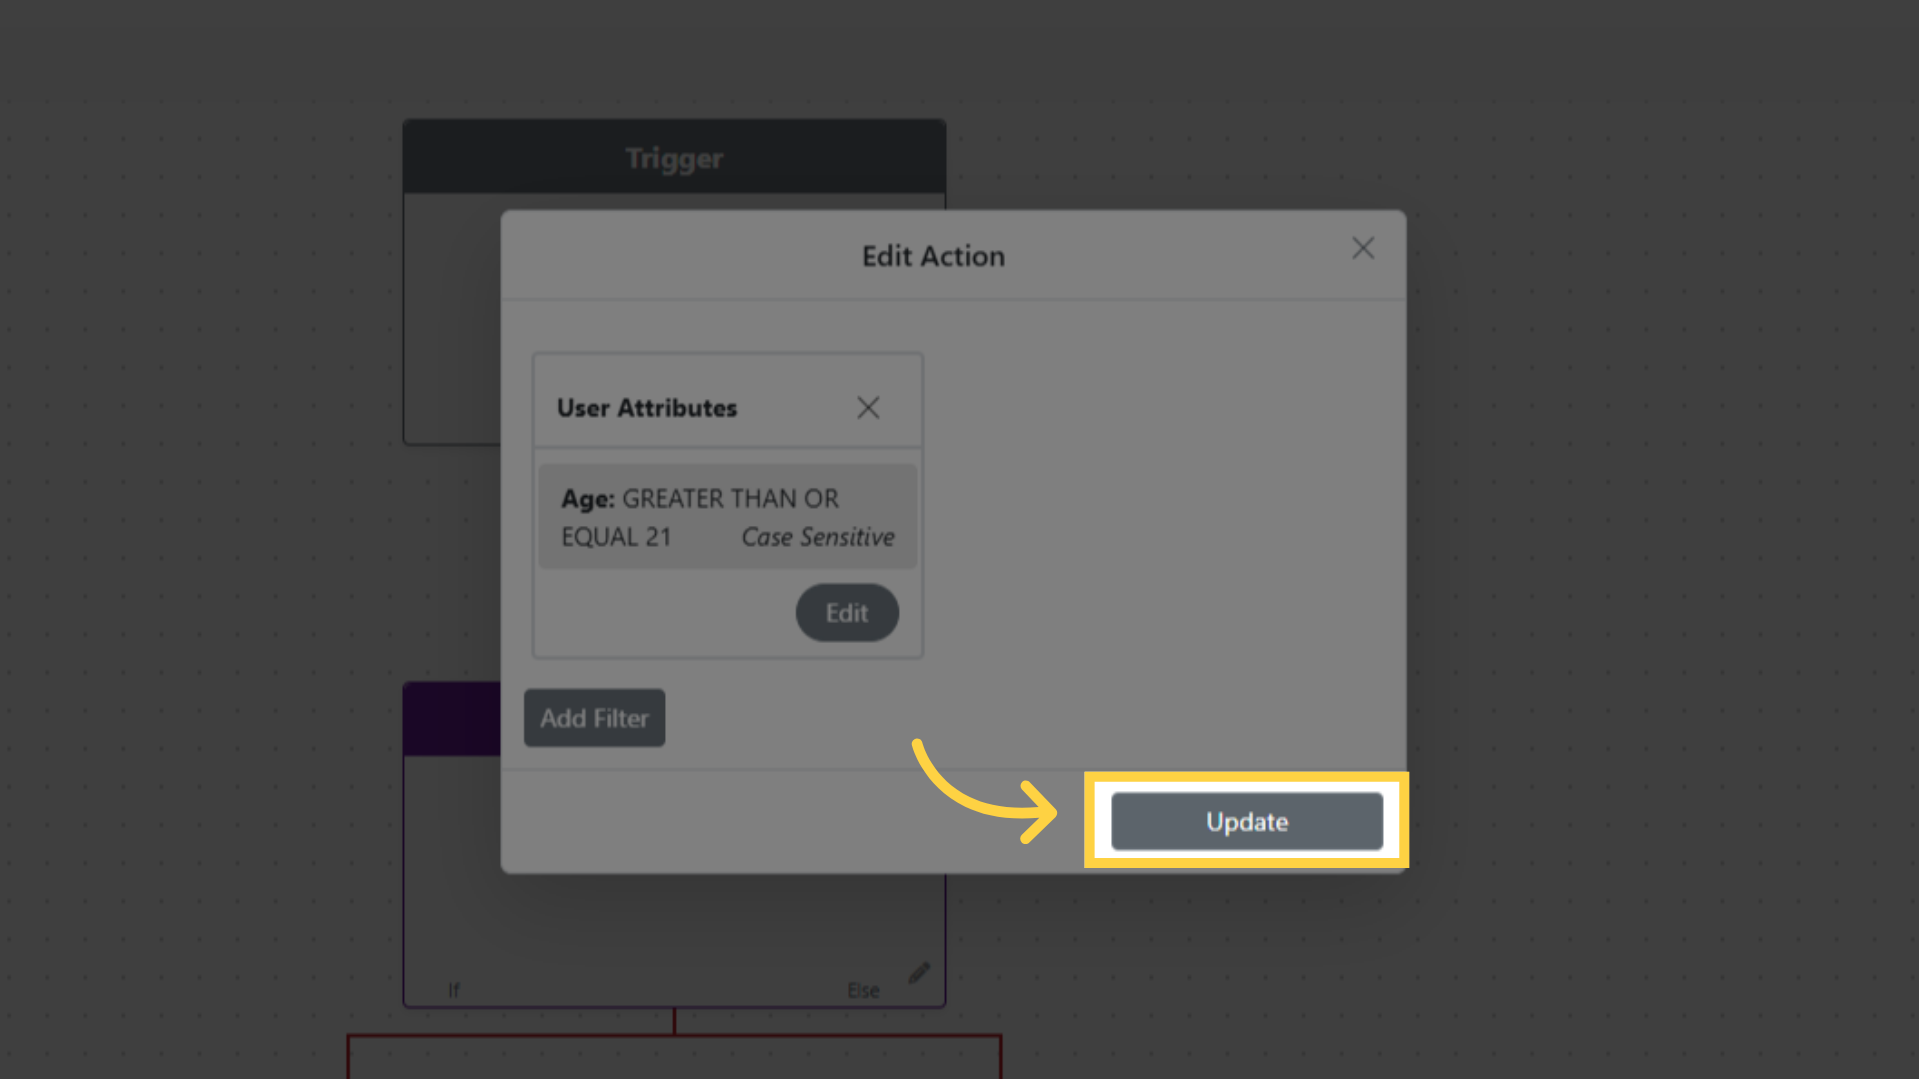
Click Edit on the action card.
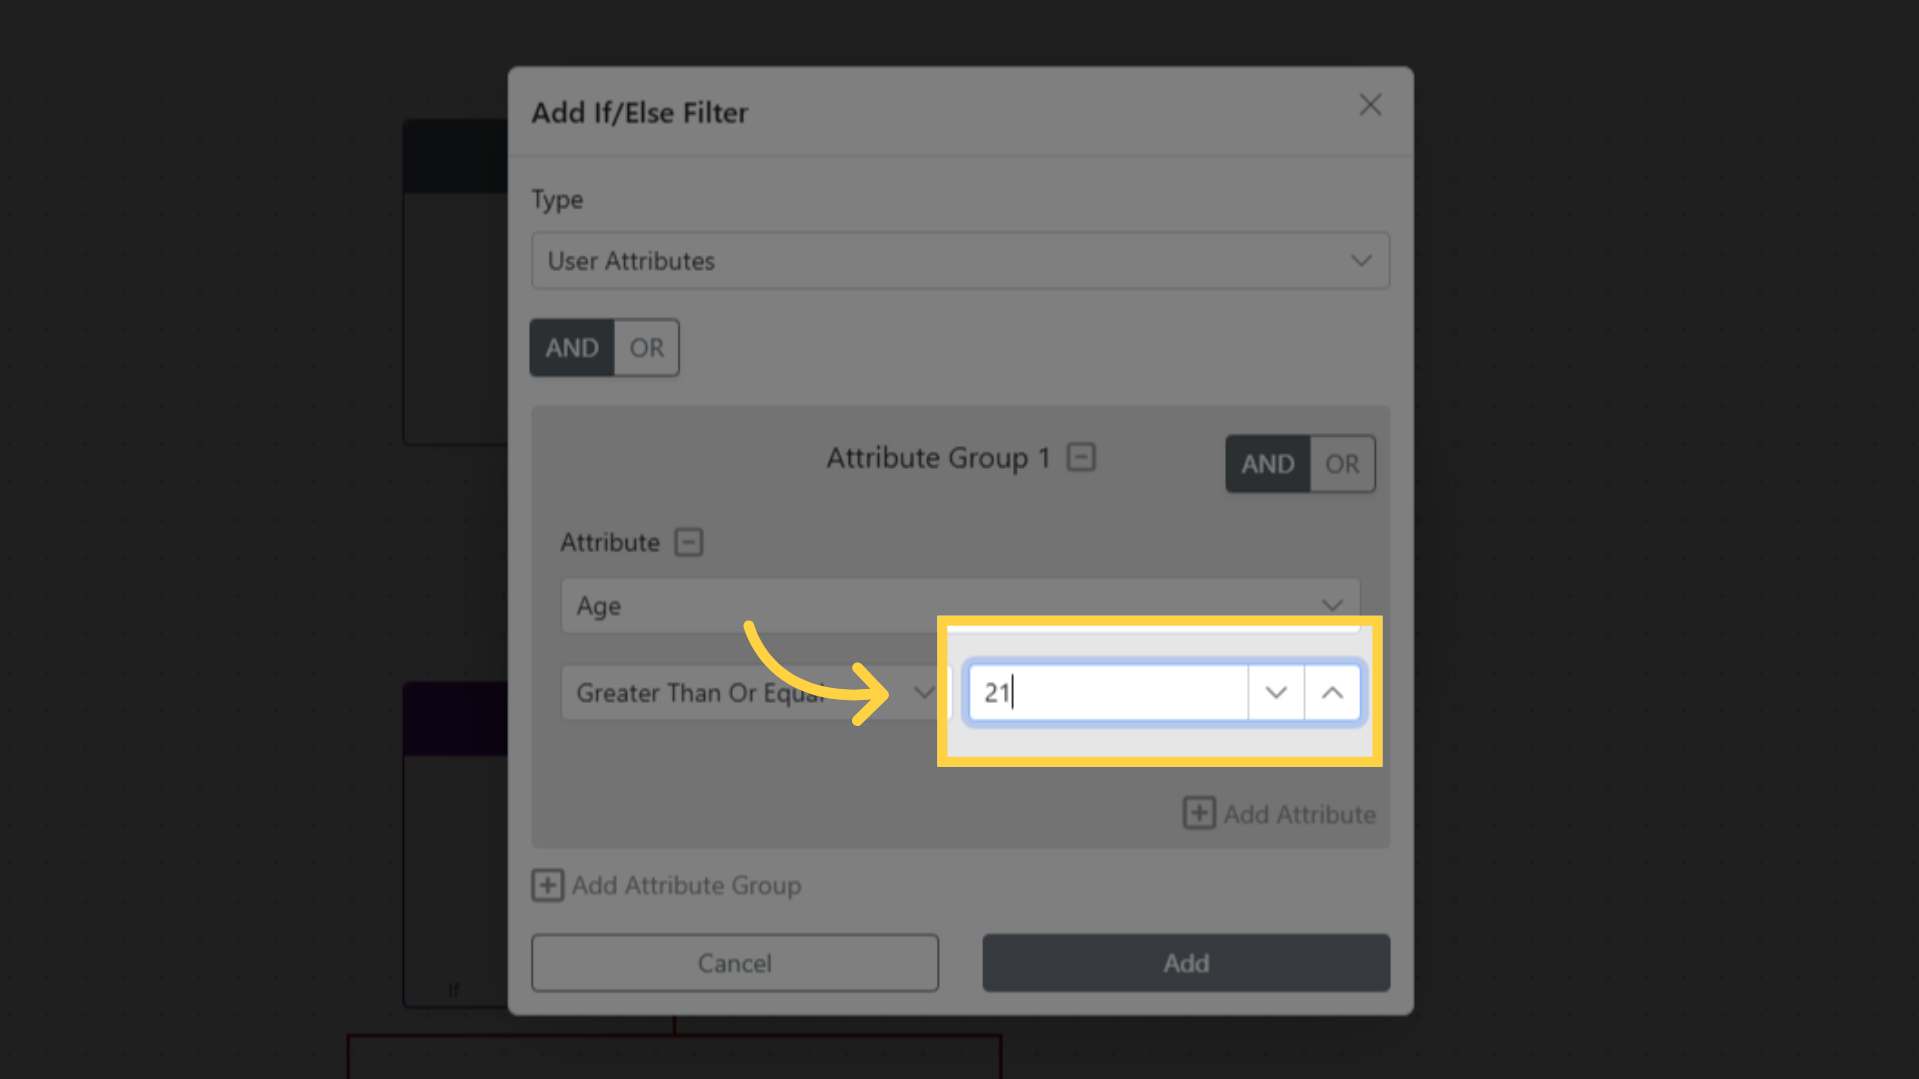
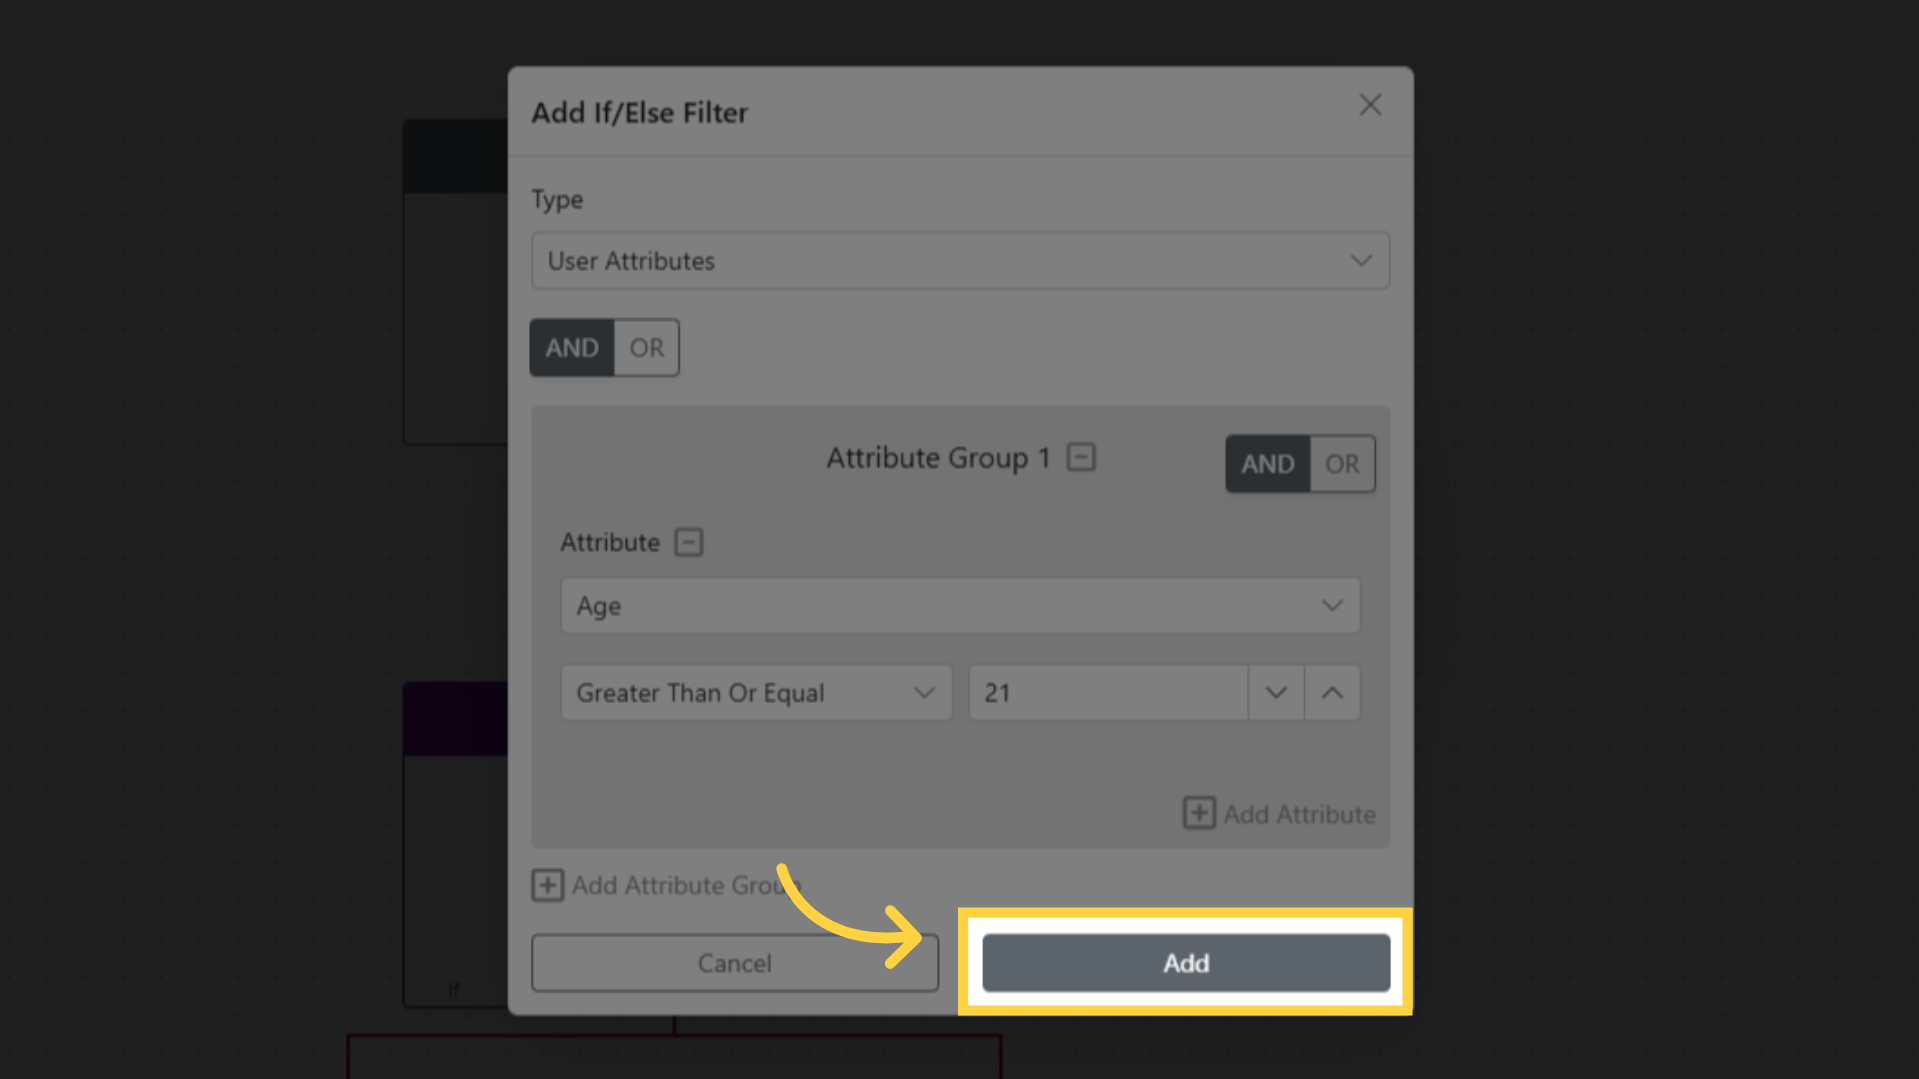
Add a filter condition to define the branching logic (same filter types as Segments).
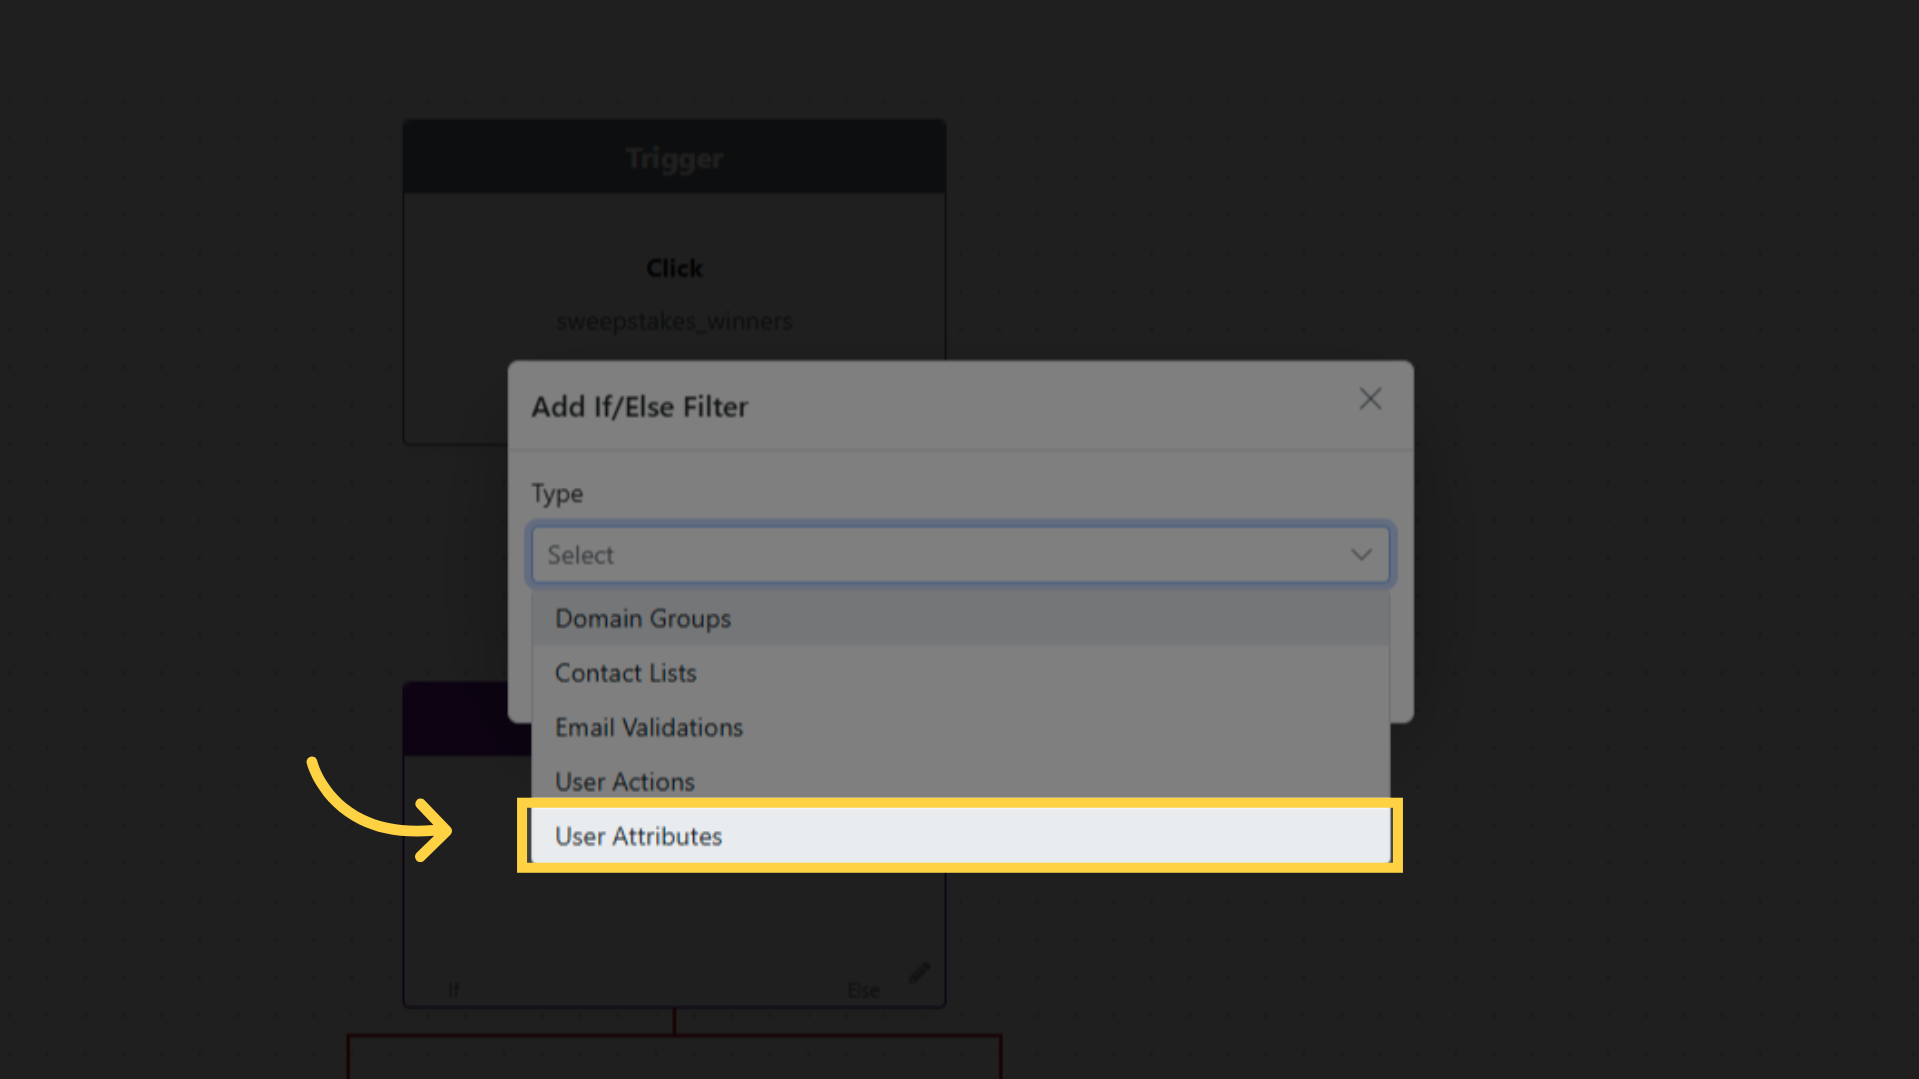
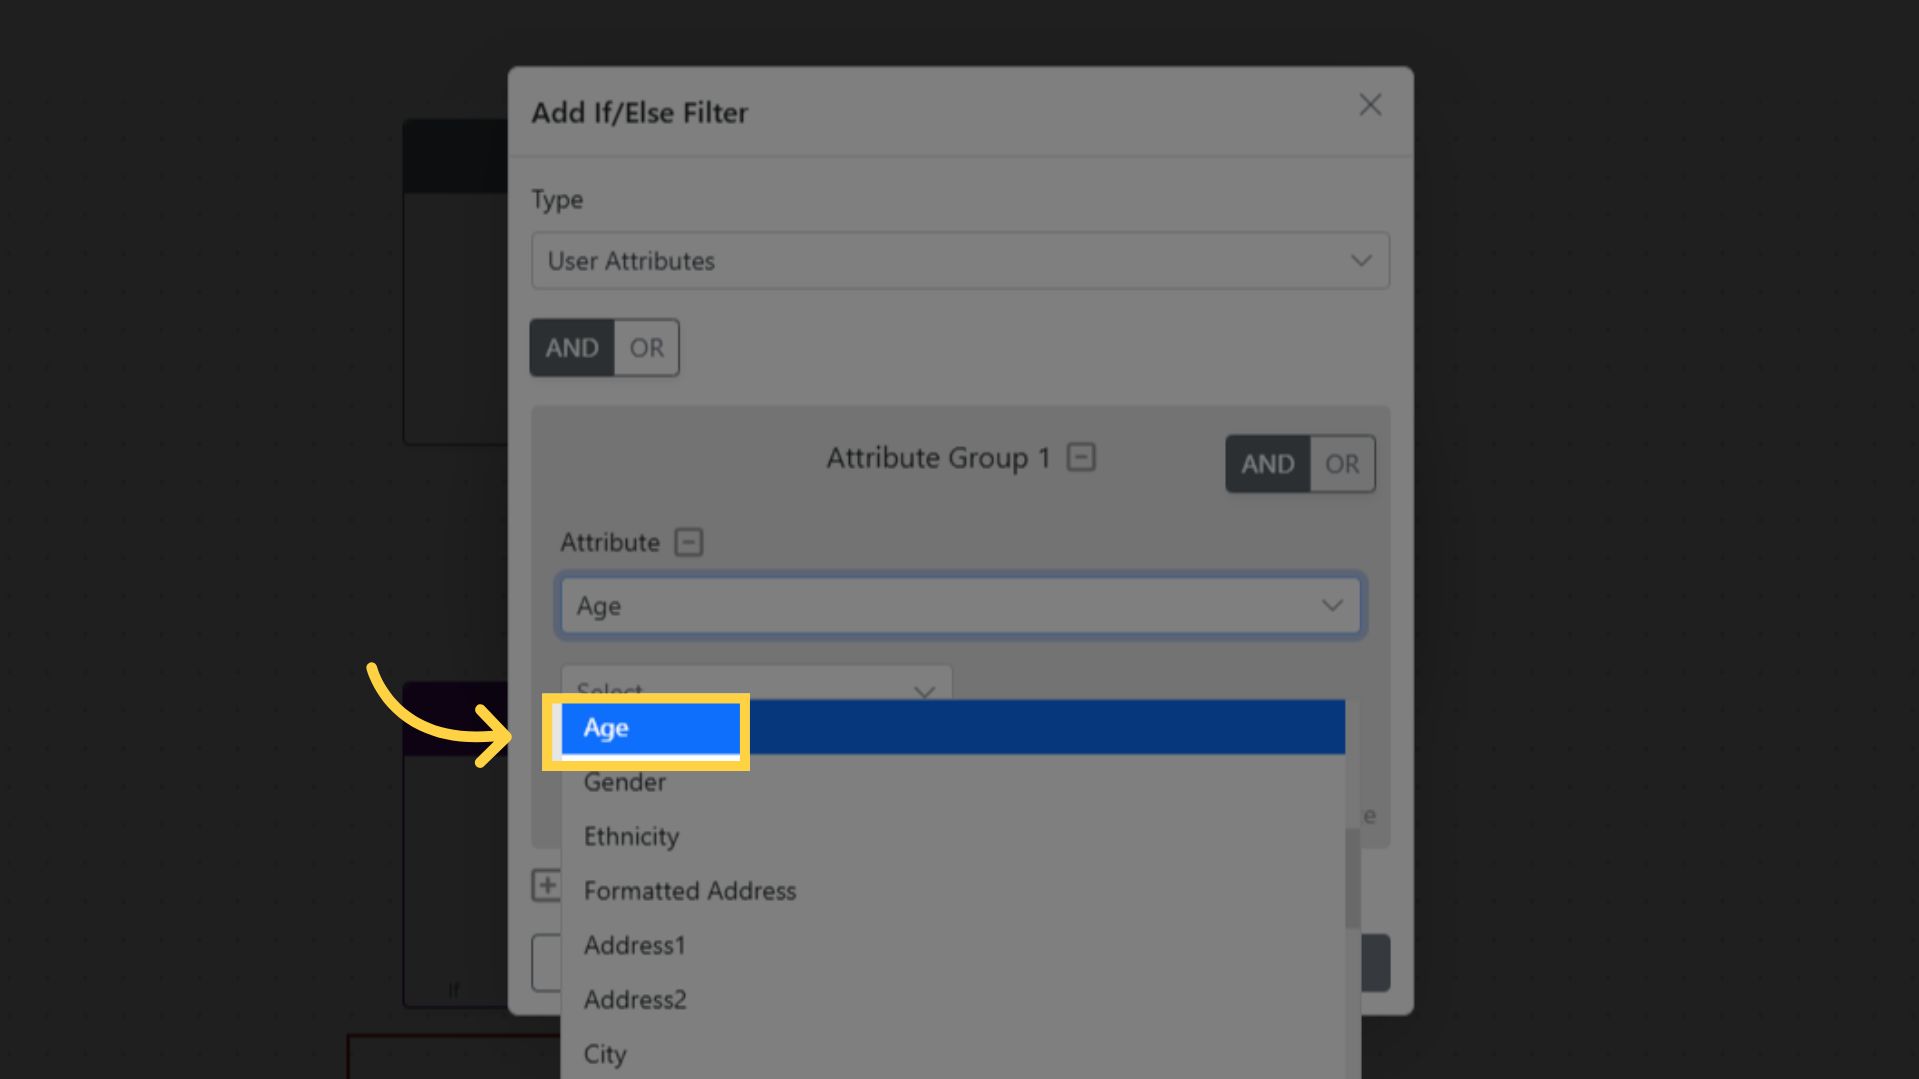
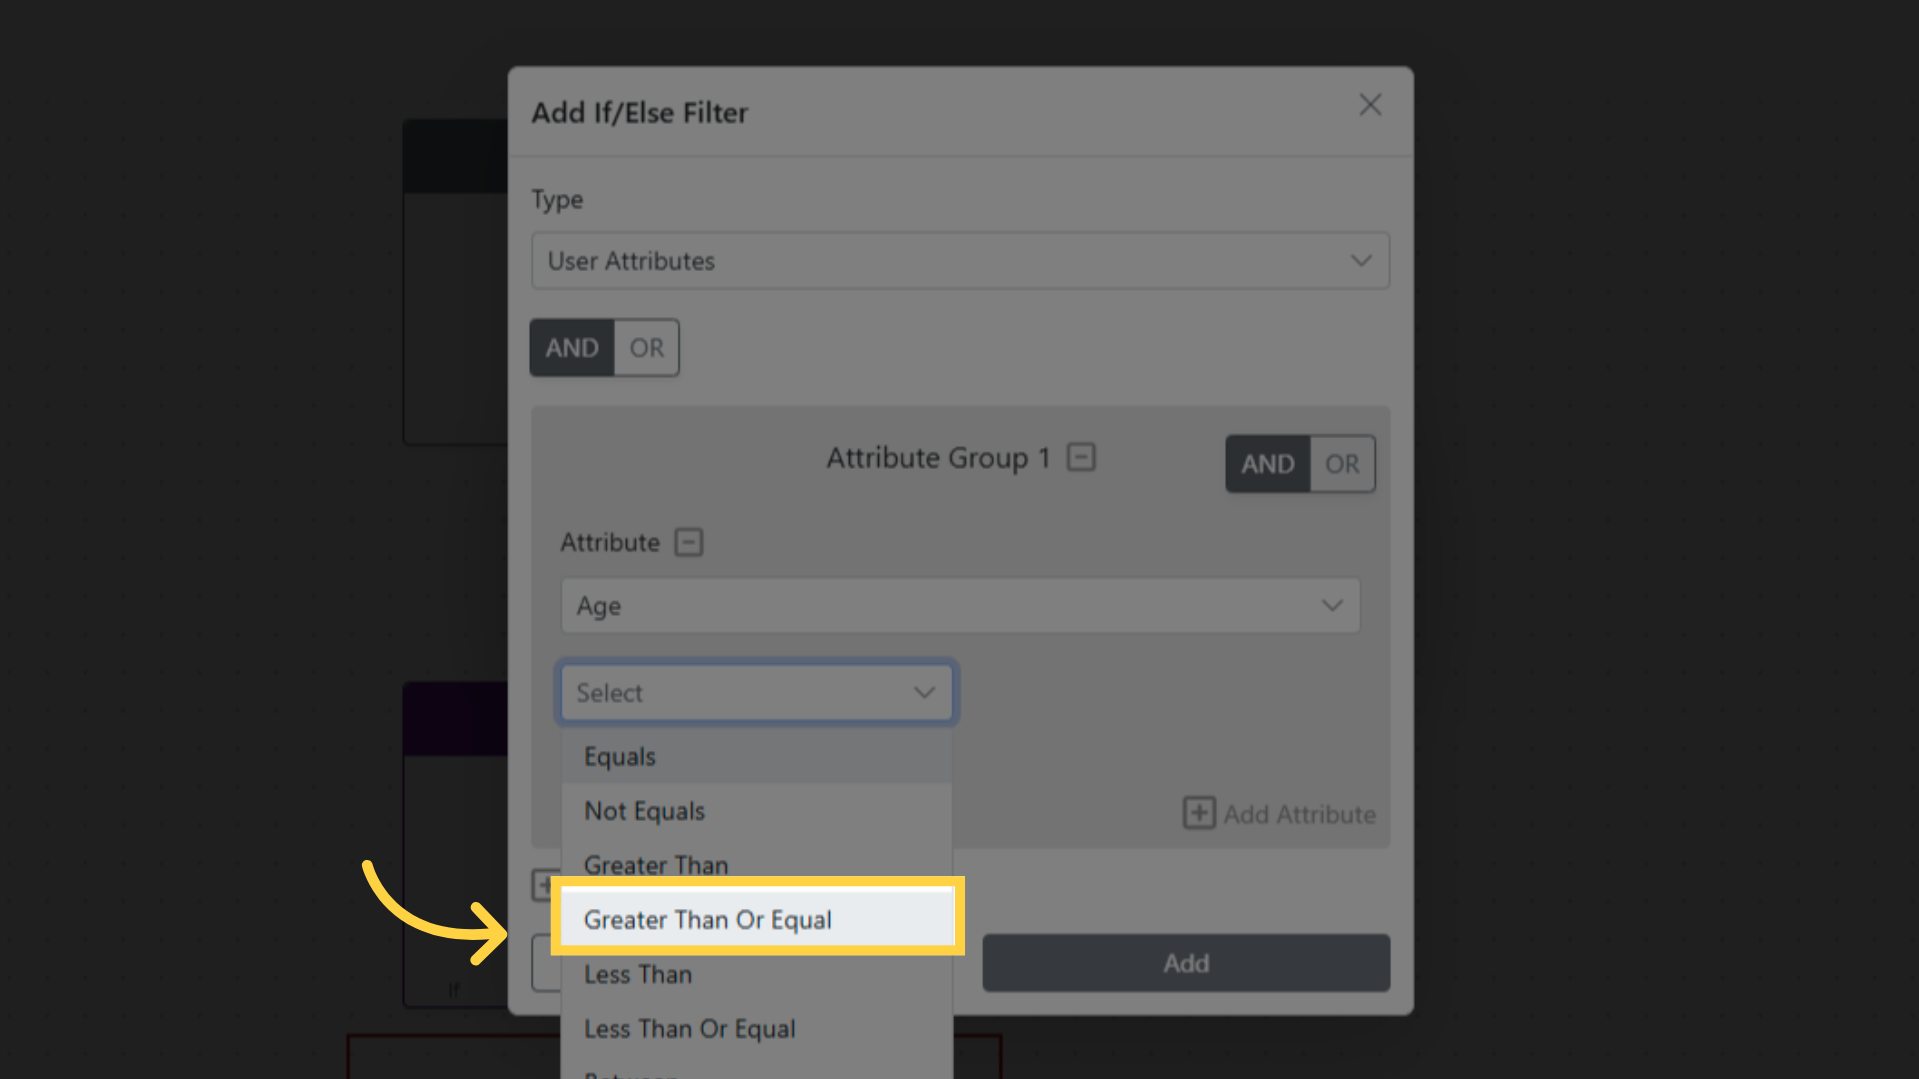
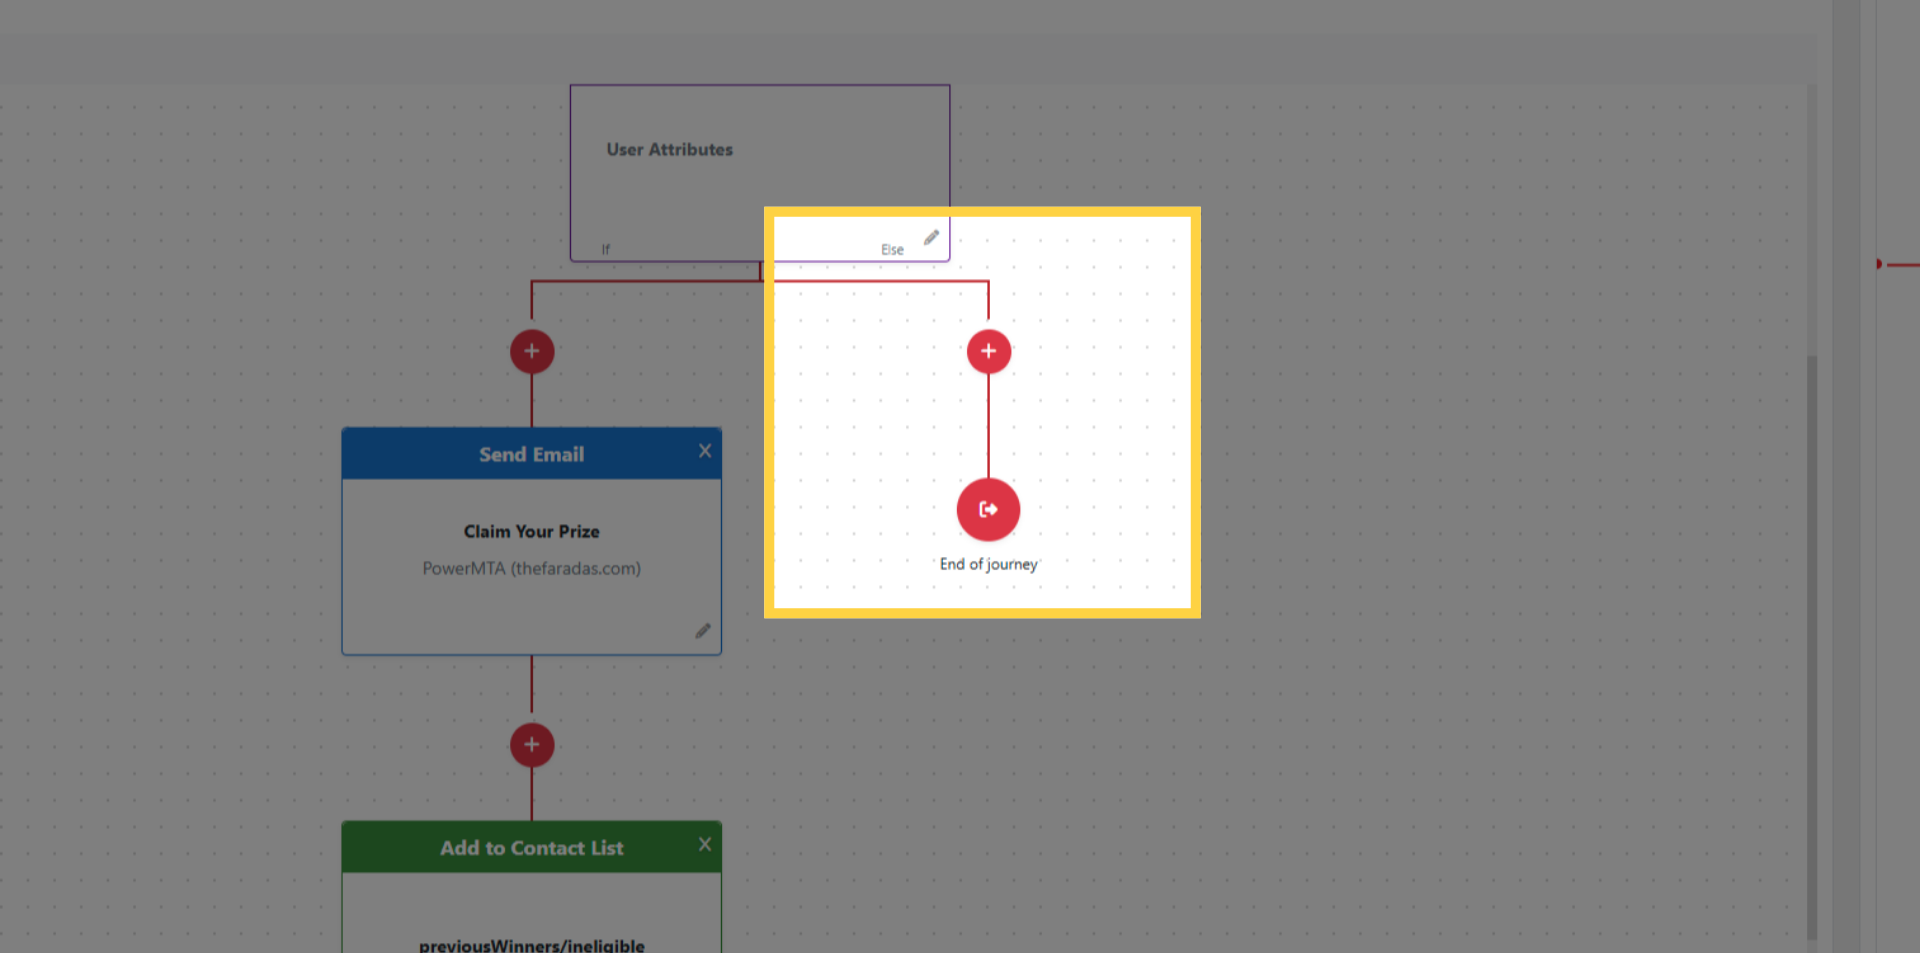
The workflow splits into two paths:
- If path — contacts matching the condition follow this branch
- Else path — contacts not matching the condition follow this branch
Add actions to each path independently.
Click Save.
Wait For
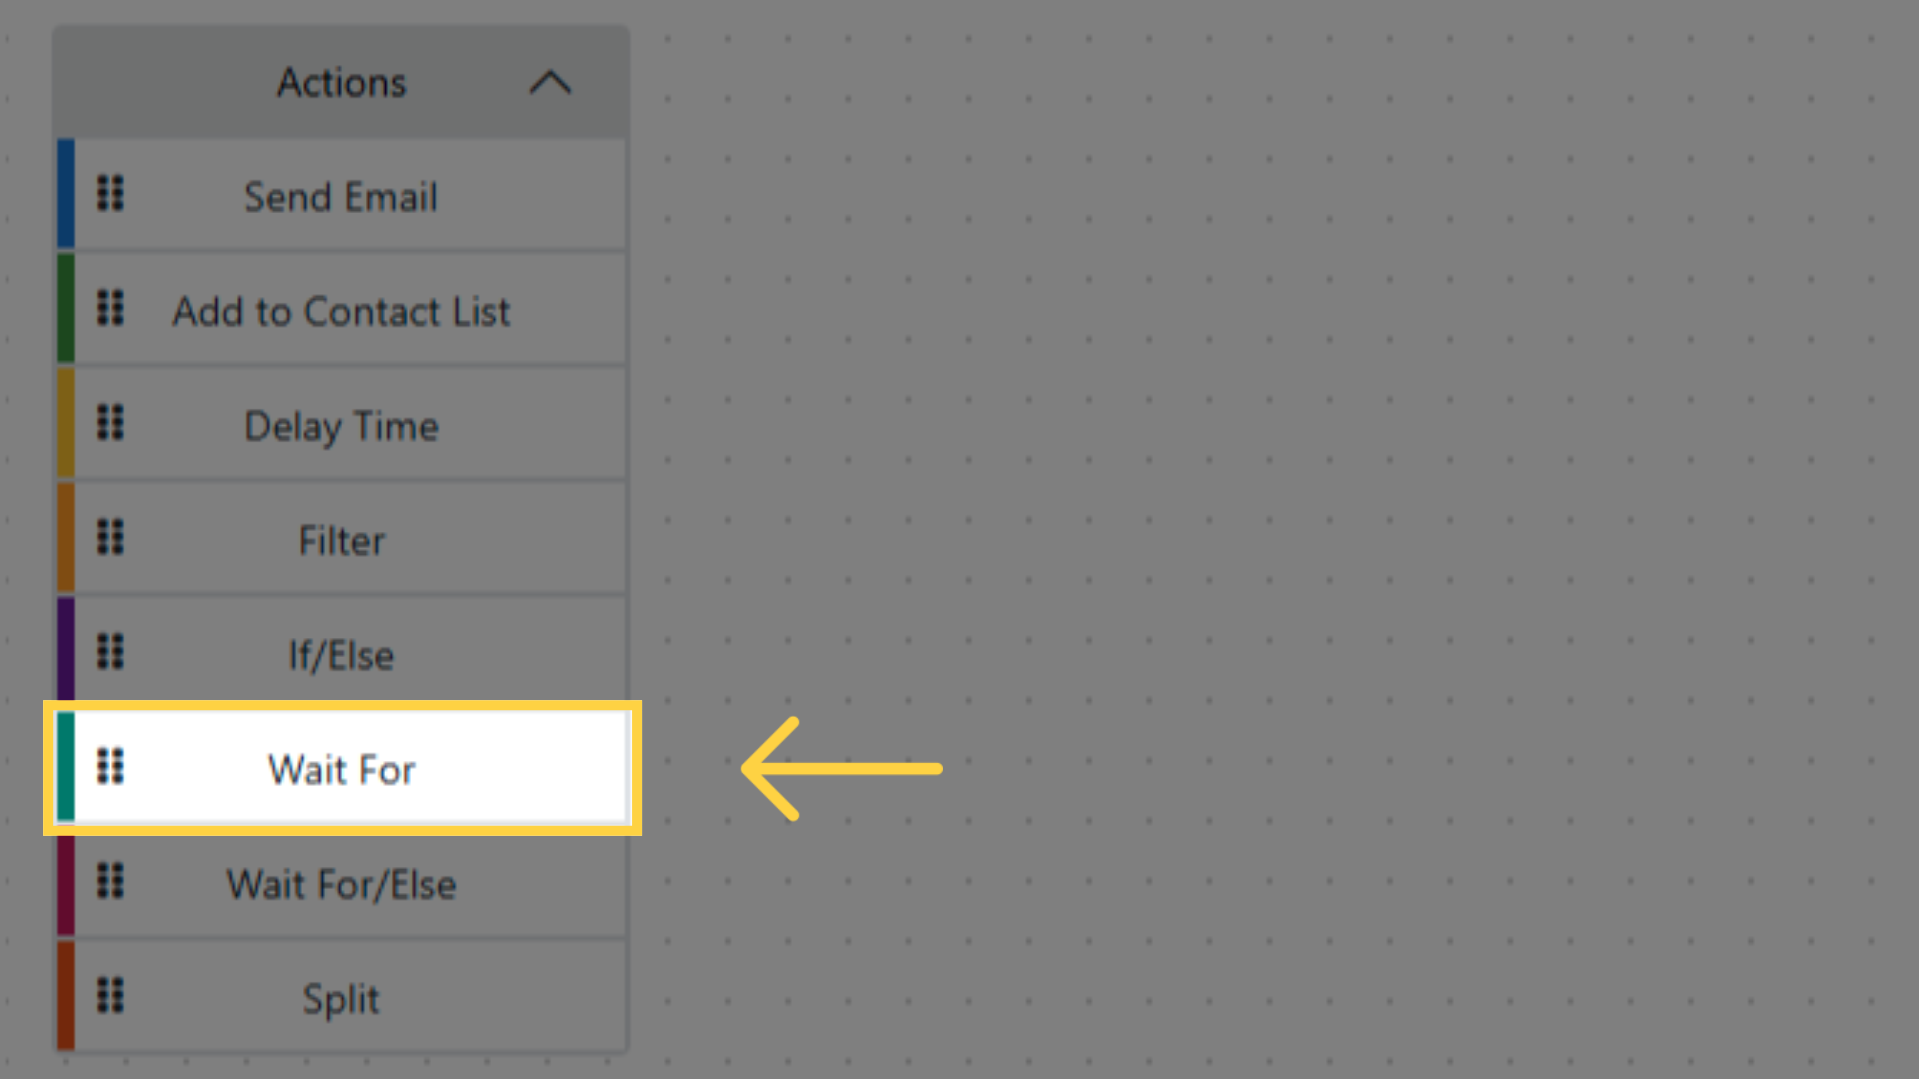
- Drag Wait For onto the workflow canvas.
- Click Edit on the action card.
- Select the event to wait for: Clicked or Opened.
- The sequence pauses for each contact until the event occurs.
- Click Save.
Wait For/Else
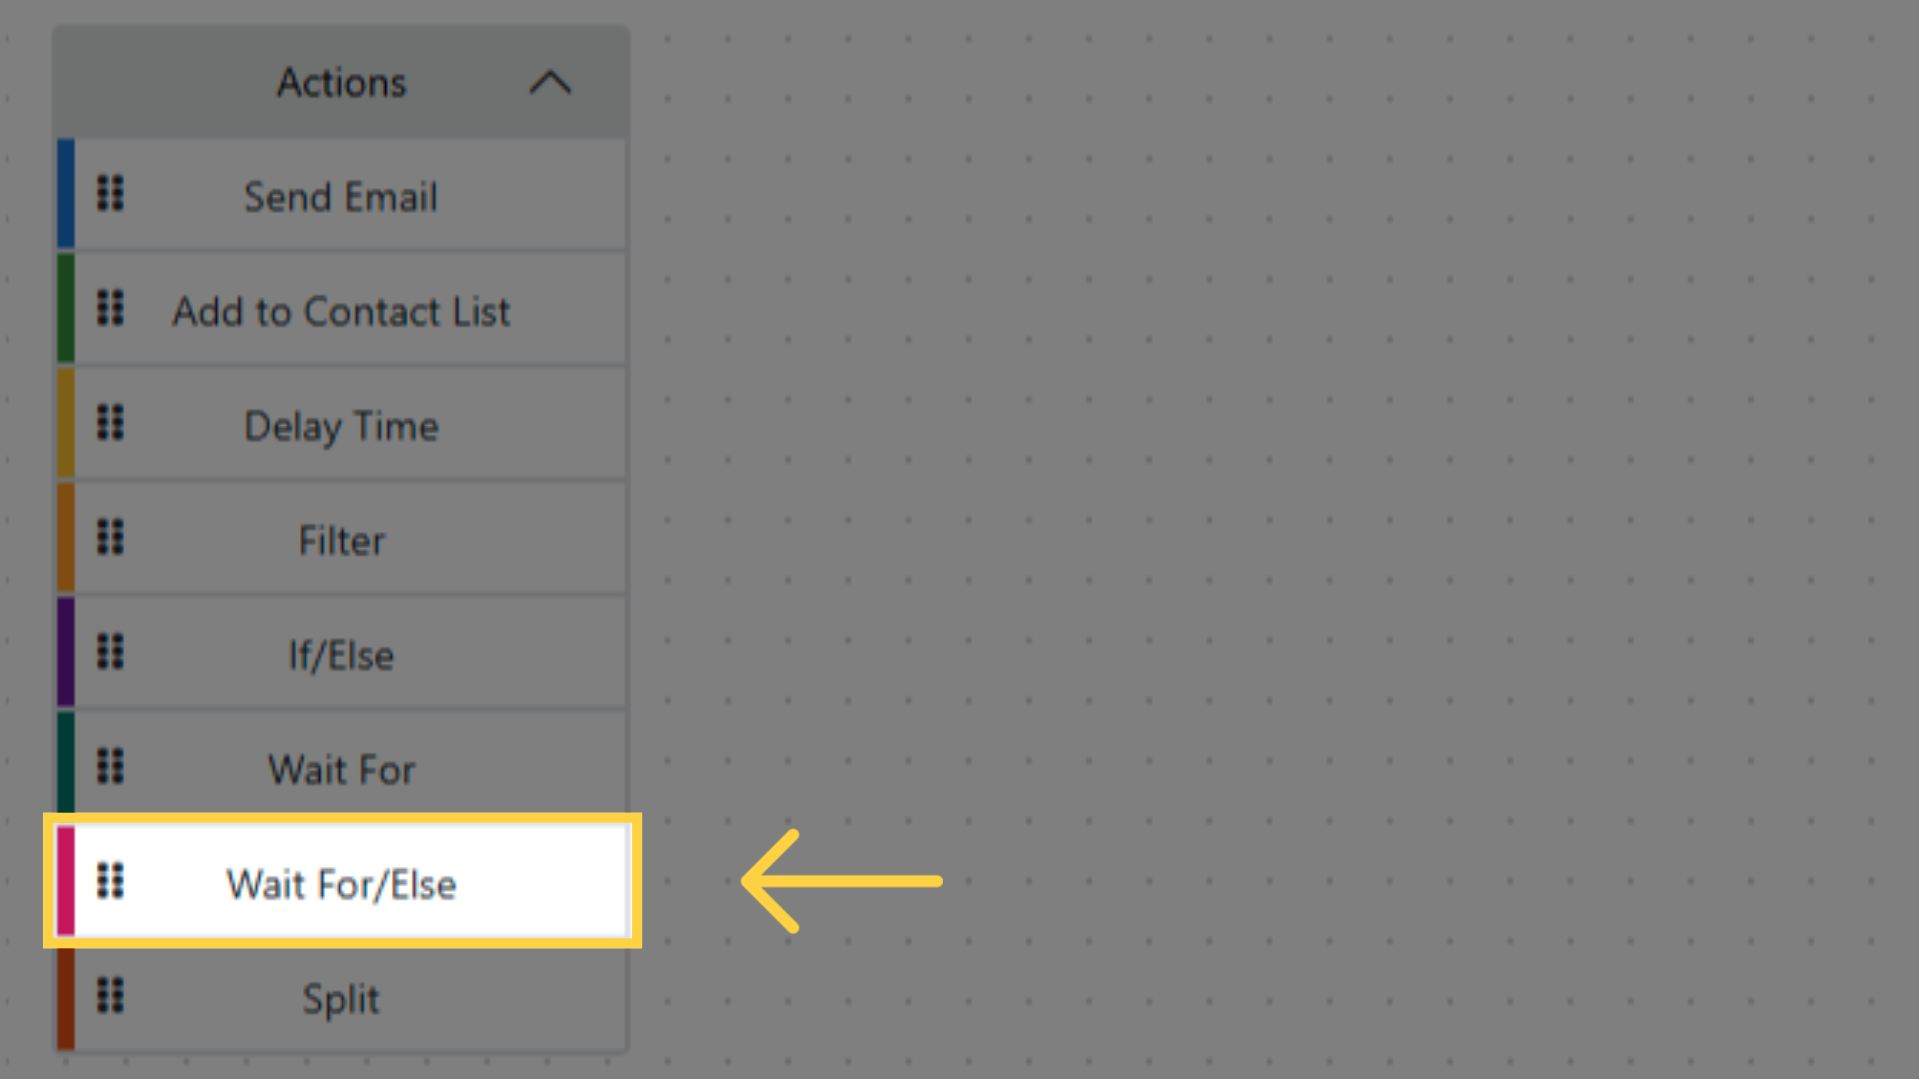
- Drag Wait For/Else onto the workflow canvas.
- Click Edit on the action card.
- Select the event to wait for: Clicked or Opened.
- Set a Timeout duration (minutes, hours, or days).
- The workflow splits into two paths:
- If path — the event occurred within the timeout period
- Else path — the timeout expired without the event occurring
- Add actions to each path independently.
- Click Save.
Split
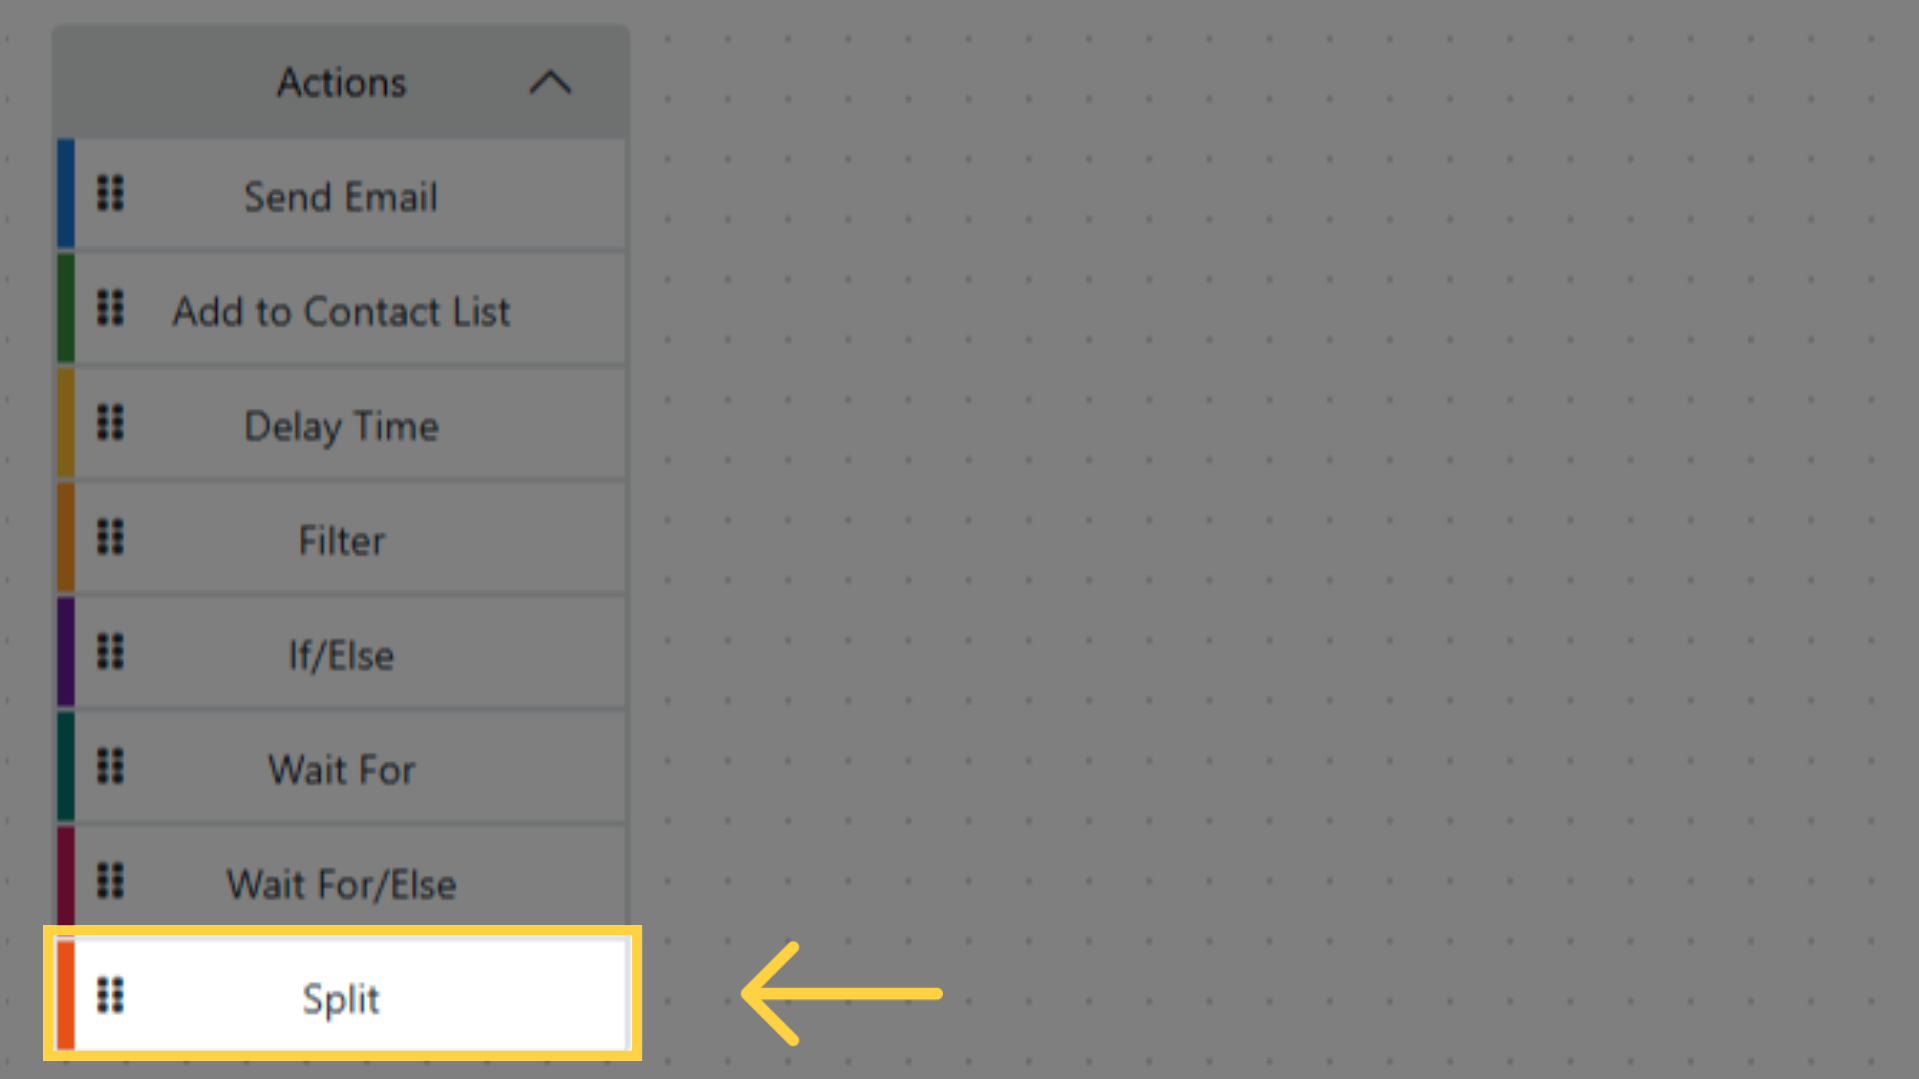
- Drag Split onto the workflow canvas.
- Click Edit on the action card.
- Define two or more branches with percentage weights.
- The percentages must total 100%.
- Contacts are randomly assigned to branches based on the weights.
- Add actions to each branch independently.
- Click Save.
Example: Welcome Drip Campaign
- Trigger: Added to Contact List via API > "New Subscribers" list.
- Send Email: Welcome email (immediately).
- Delay Time: 2 days.
- If/Else: Contact Attributes > "Opened" the welcome email.
- If (opened): Send Email > "Getting Started Guide".
- Else (did not open): Send Email > "Did You Miss This?" re-engagement email.
- Delay Time: 3 days (on both paths).
- Send Email: "Feature Spotlight" email.
Saving and Activating
After building the full workflow, click Create to save the sequence.
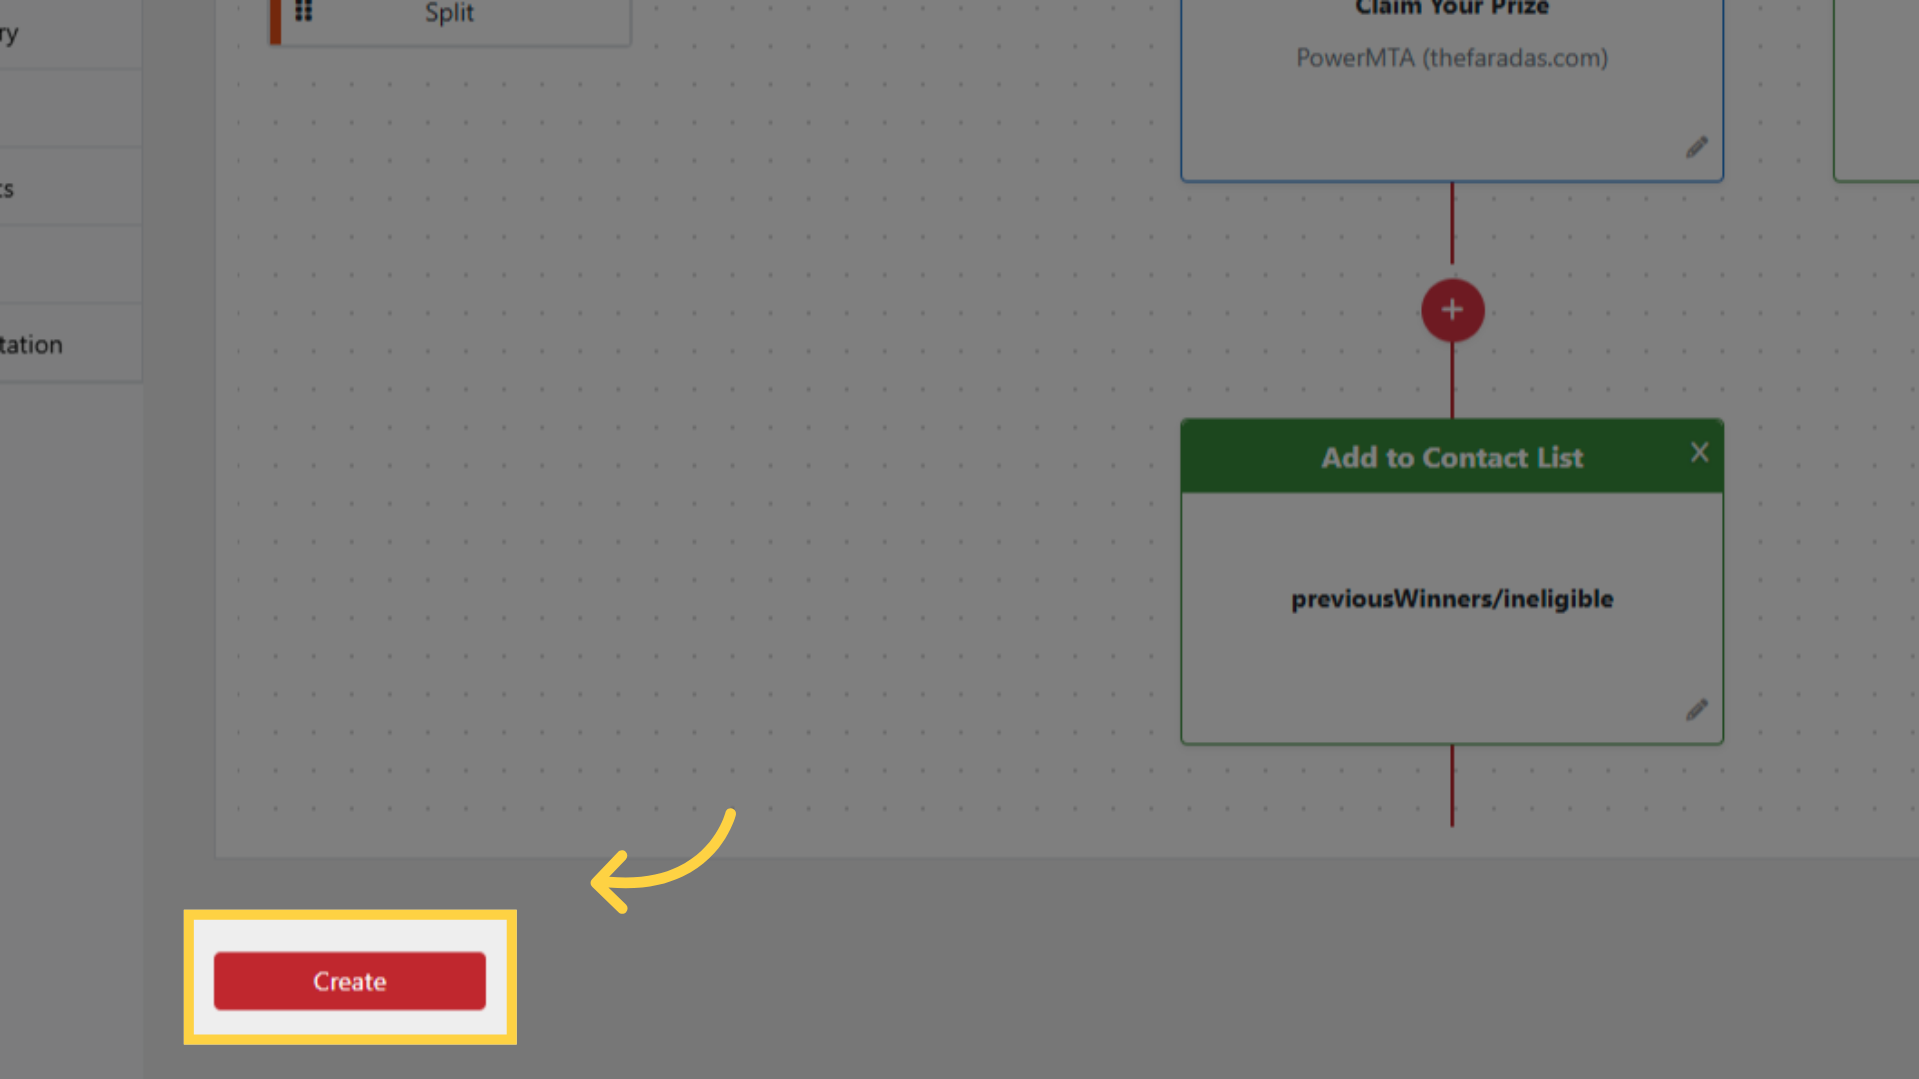
The sequence is active immediately after creation.
To pause a sequence, toggle the Active status from the sequence grid.
Contacts already in the sequence continue through their current path; new contacts stop entering.
Tips
- Use Delay Time between emails to avoid overwhelming subscribers.
- Use If/Else with engagement conditions to create responsive workflows.
- Use Split for A/B testing different email content or timing.
- Use Filter to remove contacts who no longer meet criteria mid-sequence.
- Combine Wait For/Else with timeout logic to handle non-responders gracefully.
- Set Days before a contact can re-enter this sequence to 0 only when a contact should genuinely run through the sequence again on every event.
- Set the entry caps to protect a warm-up or a limited send window, and remember that contacts above a cap are dropped rather than delayed.