
Send Integrations Walkthrough
Overview
Connecting an email service provider so EmailElement can send through it, by API and by SMTP, and checking that it works.
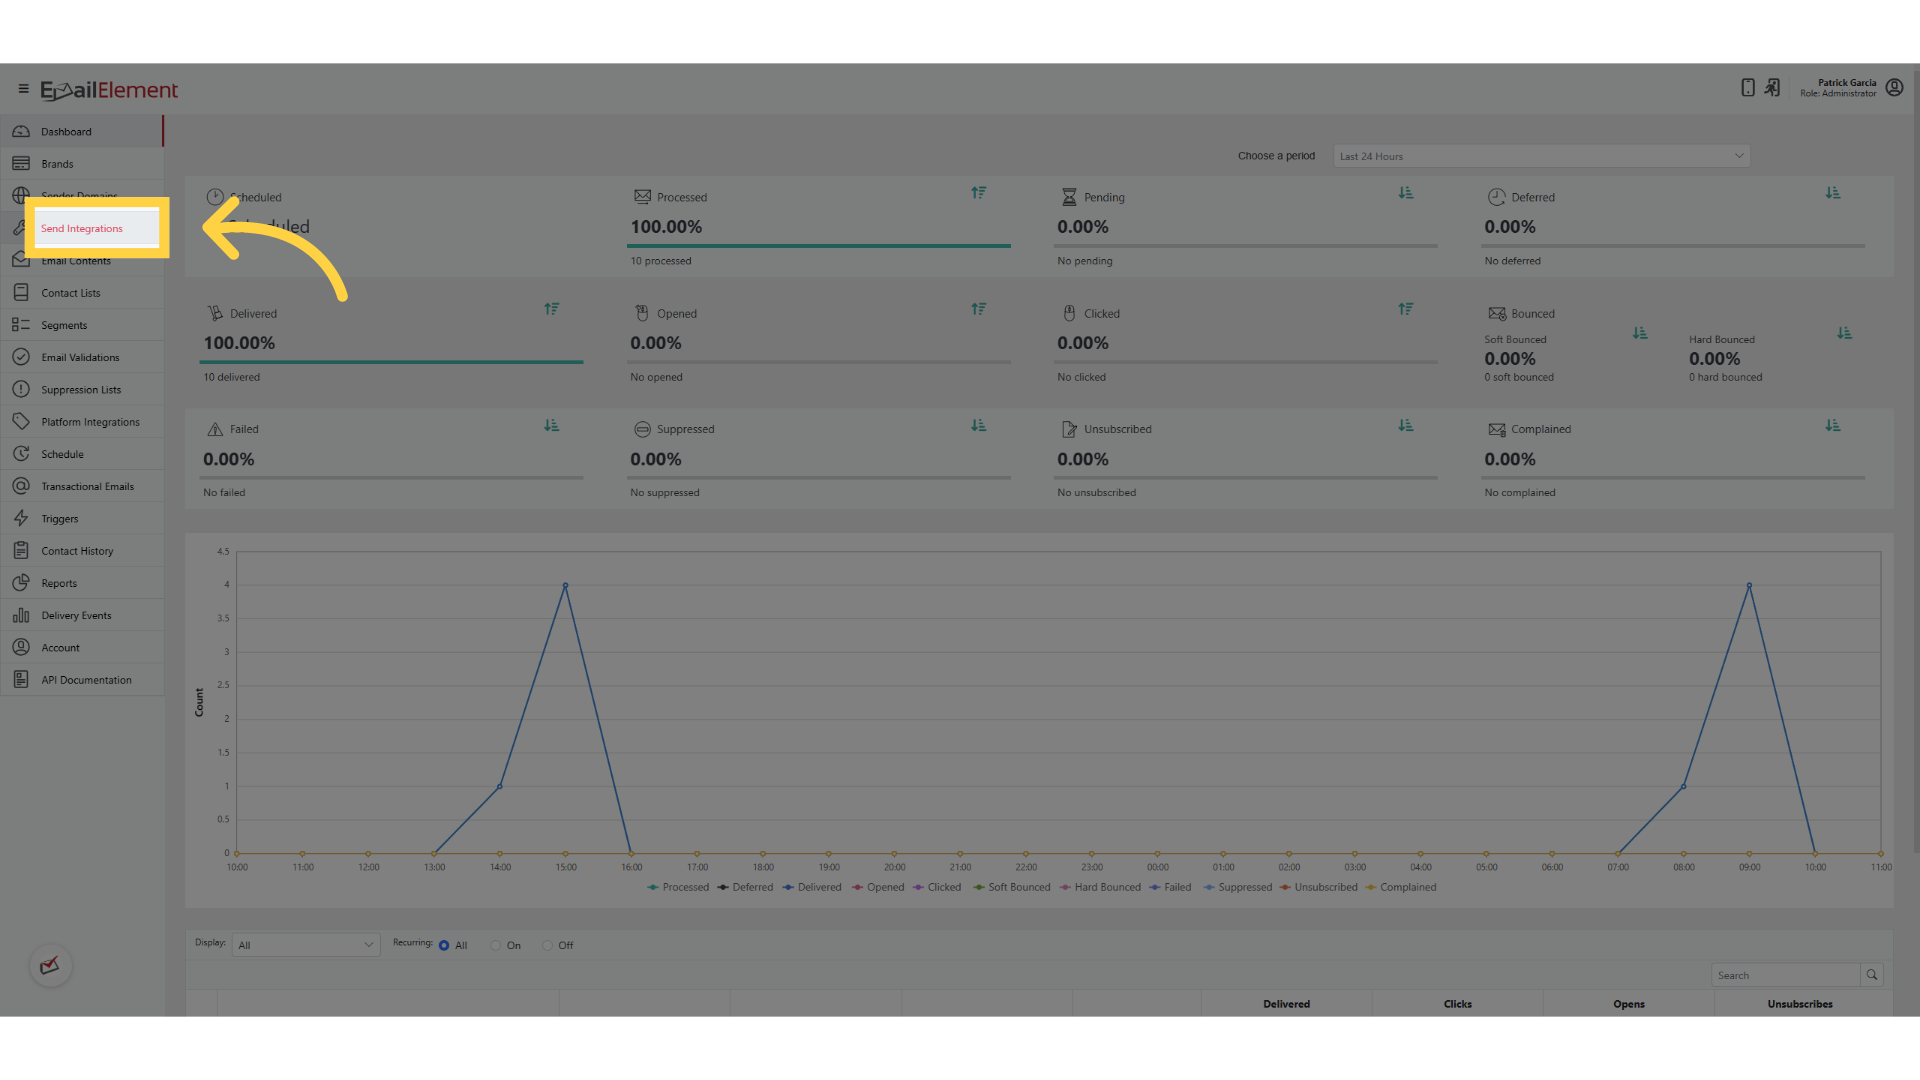
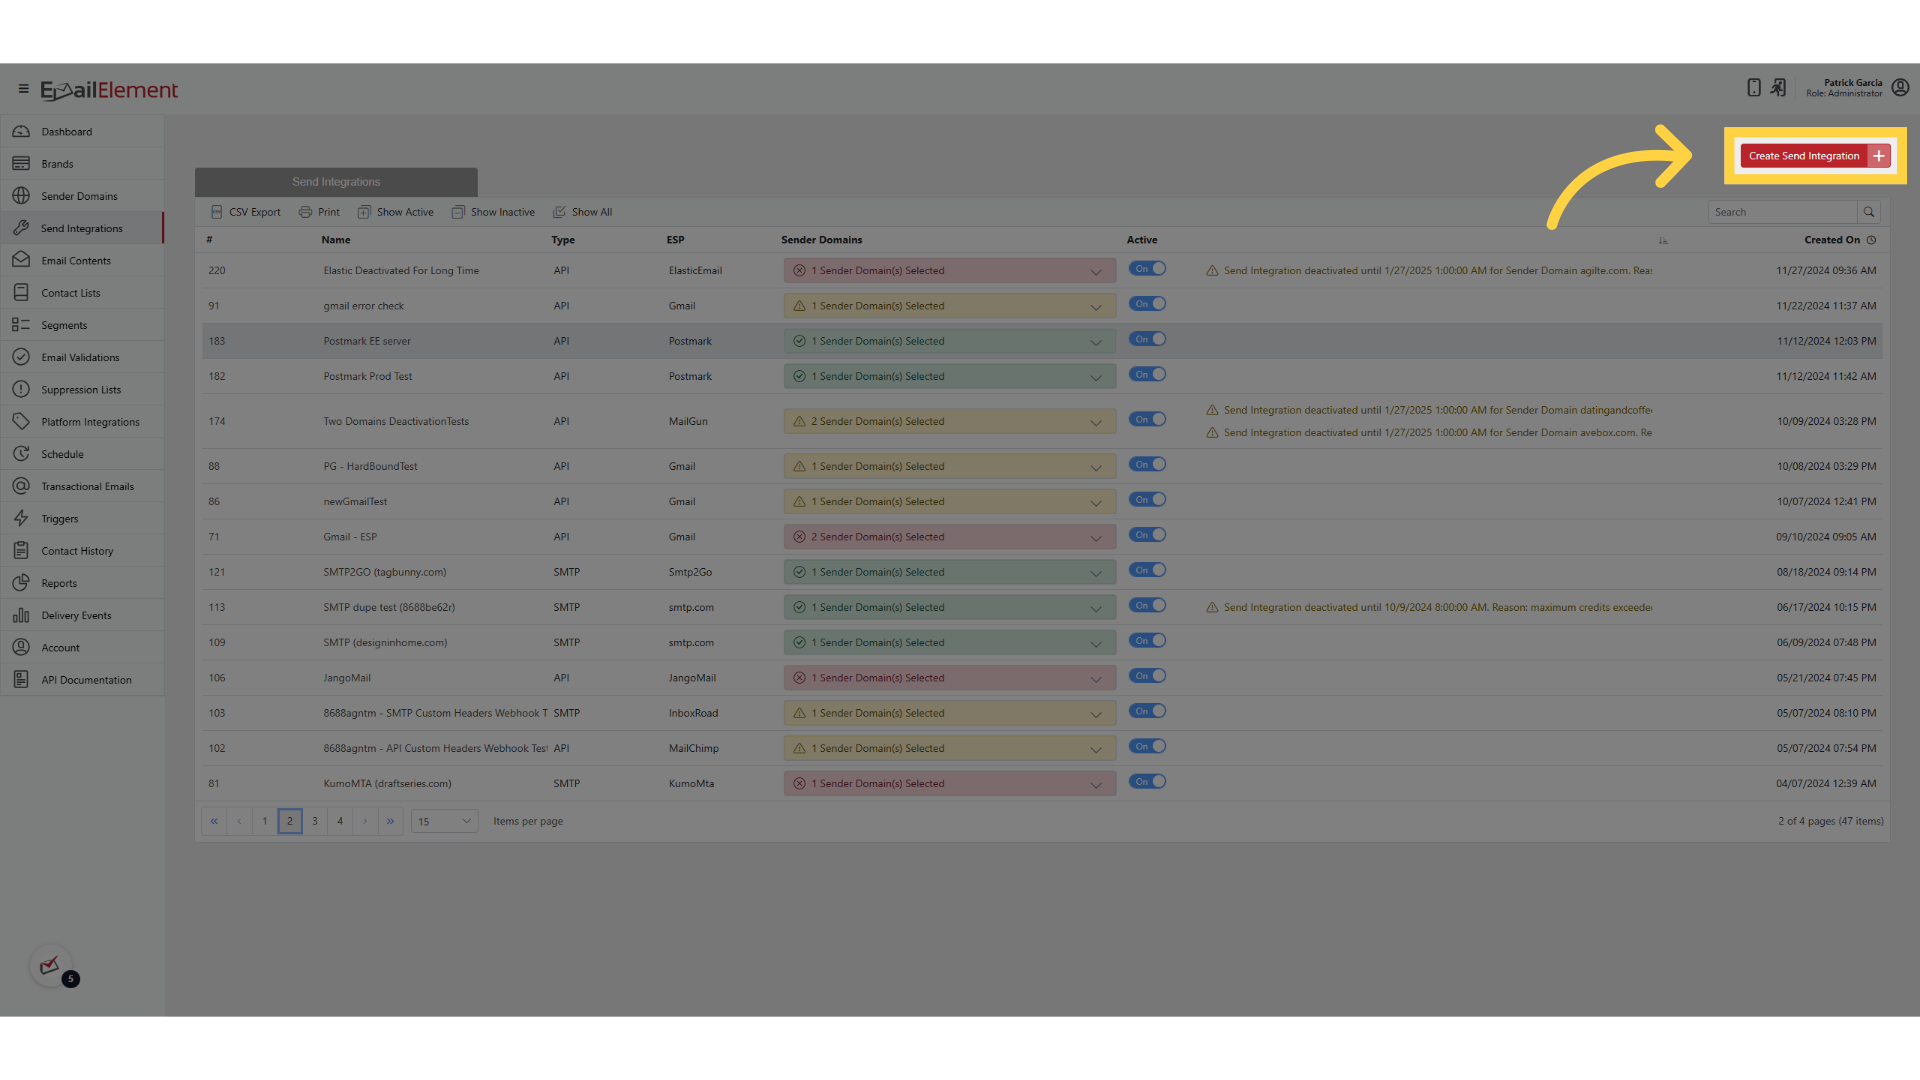
The Send Integrations Page
The list shows every integration on the account
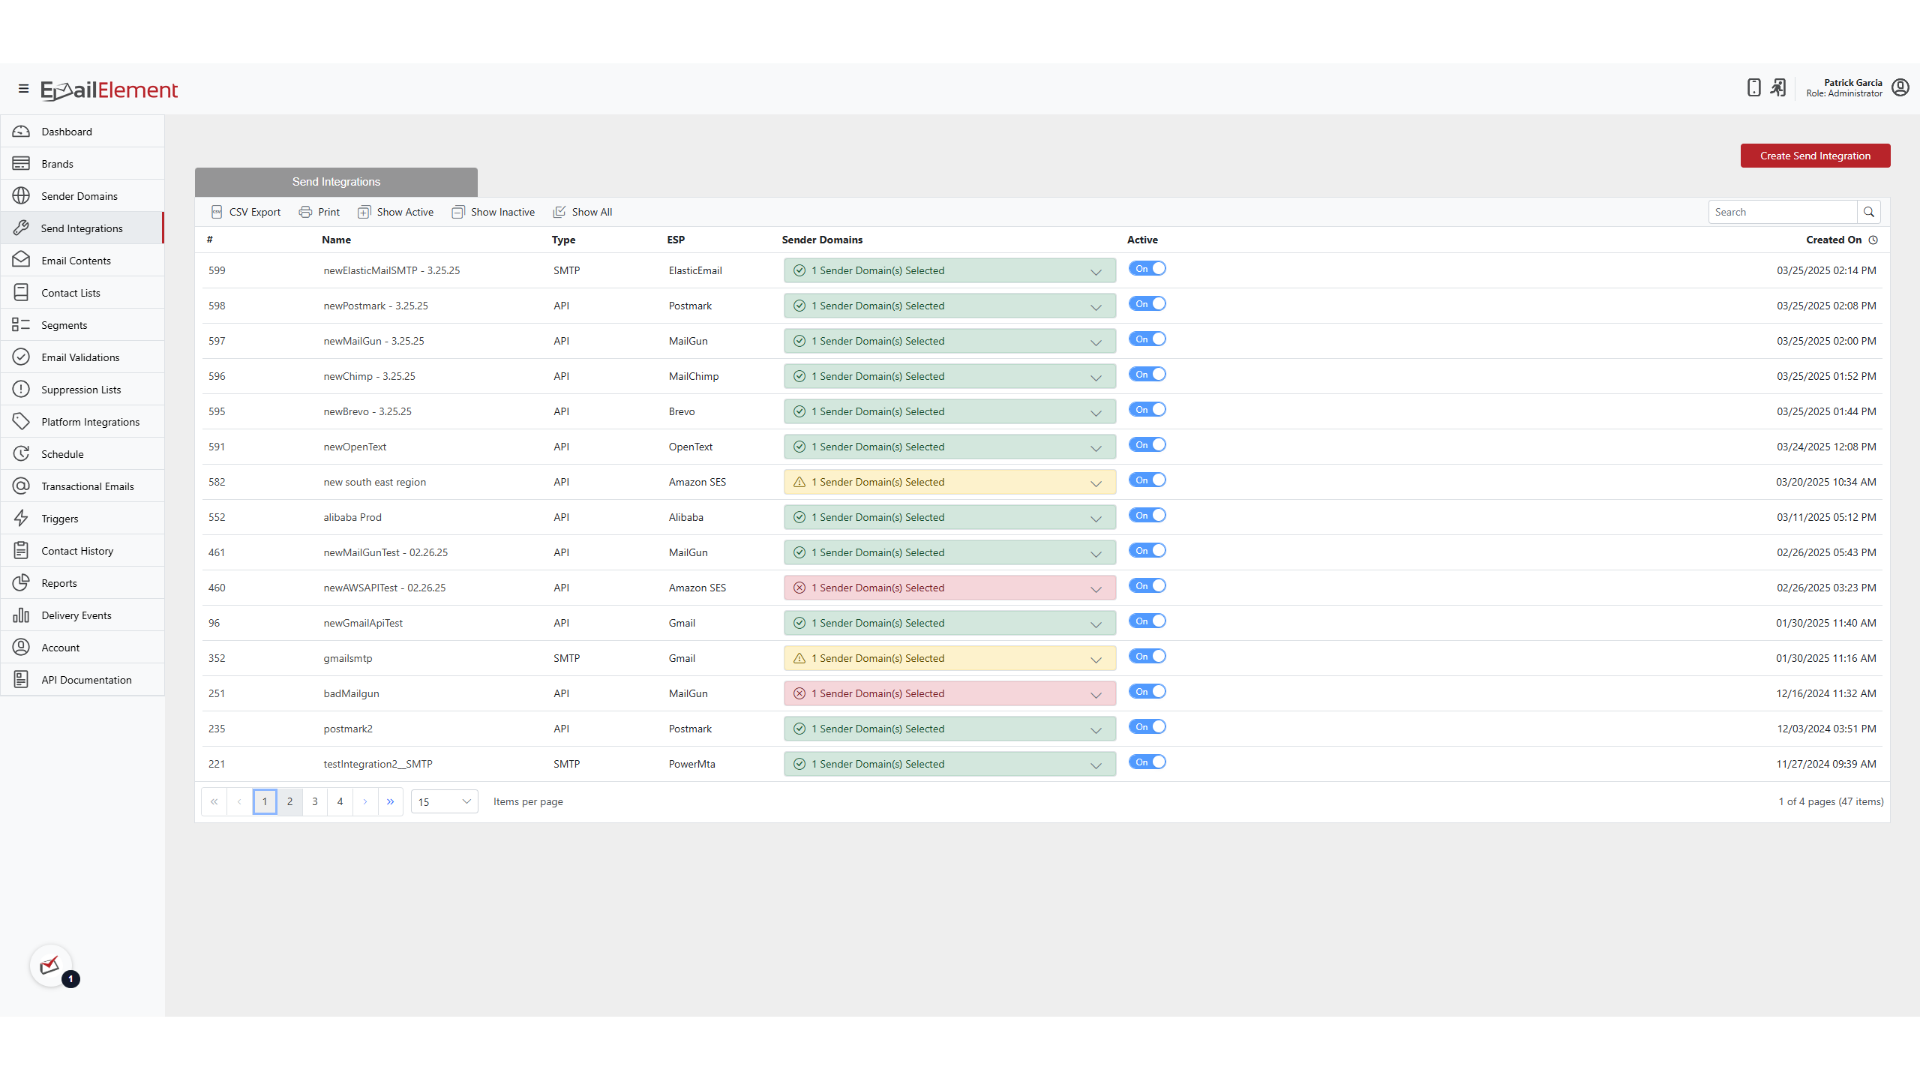
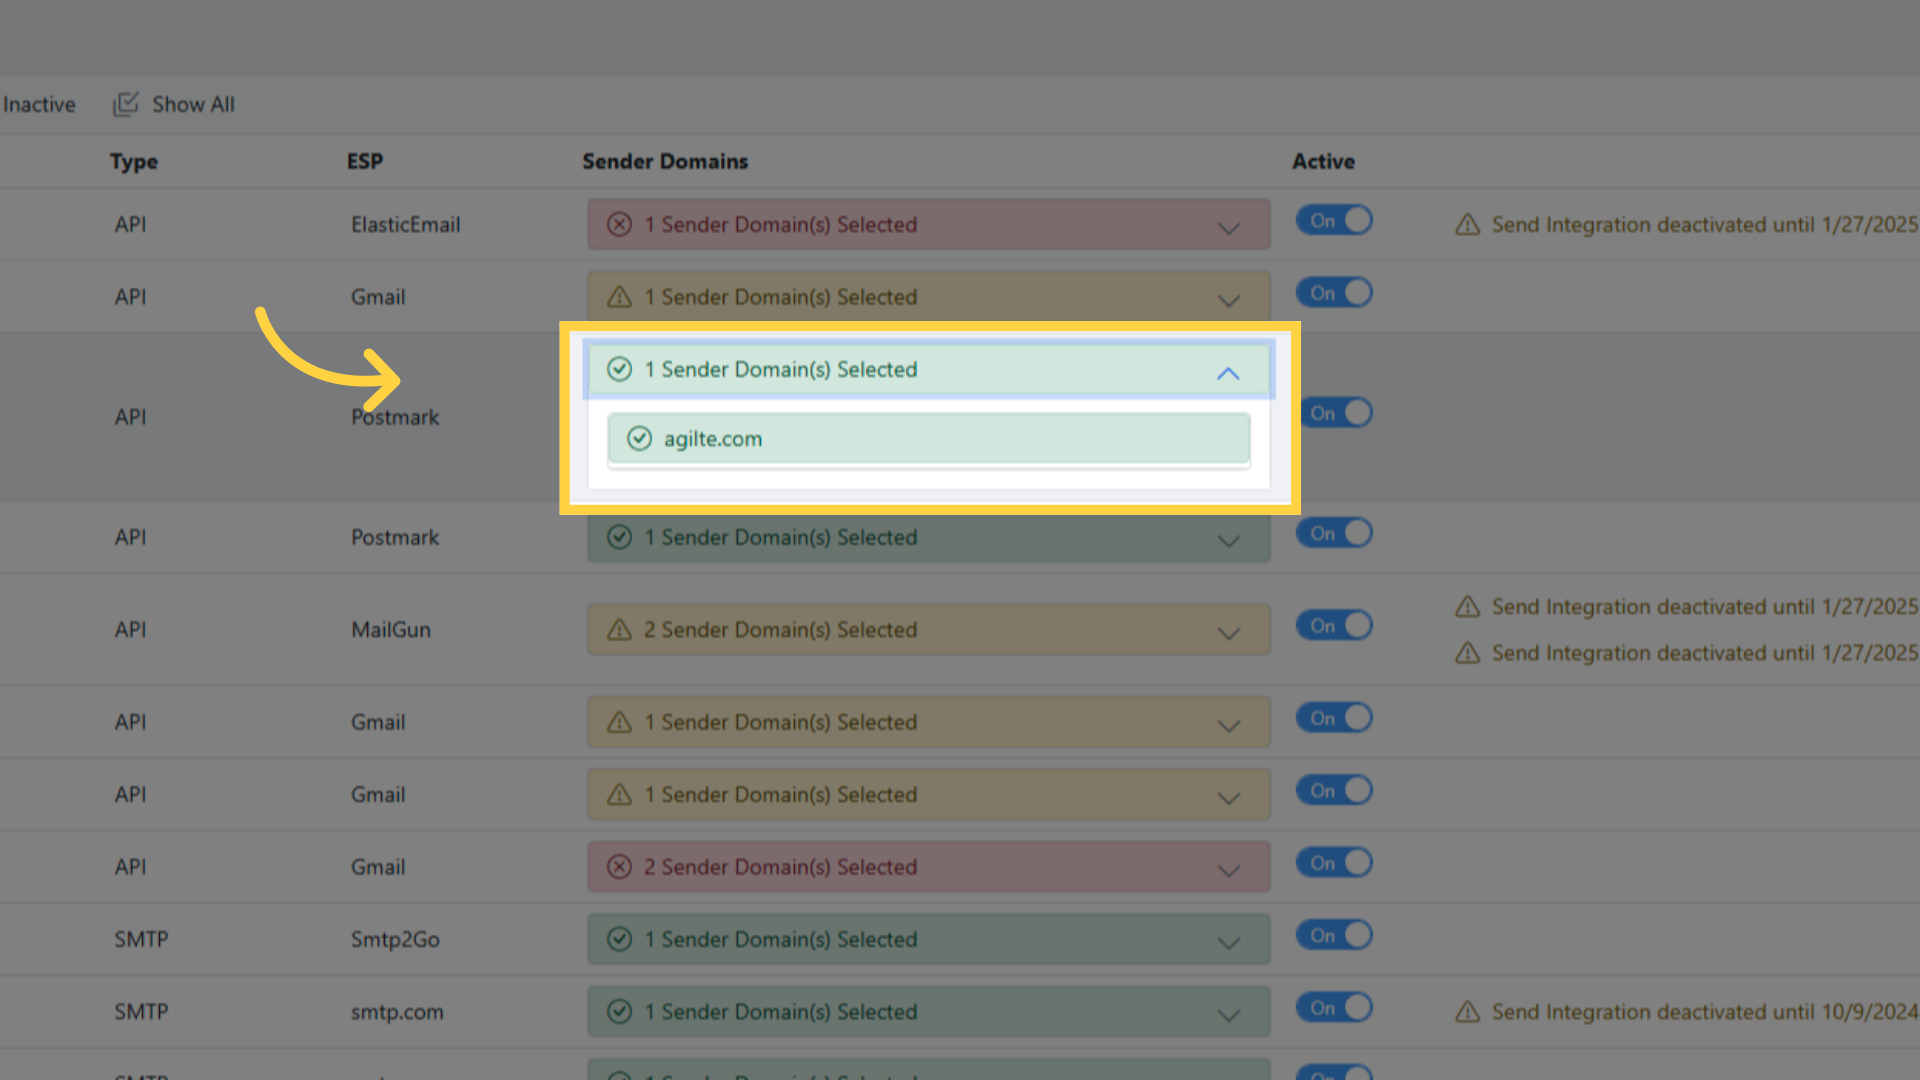
Each one shows the sender domains that were added to it
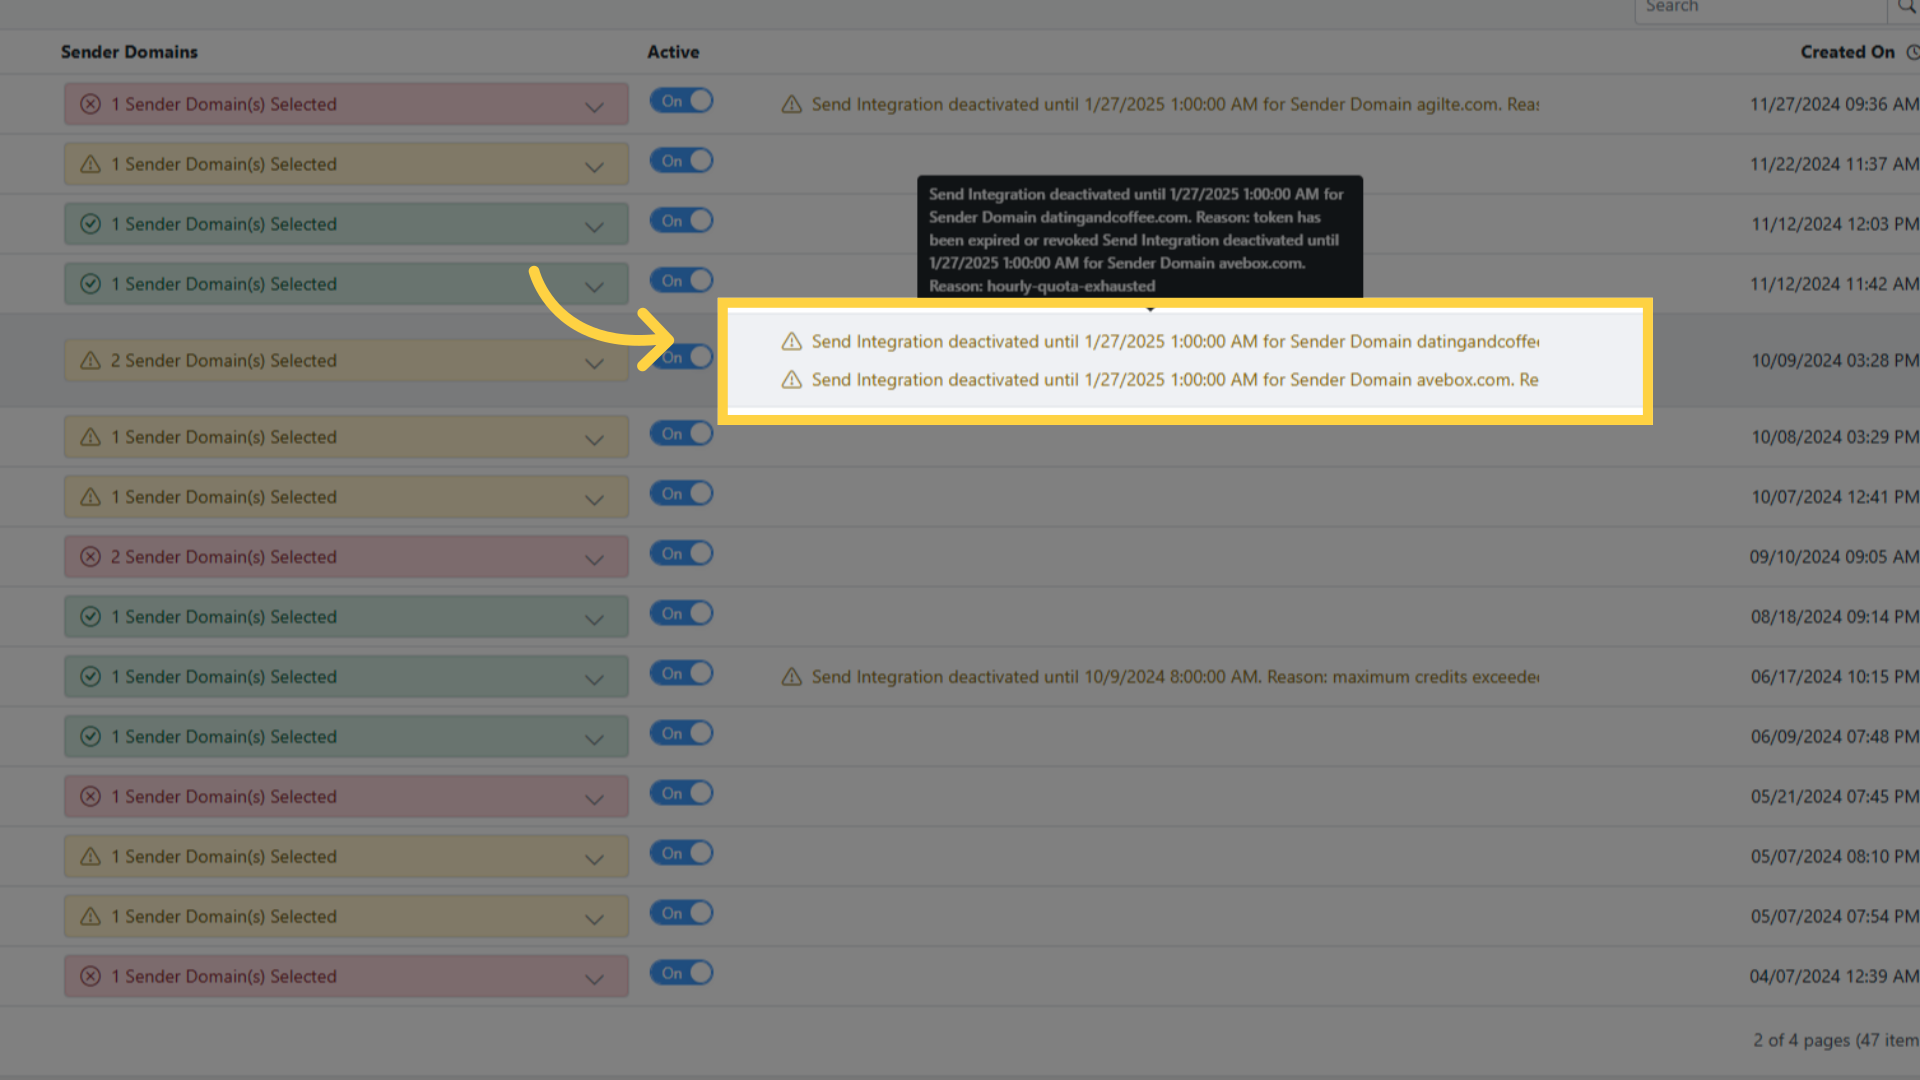
A message beside an integration says why it was deactivated, when it has been
Step 1: Start an API Integration
Click Create Send Integration
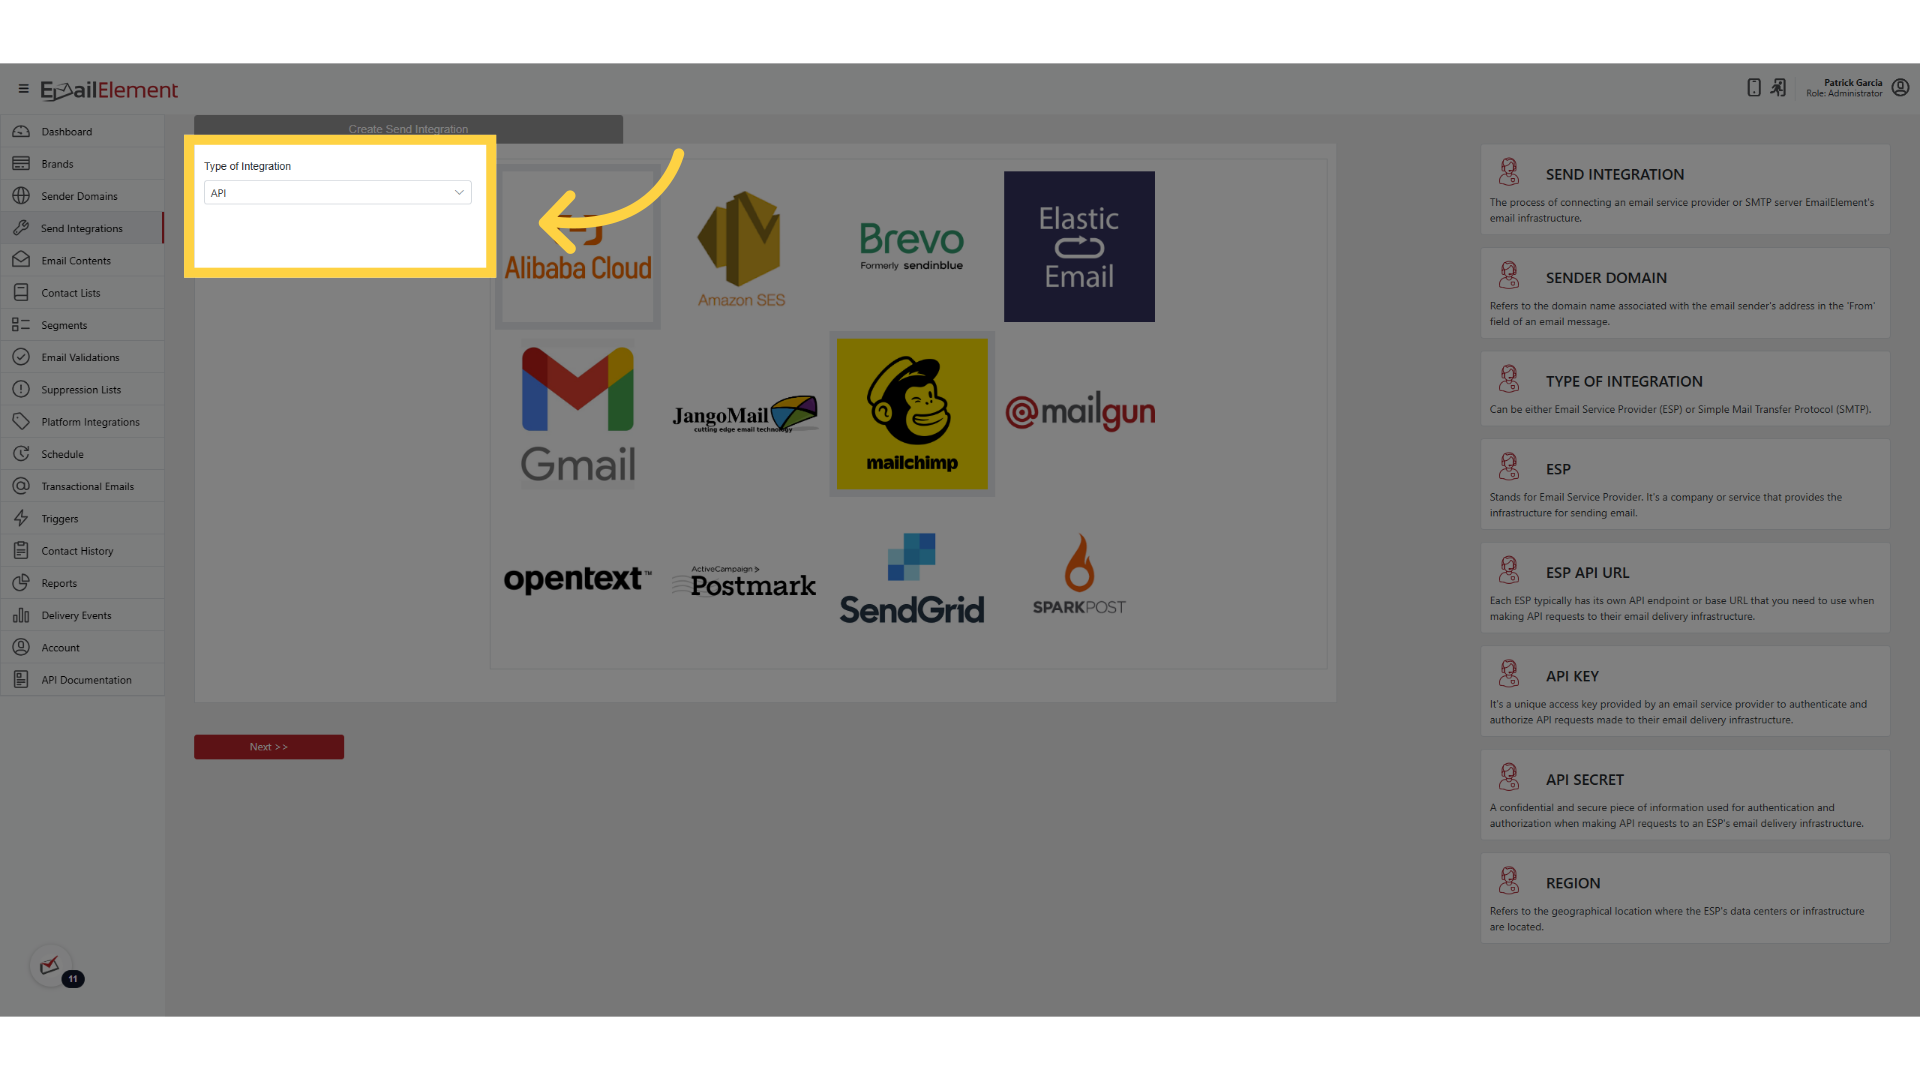
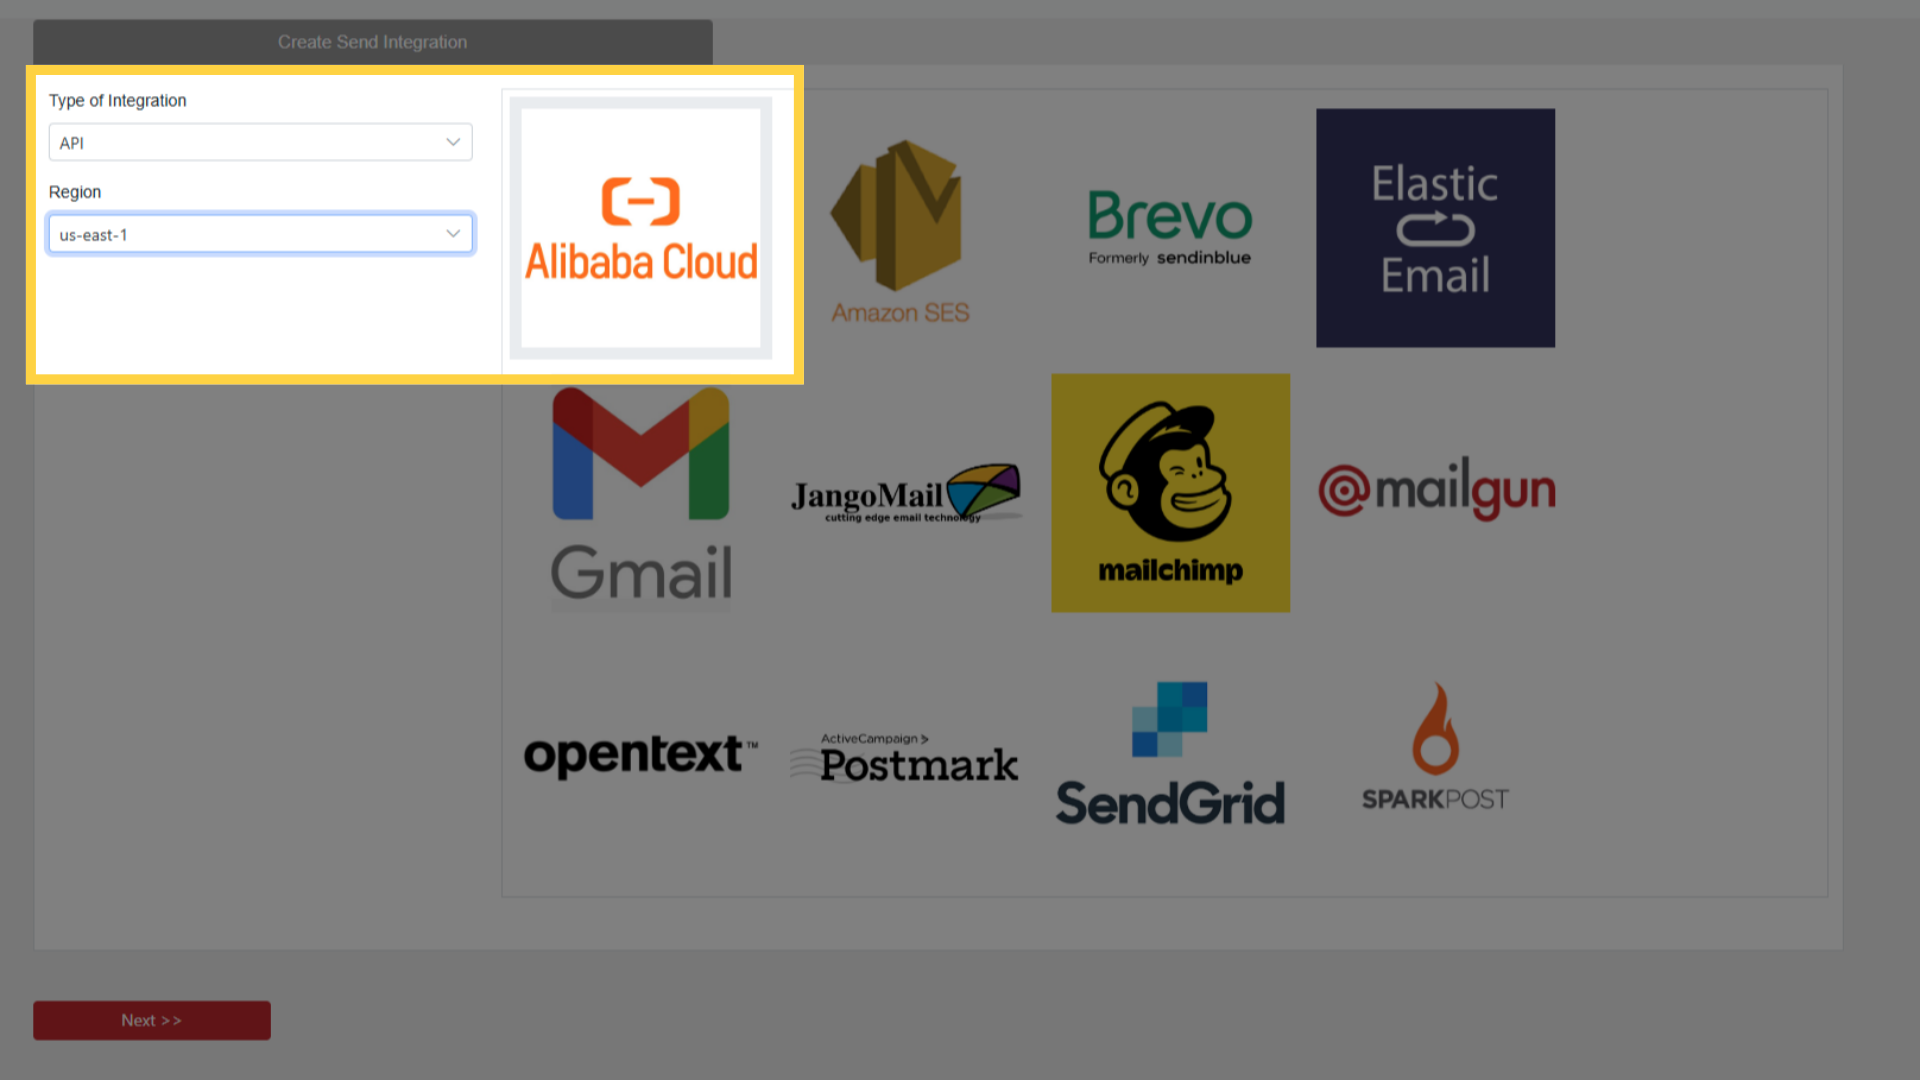
API is the integration type to start with, and is the one already selected
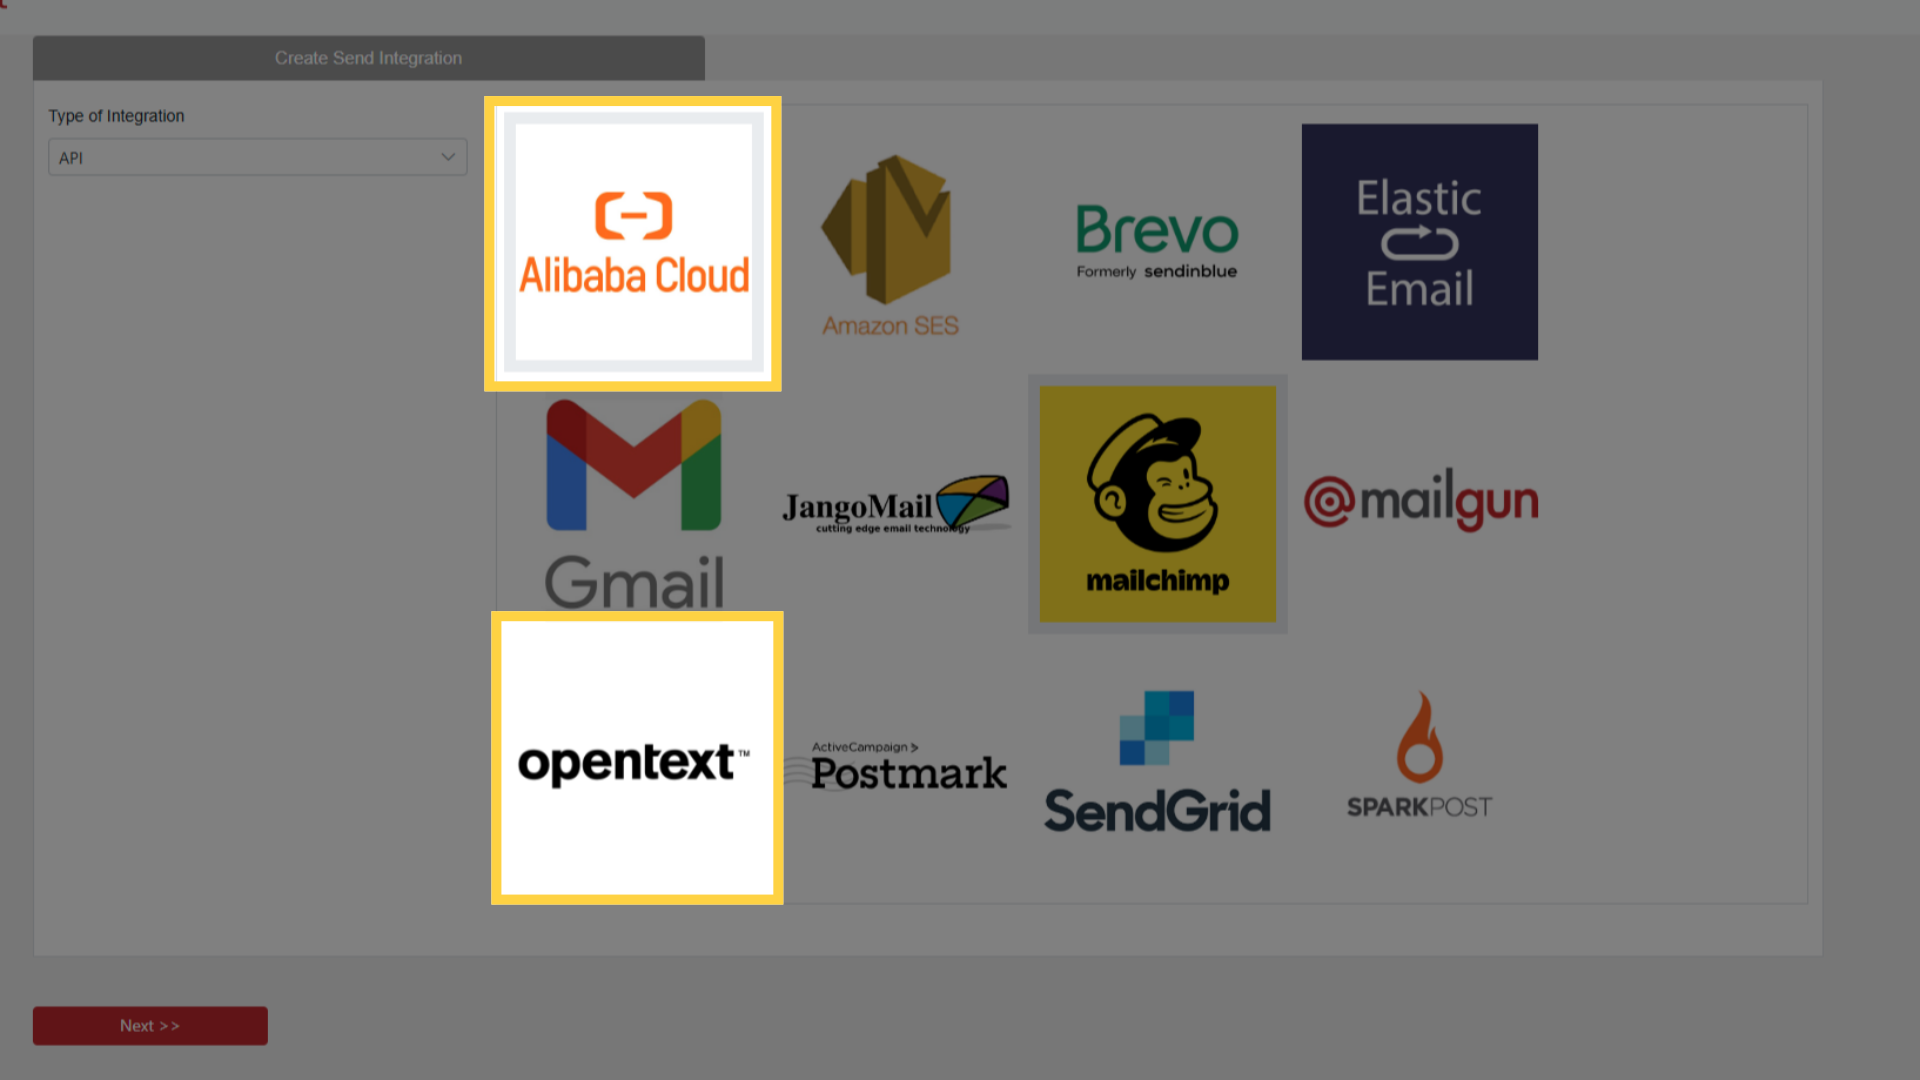
Pick the ESP from the list. Some of them, Alibaba among them, need a Region chosen as well
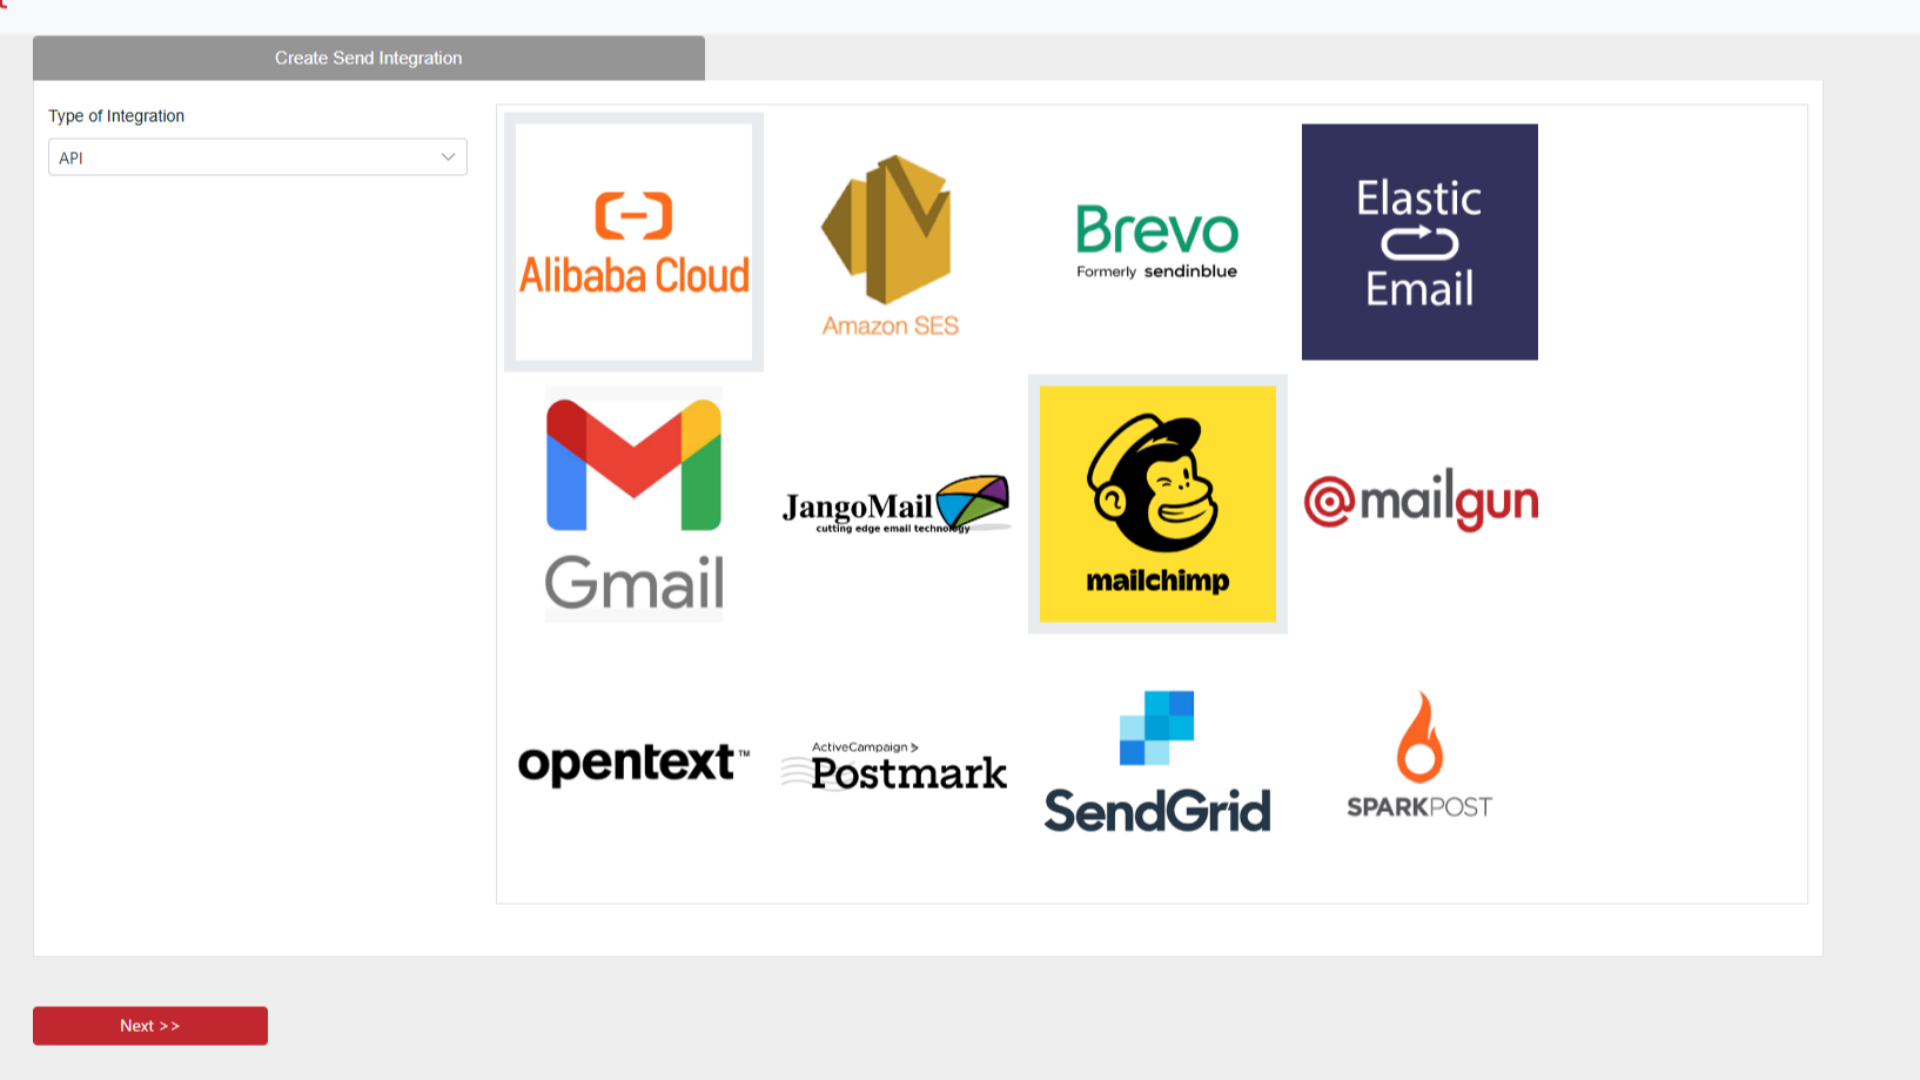
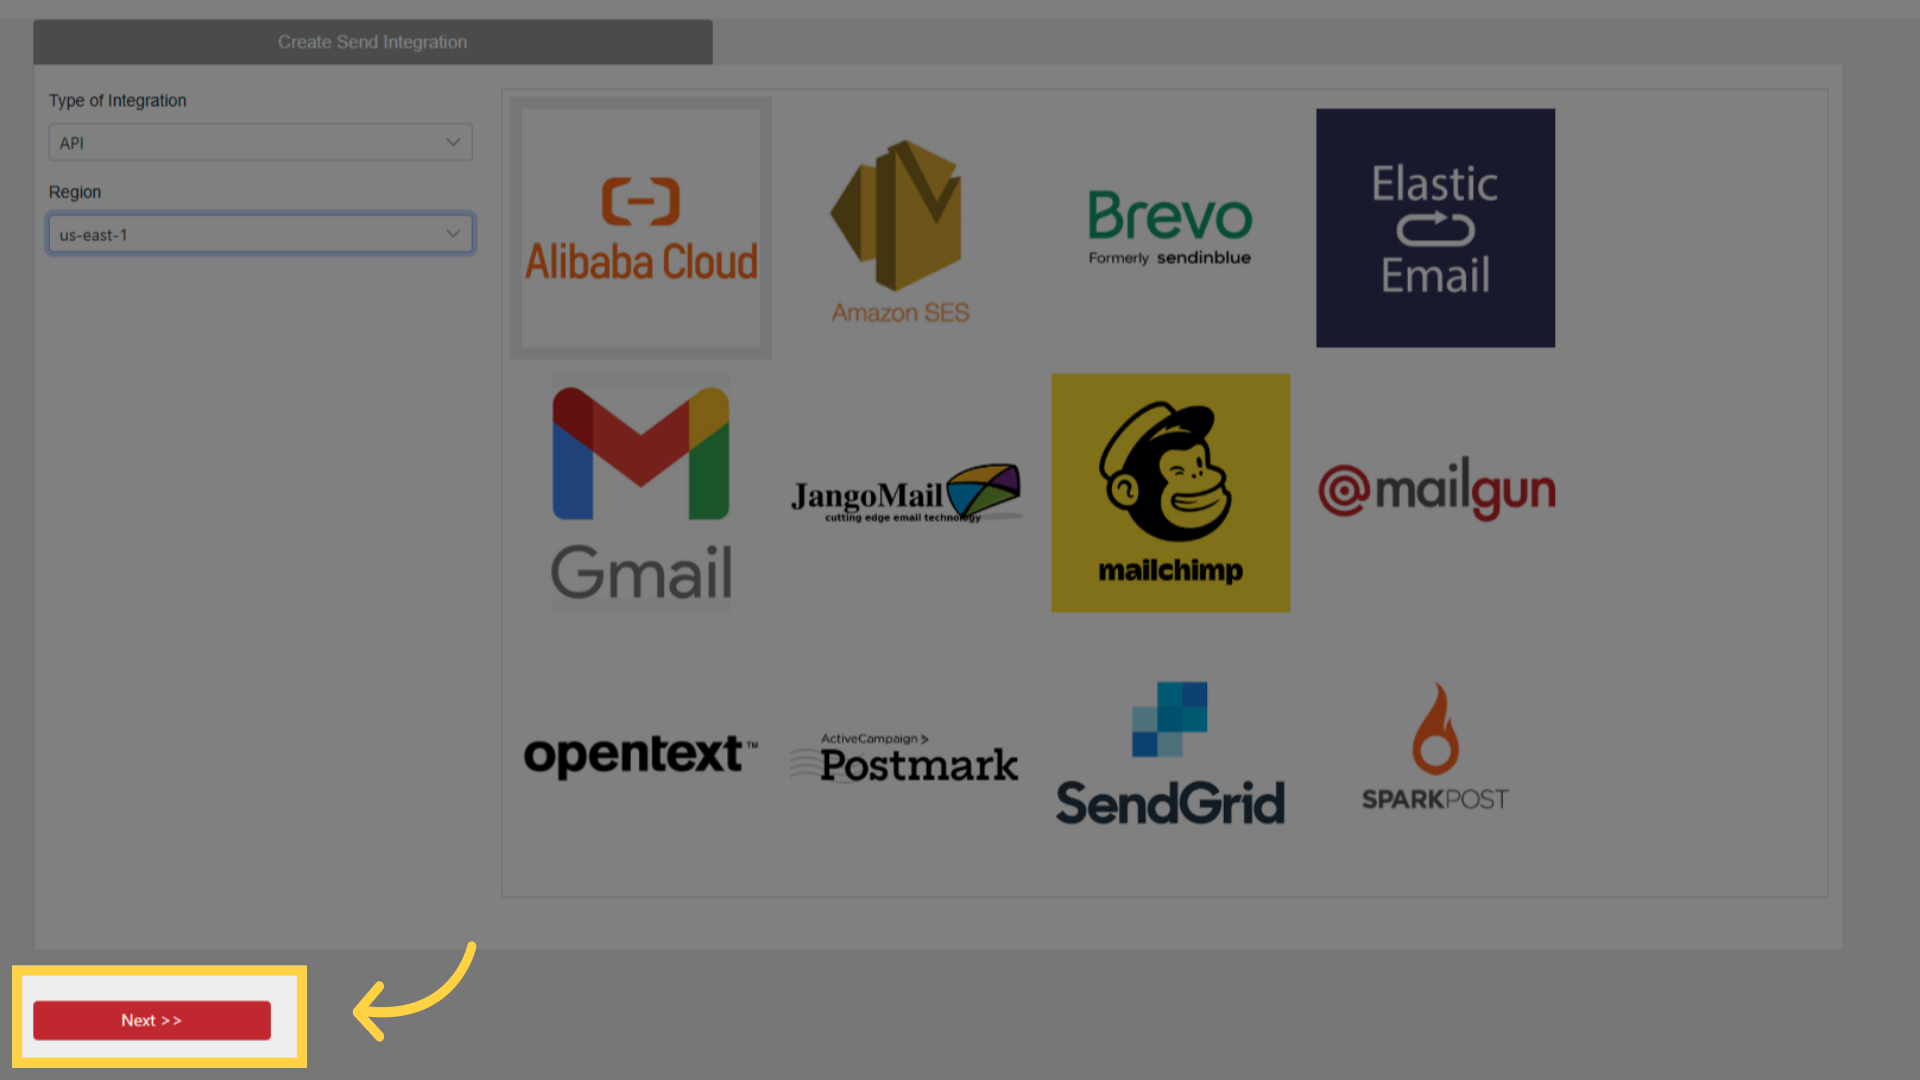
Click Next
Step 2: Fill In the Integration
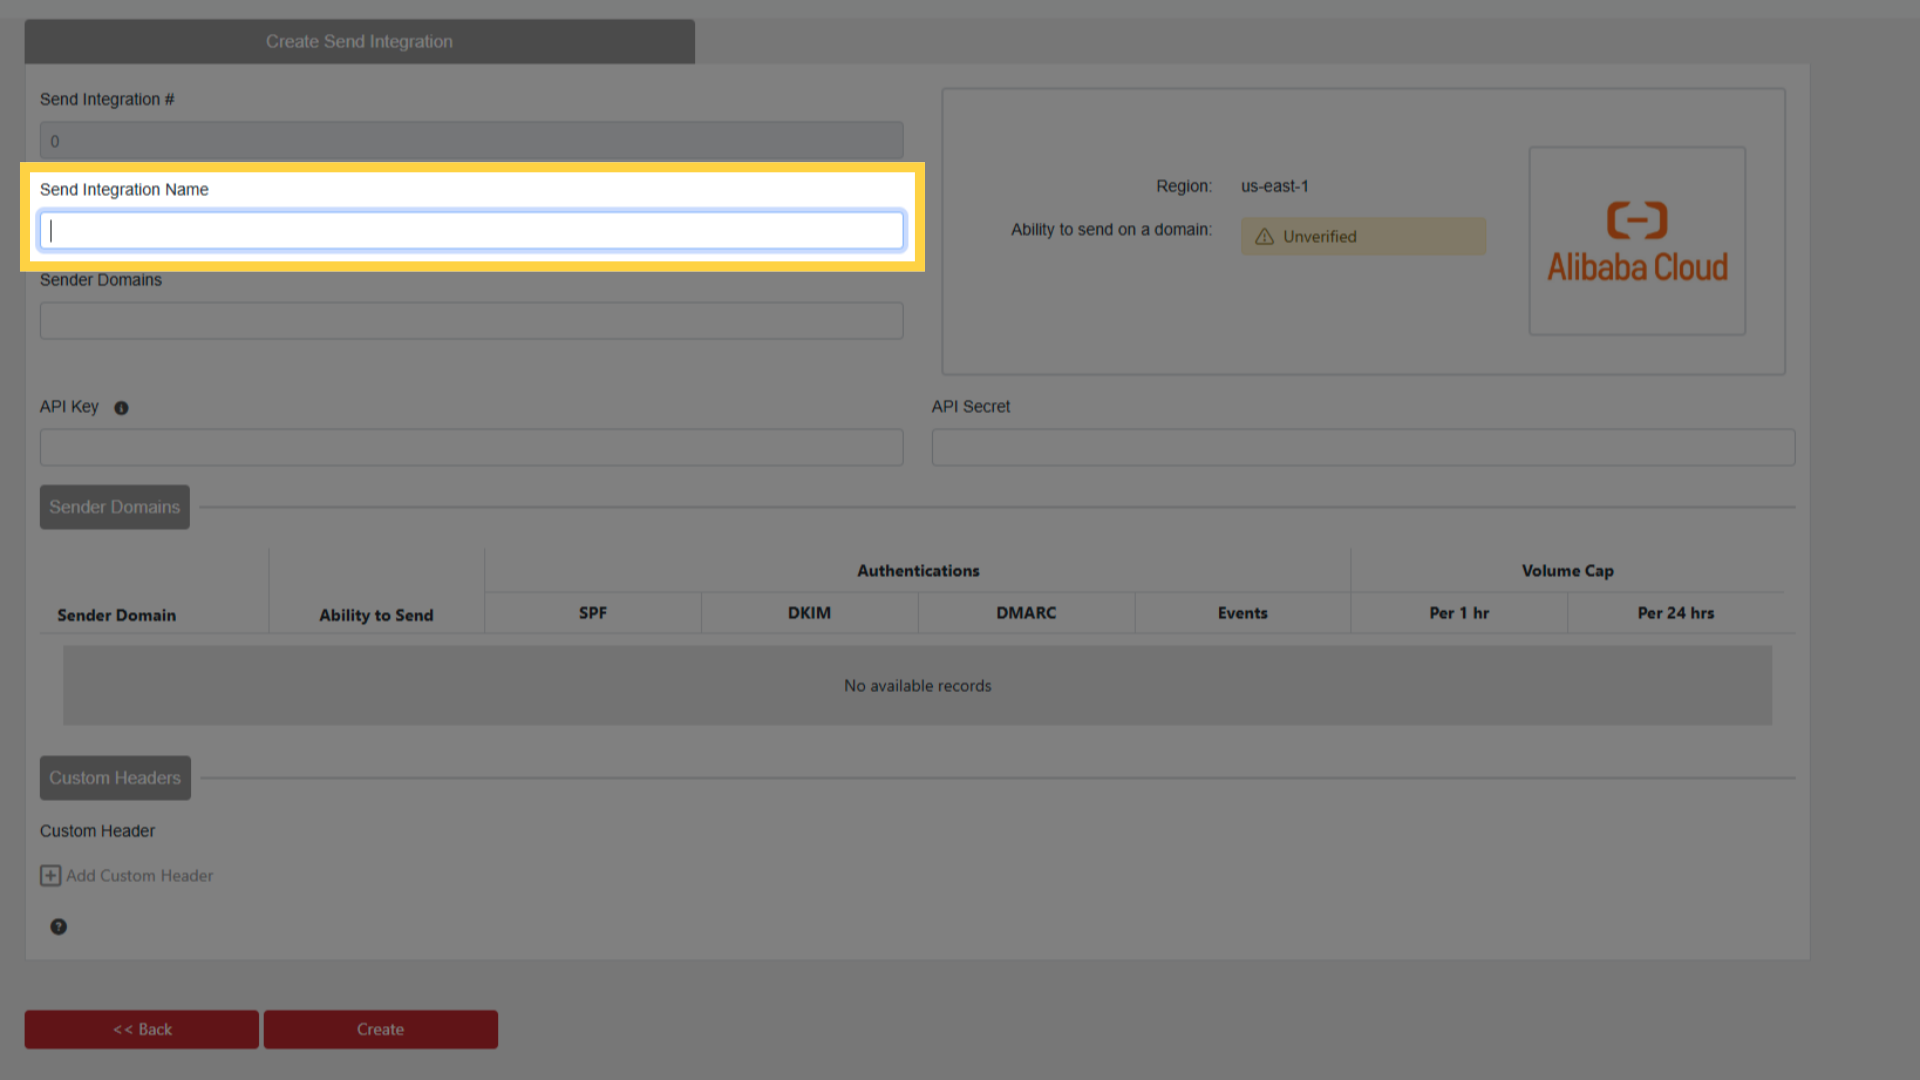
Enter a name for it
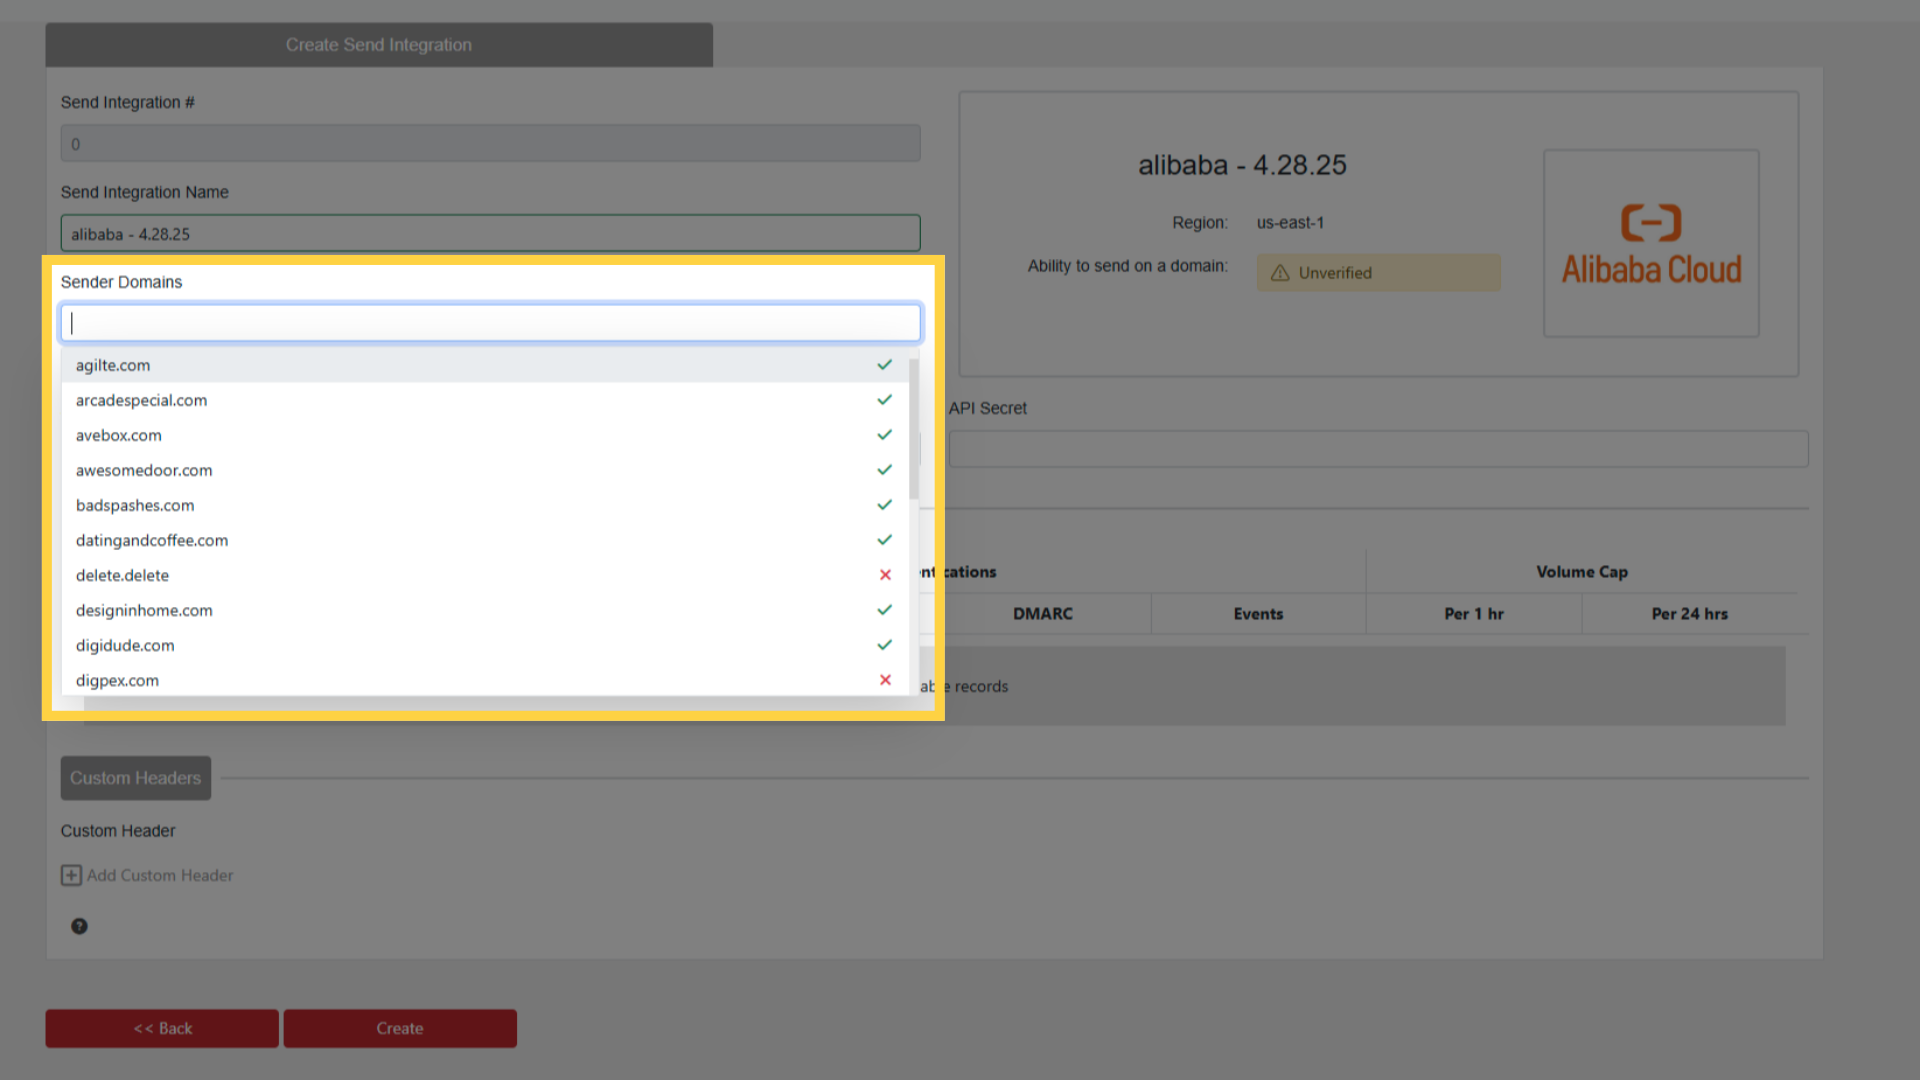
Select one or more sender domains. A validated domain carries a green tick and is ready to send from
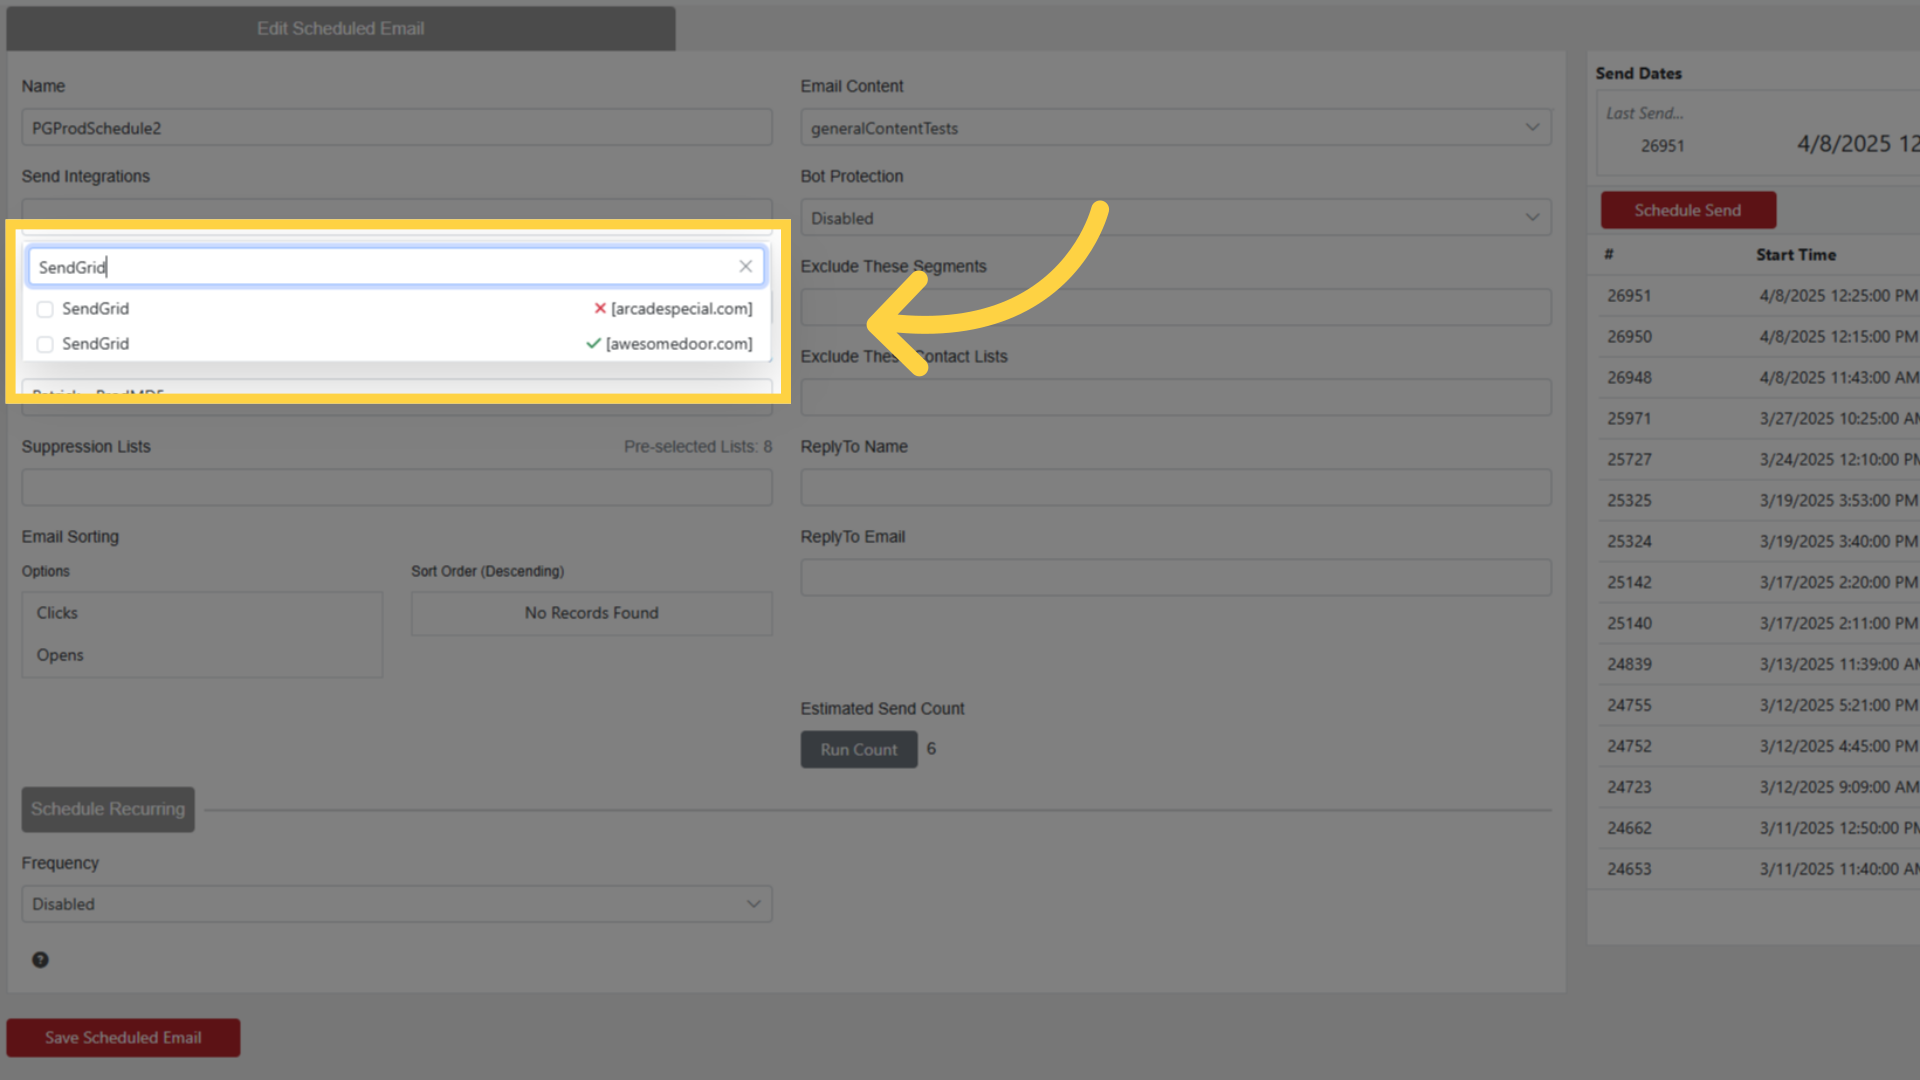
Enter the credentials the ESP asks for, usually an API Key and an API Secret
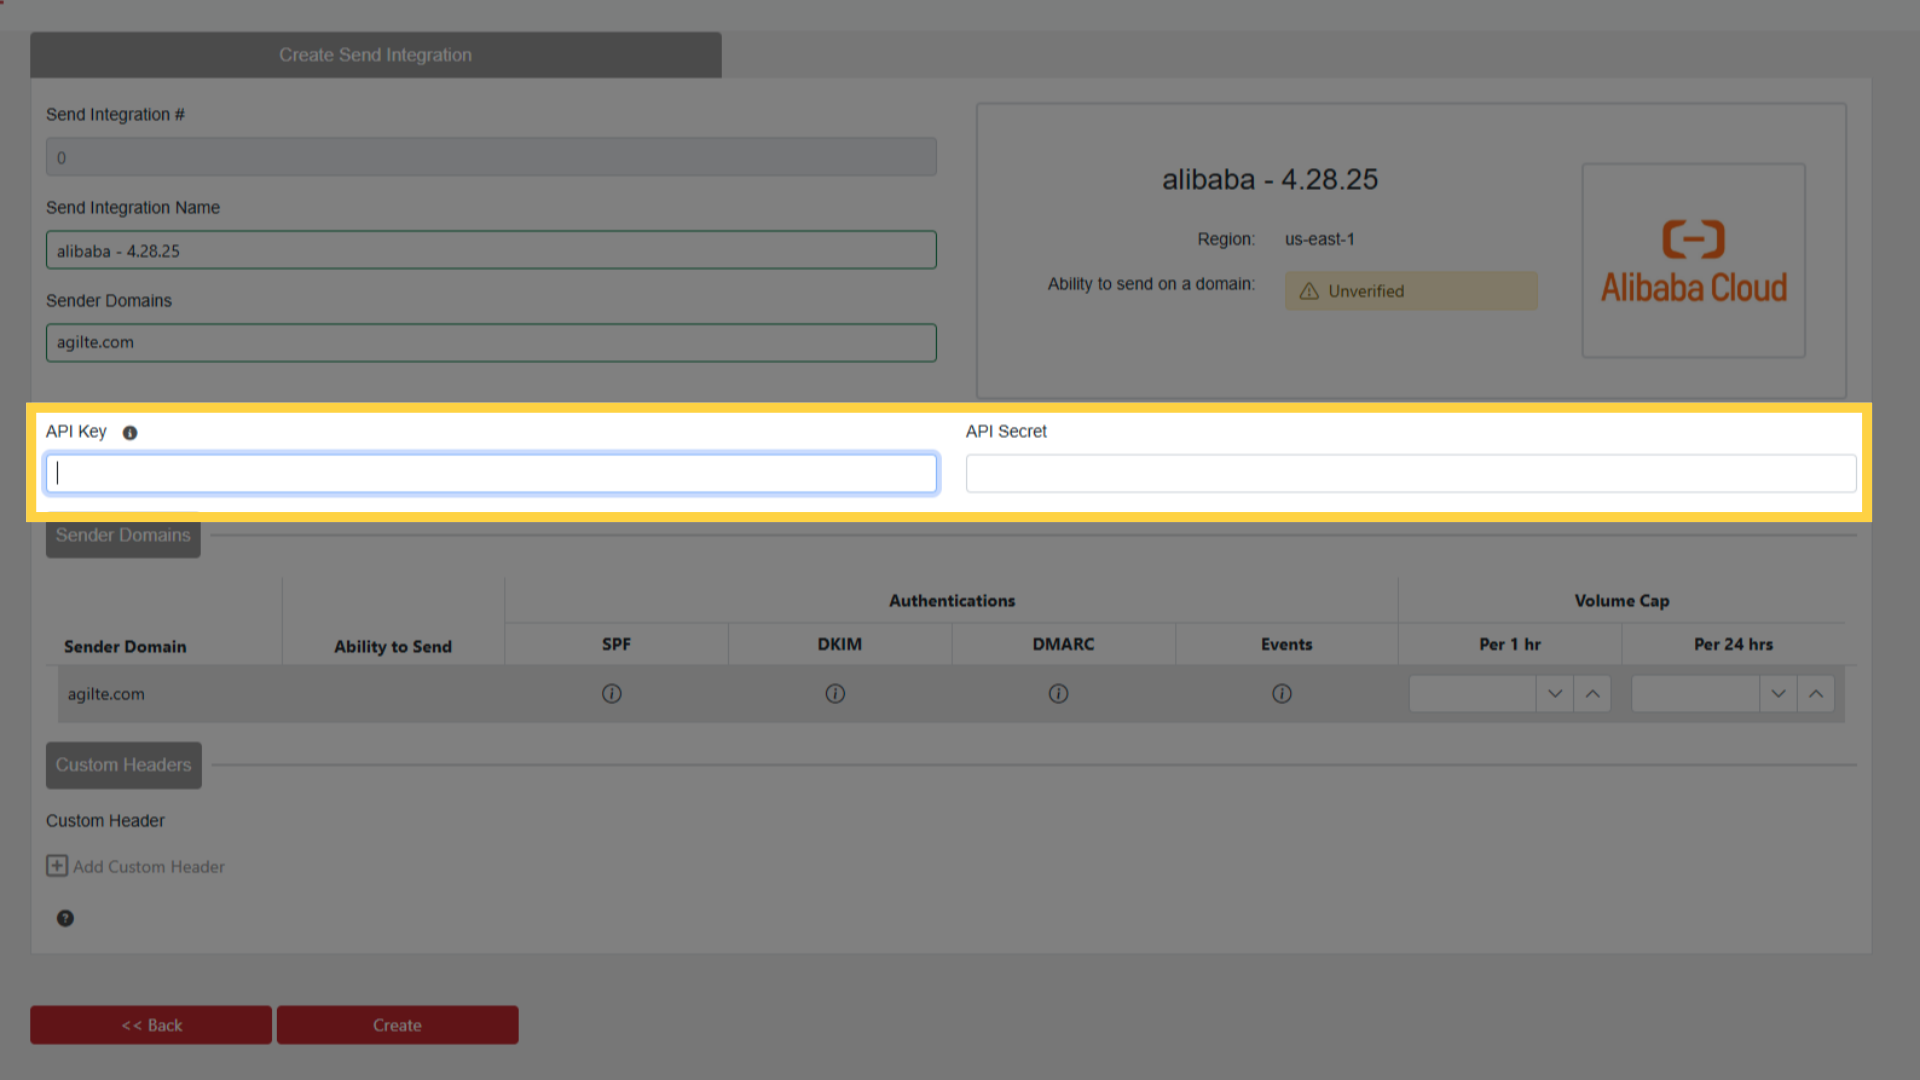
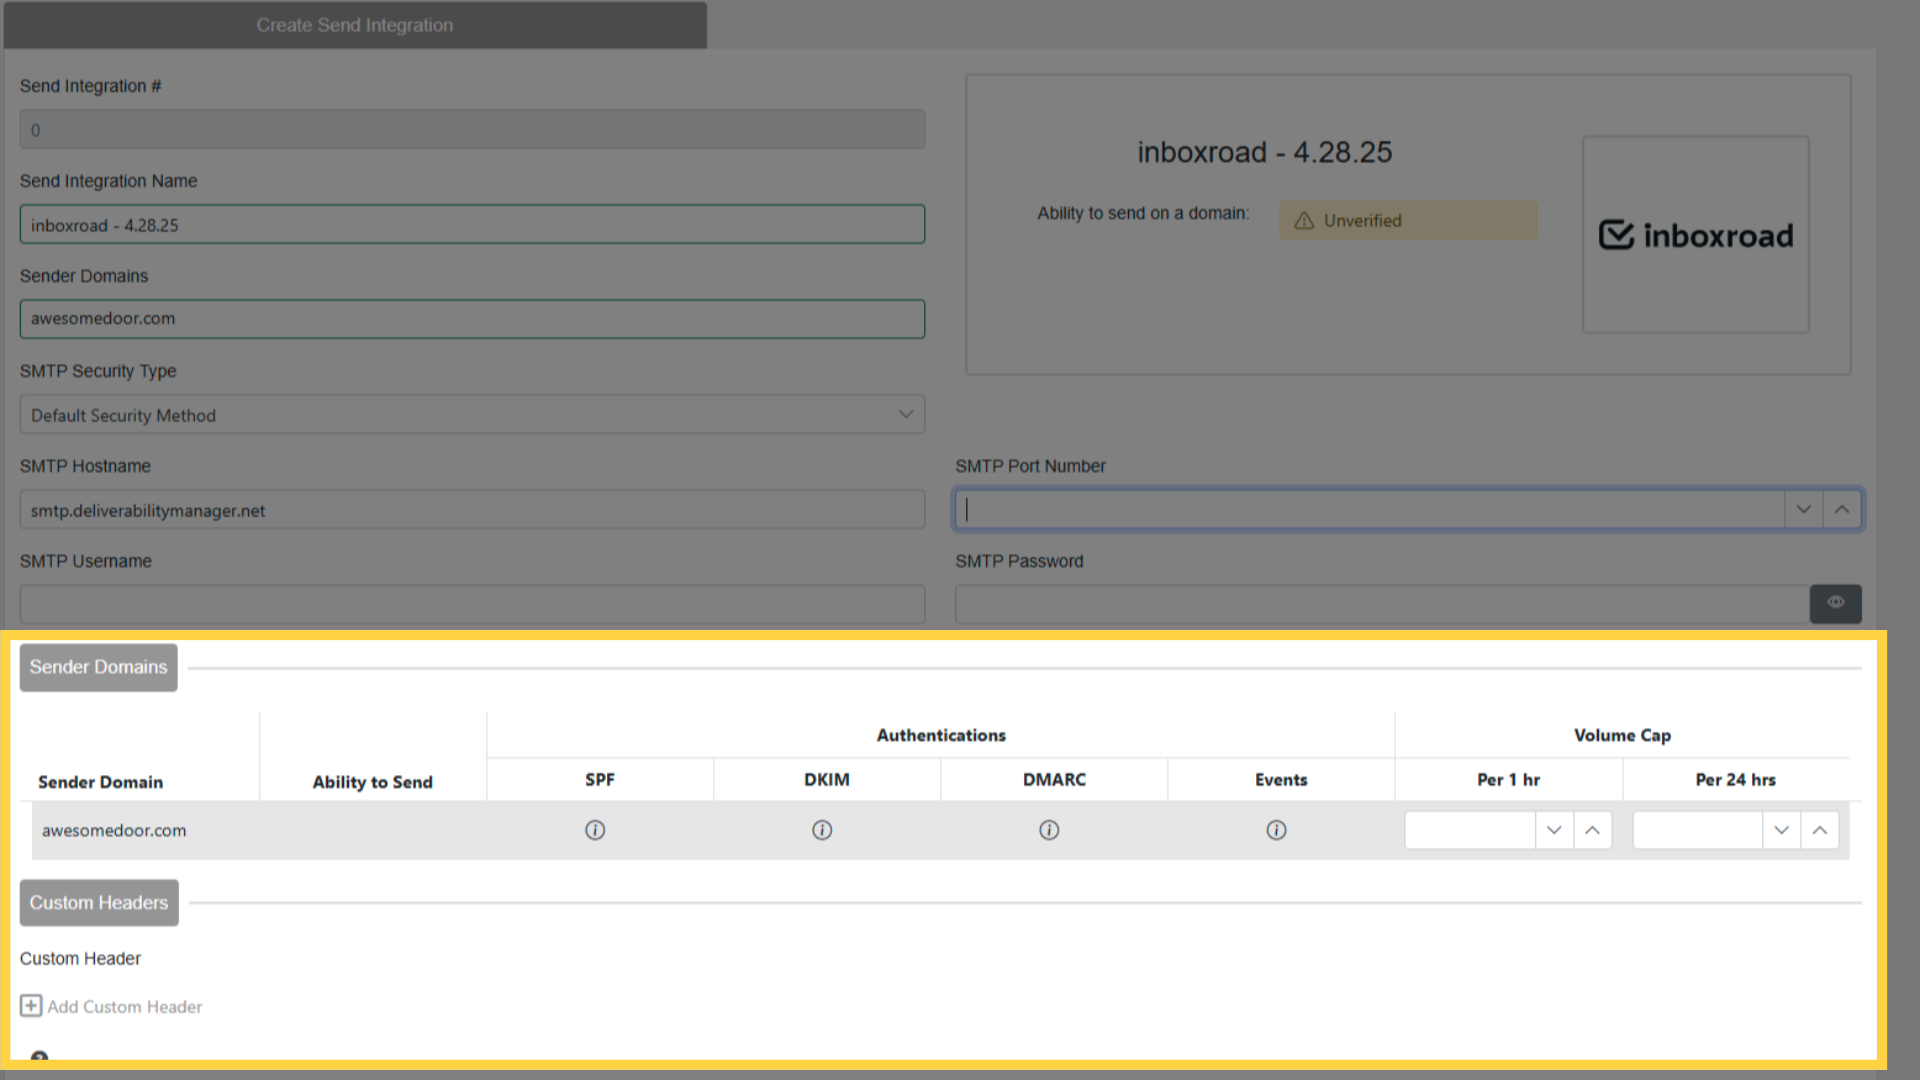
Custom Headers are optional, and go on every email the integration sends
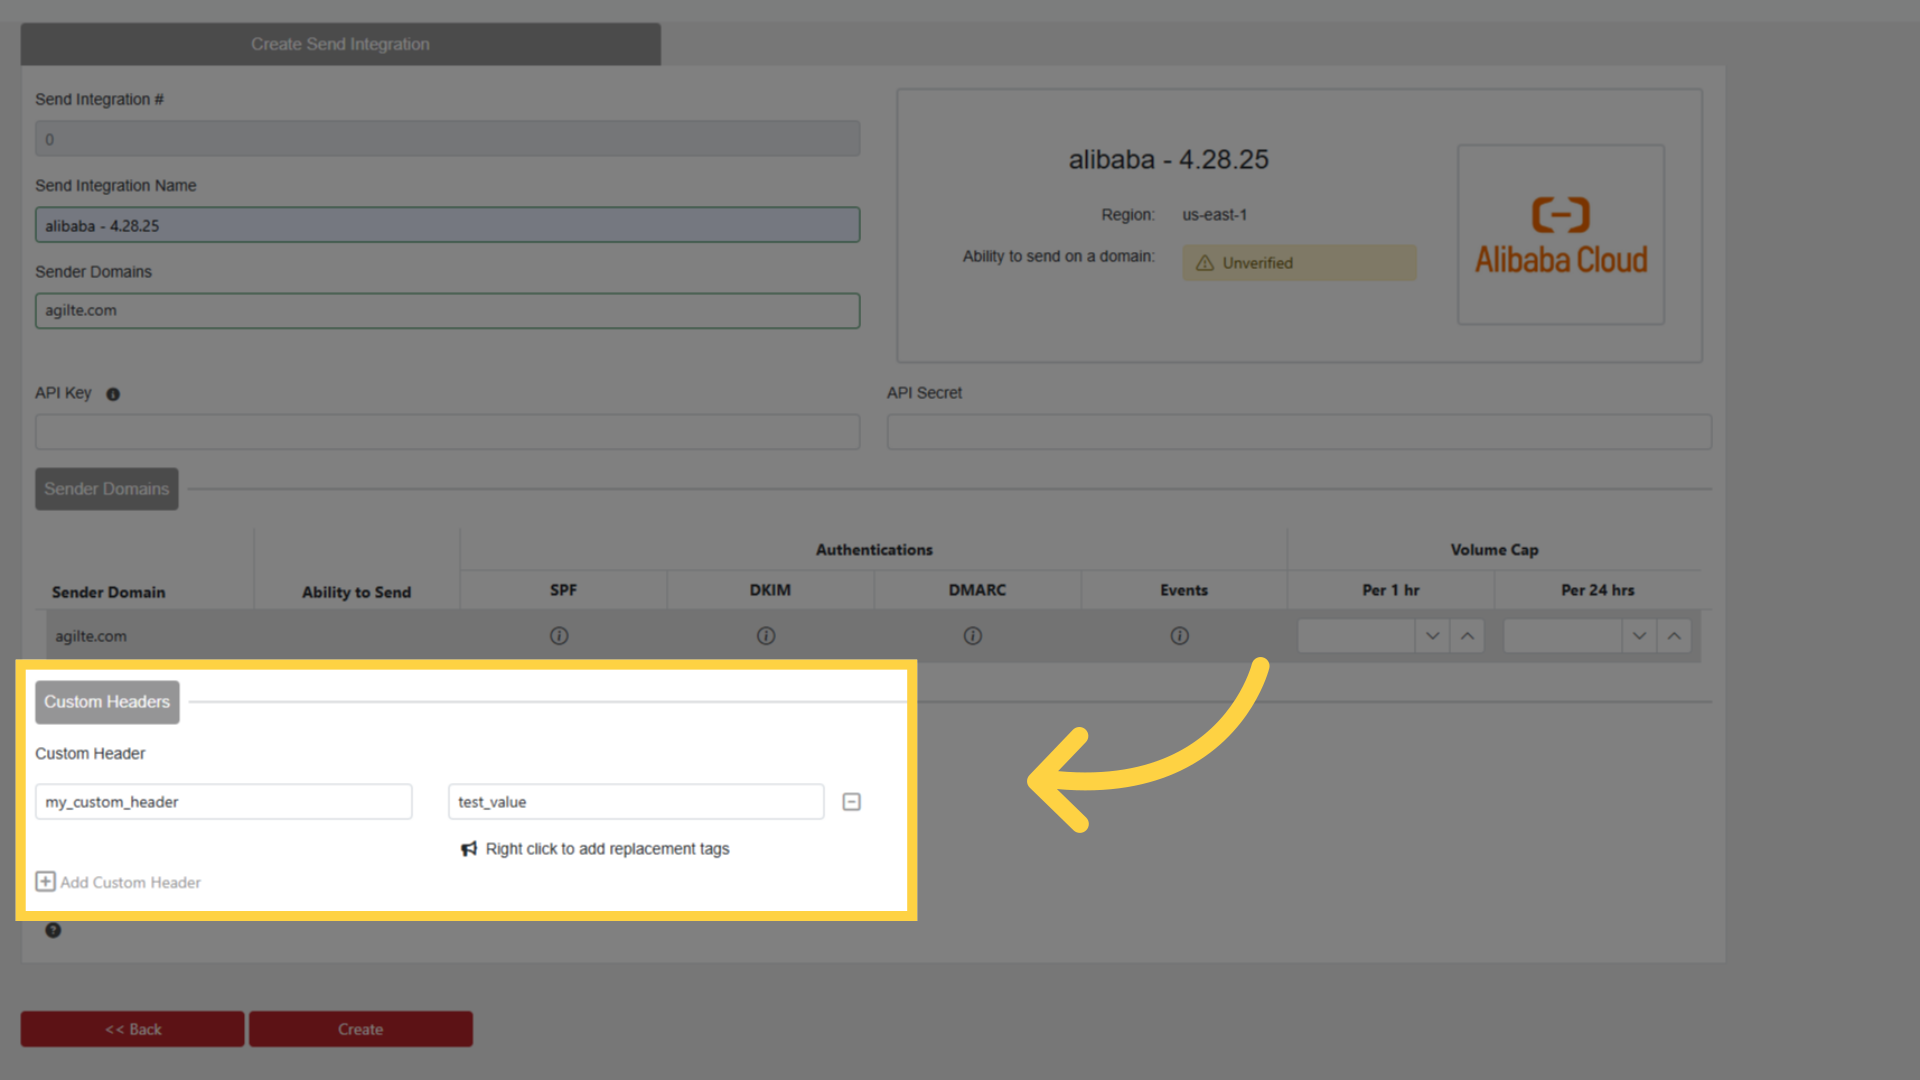
Click Create
Step 3: Test It
Click Run Test
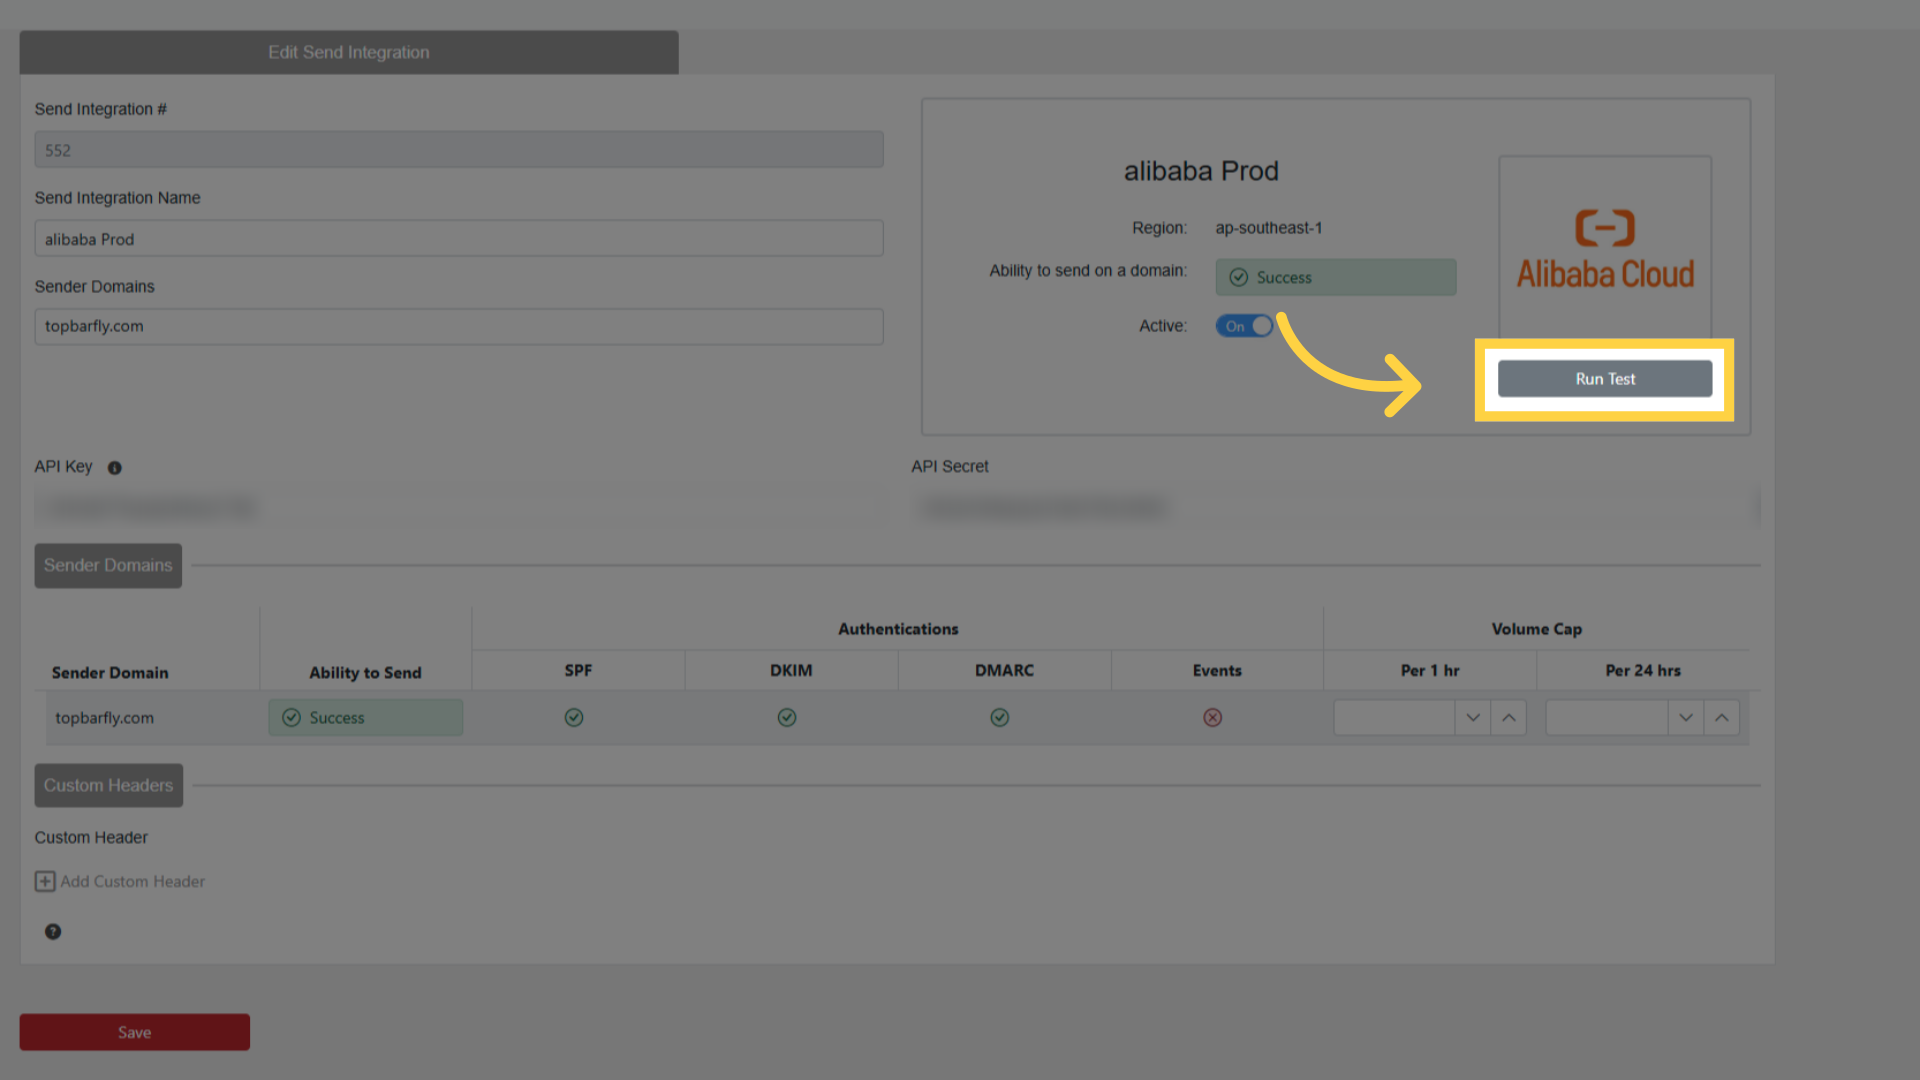
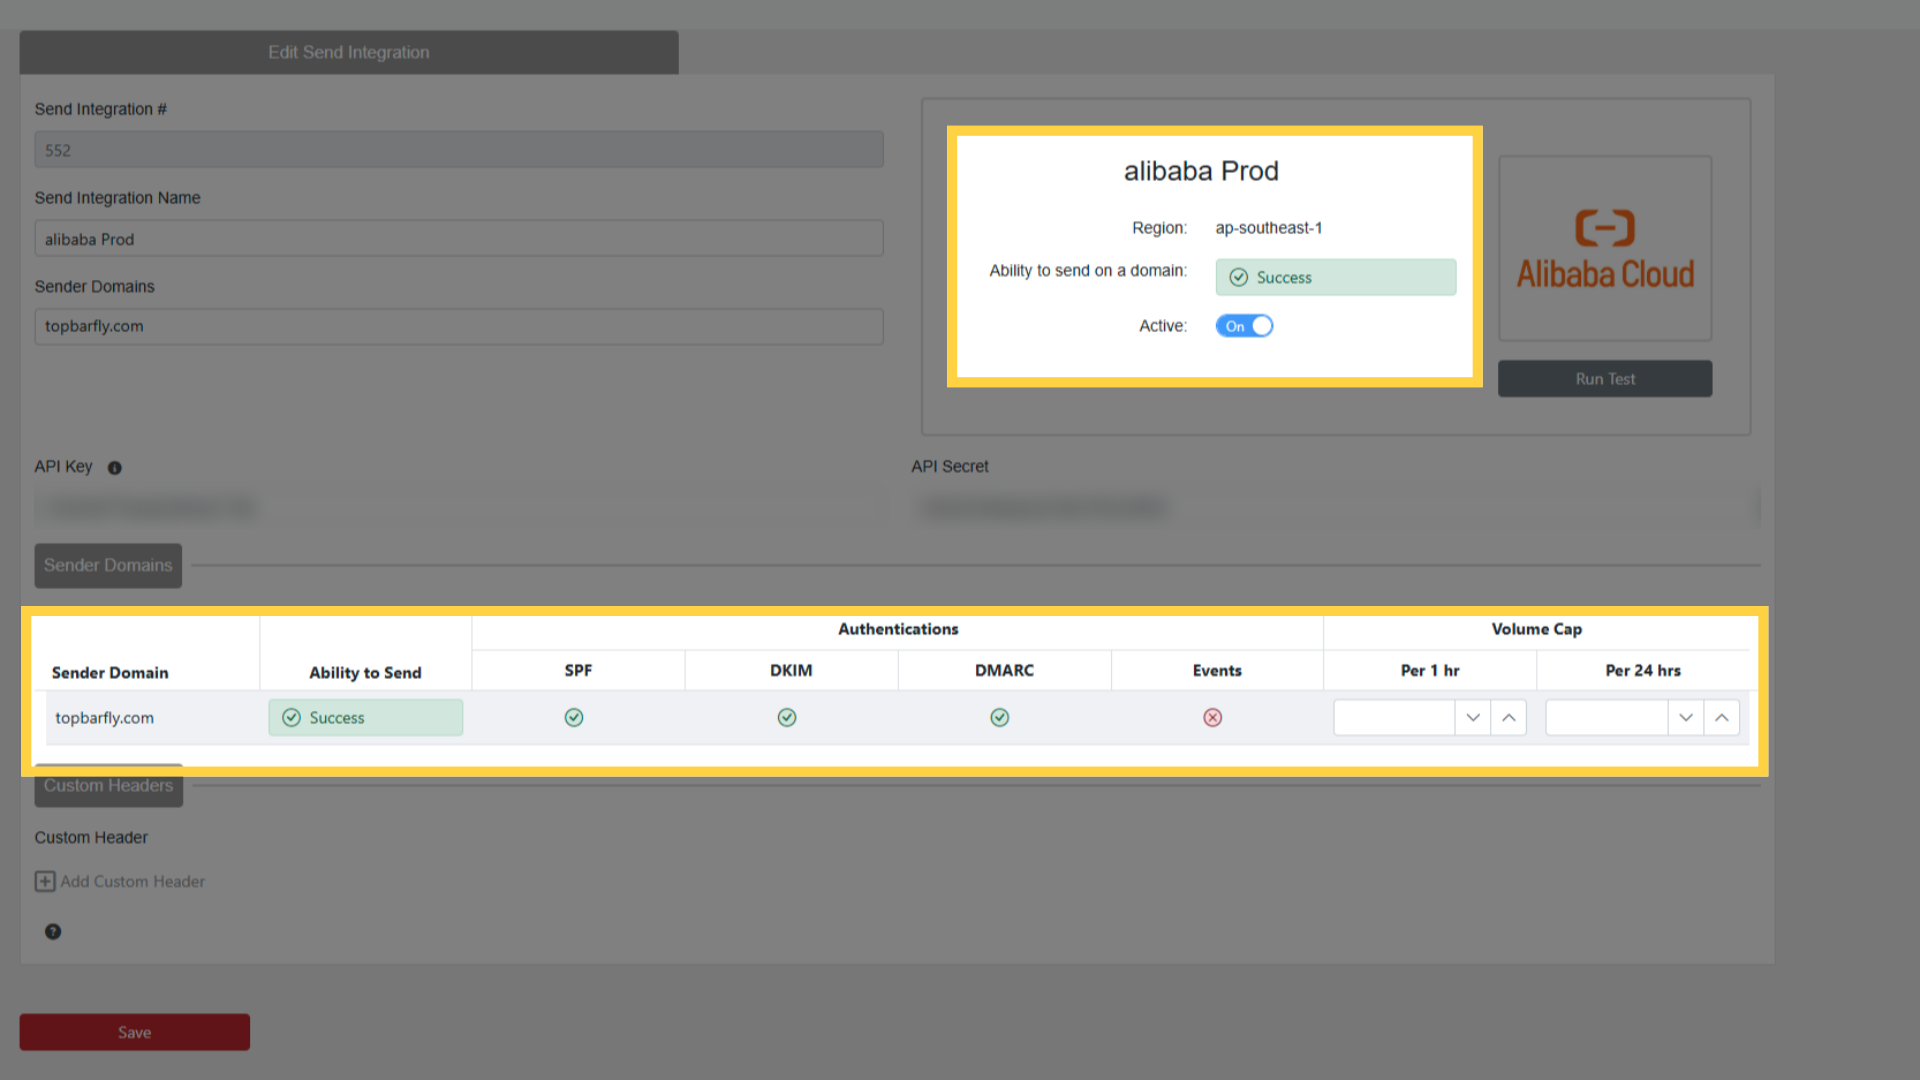
The result is reported for each sender domain. One domain succeeding is enough for the integration to go active
Step 4: Cap the Volume
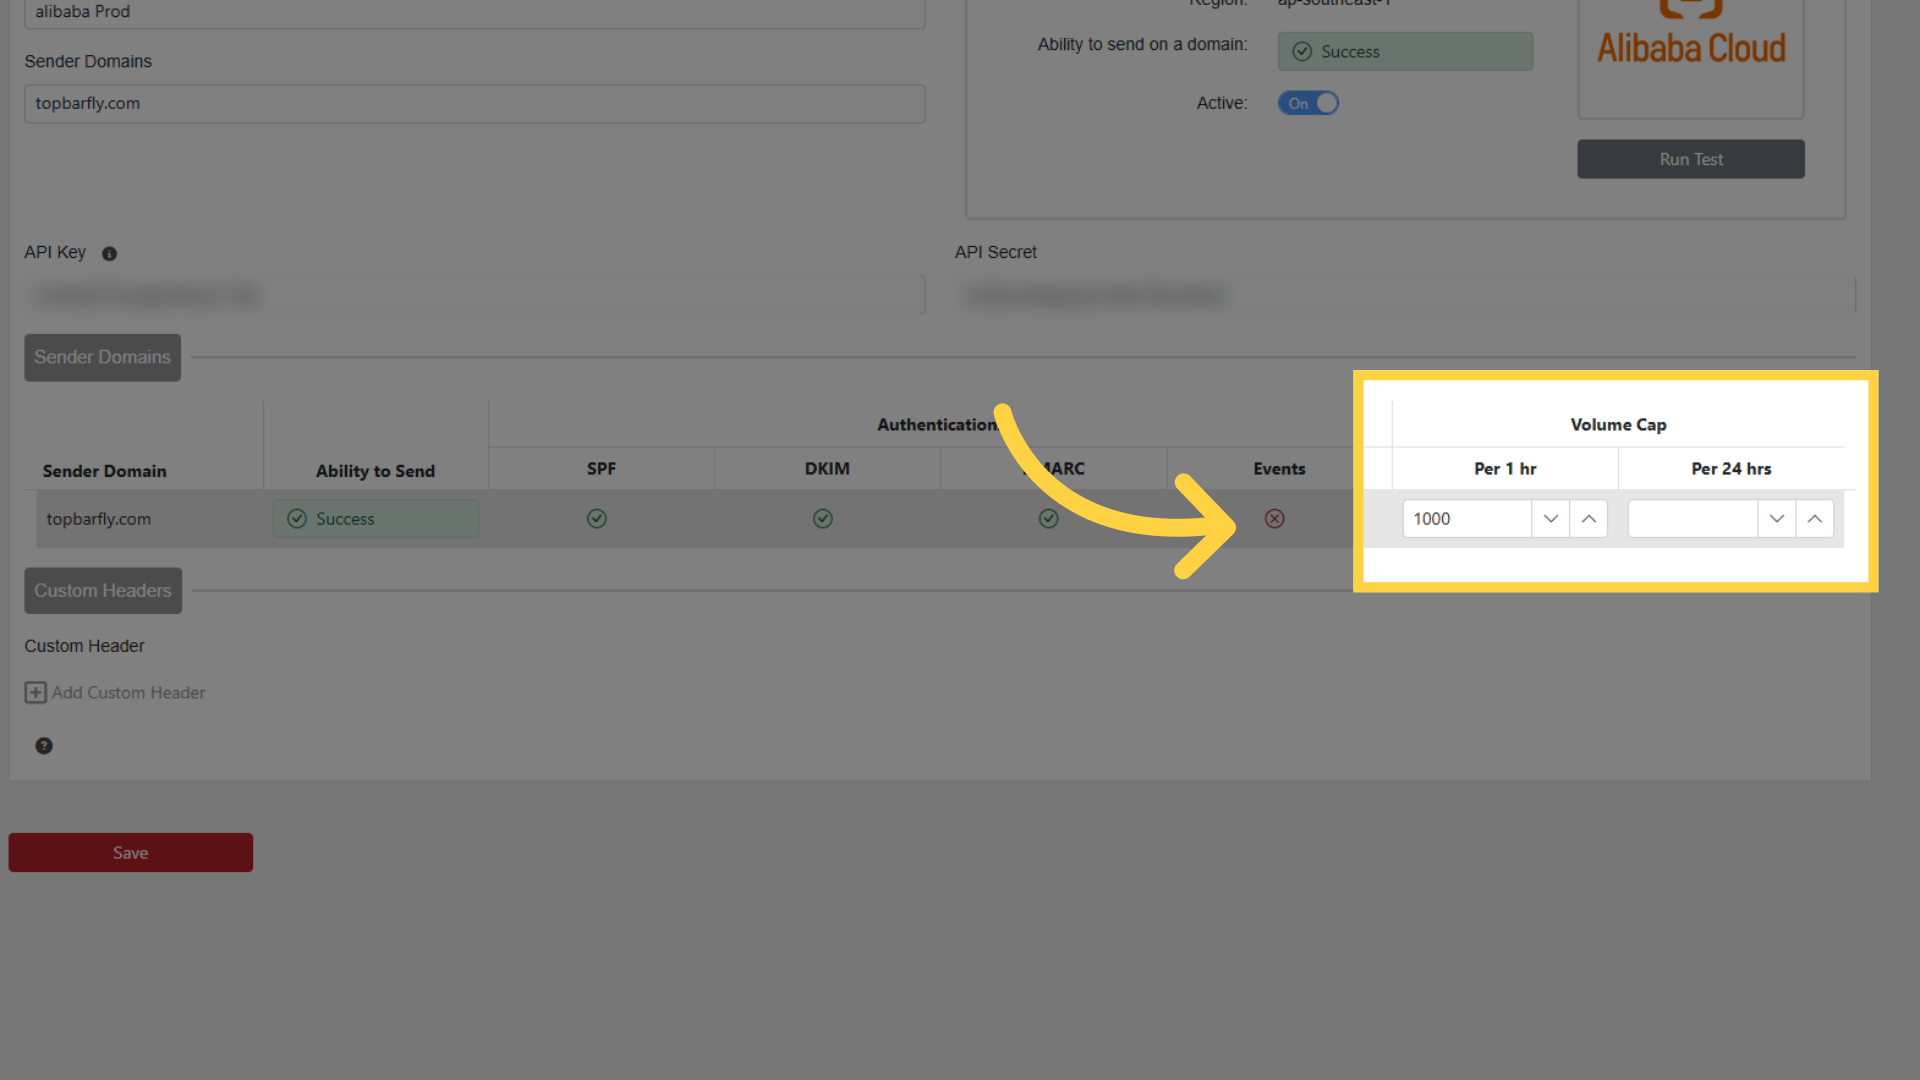
Each domain has a Volume Cap, per hour or per 24 hours
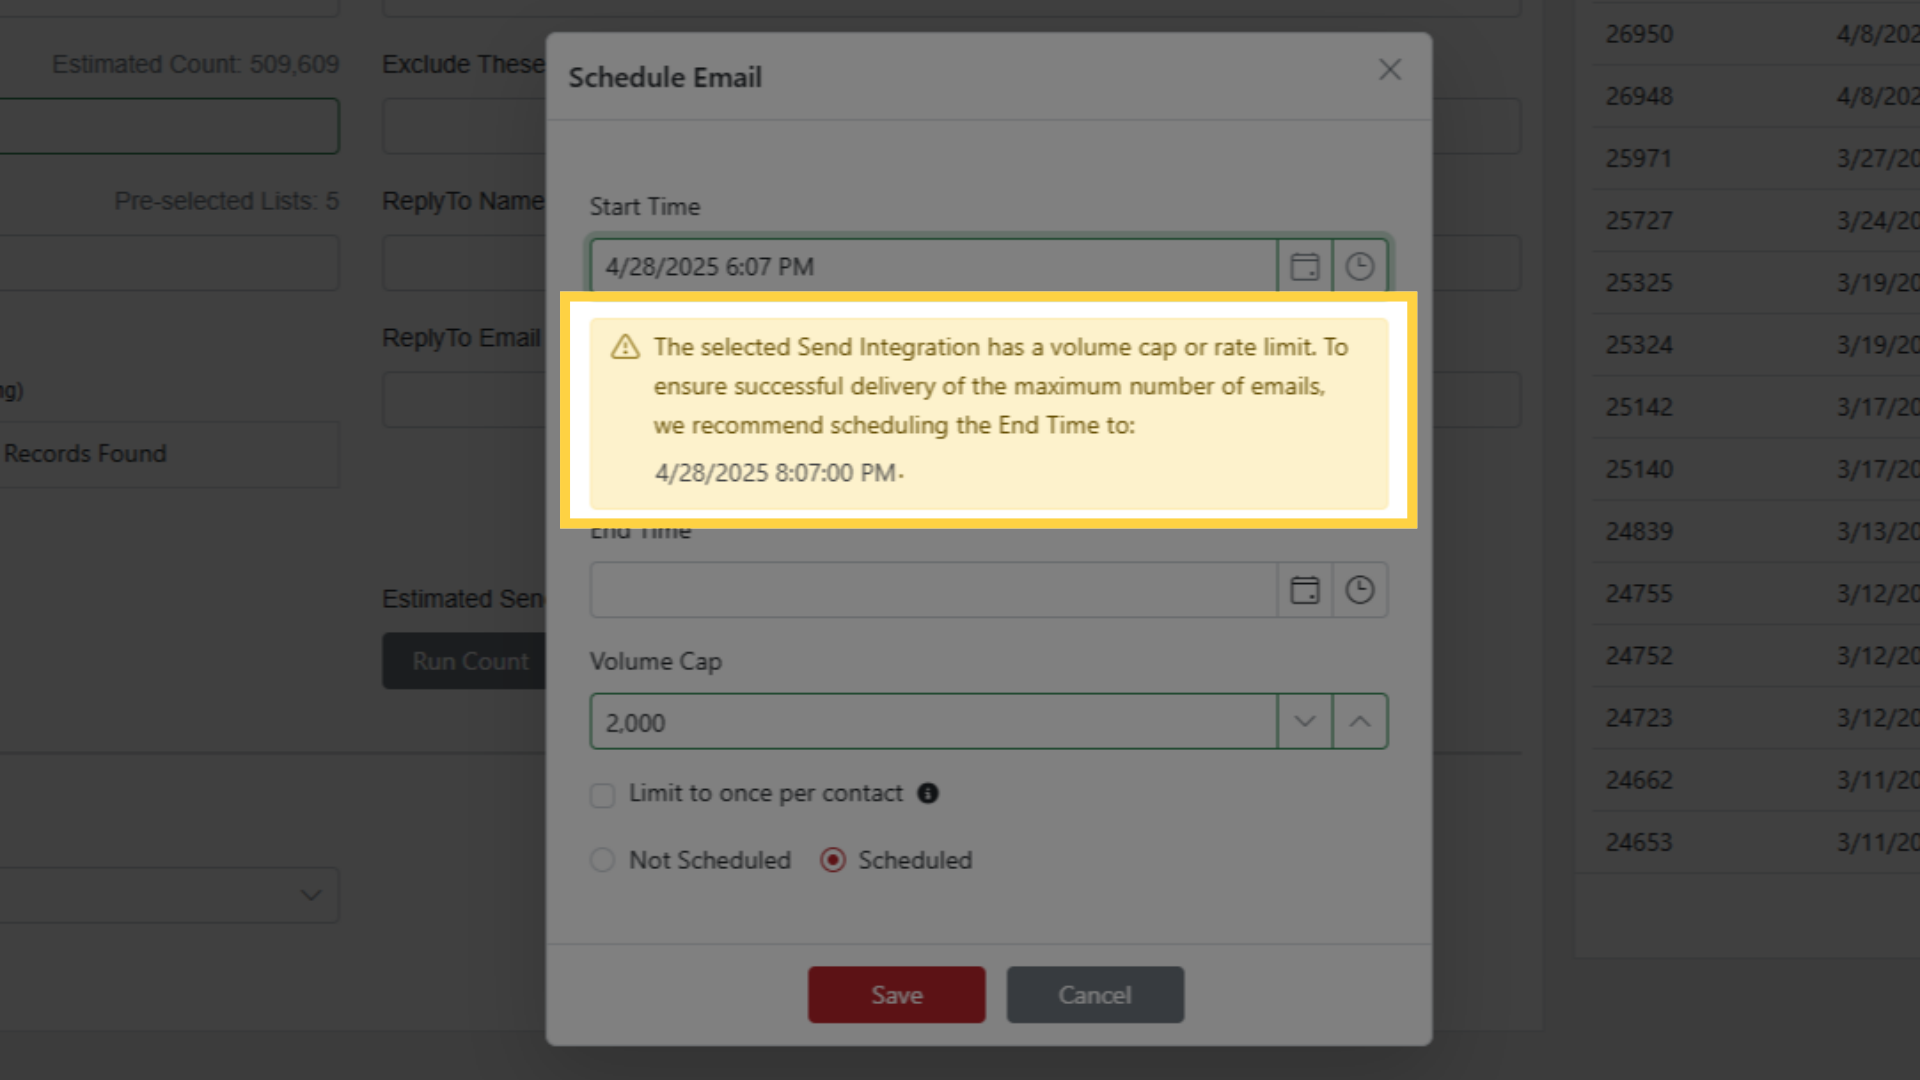
A cap is what gives you a recommended End Time when you come to schedule a send
Creating an SMTP Integration
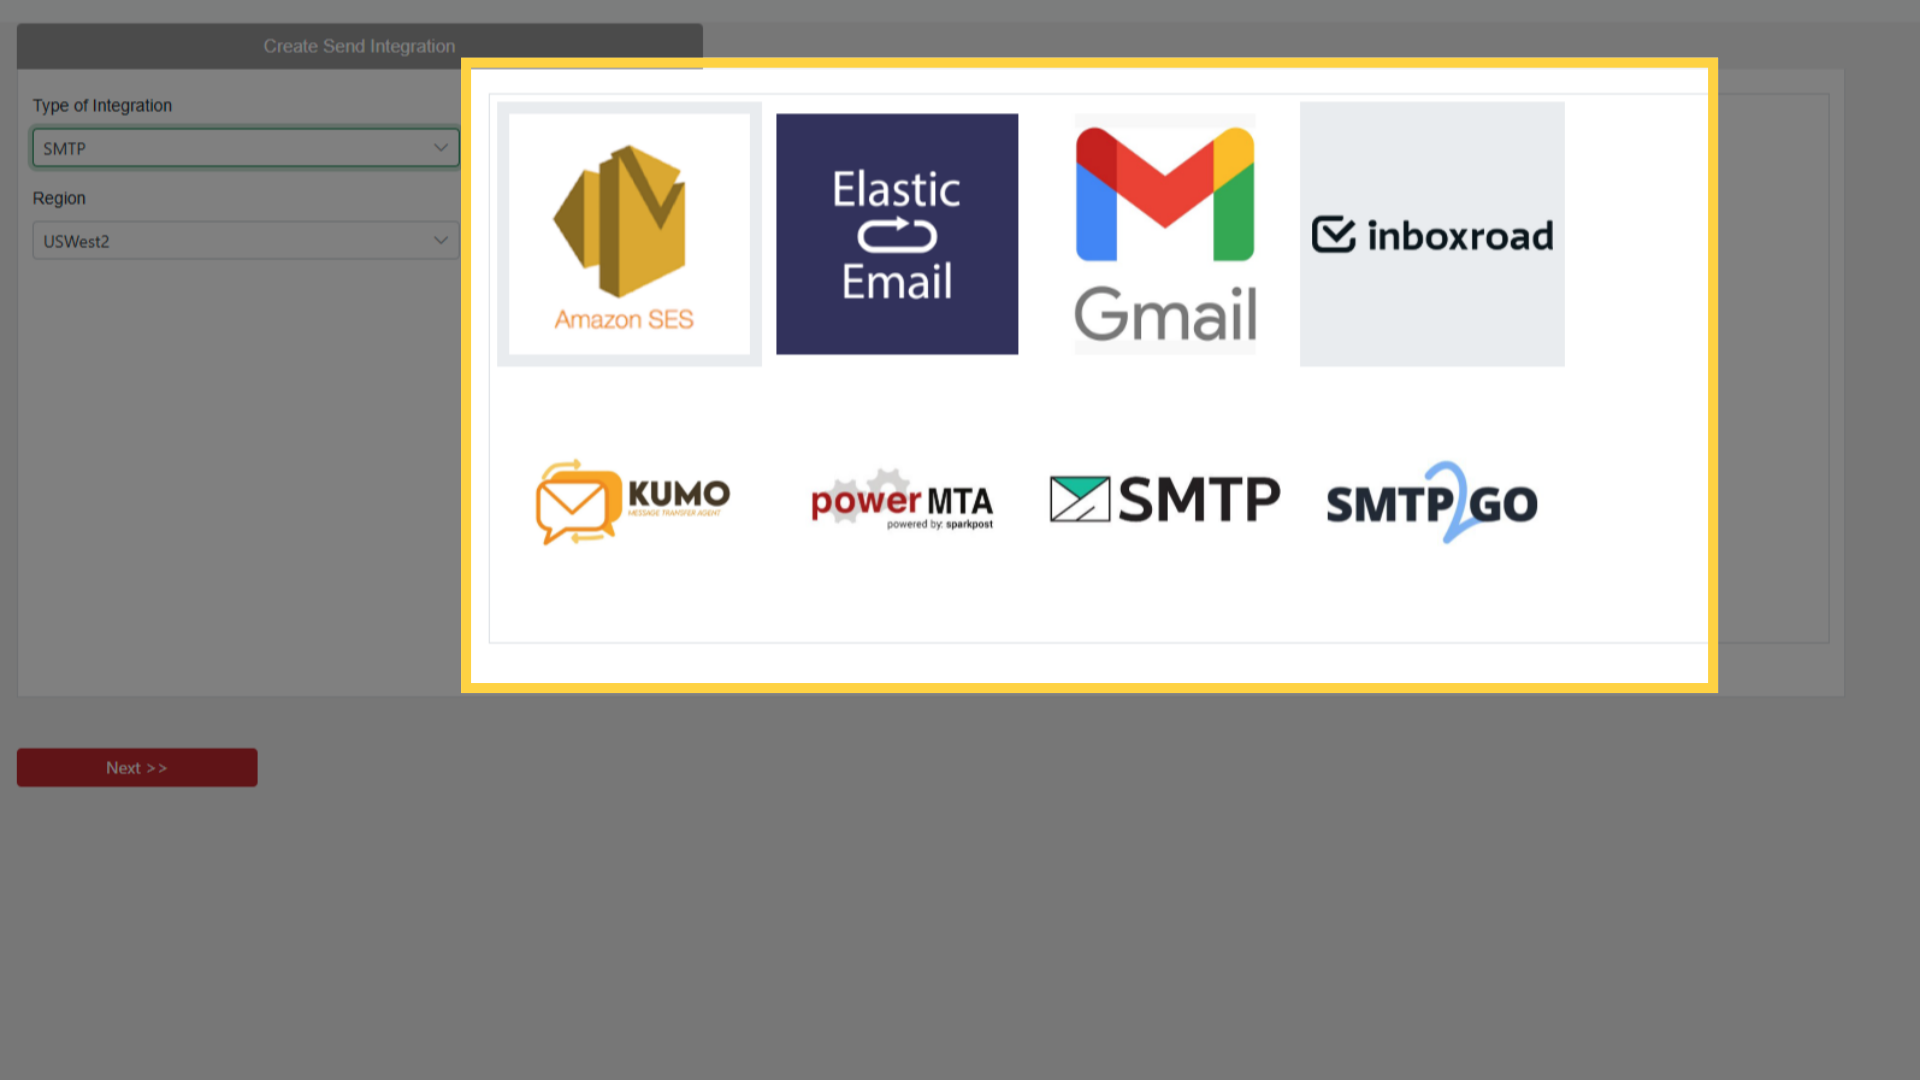
Start again at Create Send Integration, choosing SMTP this time
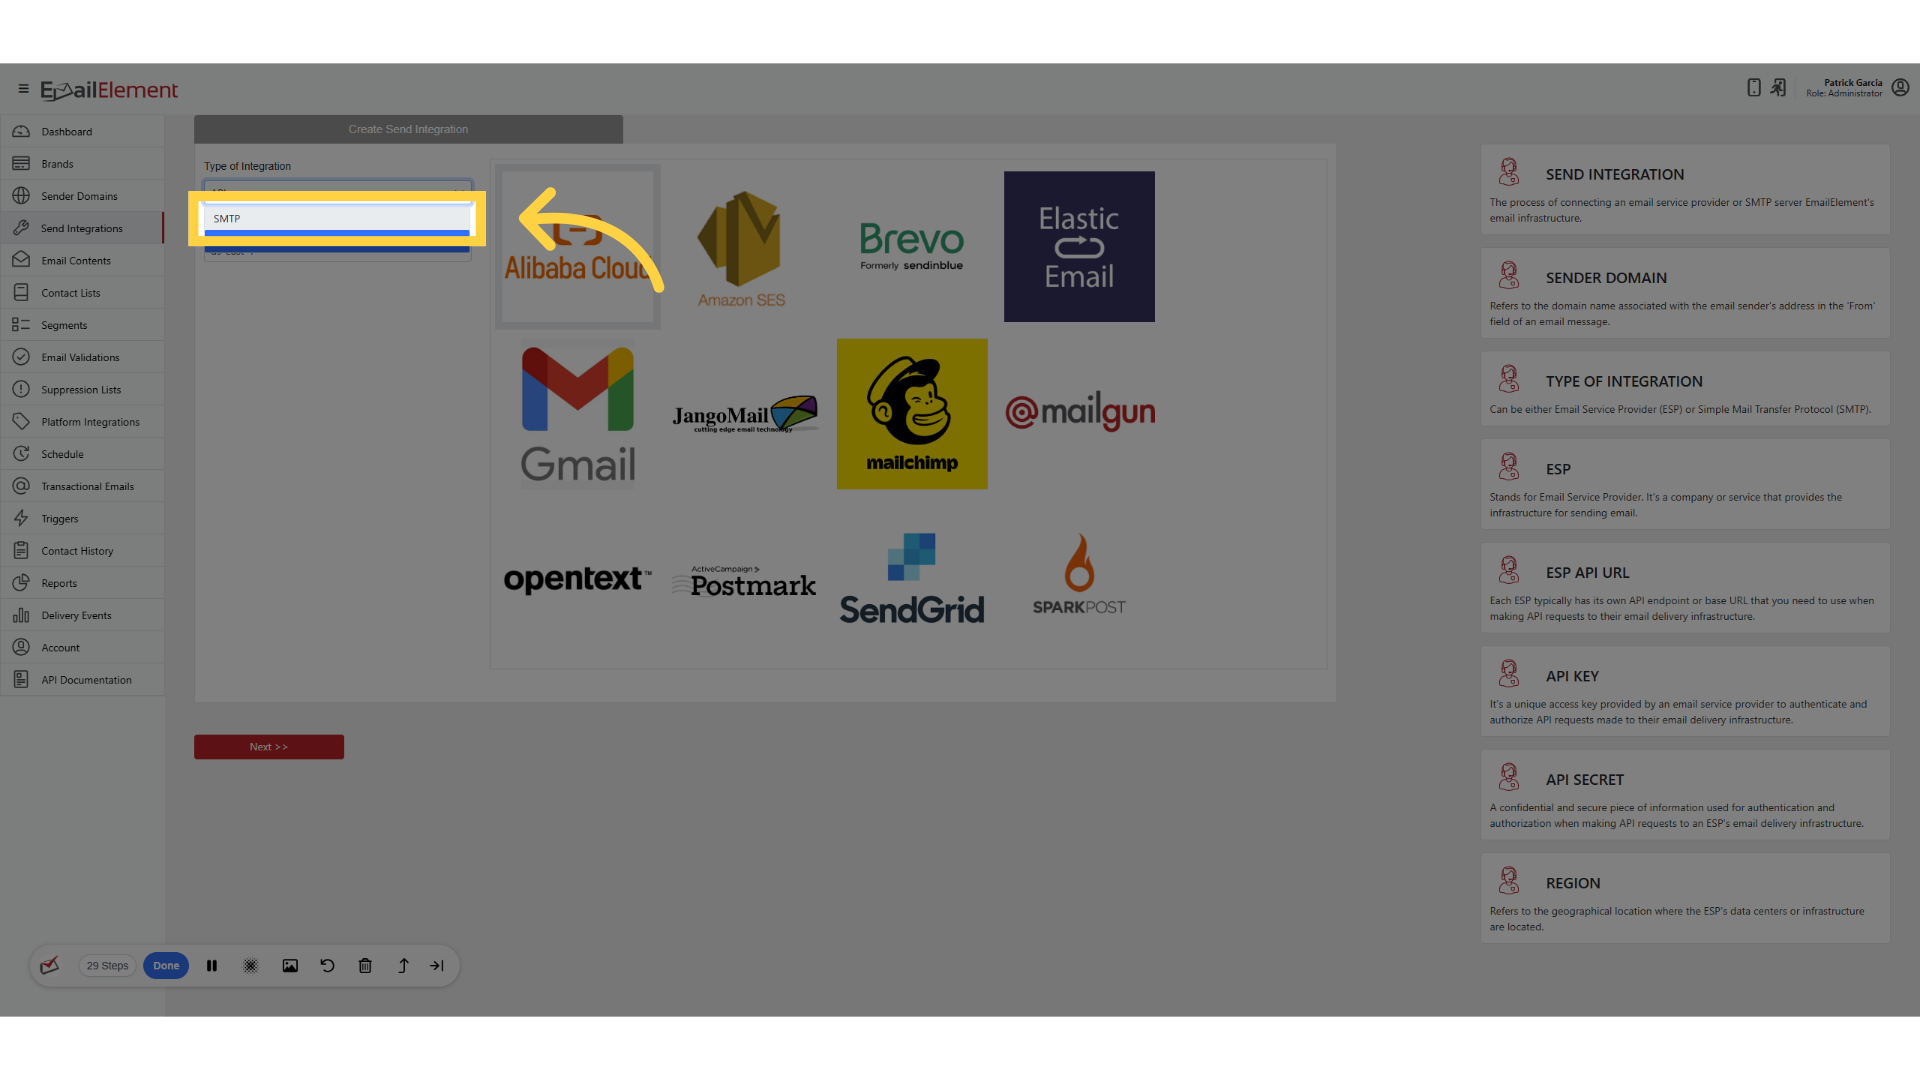
The list of ESPs is a different one. Pick from it and click Next
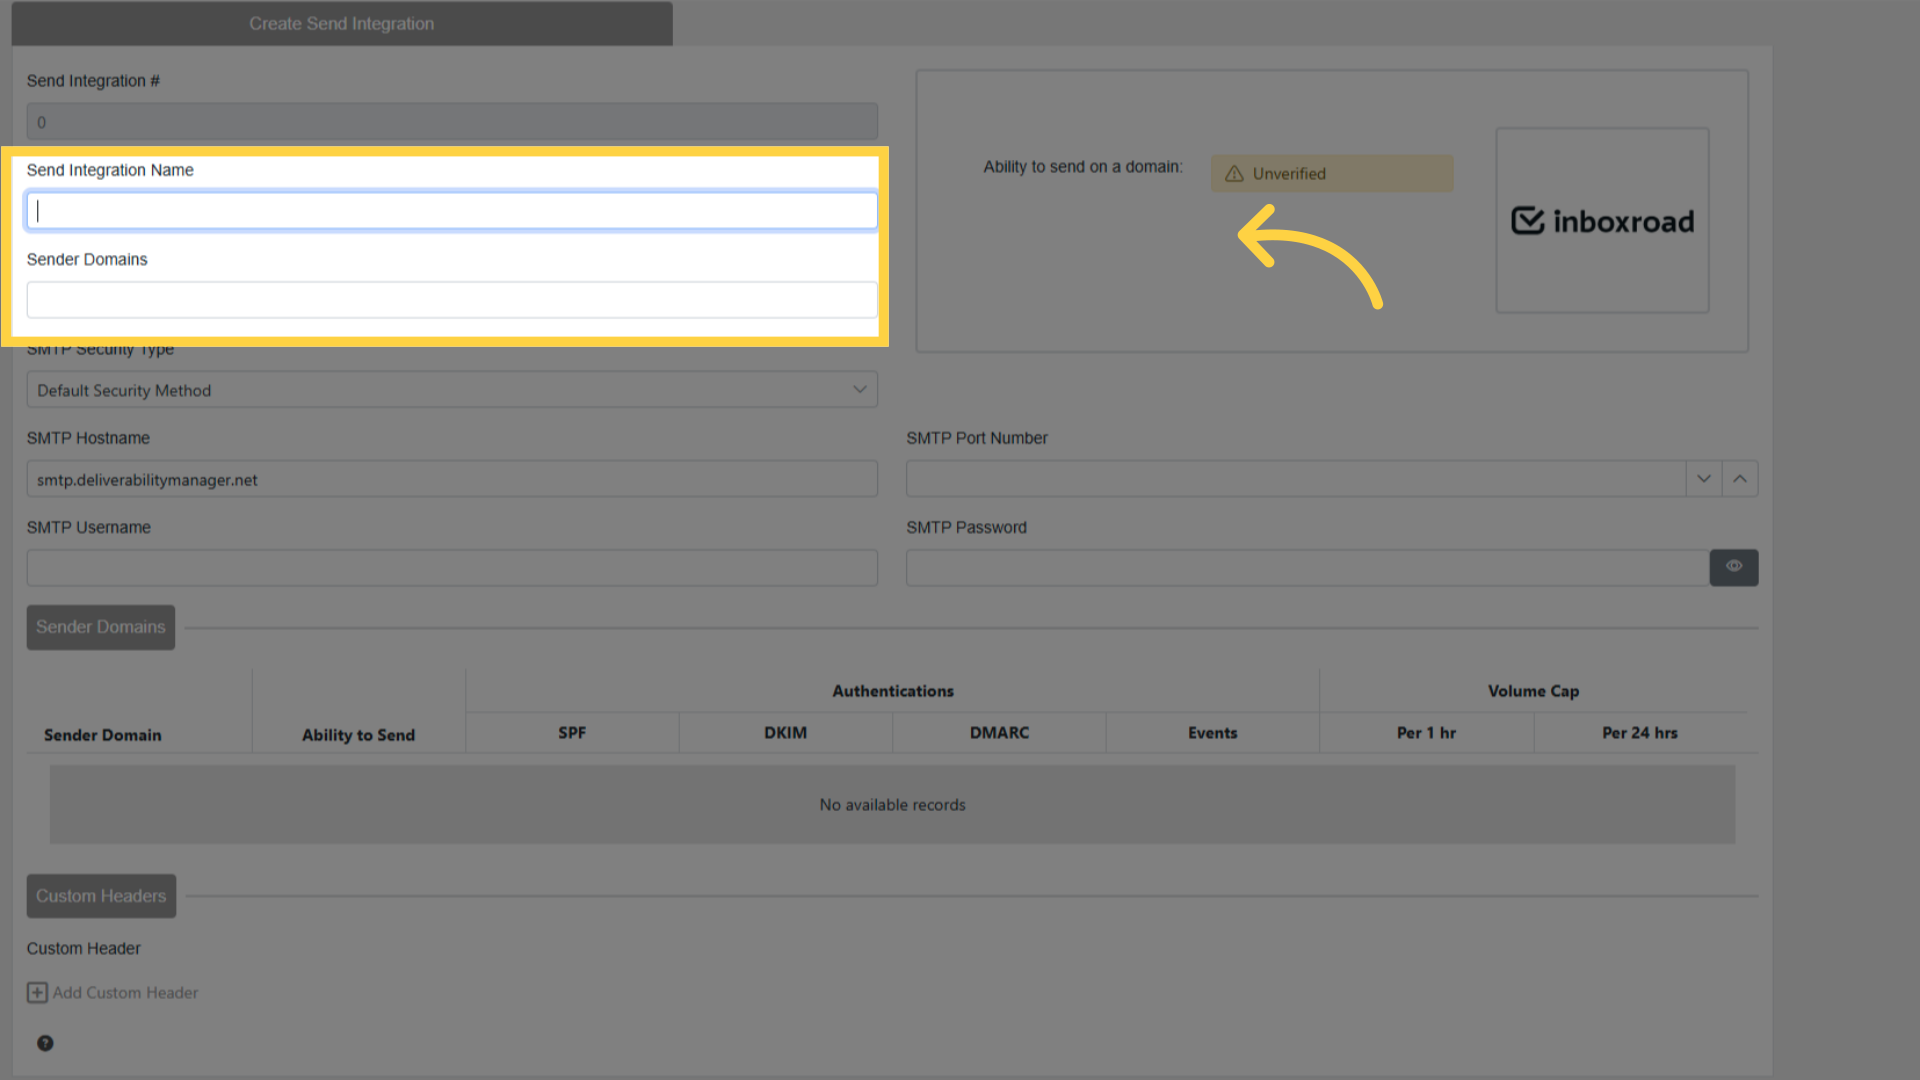
Enter a name and at least one sender domain, the same as before
SMTP asks for more: Security Type, Hostname, Port Number, Username and Password
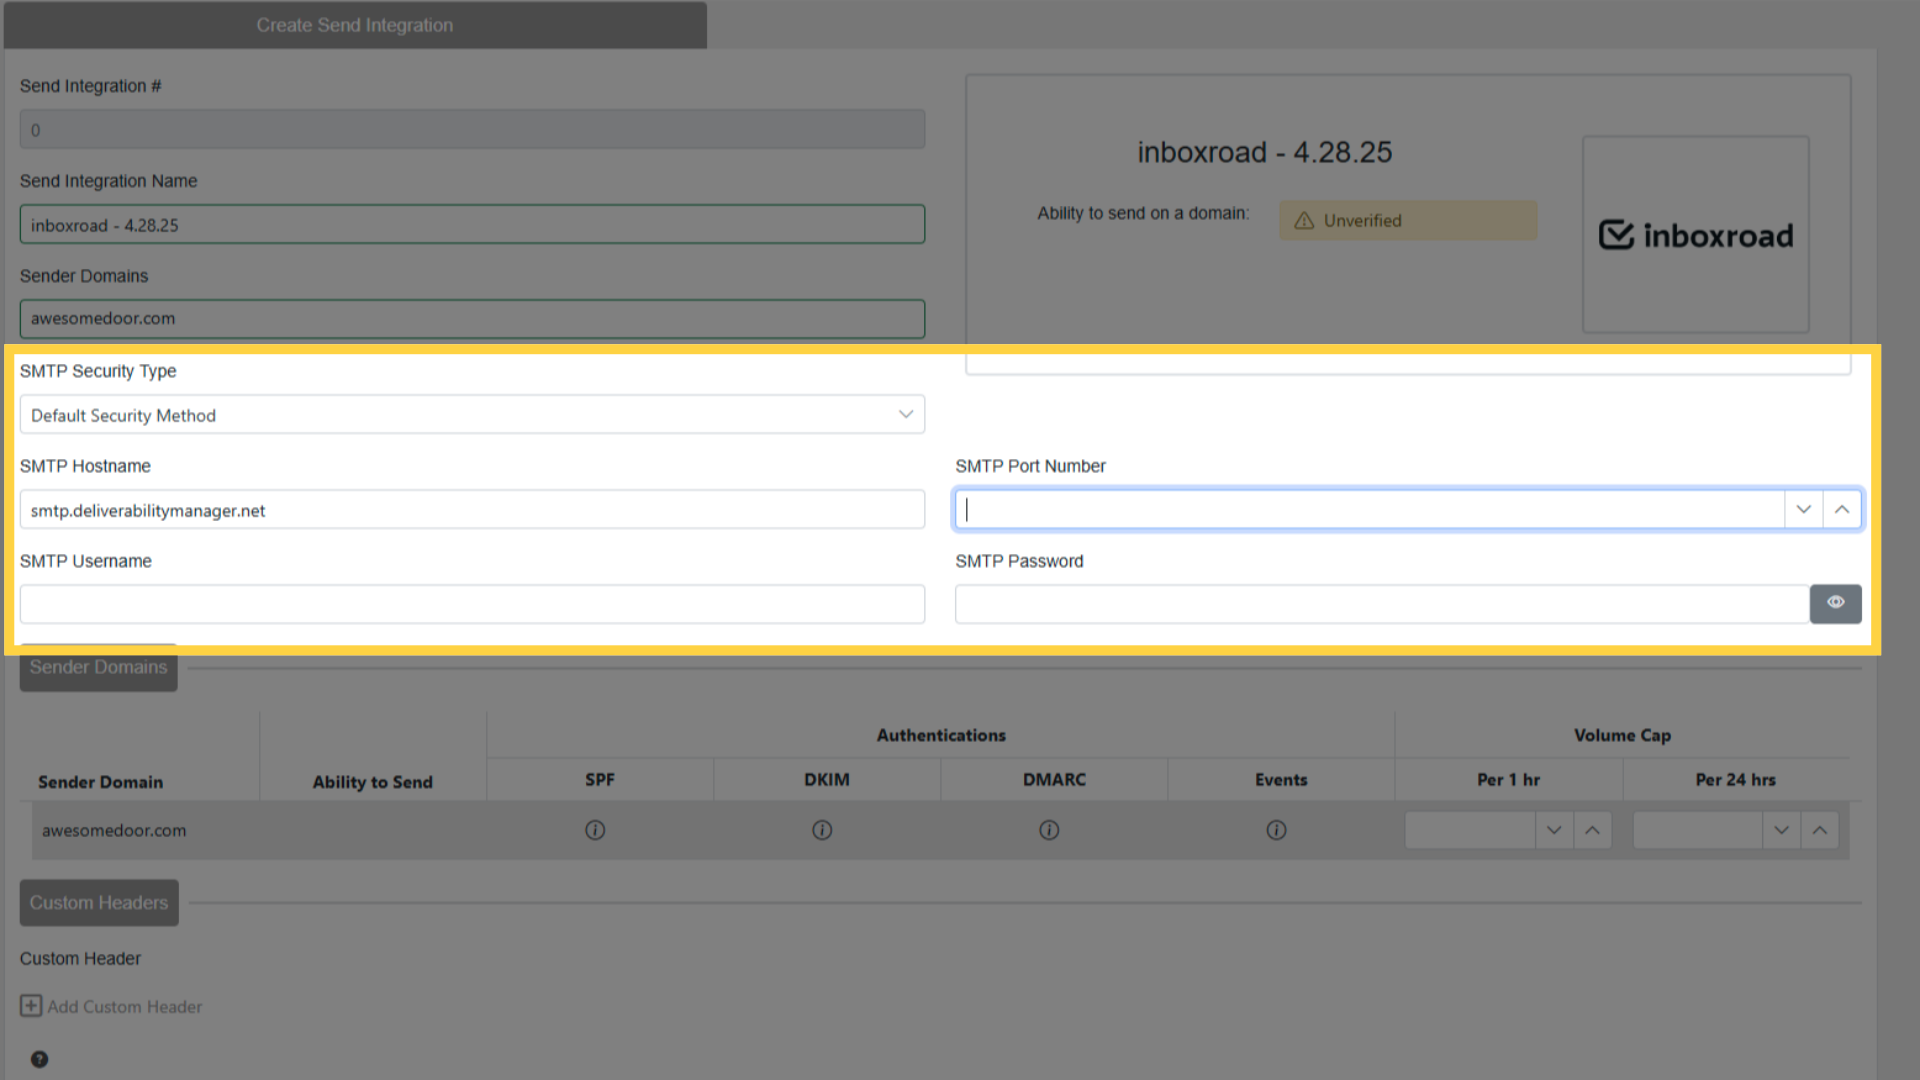
Volume Caps and Custom Headers work here exactly as they do on an API integration
Related pages
- API Vs SMTP — which of the two to choose
- Send Integrations — the section this belongs to, and every ESP that can be connected