
Brand Setup Walkthrough
Creating a Brand
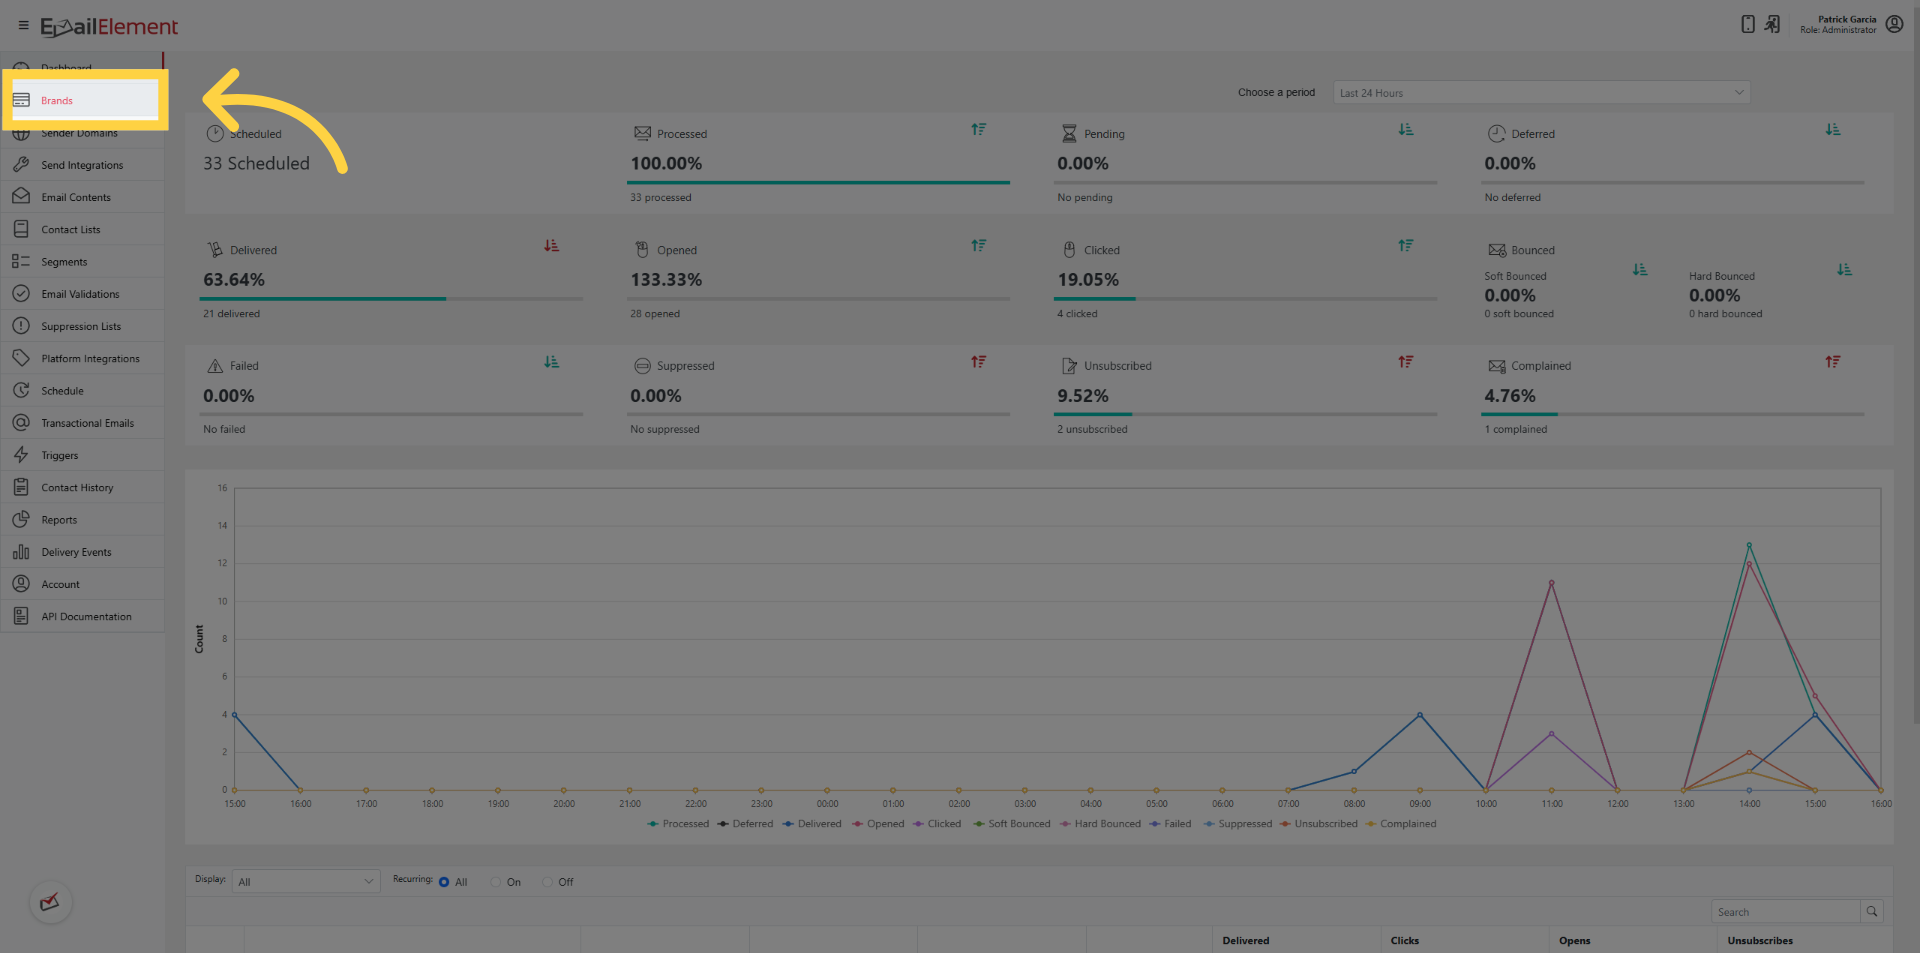
Click Brands in the navigation panel.
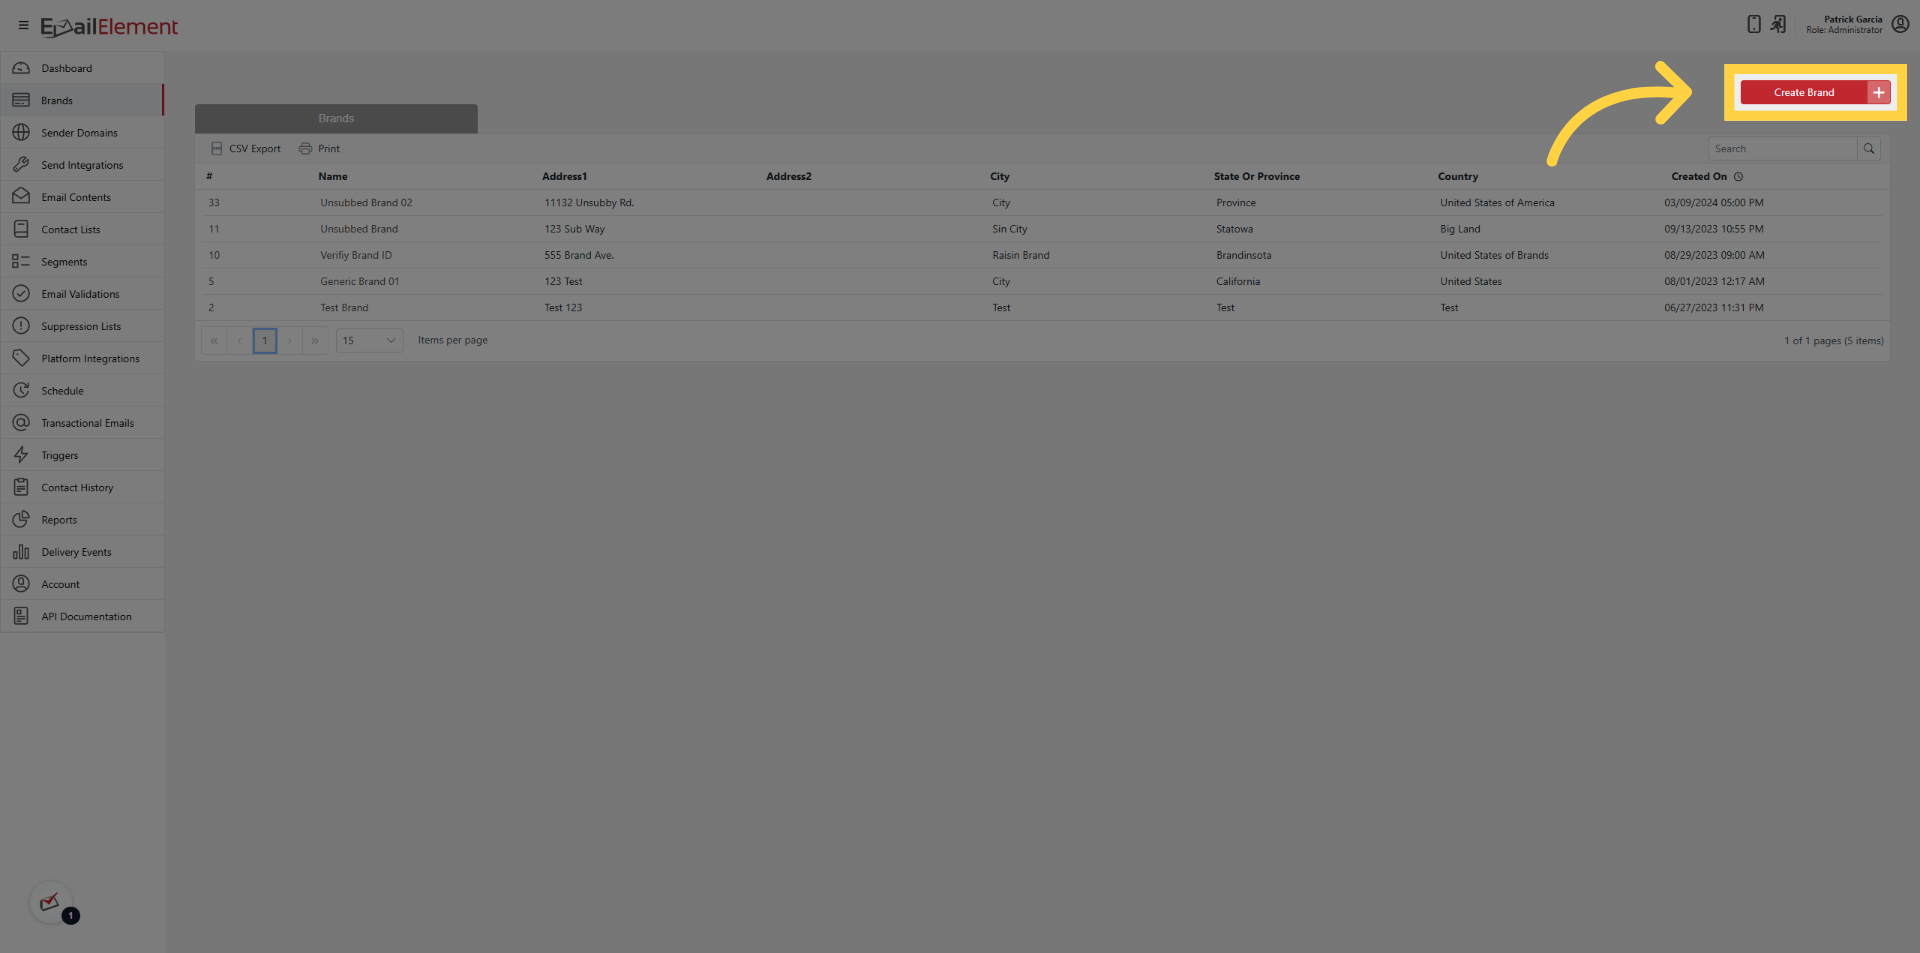
Click Create Brand.
Fill in the 6 required fields:
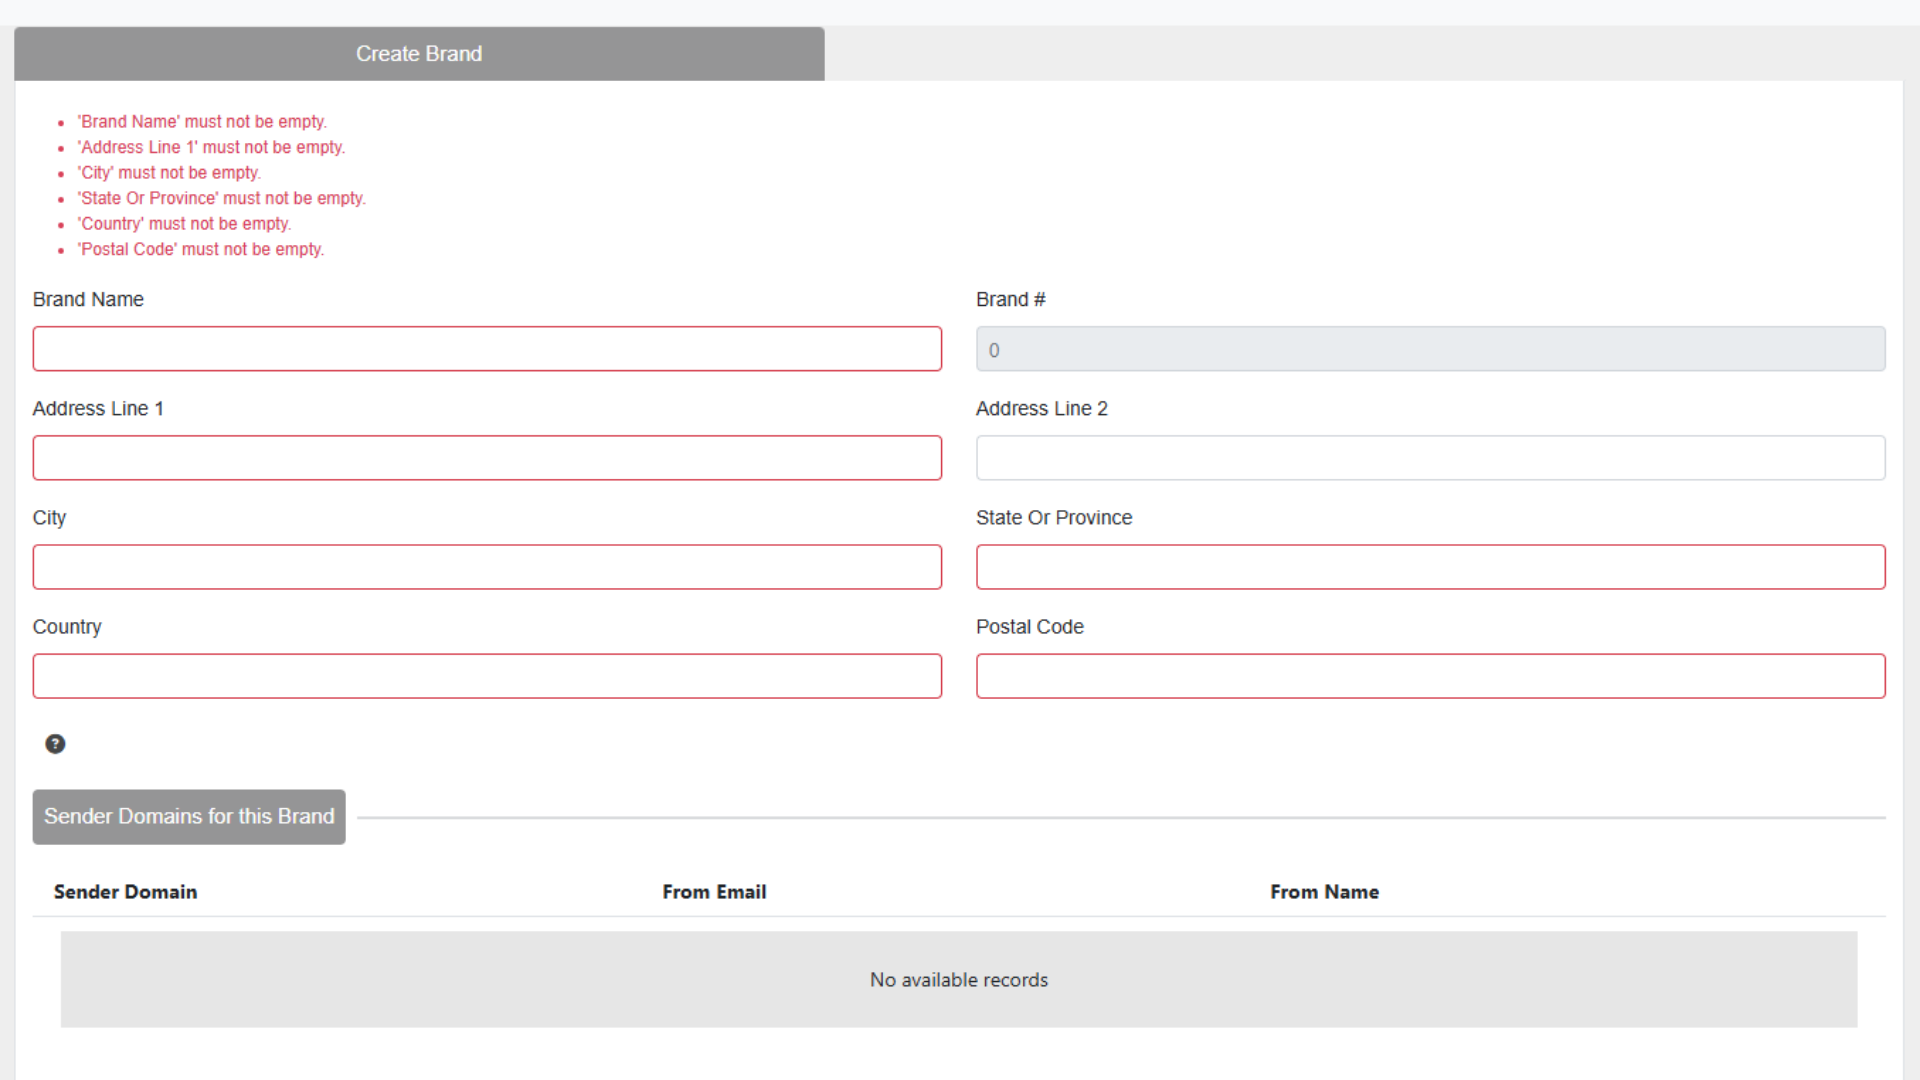
- Brand Name — identifies the brand within the platform
- Company Name — legal or display name shown in email footers
- Address — street address (required for CAN-SPAM compliance)
- City — city name
- State — state or region
- Zip — postal code
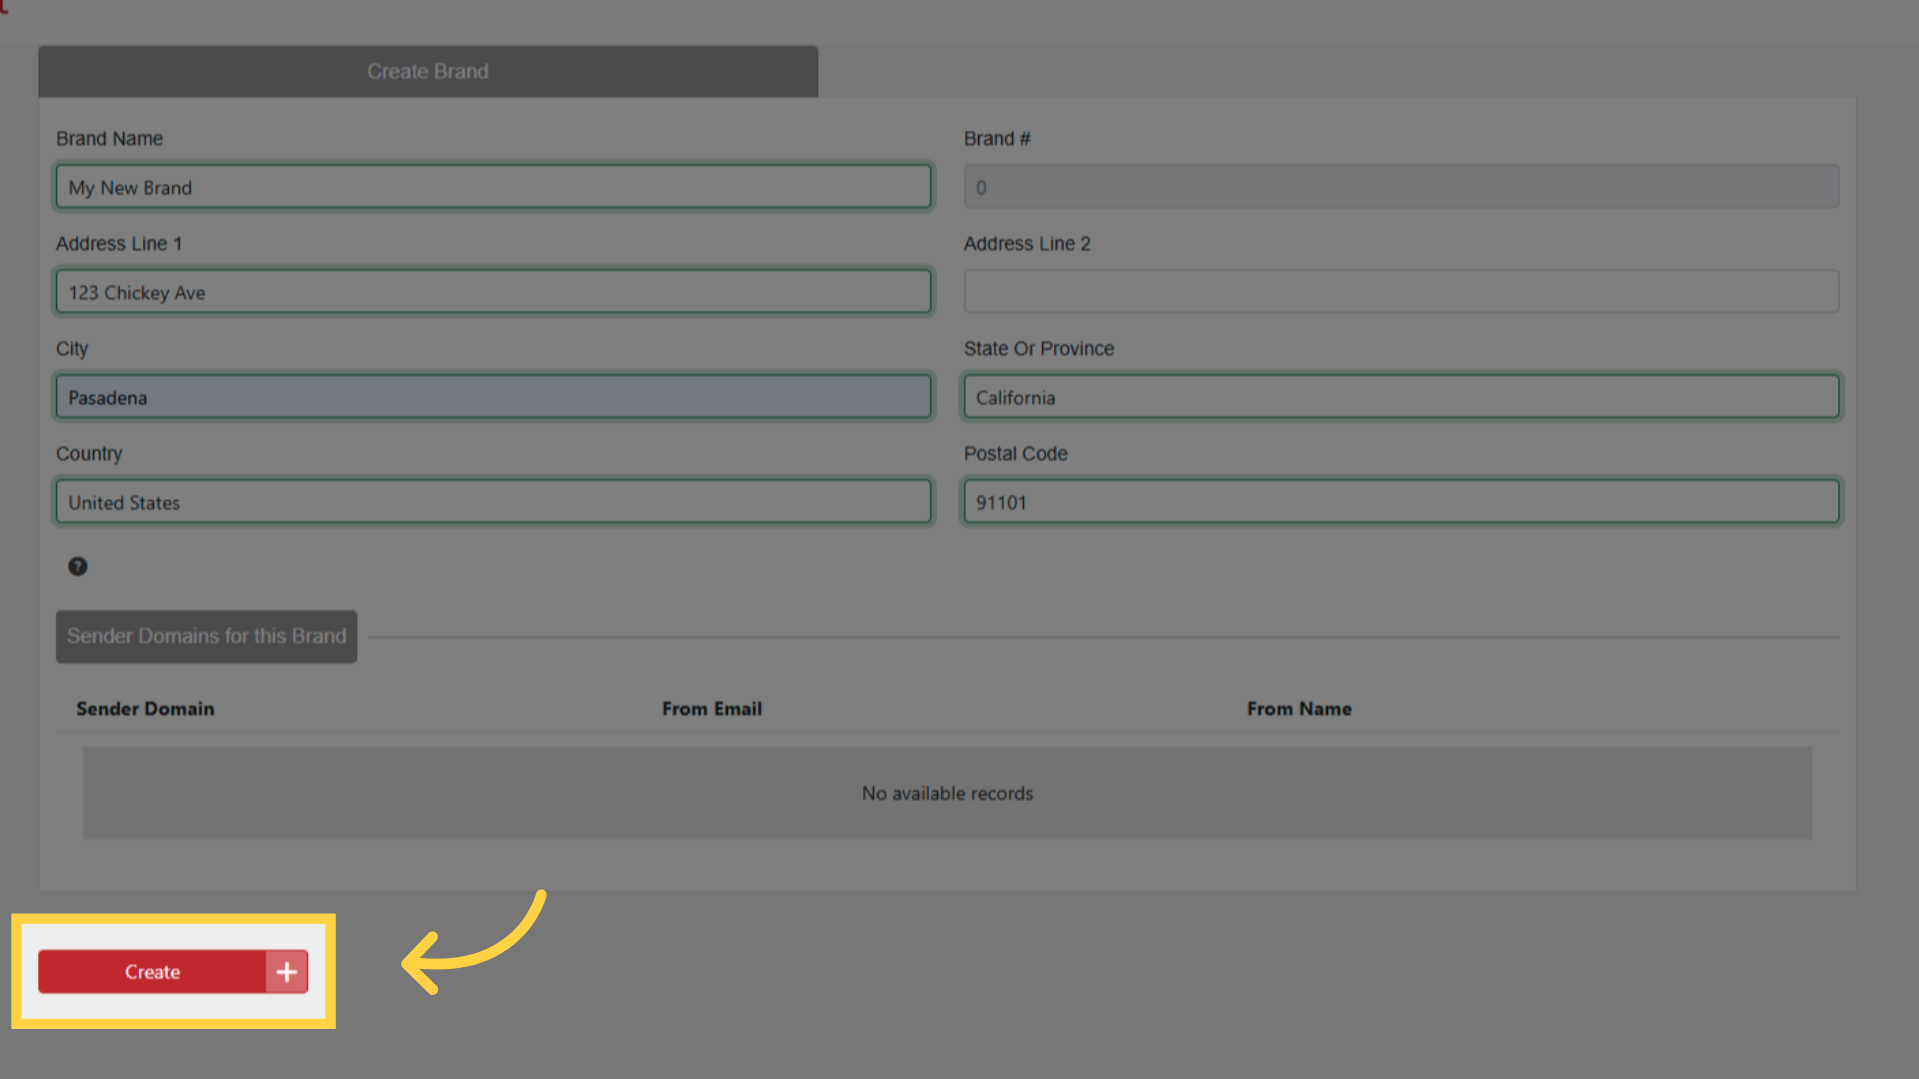
Click Create.
These fields are injected into the footer of every email sent from Sender Domains associated with this brand.
Brand Suppression List
Creating a Brand automatically creates a new Suppression List for it.
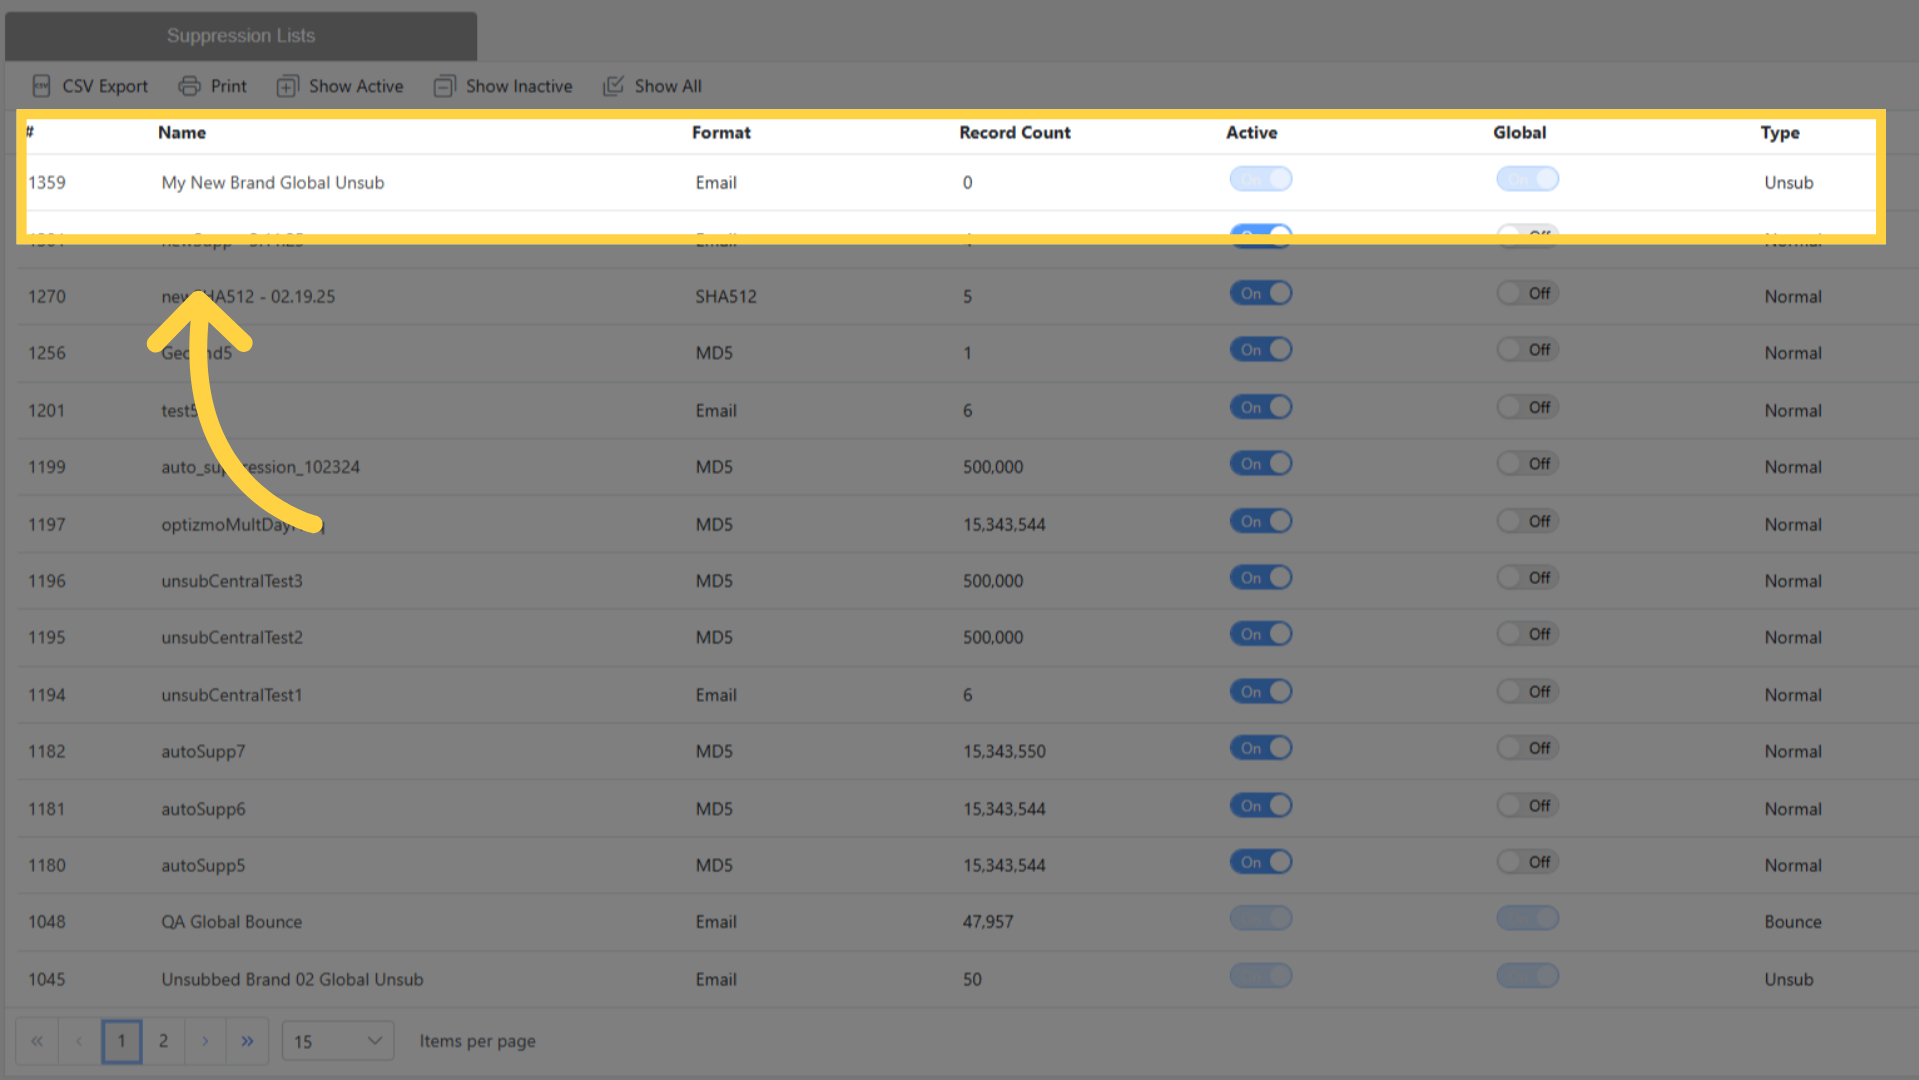
When recipients click the unsubscribe link in an email, they are added to this Brand's suppression list.
Suppressed recipients will no longer receive email sent from this Brand's associated Sender Domains.
The suppression list can be viewed and managed under Suppression Lists in the navigation.
Adding a Brand to a Sender Domain
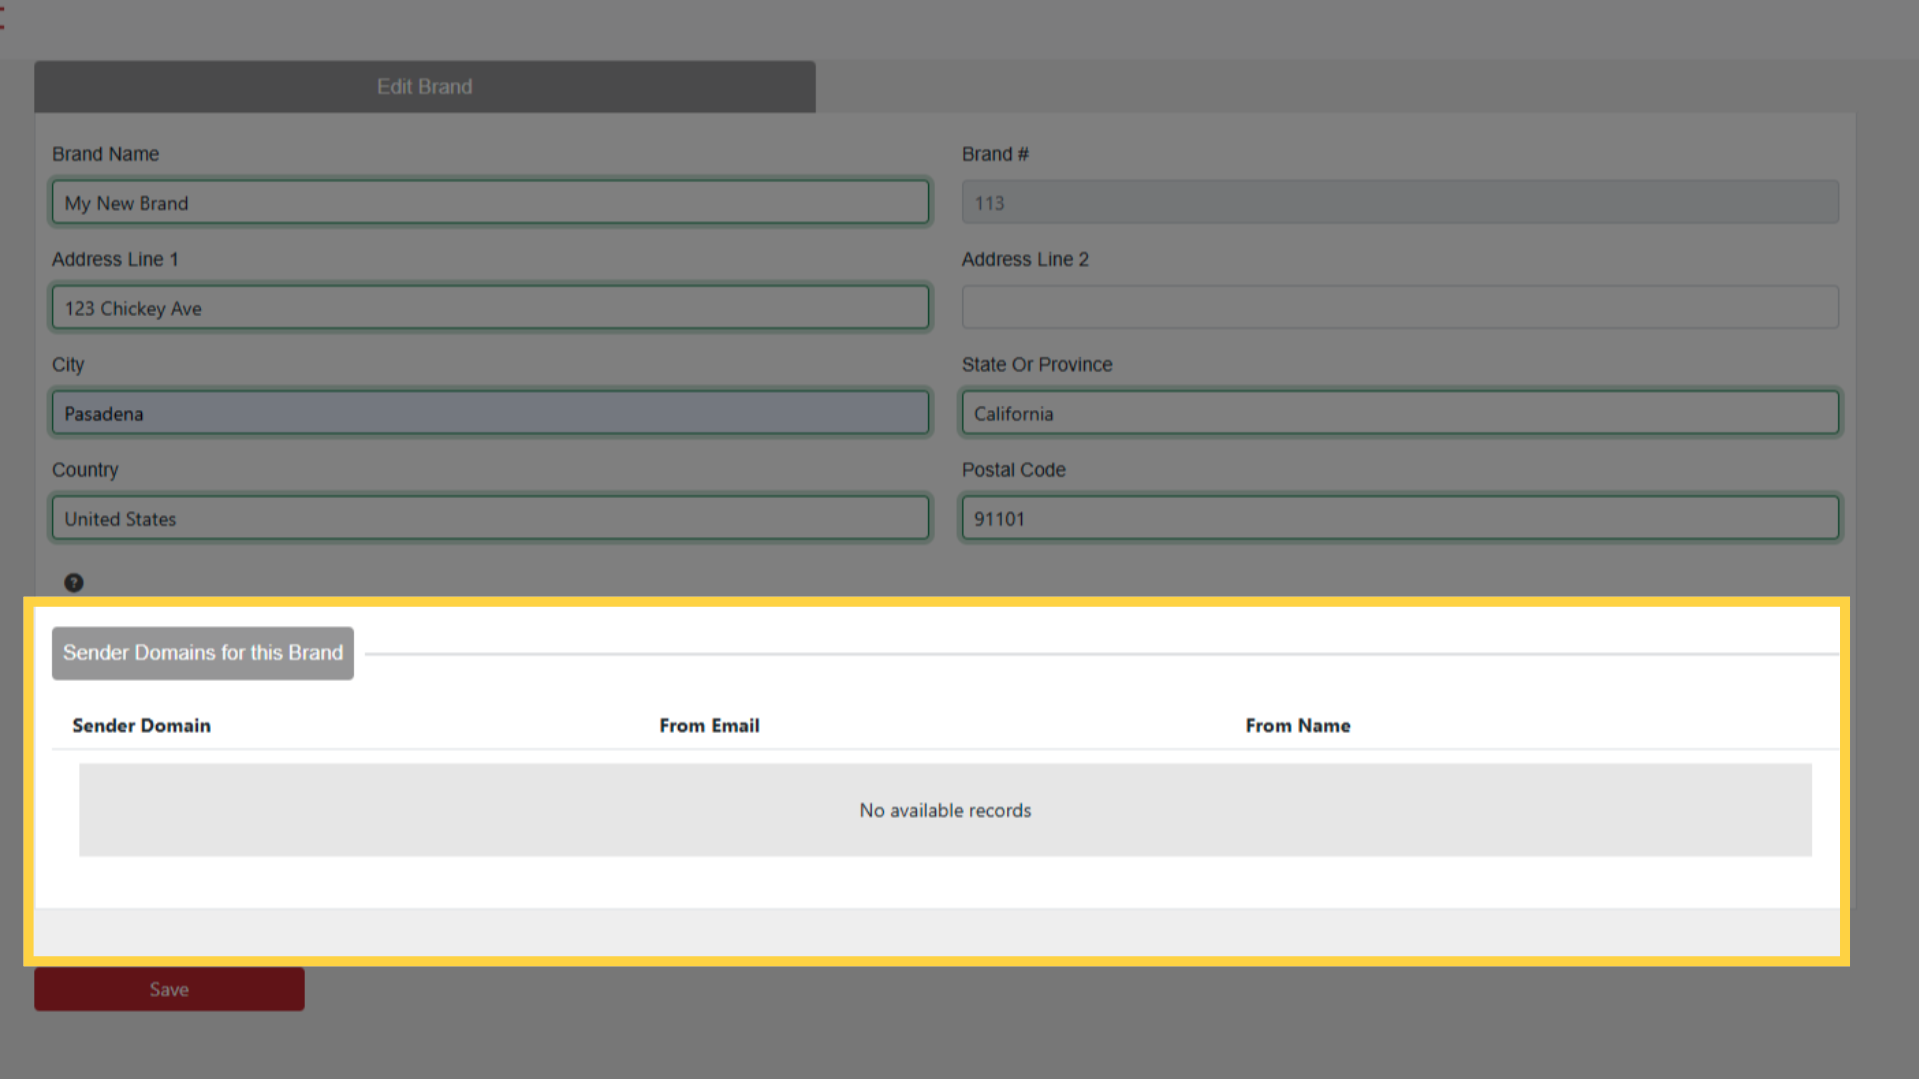
Go to Sender Domains in the navigation.
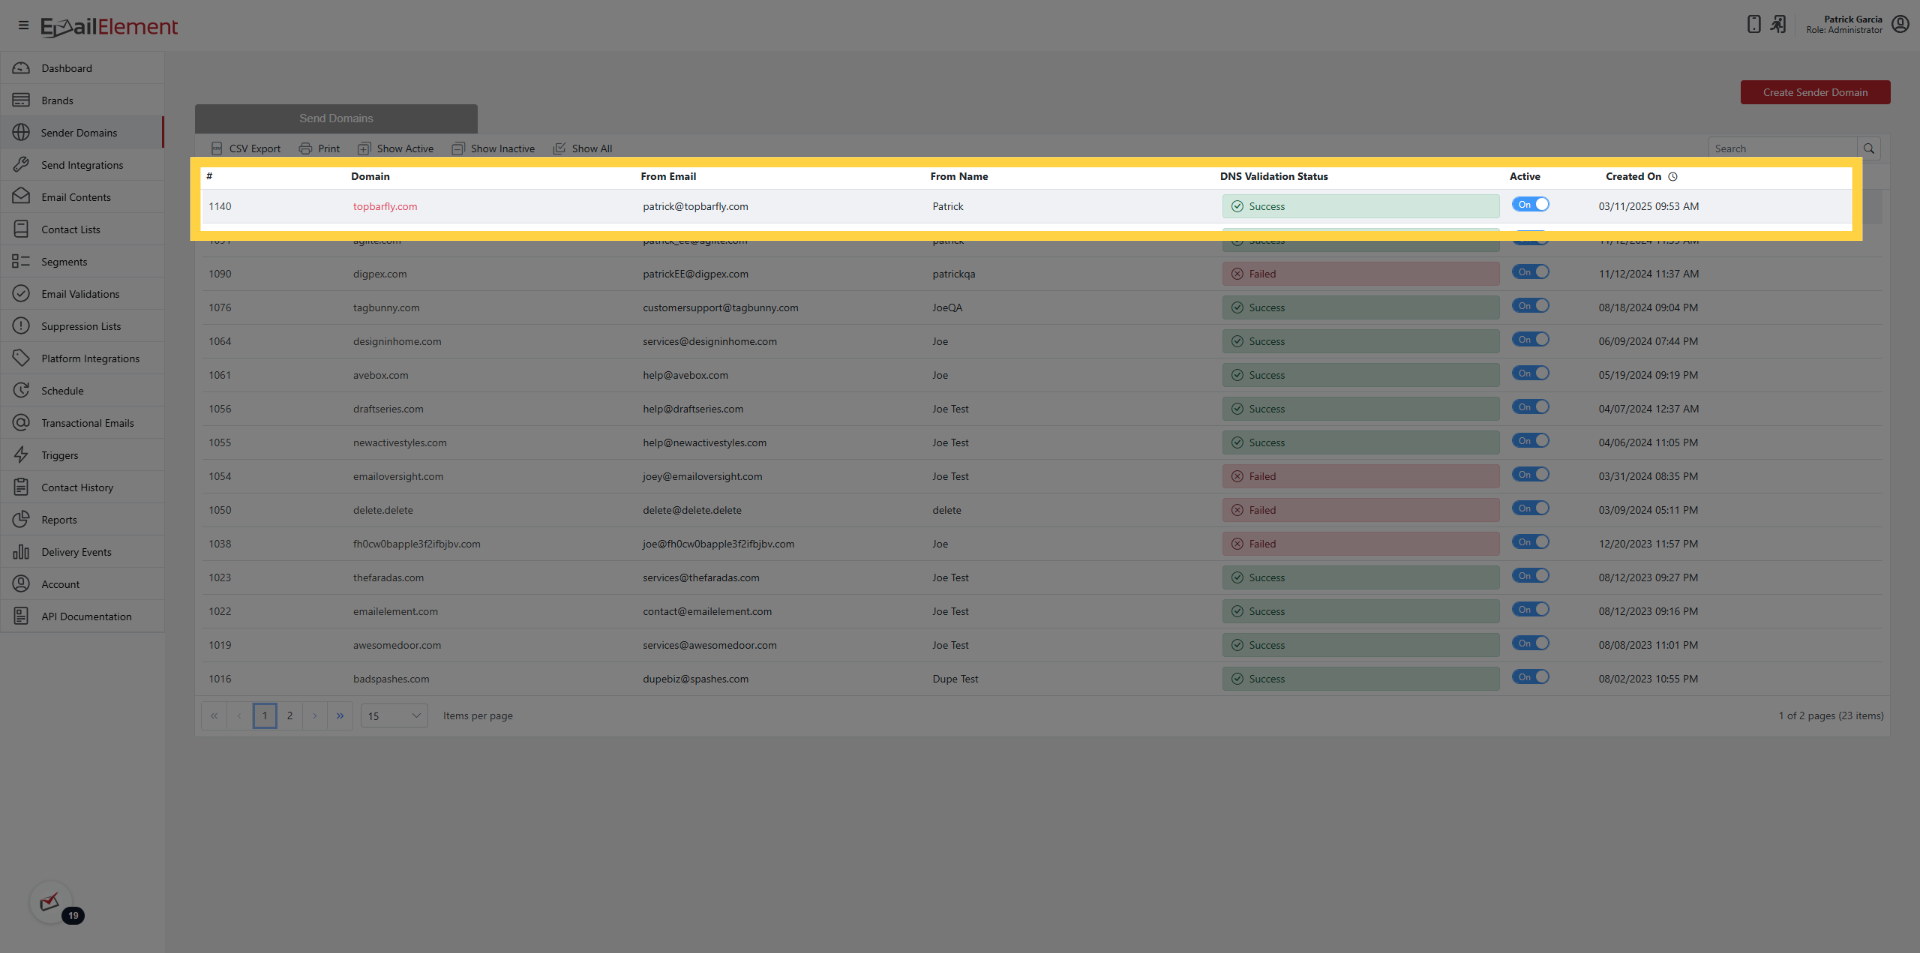
Select an existing domain or create a new one.
In the Brand dropdown, select the brand to associate.
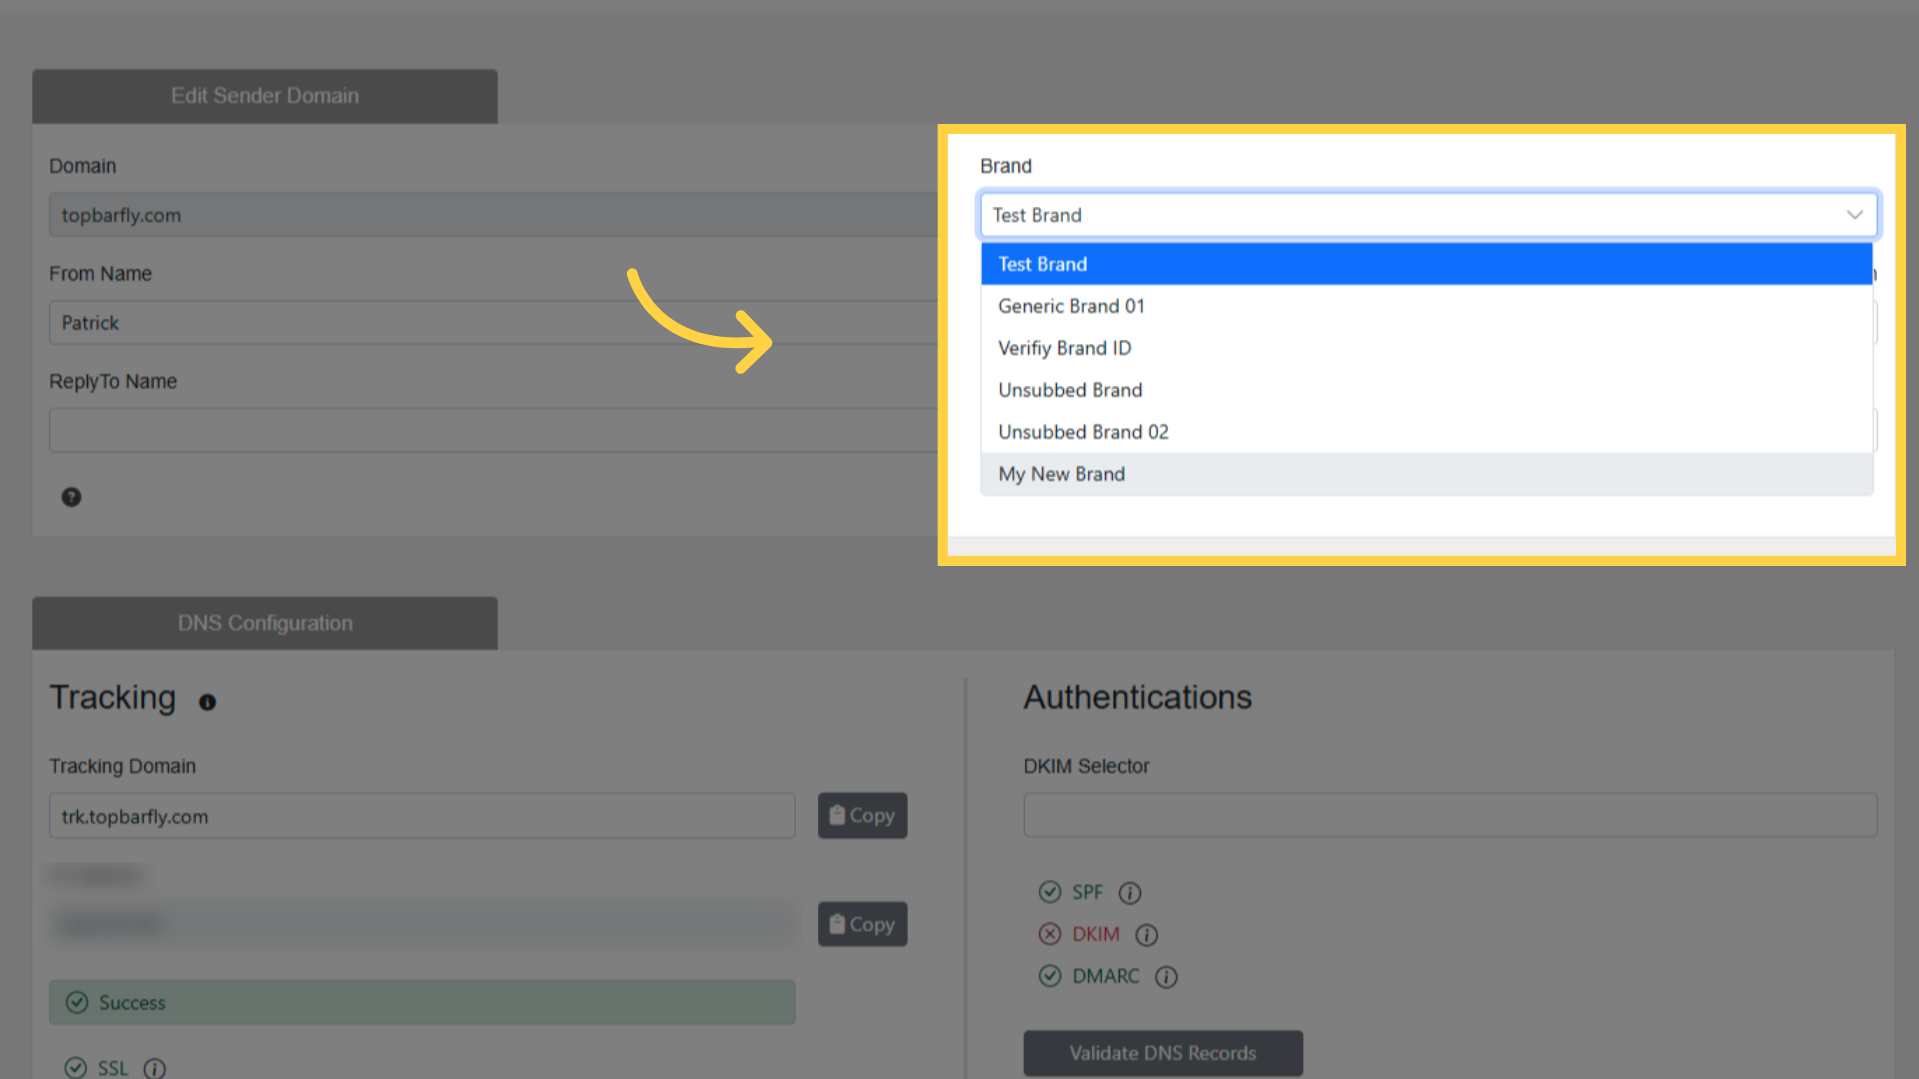
Click Save.
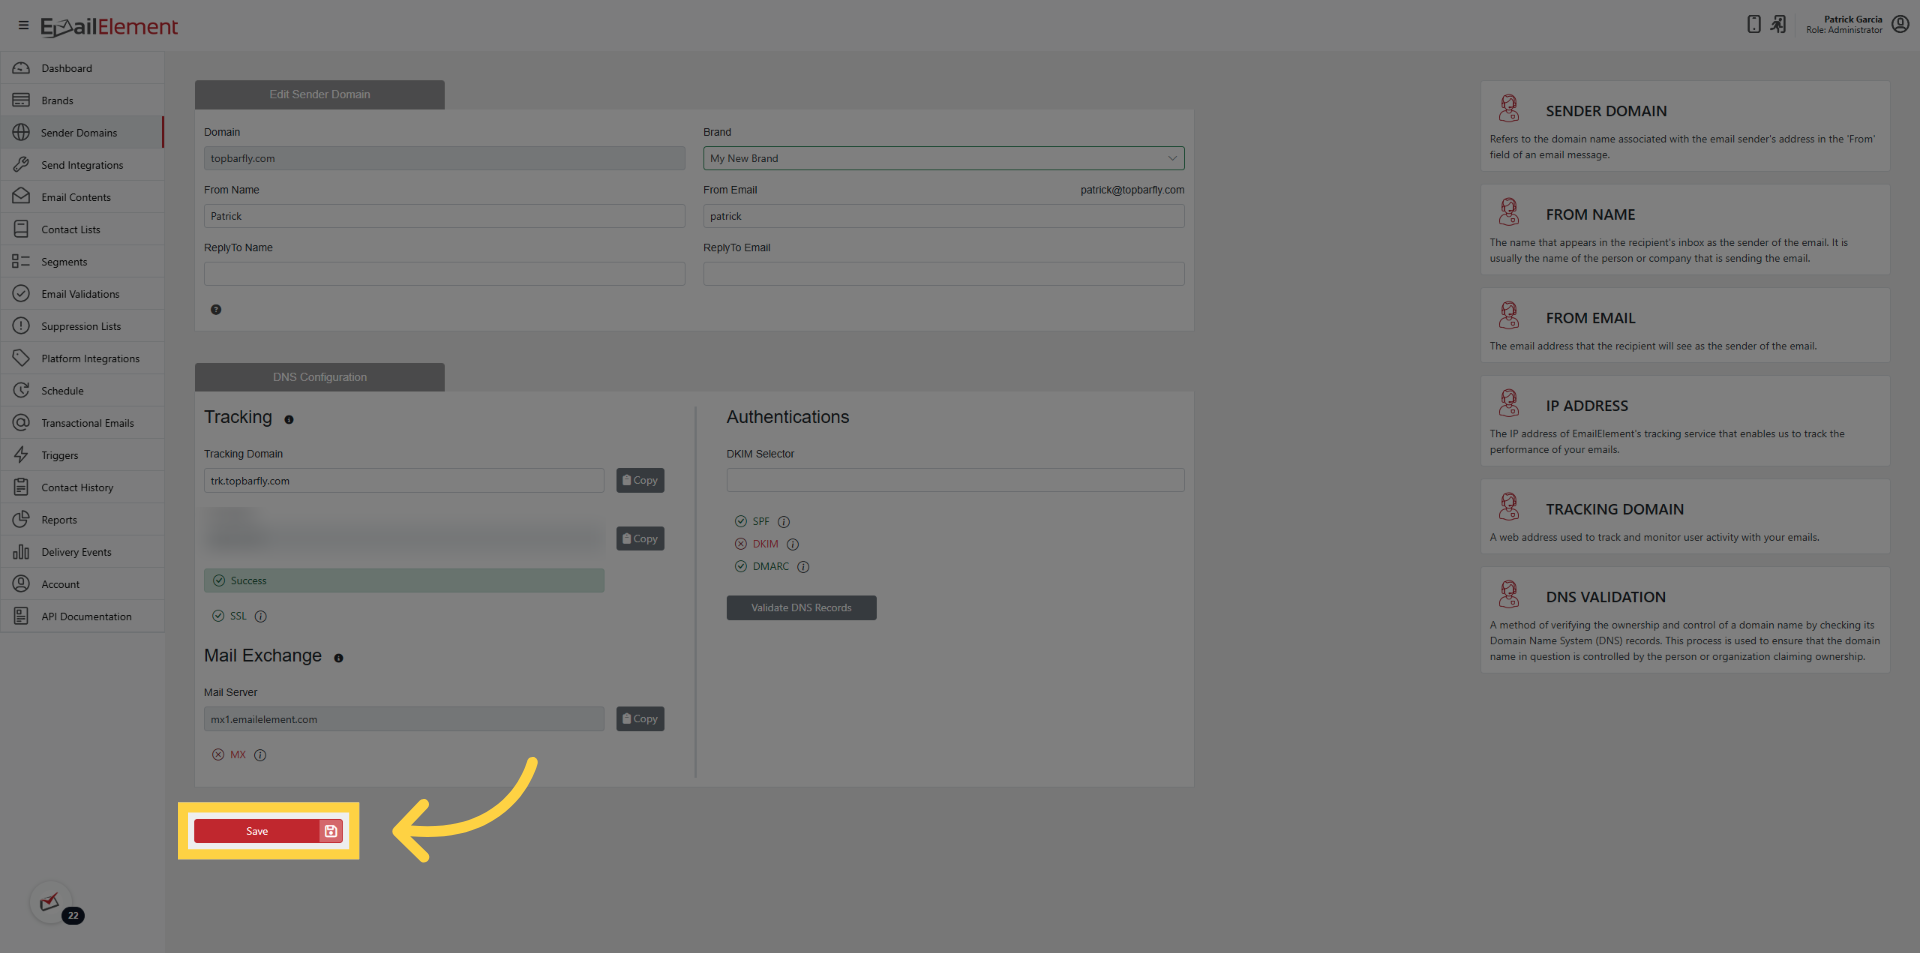
The Sender Domain now appears under the Brand's associated domains.
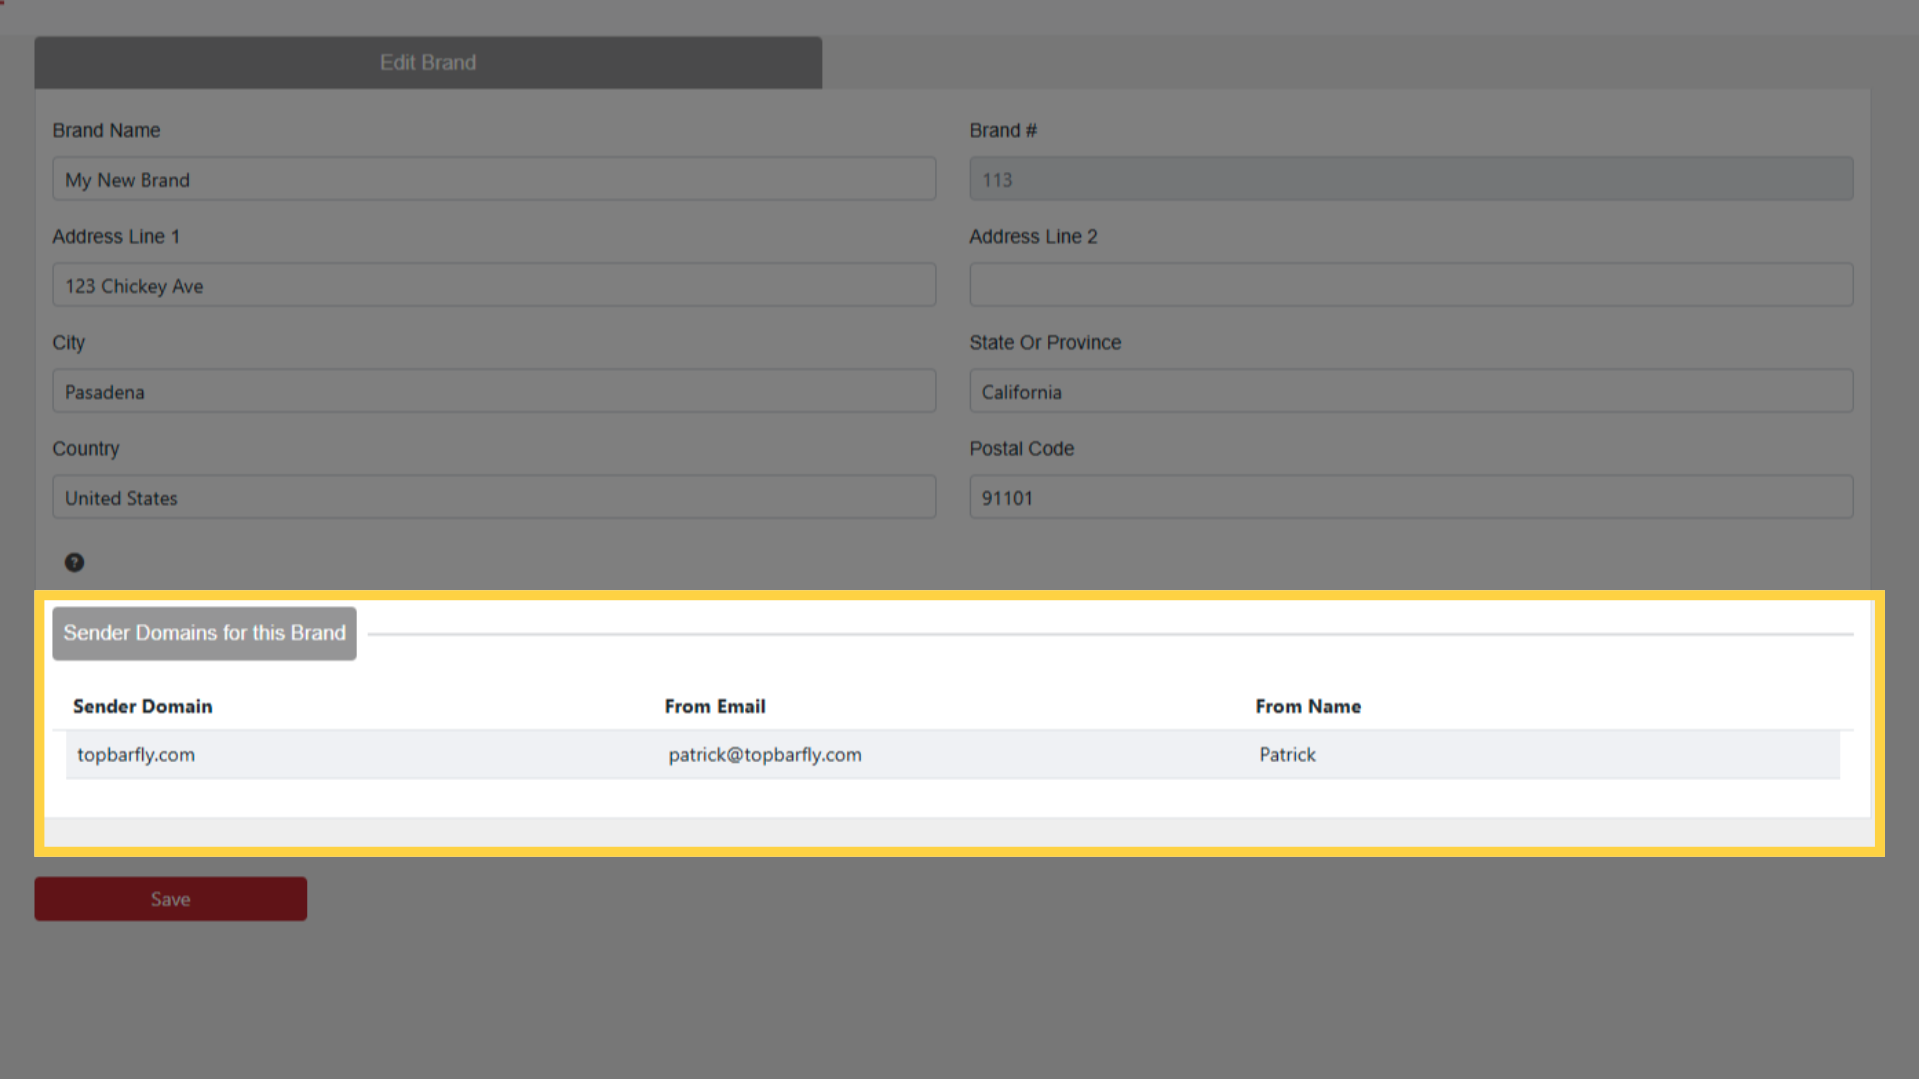
A single Brand can be associated with multiple Sender Domains.
Email with Branding
Emails sent from associated Sender Domains display the Brand information in the footer.
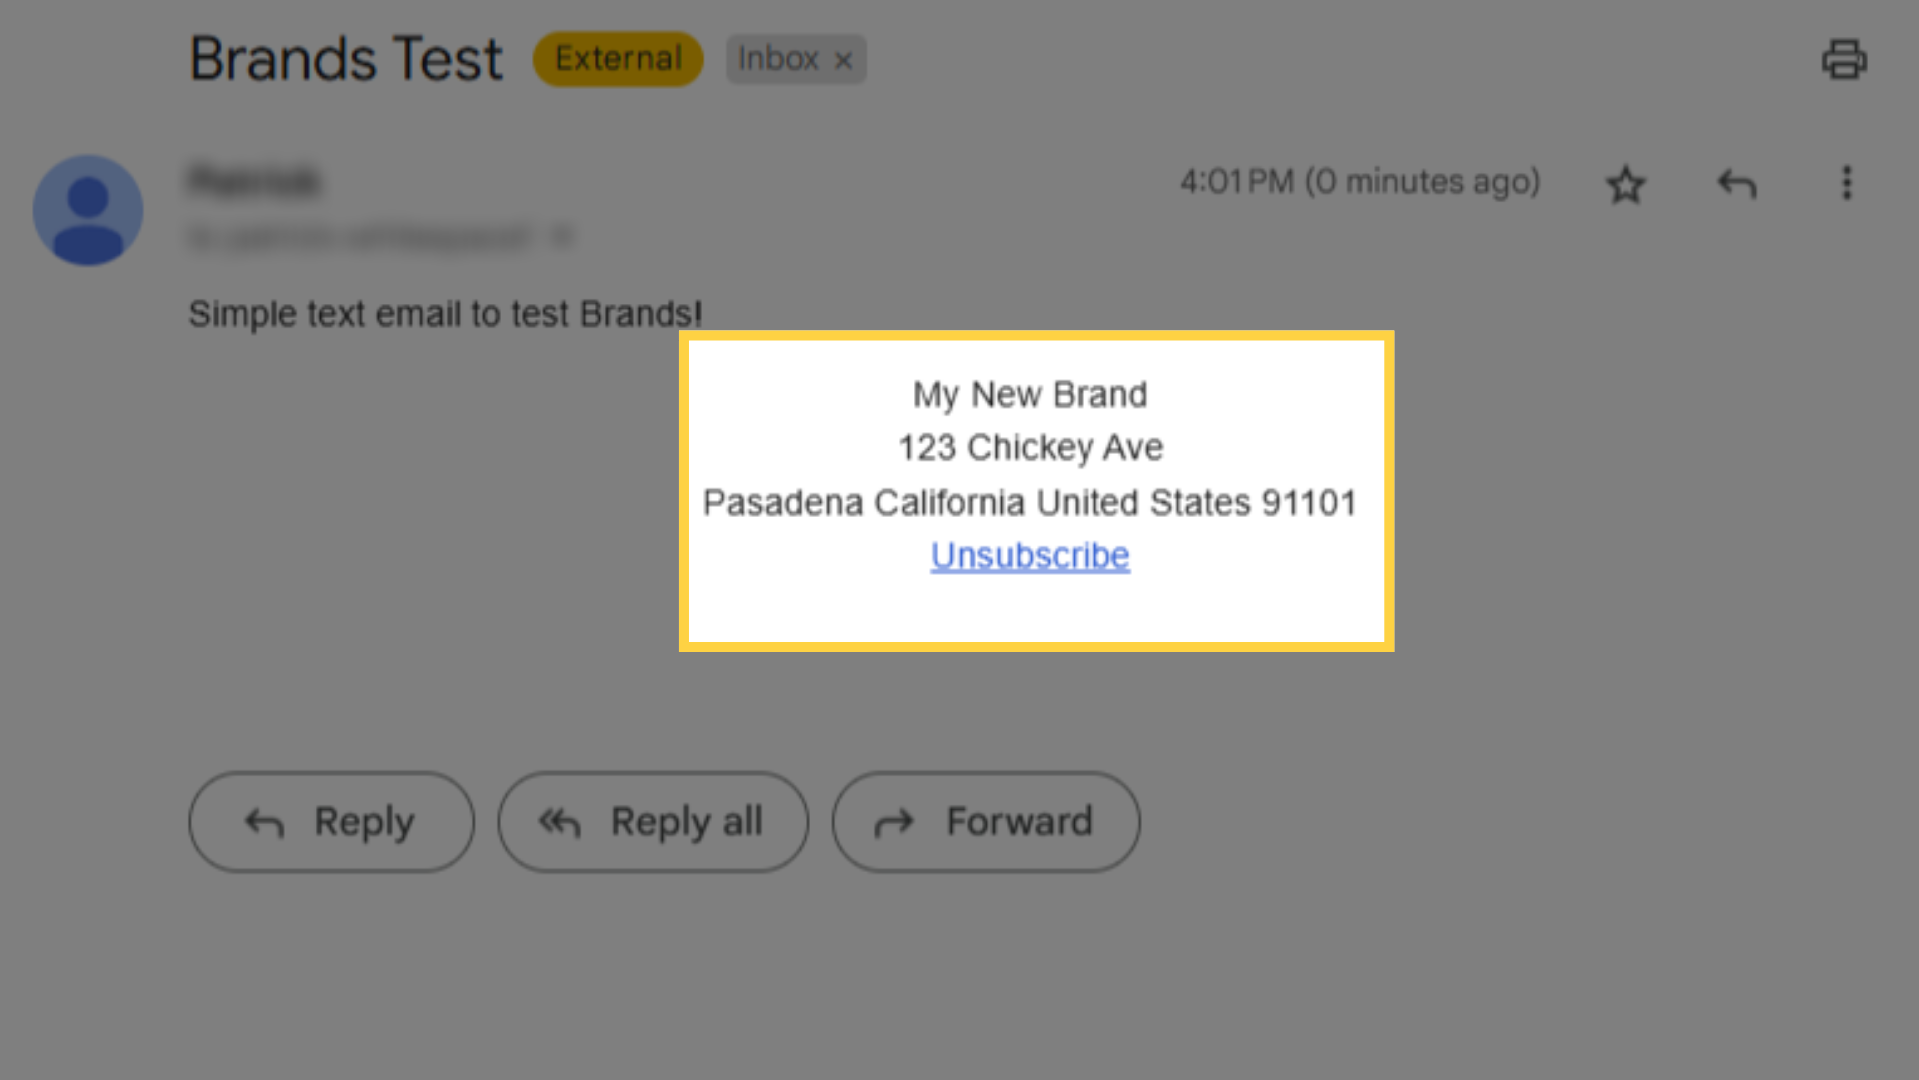
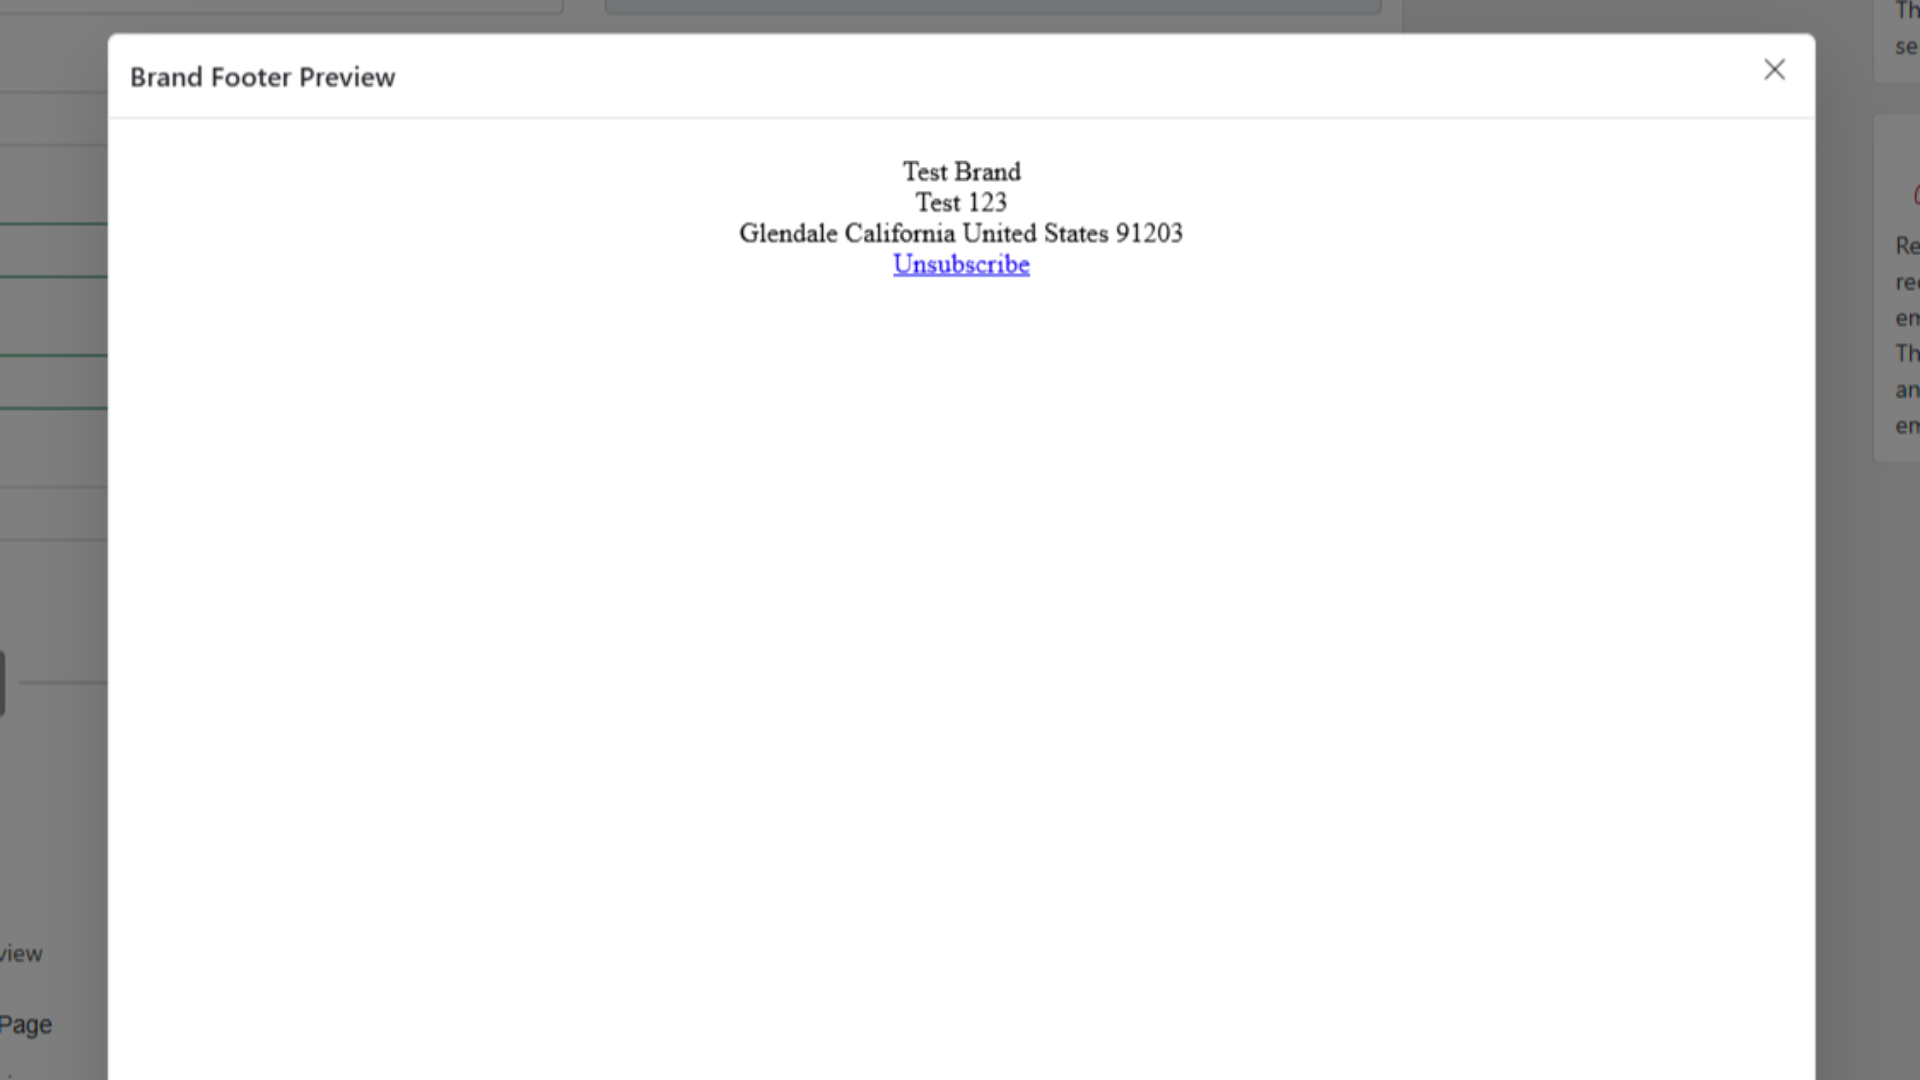
The footer includes: Company Name, Address, City, State, Zip, and an Unsubscribe button.
If a recipient clicks Unsubscribe, they are added to the Brand's suppression list.
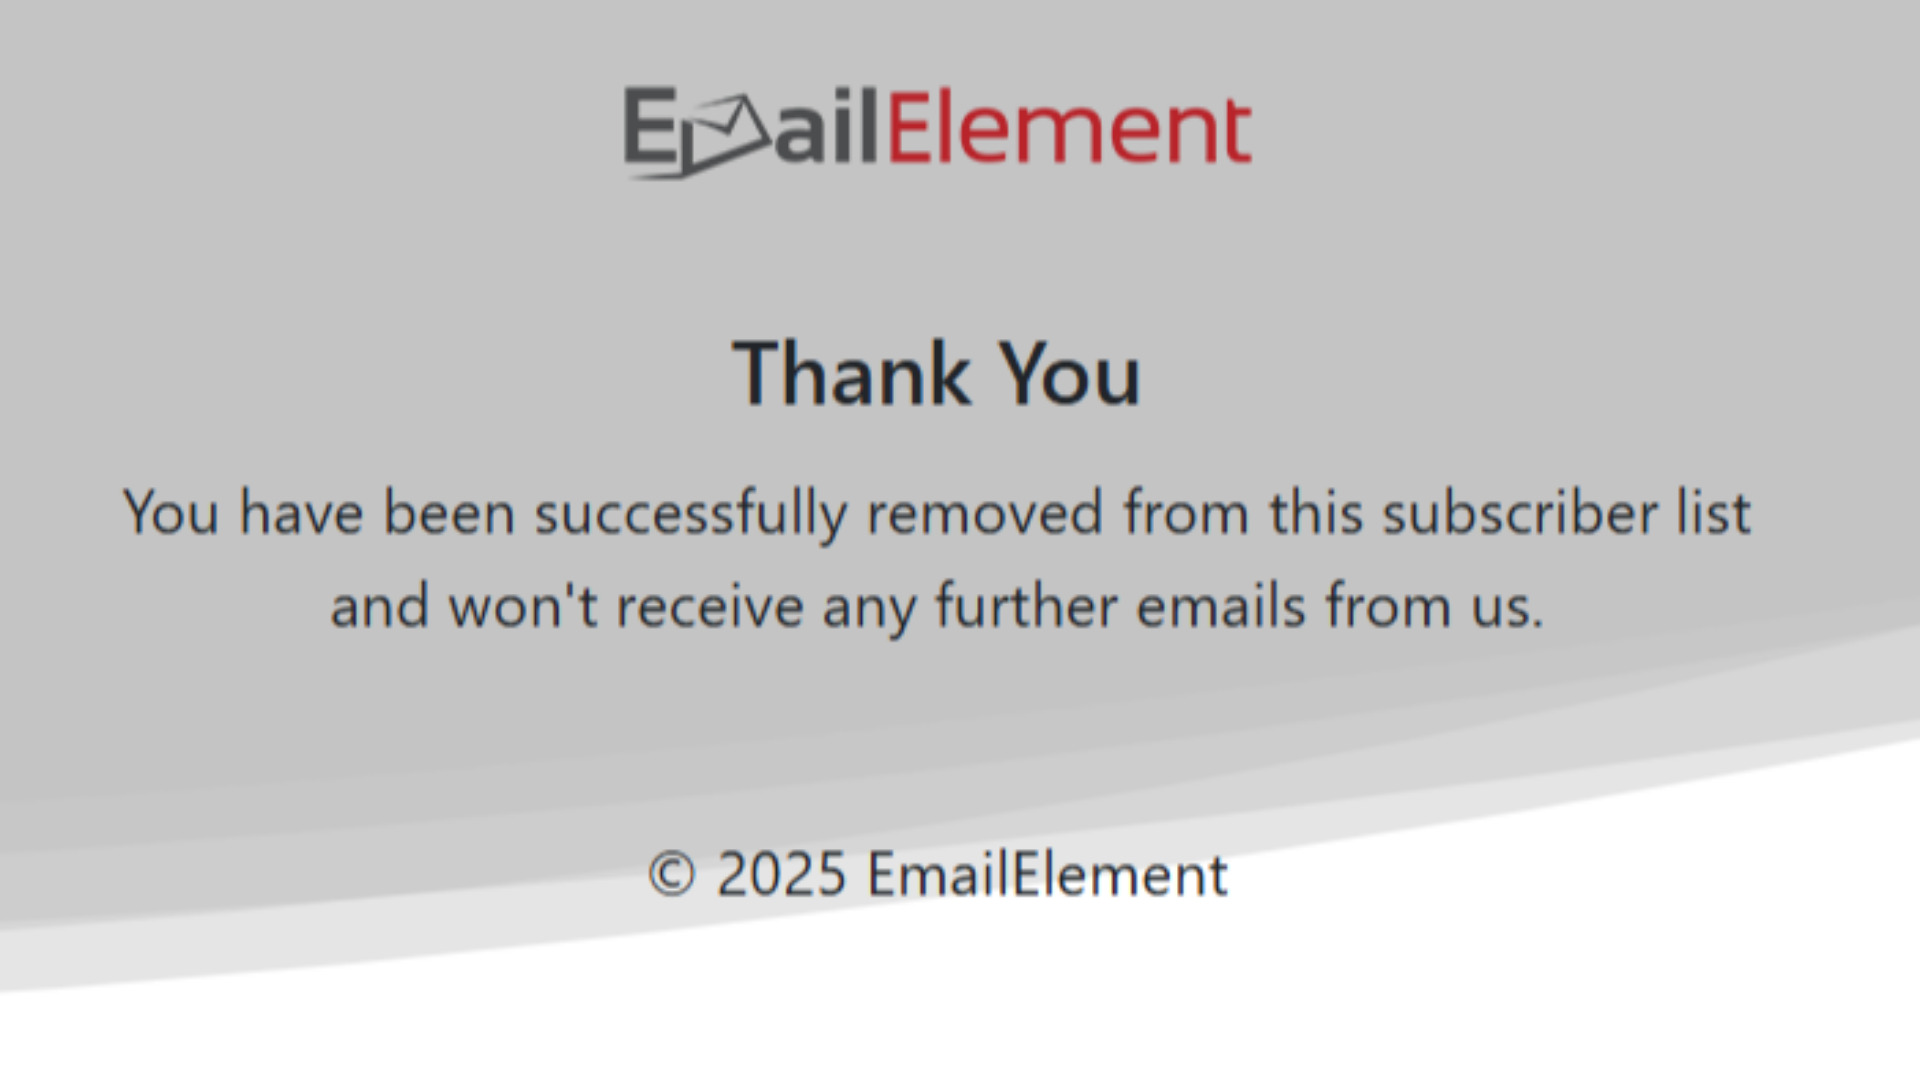
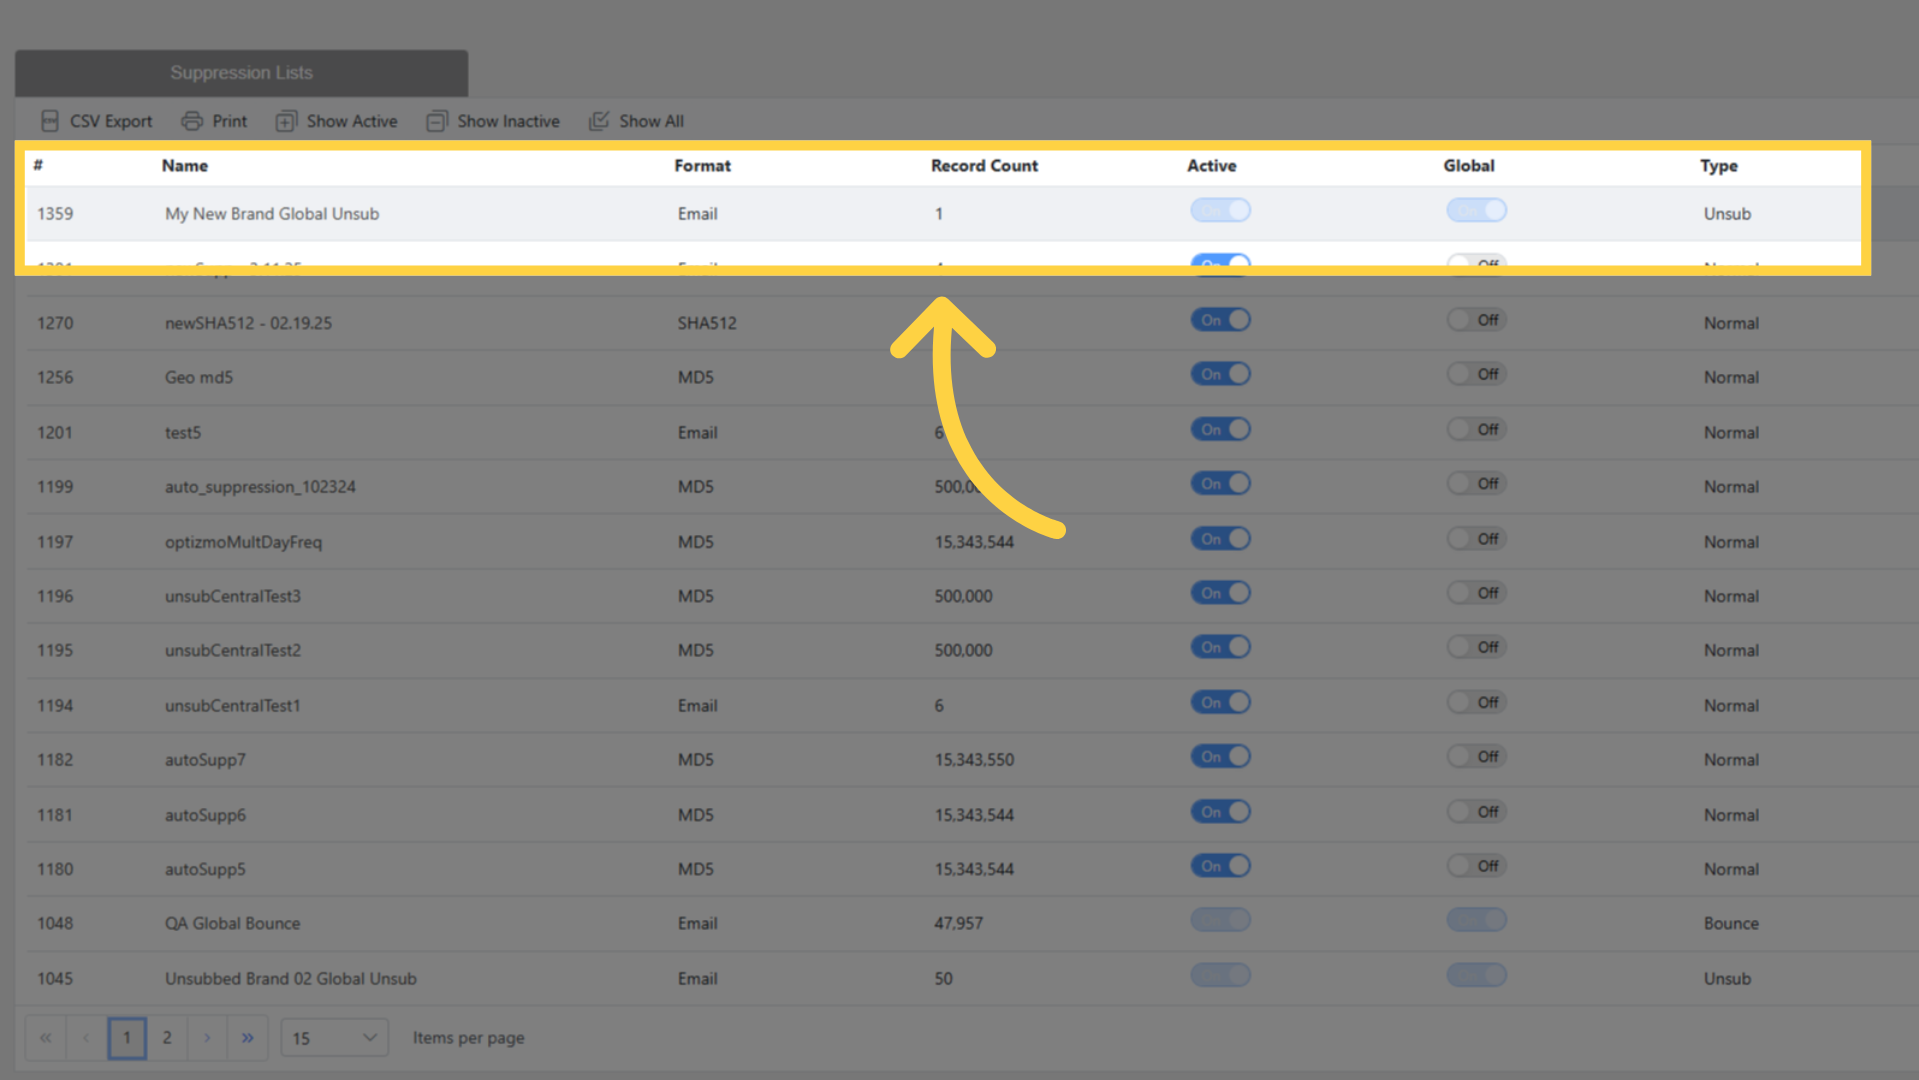
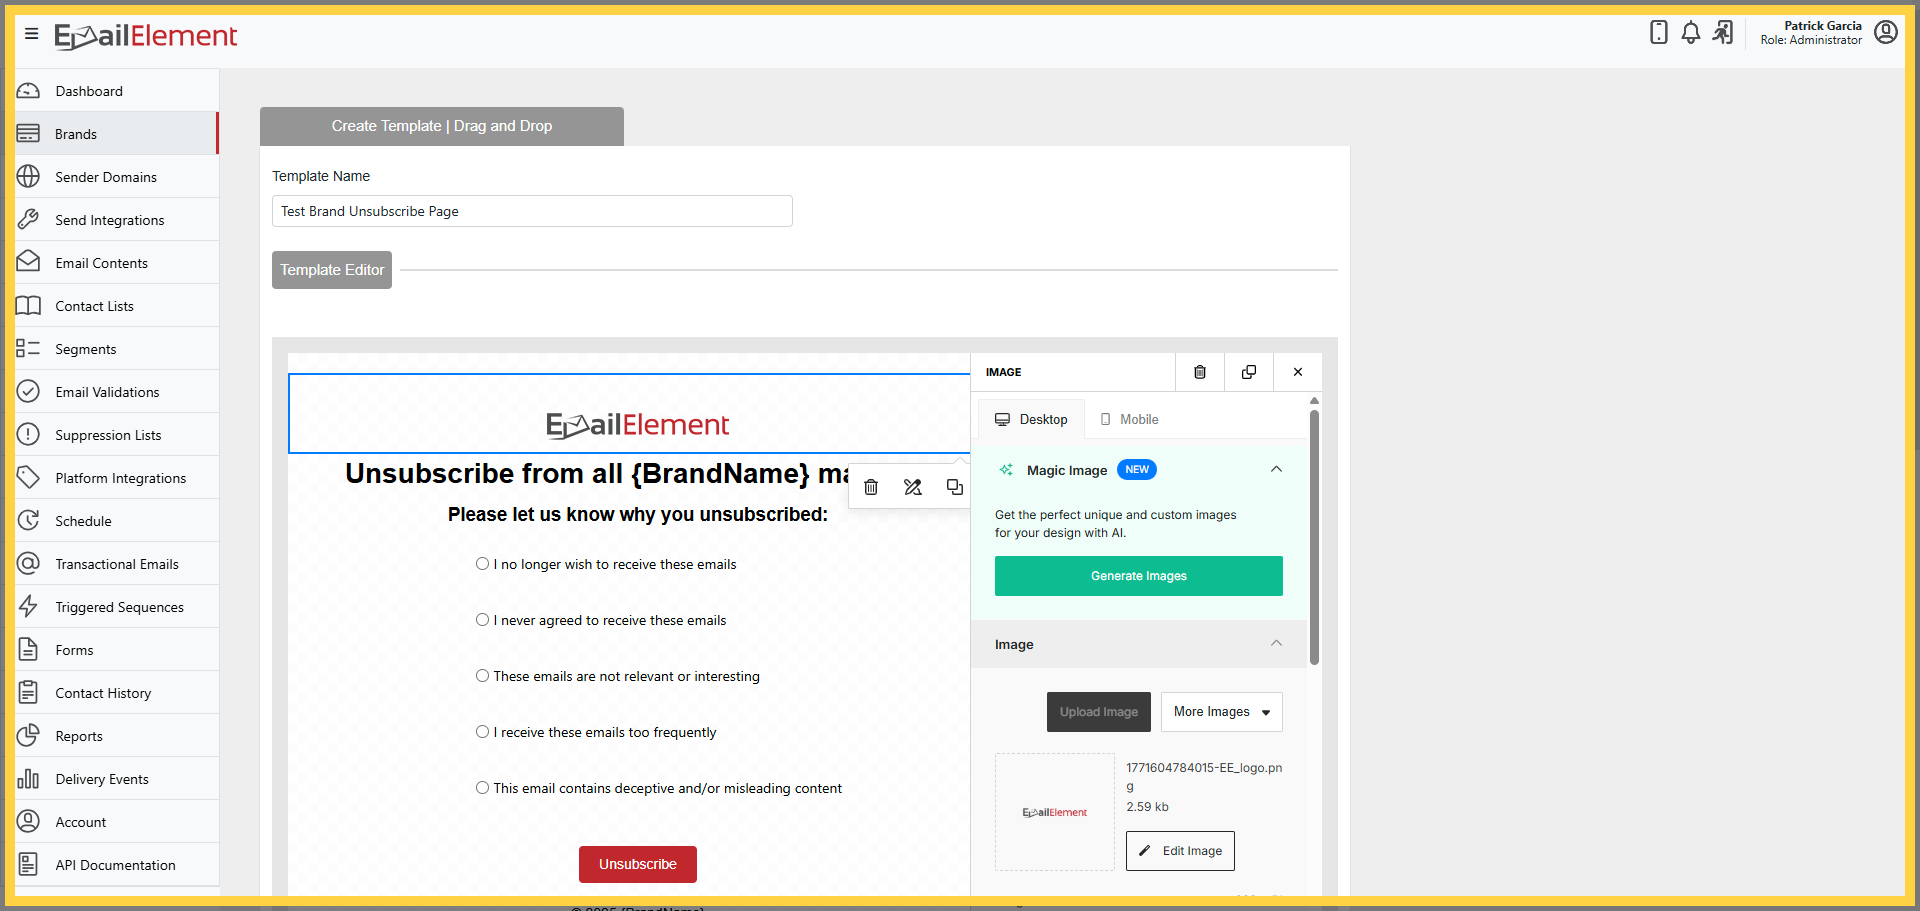
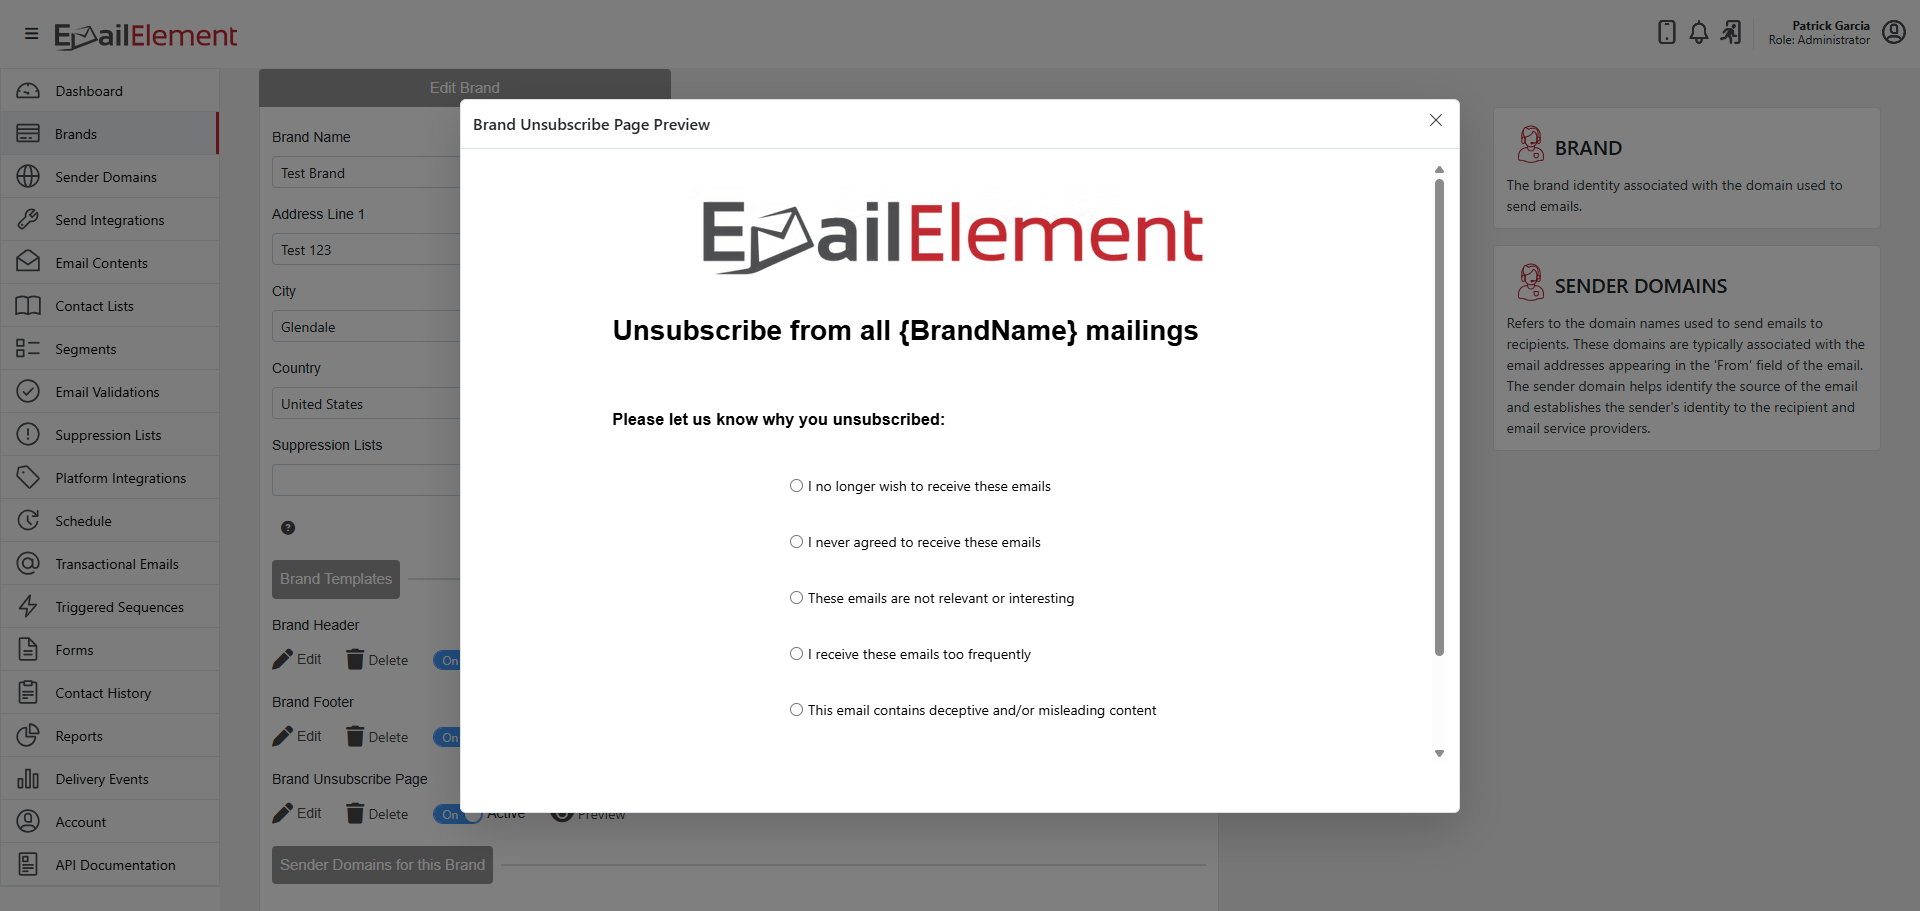
The unsubscribe page shown to the recipient is the Brand's Unsubscribe Page template (or the default if none is configured).
Brand Templates
Three template types can be customized per Brand:
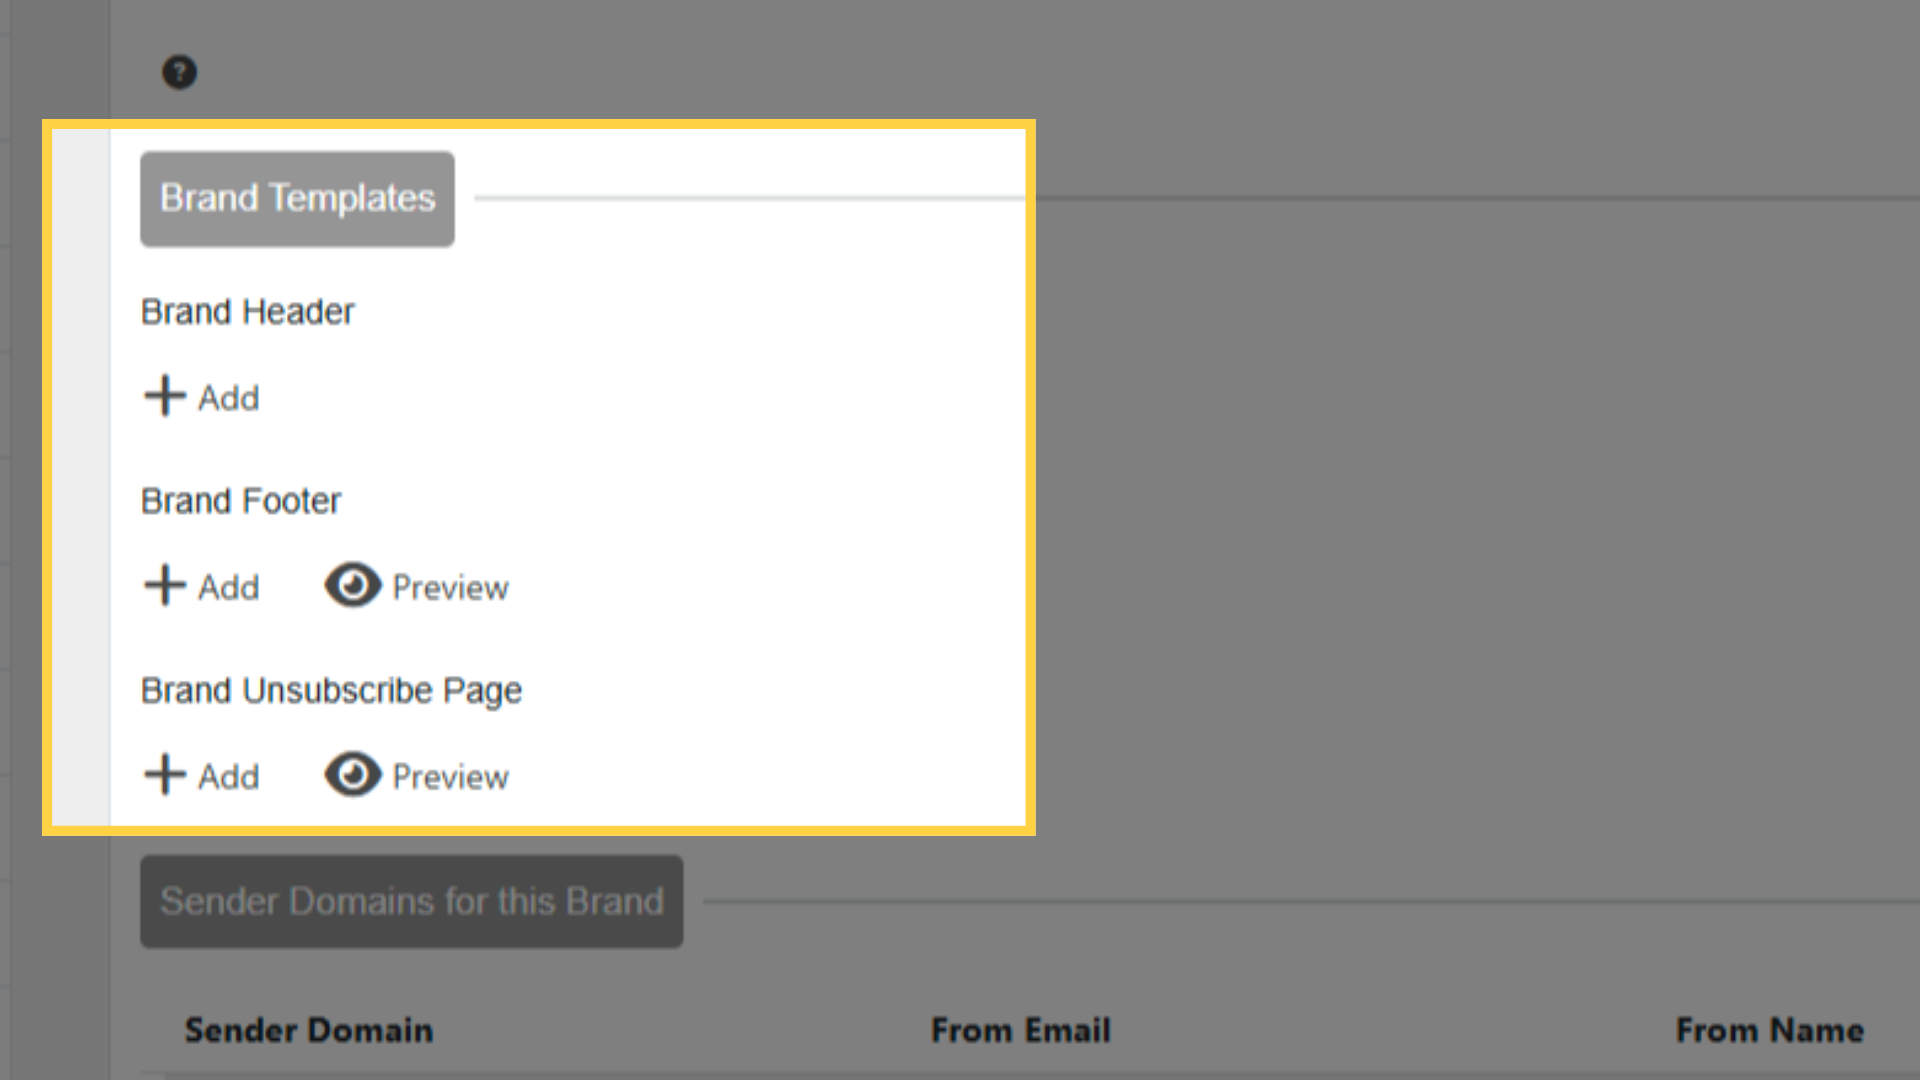
| Template | Purpose | Required | Has Default |
|---|---|---|---|
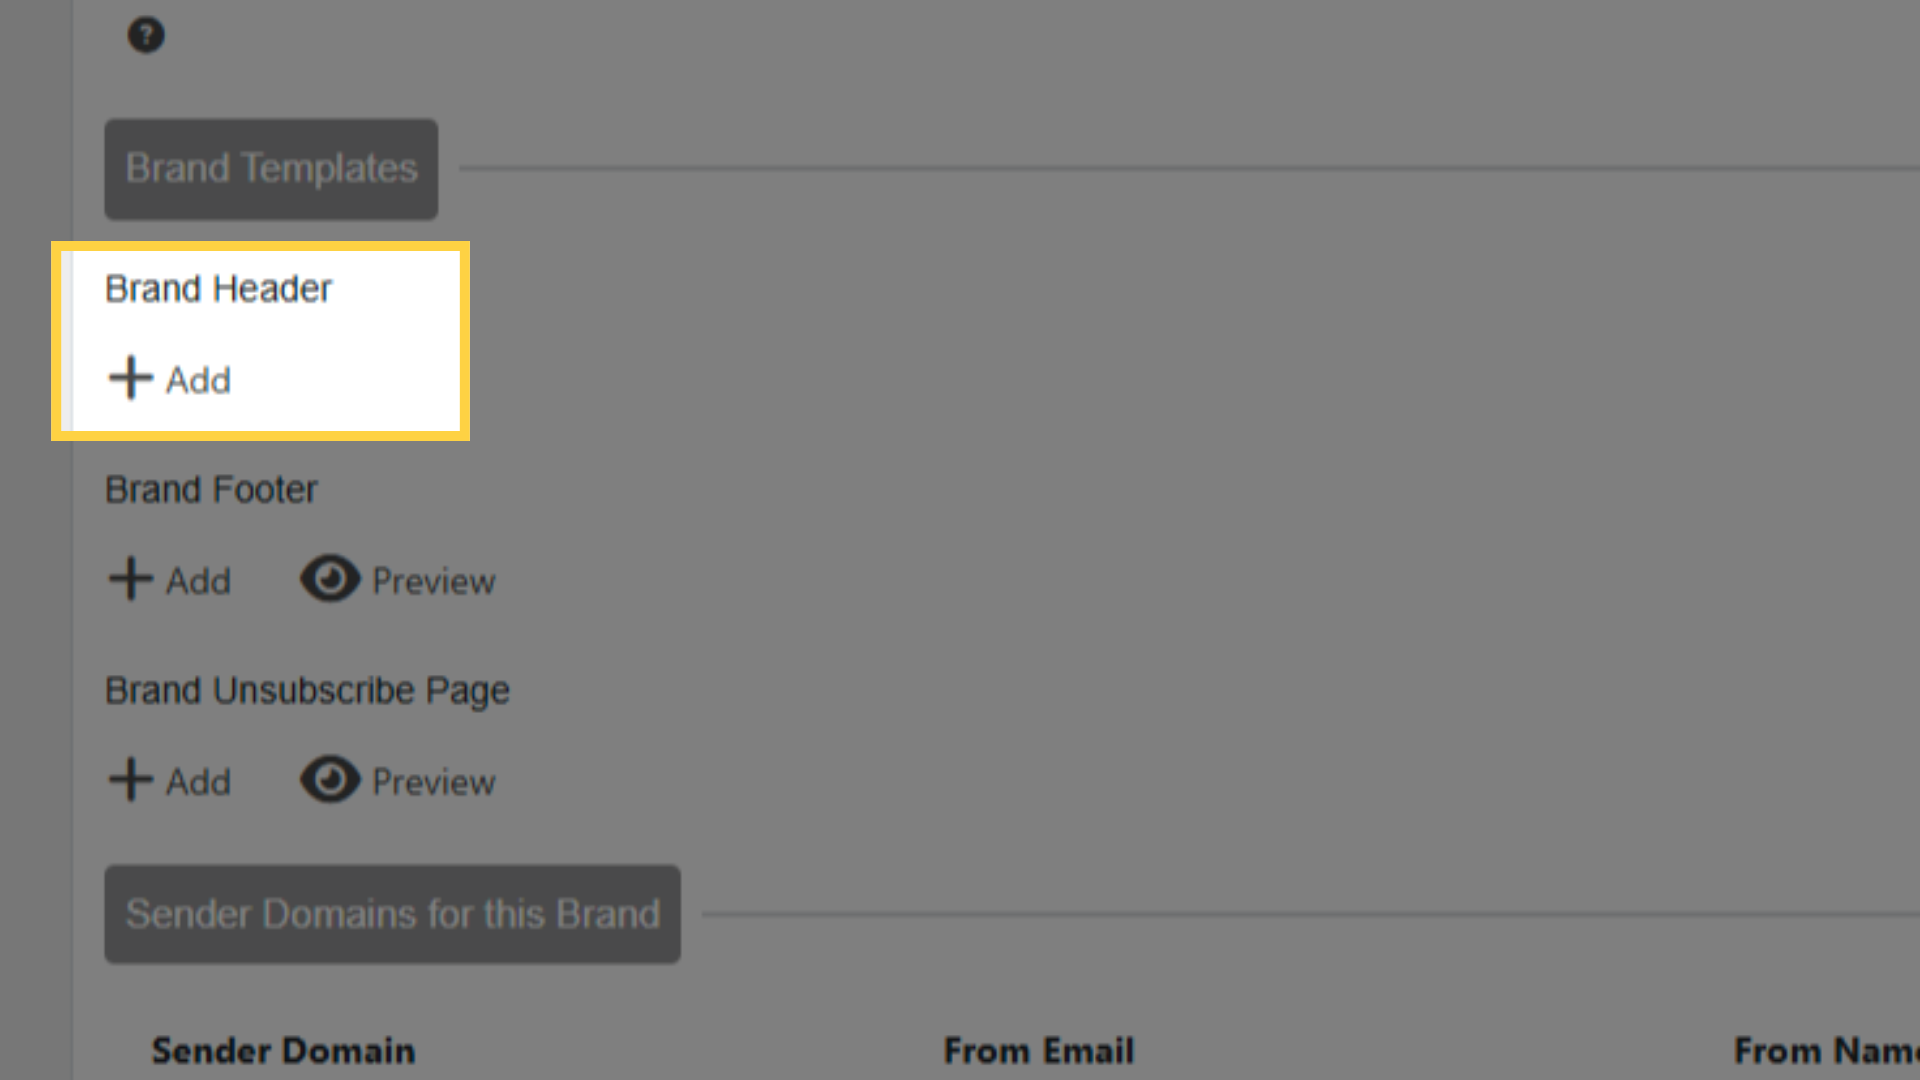
| Brand Header | Appears above email content | No | No |
| Brand Footer | Appears below email content with brand info and unsubscribe | Yes | Yes |
| Unsubscribe Page | Shown when recipient clicks unsubscribe | Yes | Yes |
Creating a Template
Navigate to the Brand's settings.
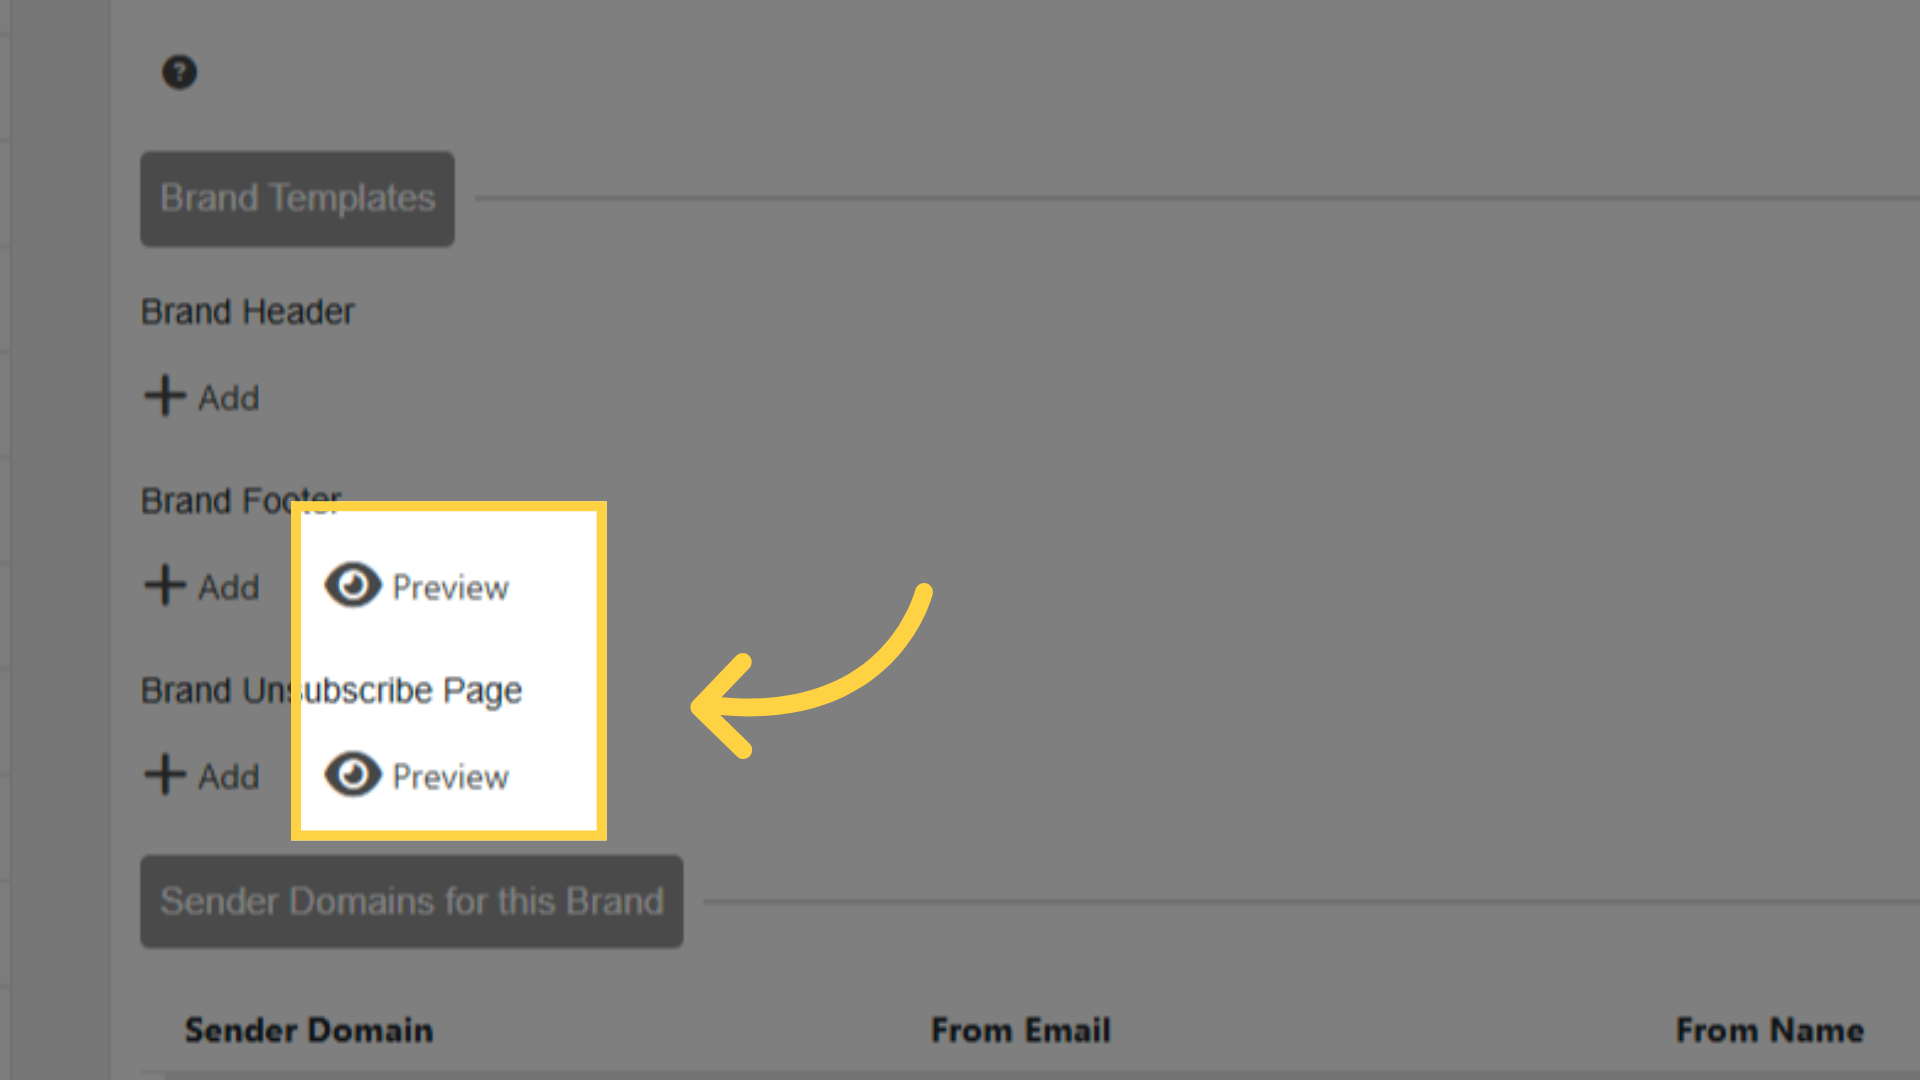
Click Add next to the template type (Header, Footer, or Unsubscribe Page).
Choose the template type:
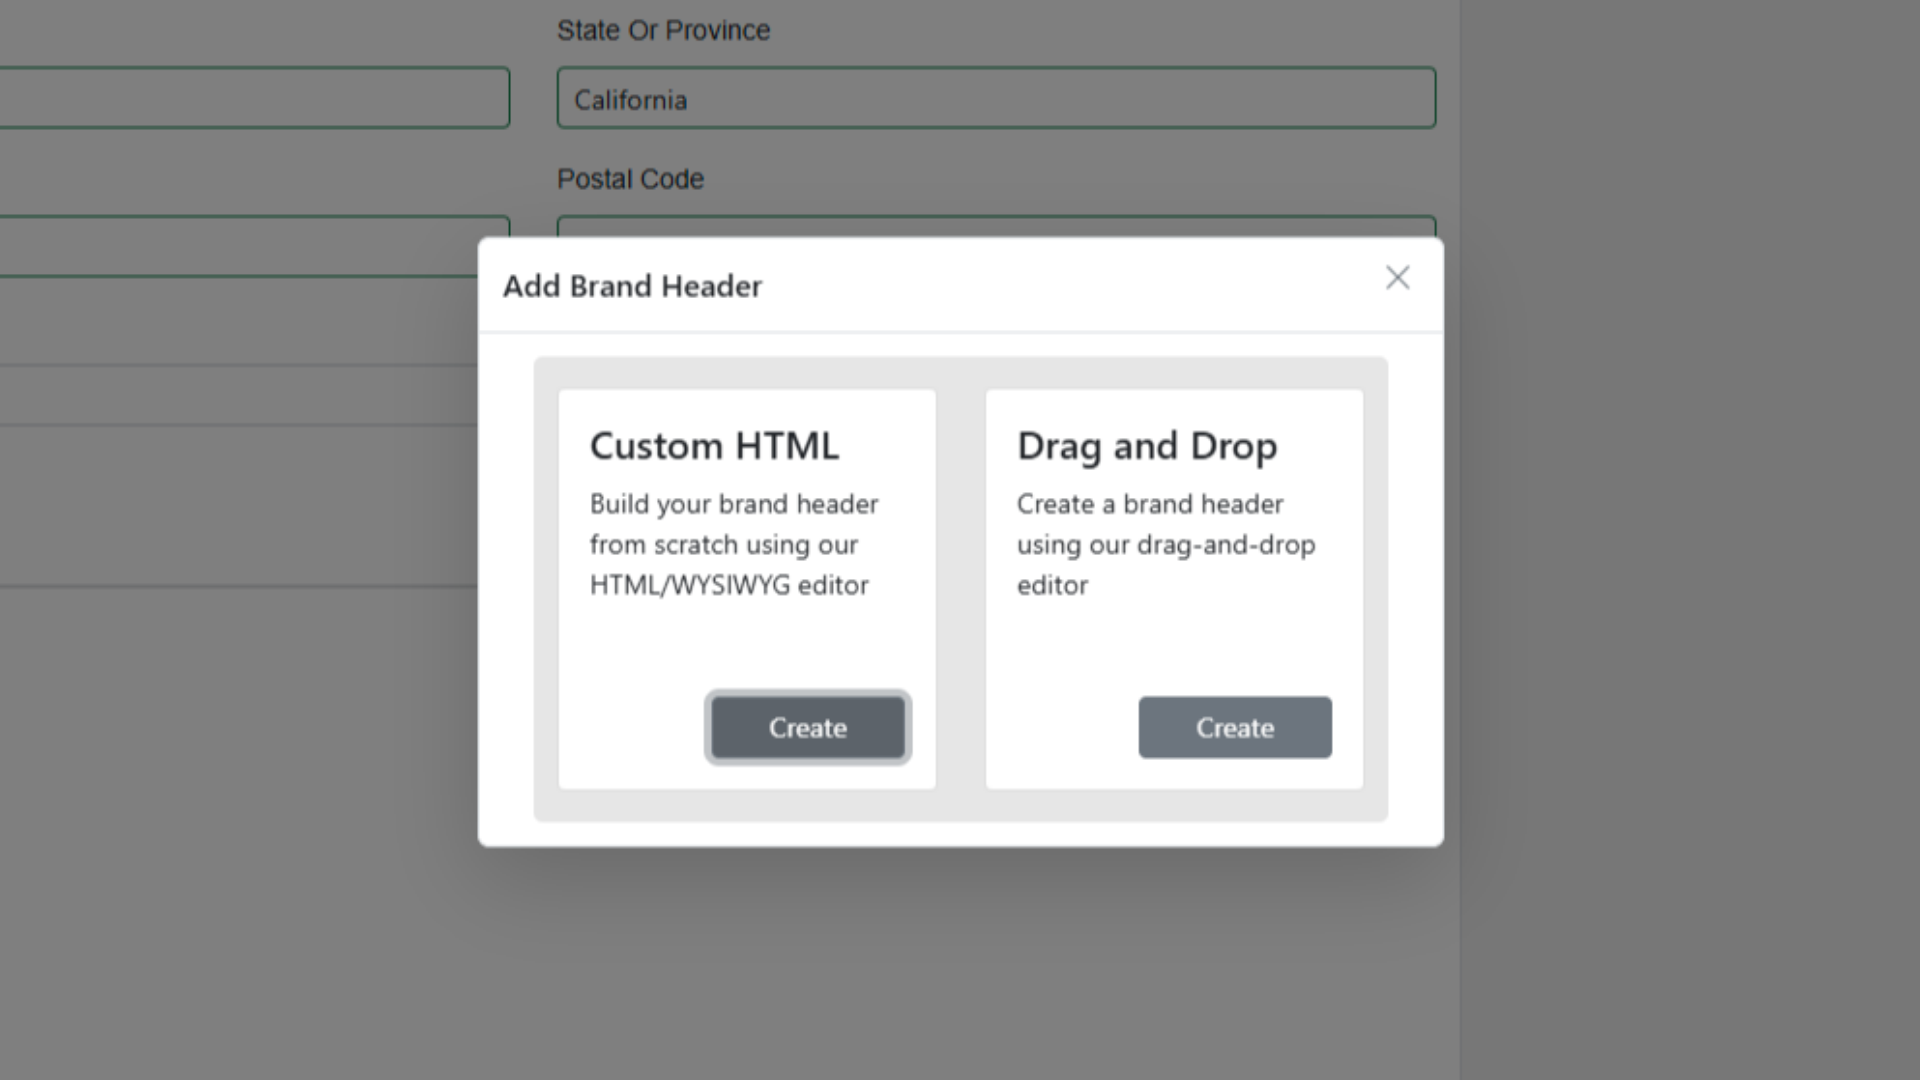
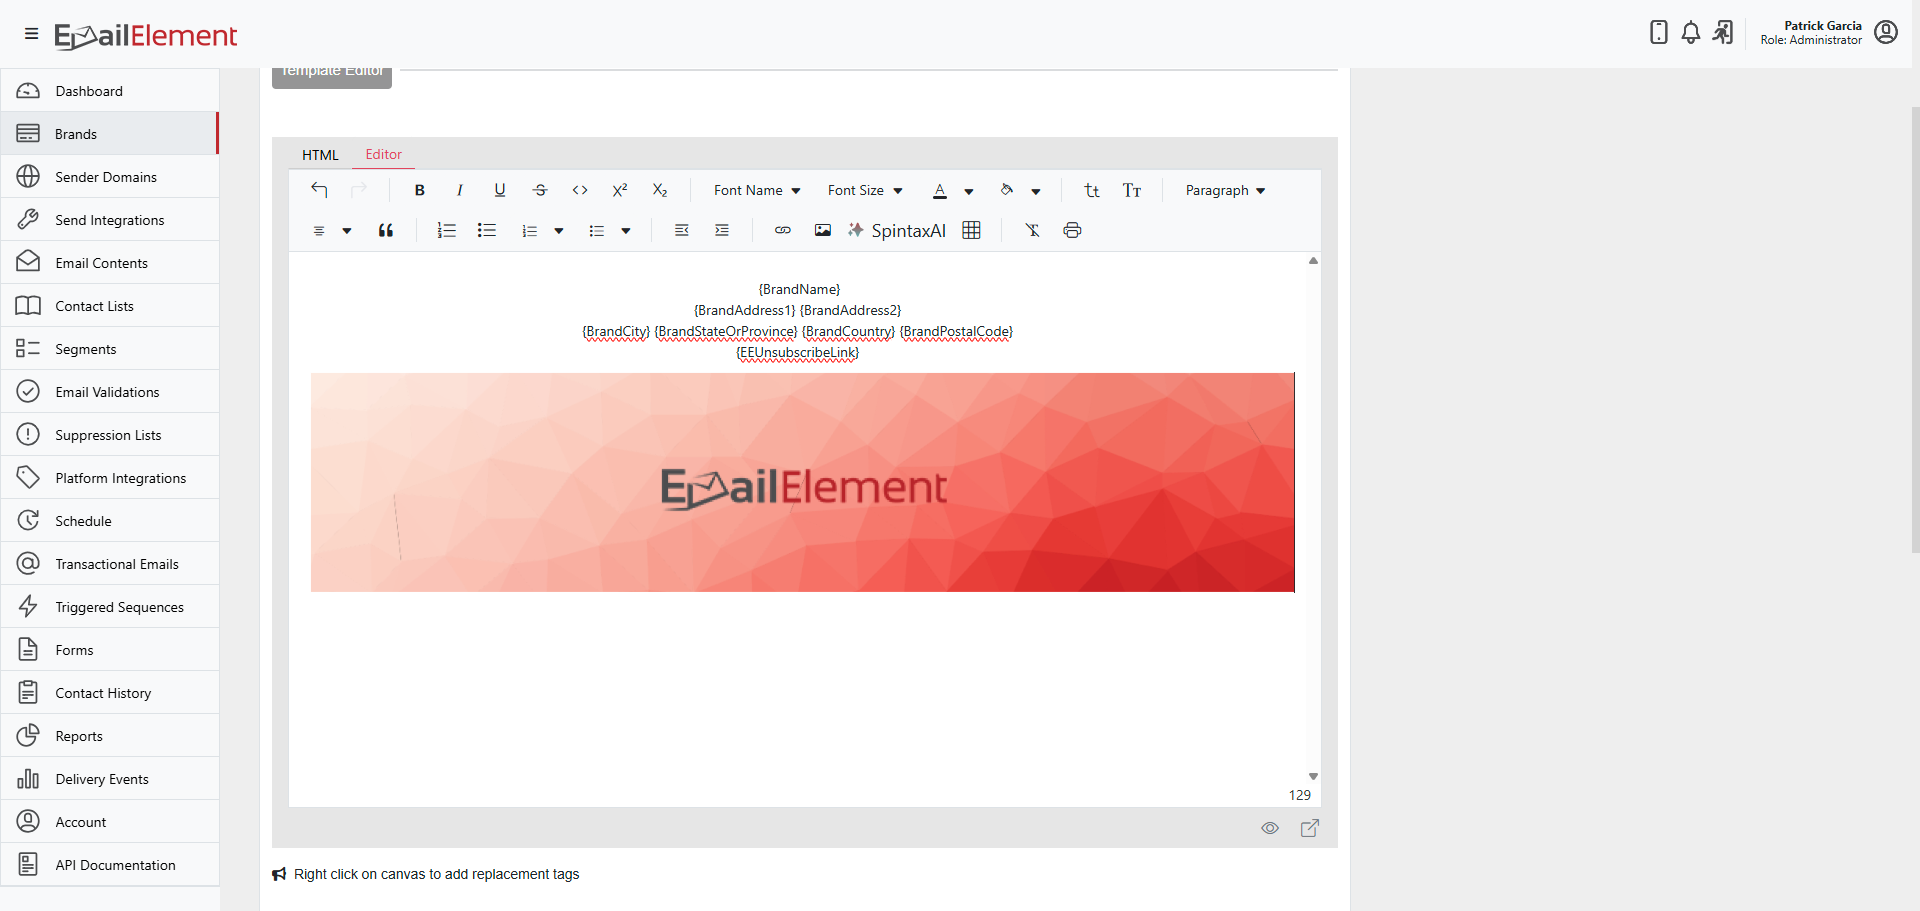
- Custom HTML — paste or write your own HTML
- Drag and Drop — use the visual block editor
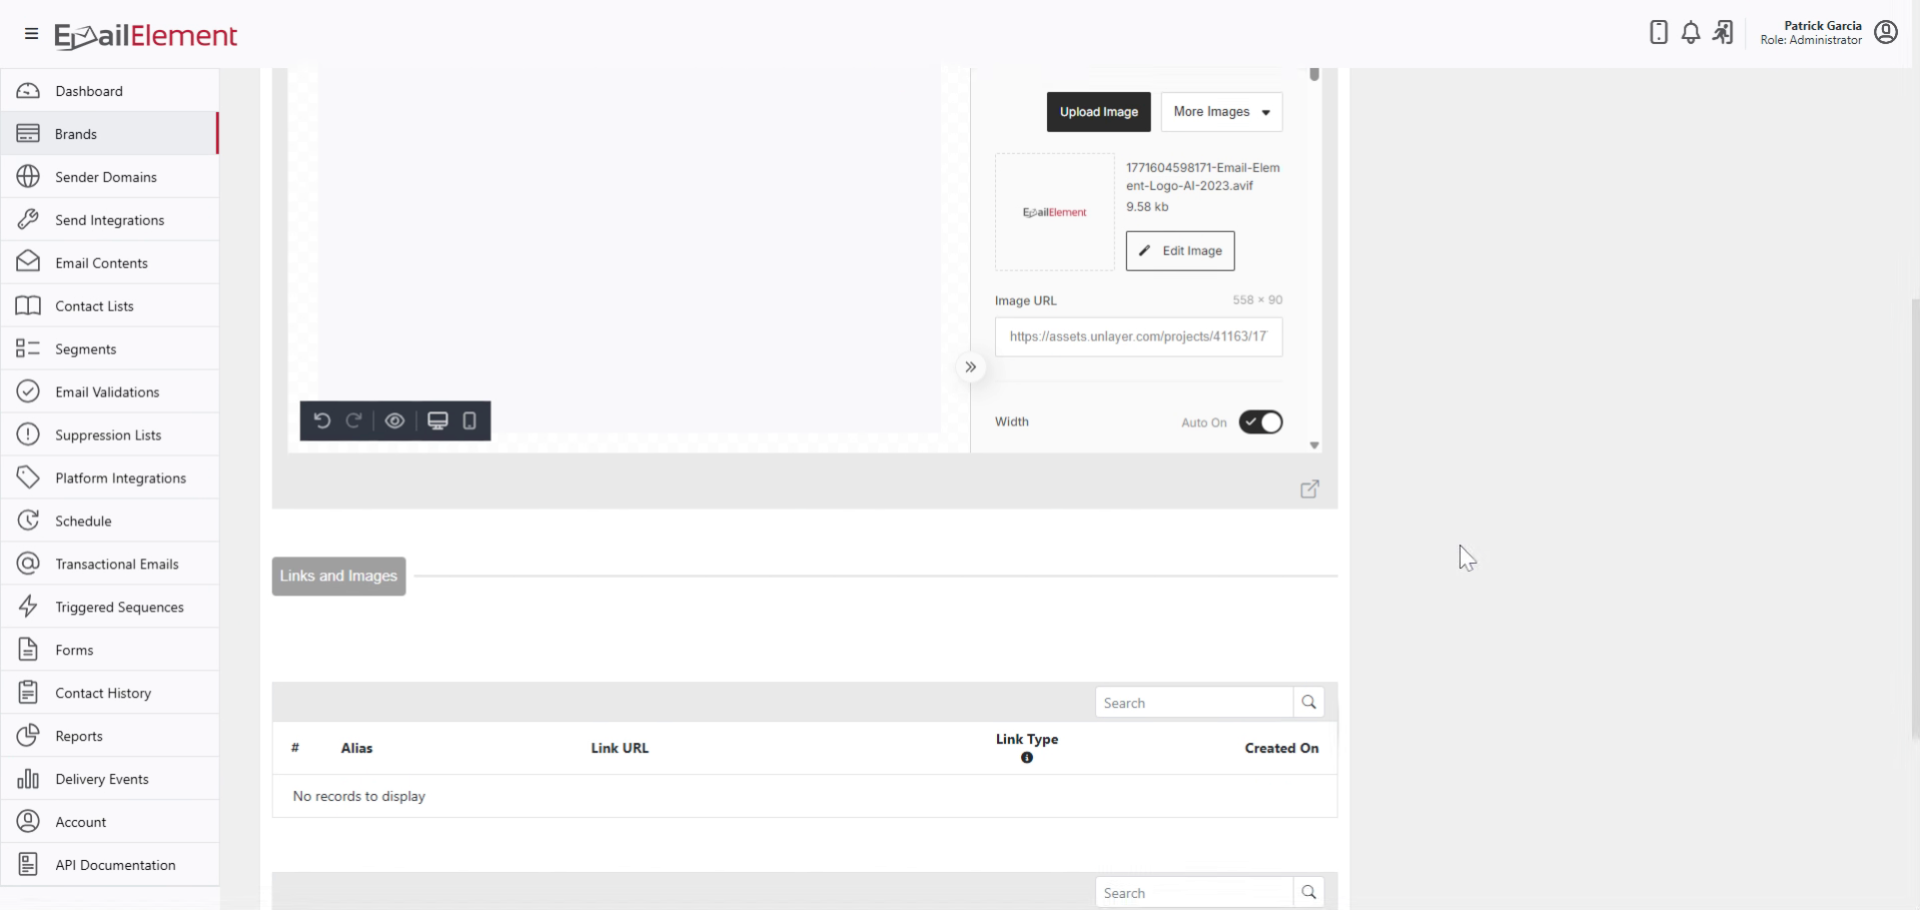
Edit the template using the same editor experience as Email Content.
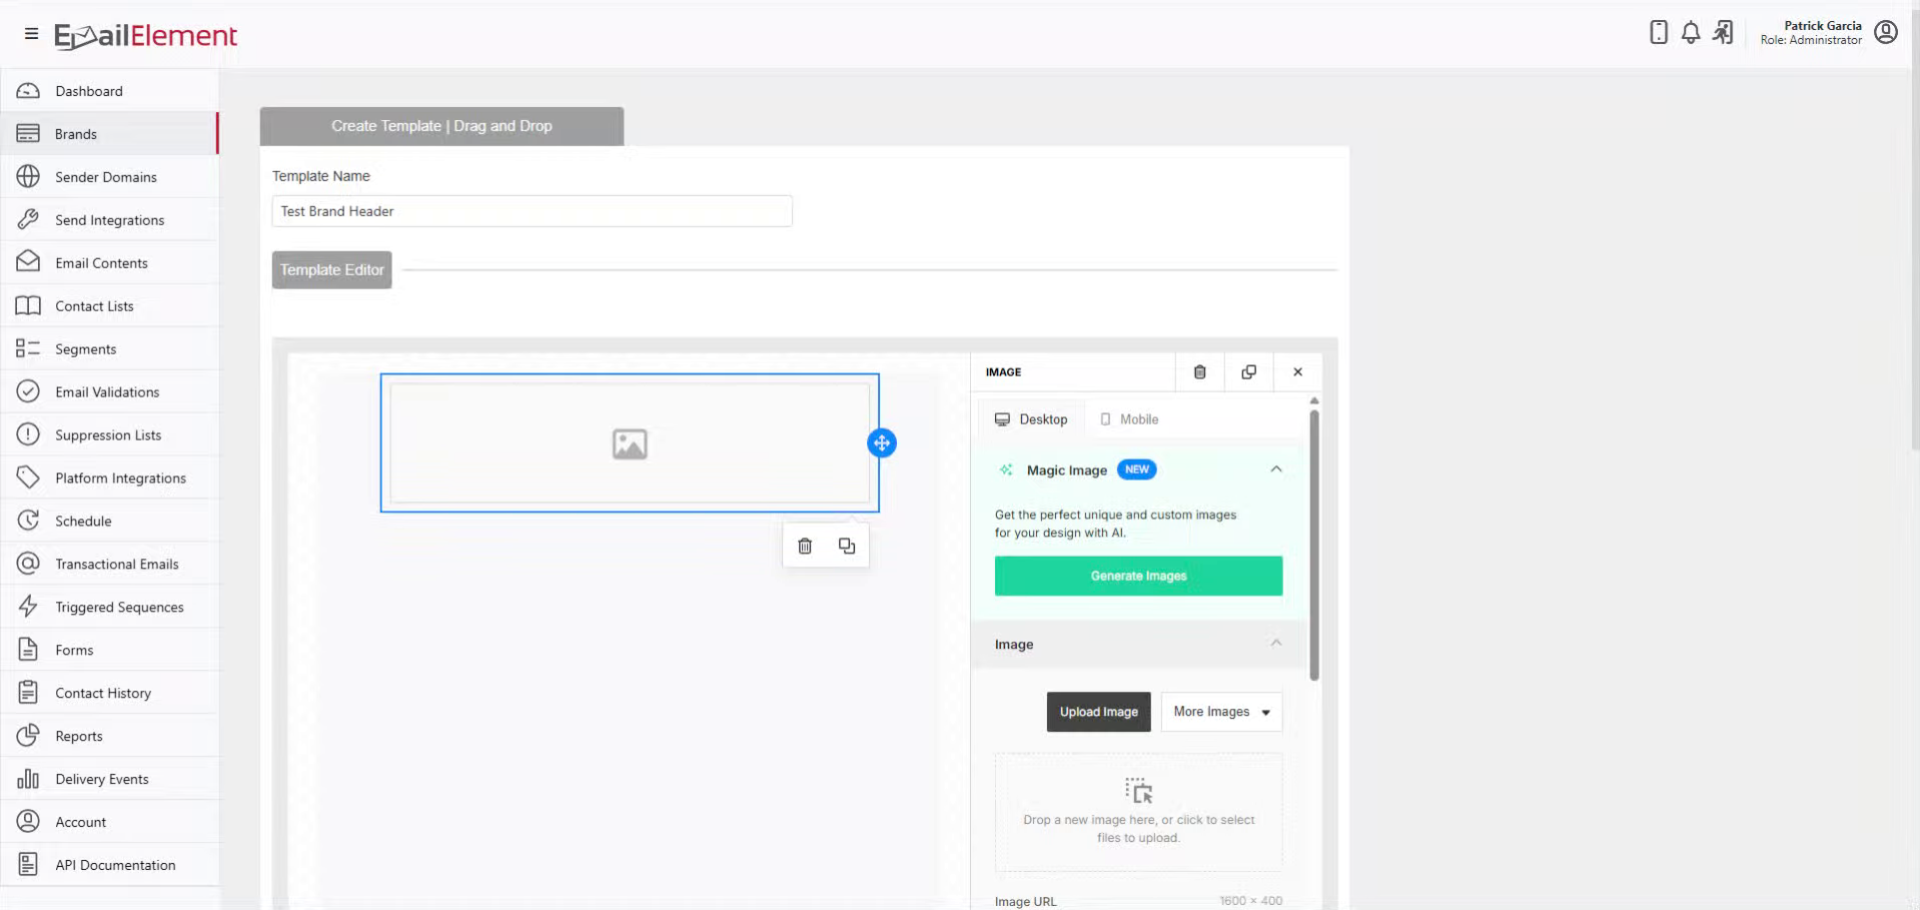
Click Create to save the template.
Template Management Options
Edit — modify the template content
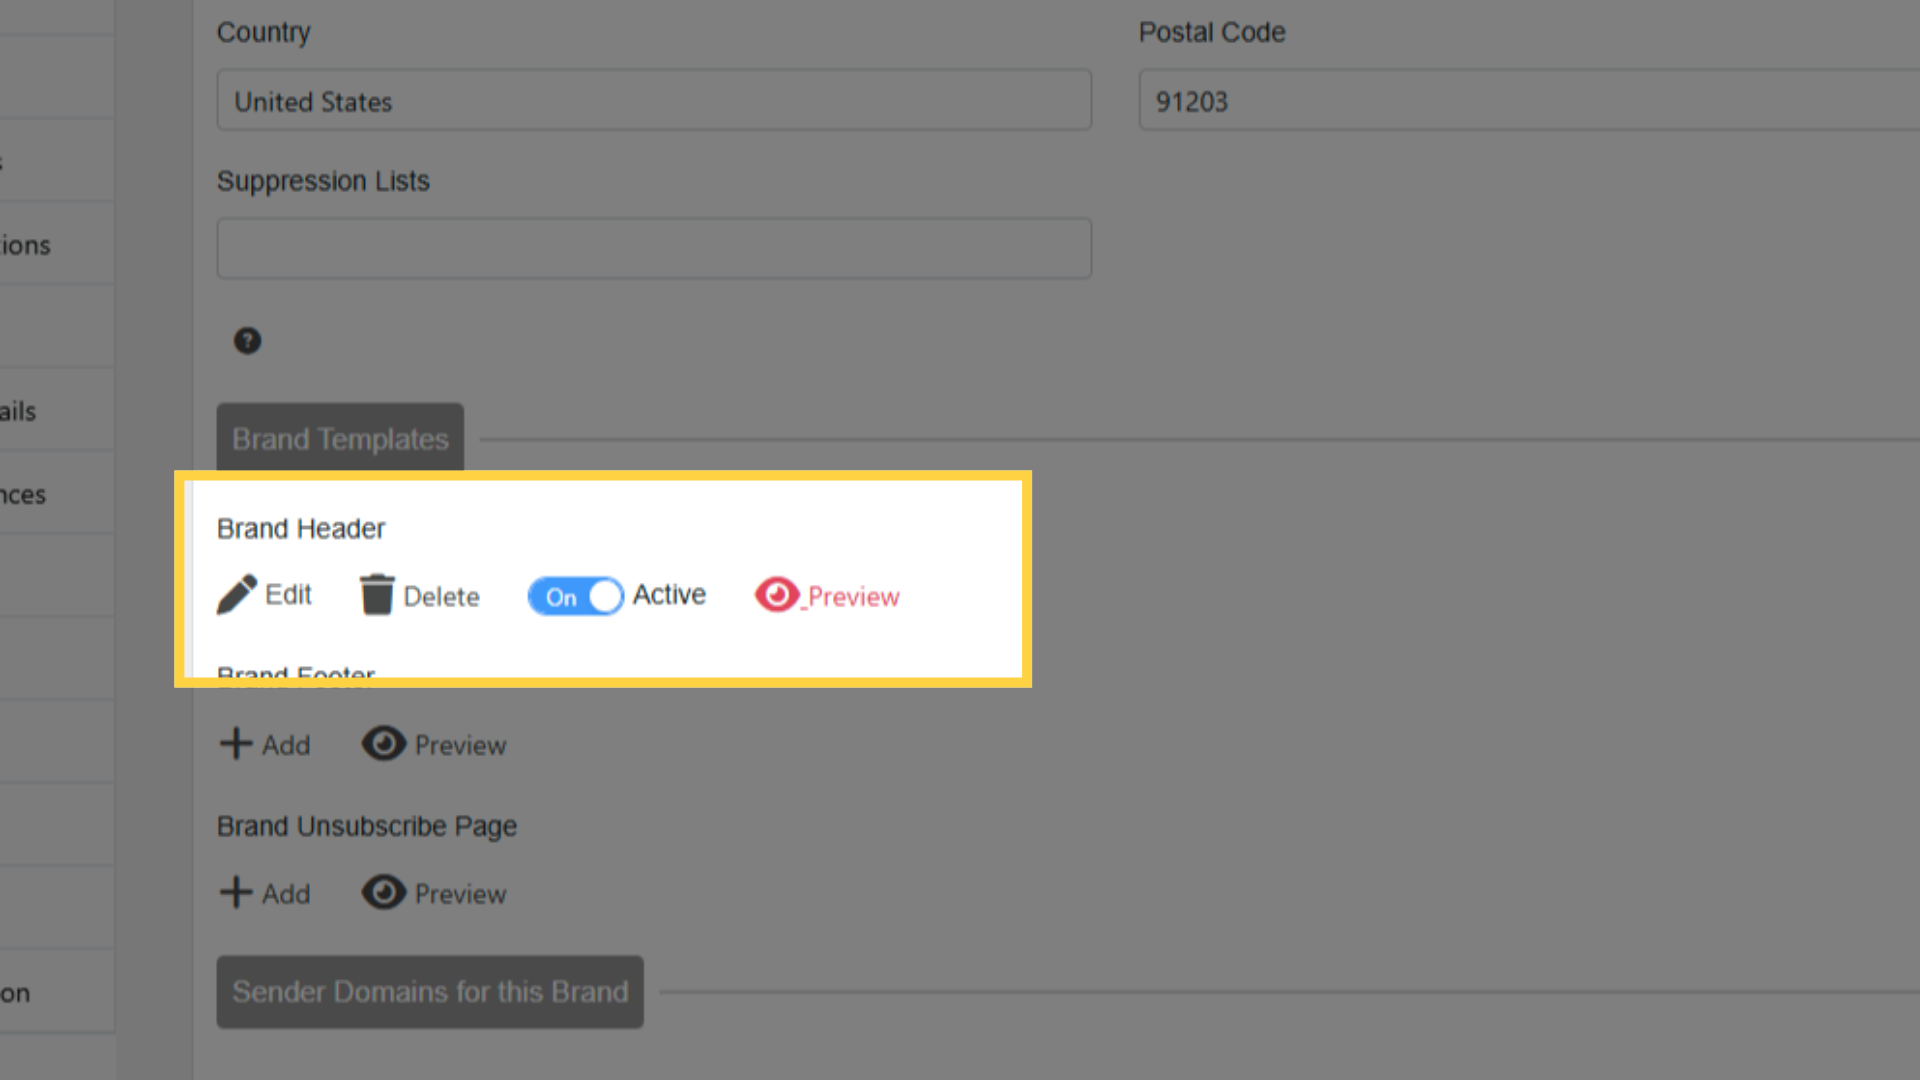
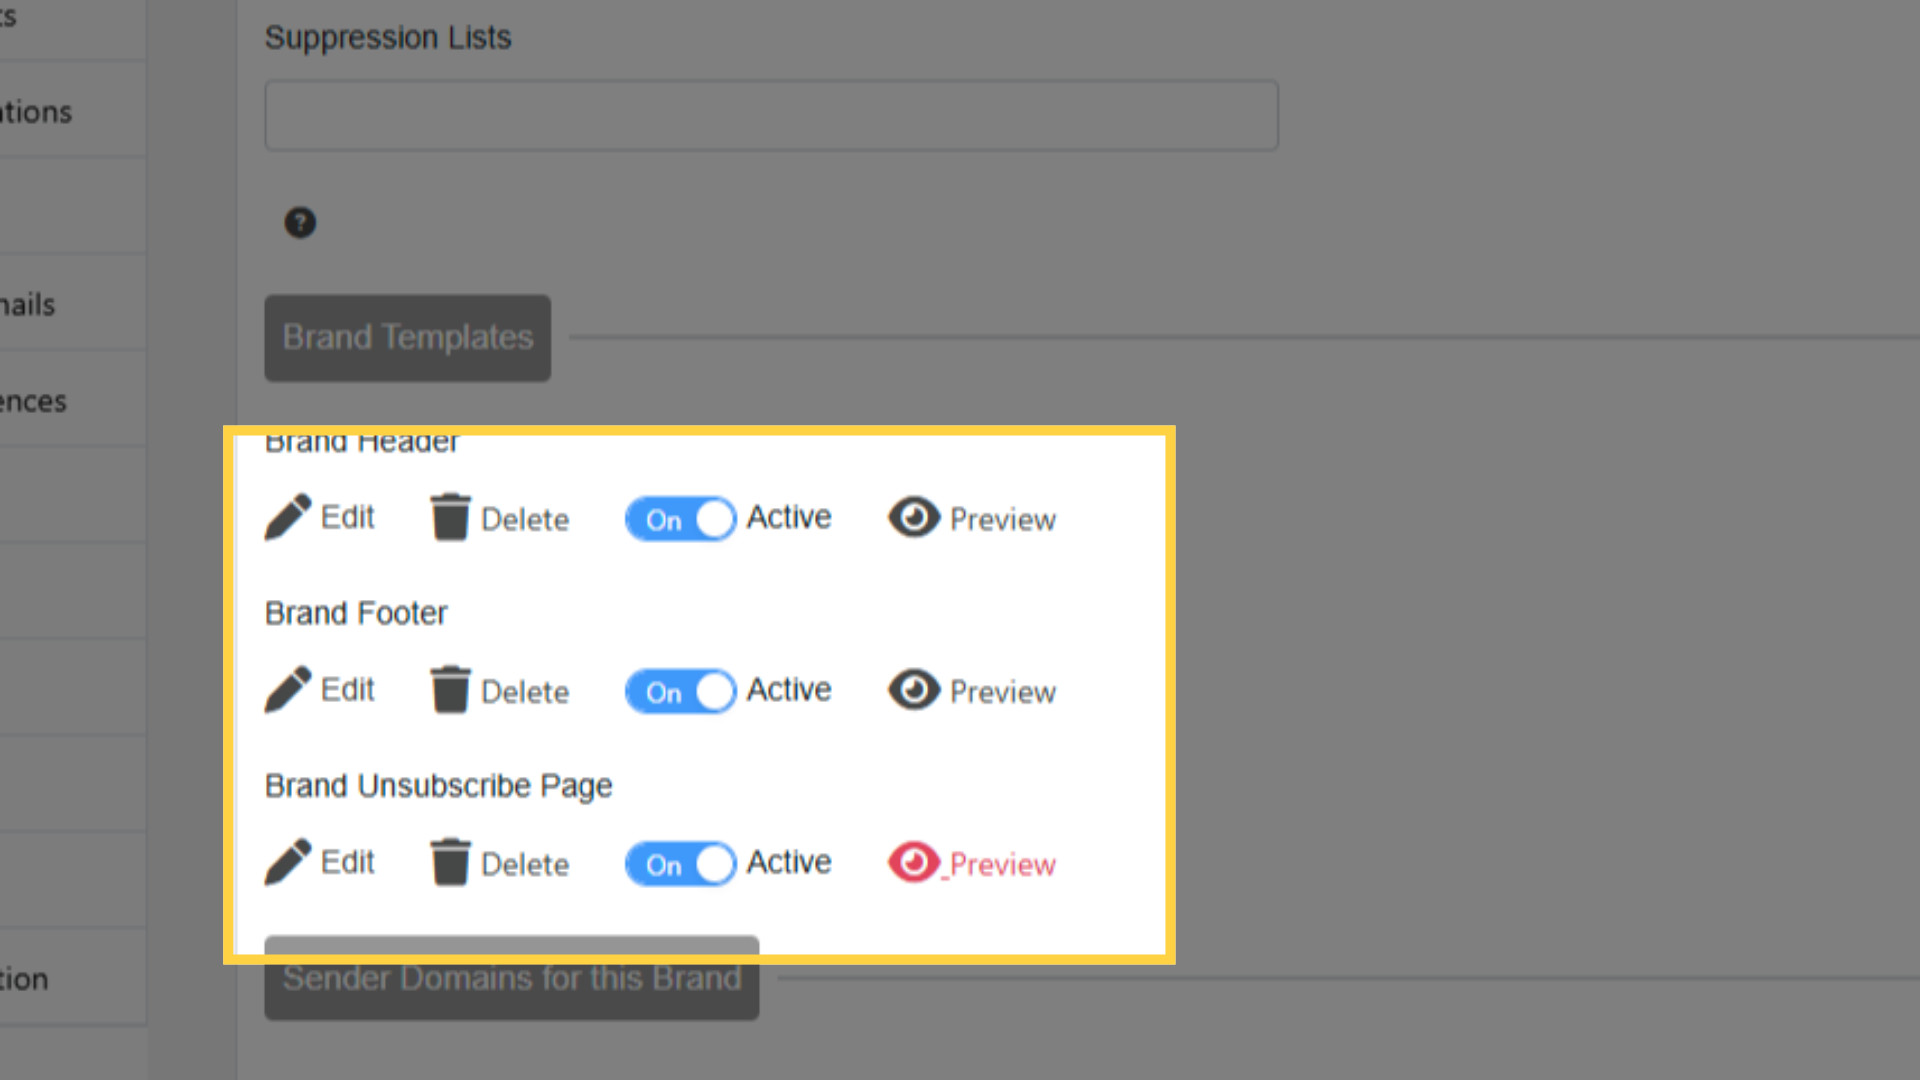
Delete — remove the template (reverts to default for Footer and Unsubscribe Page)
Active toggle — enable or disable the template (inactive = platform default is used)
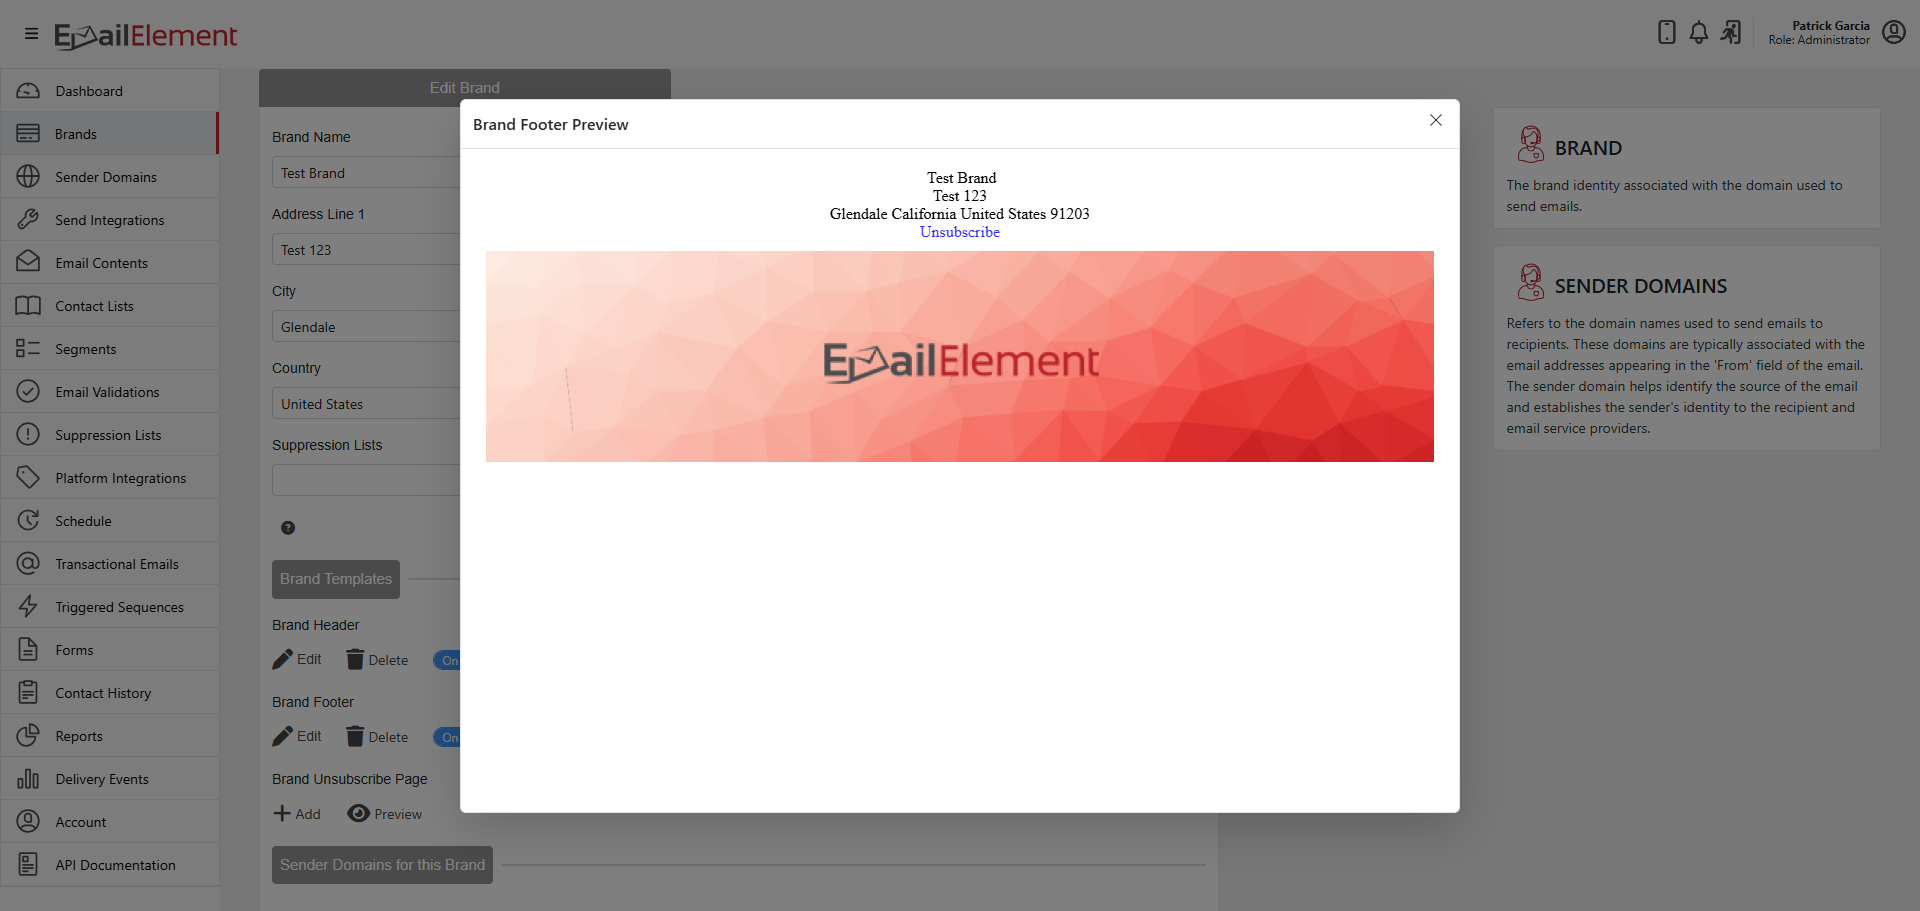
Preview — see how the template renders
Important Notes
Footer and Unsubscribe Page always have platform defaults. If a custom template is deactivated or deleted, the default is used automatically.
Header is optional and has no default. If no custom header is set, no header is shown.
Templates support Replacement Tags for dynamic content (e.g.,
{BrandName},{BrandAddress}).Changes to Brand templates affect all future emails sent from associated Sender Domains.