
Email Content Creation Walkthrough
Creating an Email Content
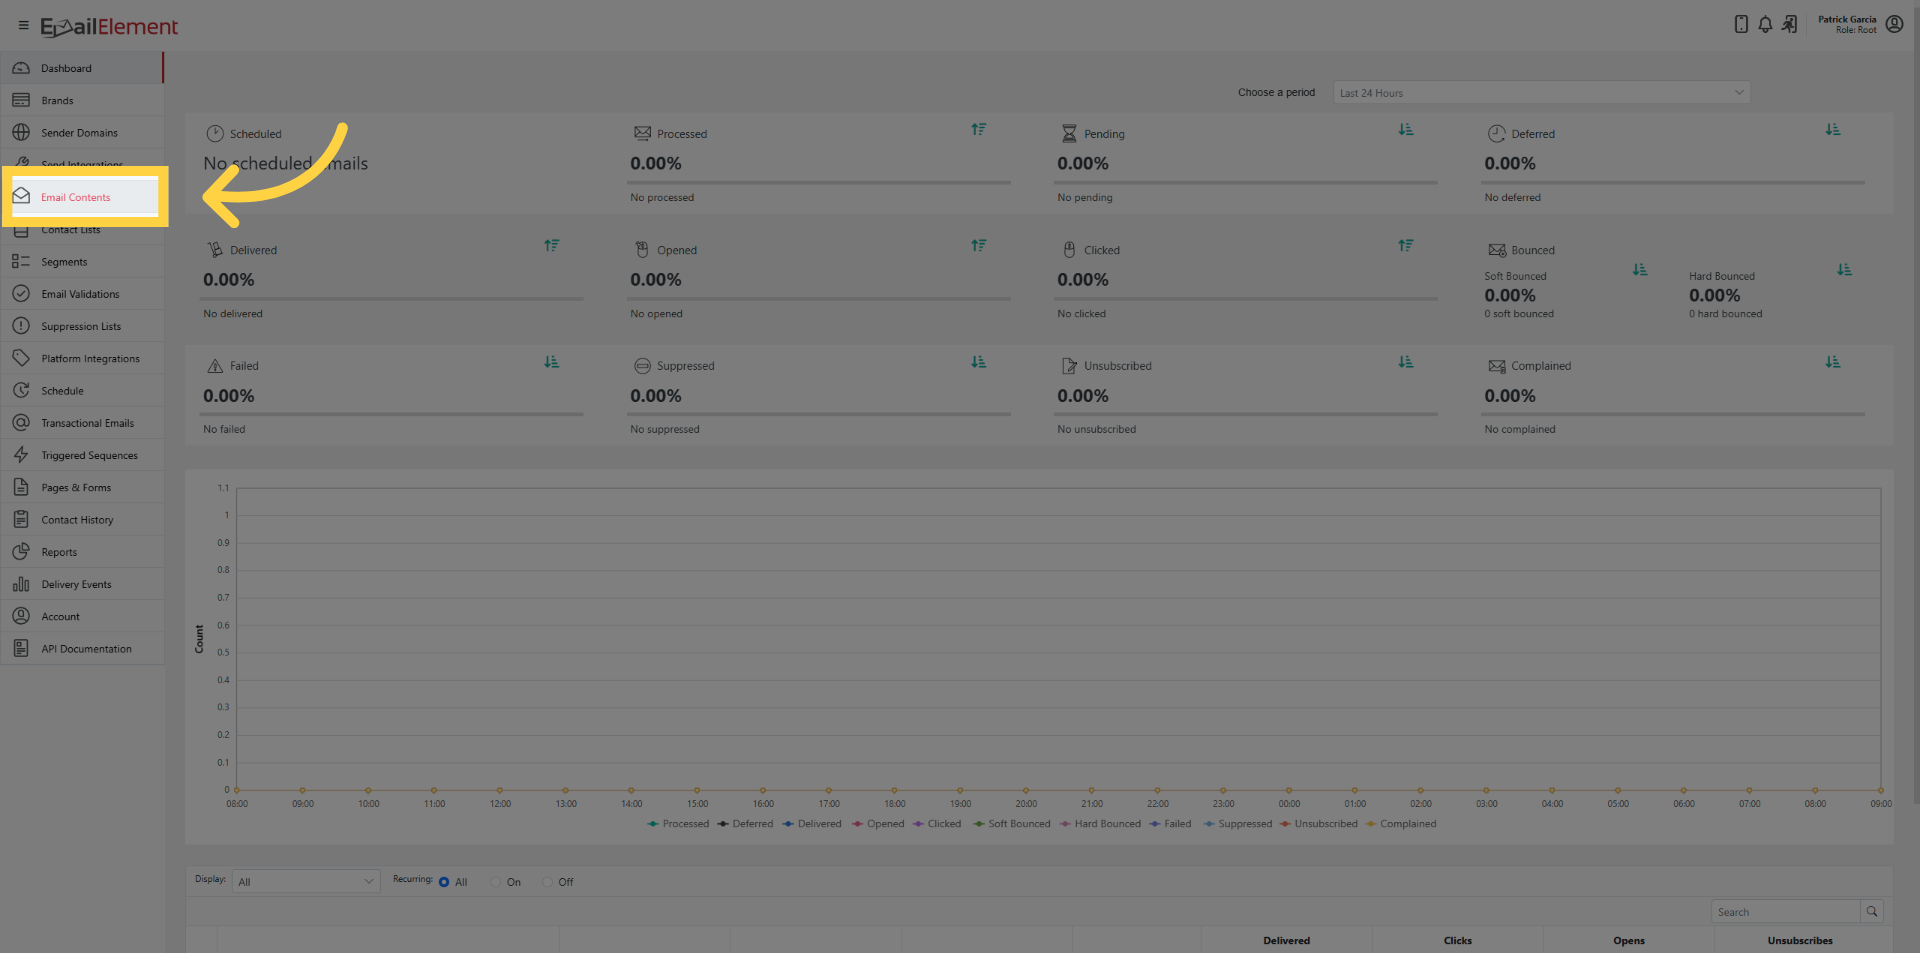
Click Email Contents in the navigation panel.
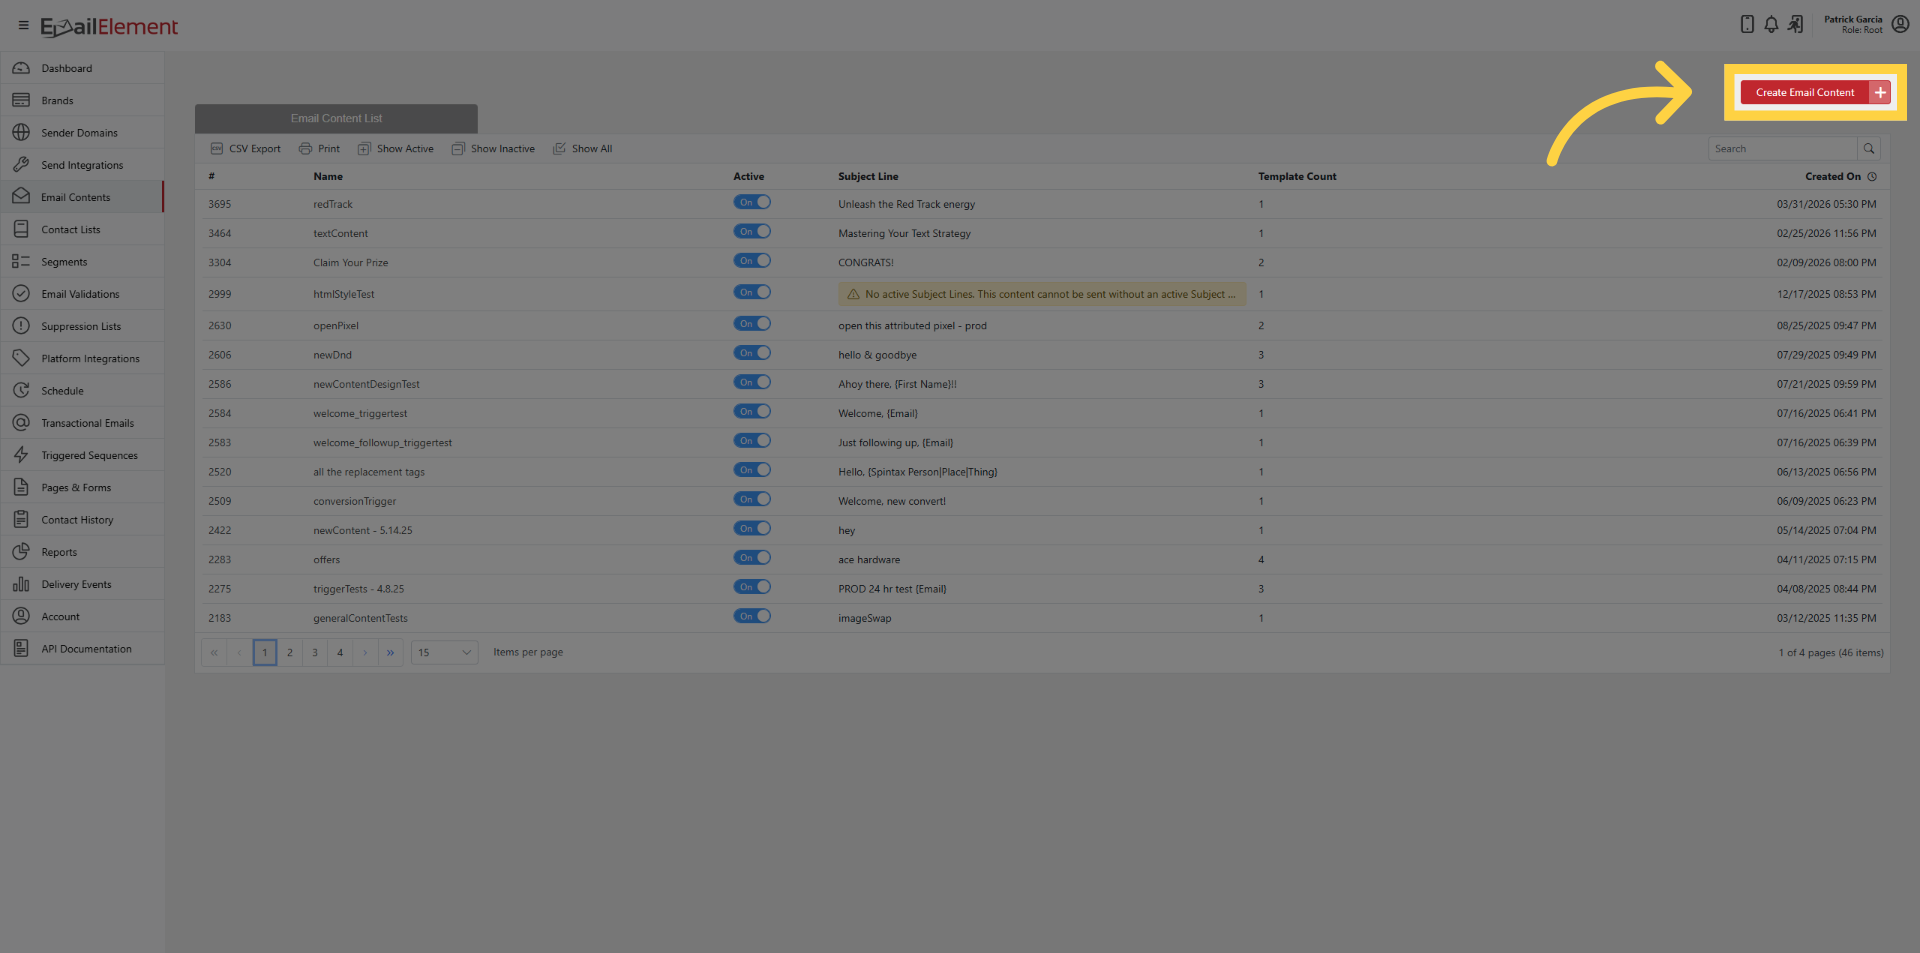
Click Create Email Content.
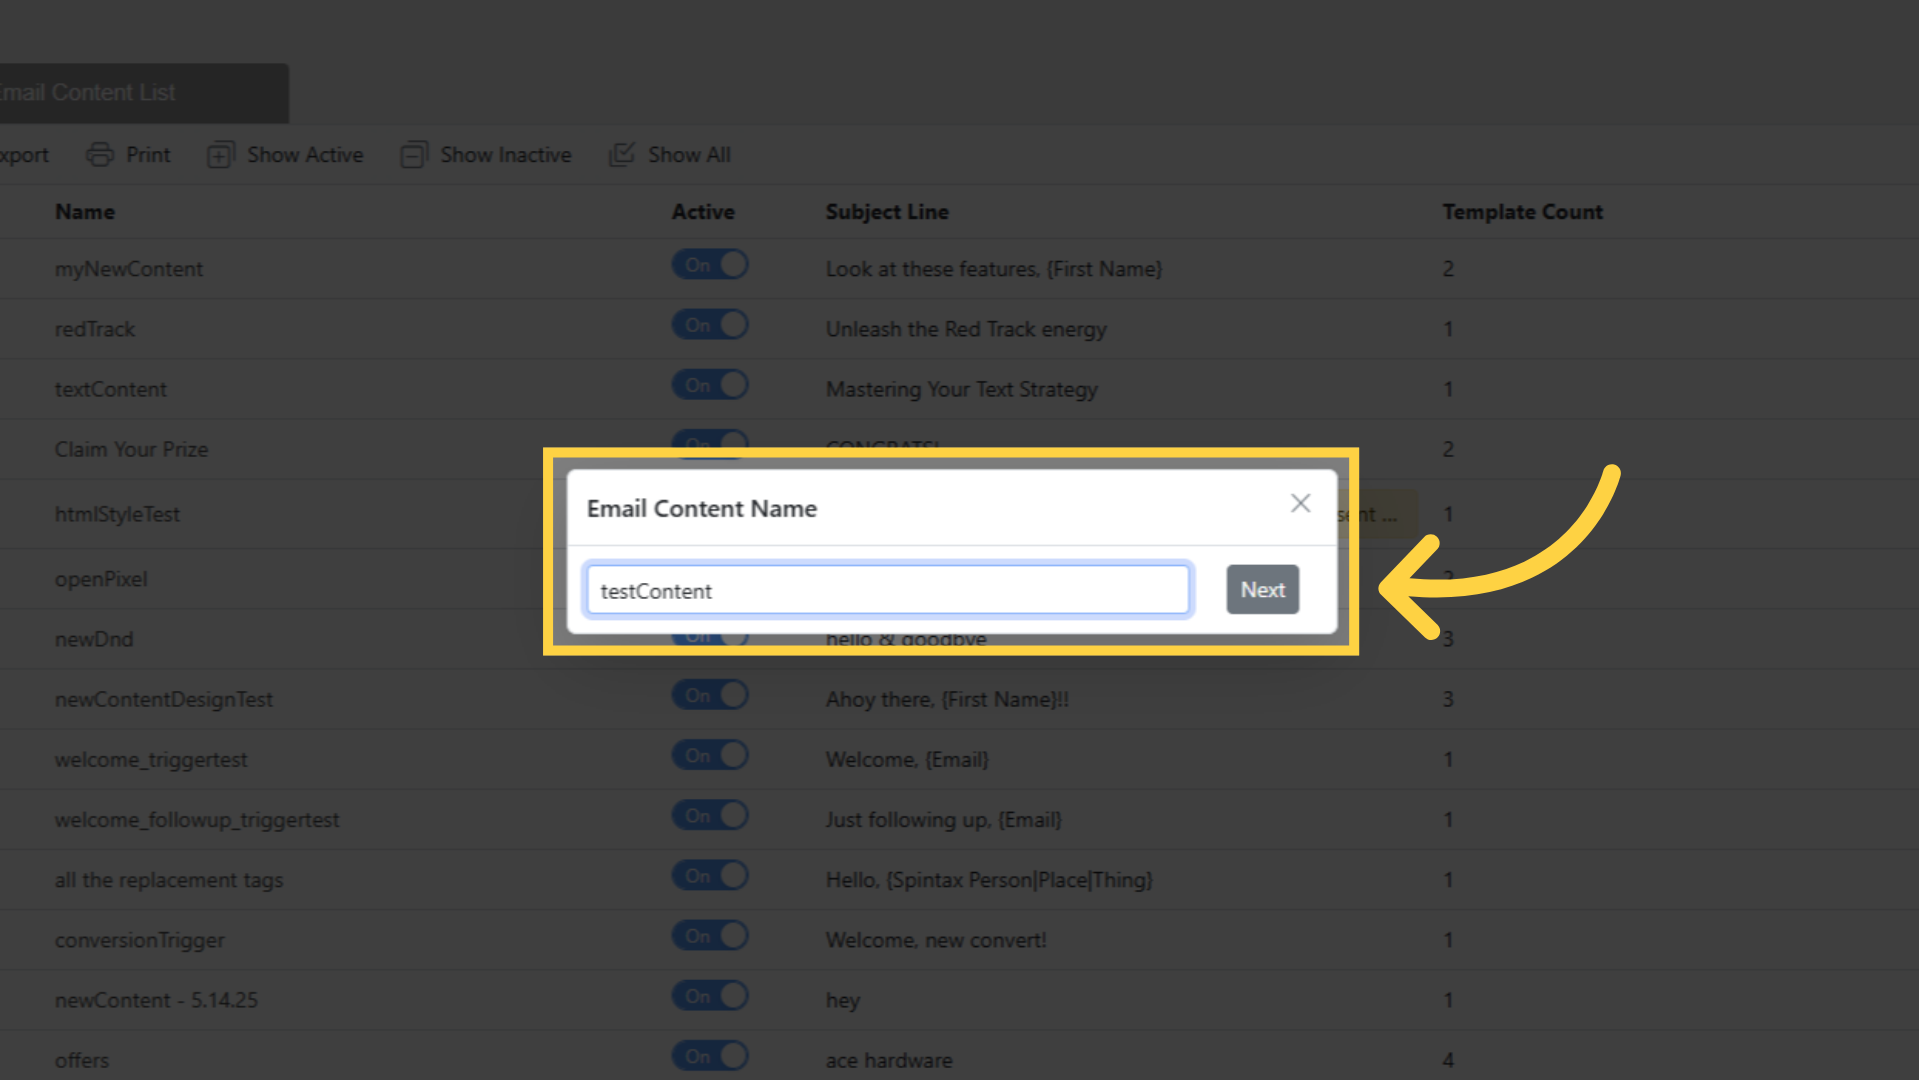
Enter a name for the Email Content > click Next.
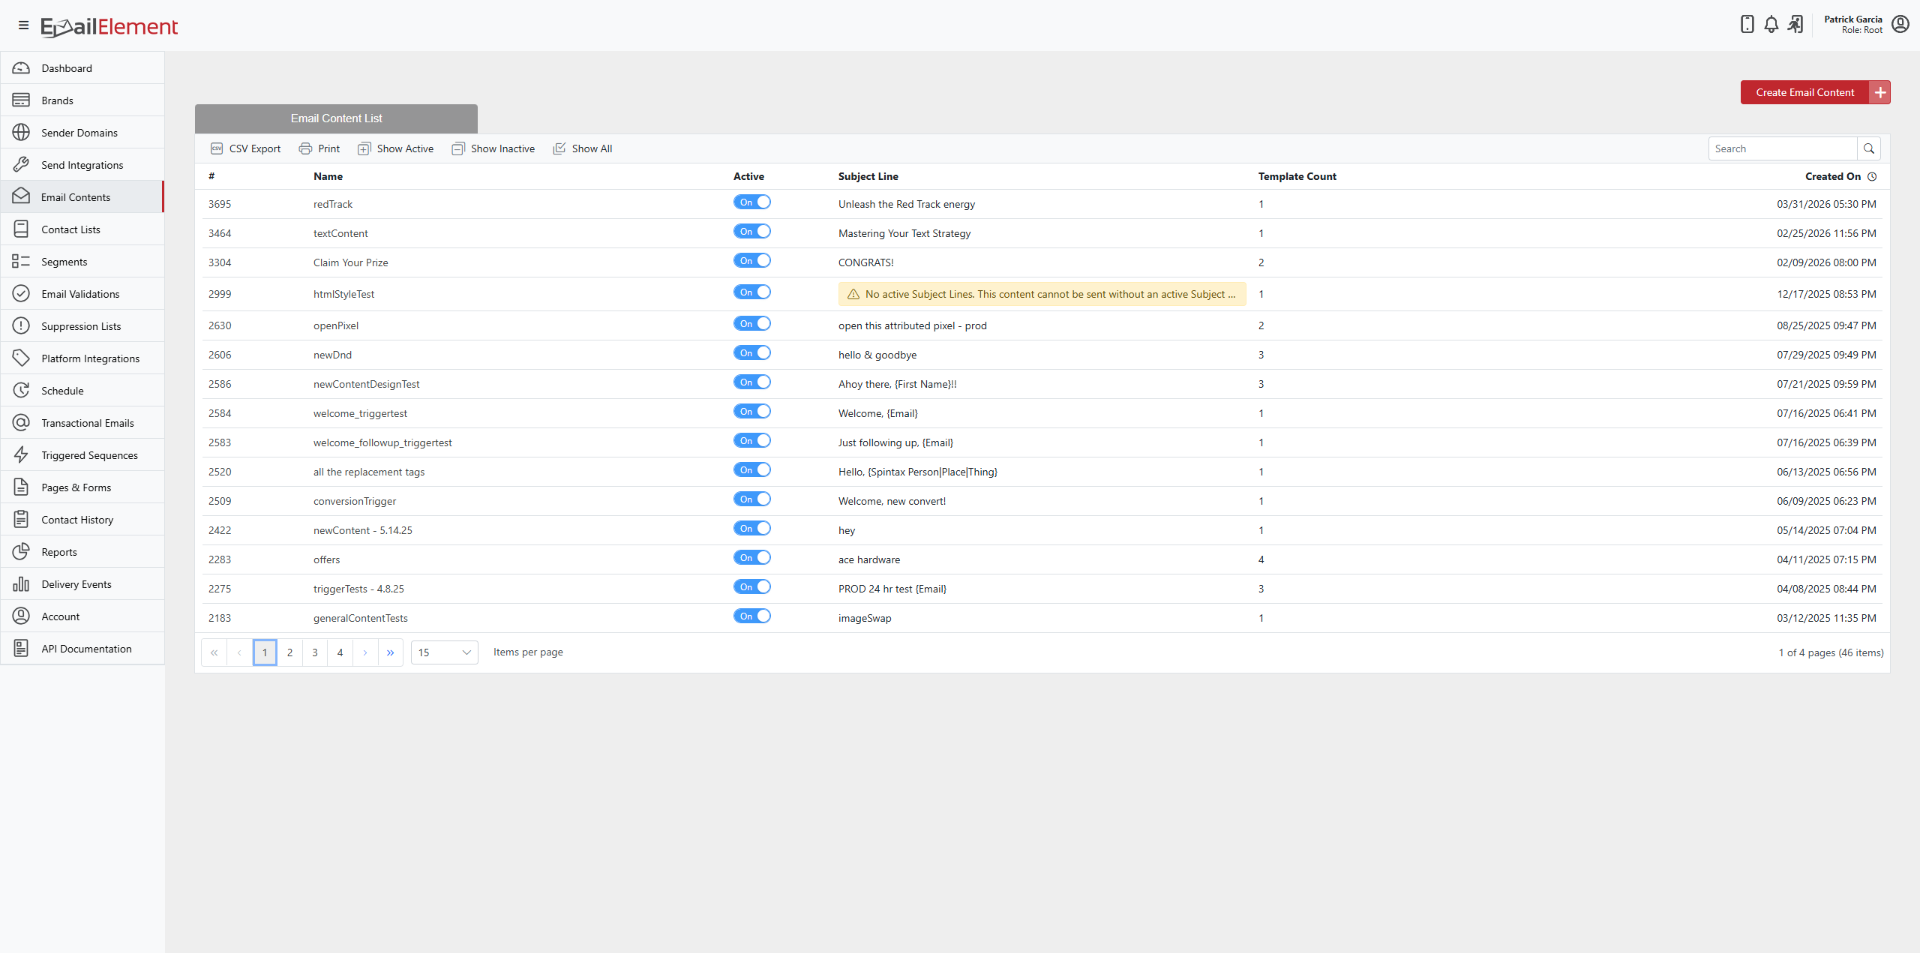
This creates the container. It has four sections: Templates, Subject Lines, From Names, and Suppression Lists.
Templates
Each Email Content can have multiple templates for A/B testing. Four template types are available.
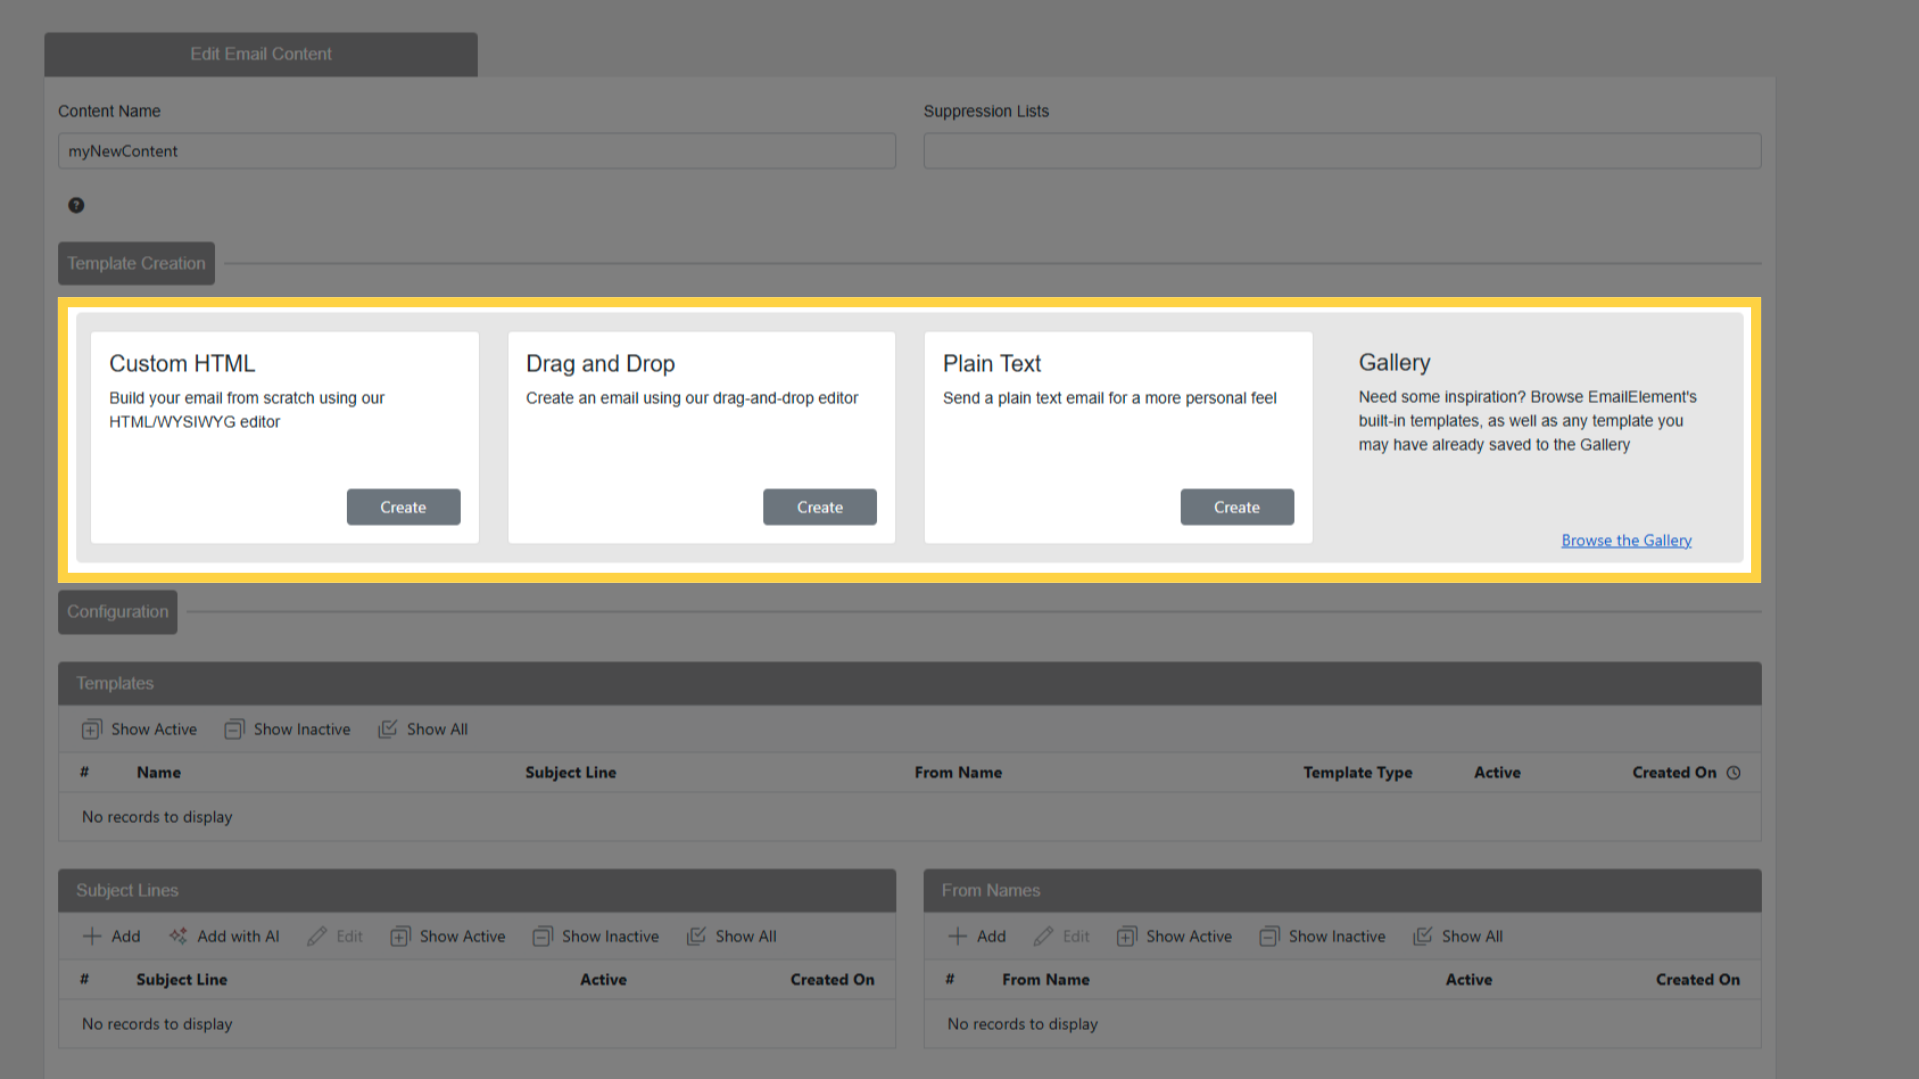
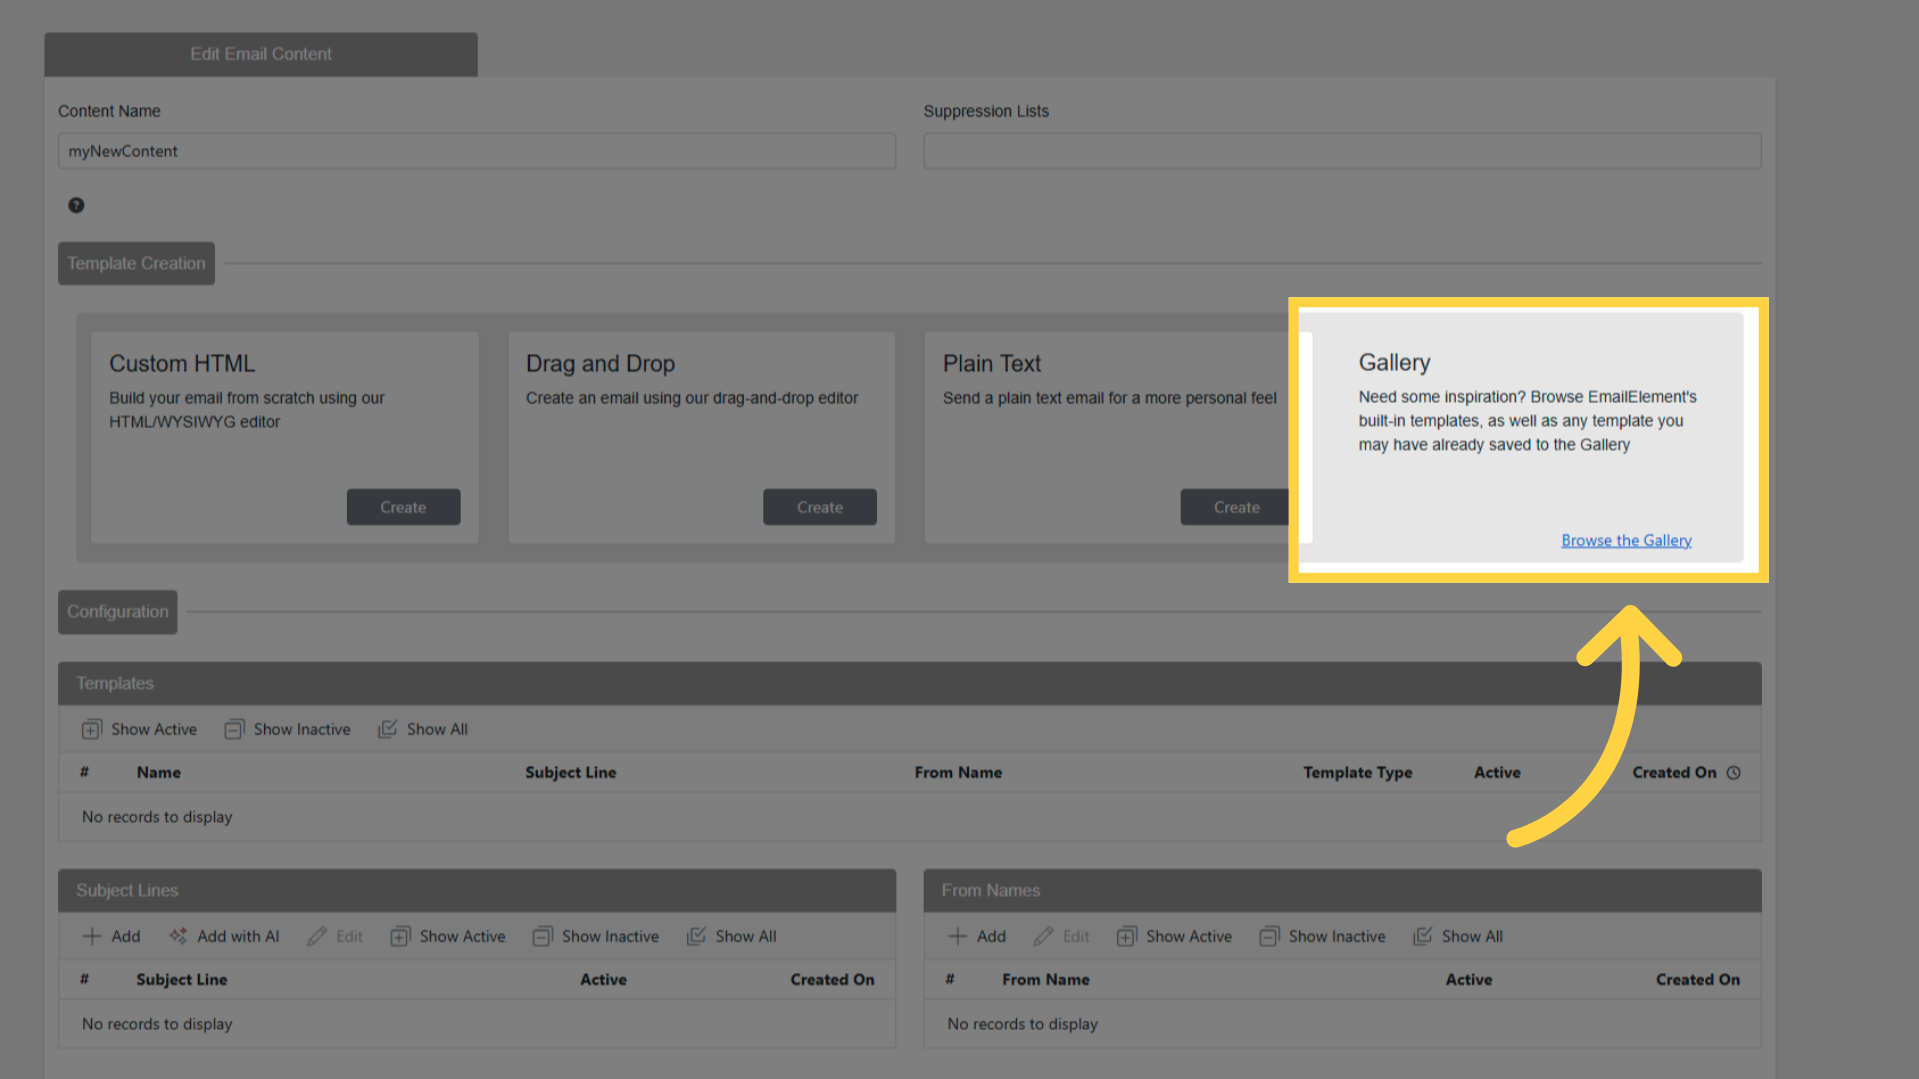
Gallery Templates
Click Search for templates under the Templates section.
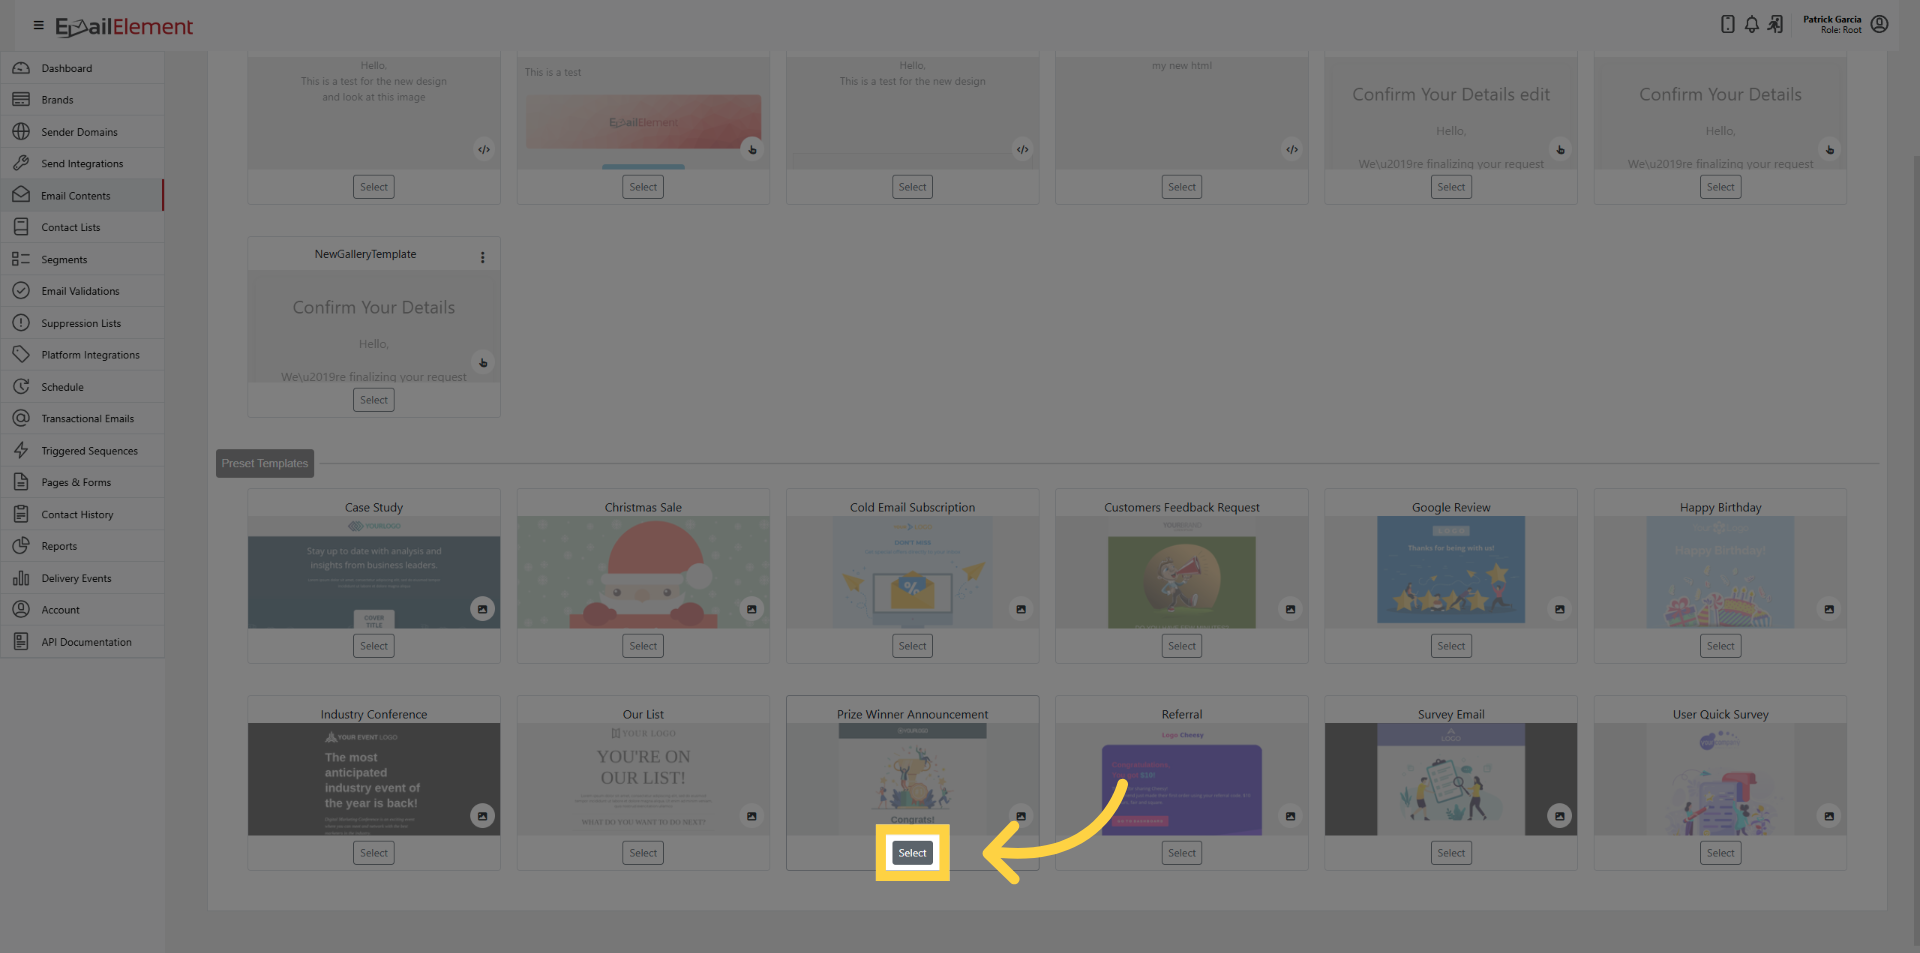
Browse or search the template gallery for a pre-built design.
Select a template.
Enter a name for your template.
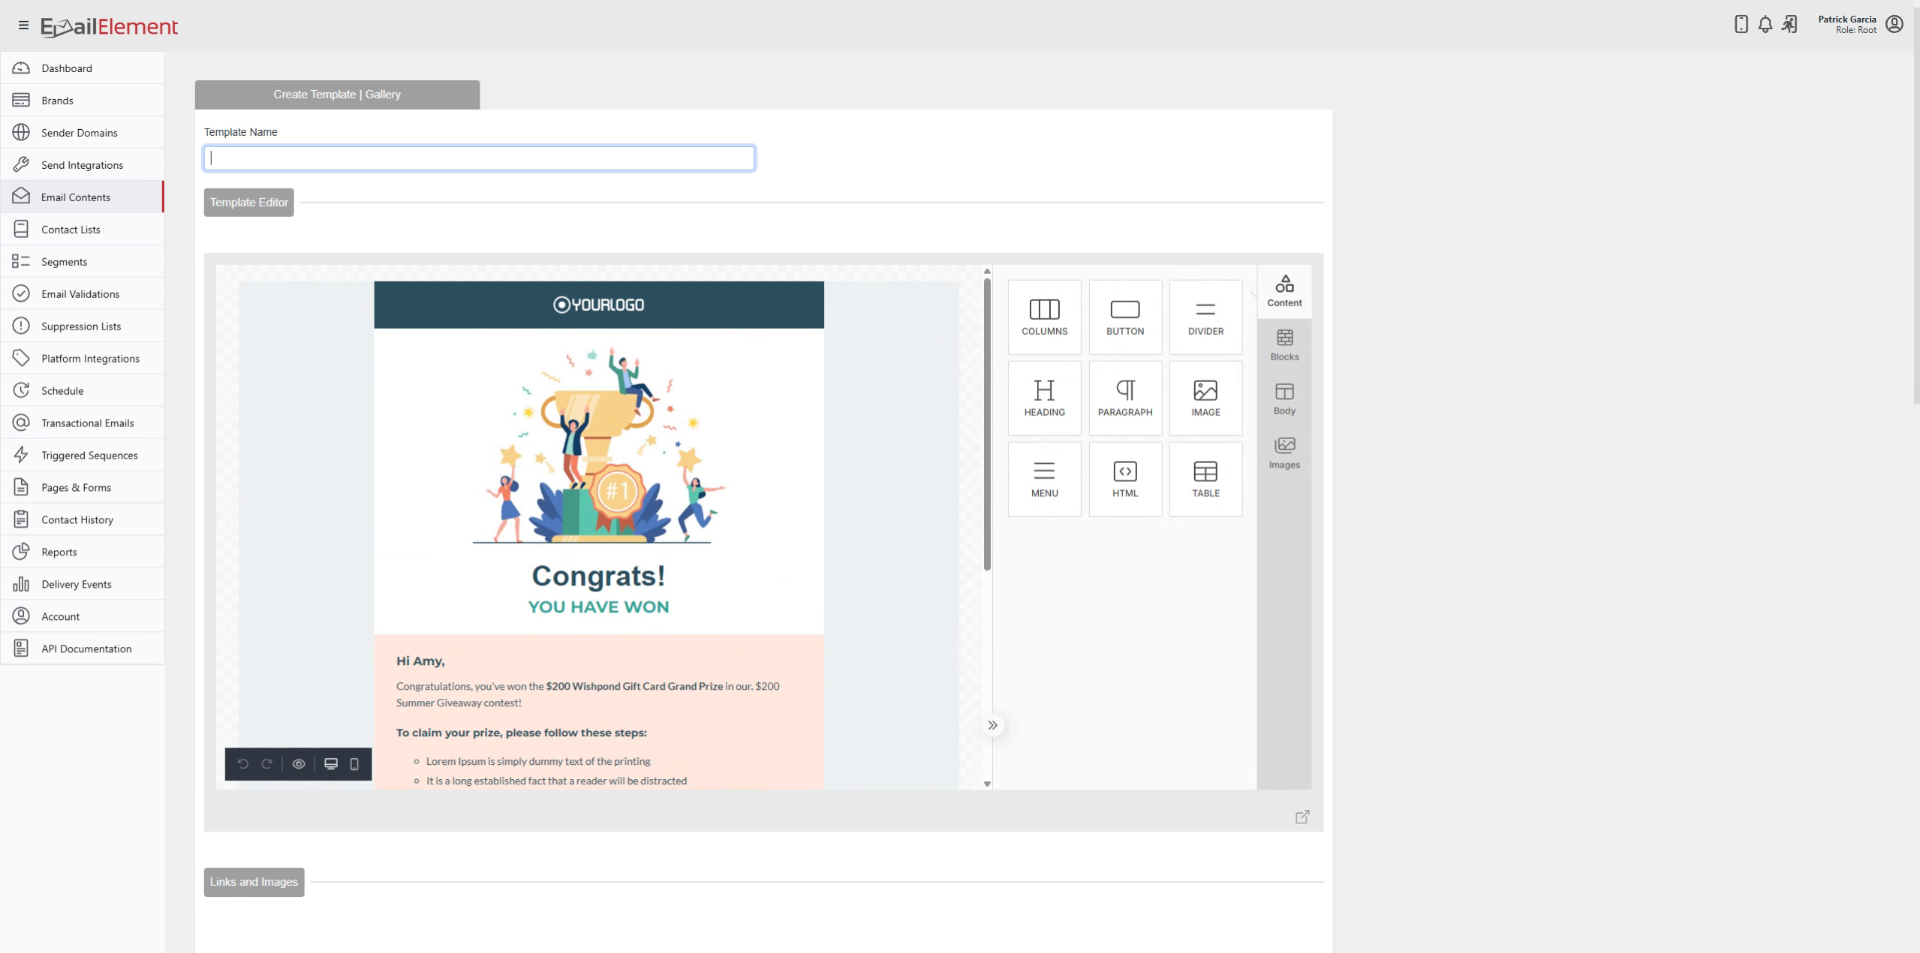
Customize the template:
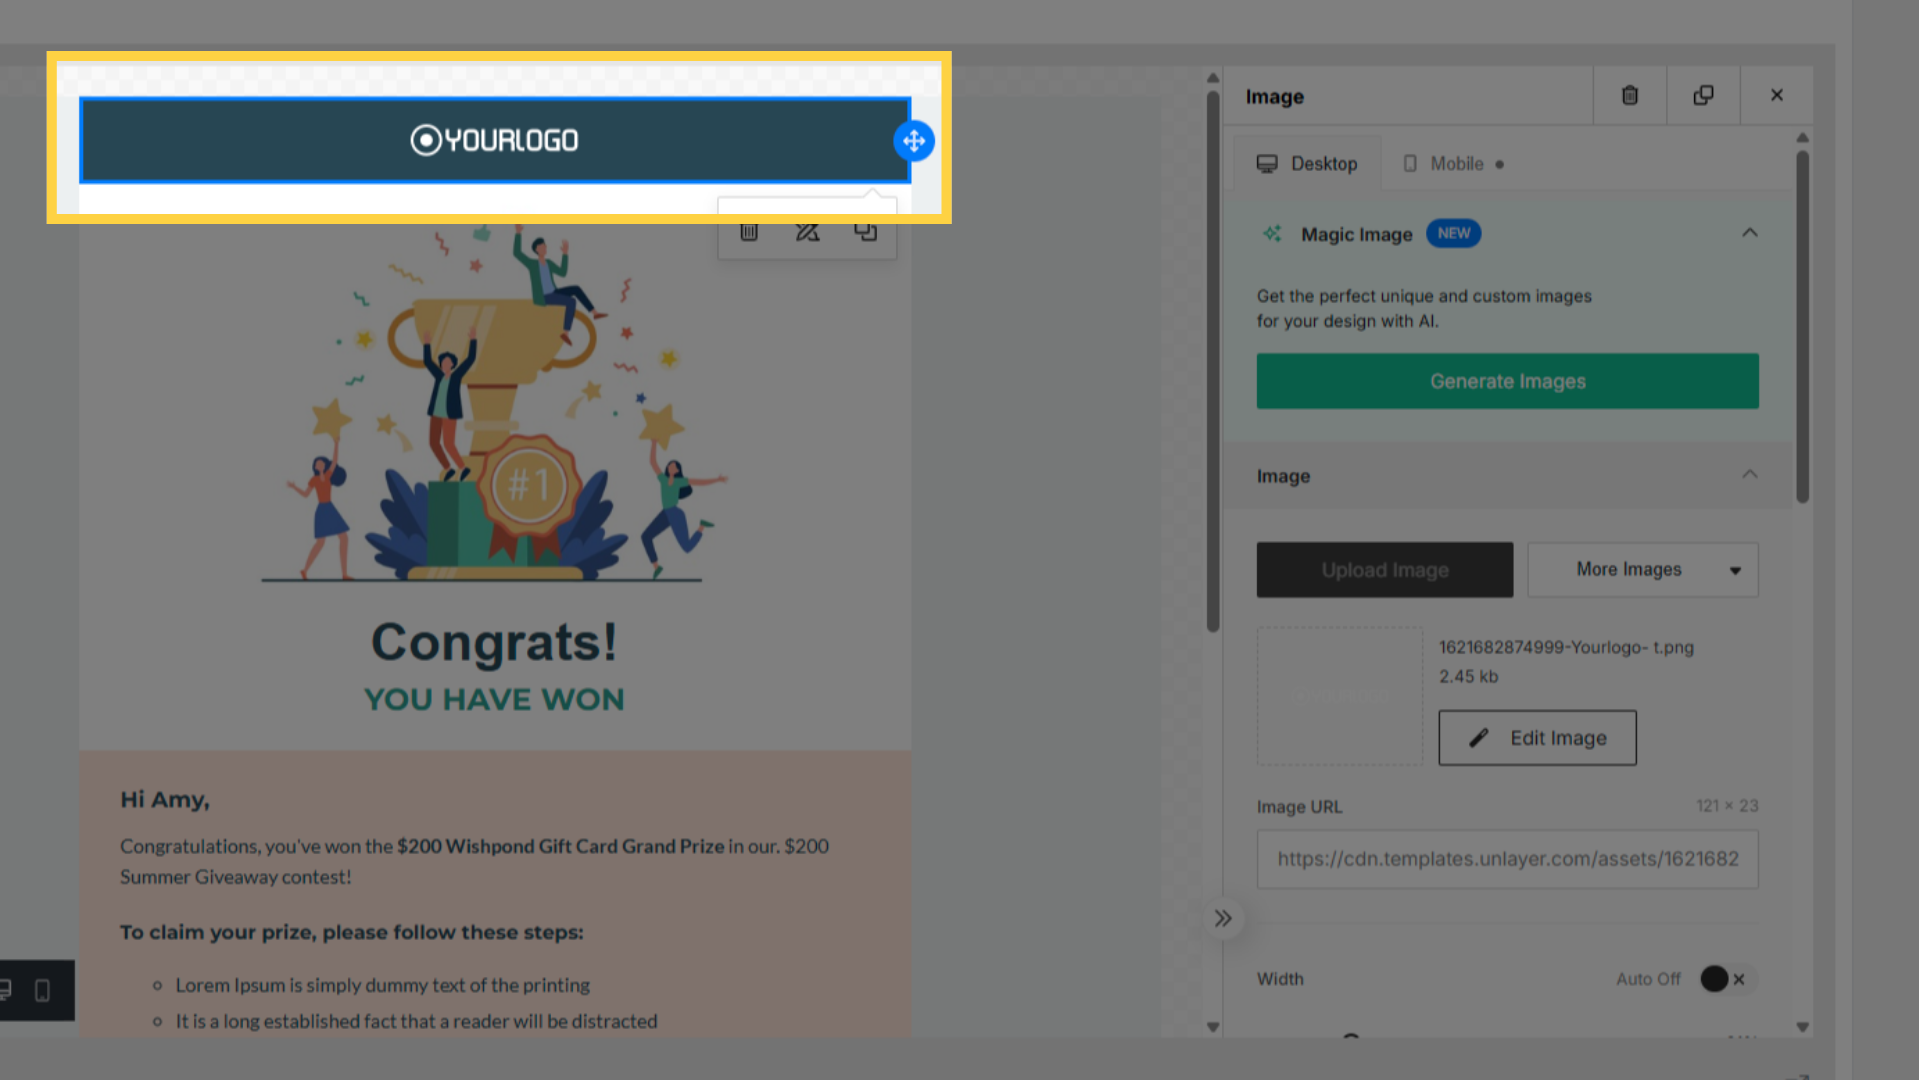
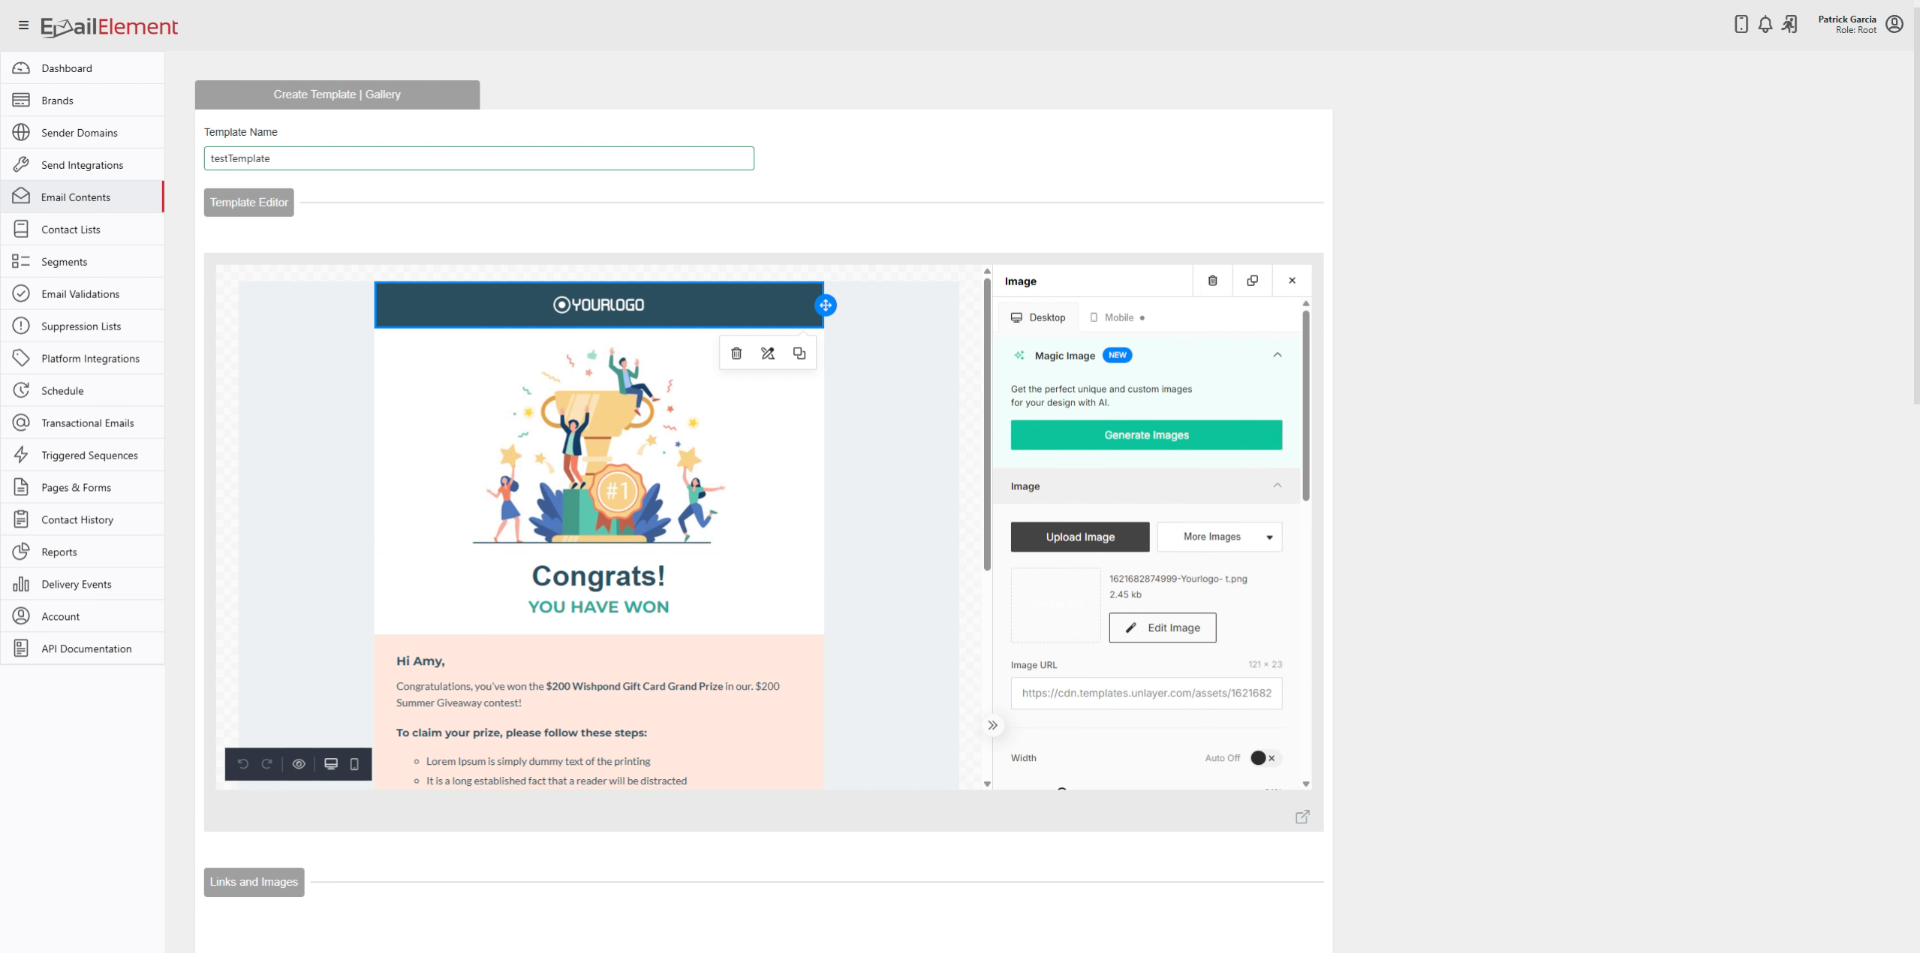
Click any element (image, text, button) to edit it.
Upload images to replace placeholders.
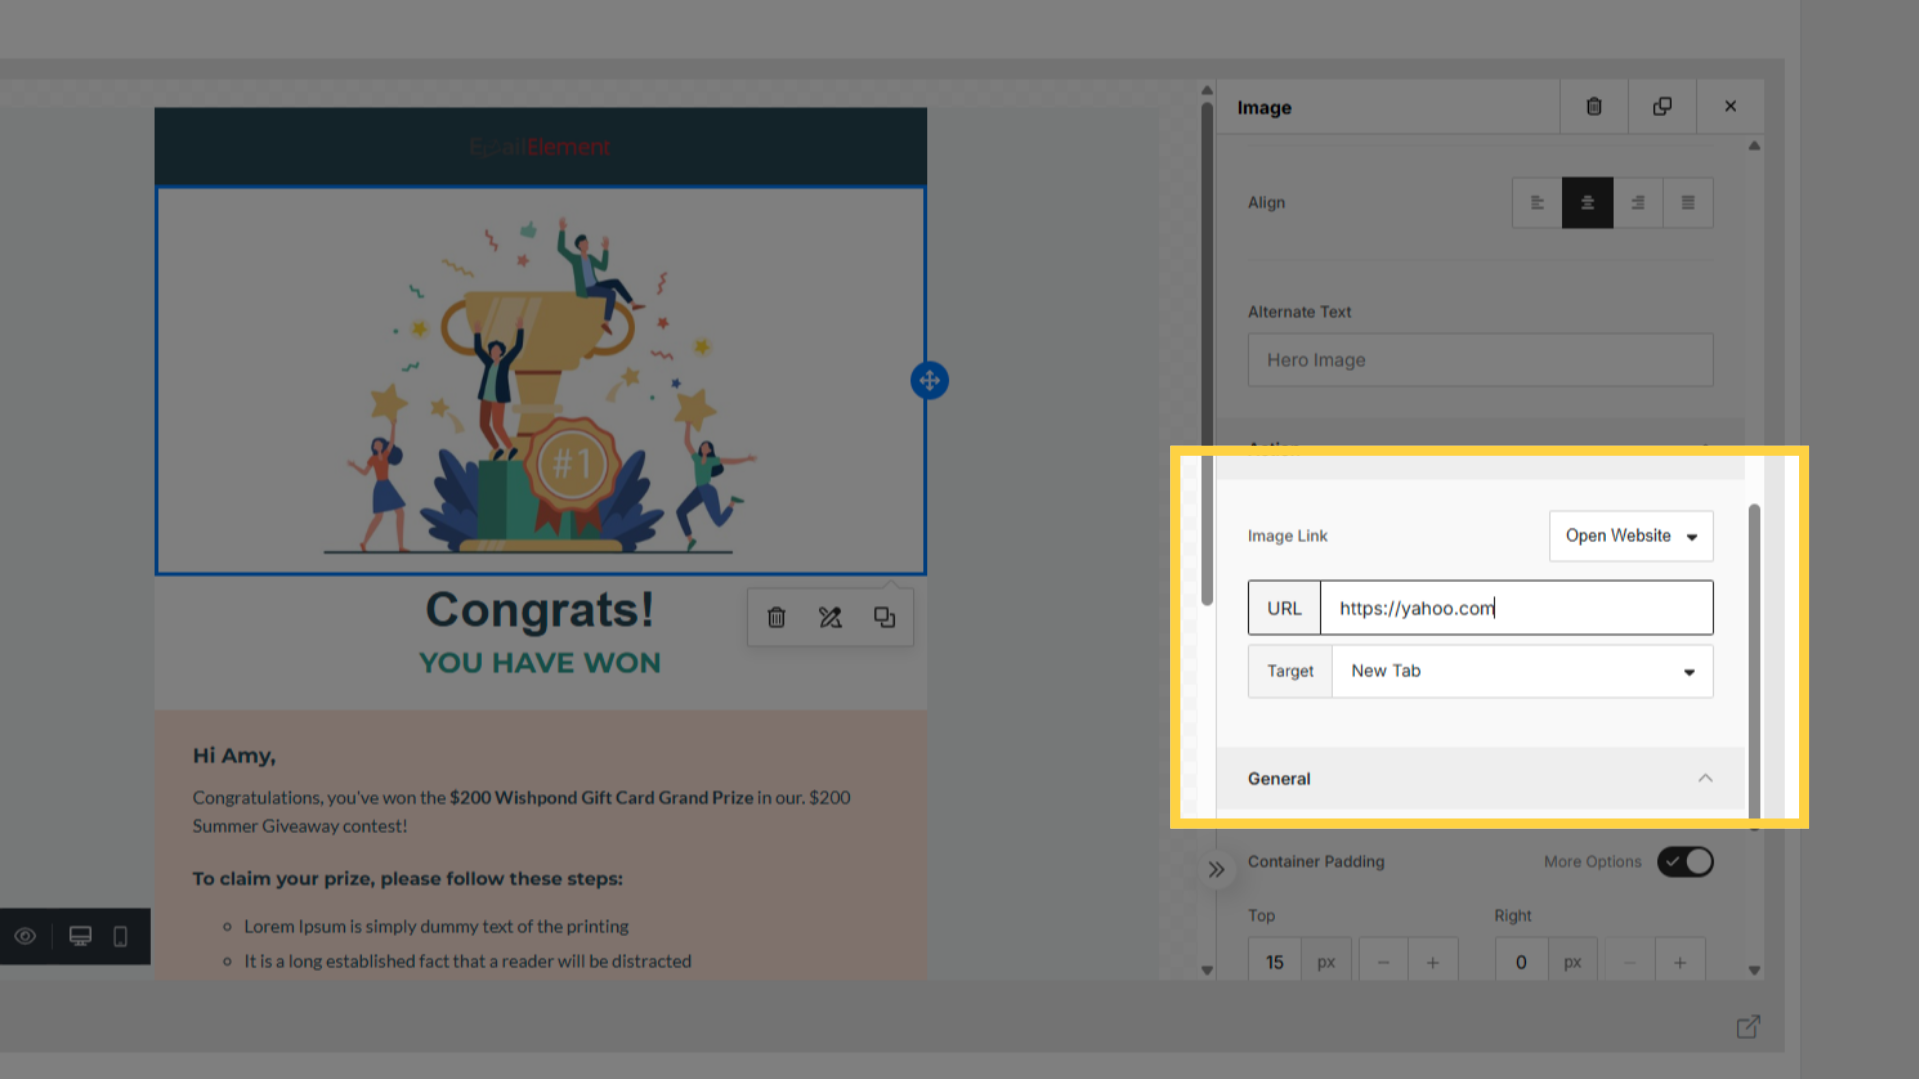
Add URLs to buttons and links.
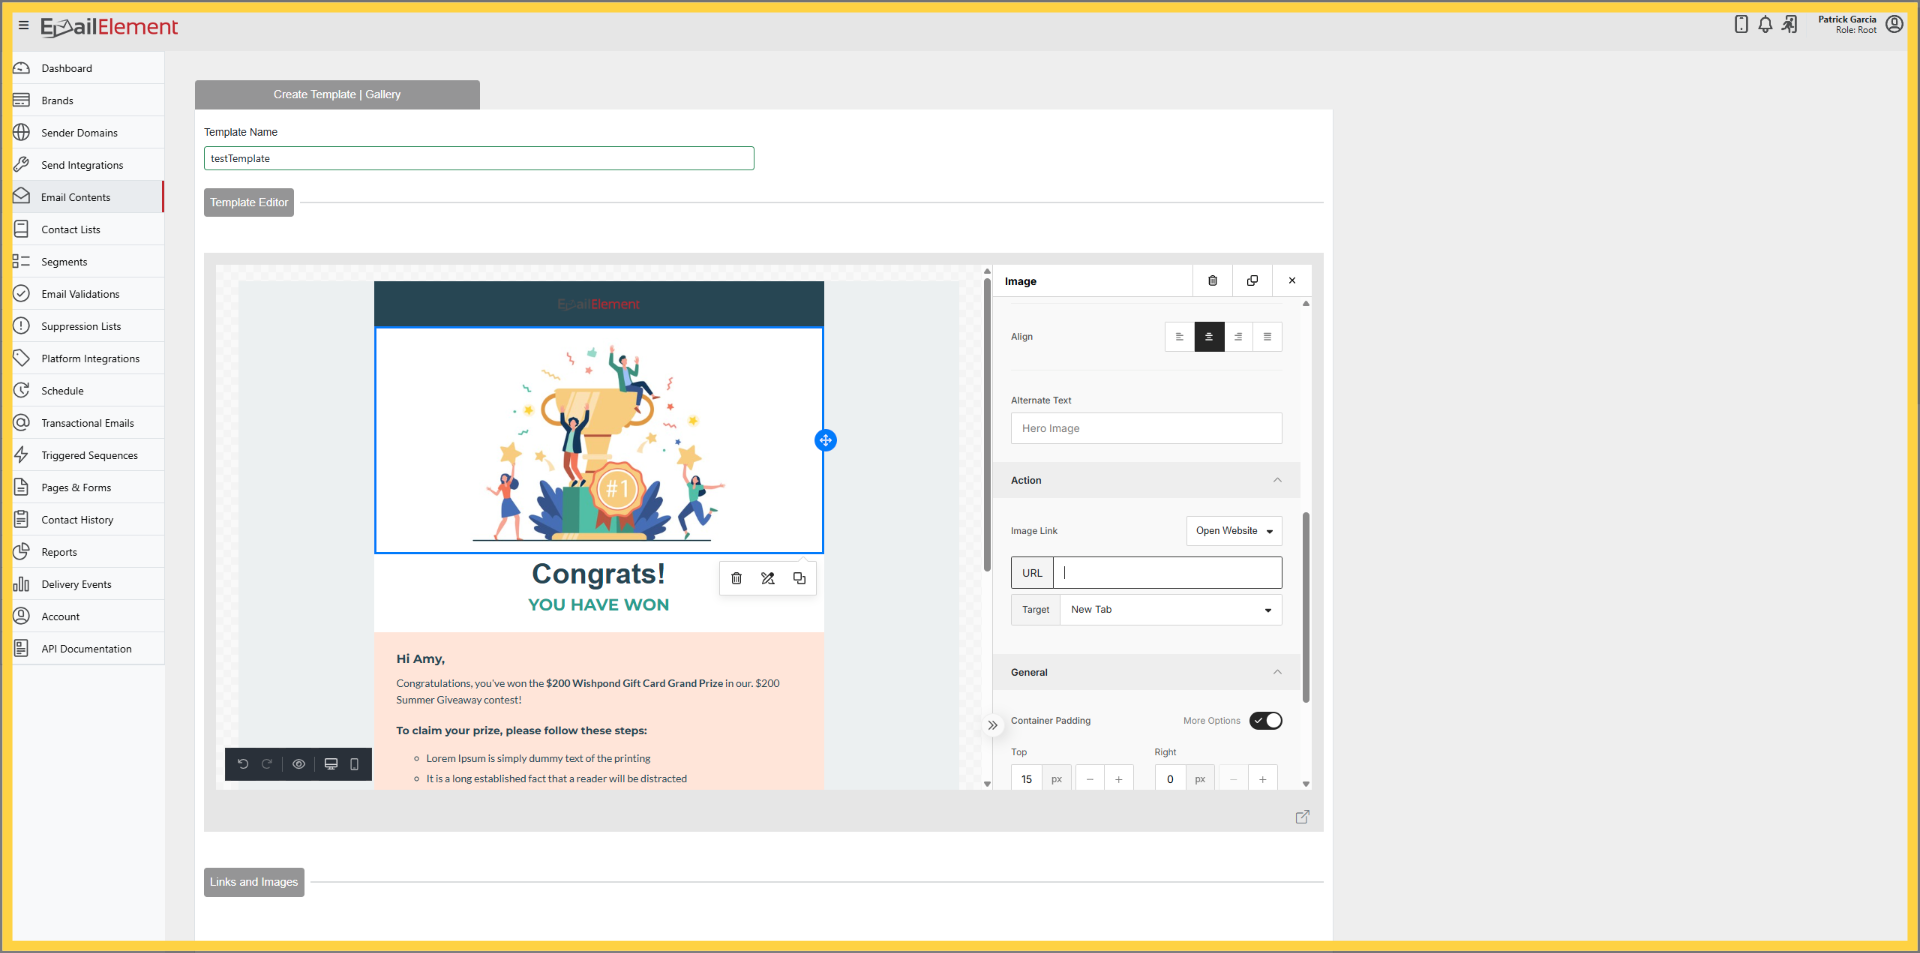
Modify text, colors, and layout.
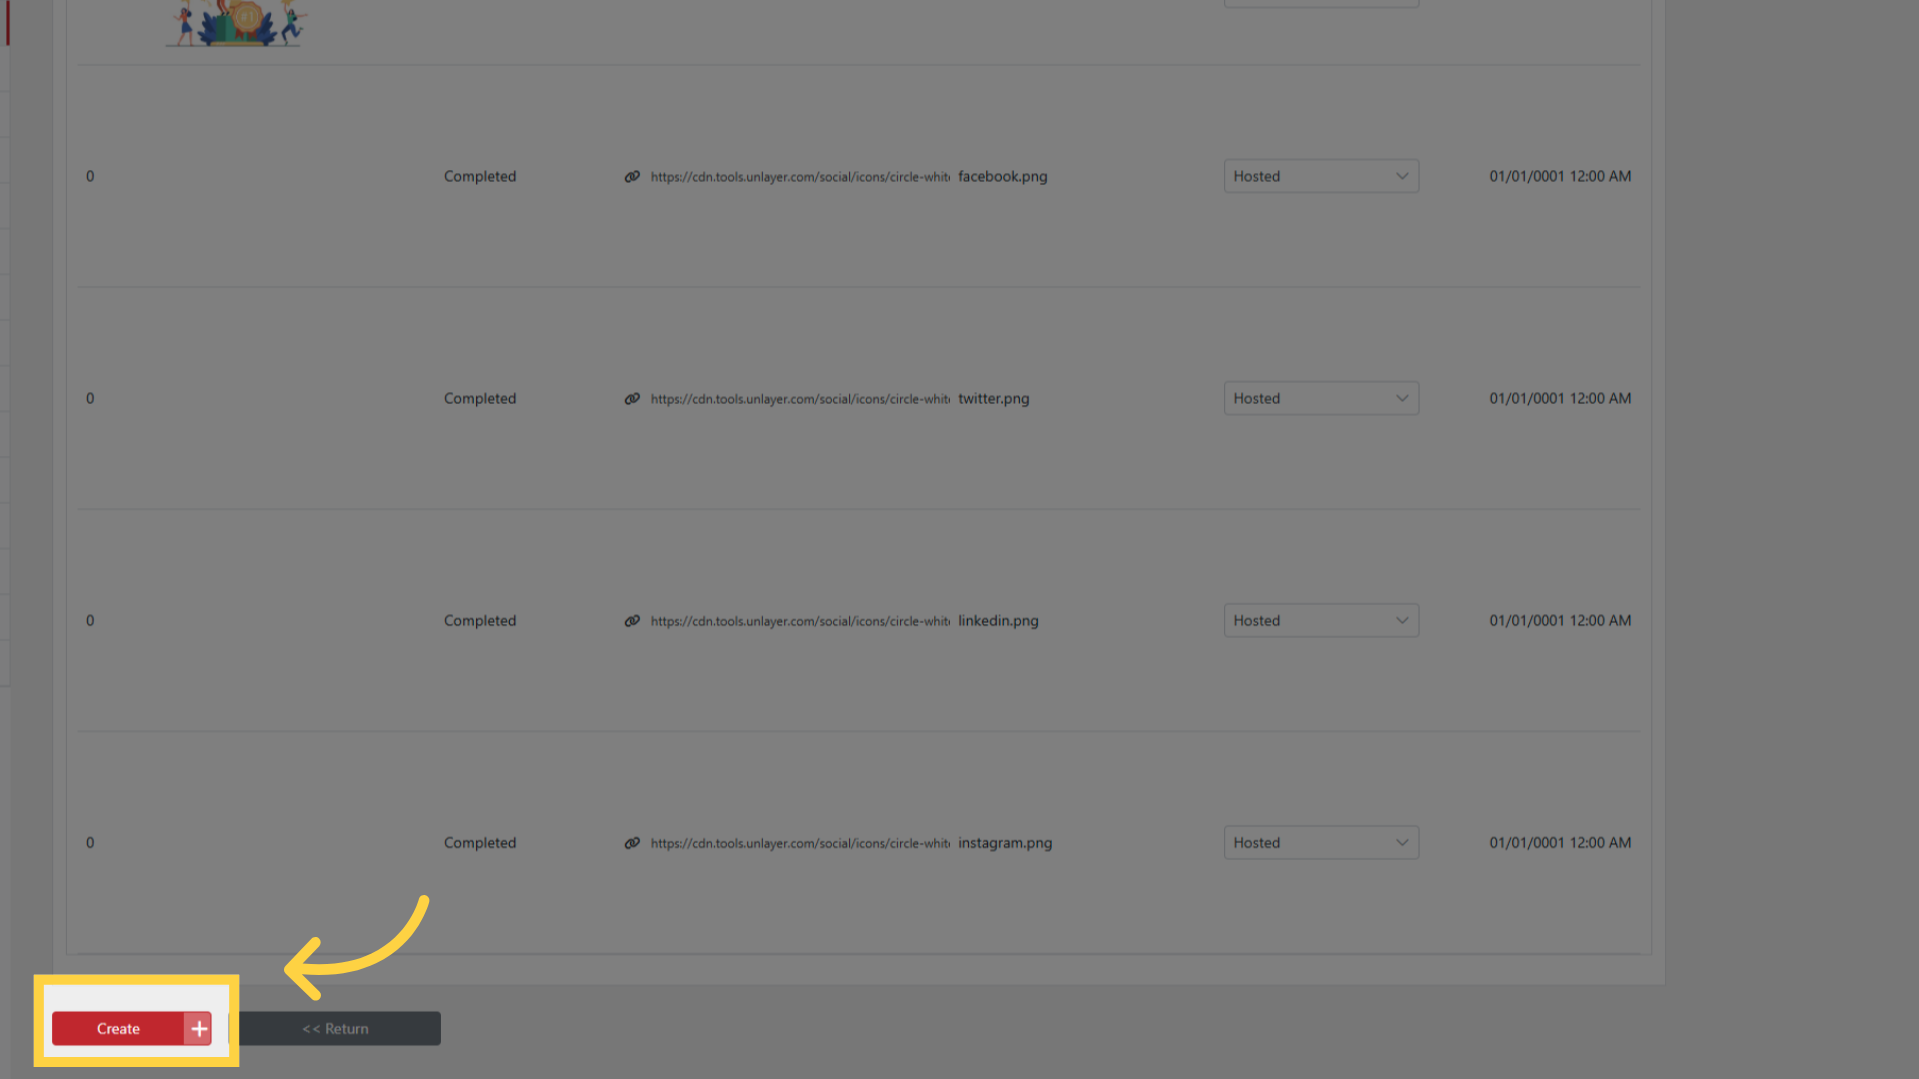
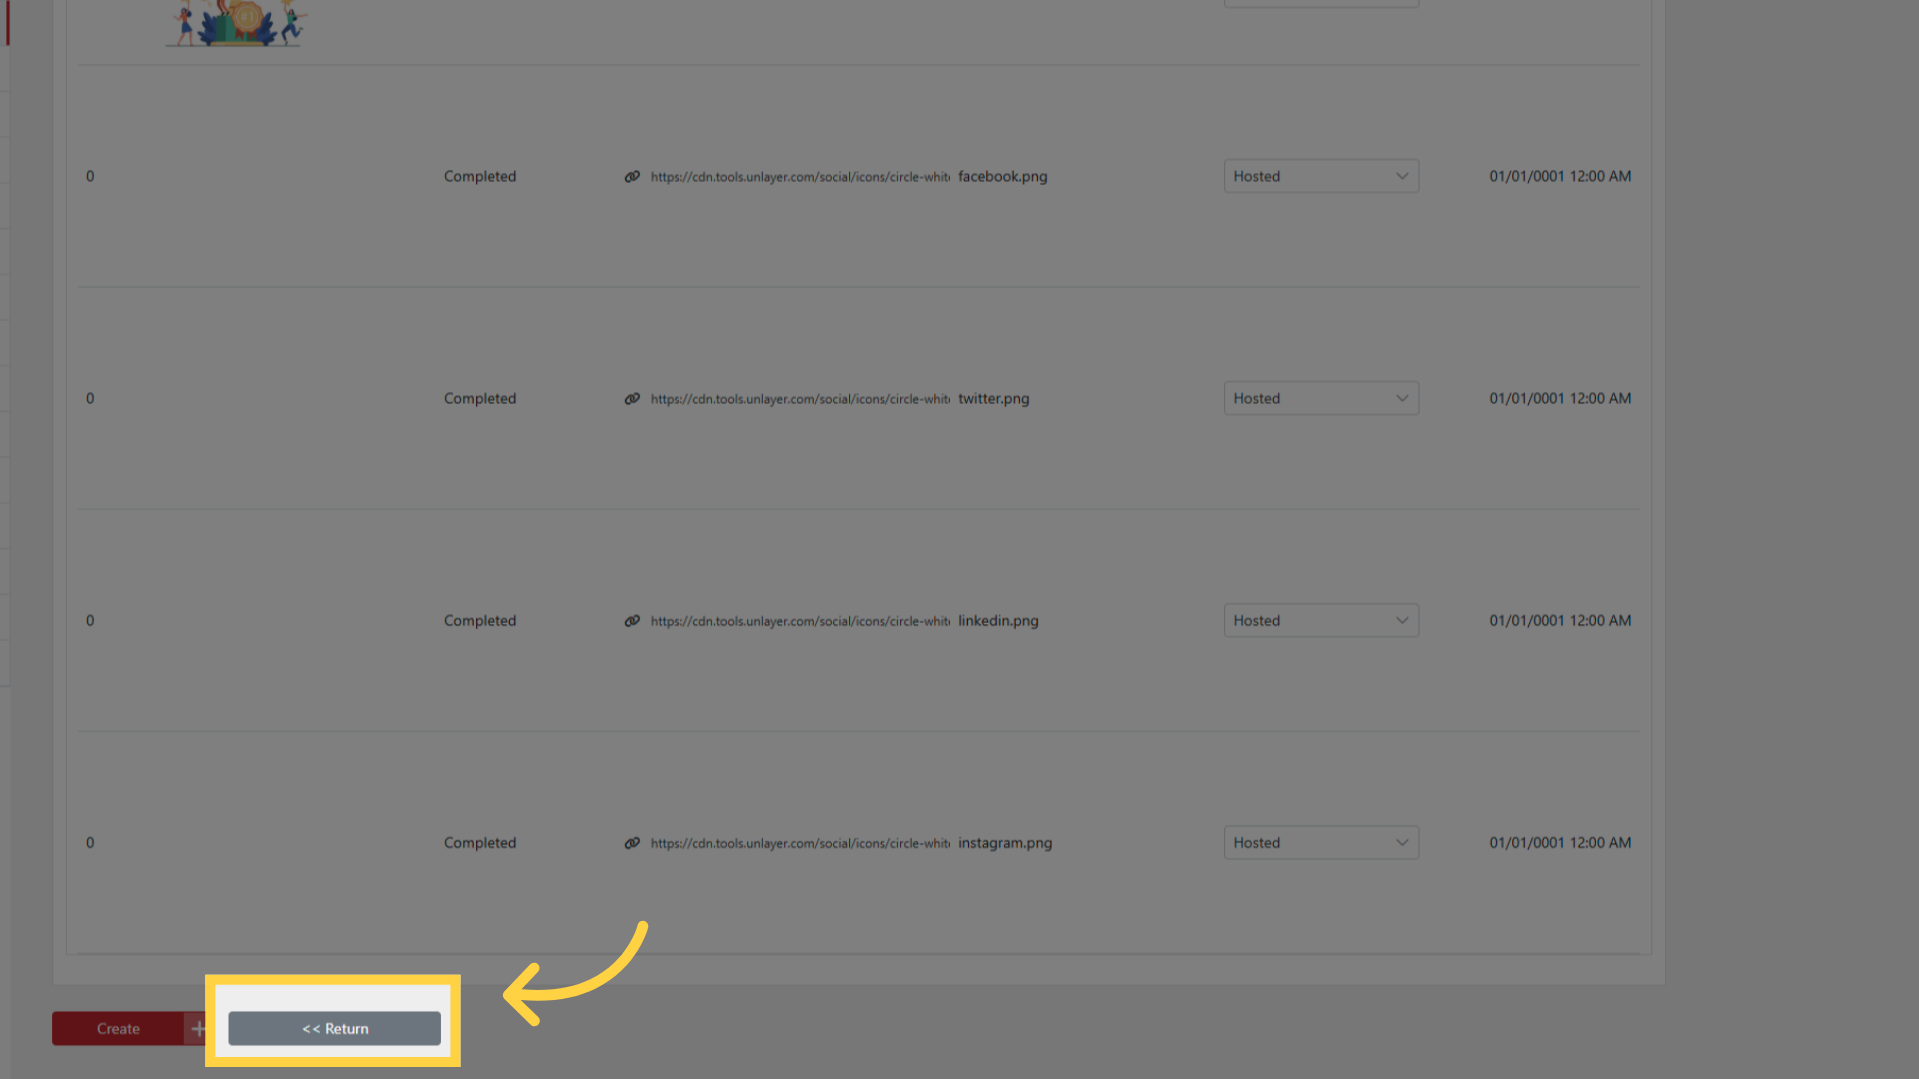
Click Create to save the template.
Custom HTML Templates
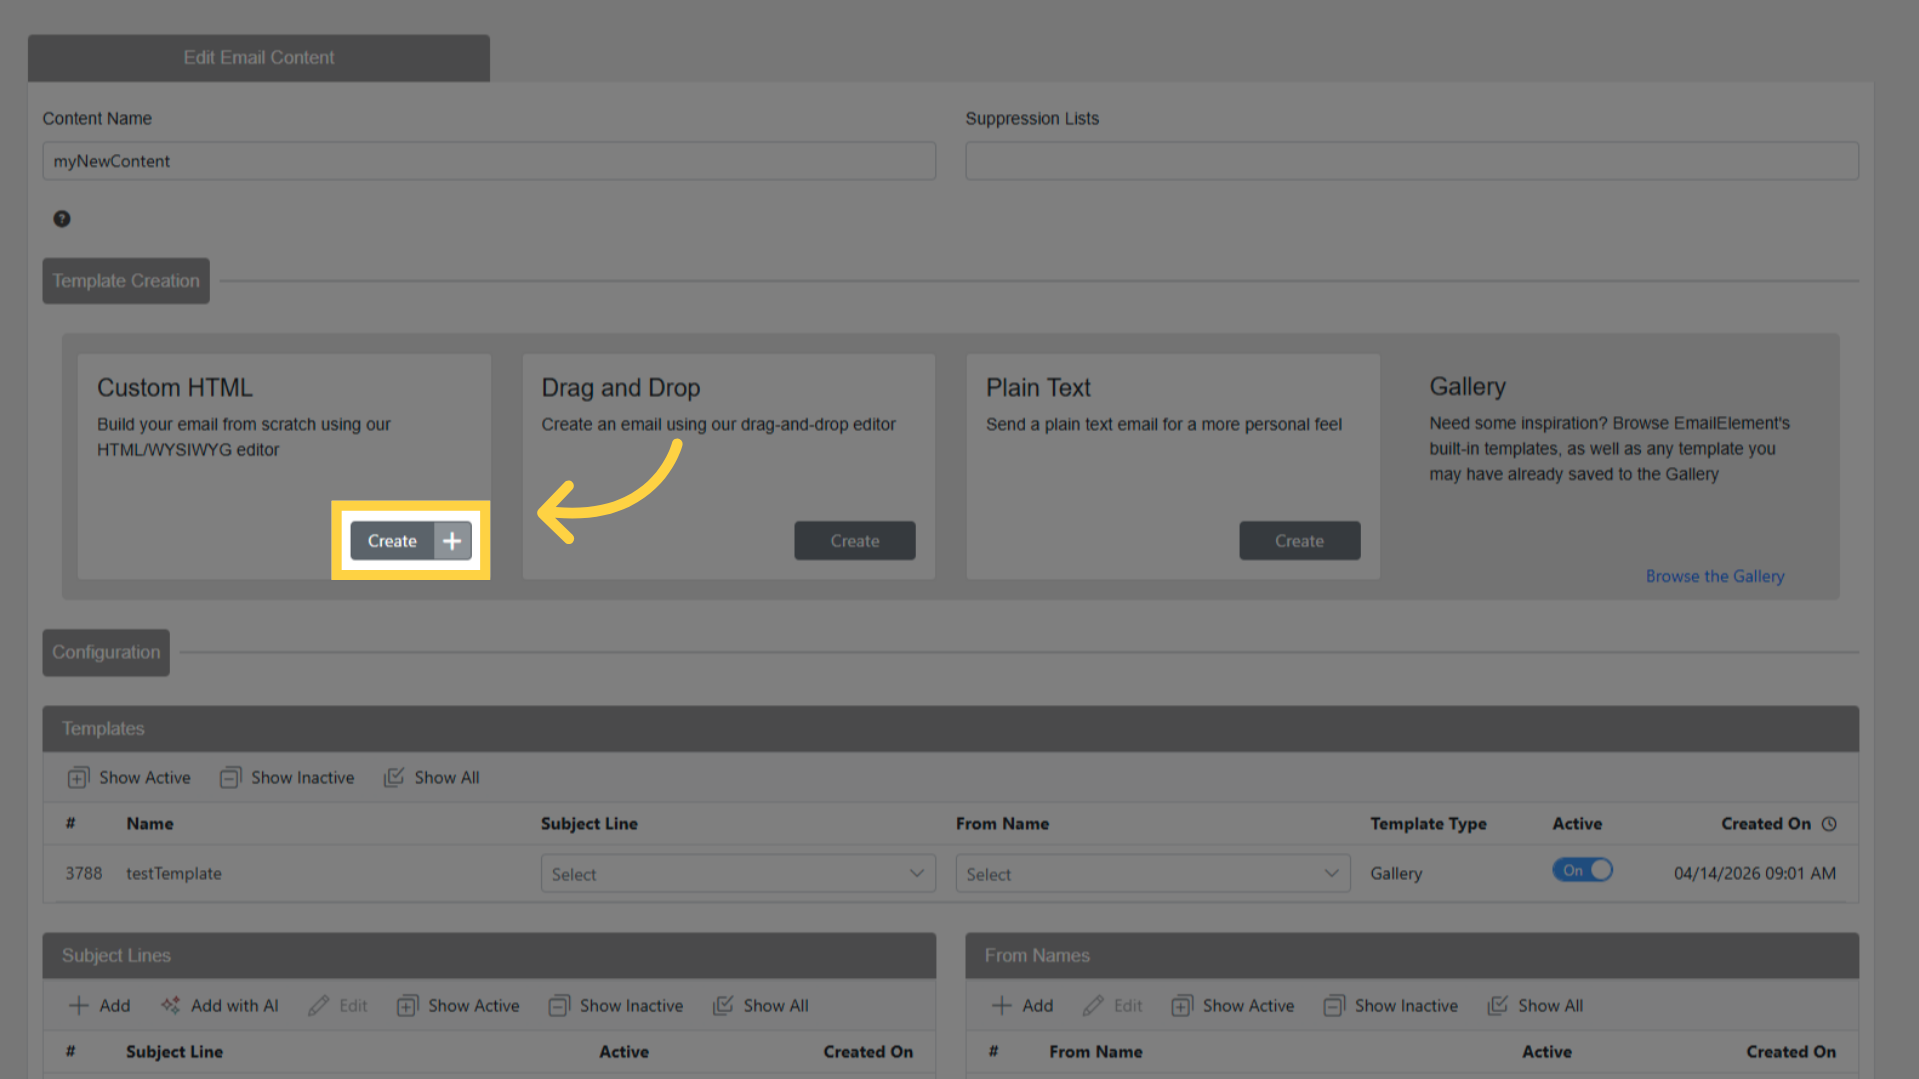
Click Create under the Custom HTML section.
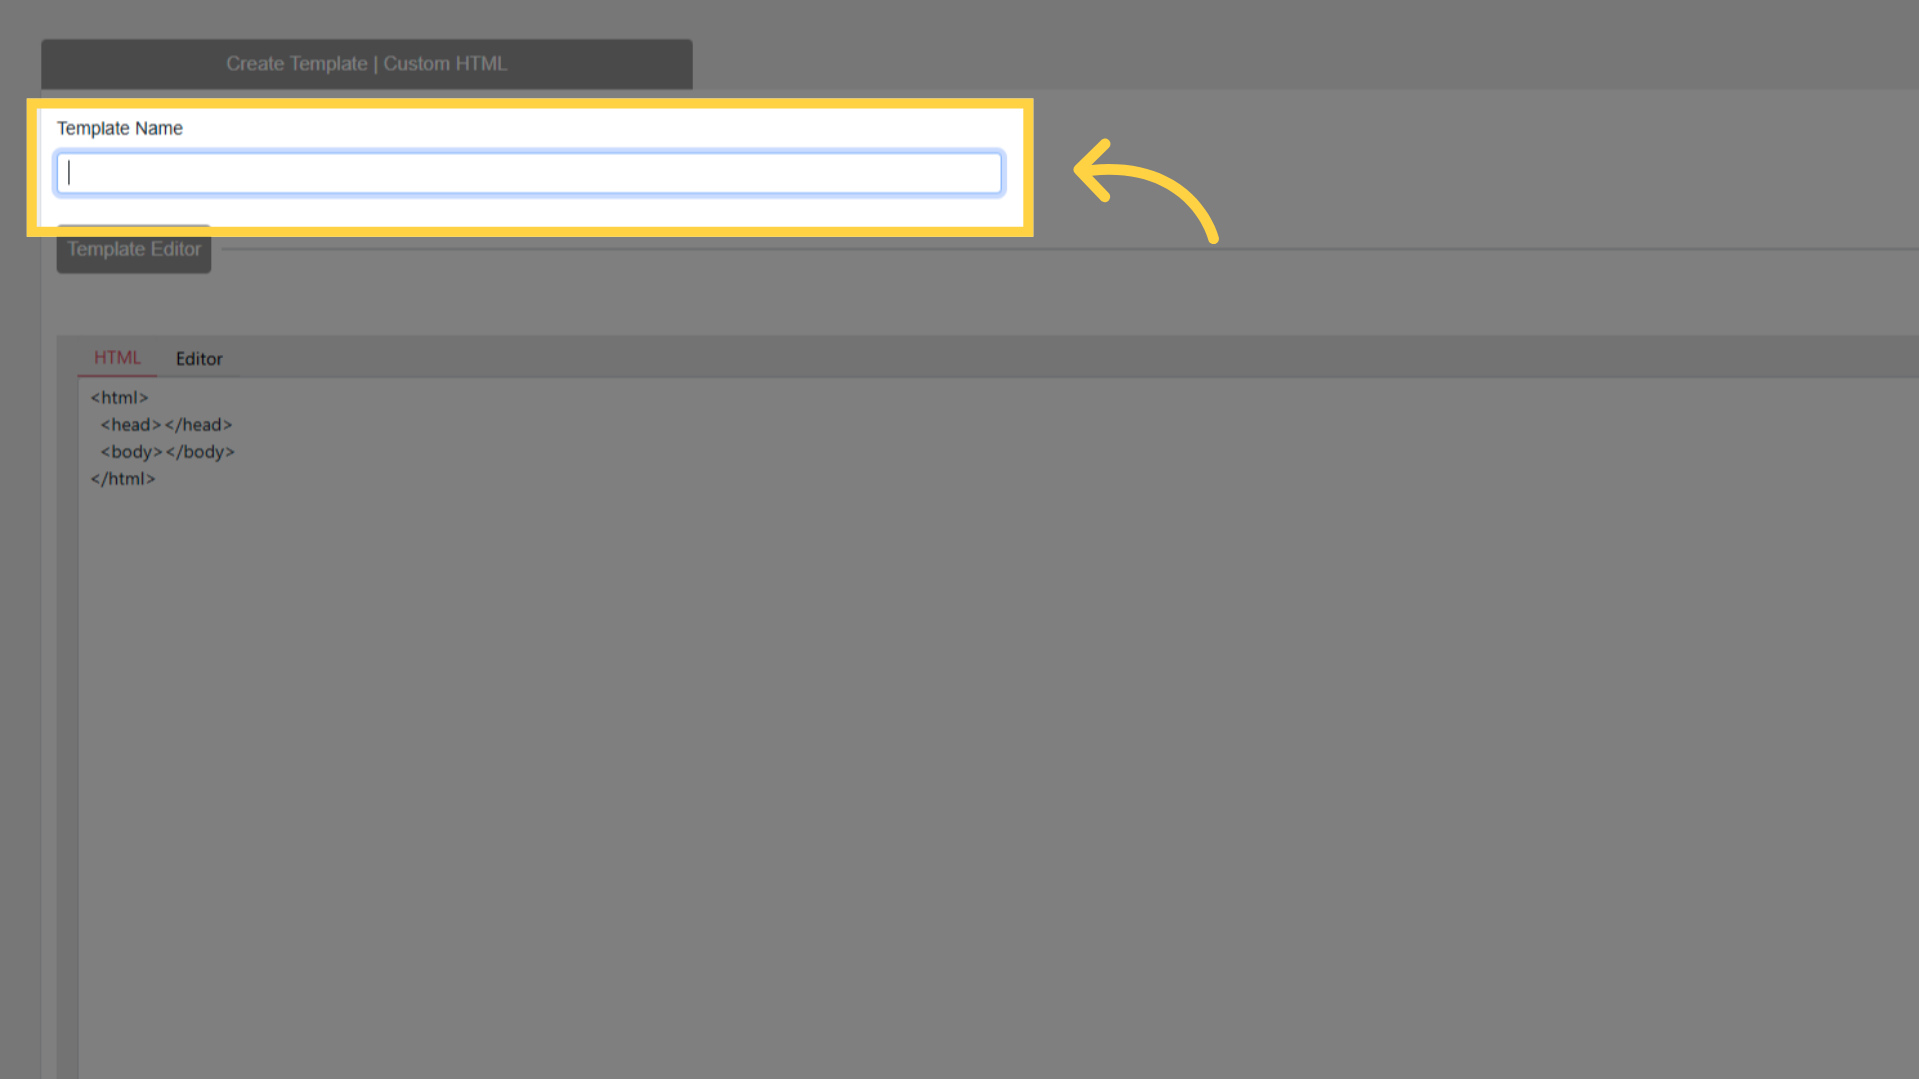
Enter a name for the template.
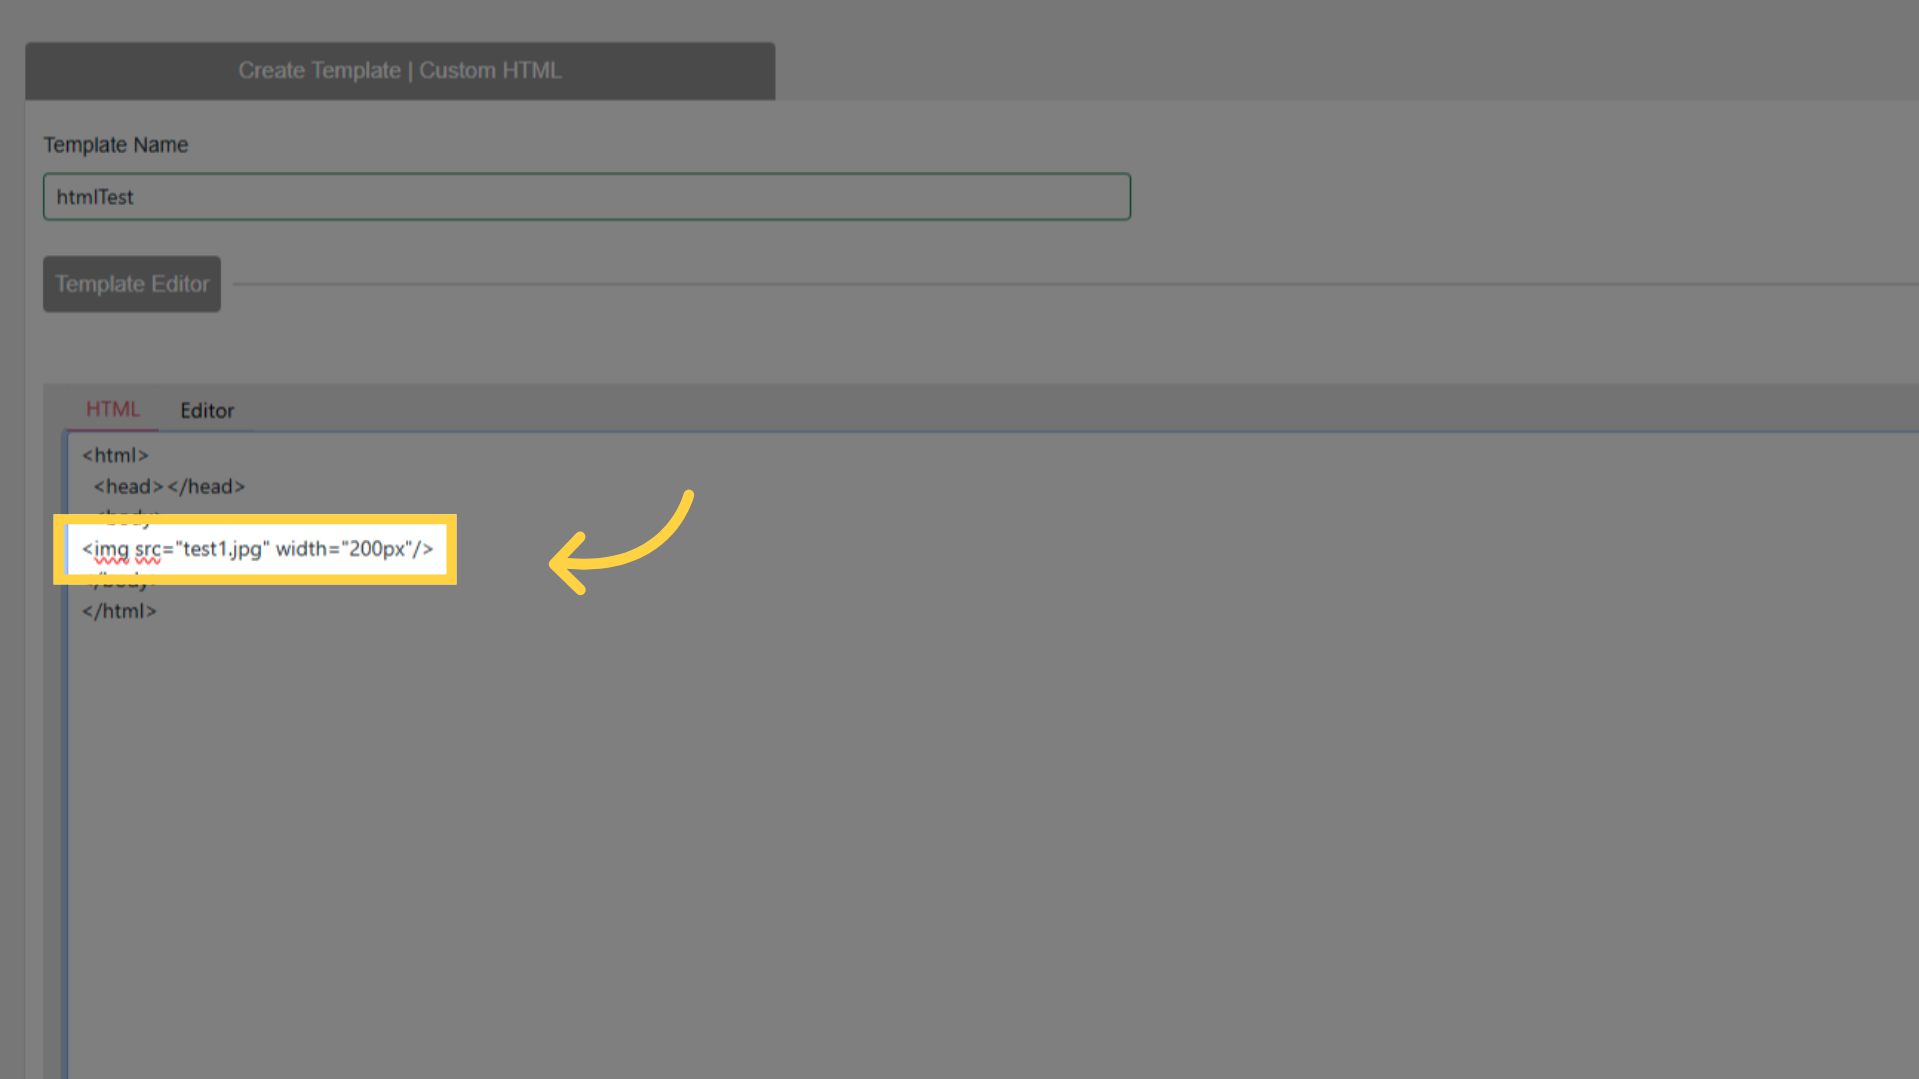
Paste your HTML into the code editor.
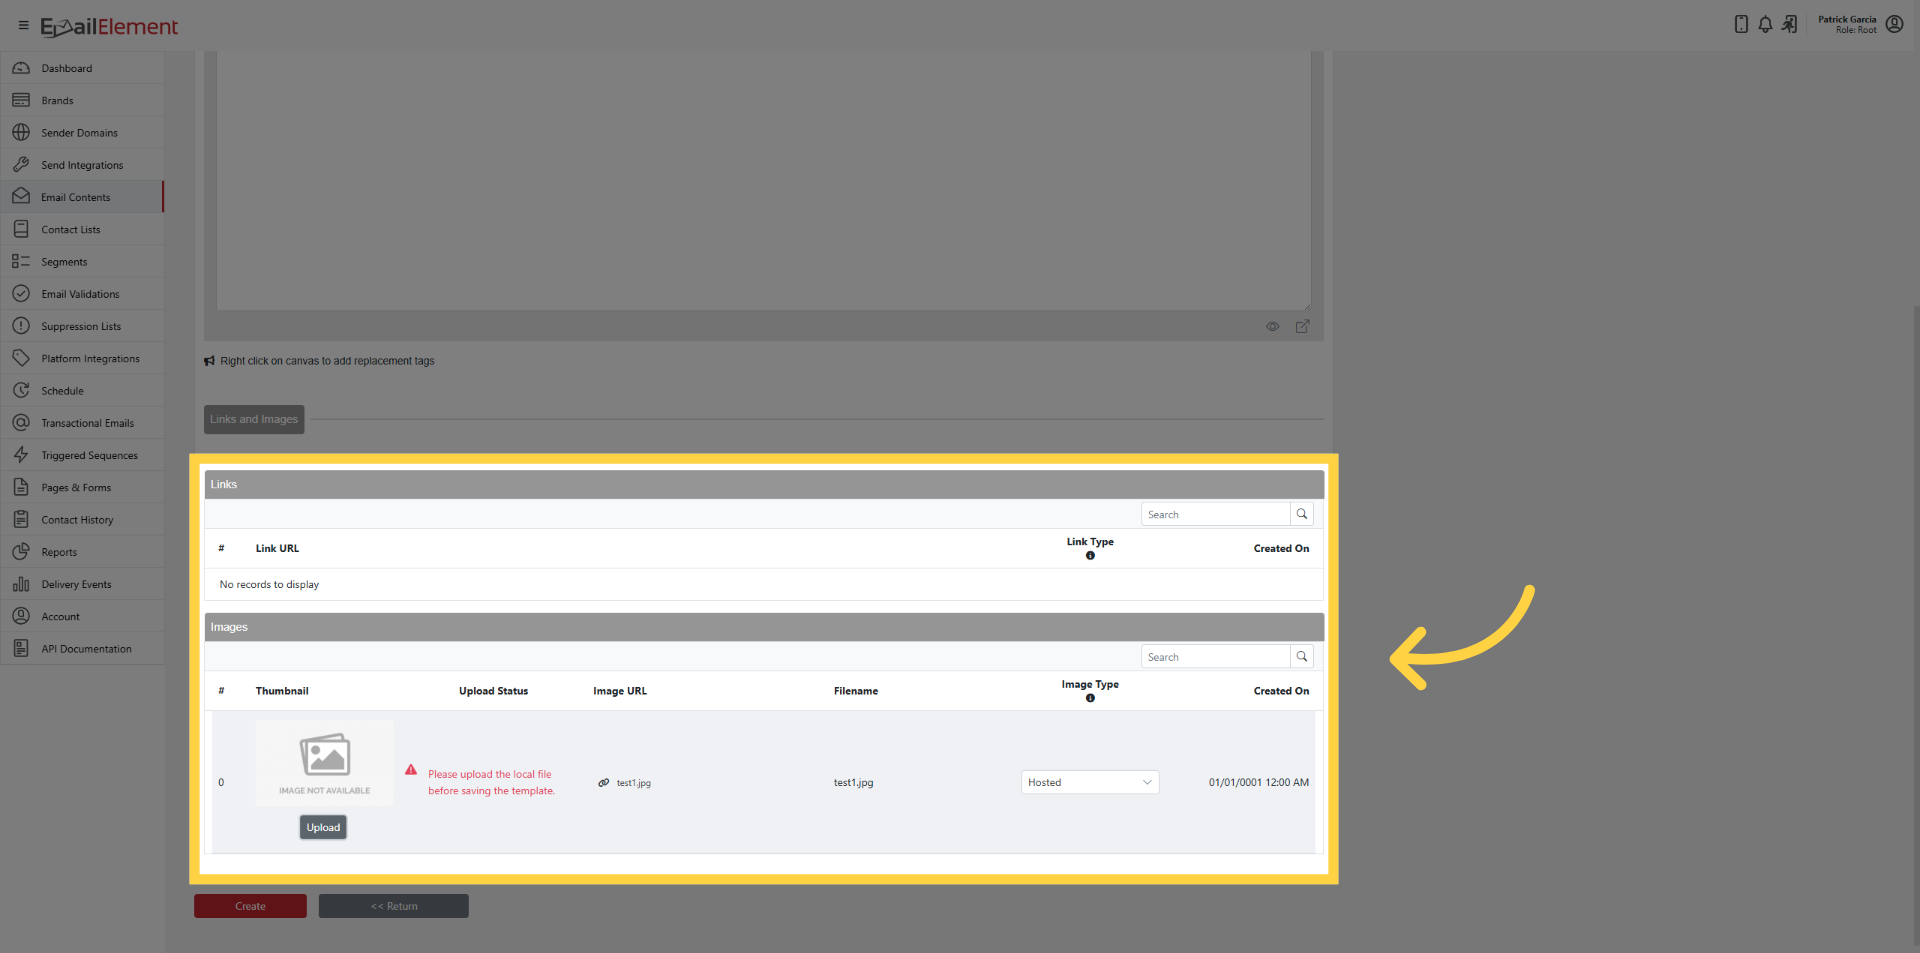
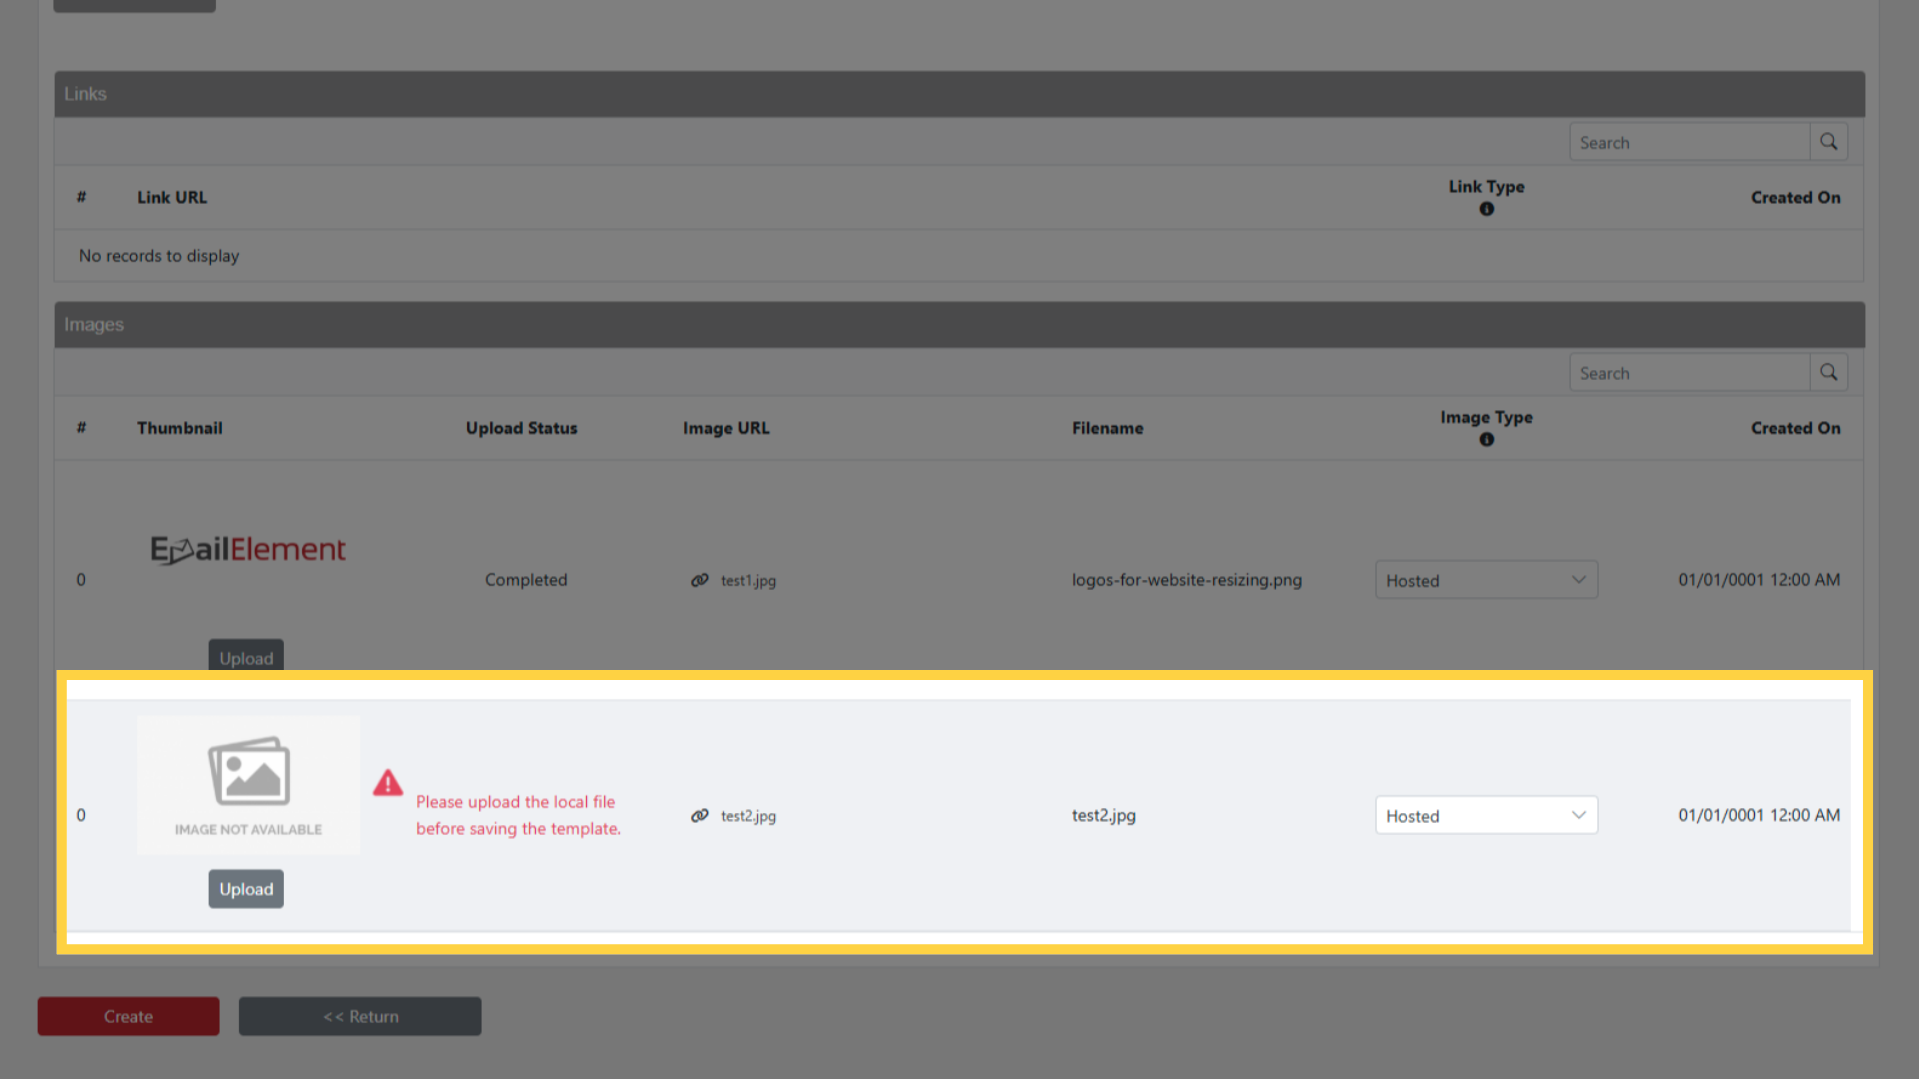
Links and images in the HTML are automatically parsed and displayed in grids below the editor.
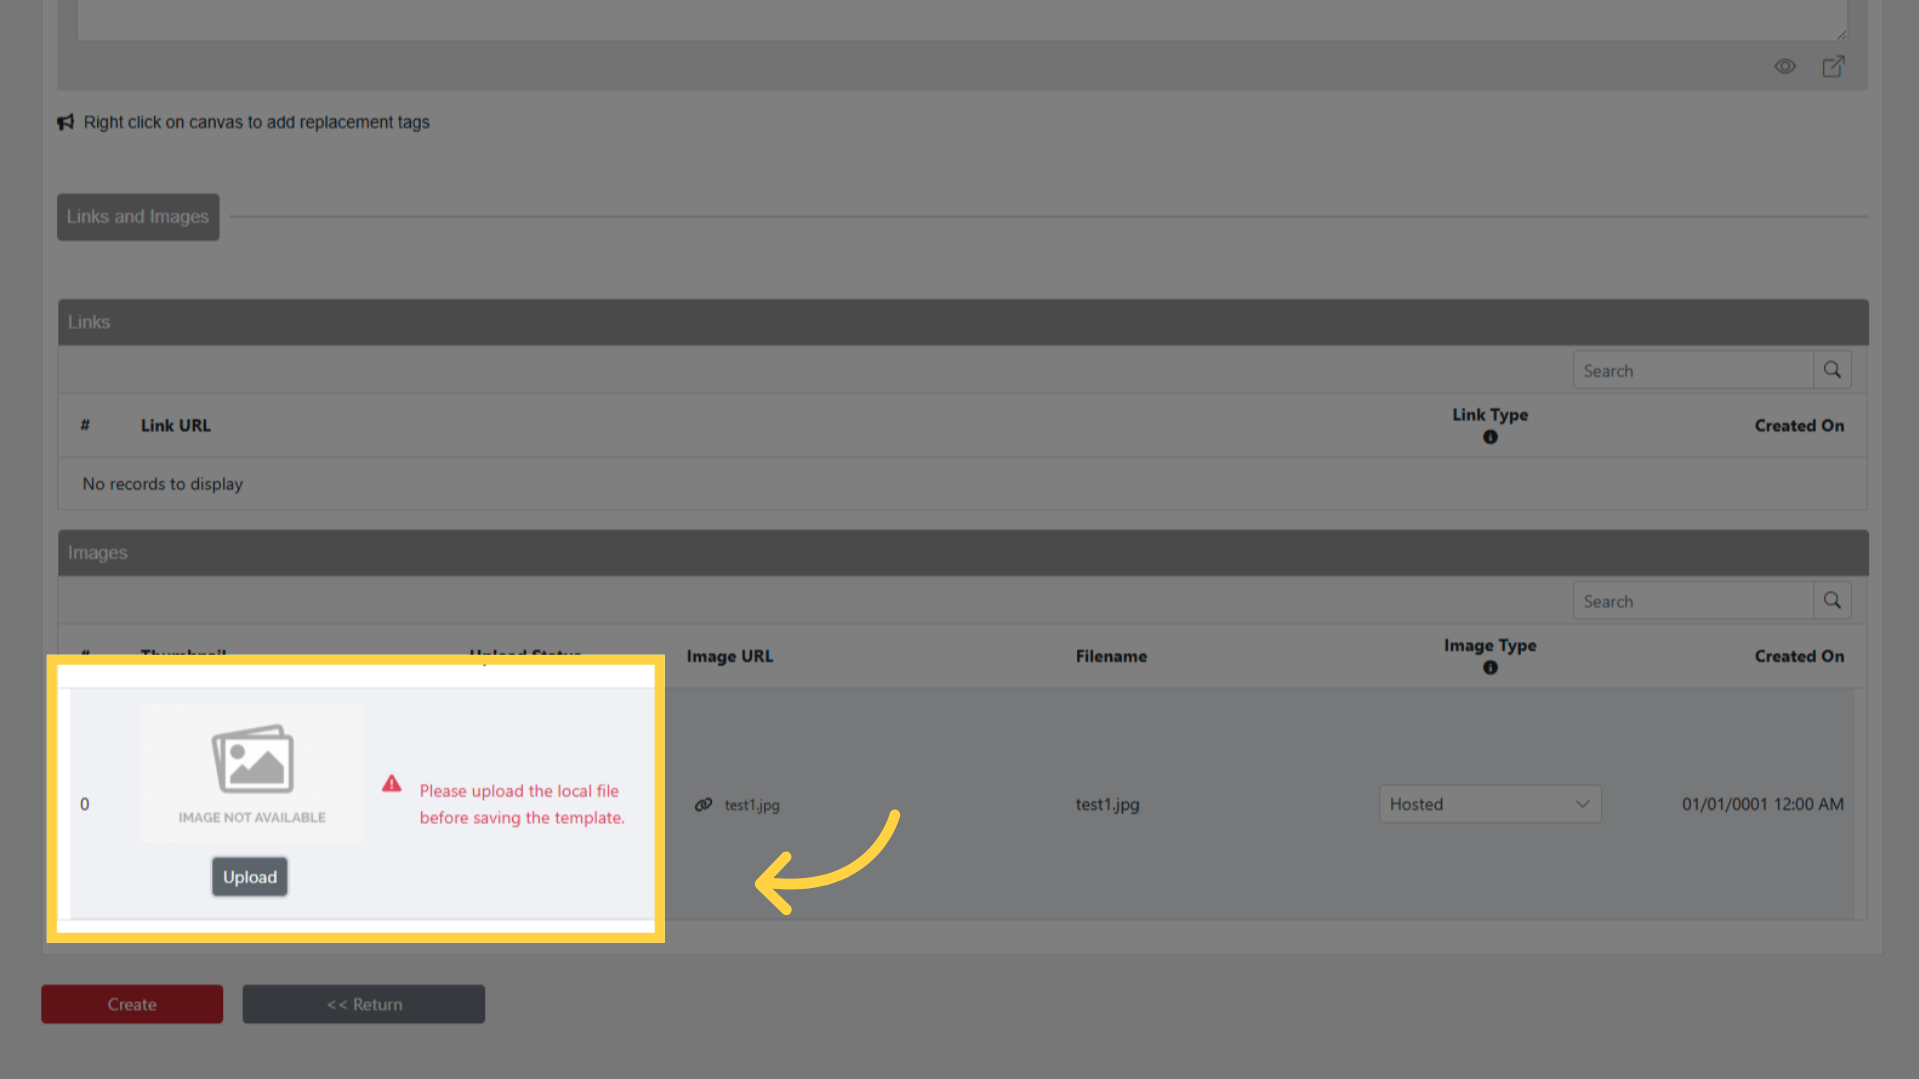
Upload images using the image upload area. Supported formats: JPEG, GIF, PNG, BMP, WebP. Images are hosted on EmailElement infrastructure.
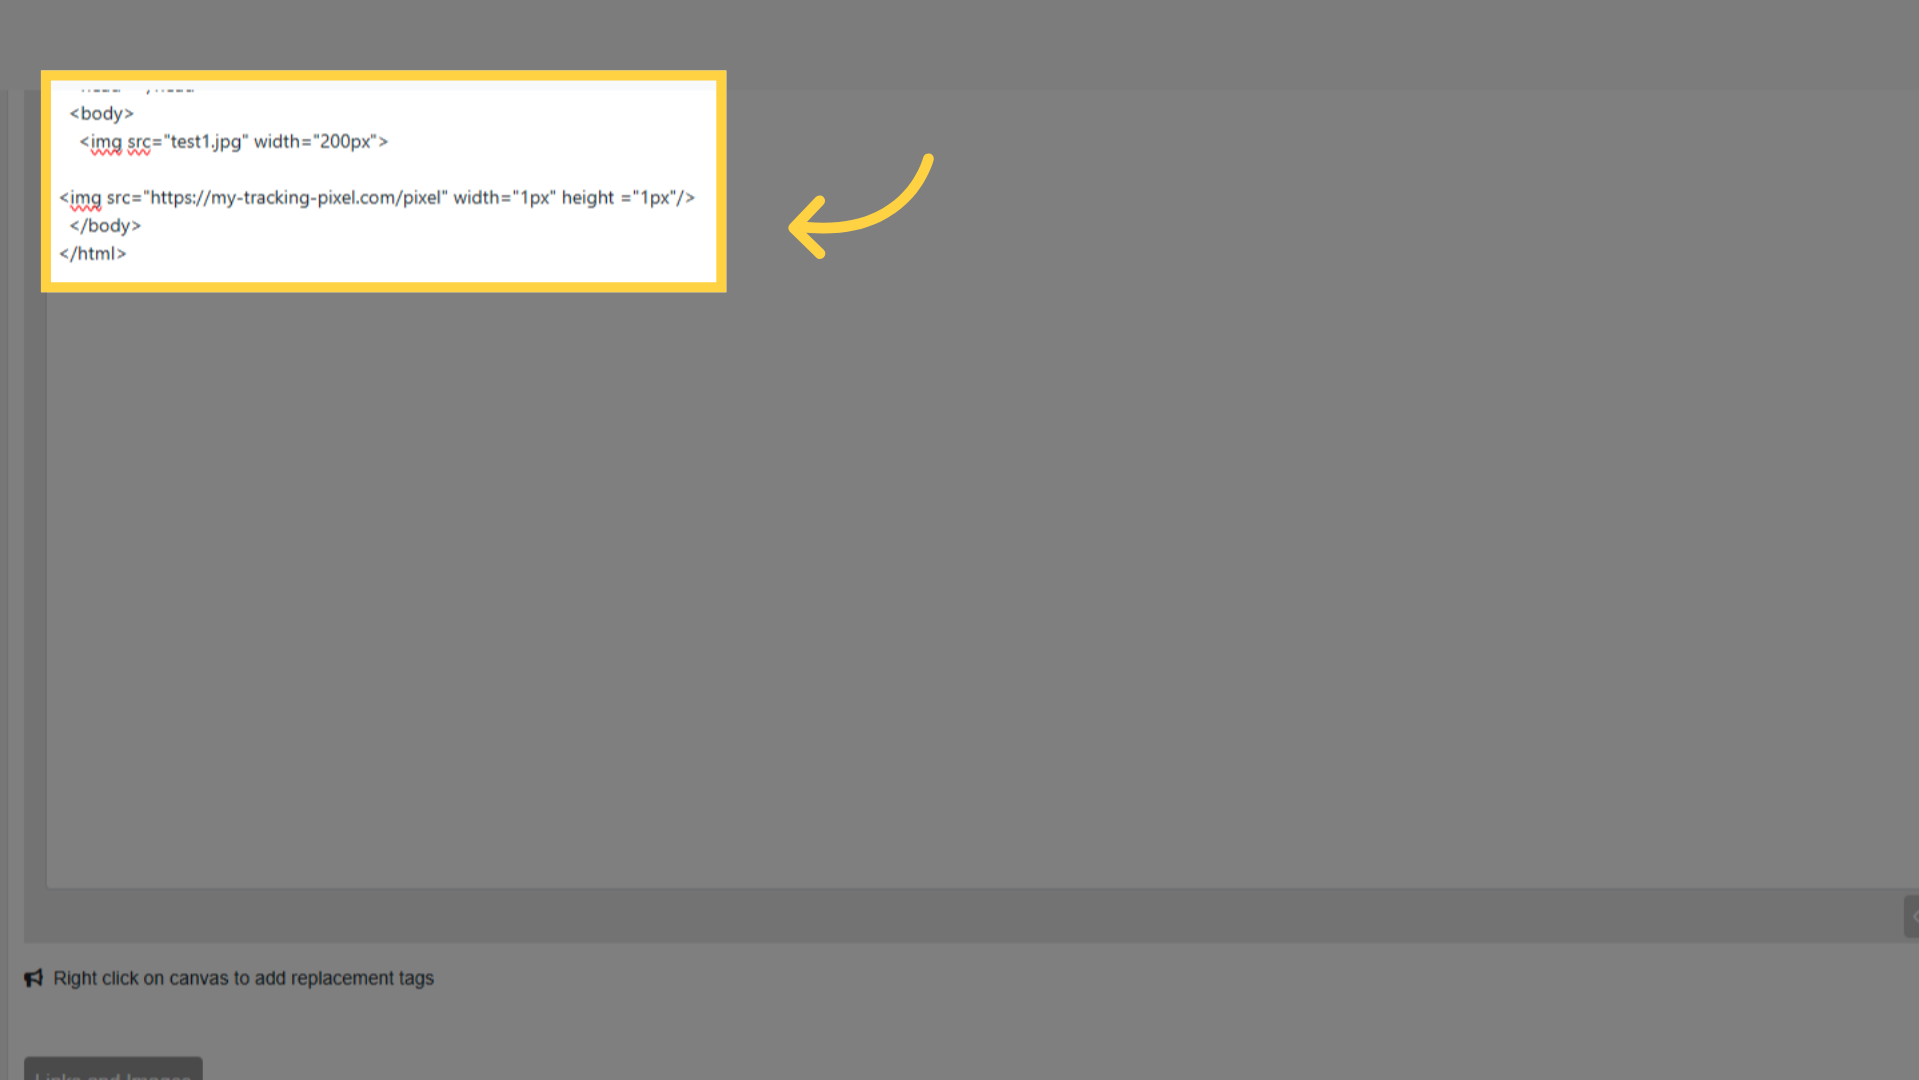
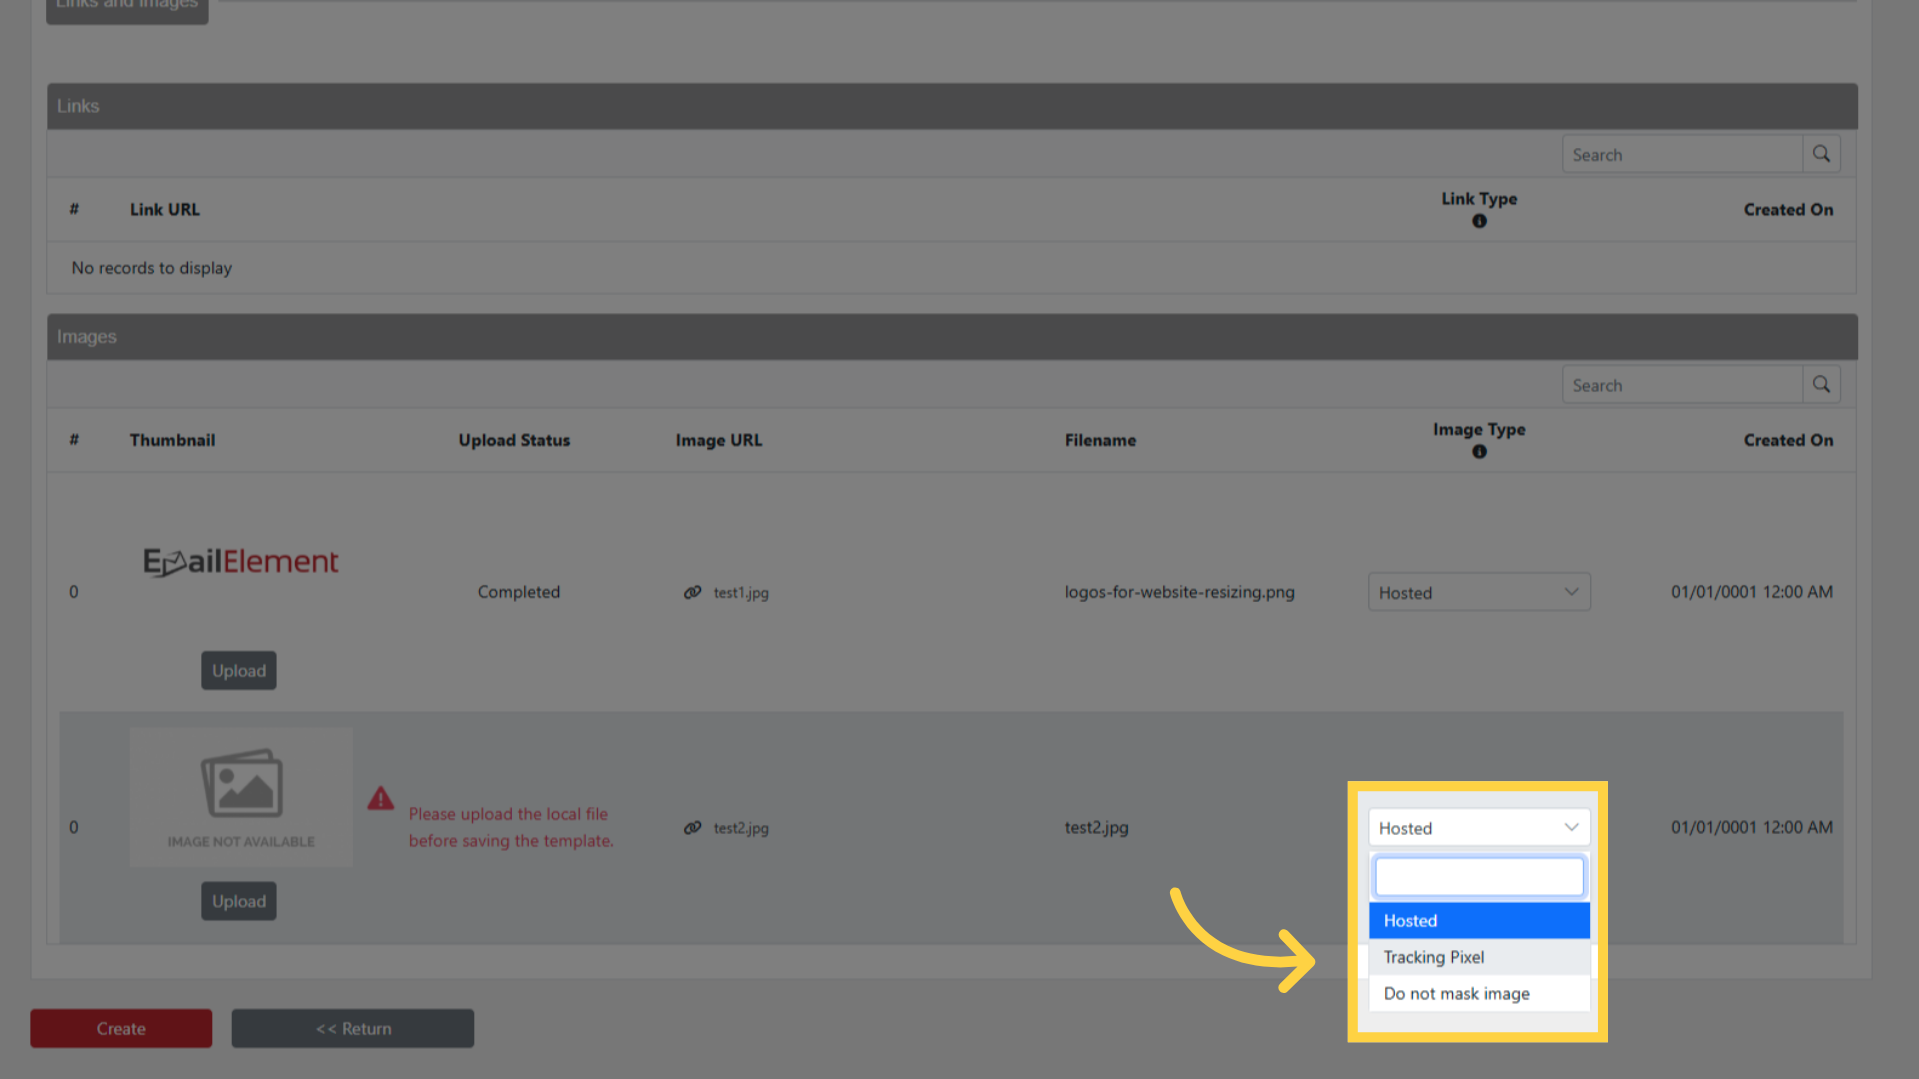
If your HTML contains a tracking pixel (typically a 1×1 image tag), set the Image Type dropdown to Track Pixel on that image. Track Pixel images are used for open tracking and do not require an actual image upload.
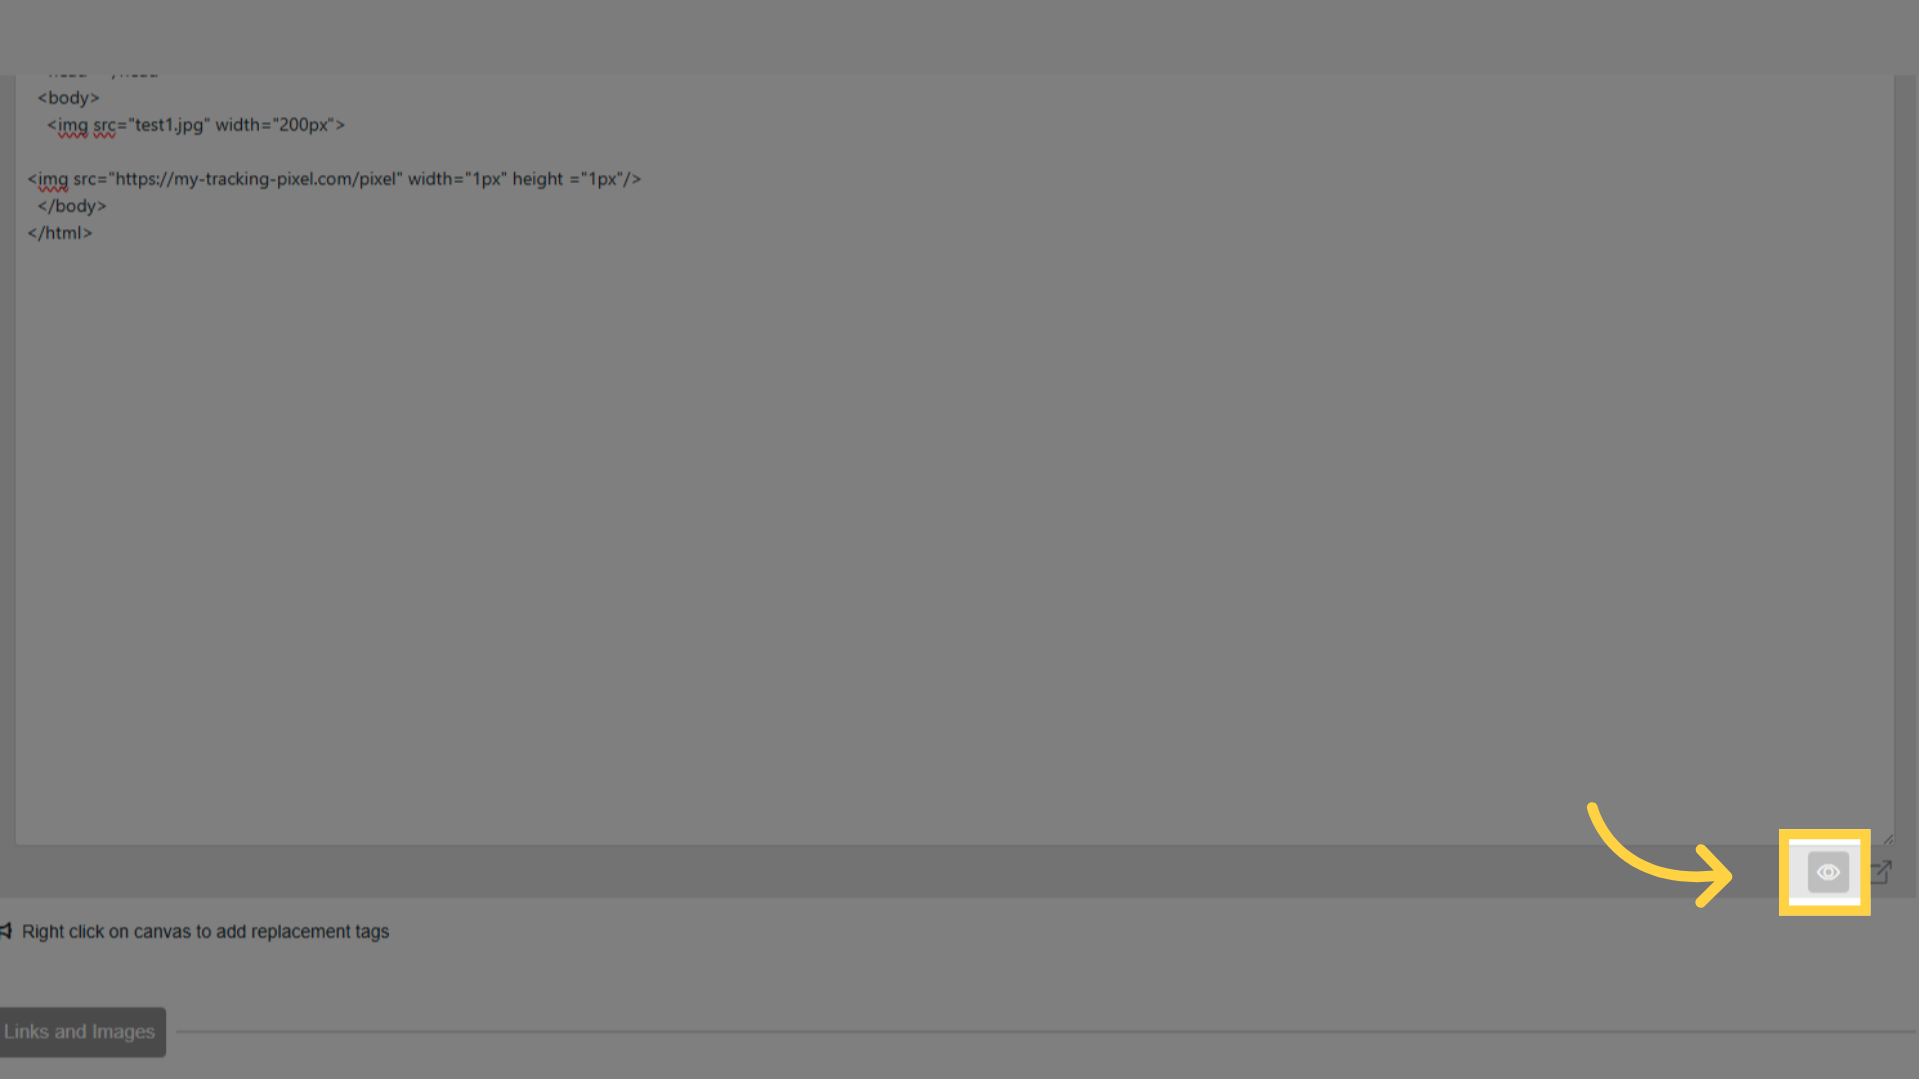
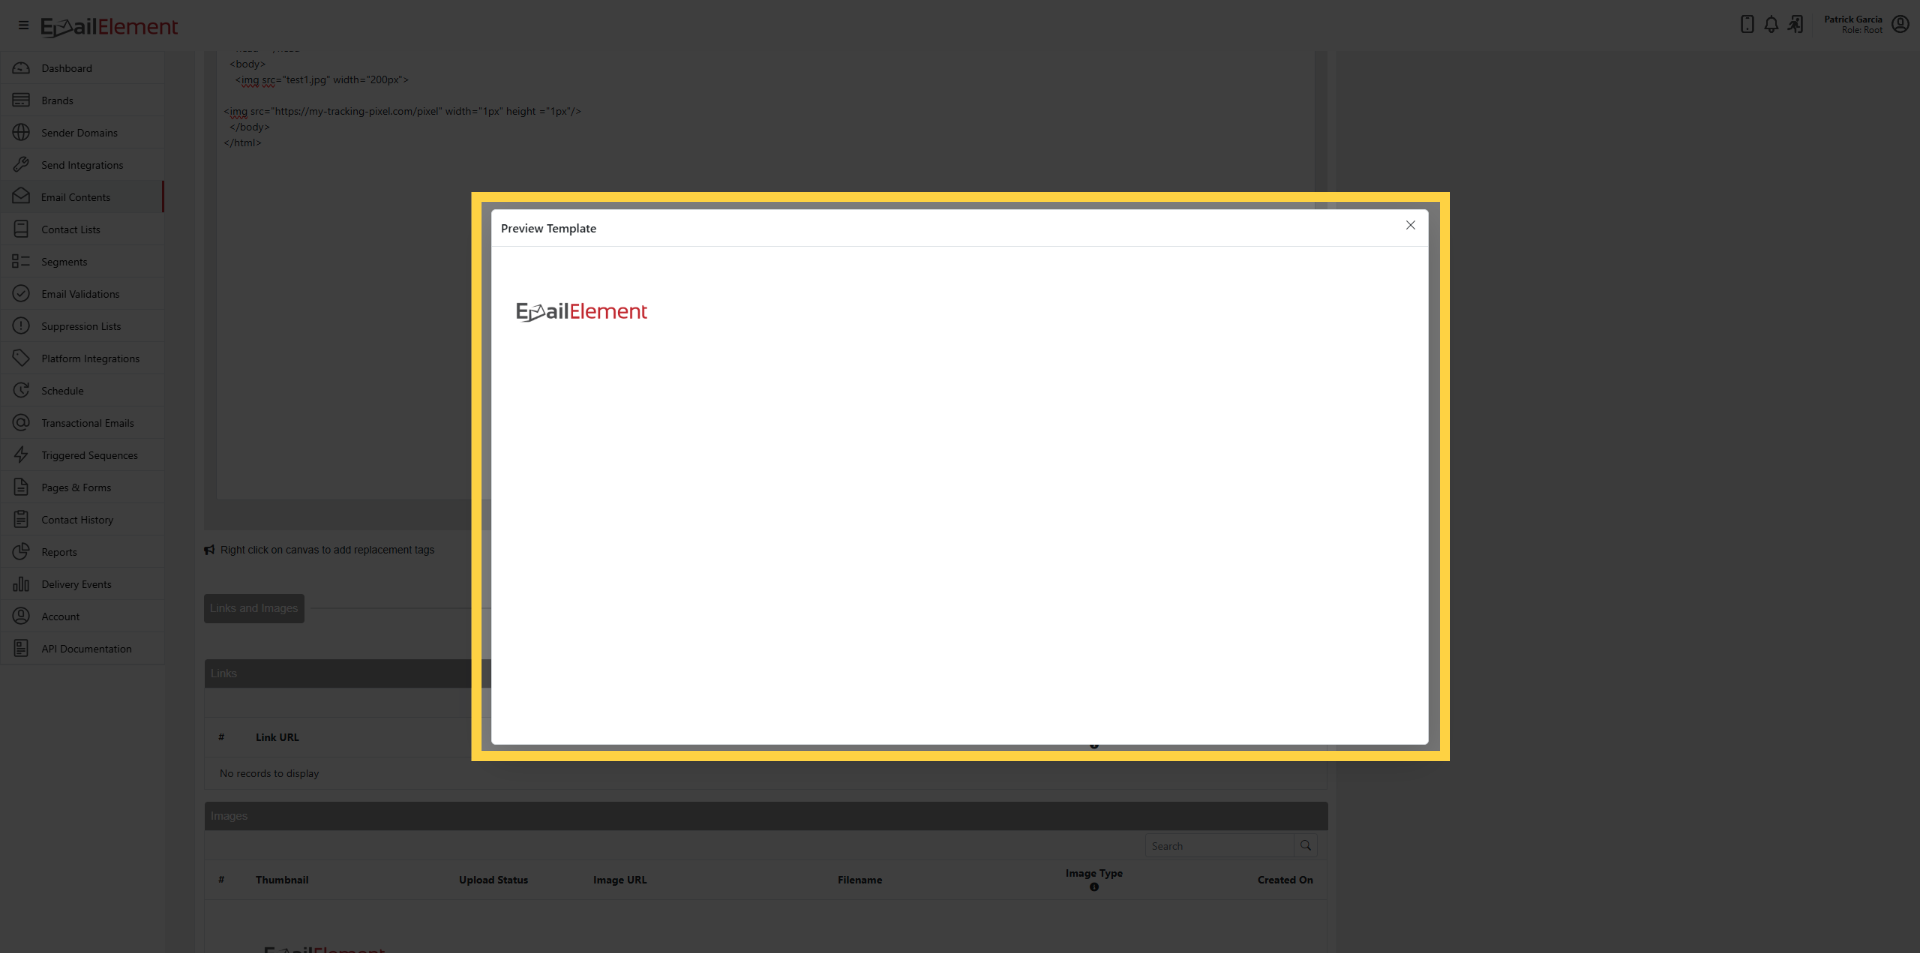
Click the Preview tab to see how the email renders.
Click Create to save.
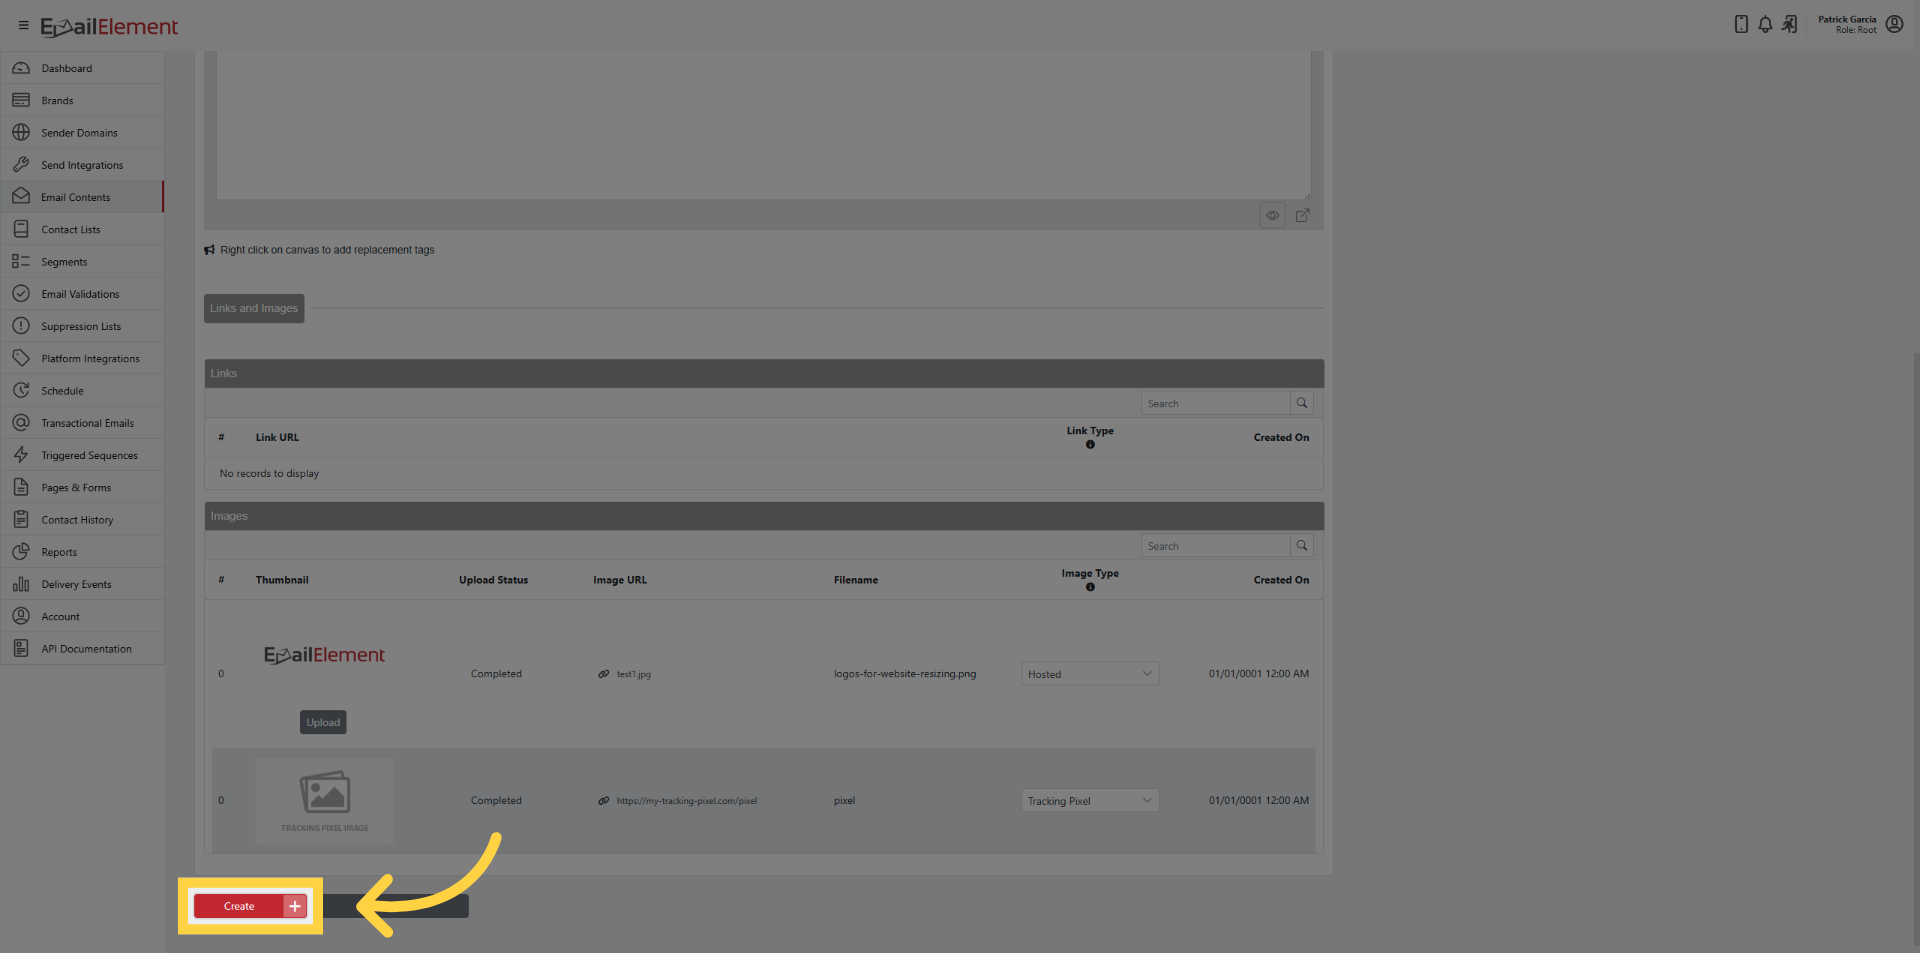
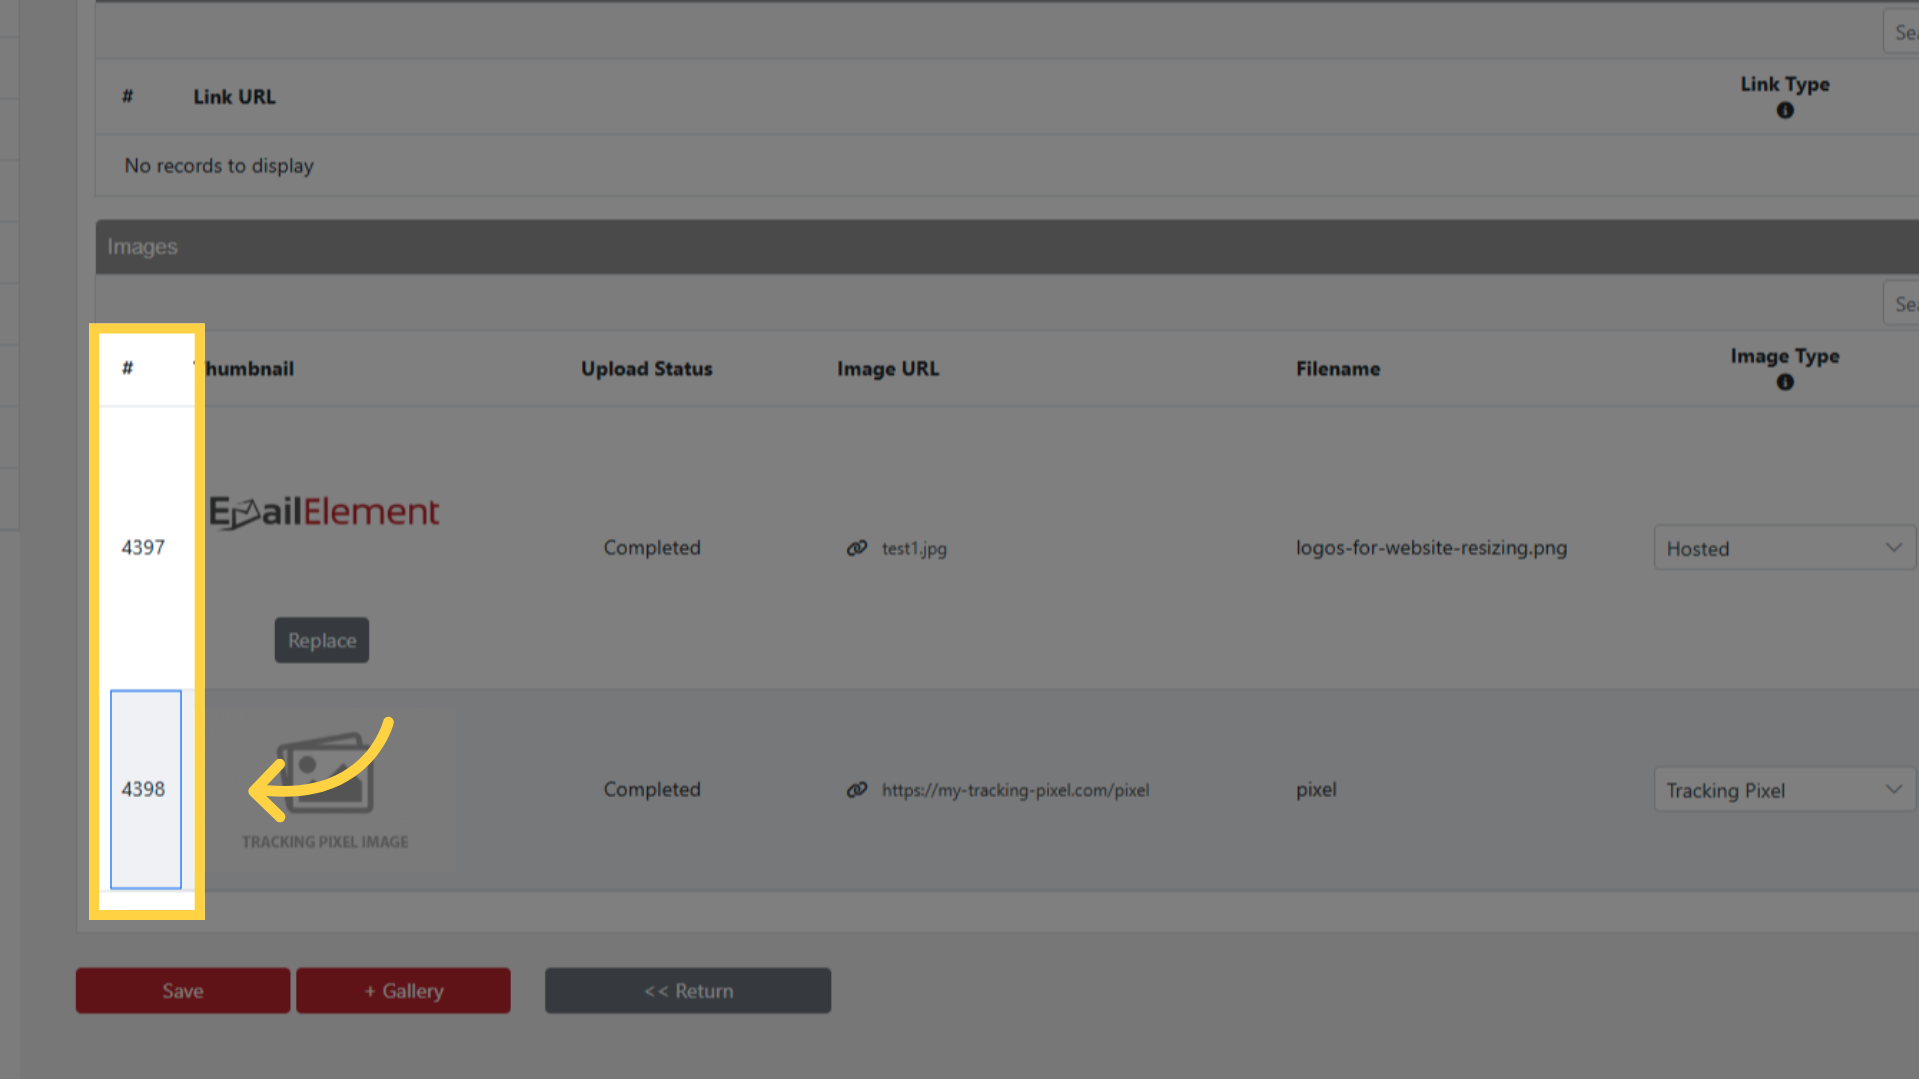
After saving, links and images are assigned unique IDs for tracking.
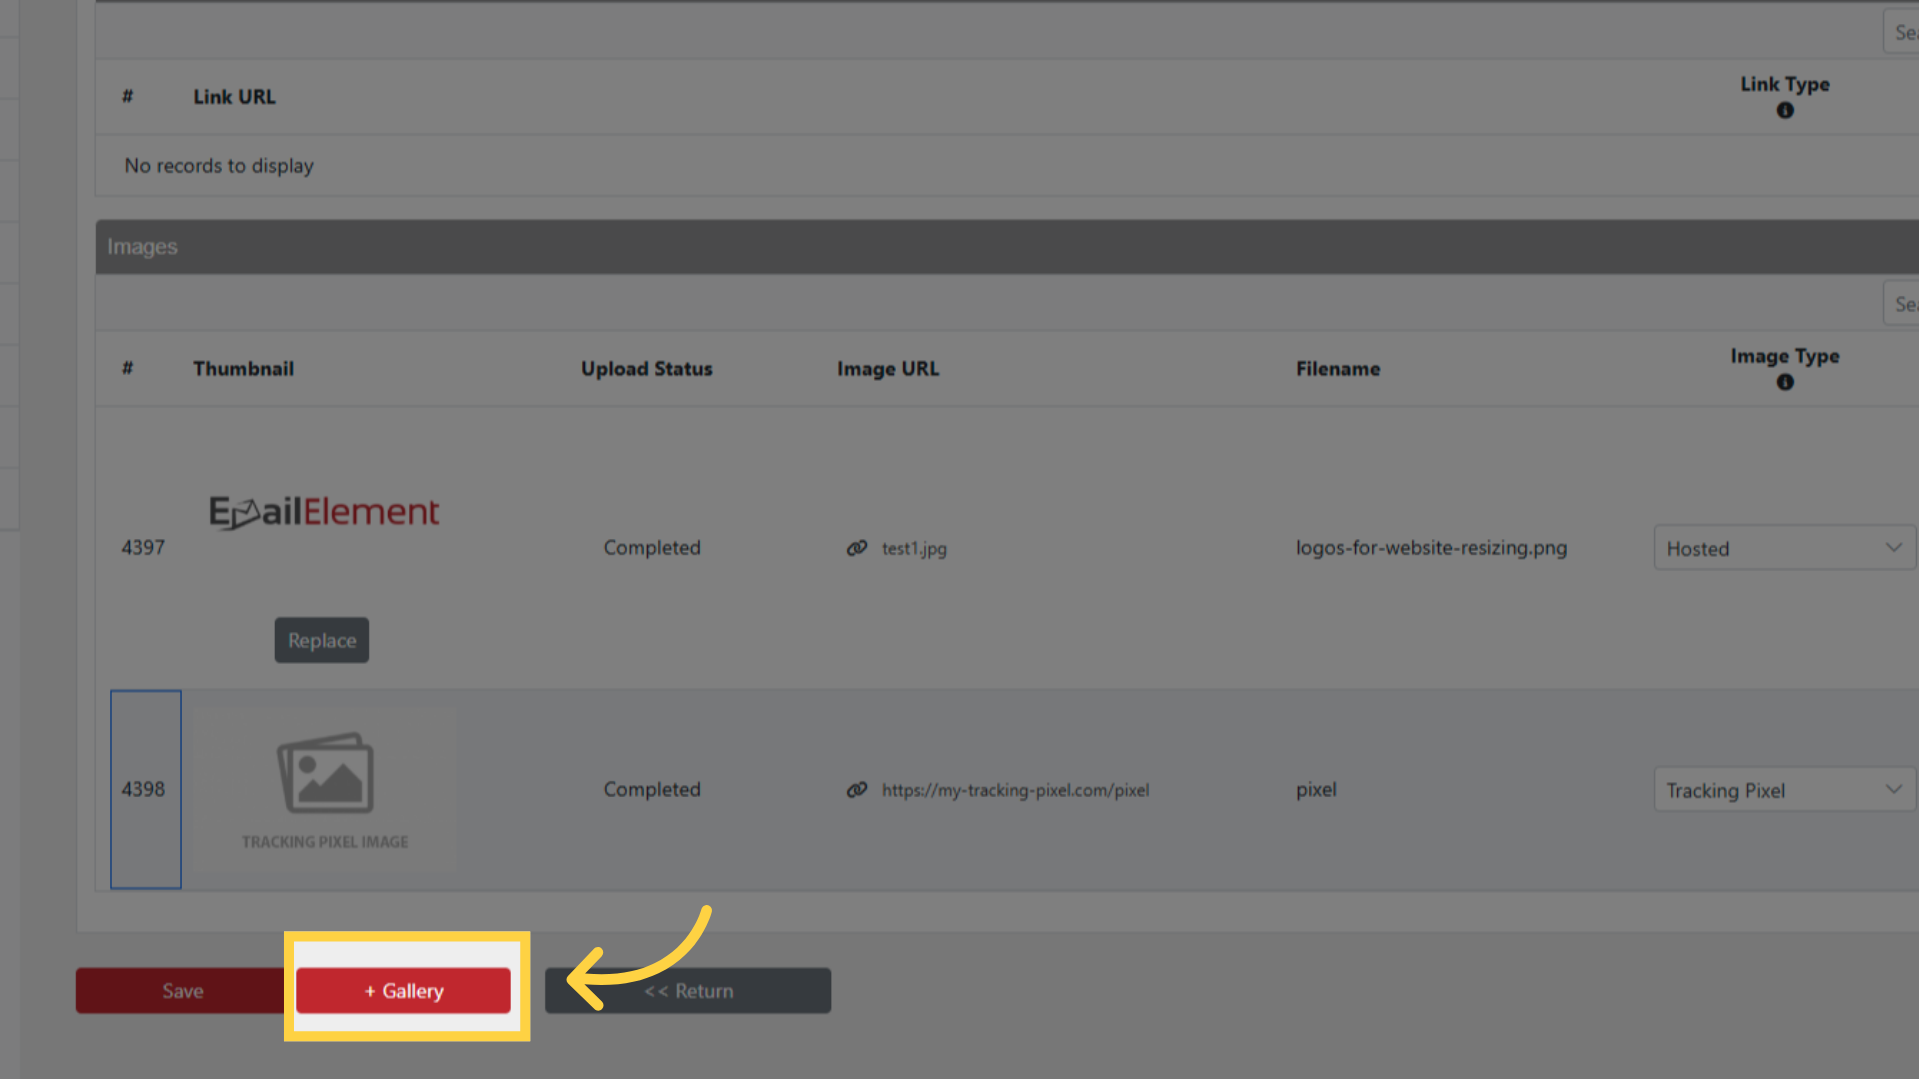
Optional — click Add to Gallery to save the finished template as a preset in the Template Gallery for reuse.
Drag and Drop Templates
- Click Create under the Drag and Drop section.
- Enter a name for the template.
- Use the visual editor to build the email:
- Drag content blocks (text, image, button, divider, spacer, social, video) into the canvas.
- Click blocks to edit content and styling.
- Rearrange blocks by dragging.
- Click Create to save.
Text Templates
- Click Create under the Text section.
- Enter a name and type plain text content.
- No HTML formatting is applied.
- Click Create to save.
Text templates are used as the plain-text alternative for HTML emails, improving deliverability.
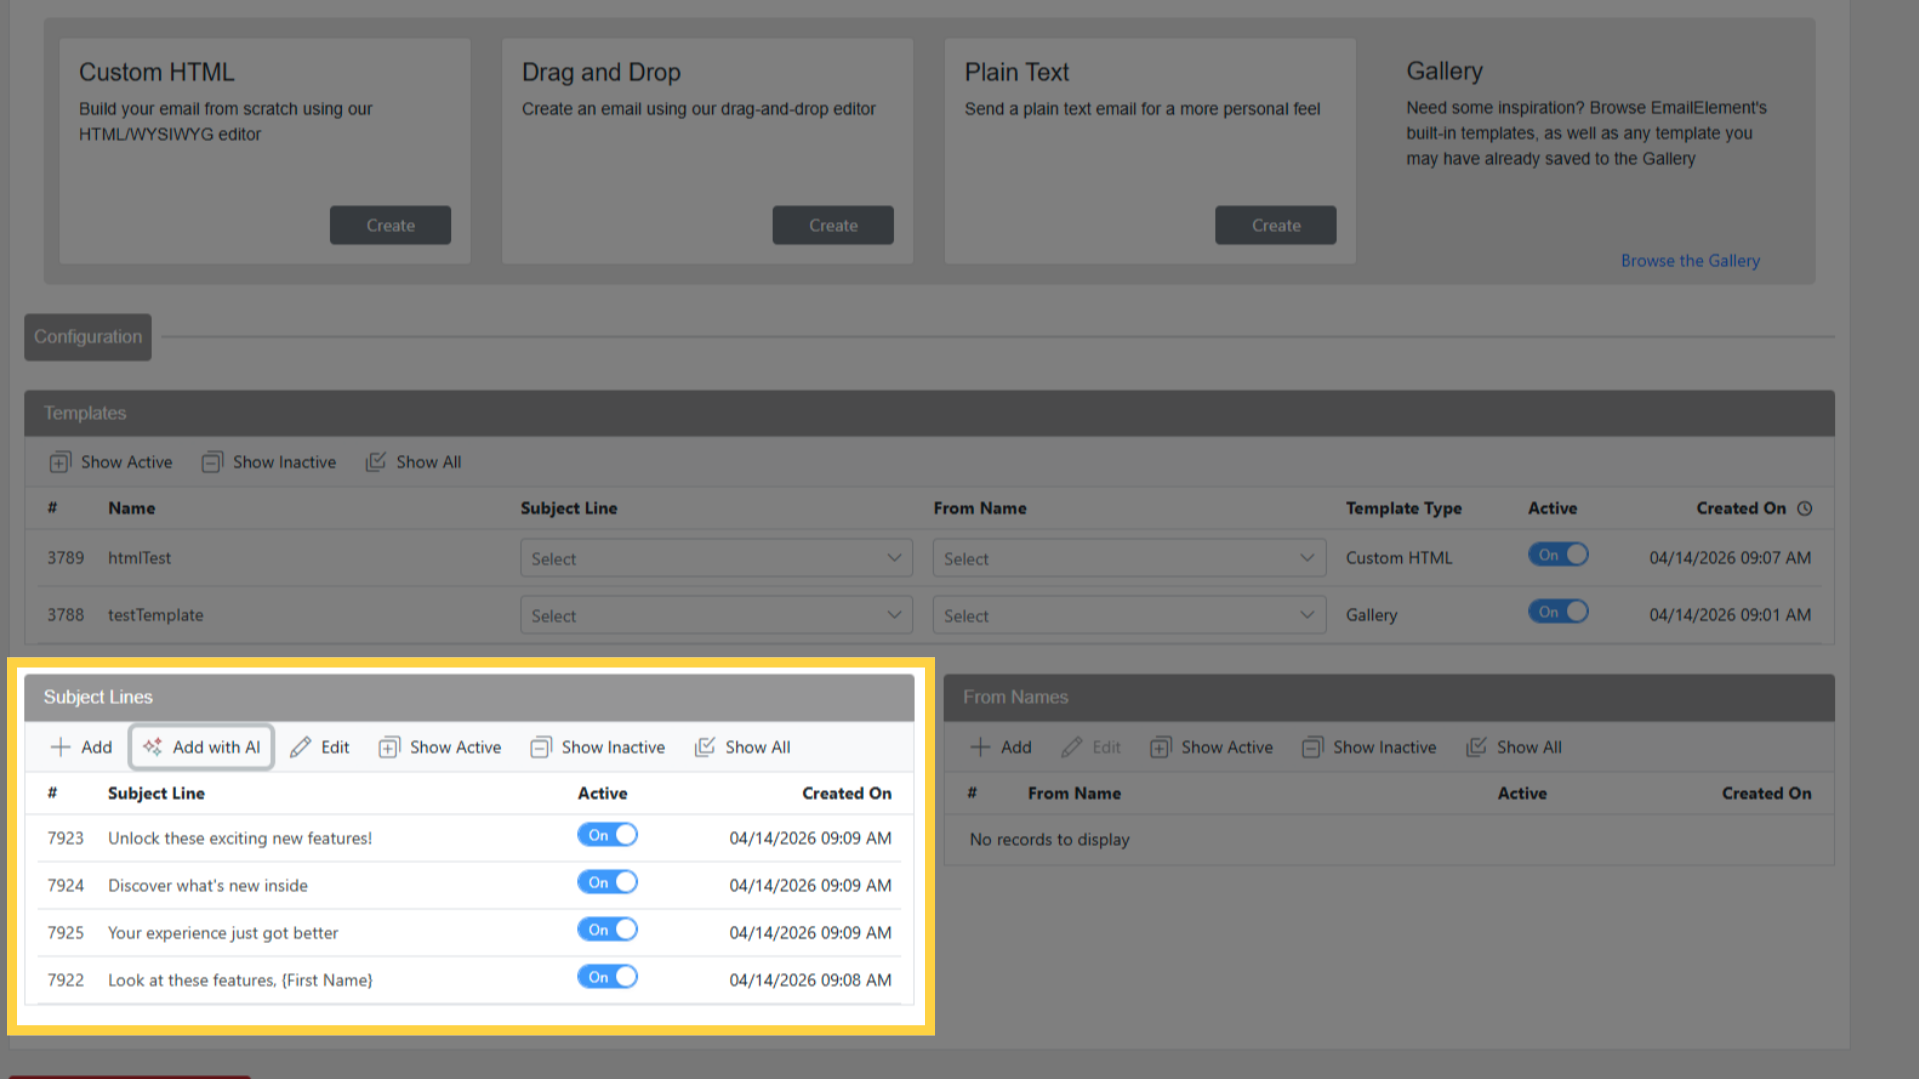
Subject Lines
At least one Subject Line is required before you can start sending an Email Content.
Add Manually
Expand the Subject Lines section.
Click Add.
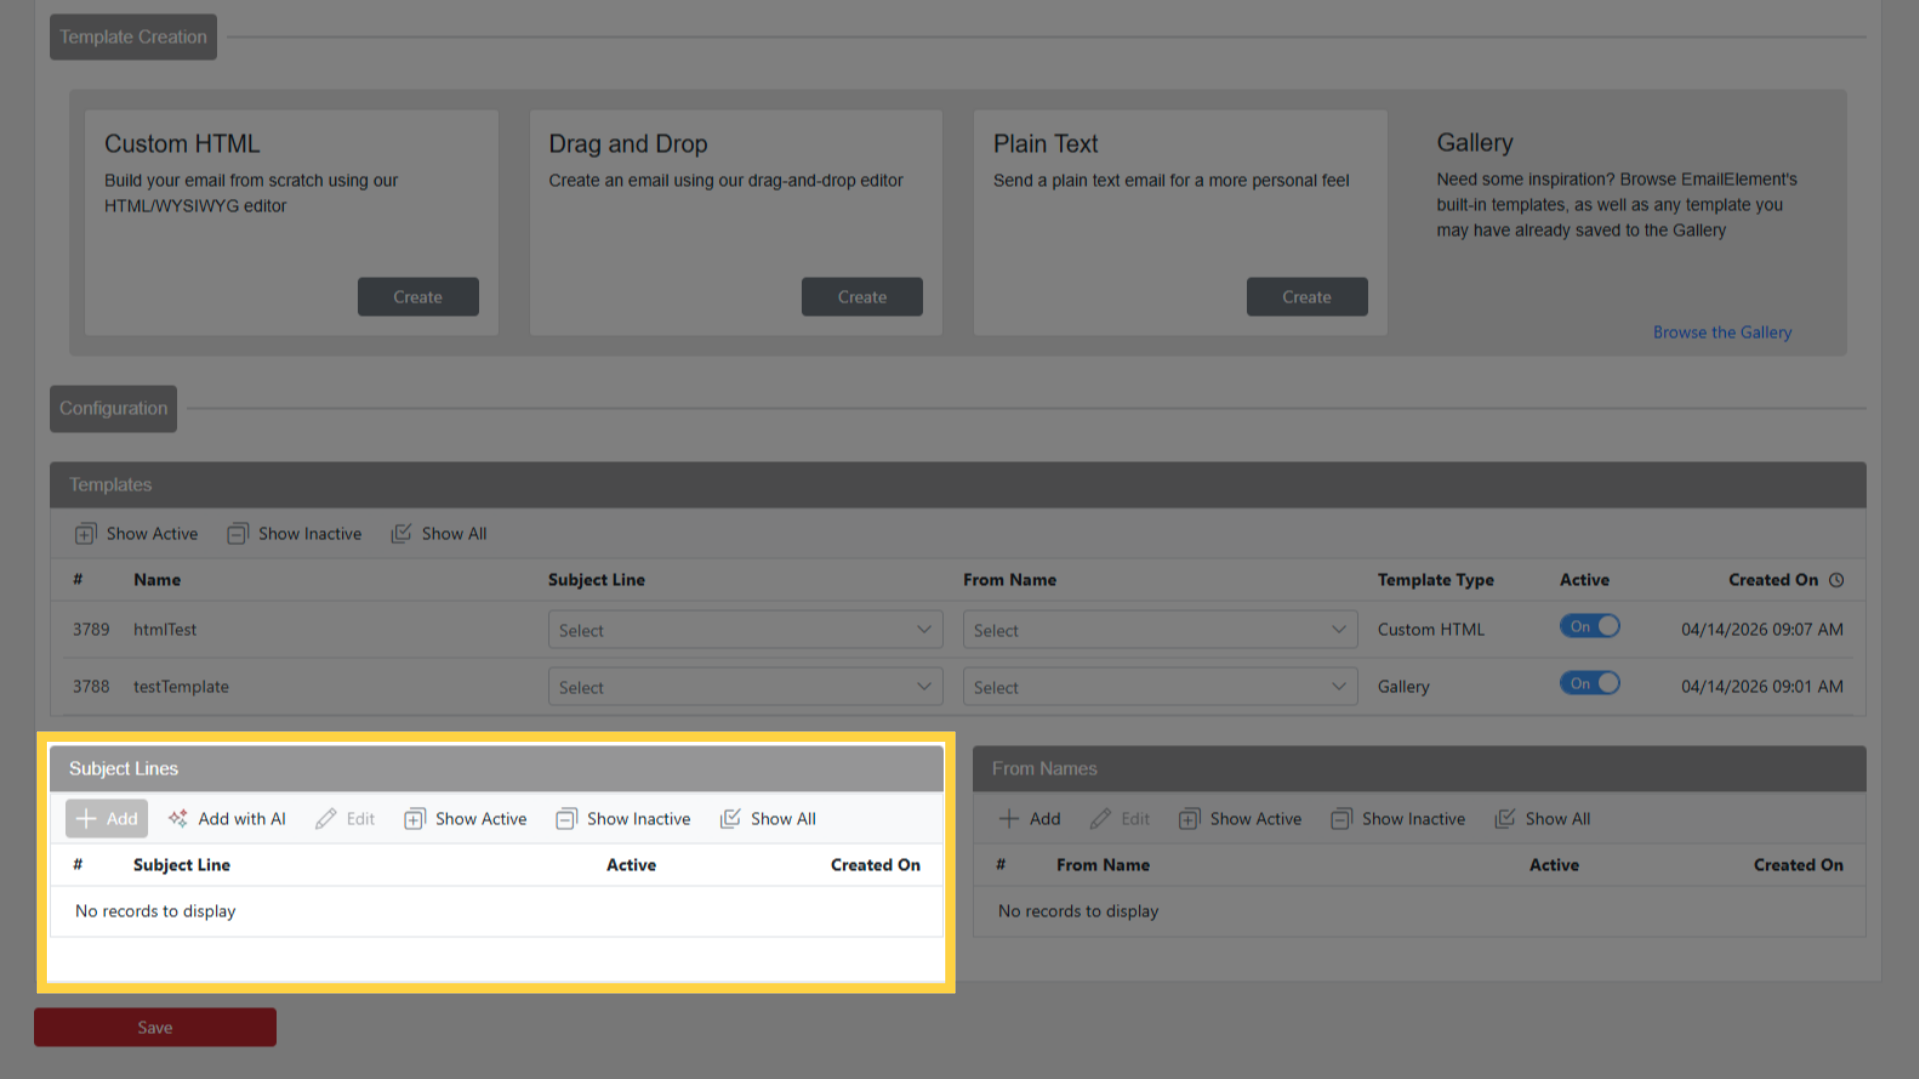
Enter the subject line text. Right-click in the field to insert a Replacement Tag (e.g.,
{First Name}).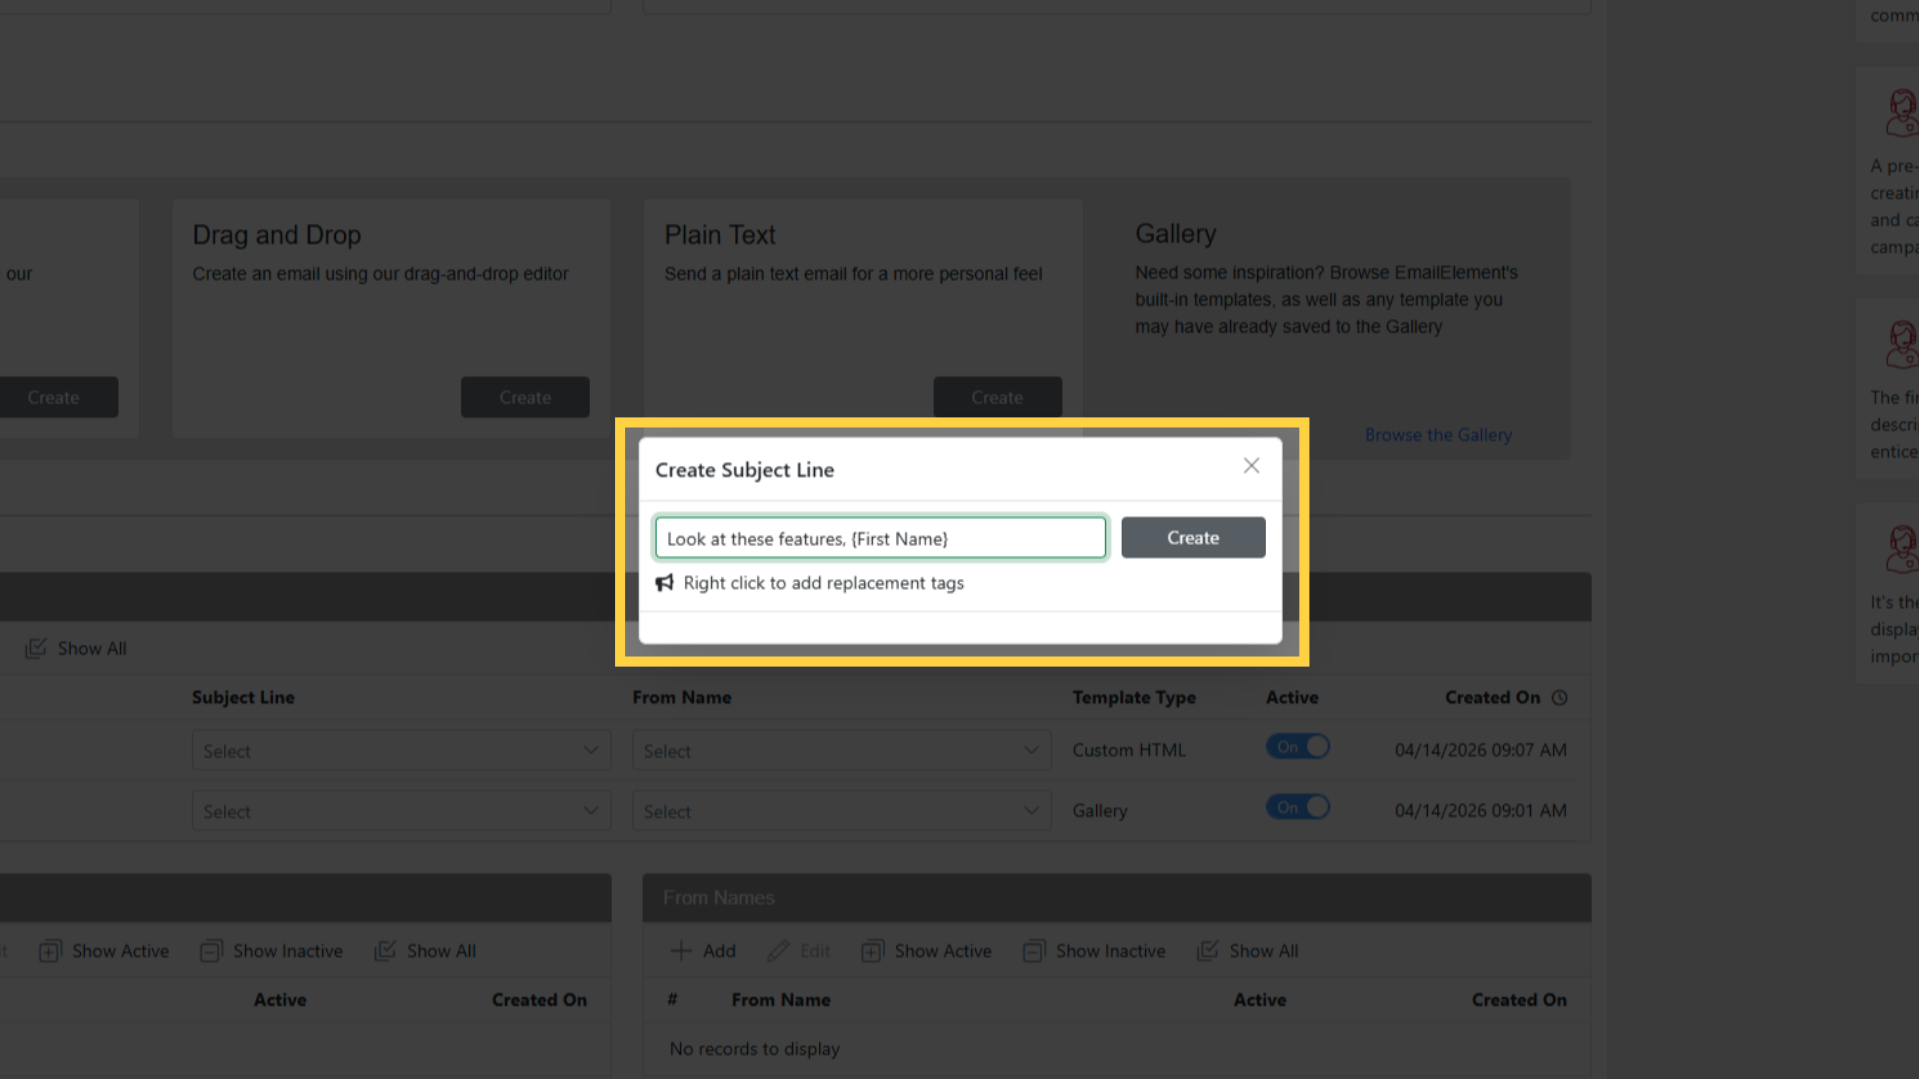
Click Add to save.
Add with AI
Click Add with AI.
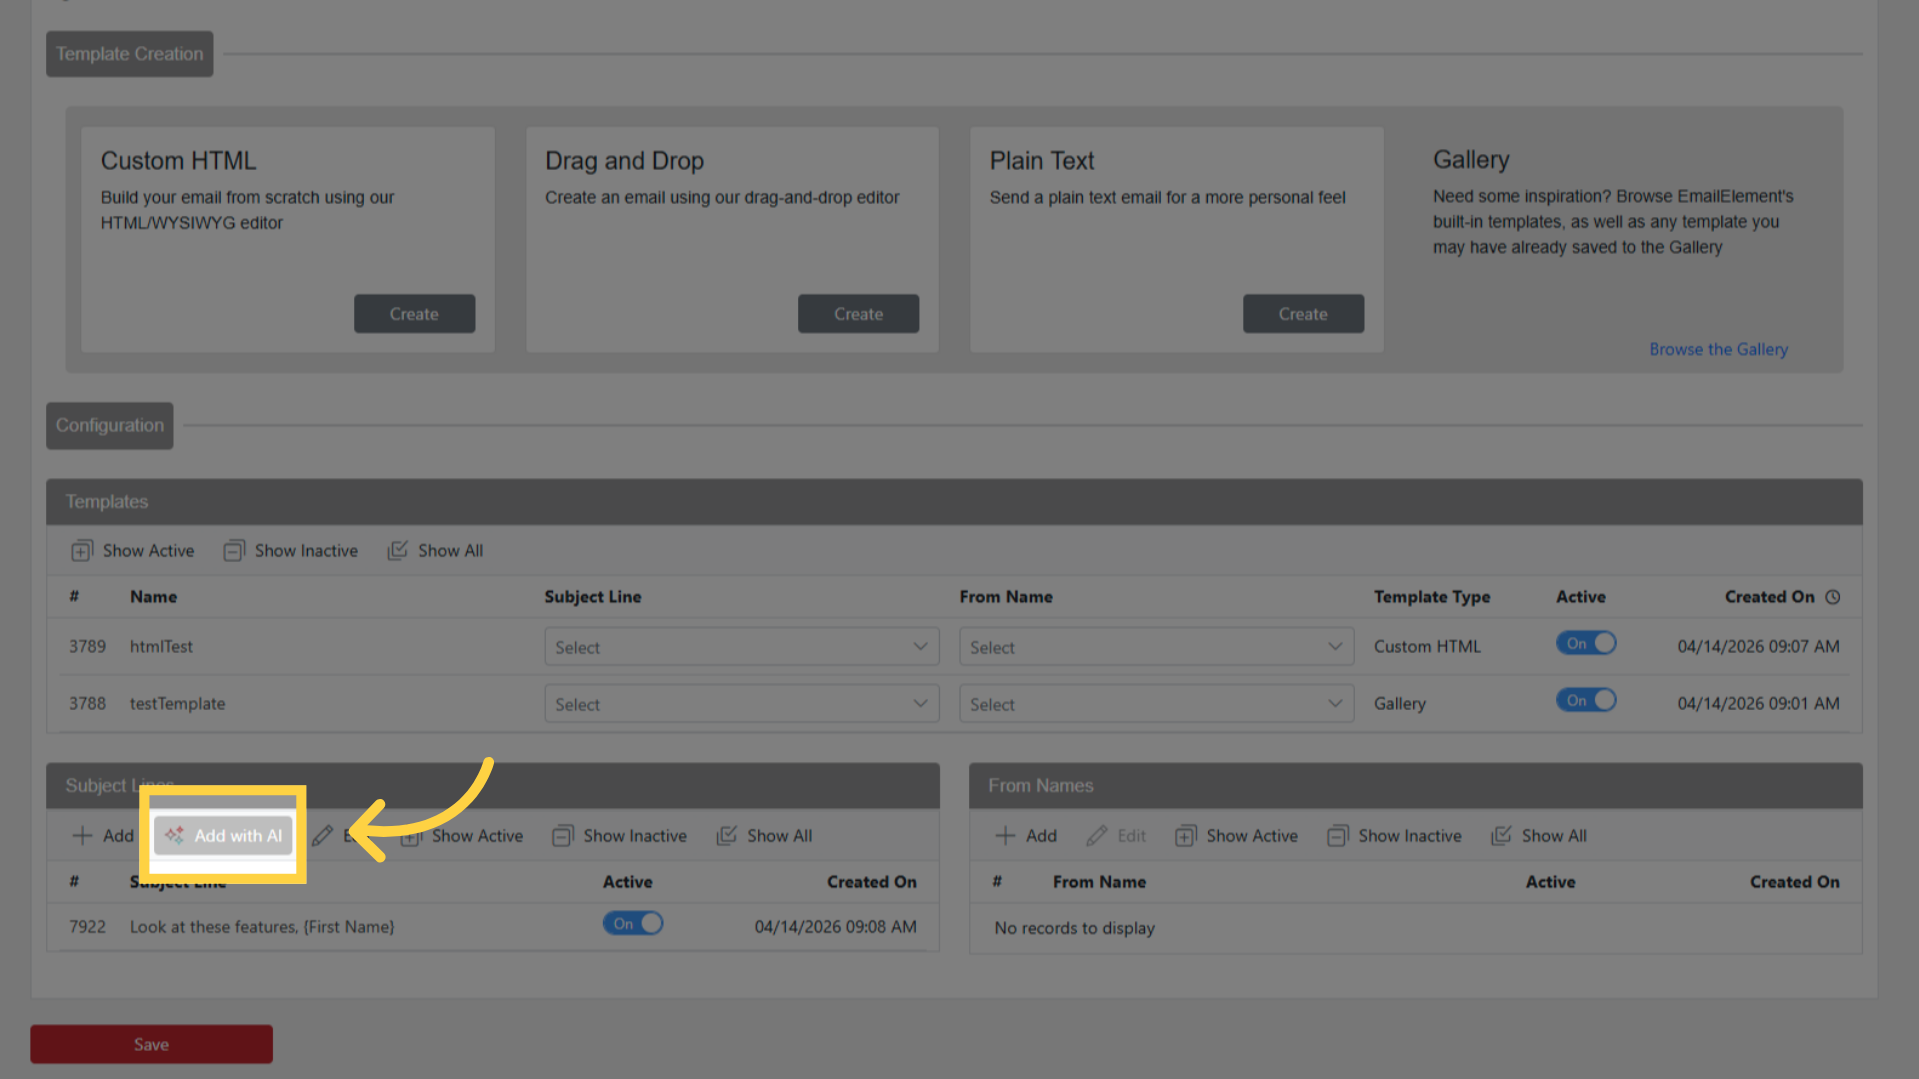
Enter a prompt describing the tone, topic, or audience.
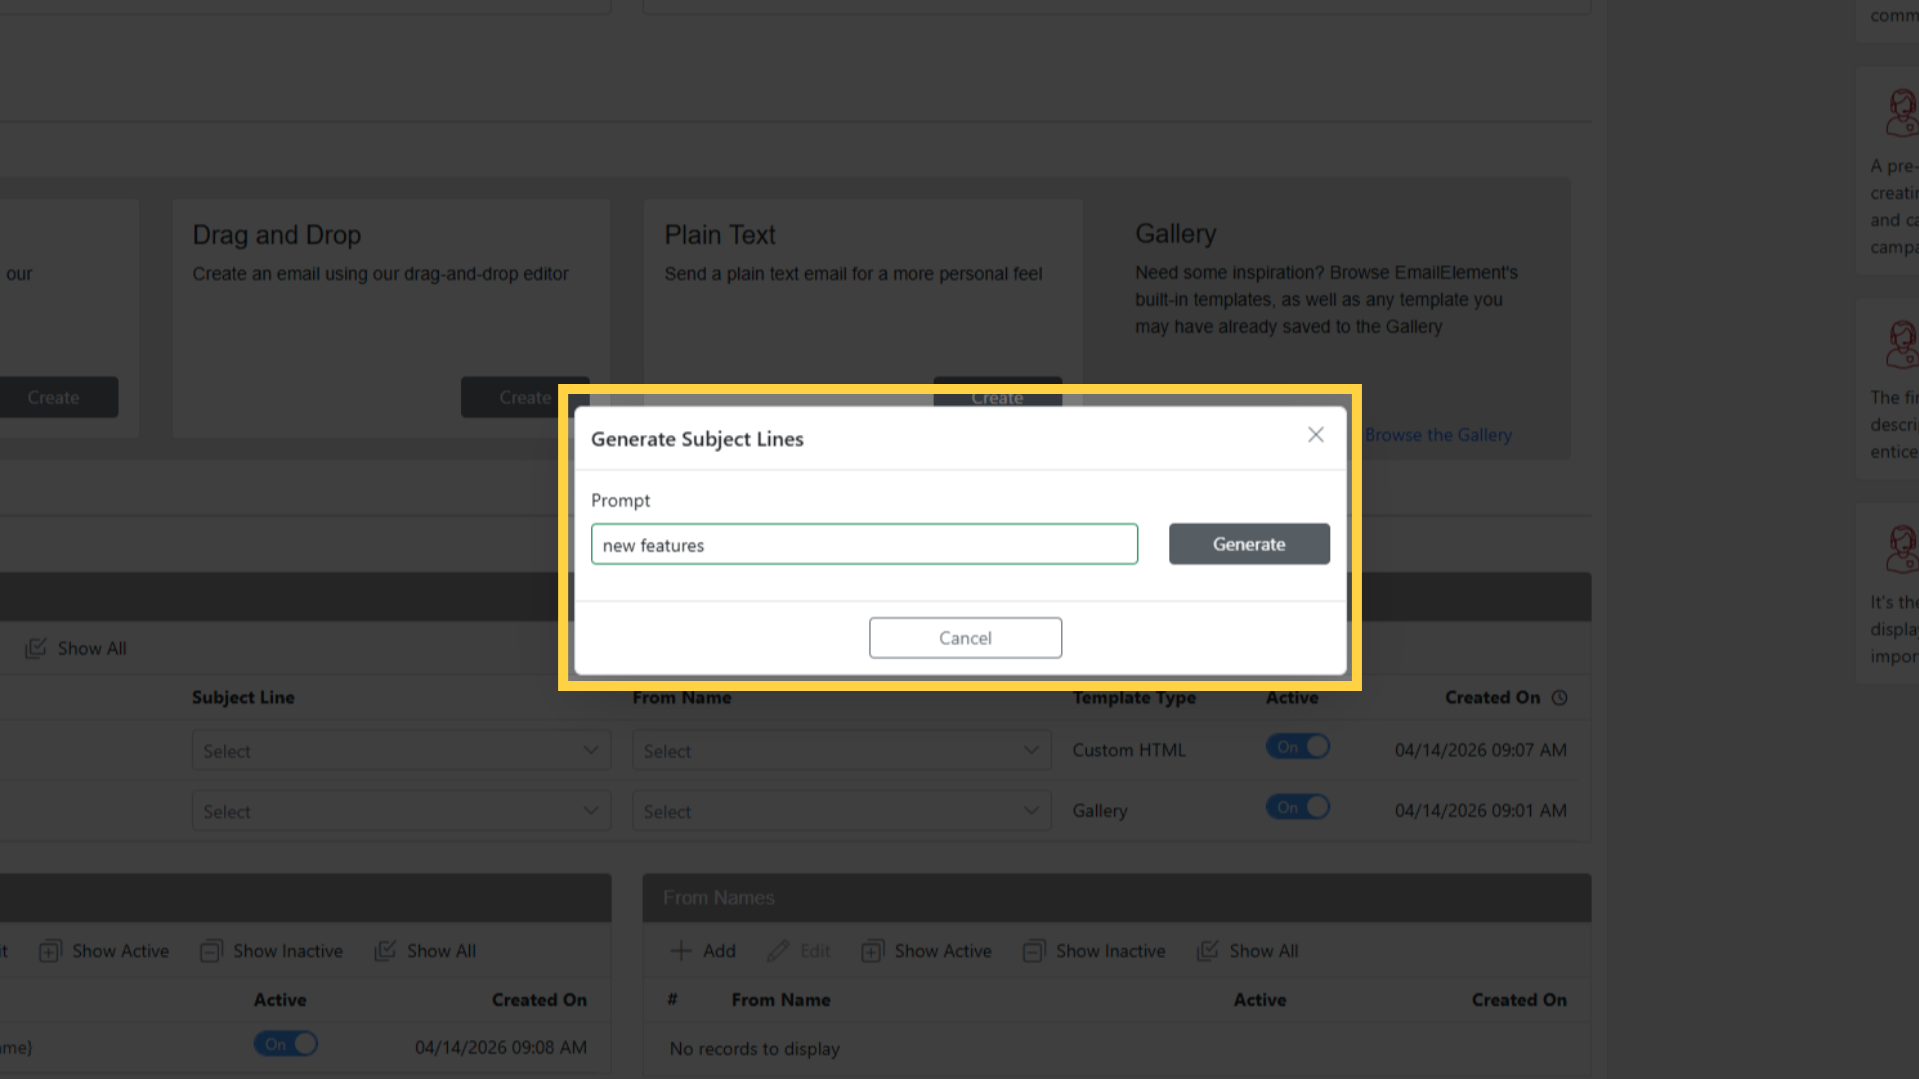
Click Generate — five AI-generated subject lines are returned.
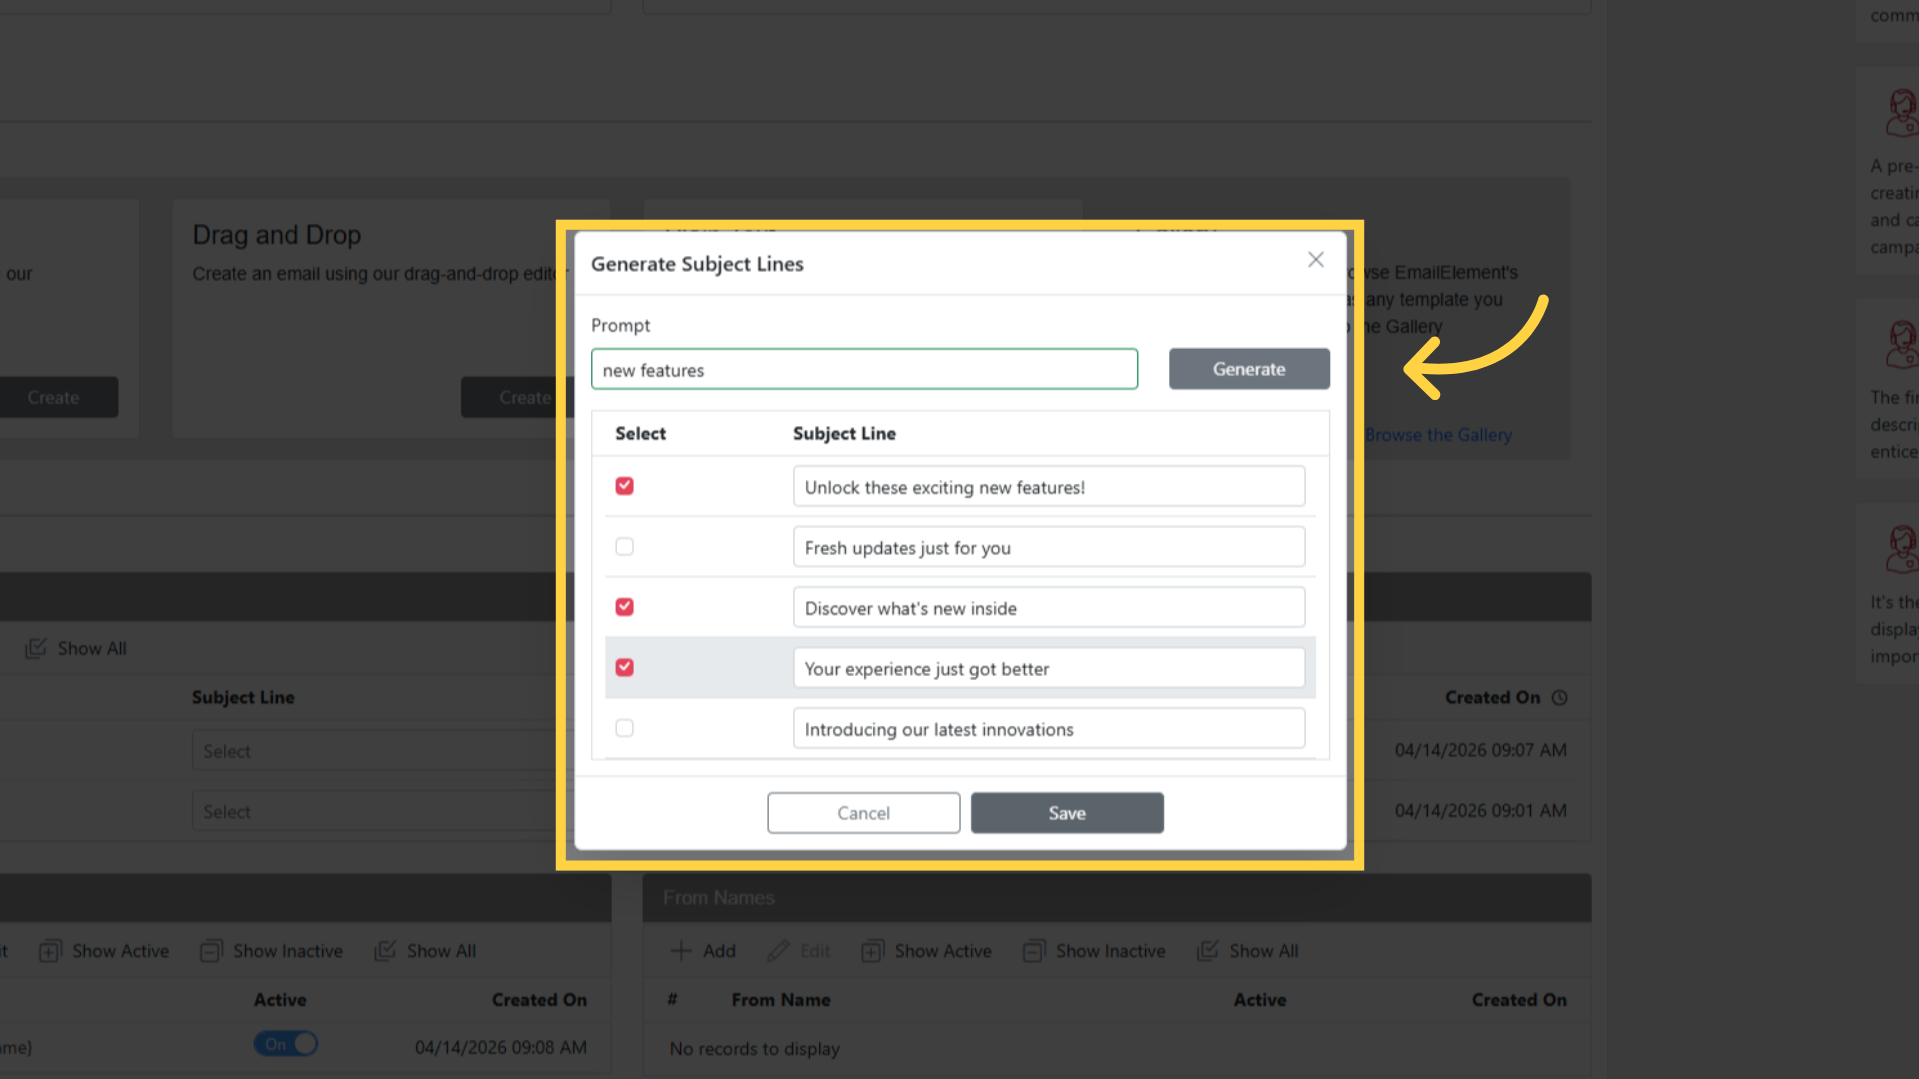
Select any you want to keep. Click Generate again to get another five if none are a fit.
Click Save to add the selected subject lines to the list.
Template Assignment
Each template can be locked to a specific Subject Line. Any time that template is sent it will use the assigned Subject Line.
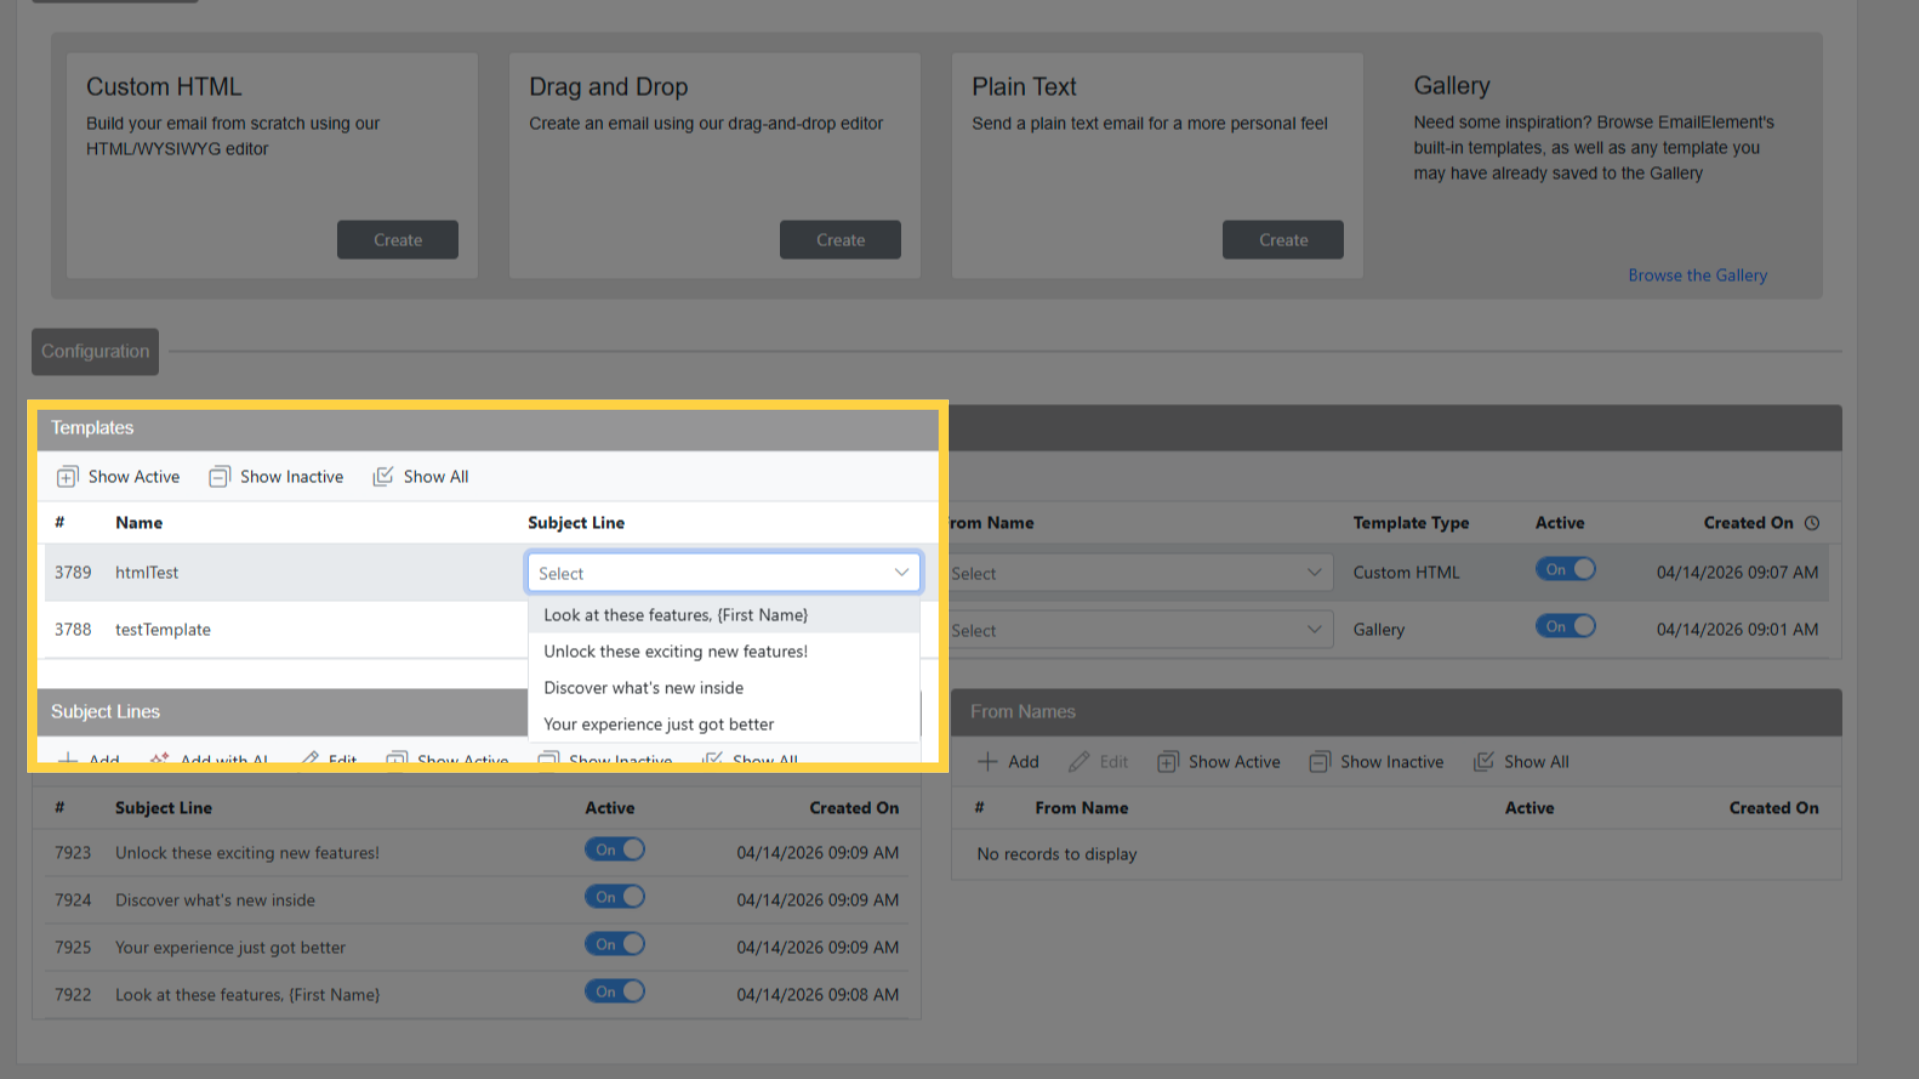
Templates without an assigned Subject Line randomly pick one from the list on each send.
Subject lines support Replacement Tags (e.g., {First Name}) for personalization.
From Names
Expand the From Names section.
Click Add.
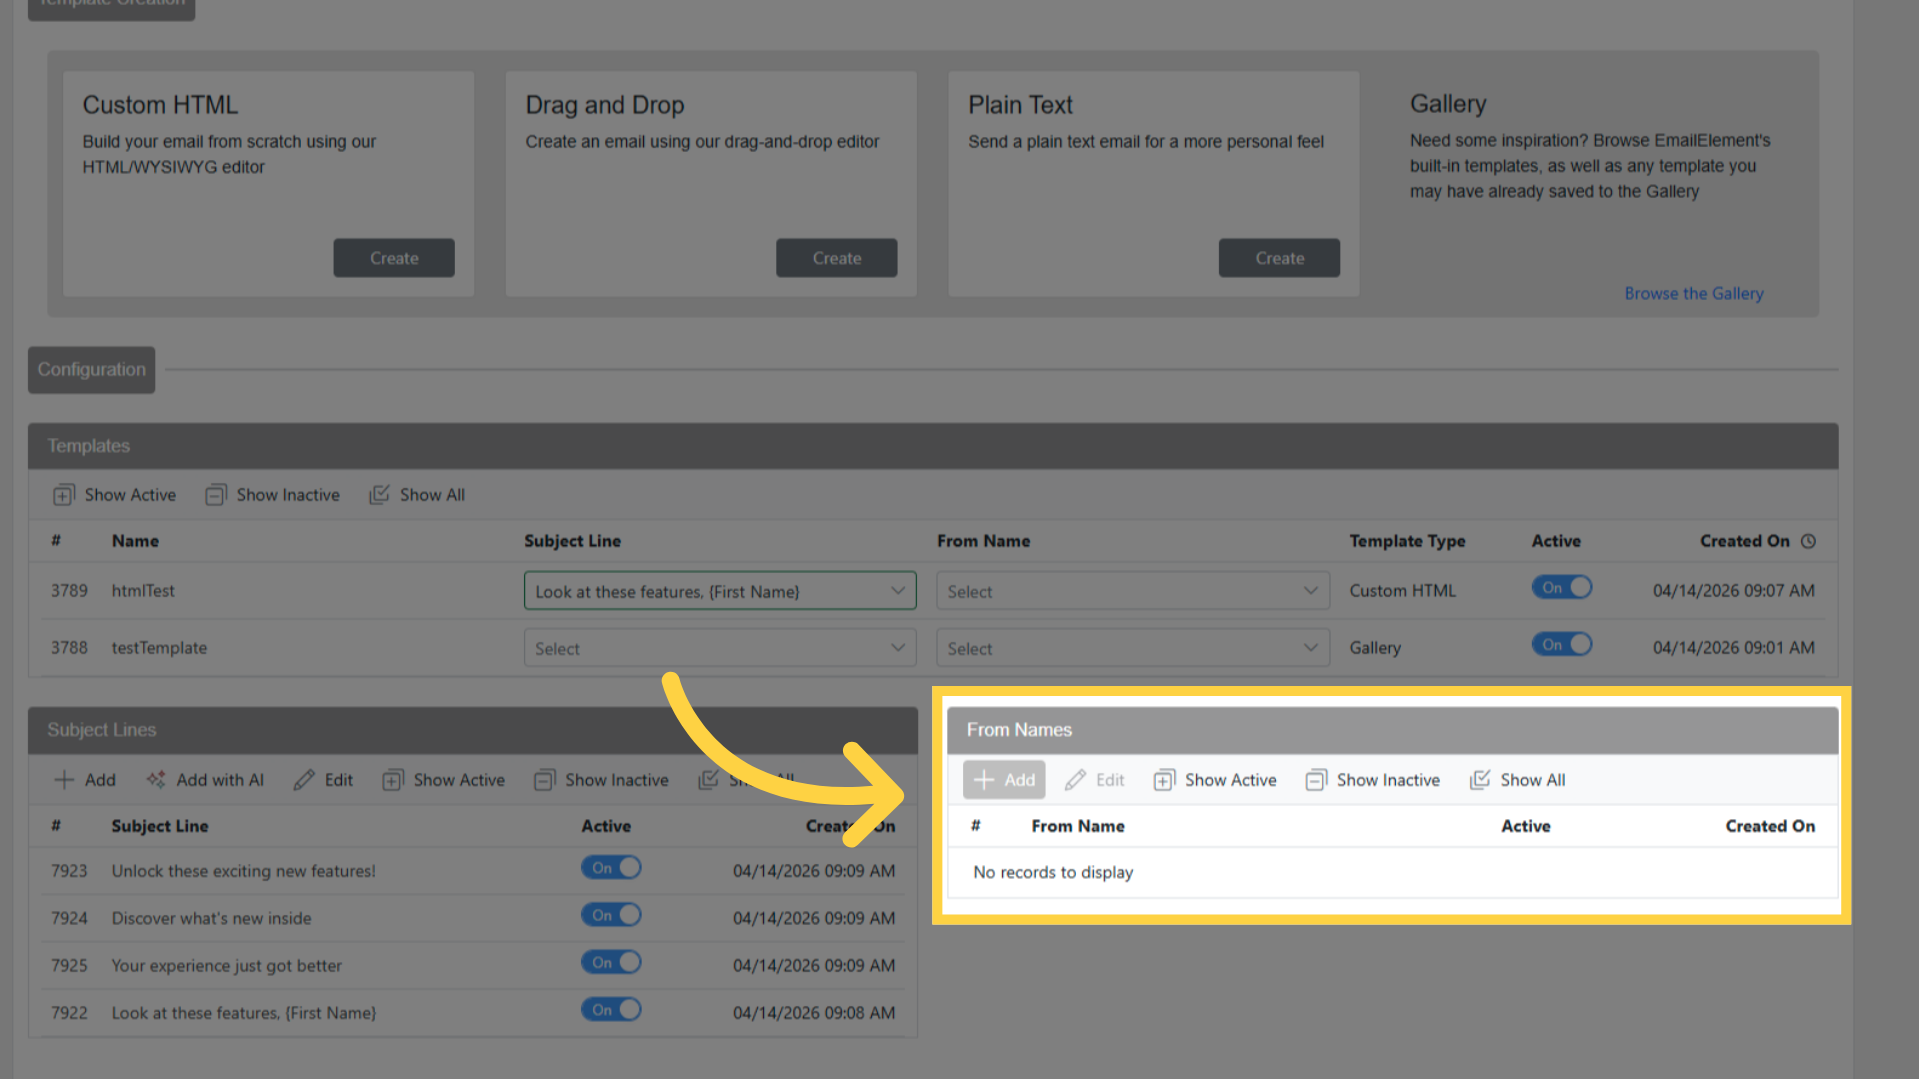
Enter the from name (the name recipients see in their inbox).
Click Create to save.
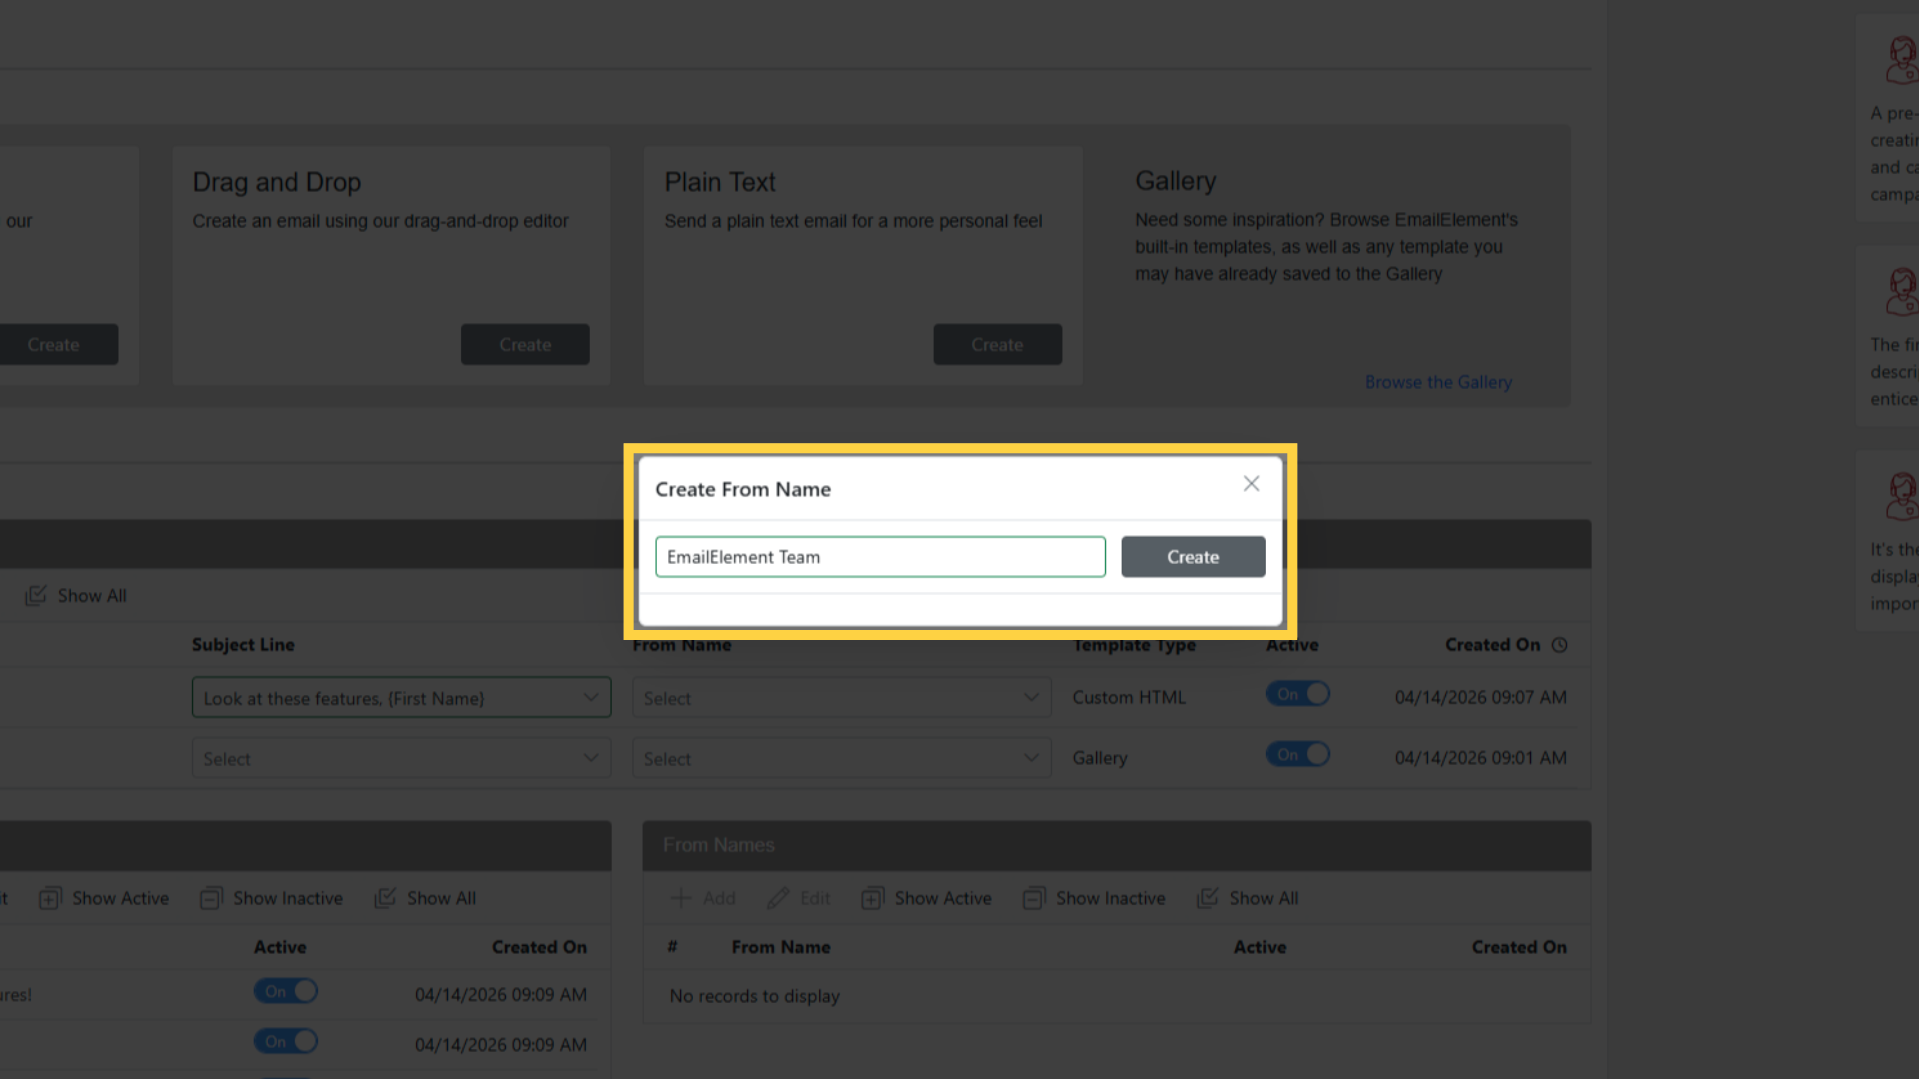
Add multiple from names for A/B testing.
Template Assignment
Each template can be assigned a specific From Name that will be used any time that template is sent.
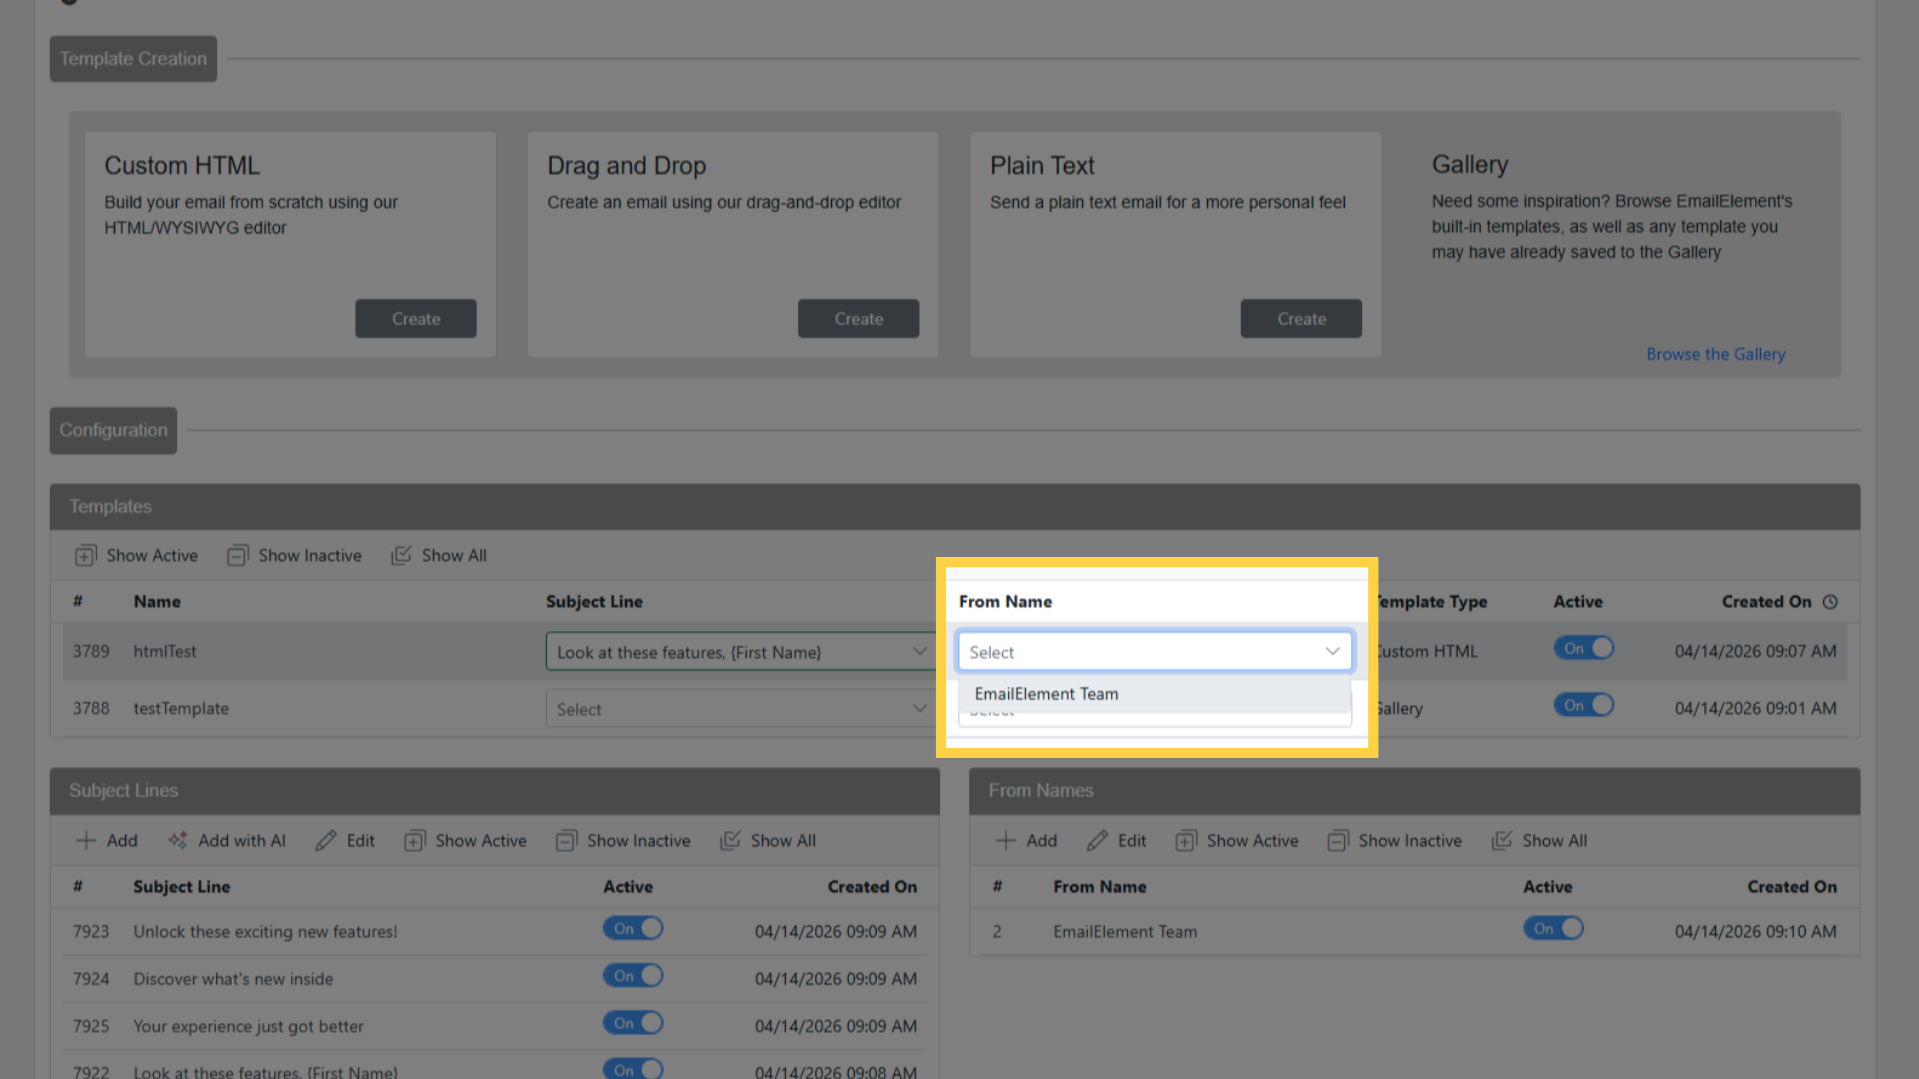
Templates without an assigned From Name randomly pick one from the list on each send.
Suppression Lists
Expand the Suppression Lists section.
Click Add.
Select one or more suppression lists from the dropdown.
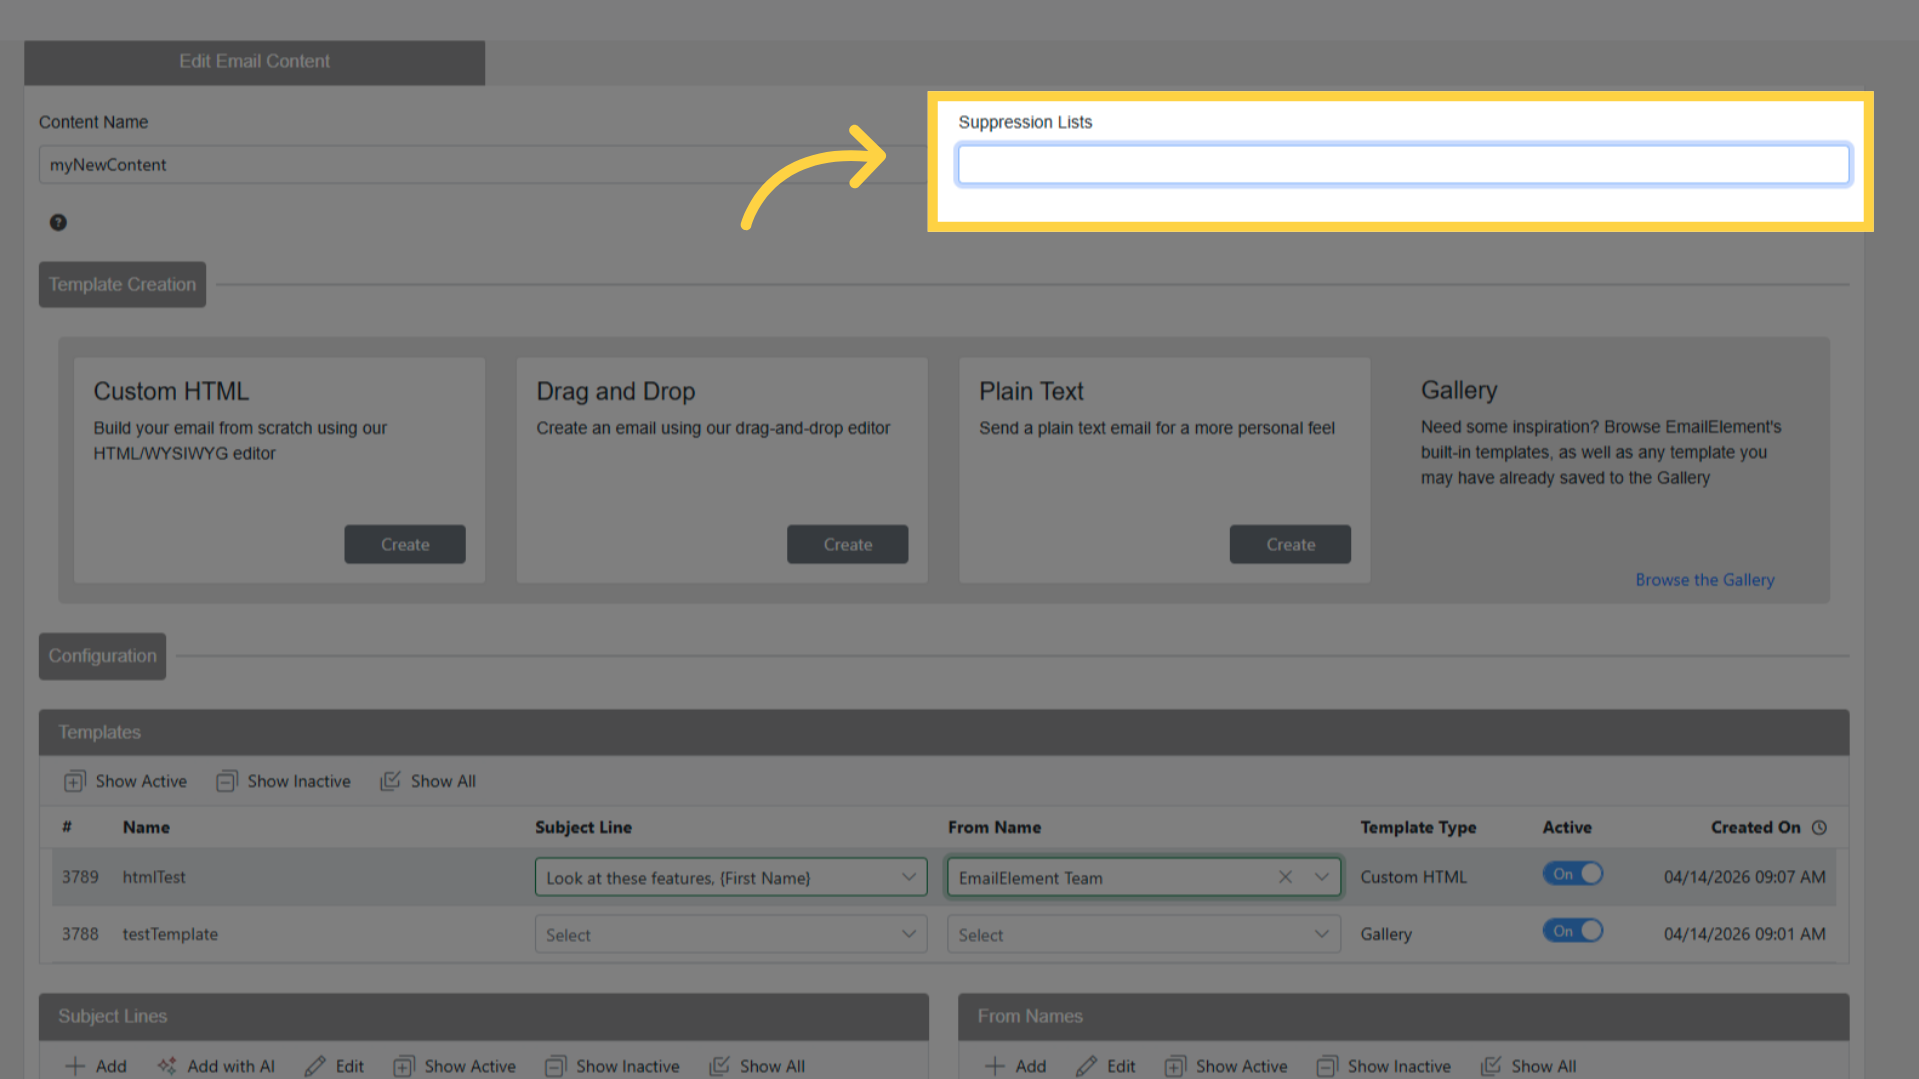
Click Add to save.
Contacts on these lists will not receive this Email Content, regardless of which segment or contact list is targeted.
Sending a Test Email
Open the Email Content and navigate to a template.
Click the Test button.
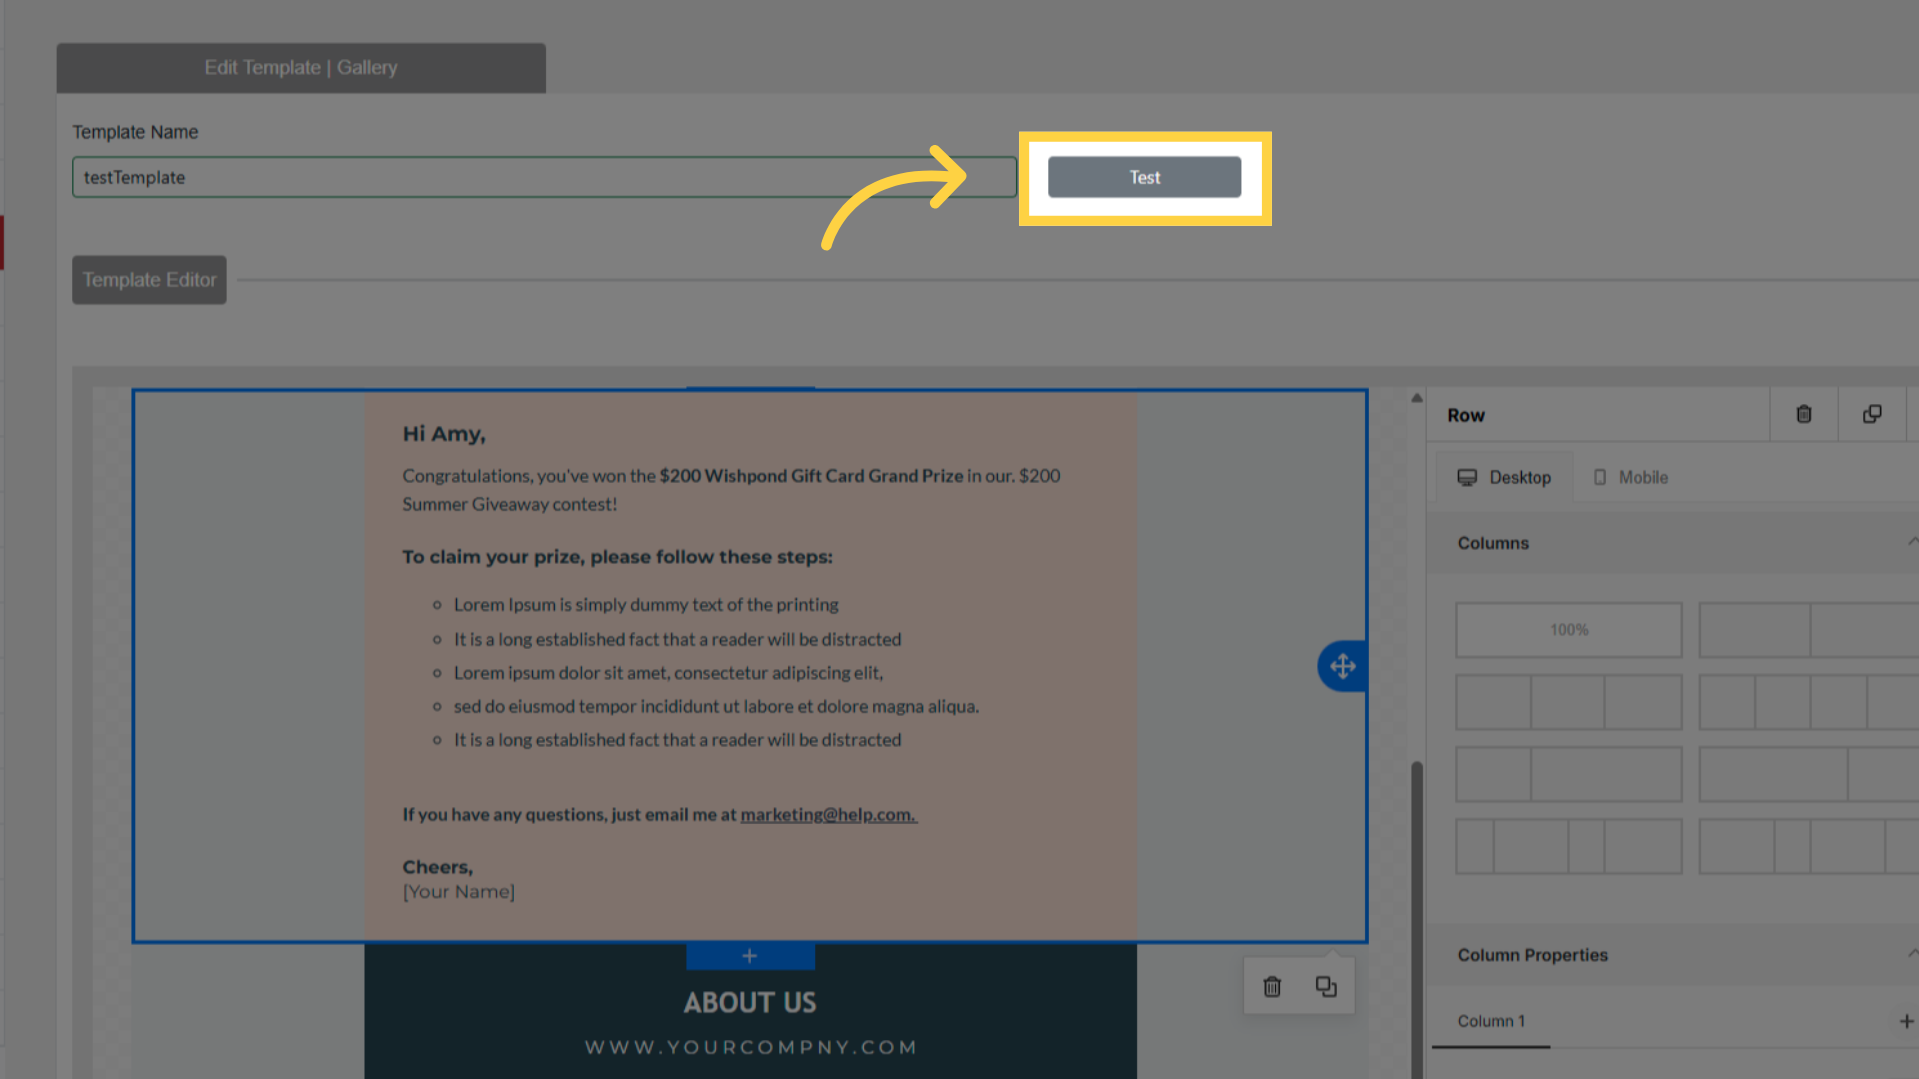
Enter the email address to send the test to.
Select a Send Integration to use for the test send.
Click Send.
Check the inbox for the test email. Verify formatting, links, images, and replacement tag rendering.
Test emails are useful for:
- Verifying template rendering across email clients
- Checking replacement tag output
- Confirming send integration connectivity
- Reviewing content before scheduling a campaign