

Infobip
To setup Infobip to be used as an Email Service Provider in EmailElement, you will need:
- At least 1 Email Domain configured and verified
- Your API Token for Infobip
Add Your Domain and Verify It
- From the left pane, select Channels and Numbers > Channels > Email
- Click “Add New Domain”
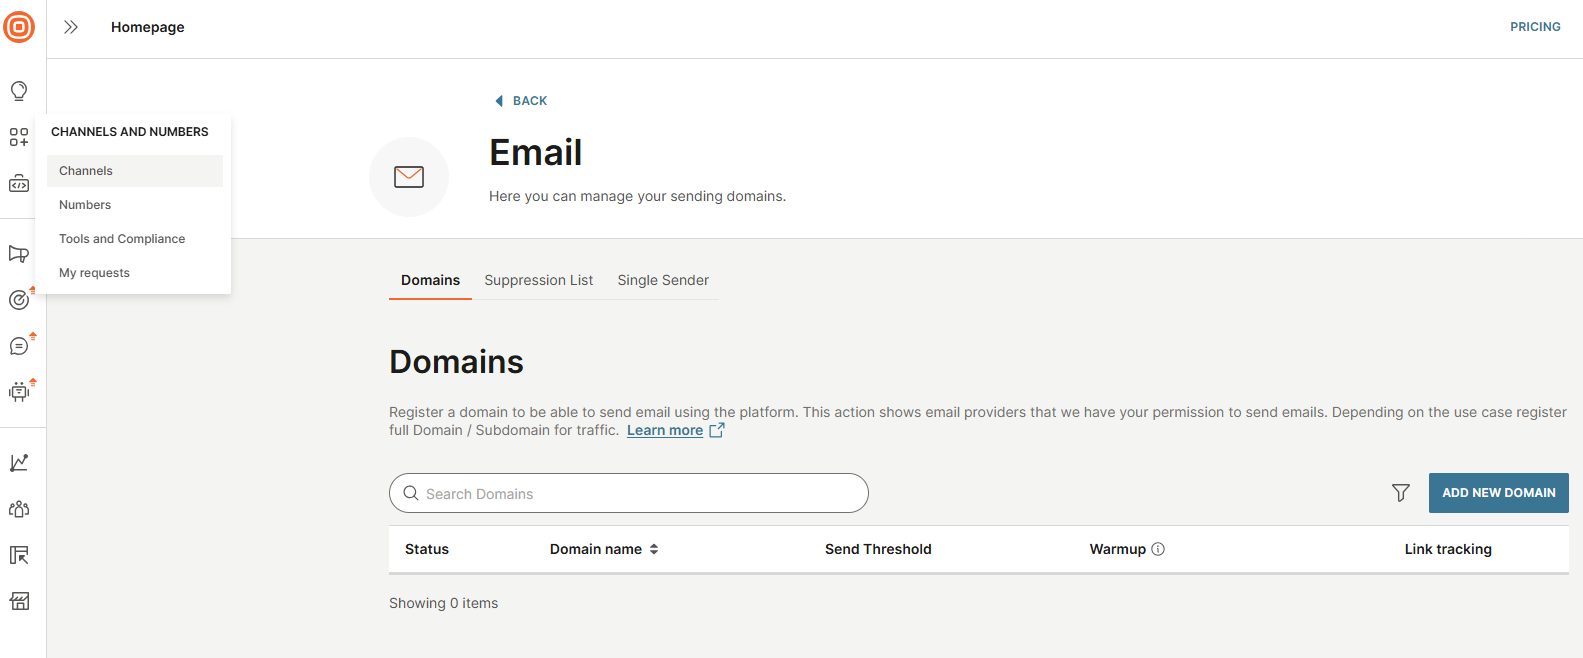
- Follow through the prompts to get the DNS Records
- Add the DNS Records for your Domain in your Domain Manager
- After you have added the records, select “Verify Domain” (this may take a while to verify)
Create Your API Key
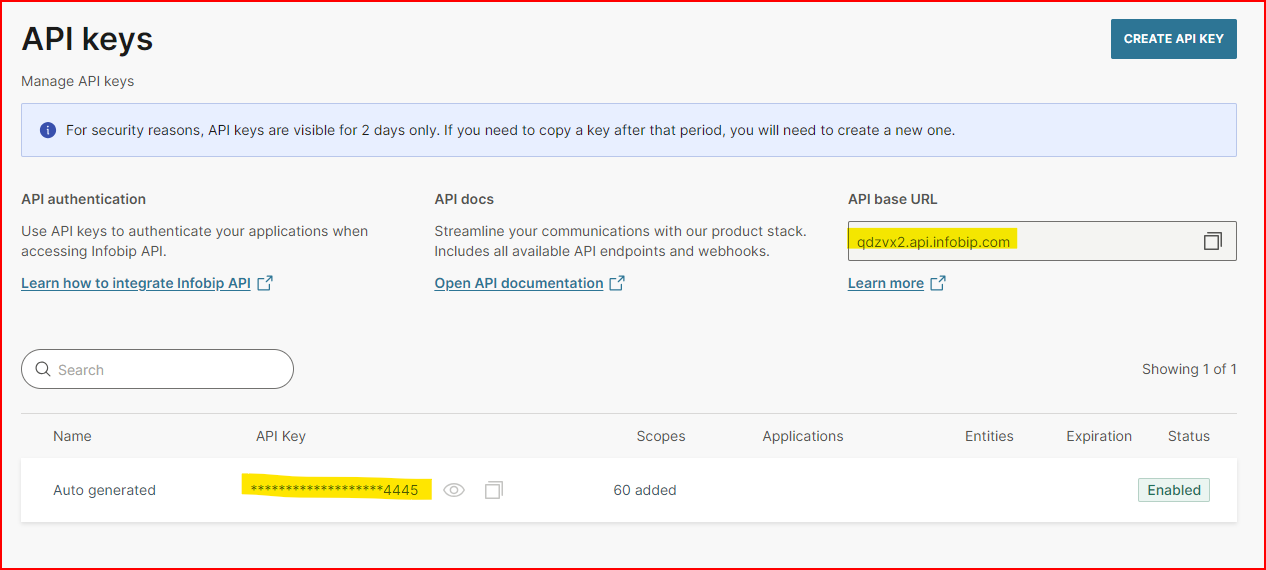
From the left pane, select Developer Tools > Channels > API Keys
Click “Create API Key”
Enter your Key Name and add the following API Scopes:
- General - message:send
- Channels - email:manage
- Channels - email:message:send
- Platform - subscriptions:manage
Click “Create” and be sure to copy your key to your clipboard
Setup Your Integration In EmailElement
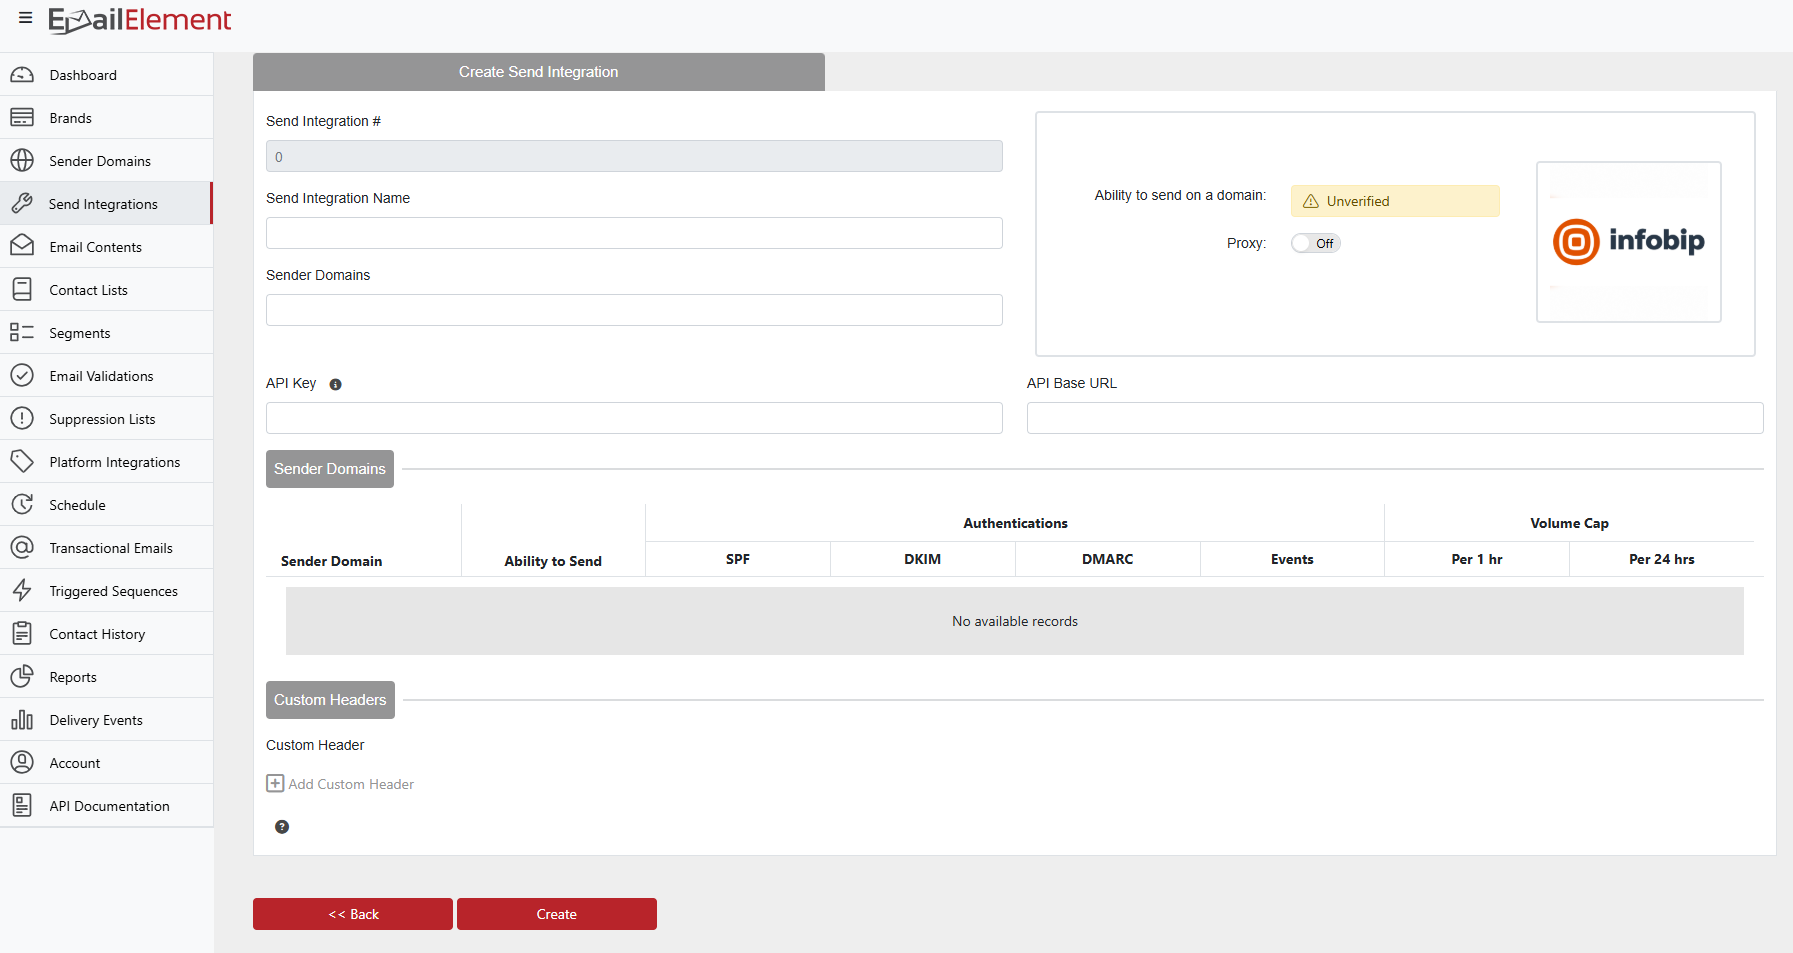
- Go to Send Integrations in the EmailElement portal and select Infobip as your ESP
- Enter your Send Integration name and add your Domain
- Paste the API Key you created in Infobit's portal into the “API Key” field
- Enter your API Base URL in the “API Base URL” field, which can be found where your API Keys are in the Infobip portal
- Hit Create to save the new integration, then be sure to “Run Test”. If everything is set up correctly, you'll be ready to start sending.
Troubleshooting
| Issue | Solution |
|---|---|
| Authentication failed | Check the API key is correct and still active in the Infobip portal. |
| Invalid Base URL | The Base URL must match your Infobip account exactly. It does not need an https:// prefix. |
| Domain not verified | Verify the sender domain in both EmailElement and Infobip. |