
Contact API Walkthrough
Prerequisites
- An EmailElement account with at least one Contact List
- An API key with Contact API permission set to Full Access
- An API client such as Postman, cURL, or your application code
Step 1: Find Your Contact List ID
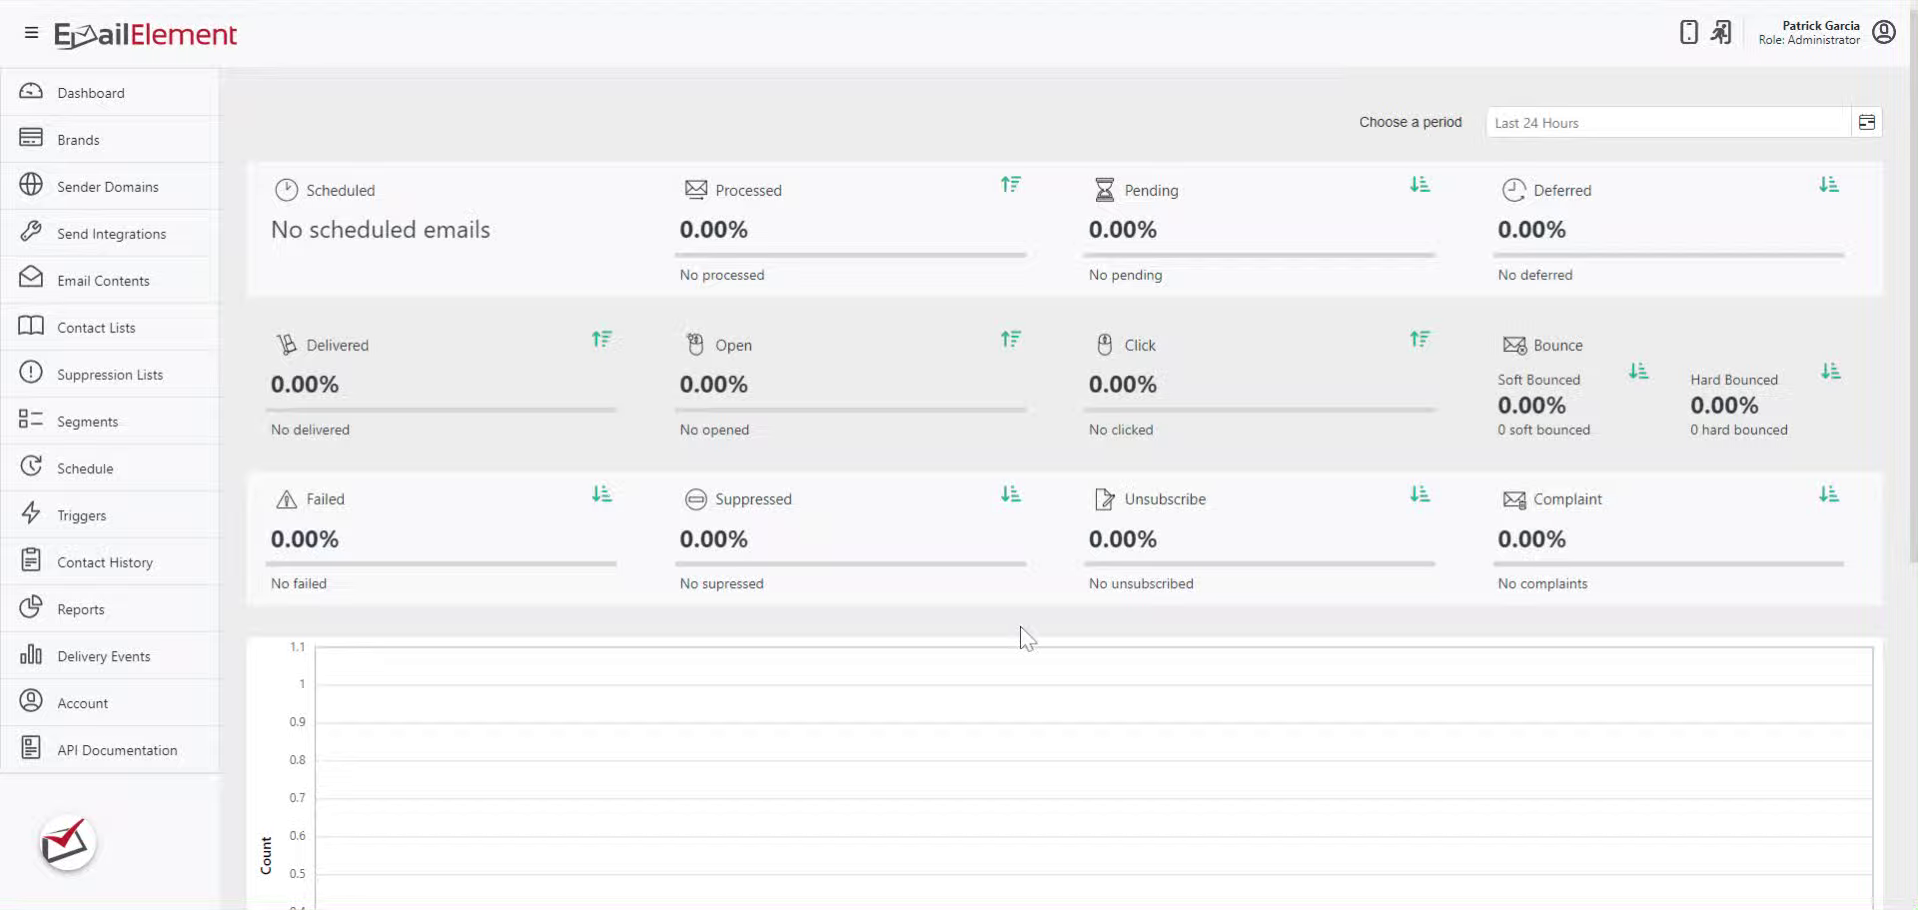
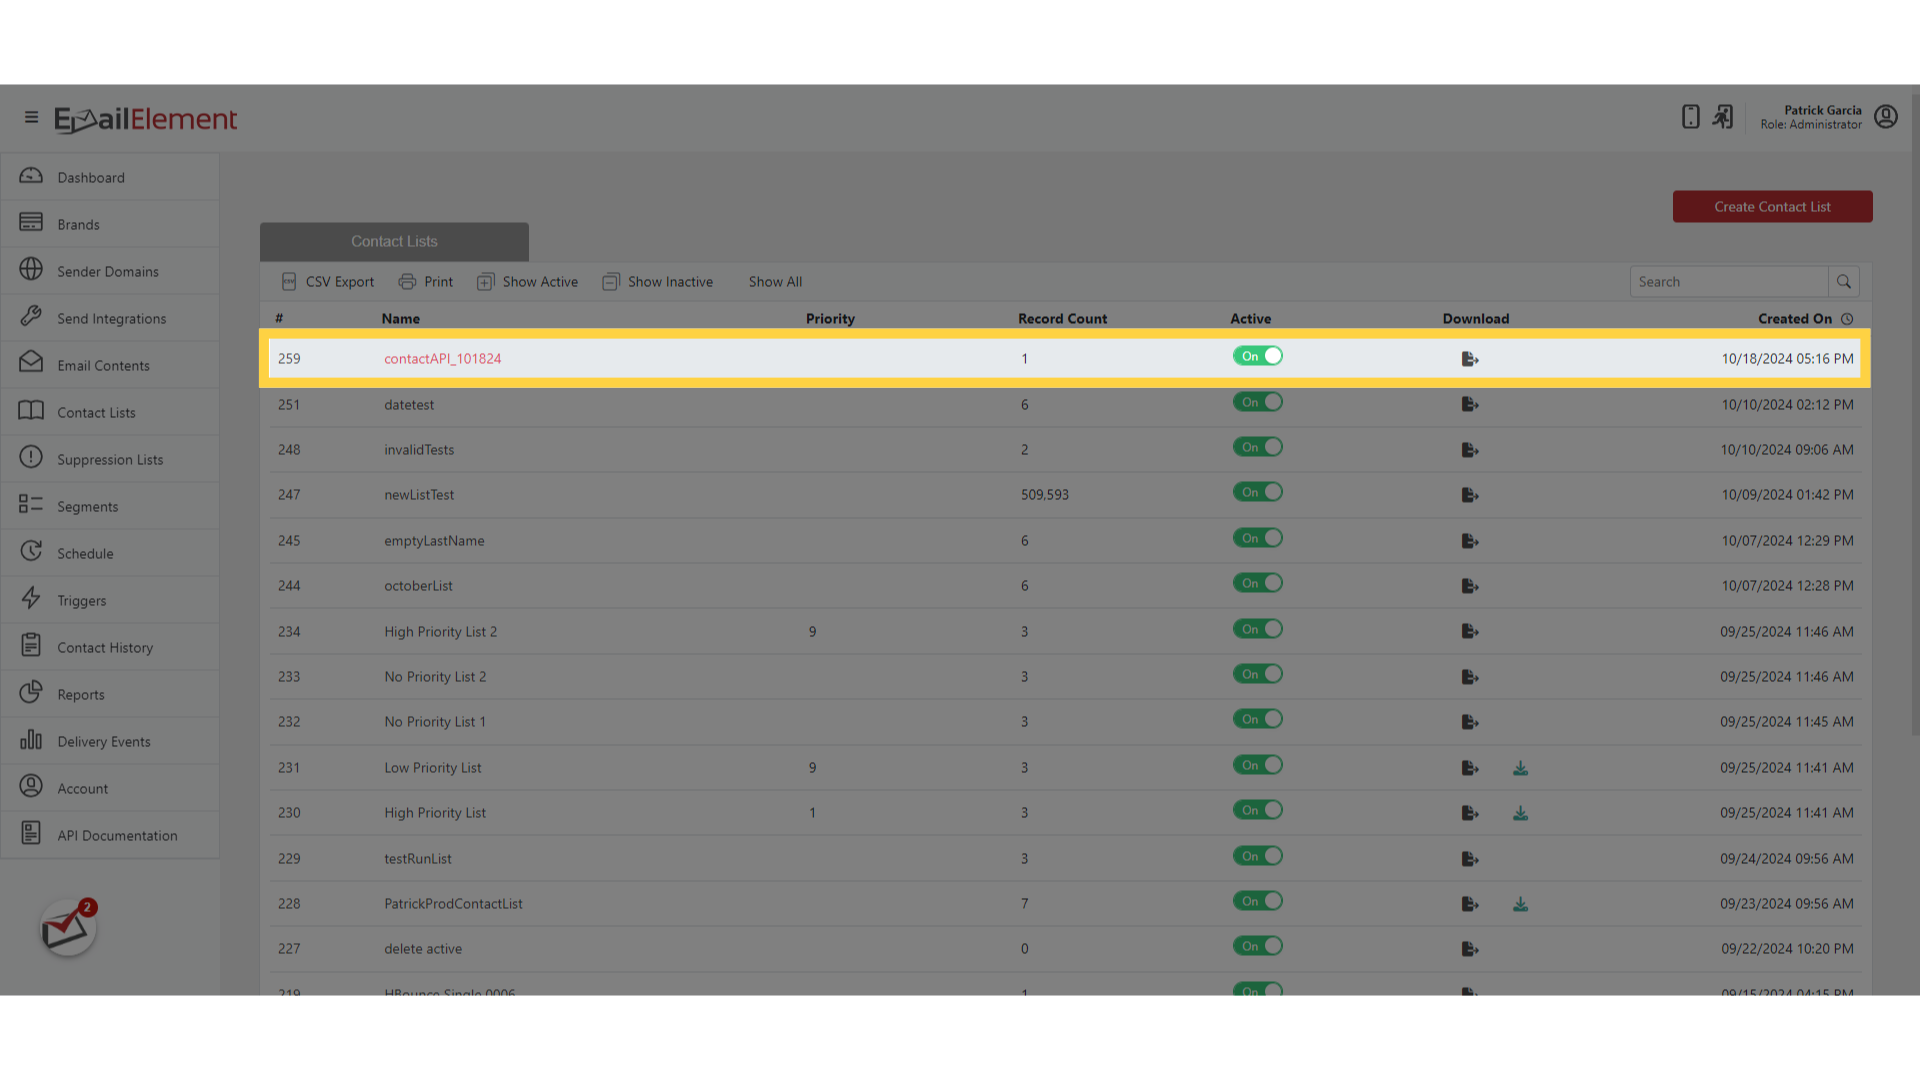
Navigate to Contact Lists from the sidebar
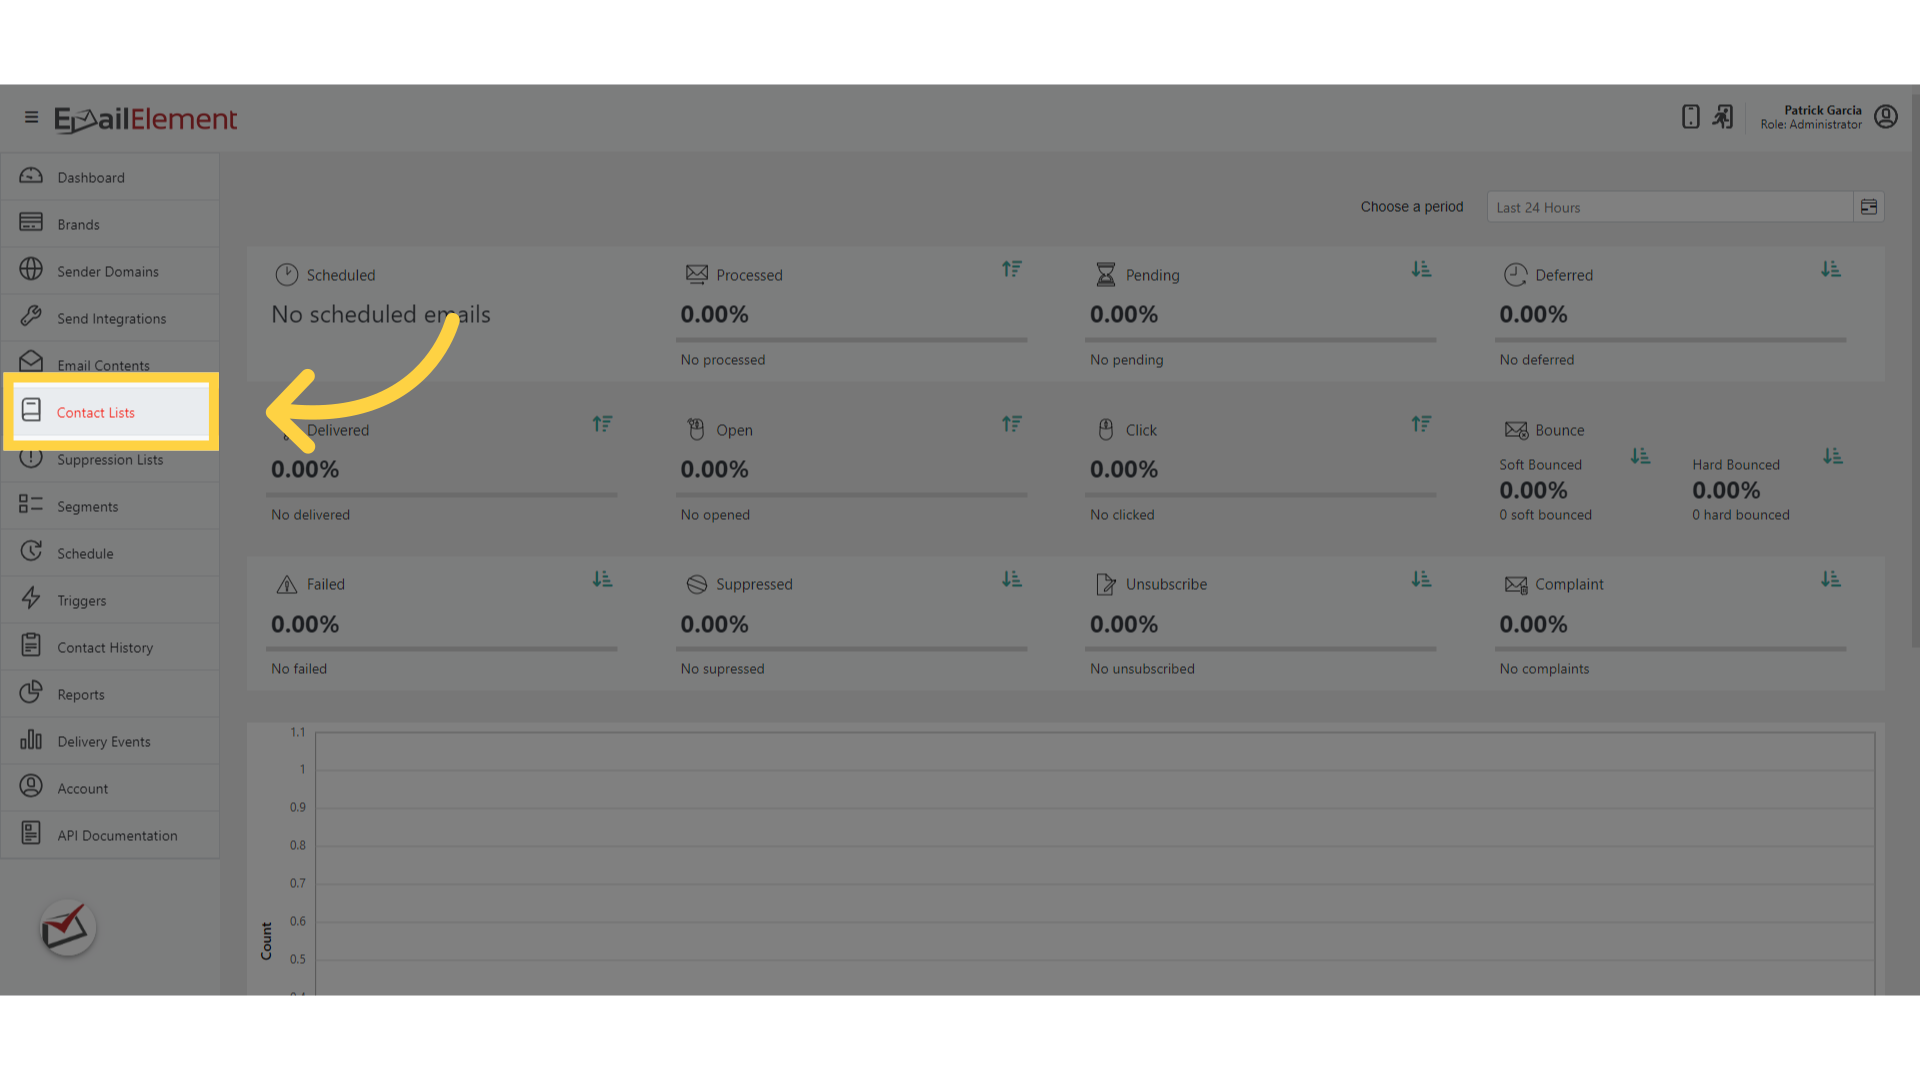
Find the list you want to add contacts to
The ID is in the left column of the grid
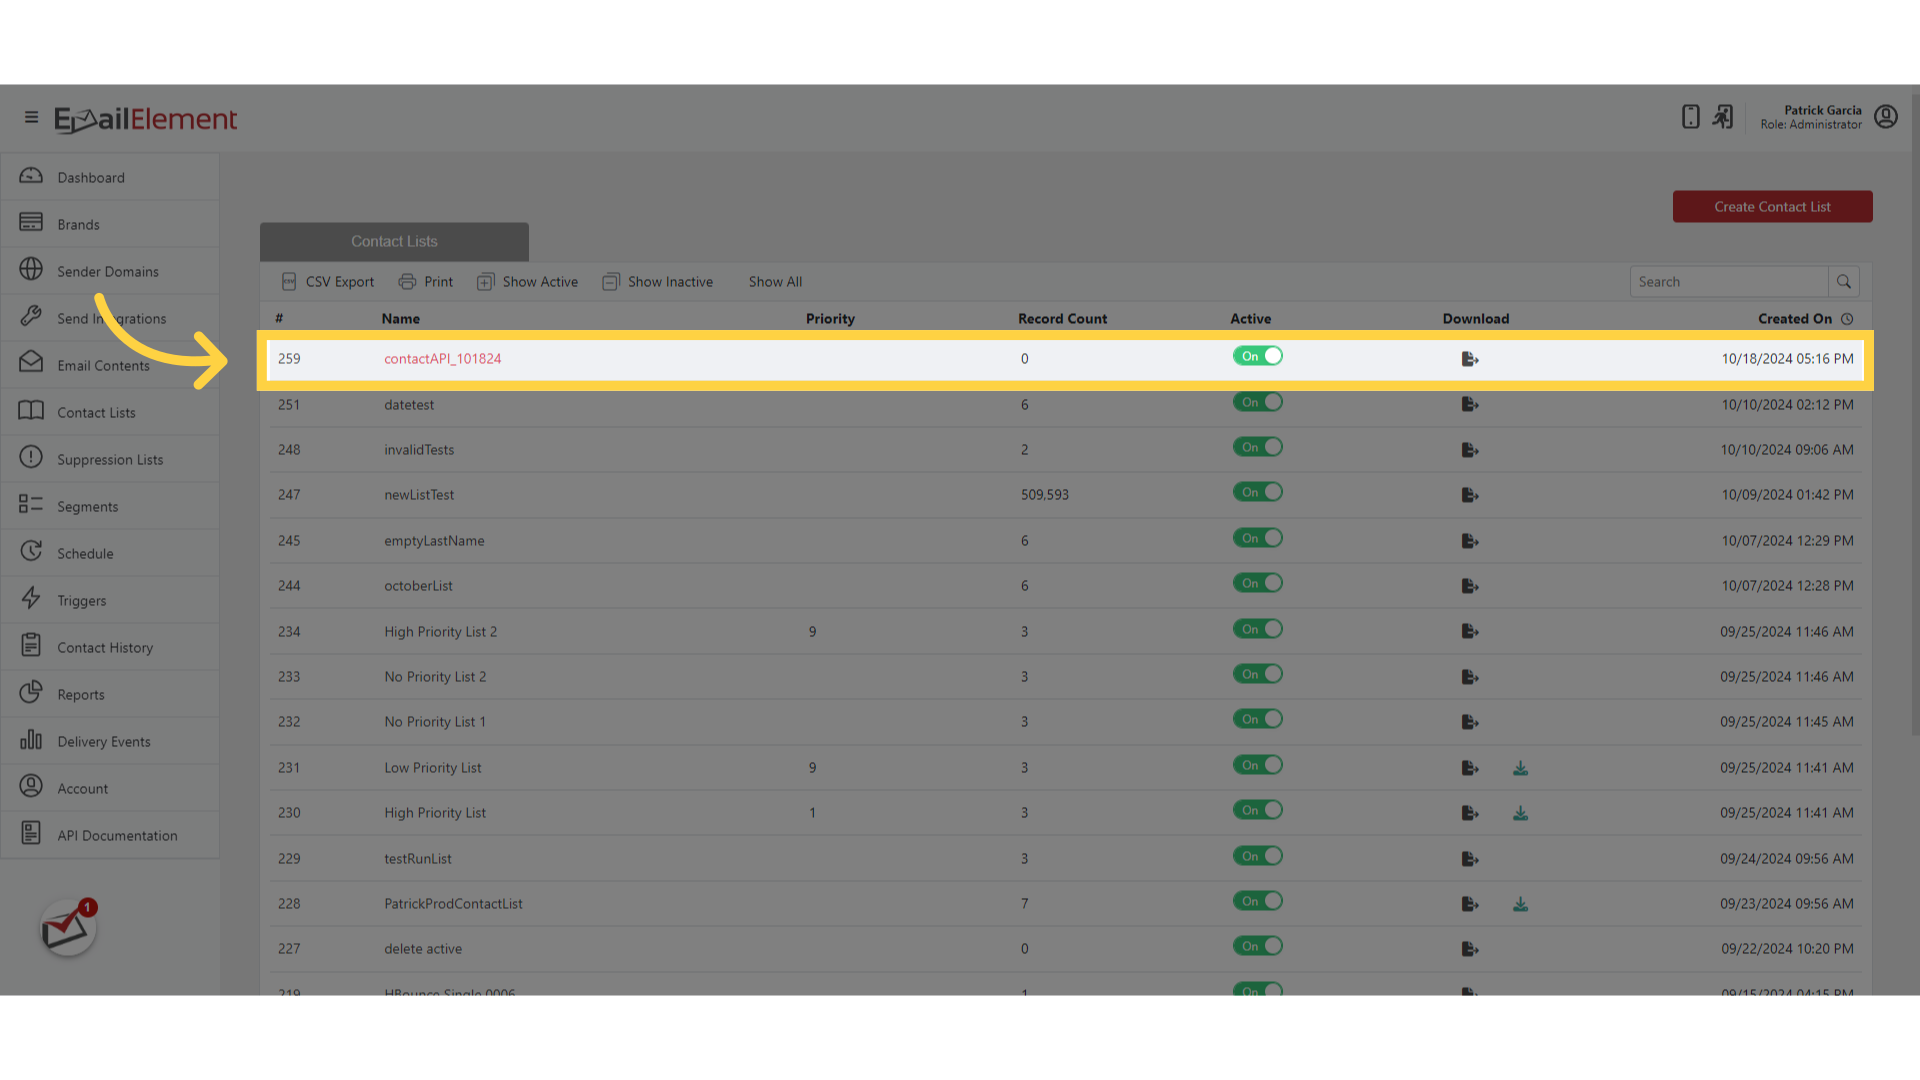
Copy it — it goes in the API URL
Step 2: Generate an API Key
Navigate to Account > API Keys
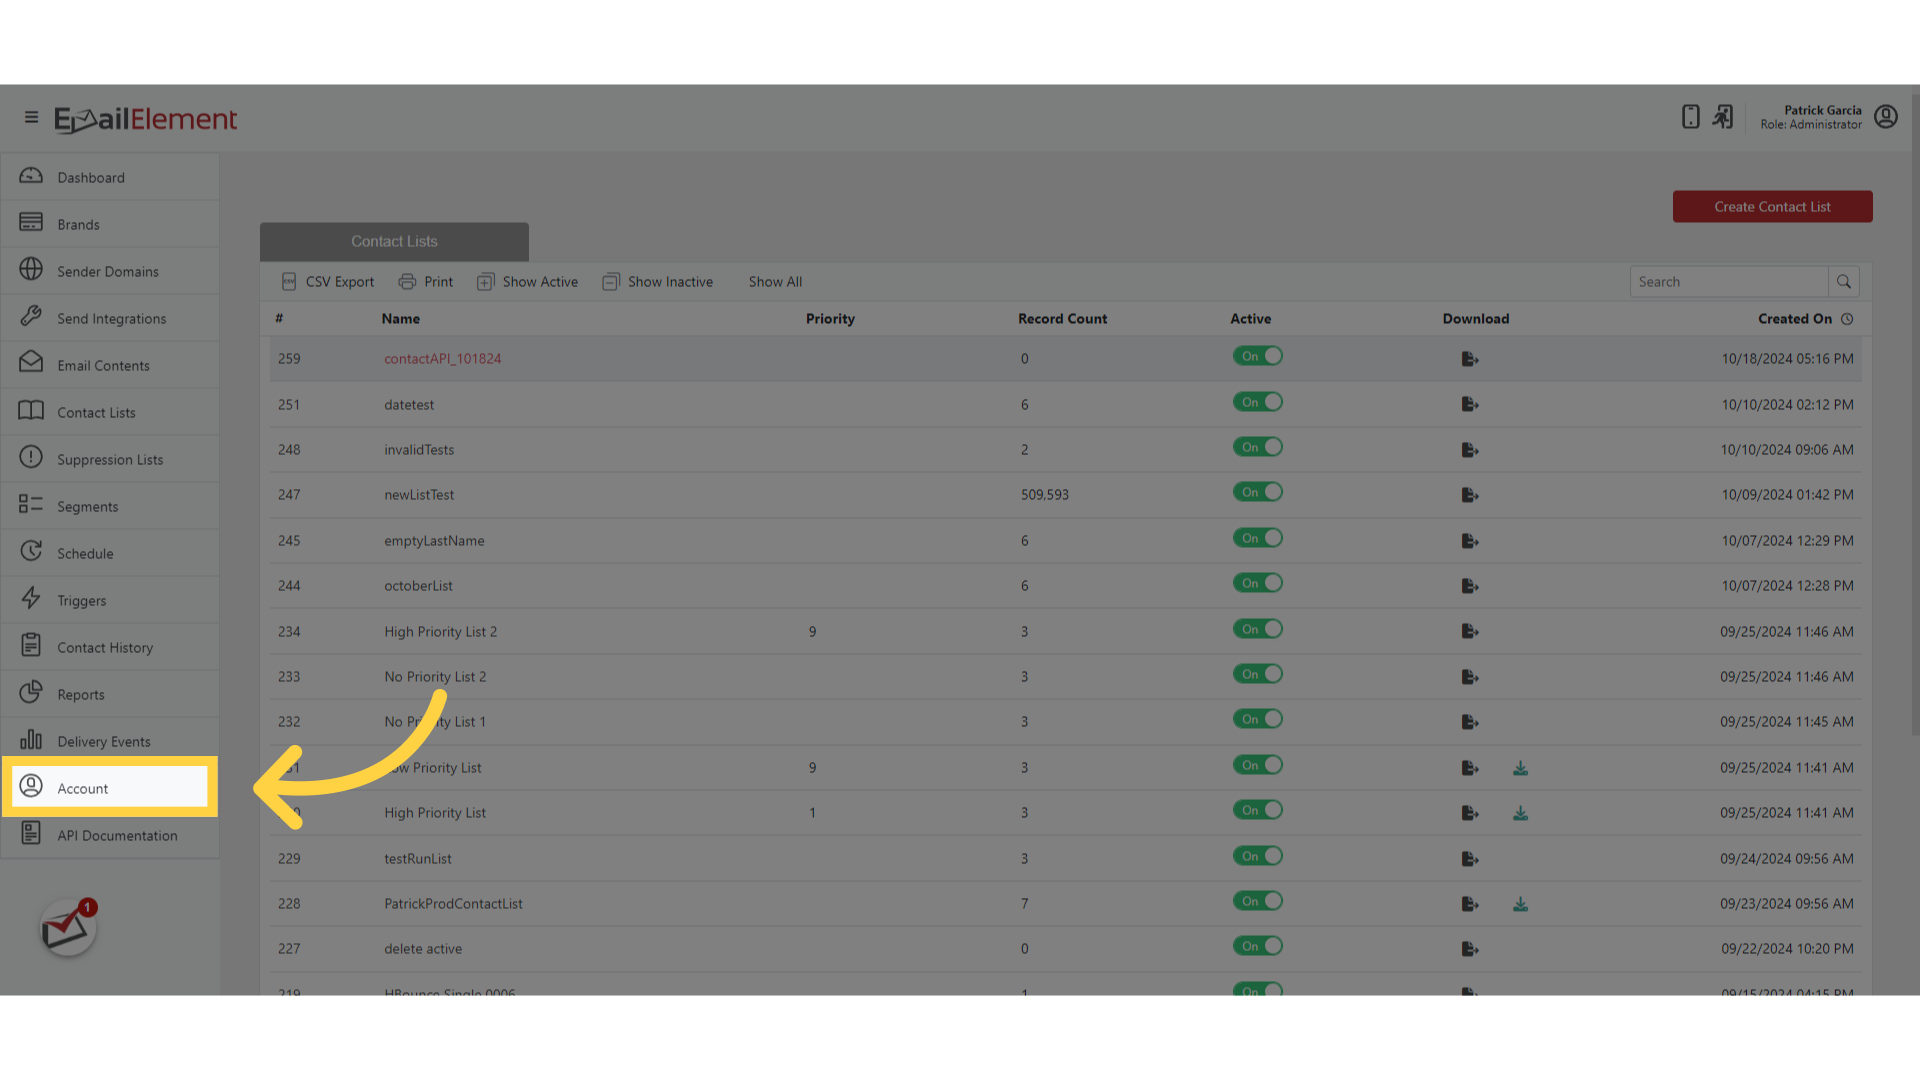
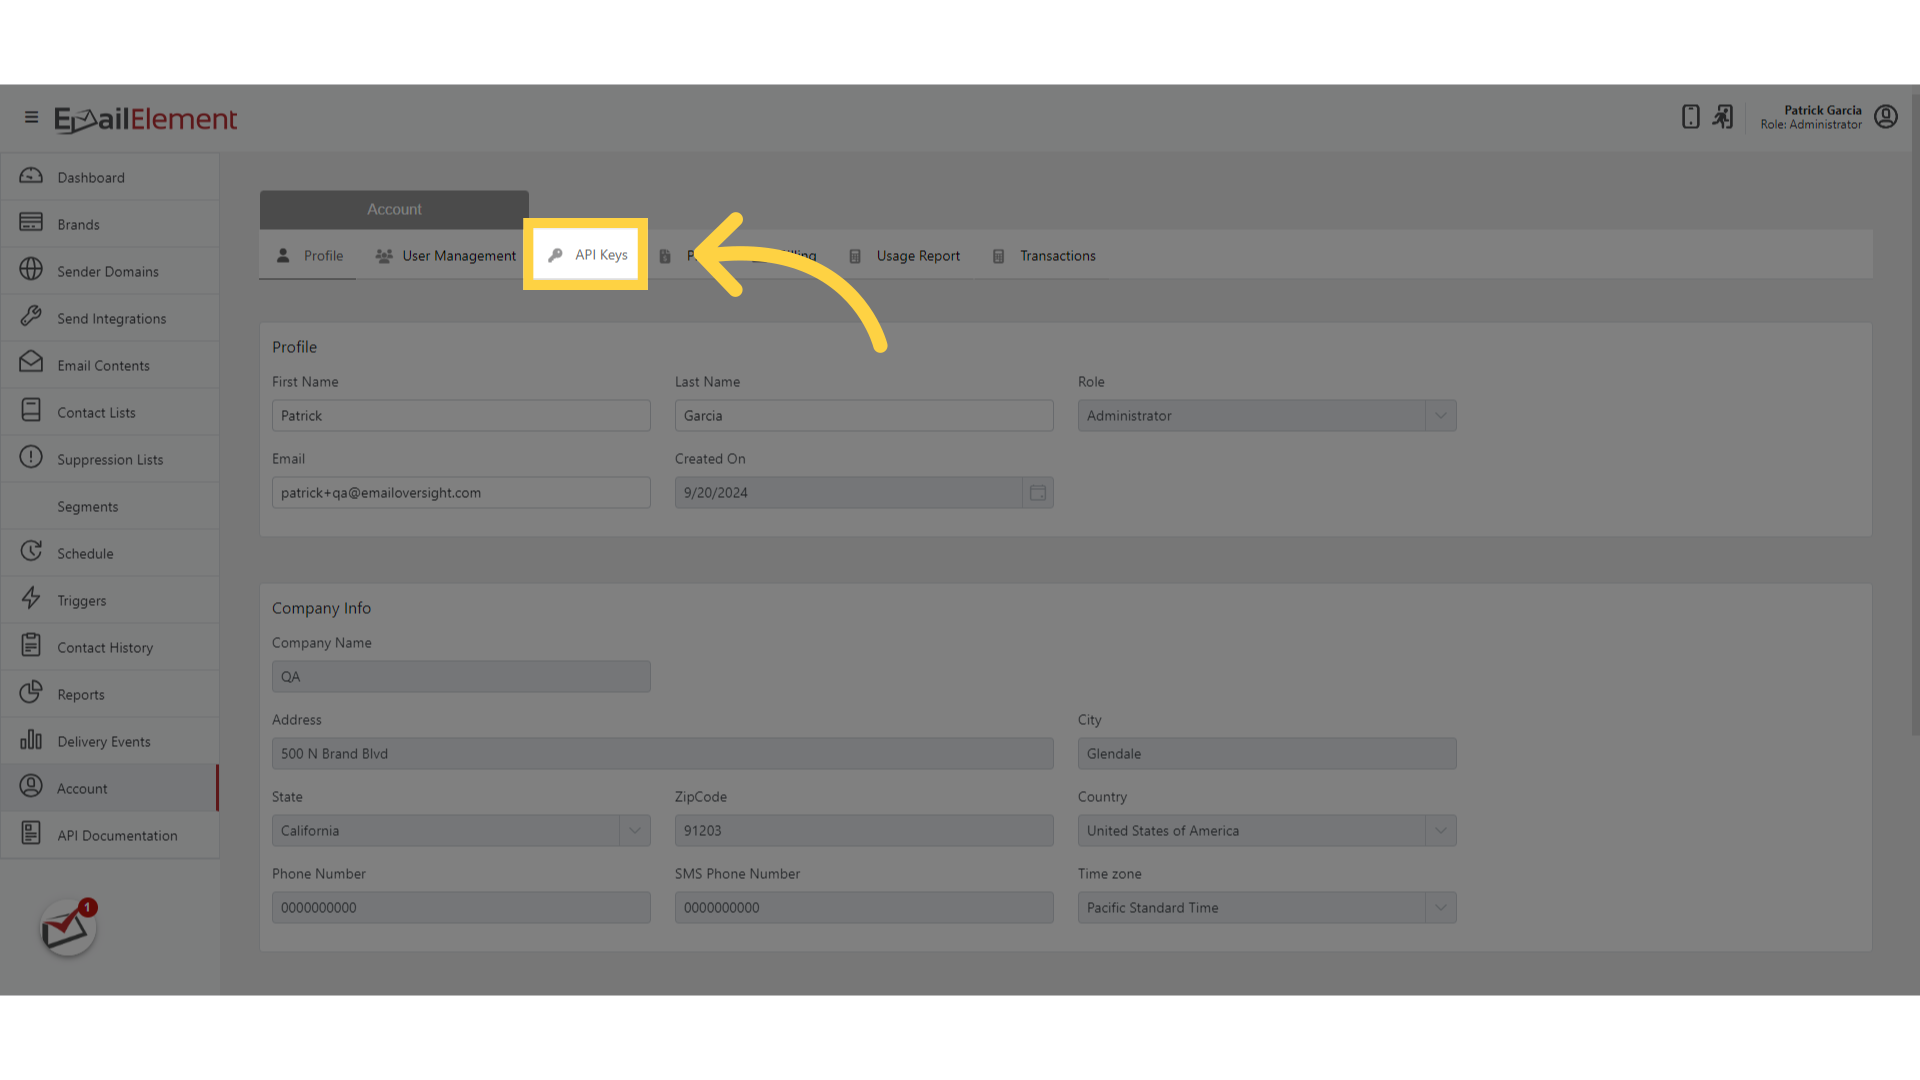
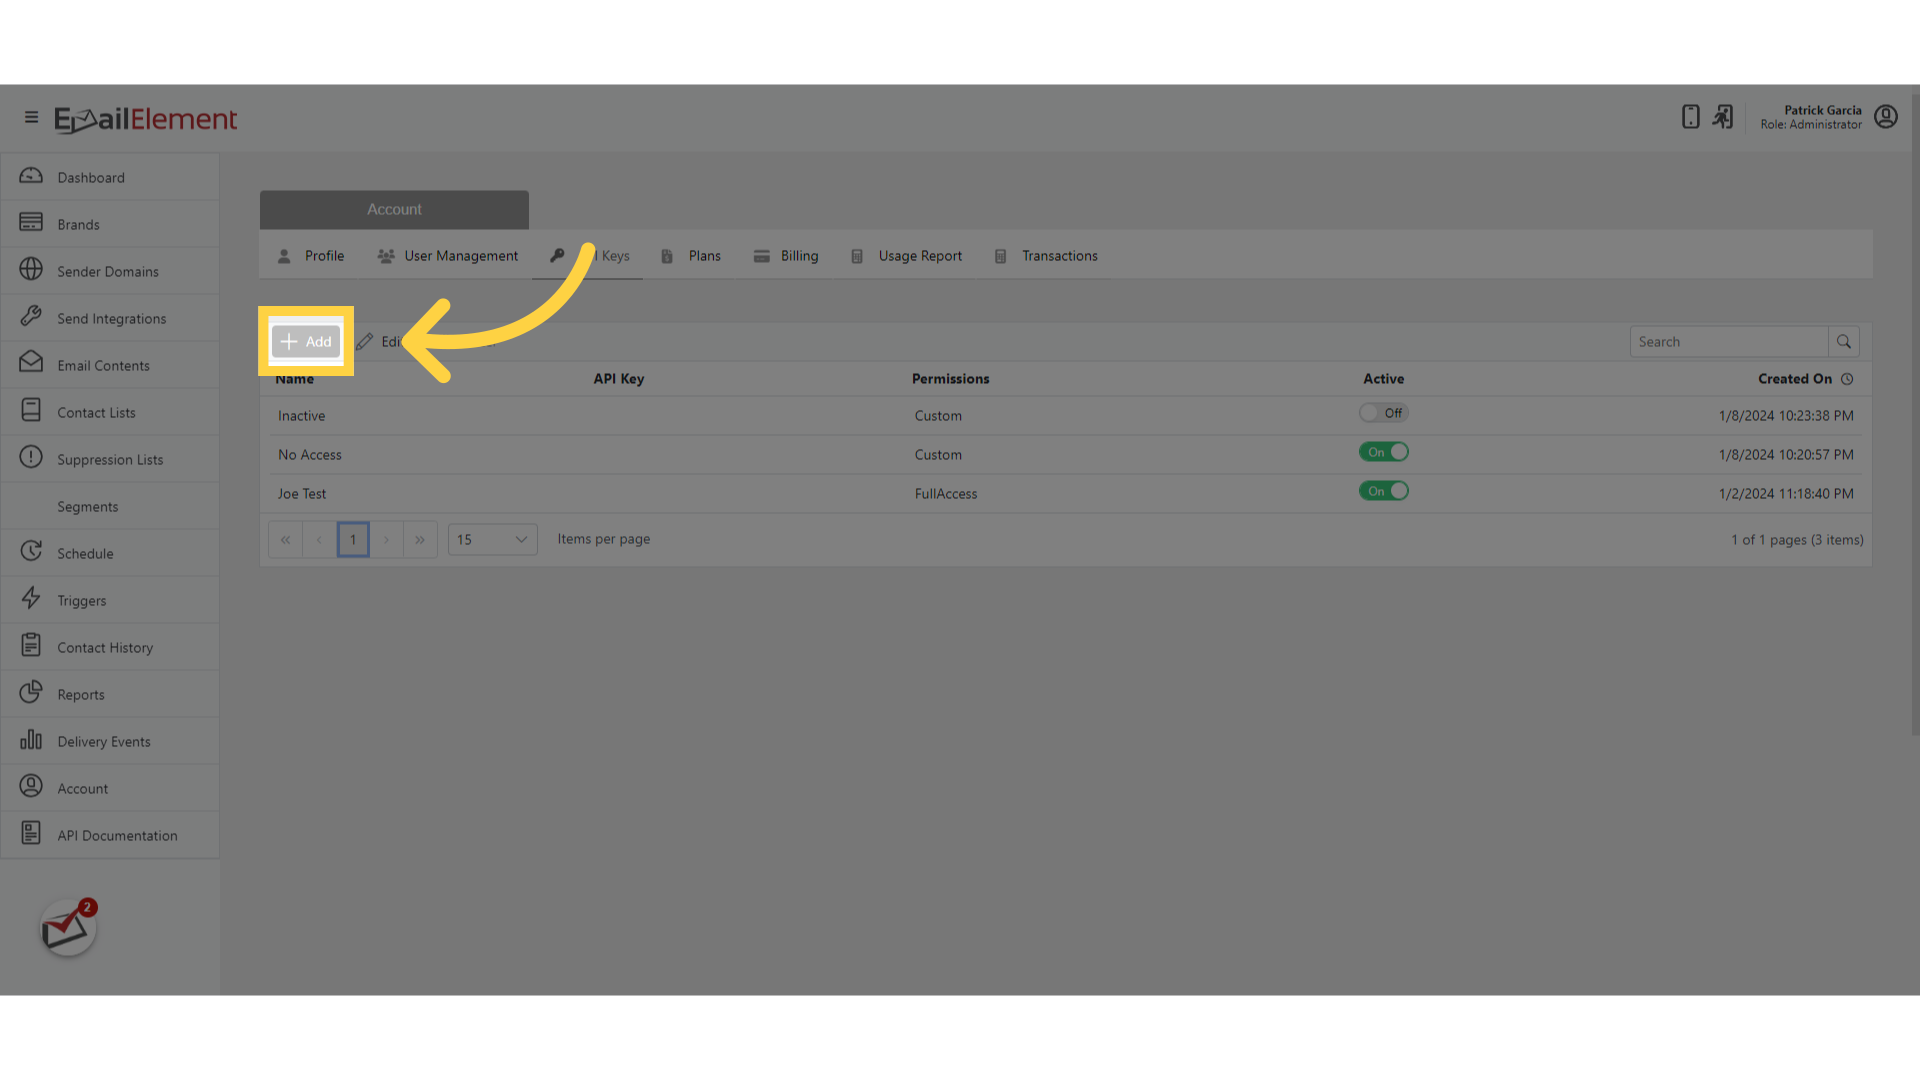
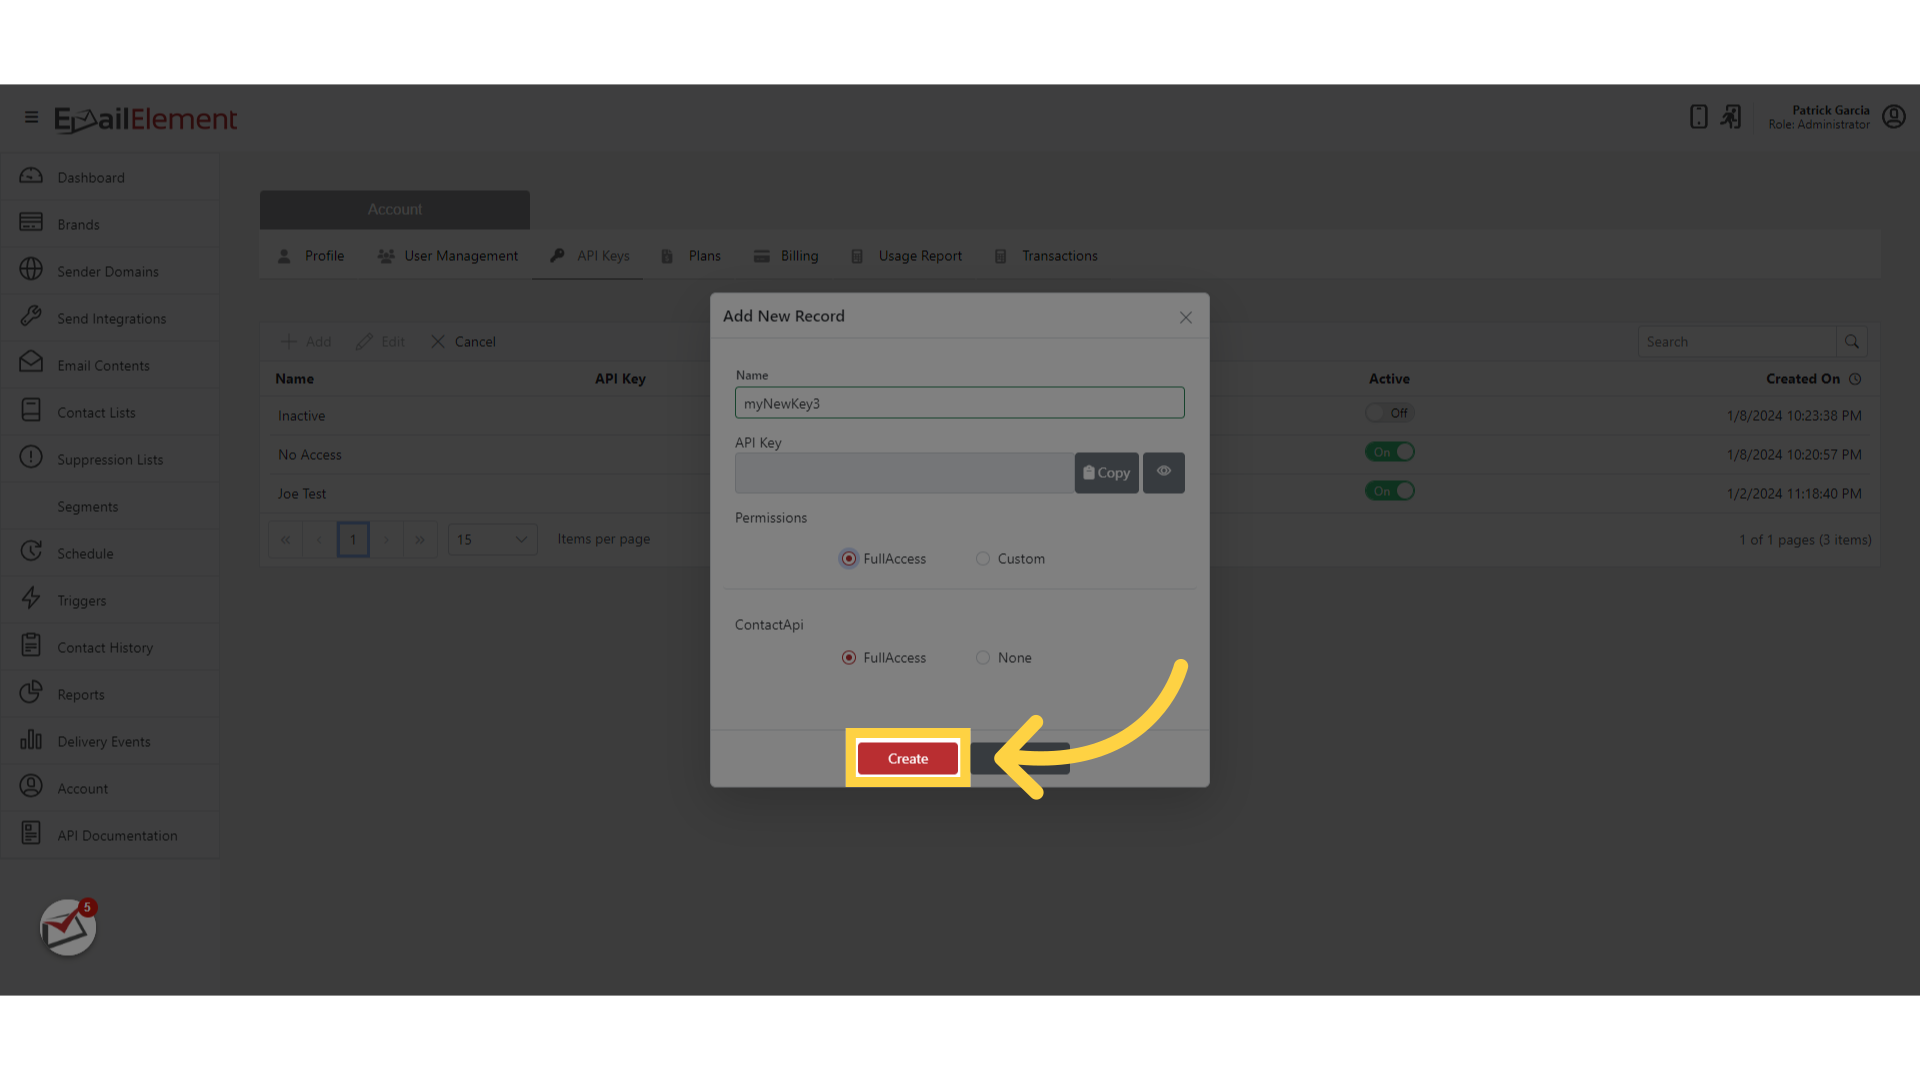
Click Add
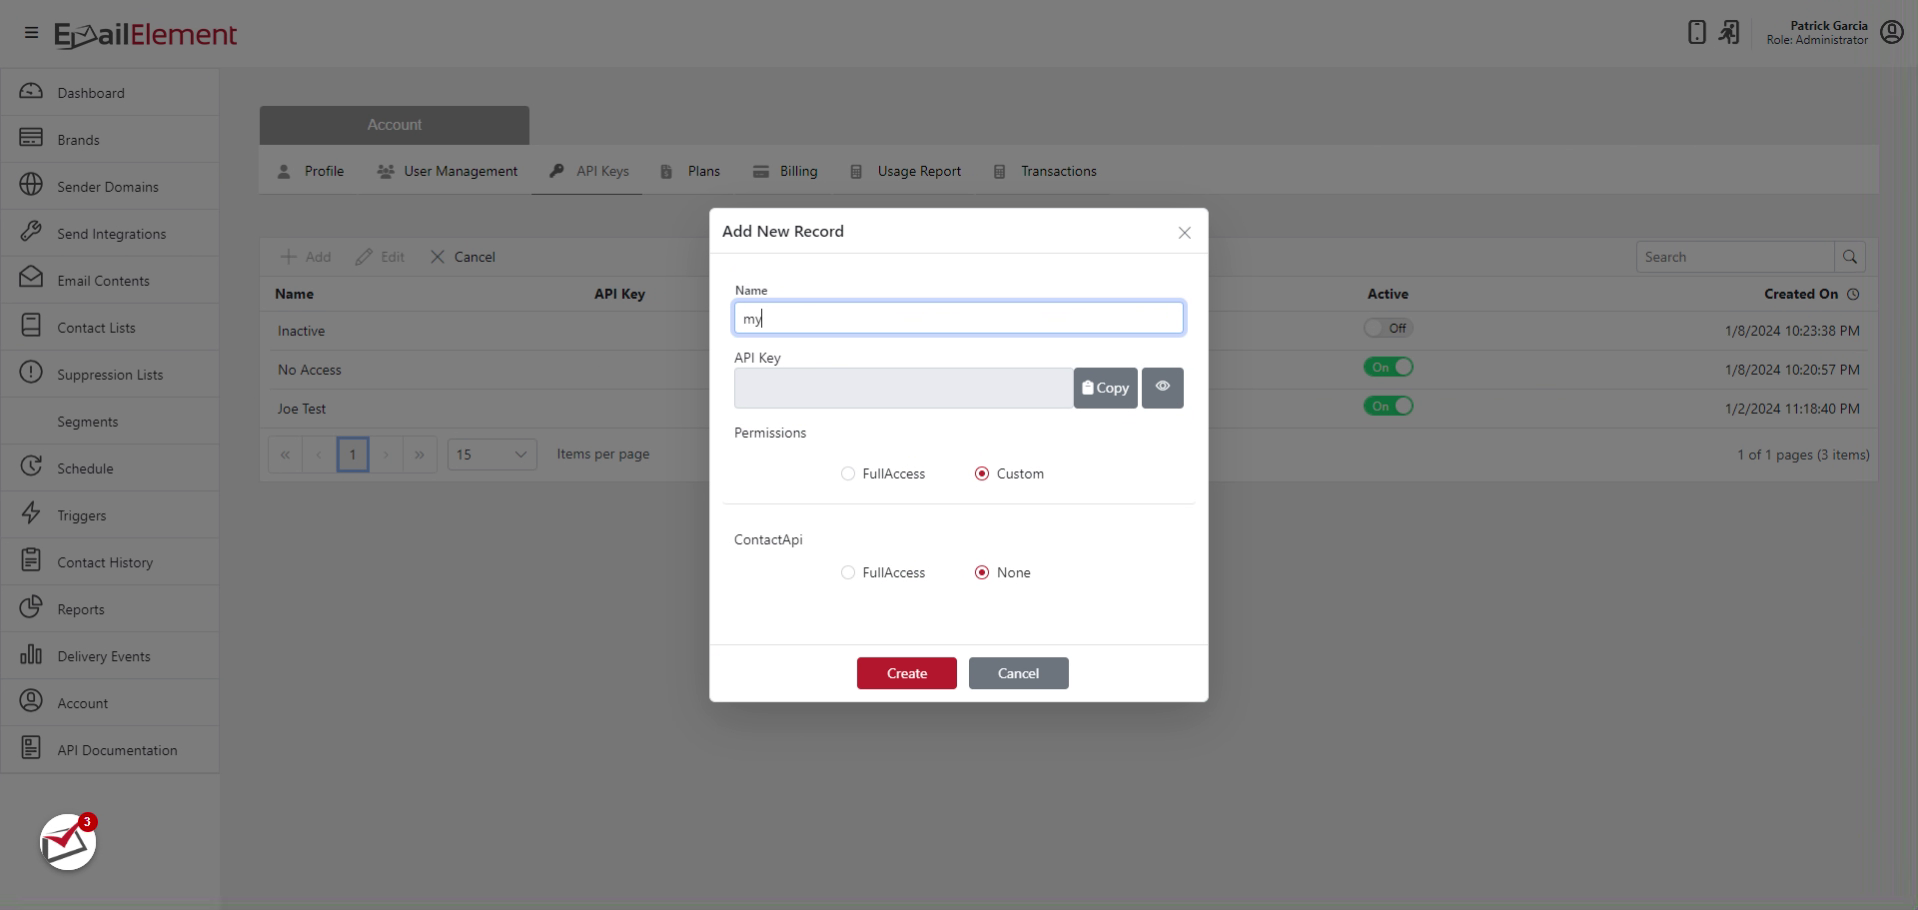
Enter a name for the key, for example "Contact API - Production"
Set the Contact API permission to Full Access
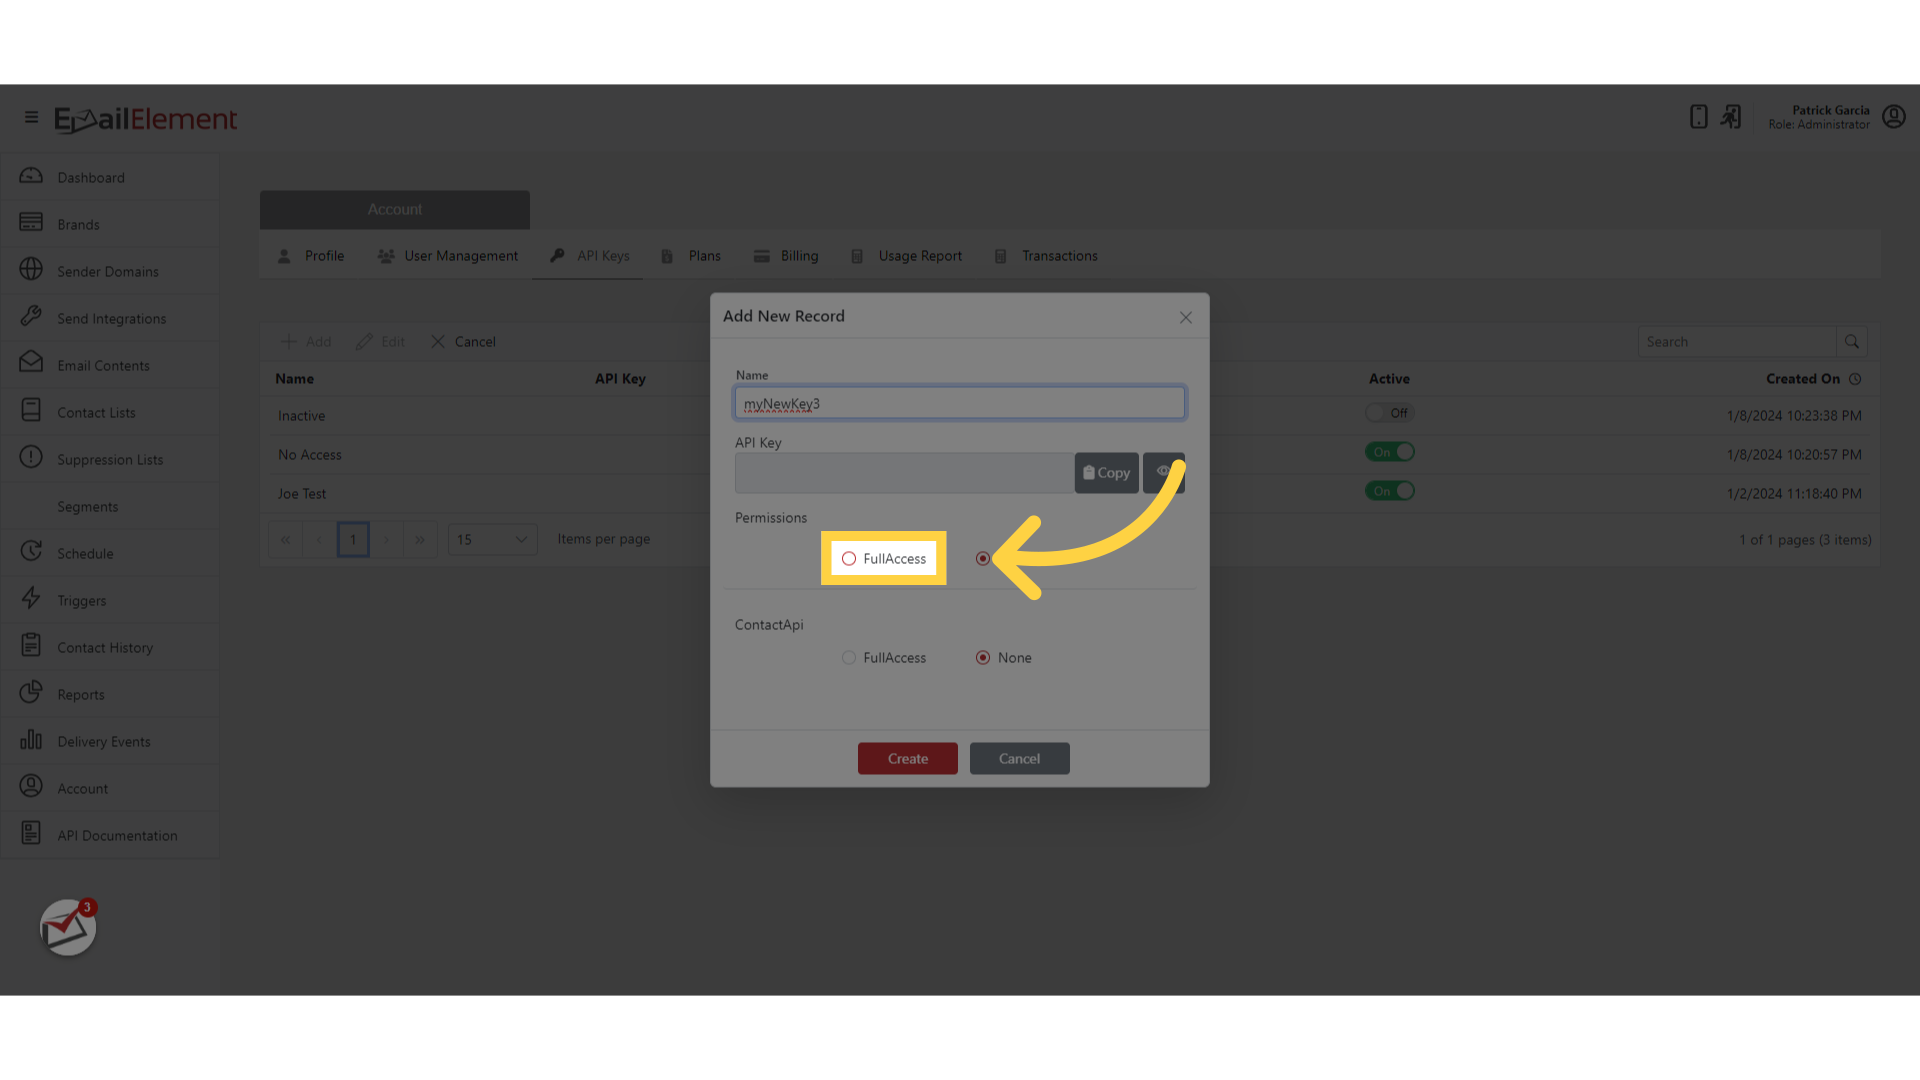
Set the other permissions as needed
Click Create
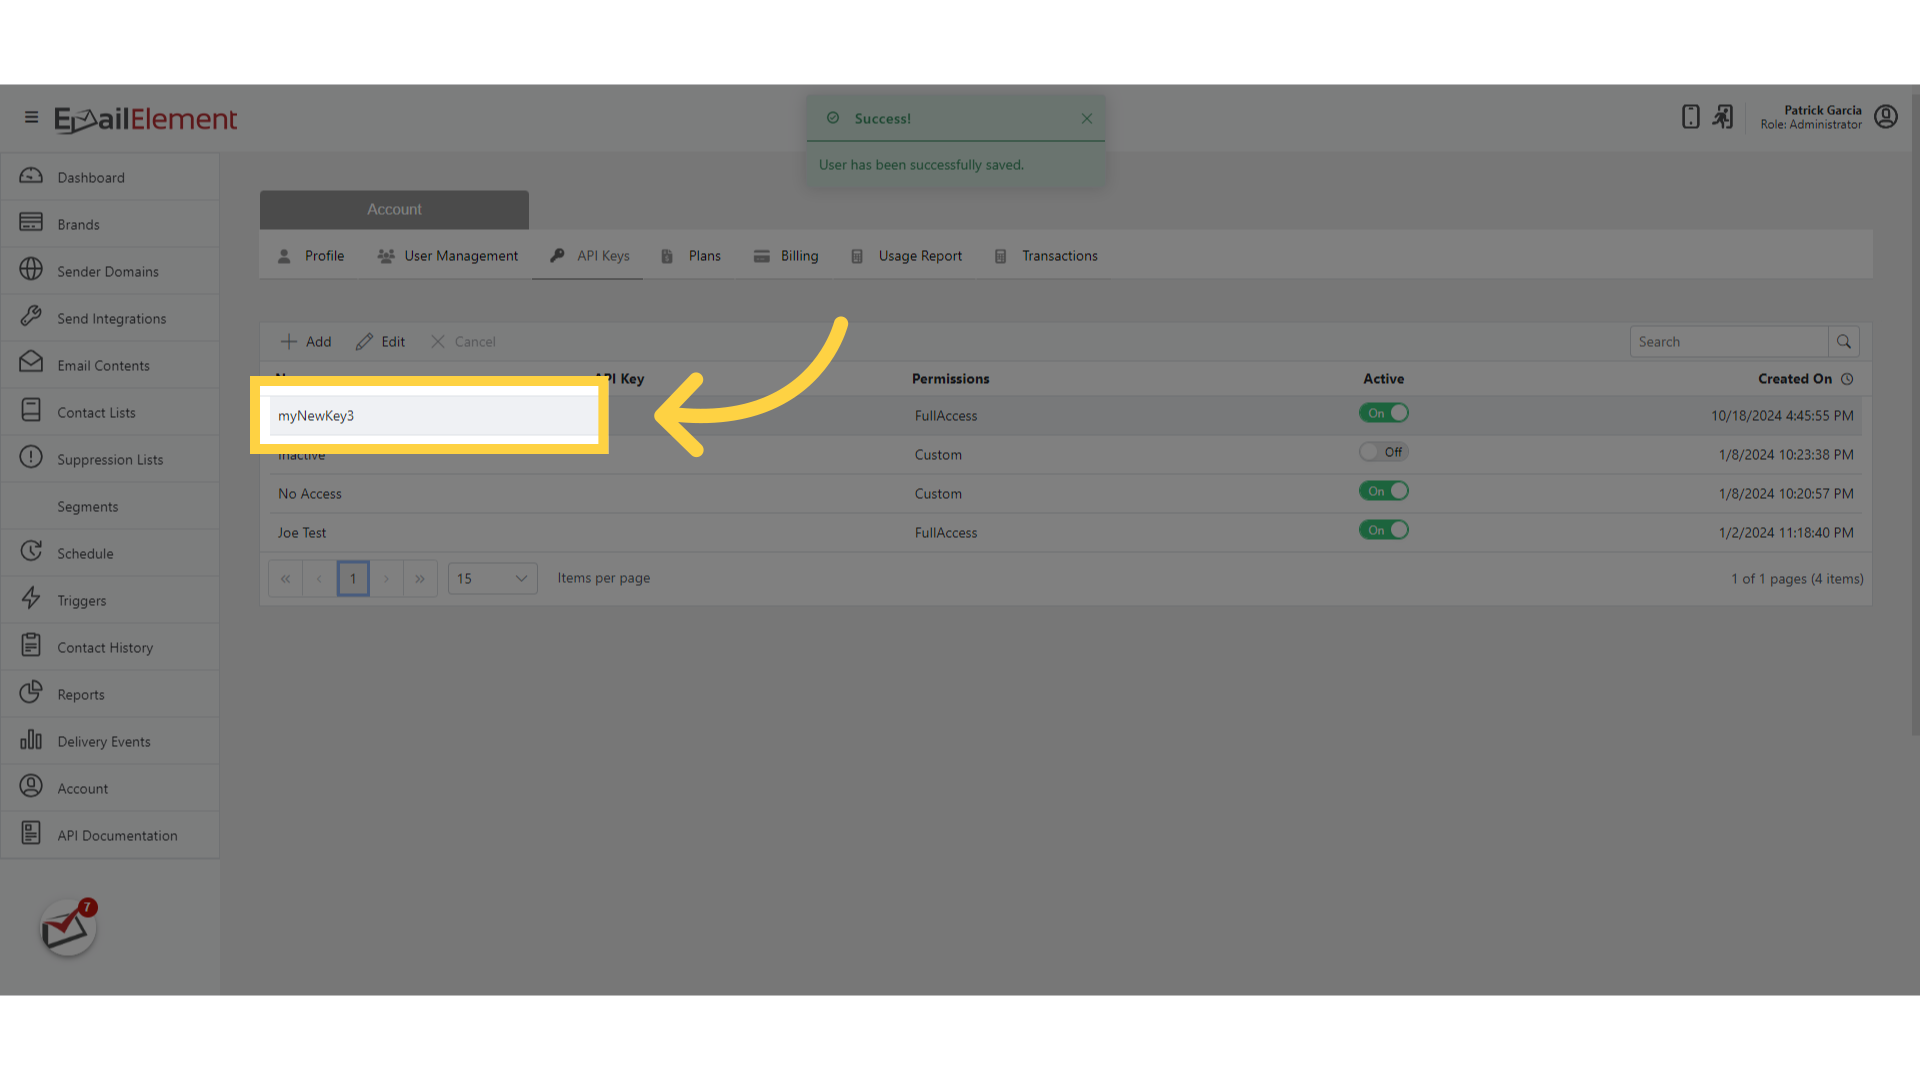
Click Copy. The key stays available — you can return to Account > API Keys and copy it again later
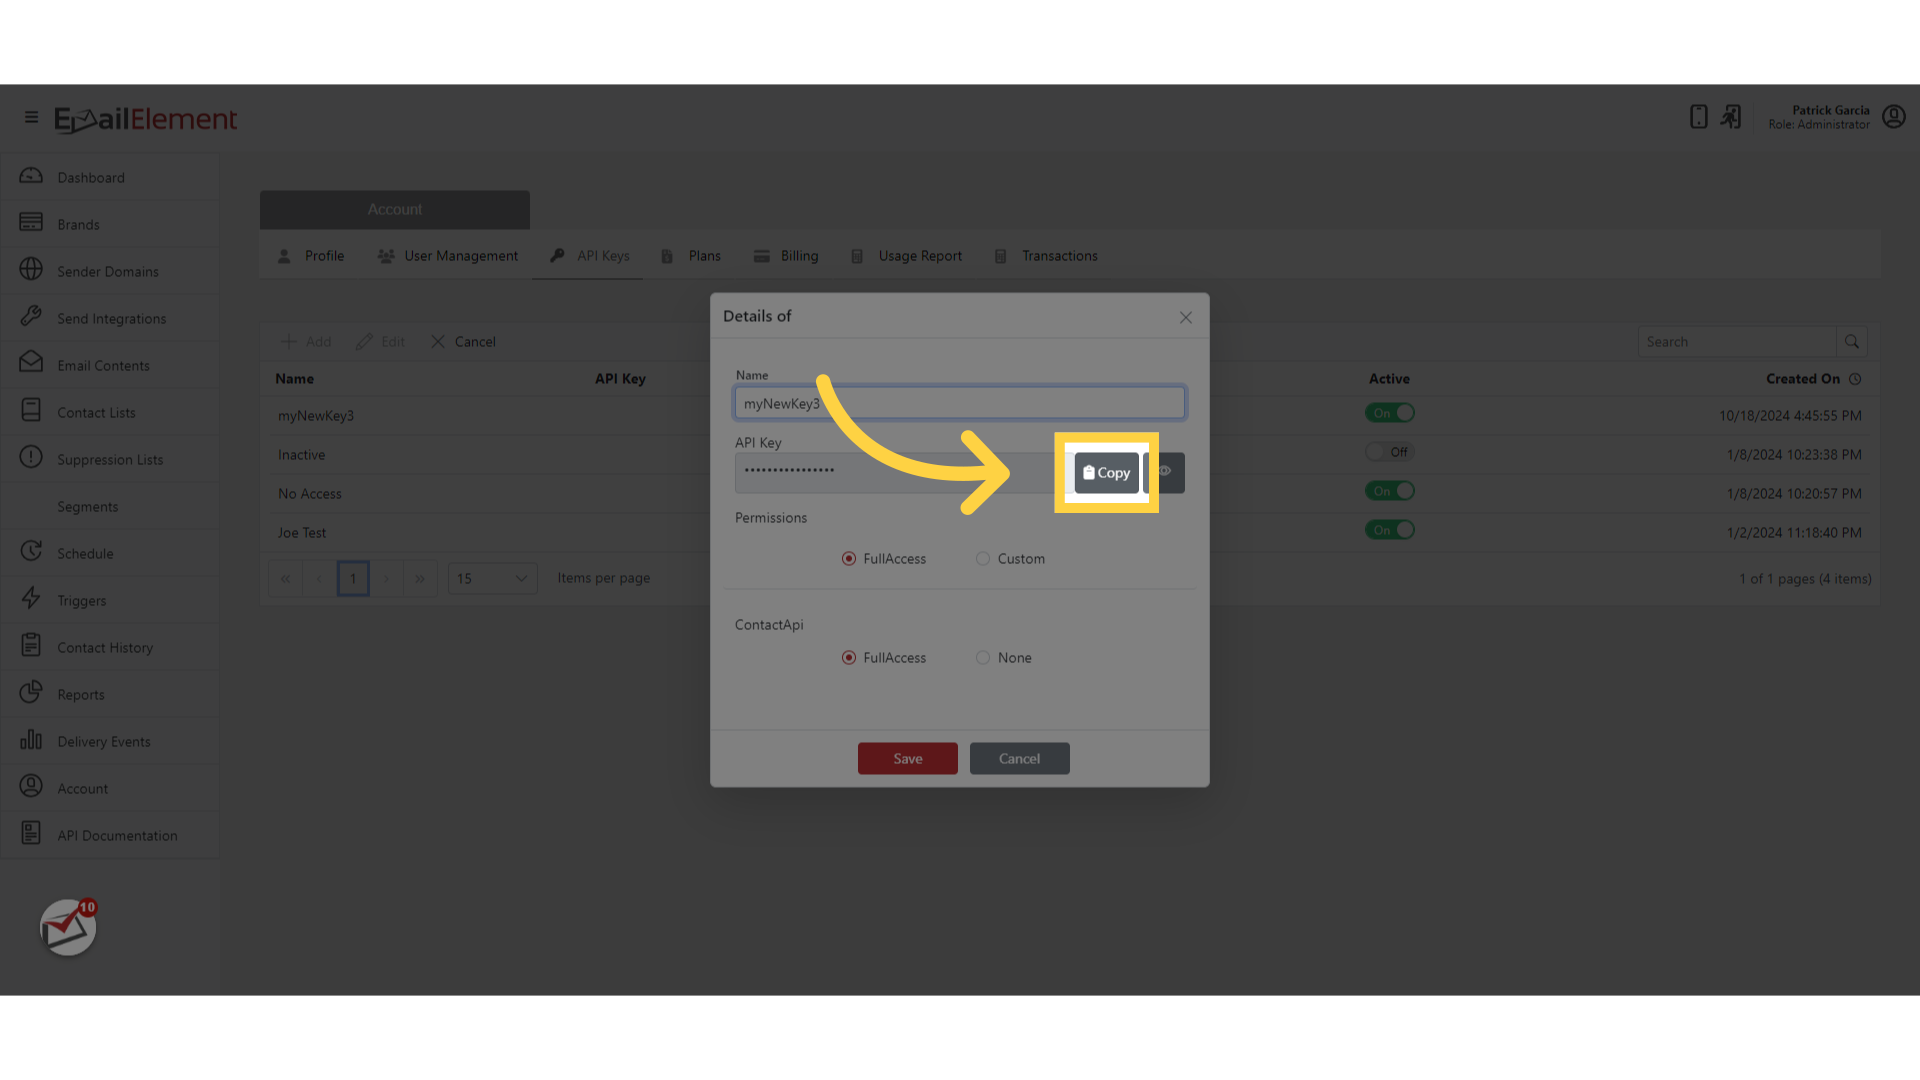
Store it somewhere safe and do not share it
Step 3: Use the API Documentation Generator
Navigate to API Documentation from the sidebar
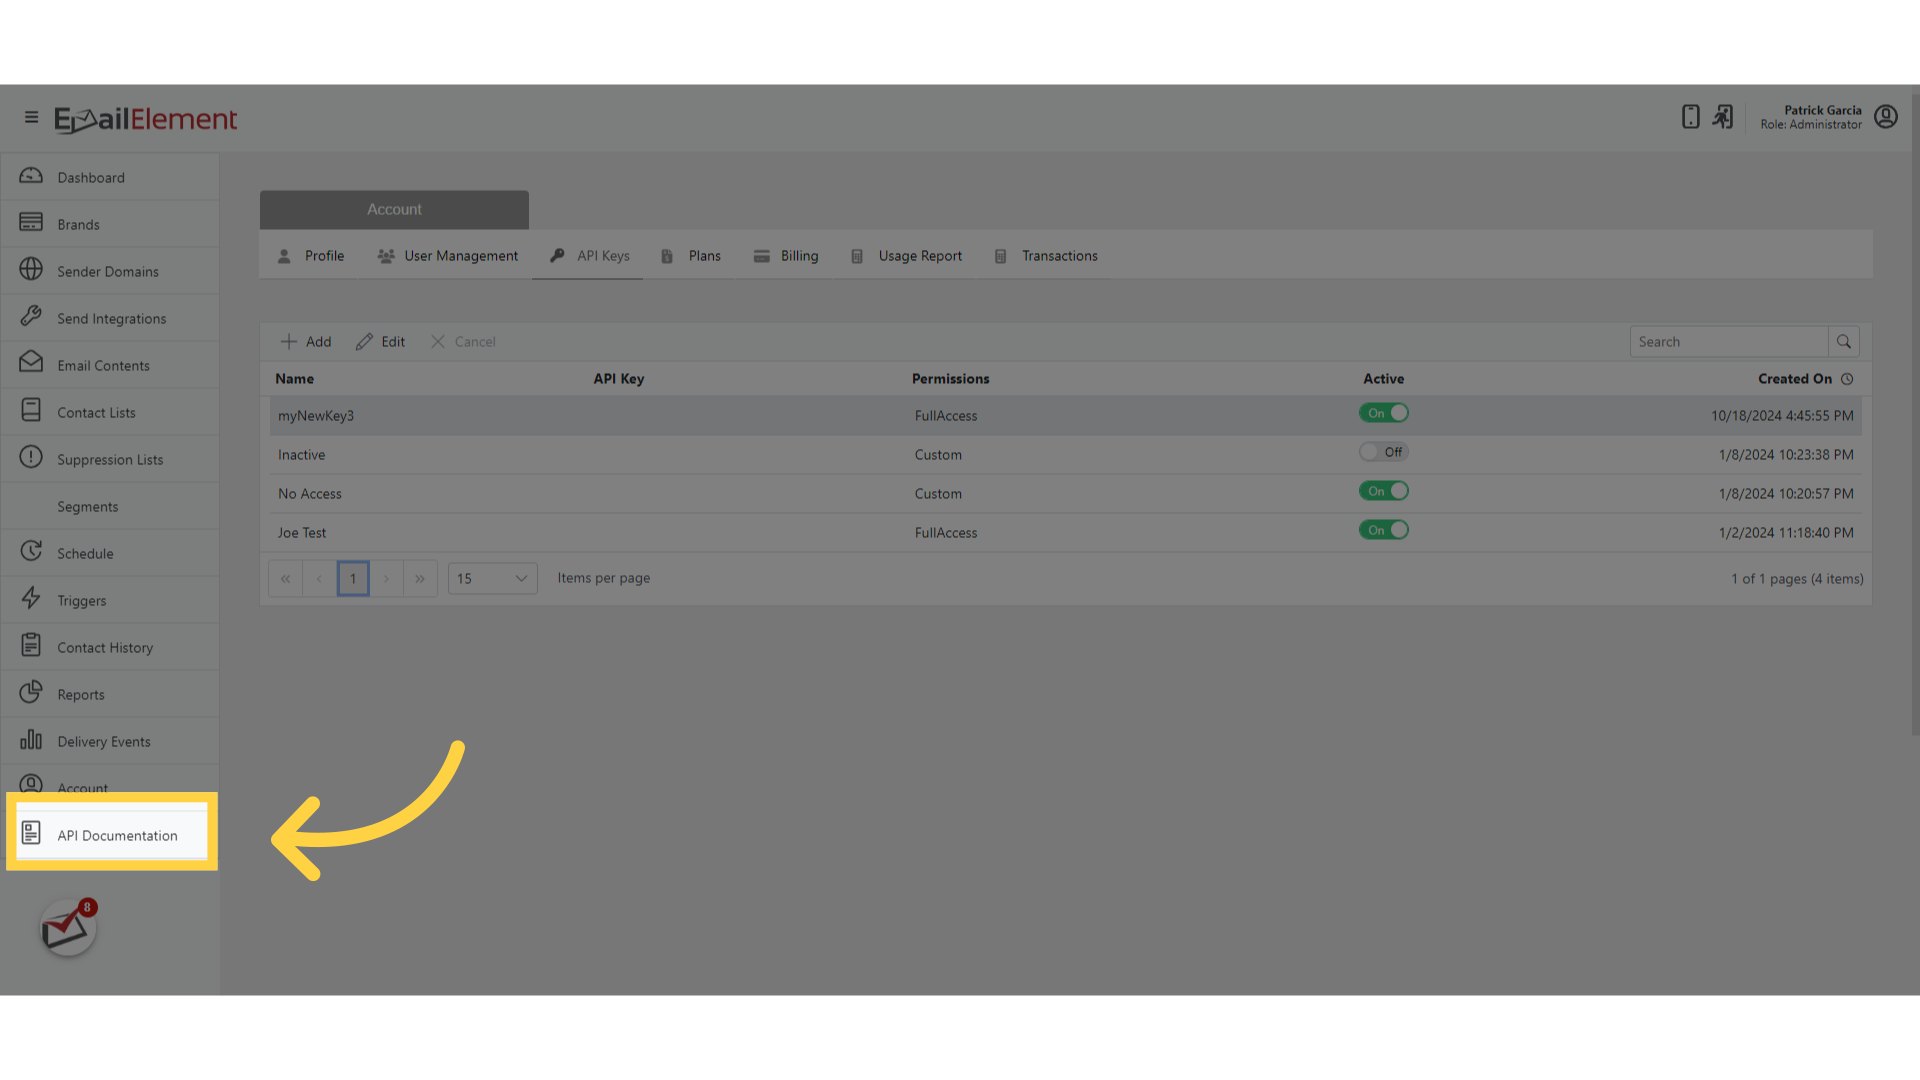
Select Contact API
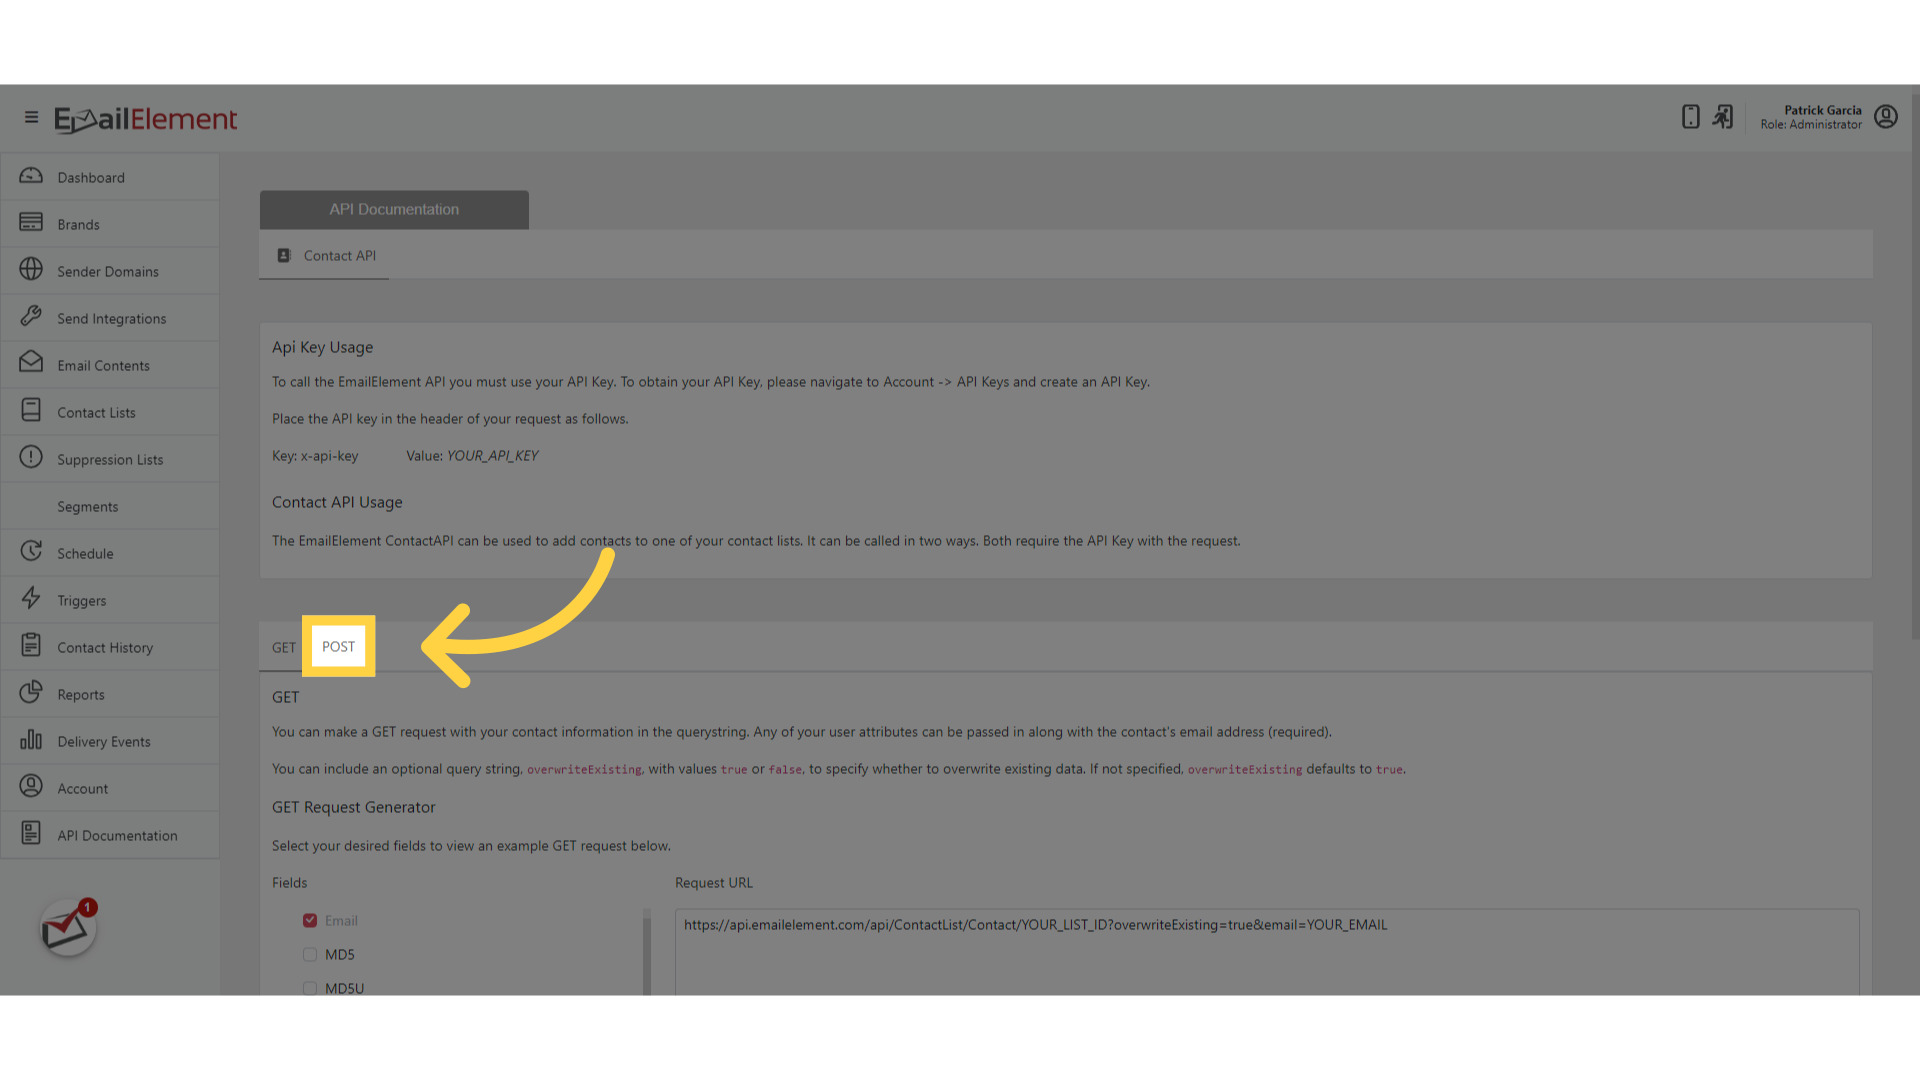
Pick the tab for the call you want. POST (V2) and GET (V2) are the current ones. The V1 tabs are marked deprecated and are there for existing integrations
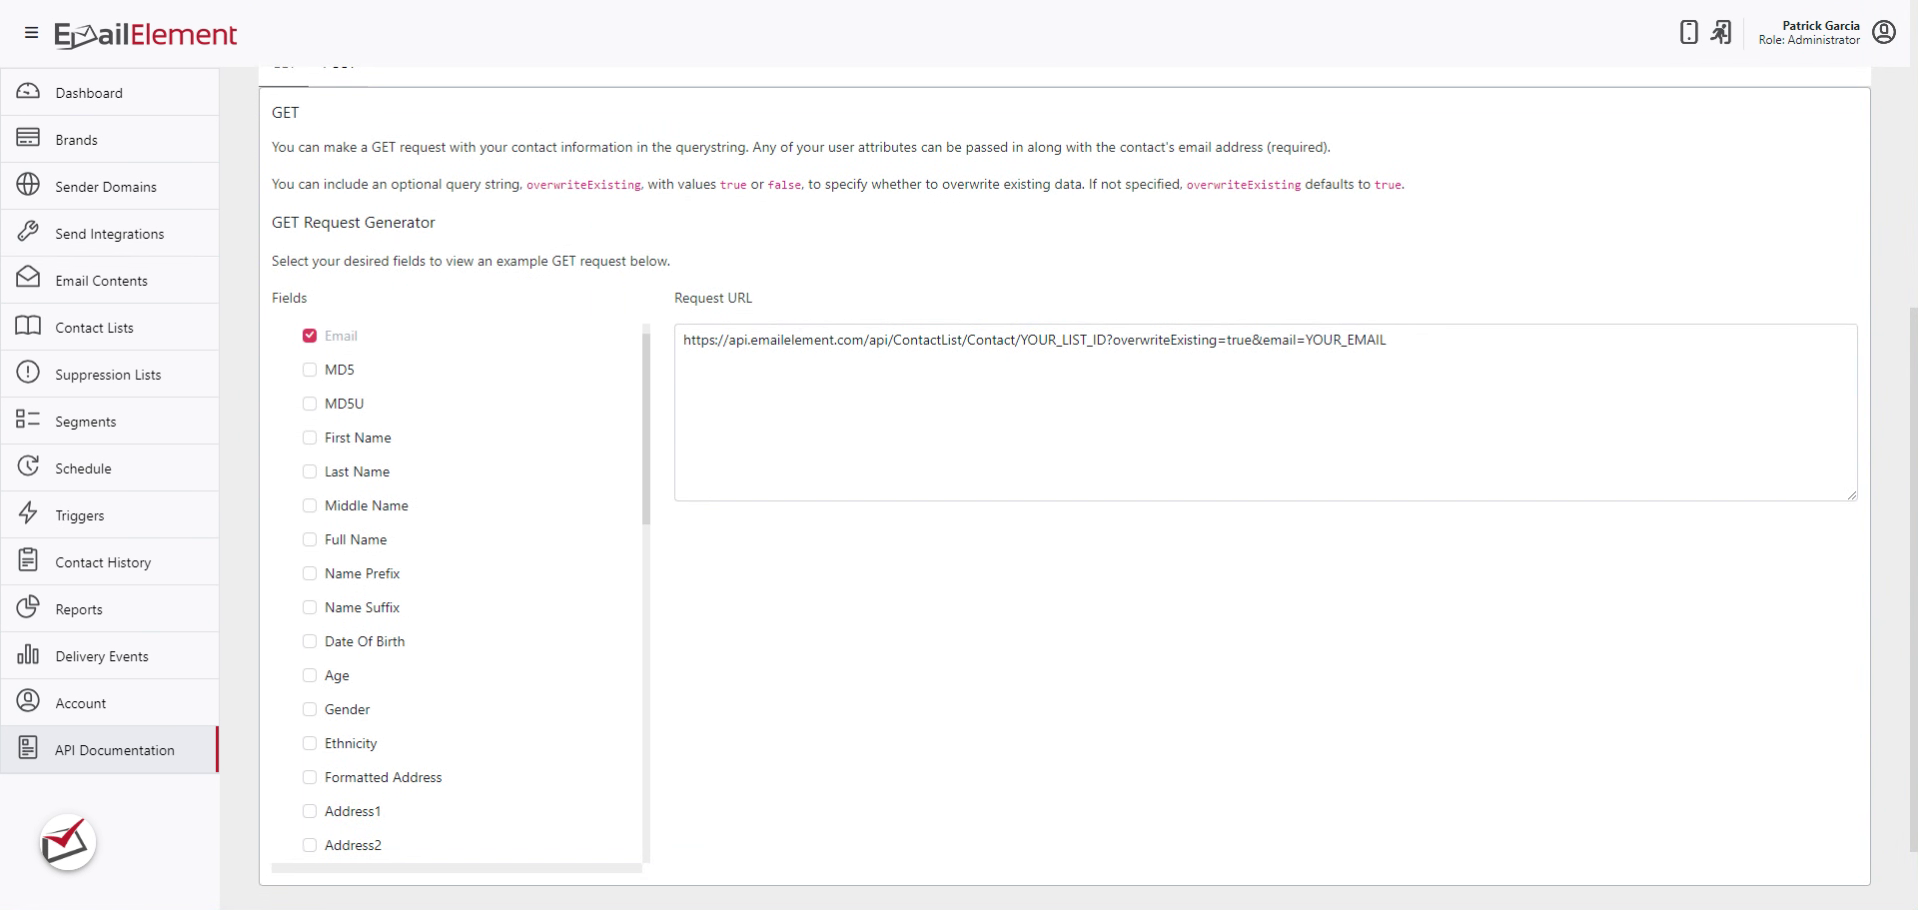
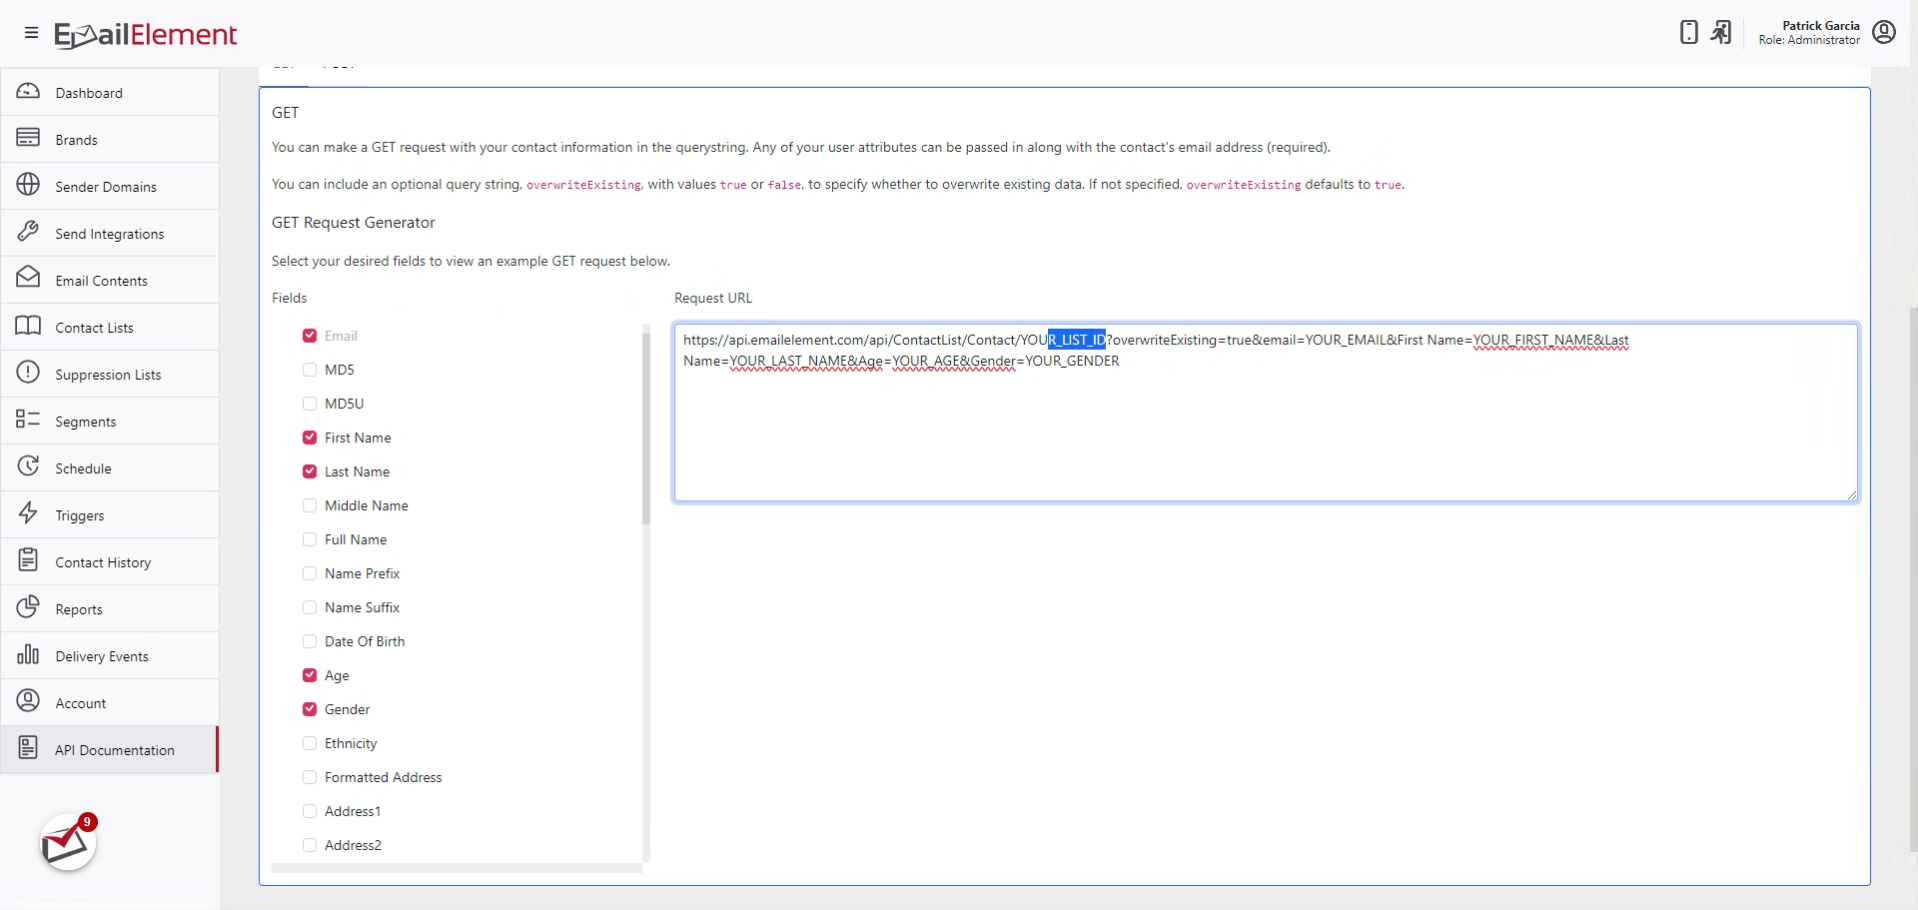
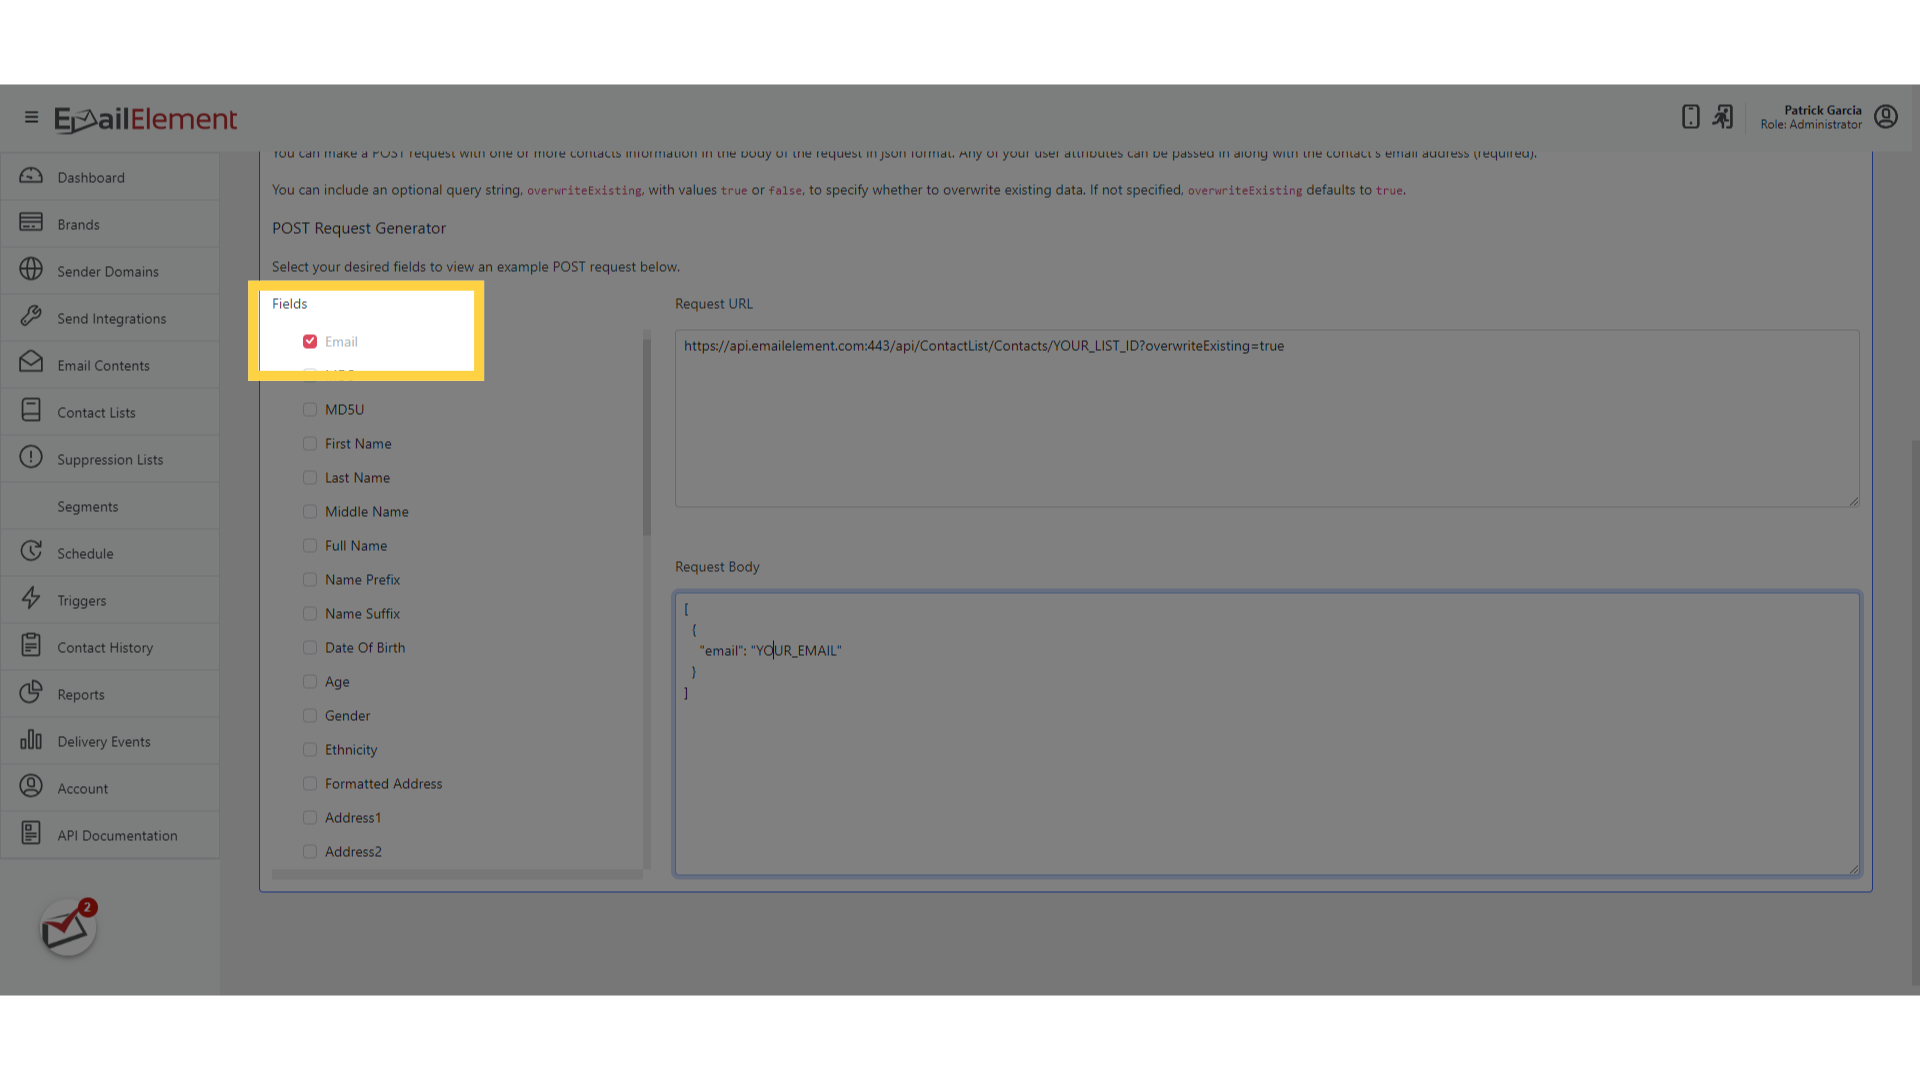
Under Fields, tick the fields to include. Email is always required and cannot be unticked
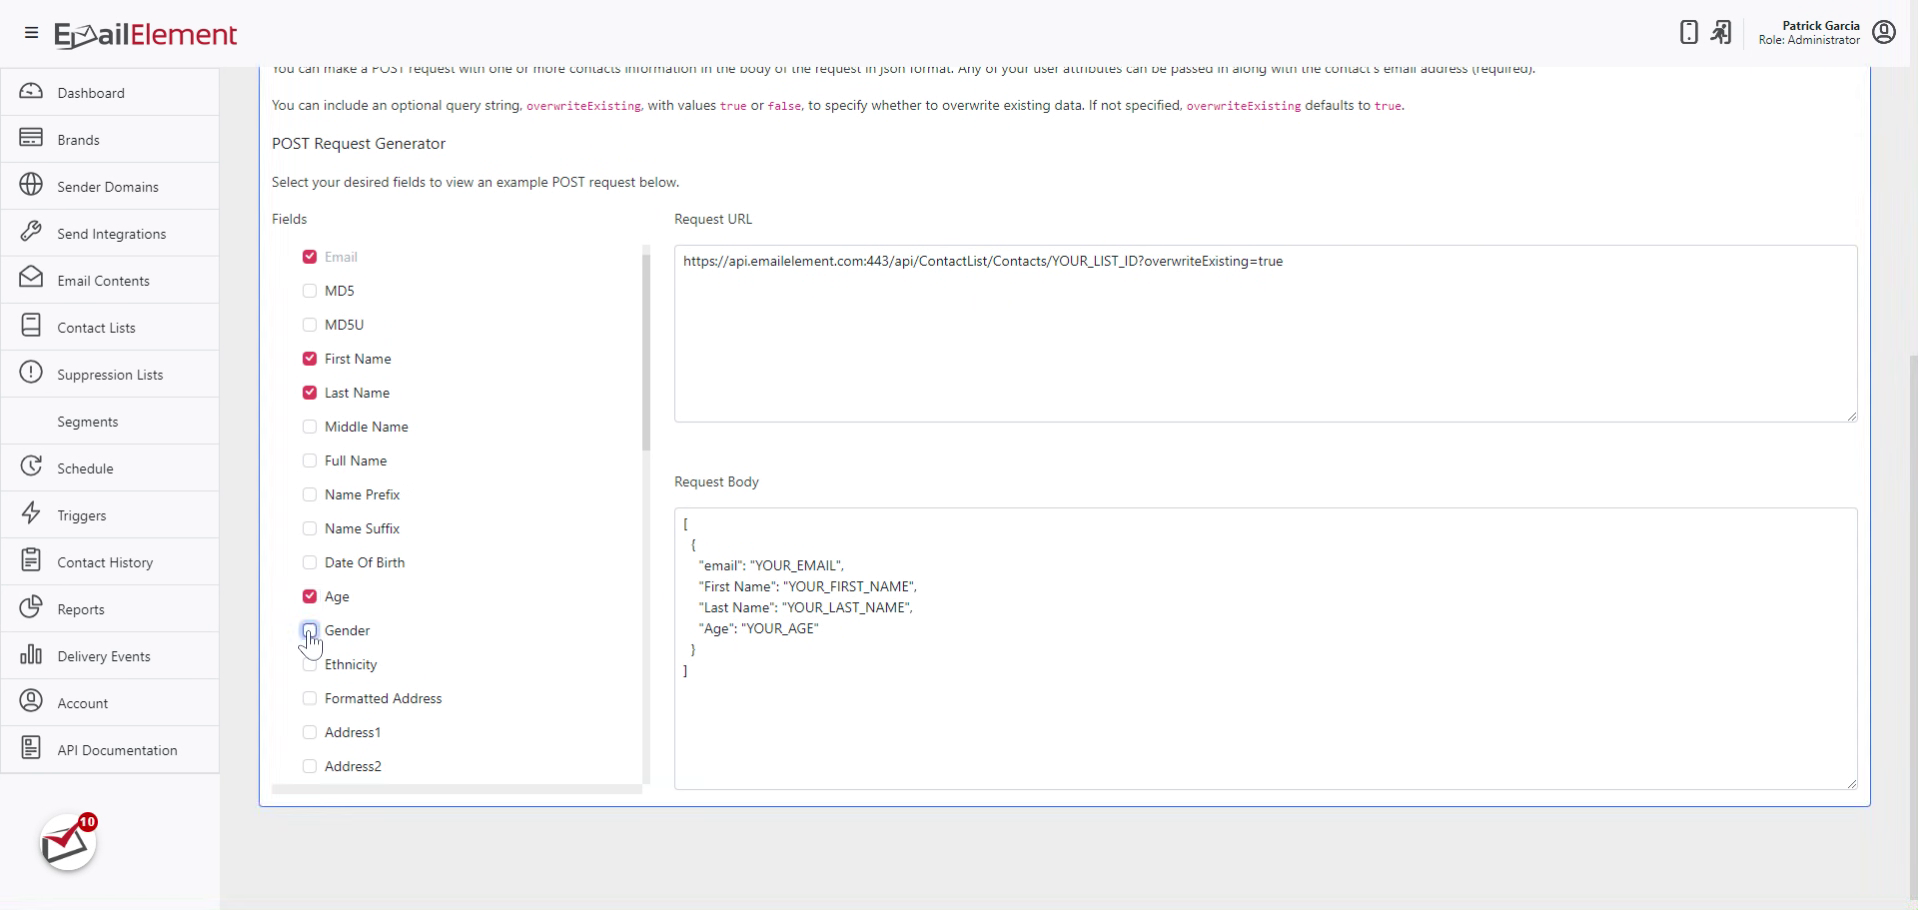
Under Required Fields, tick any field that must carry a value. A contact missing one is rejected
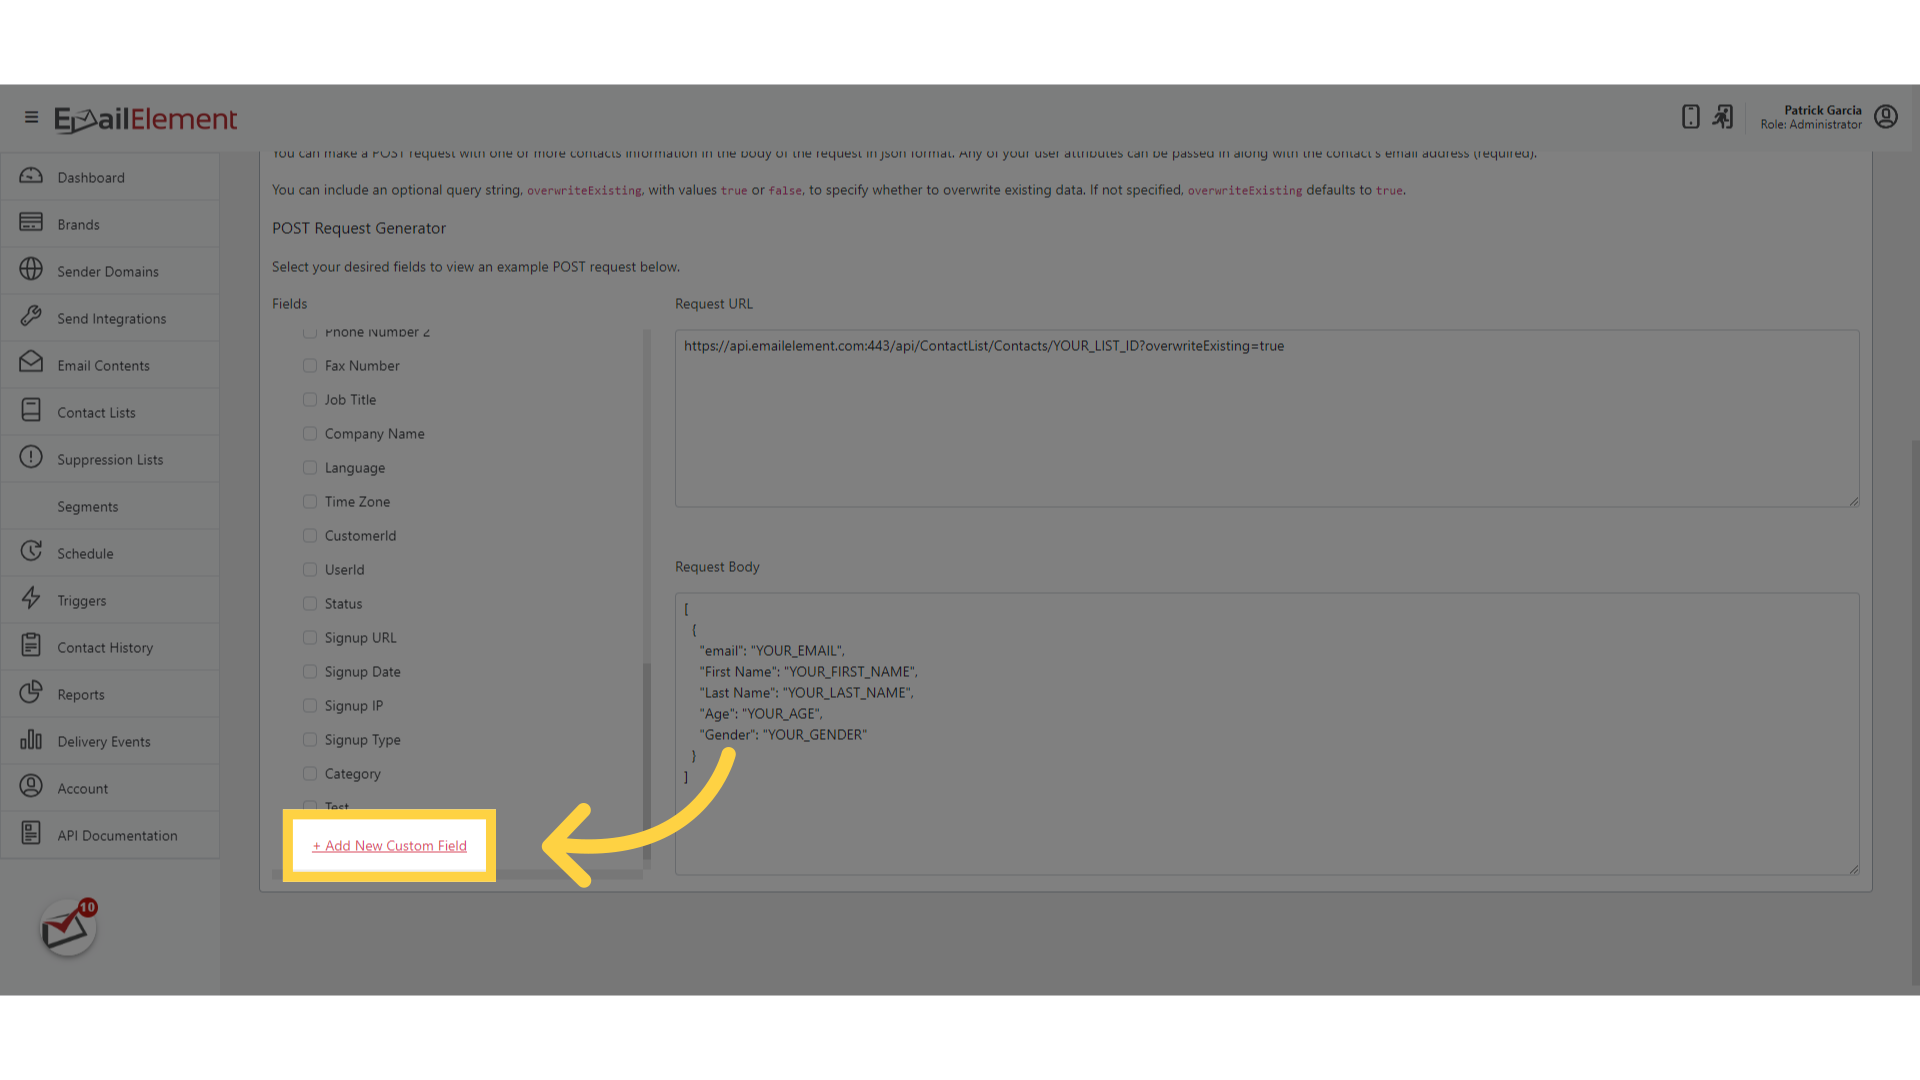
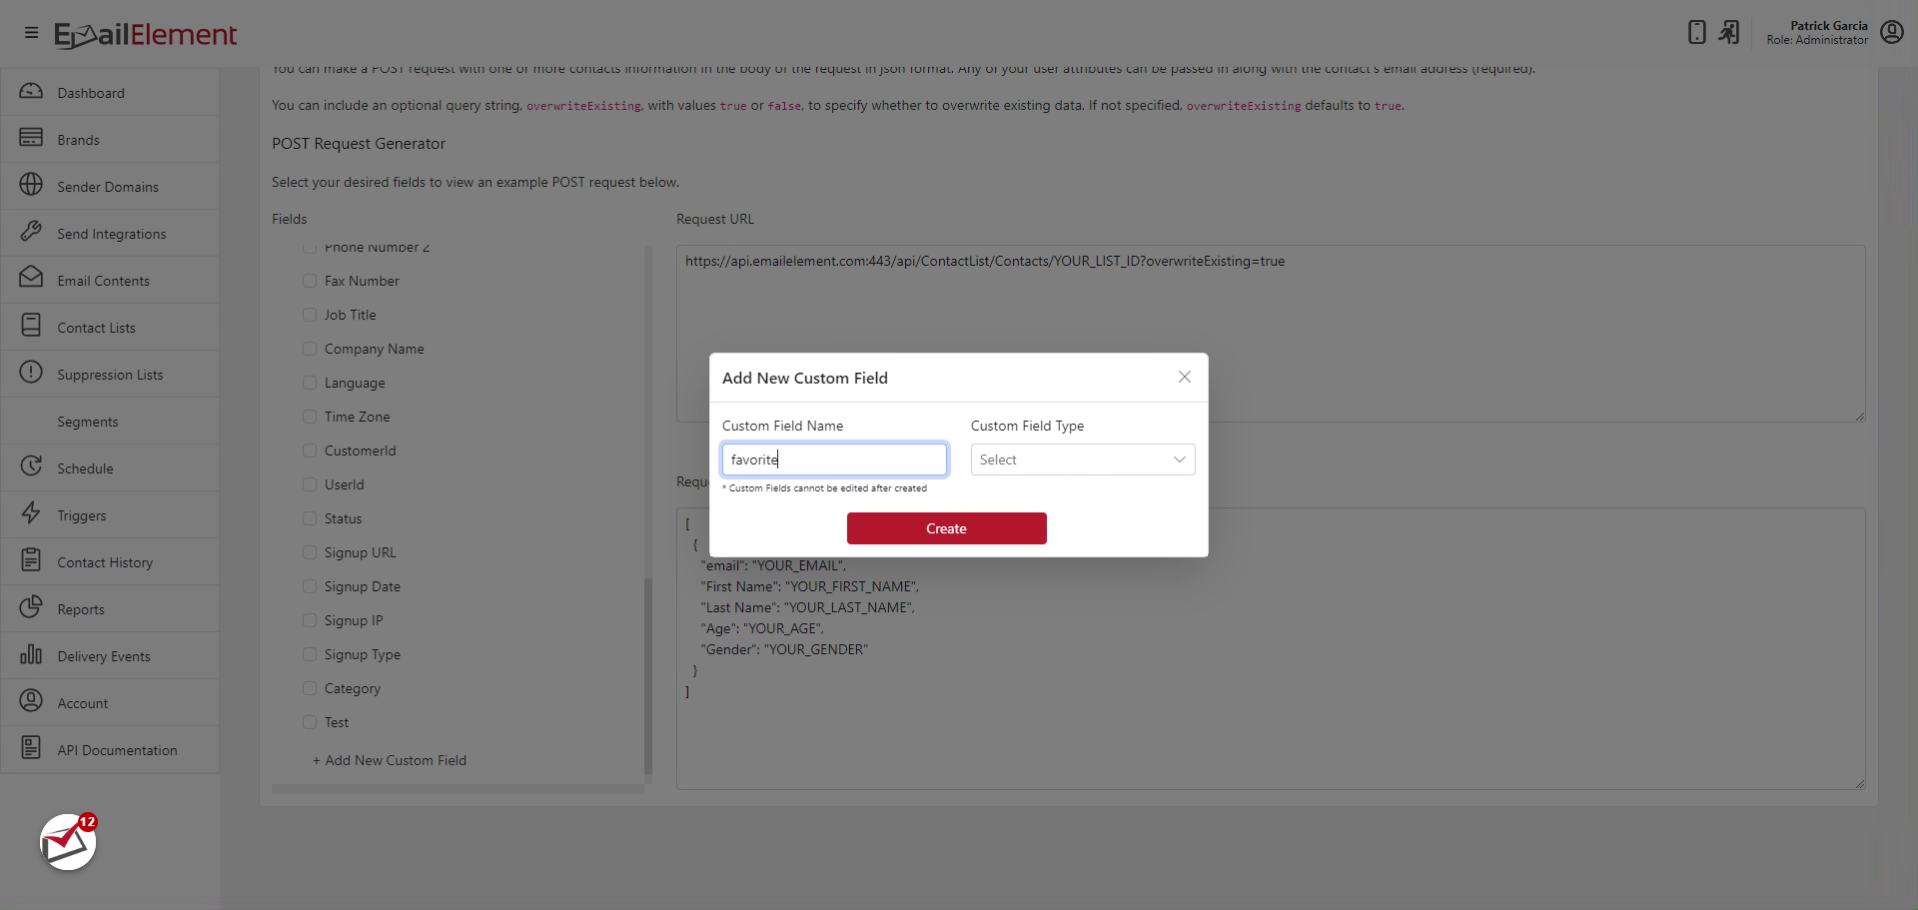
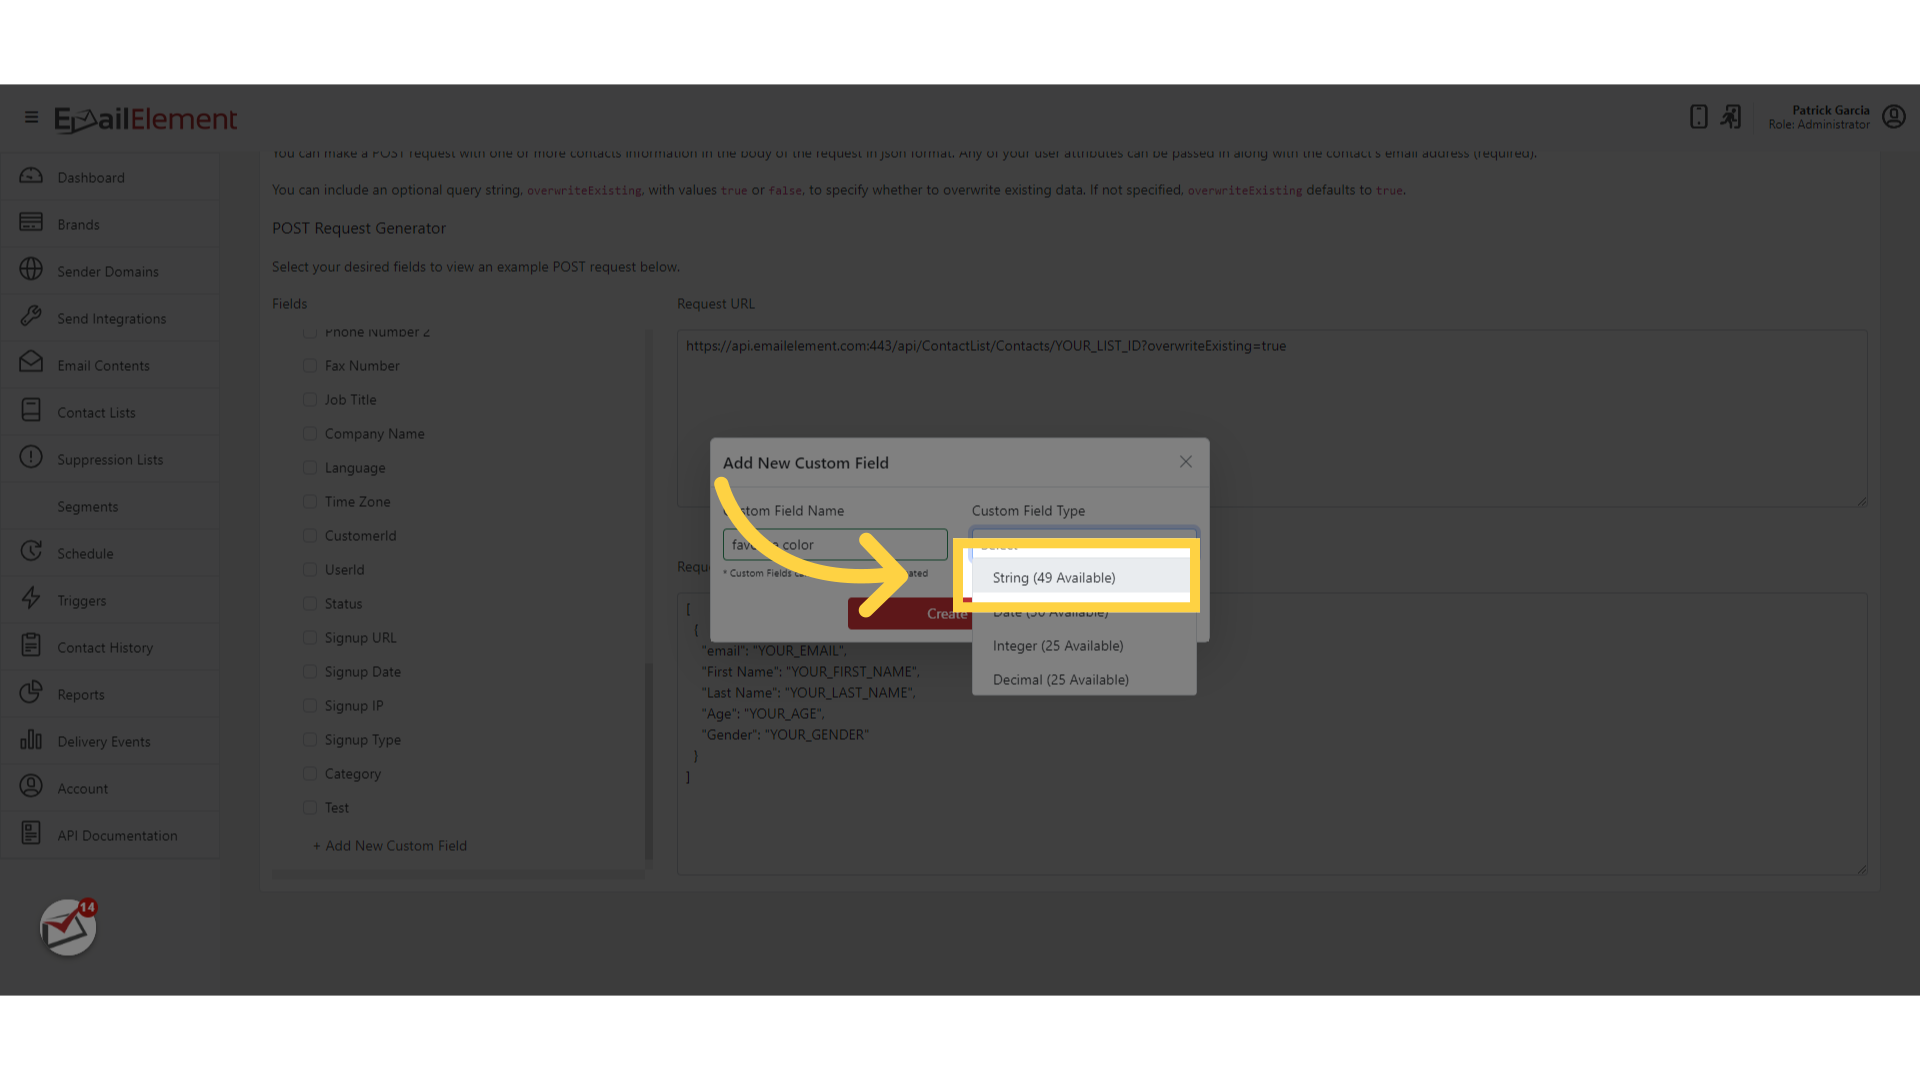
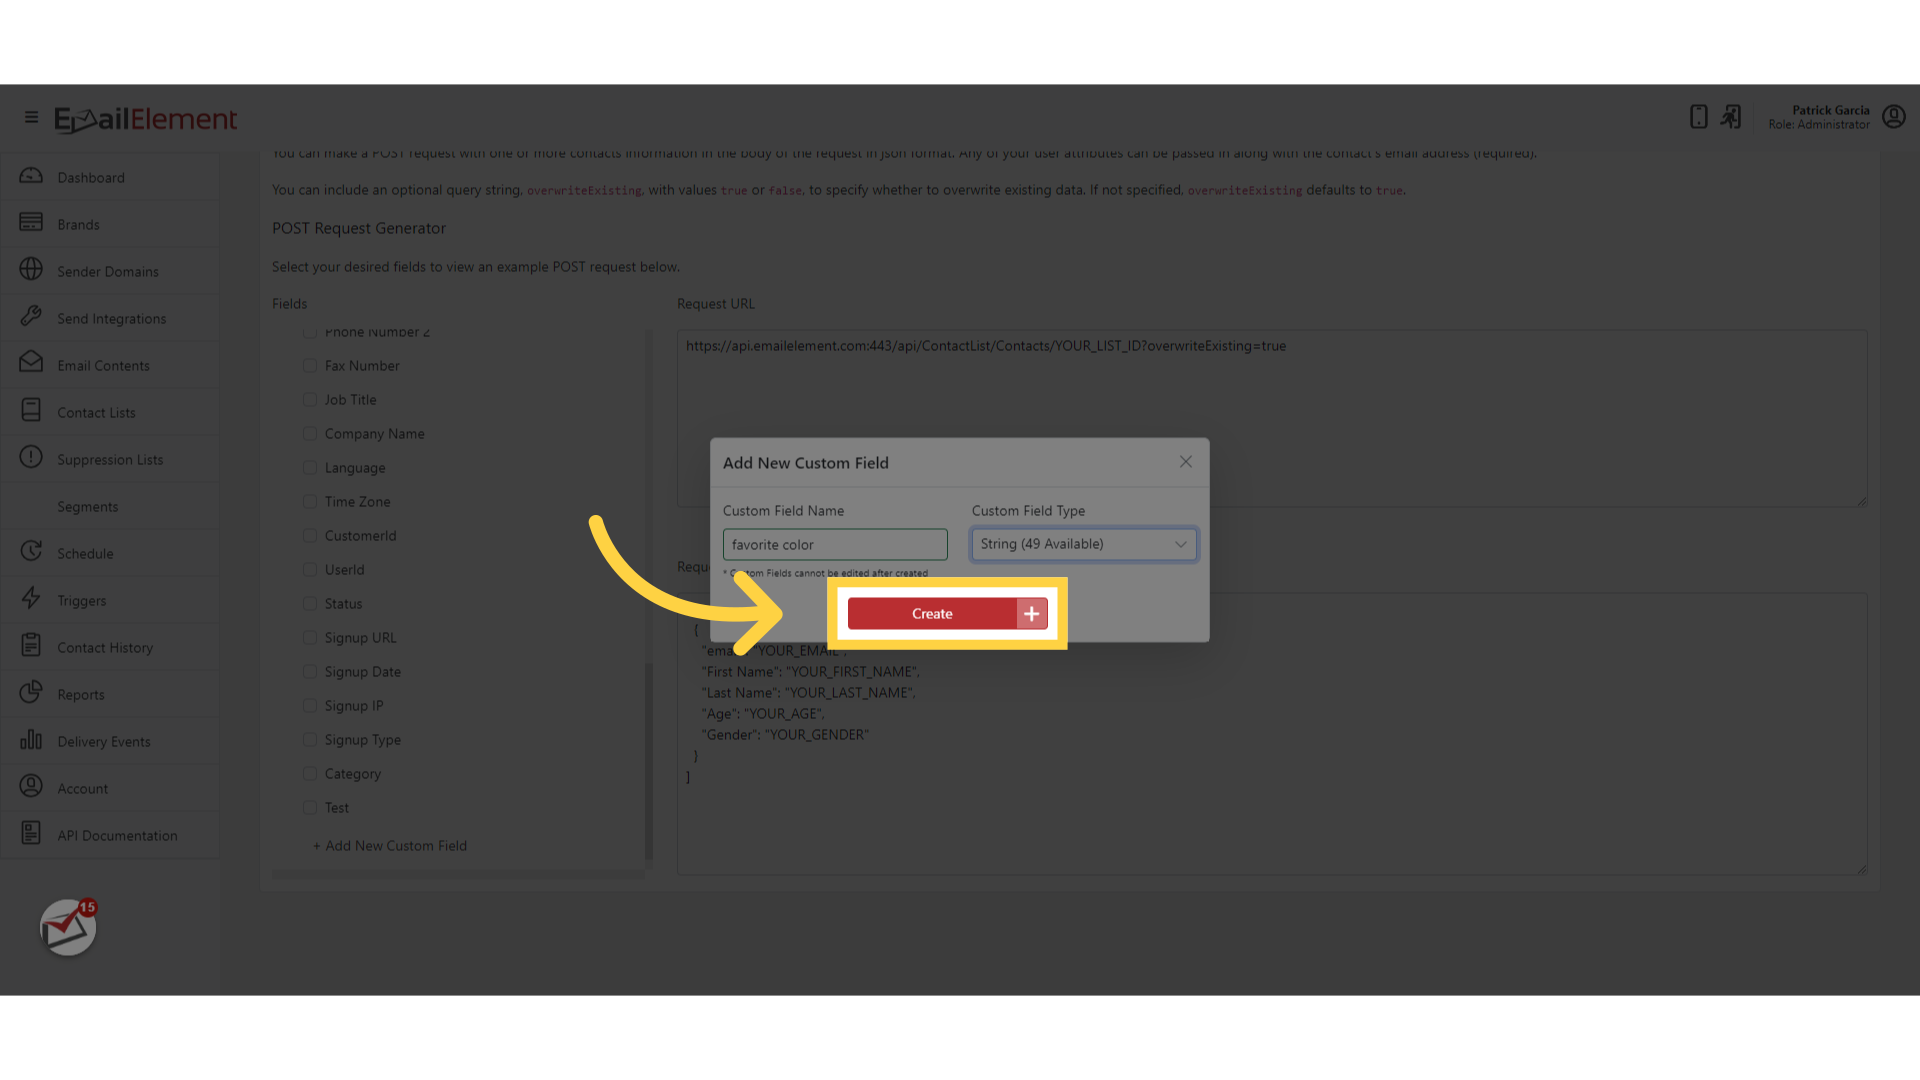
Click + Add New Custom Field to create a field without leaving the page
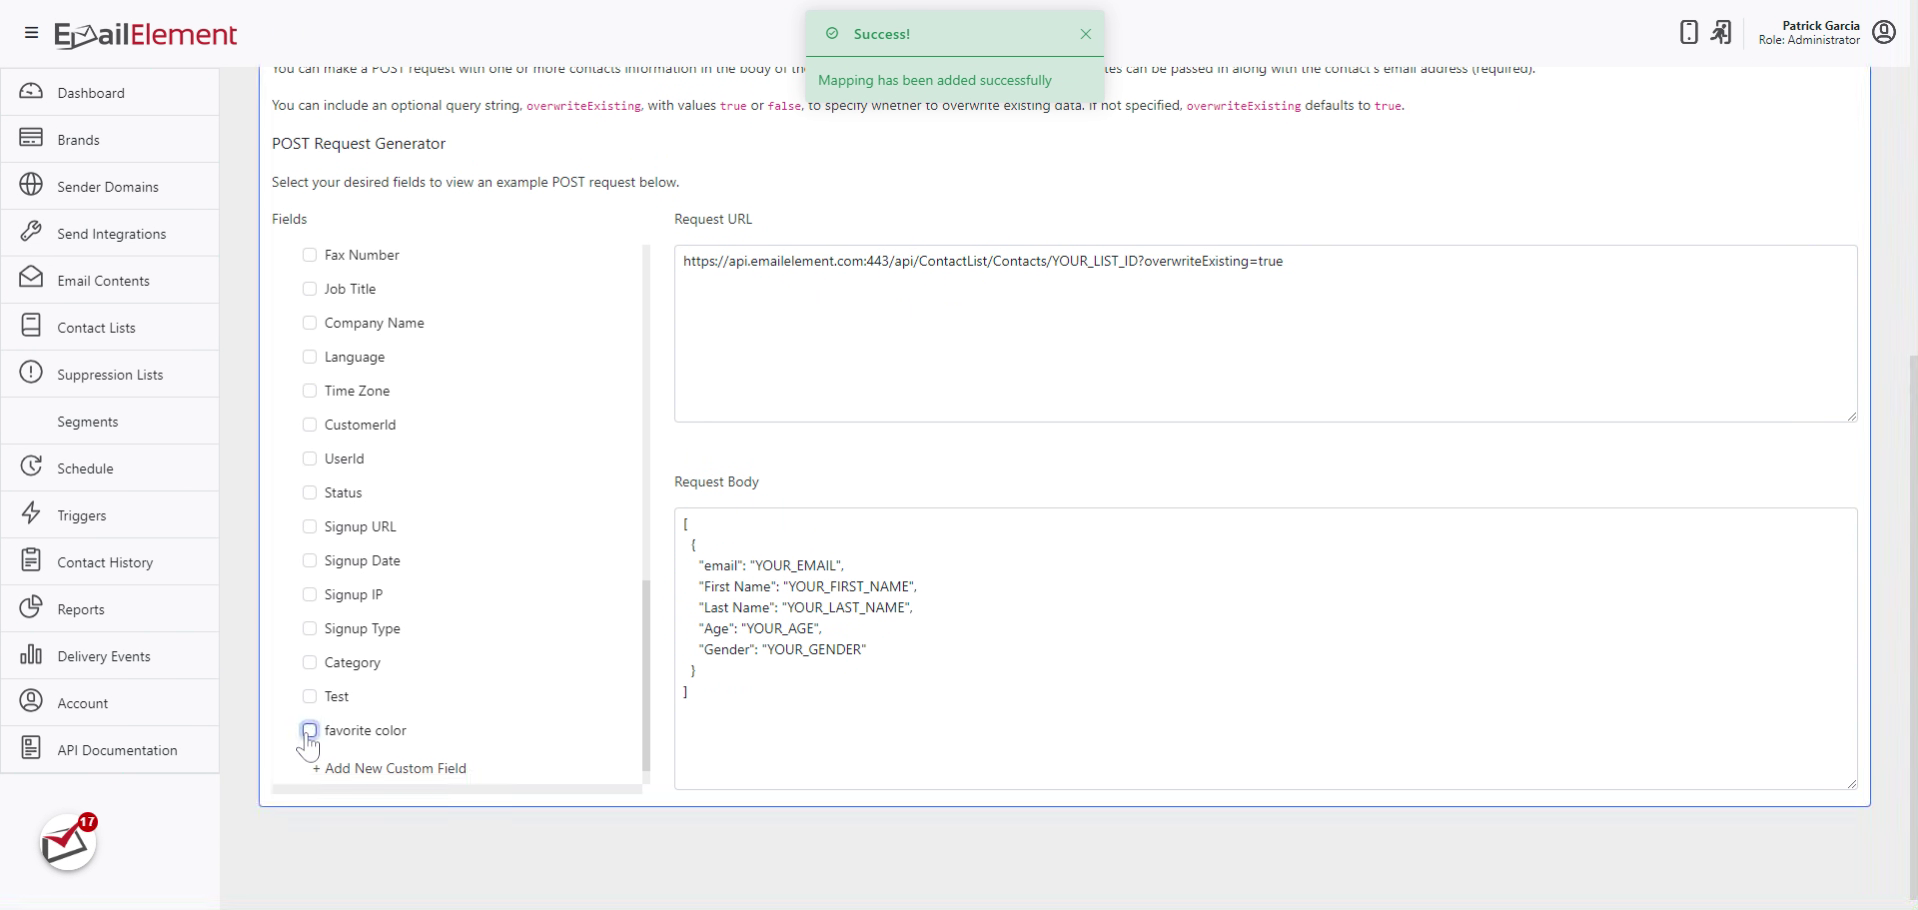
The generator builds the Request URL, and for POST the Request Body, as you tick
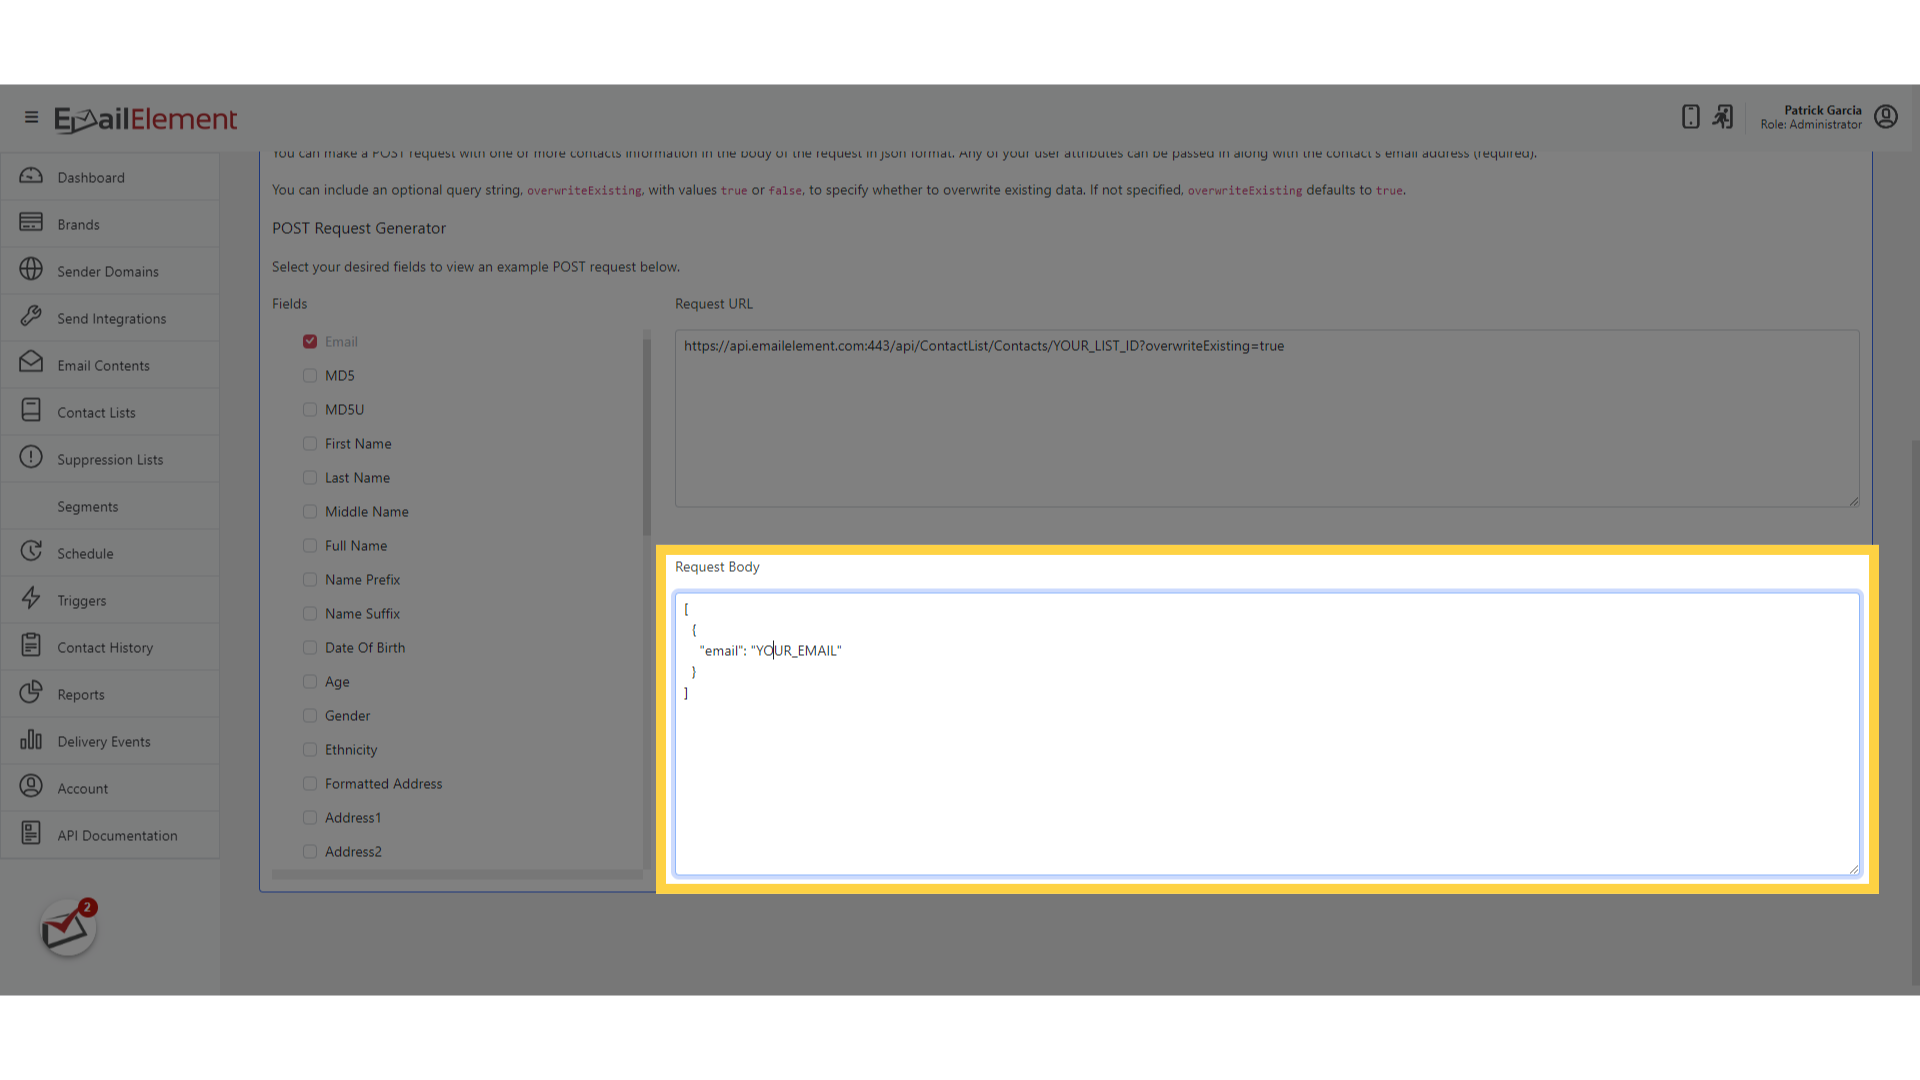
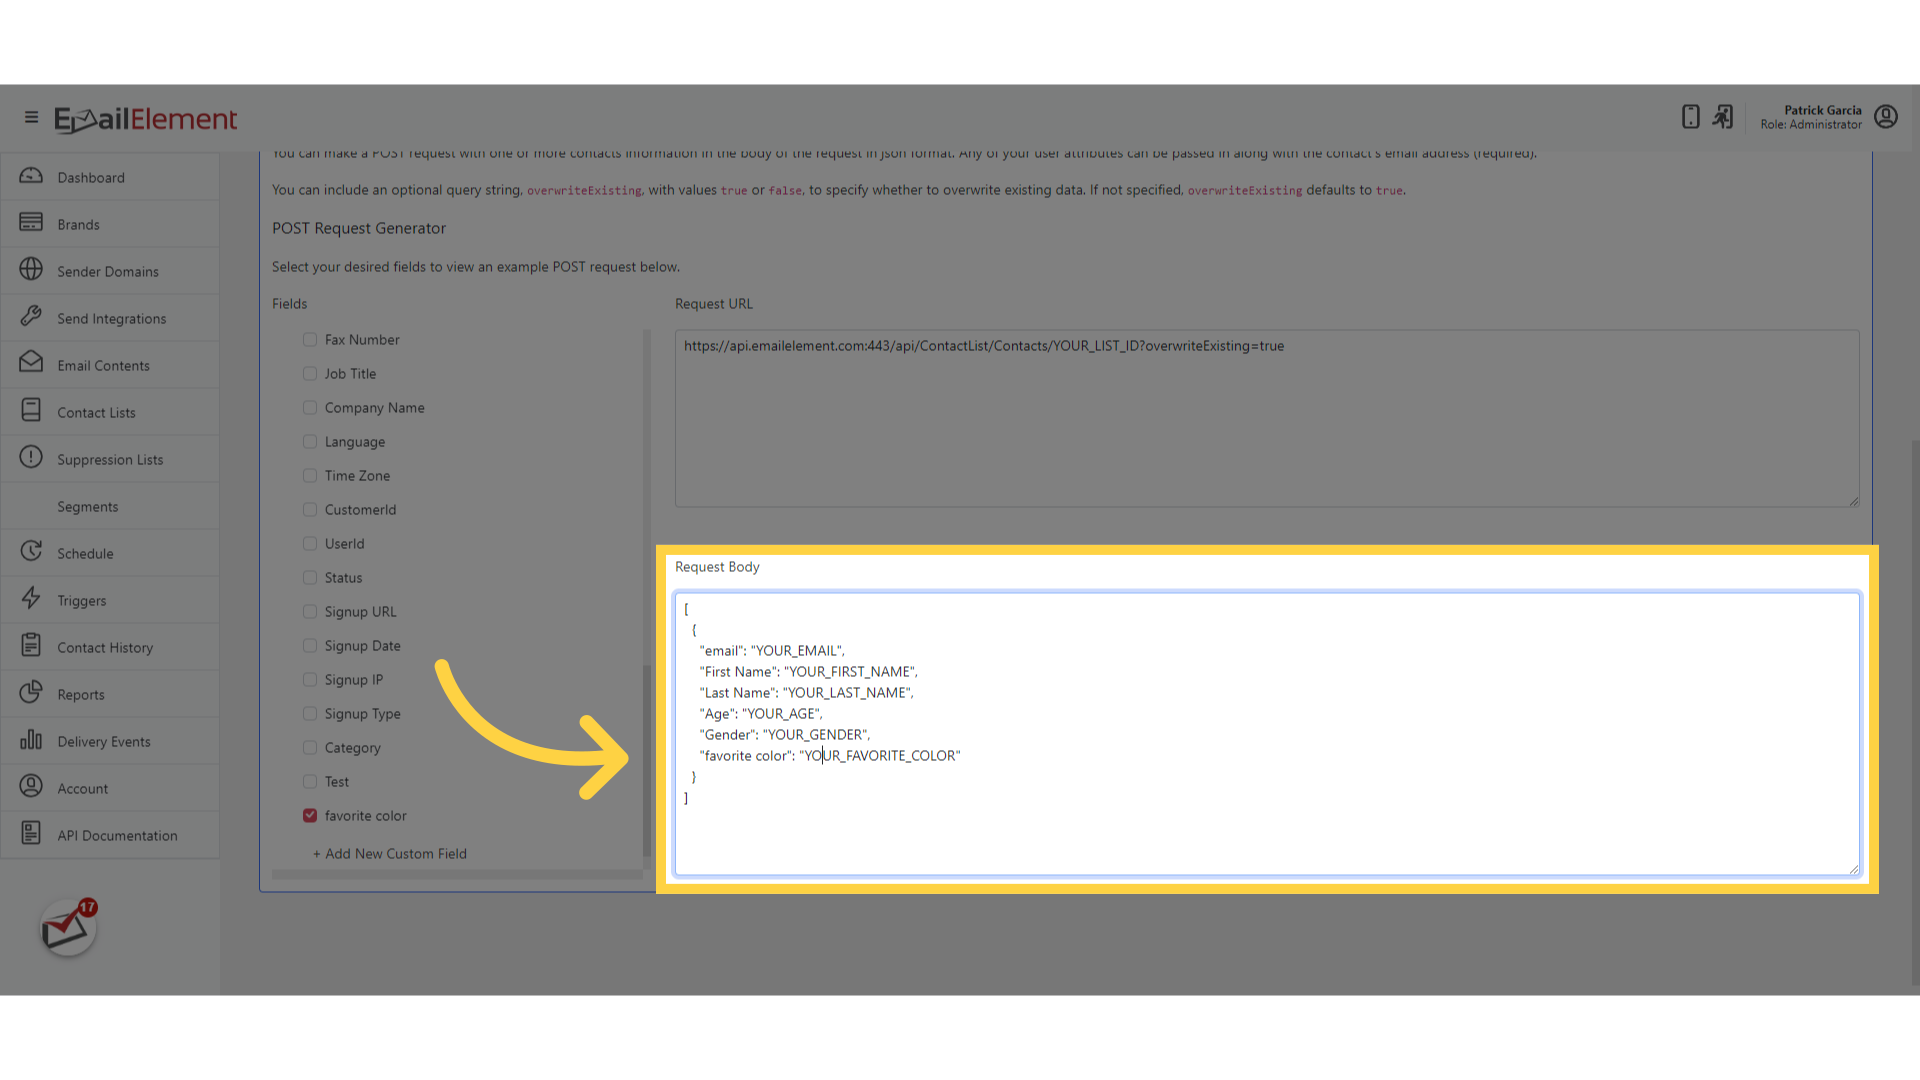
Copy them
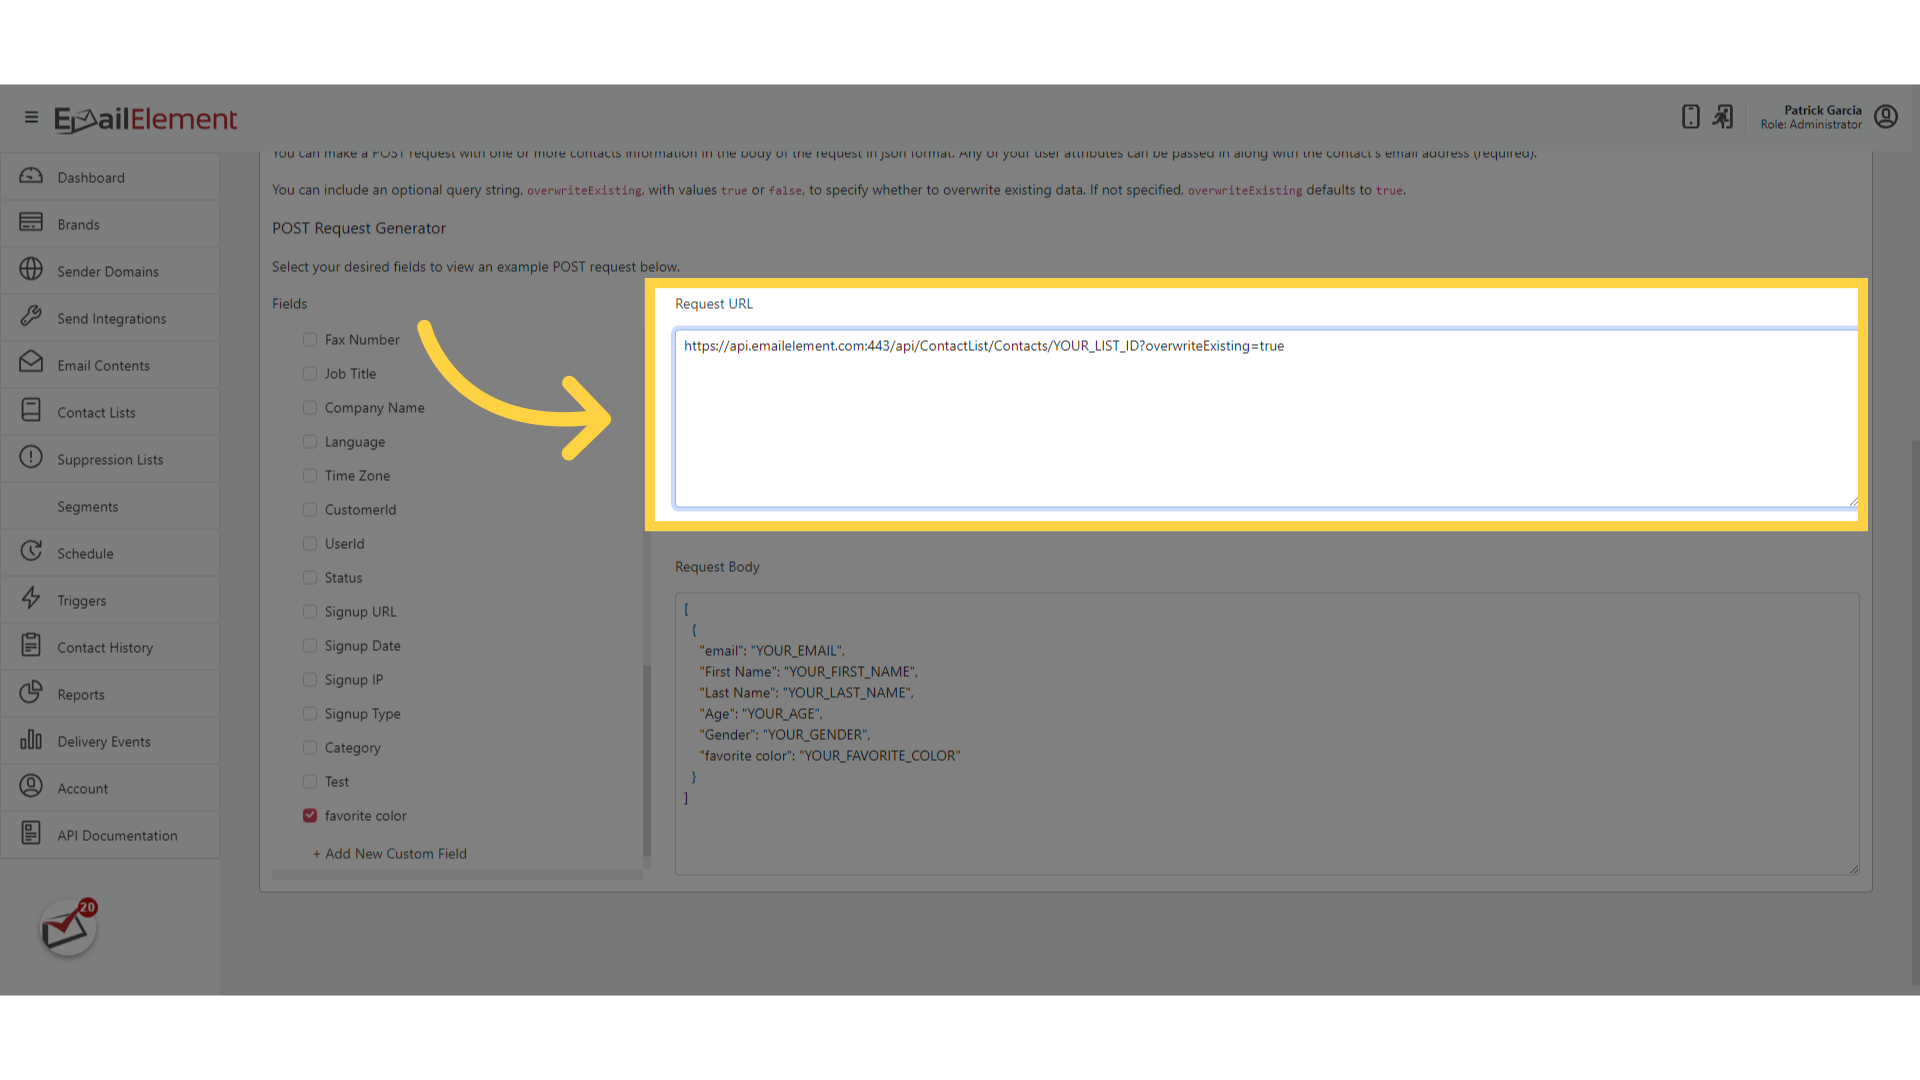
Each tab lists every response code that call can return, with an example body. Read that list before writing your error handling
Step 4: Configure Your API Client
Using Postman
Create a new request
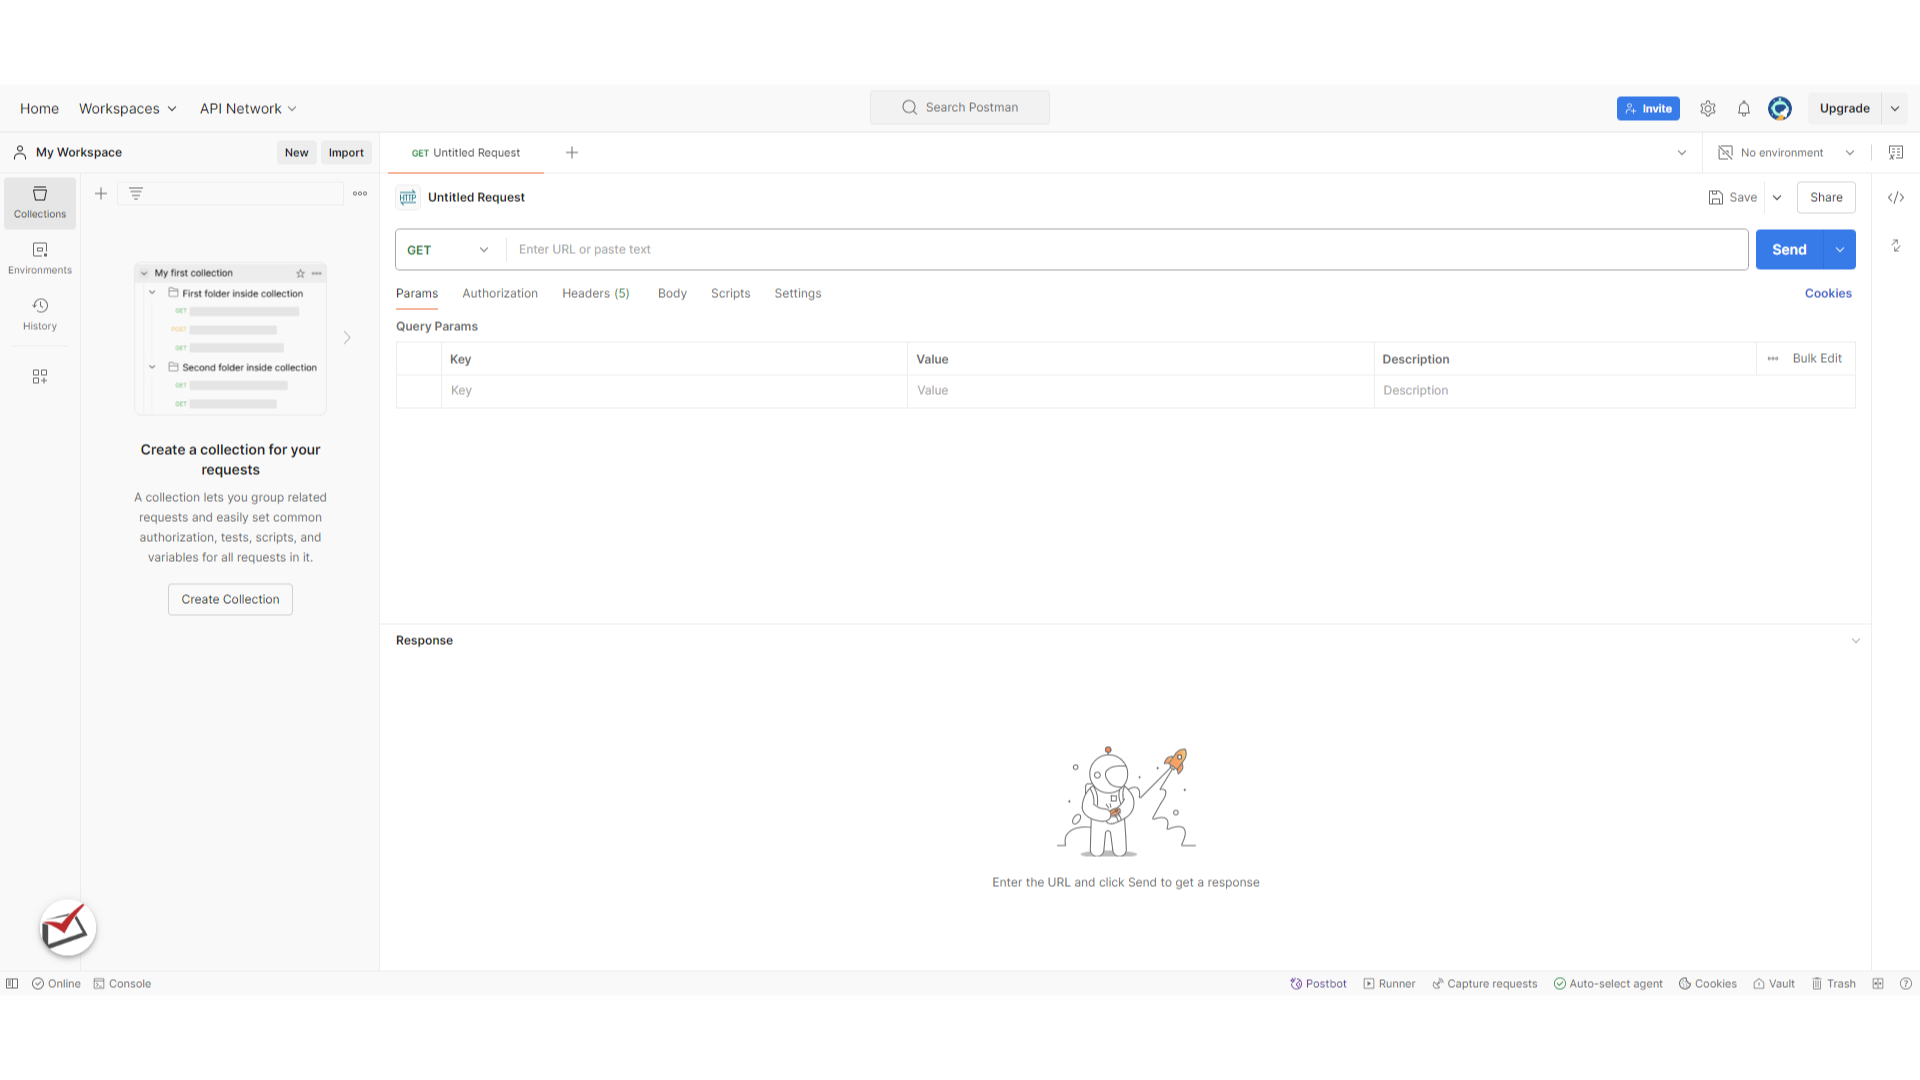
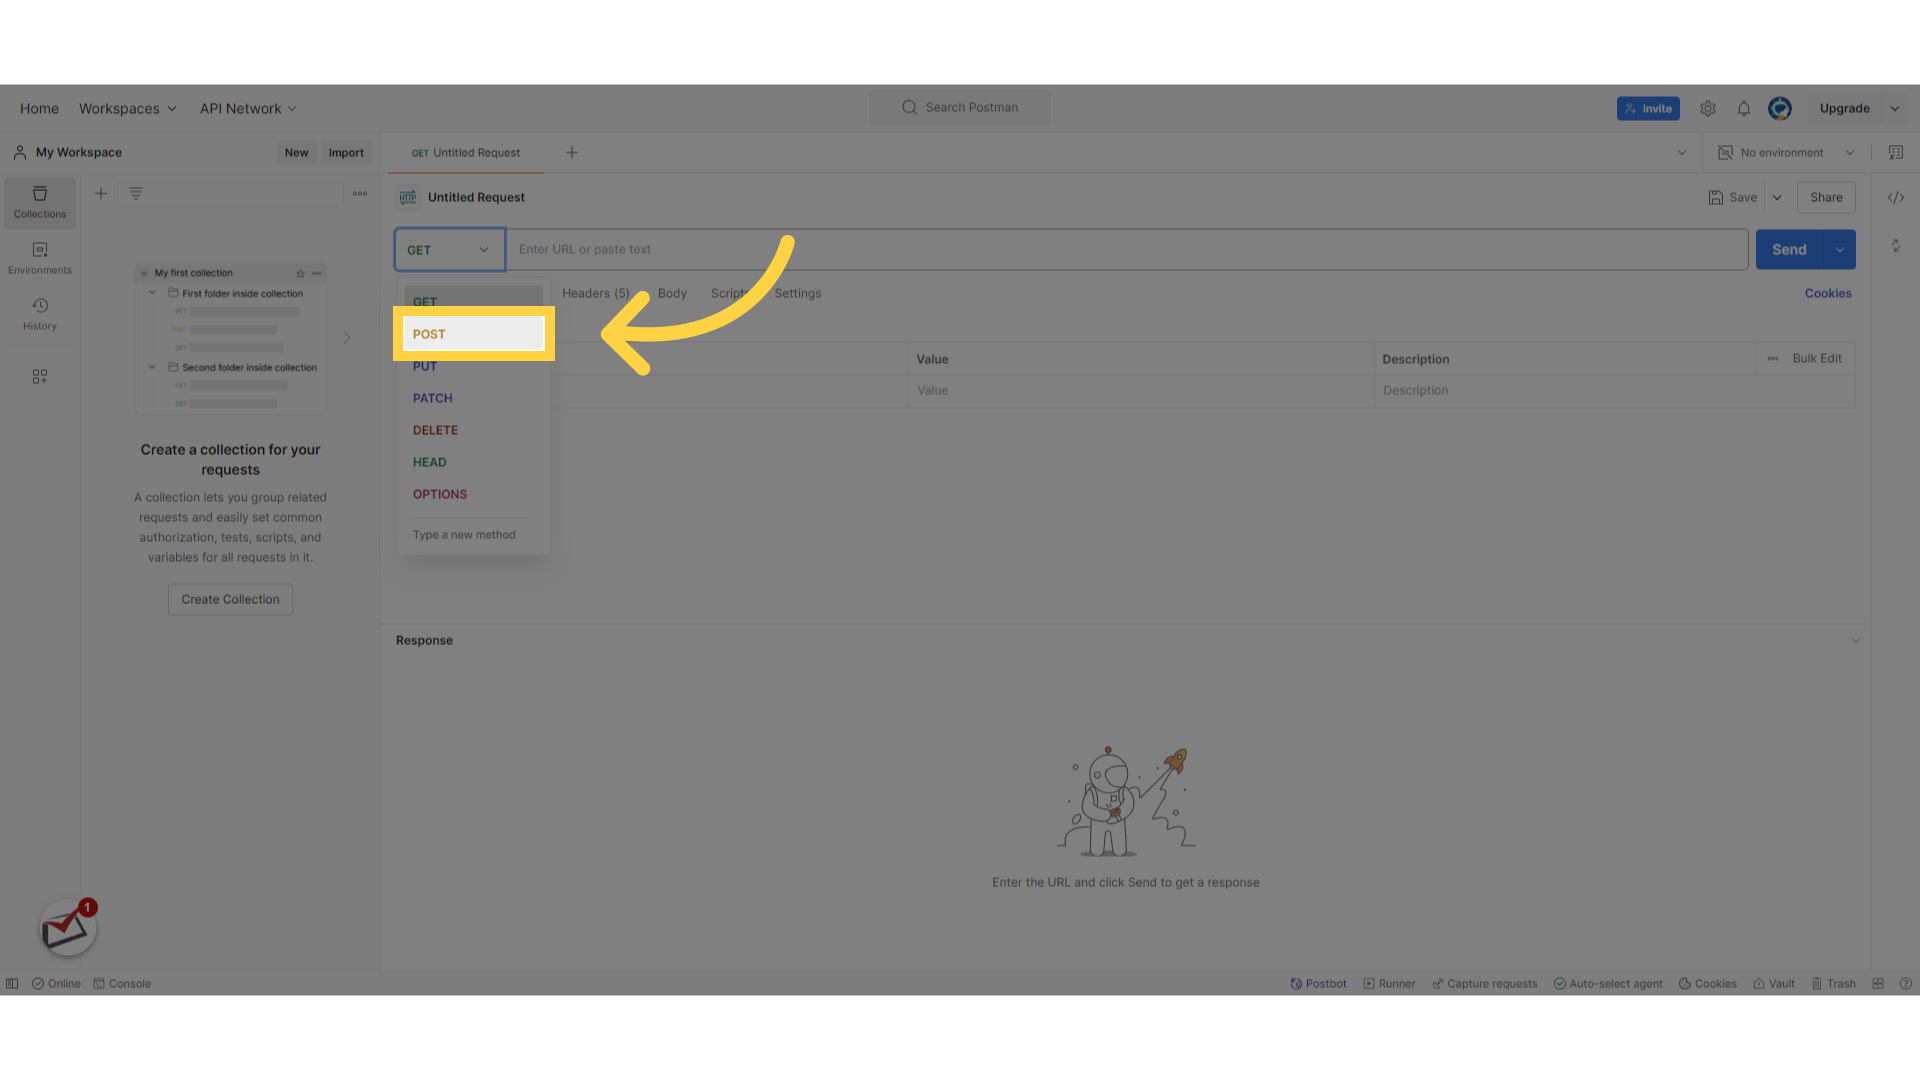
Set the method to POST
Paste the Request URL from the generator
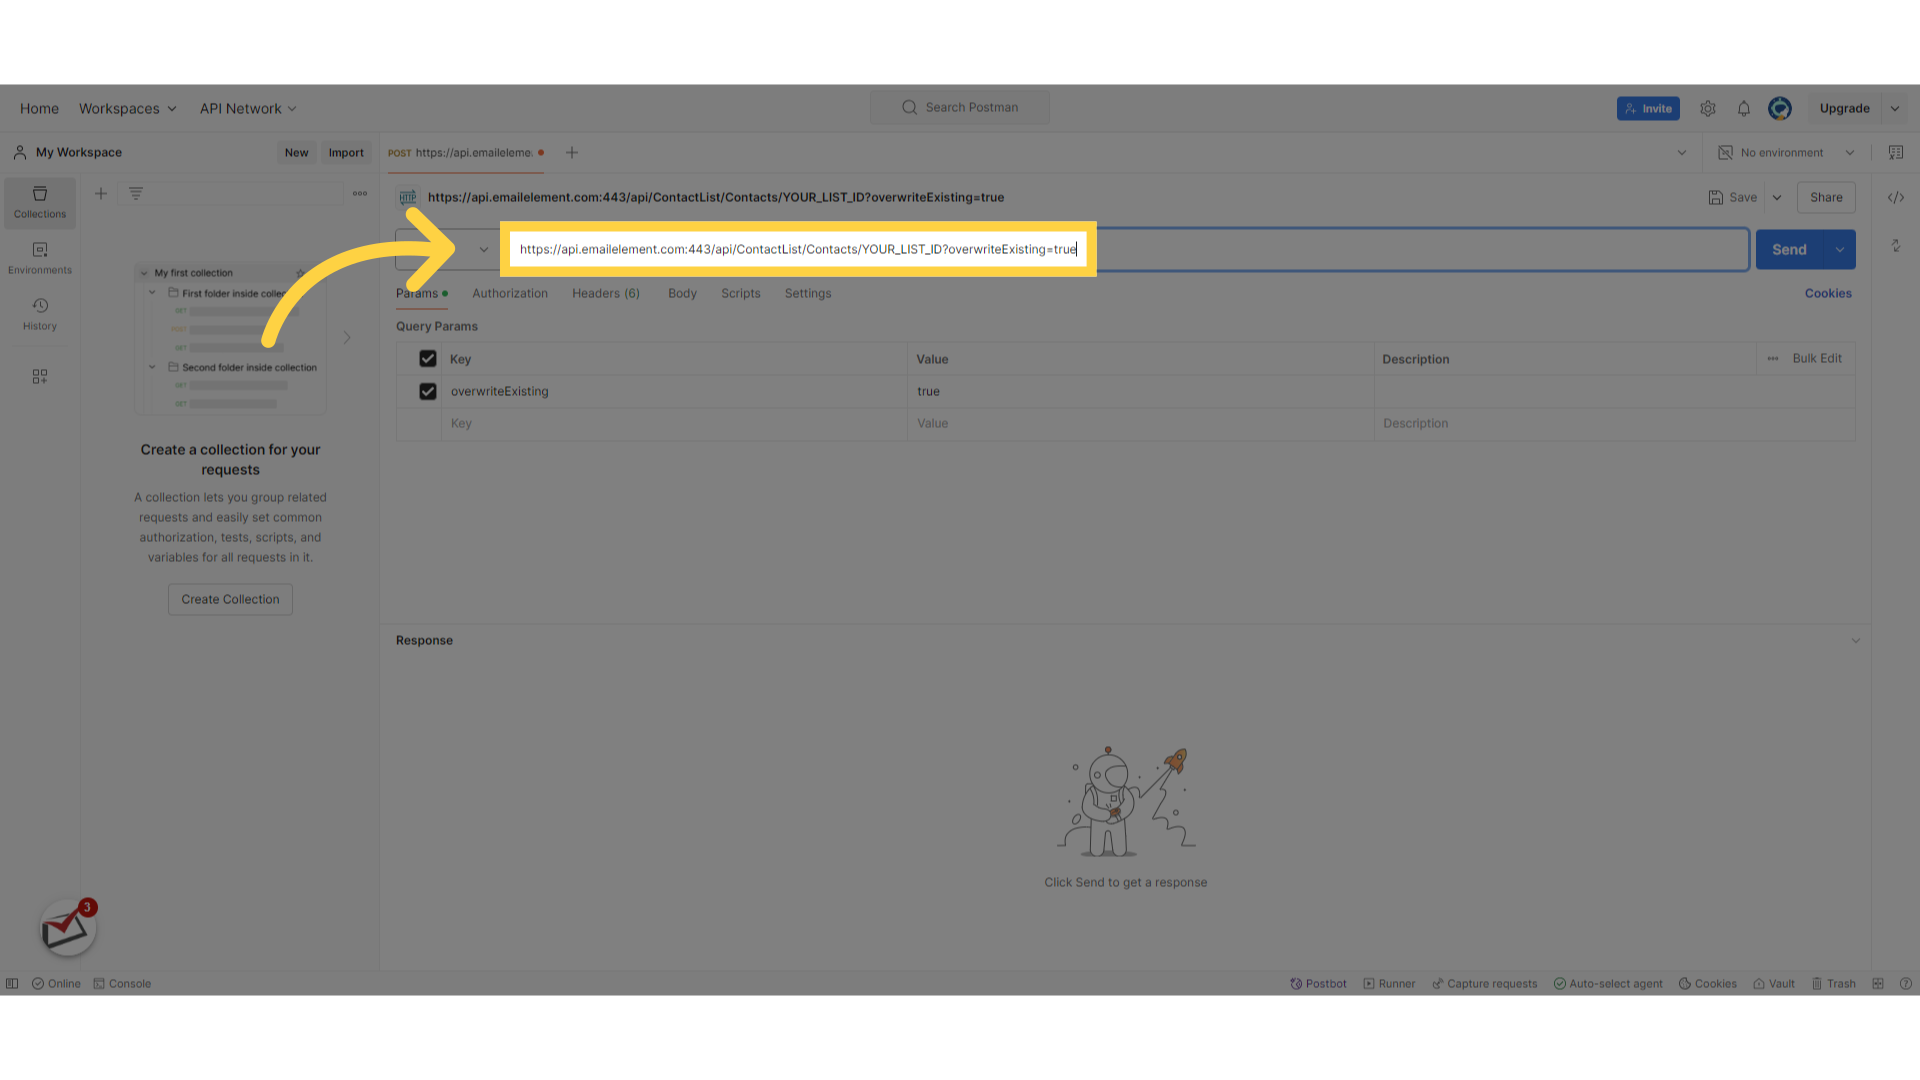
Replace
YOUR_LIST_IDwith your Contact List ID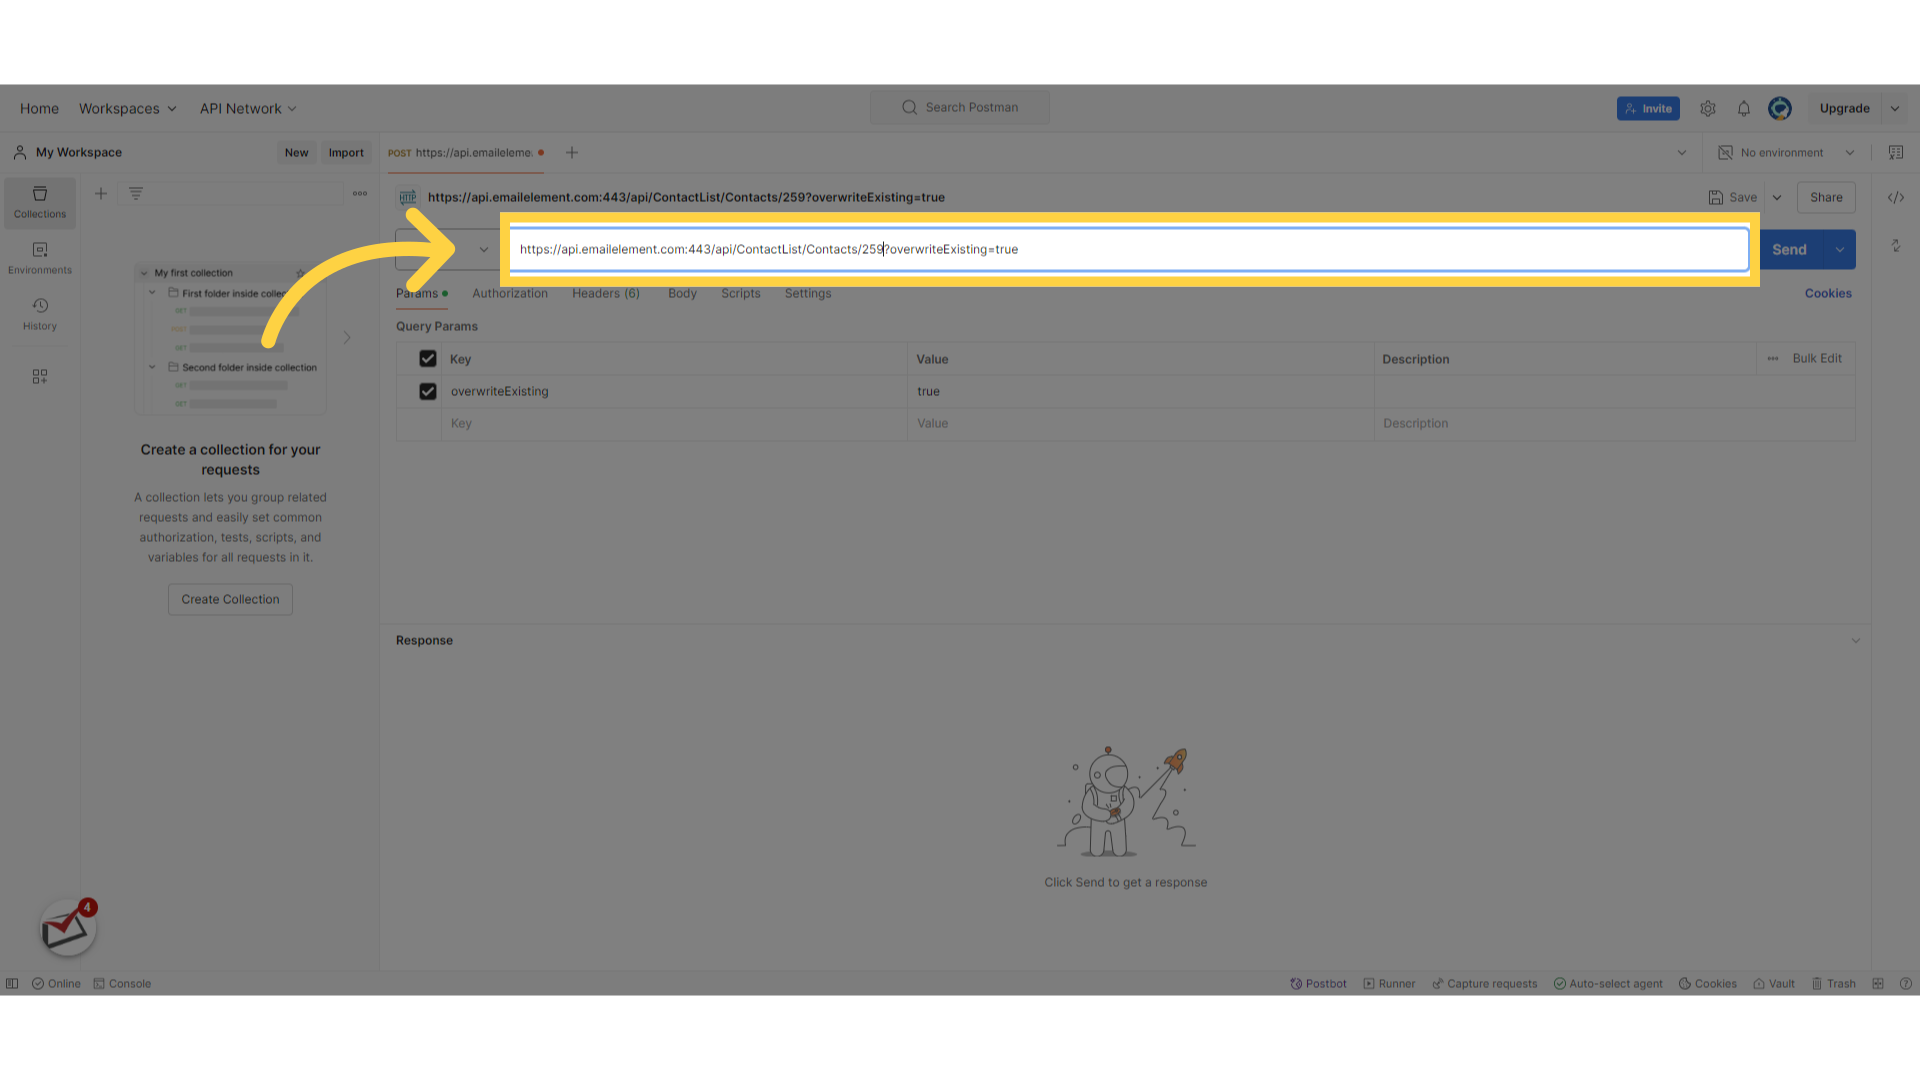
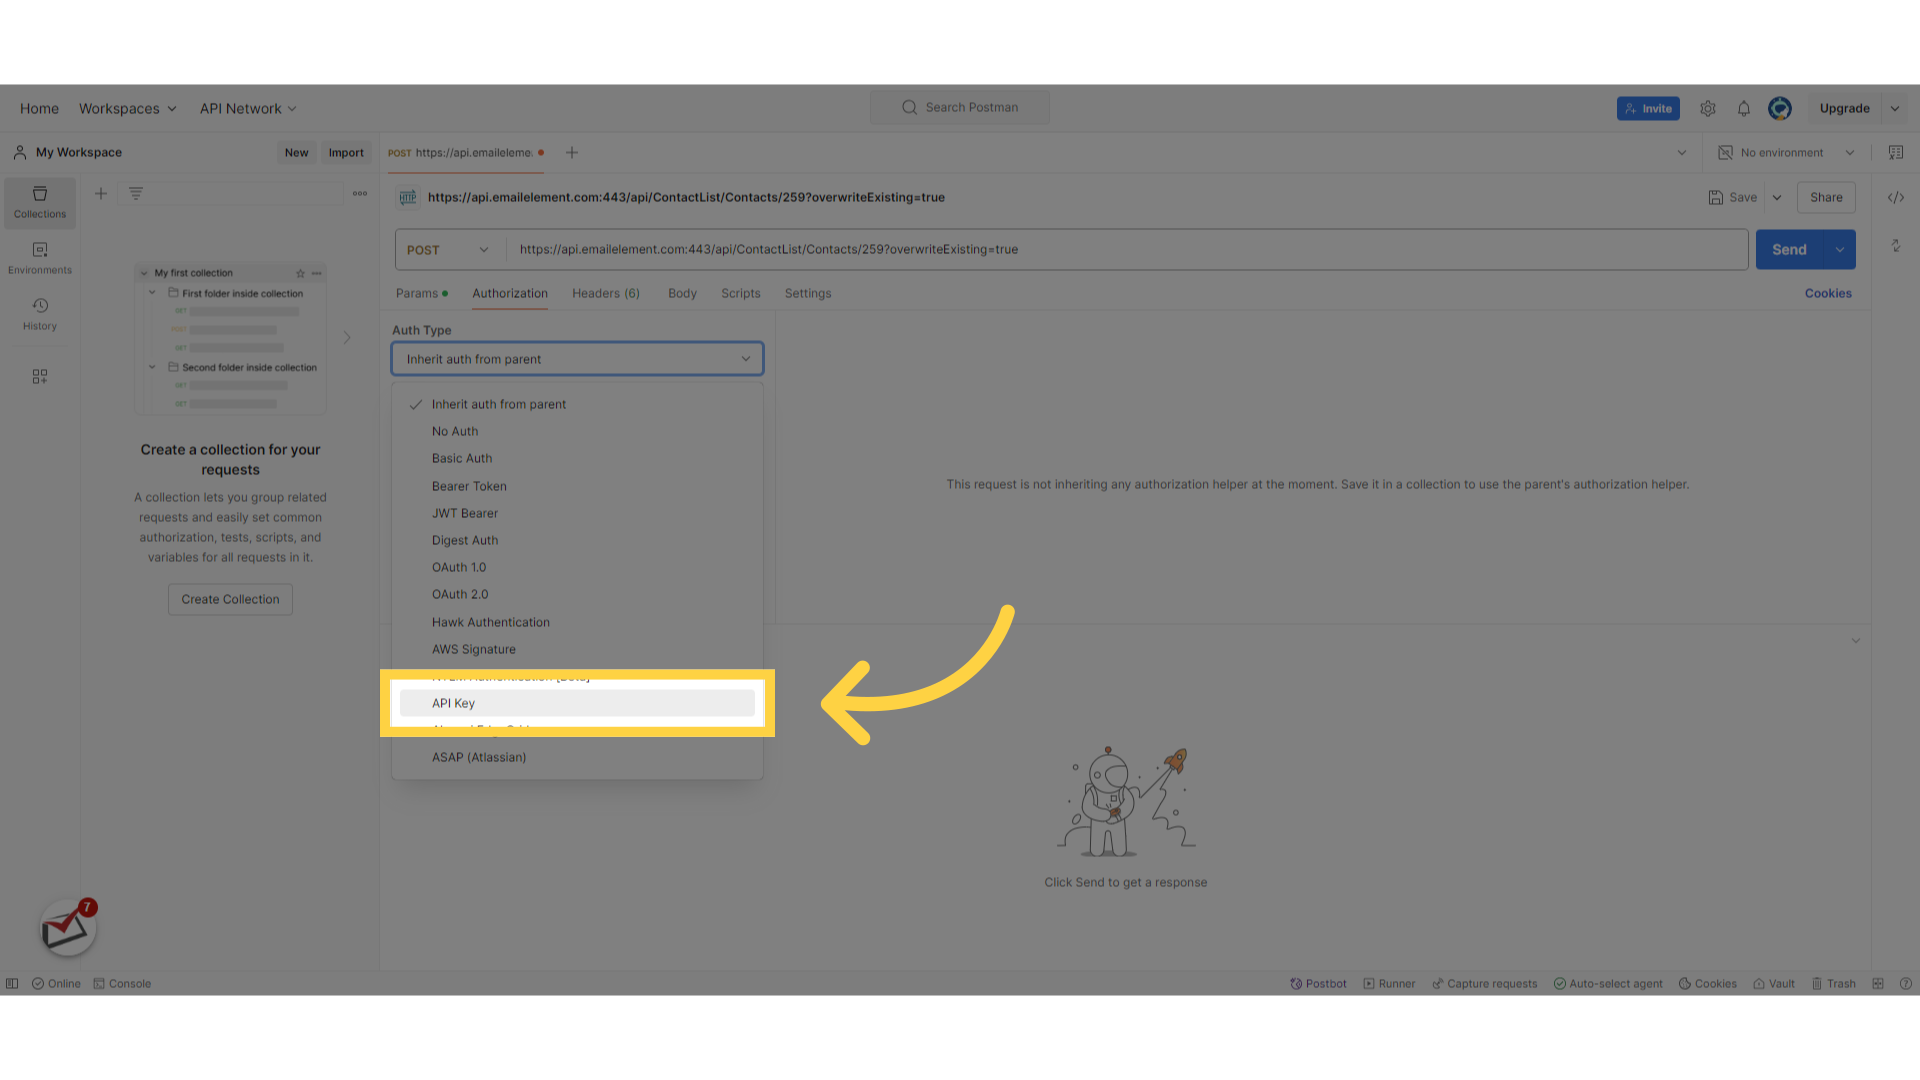
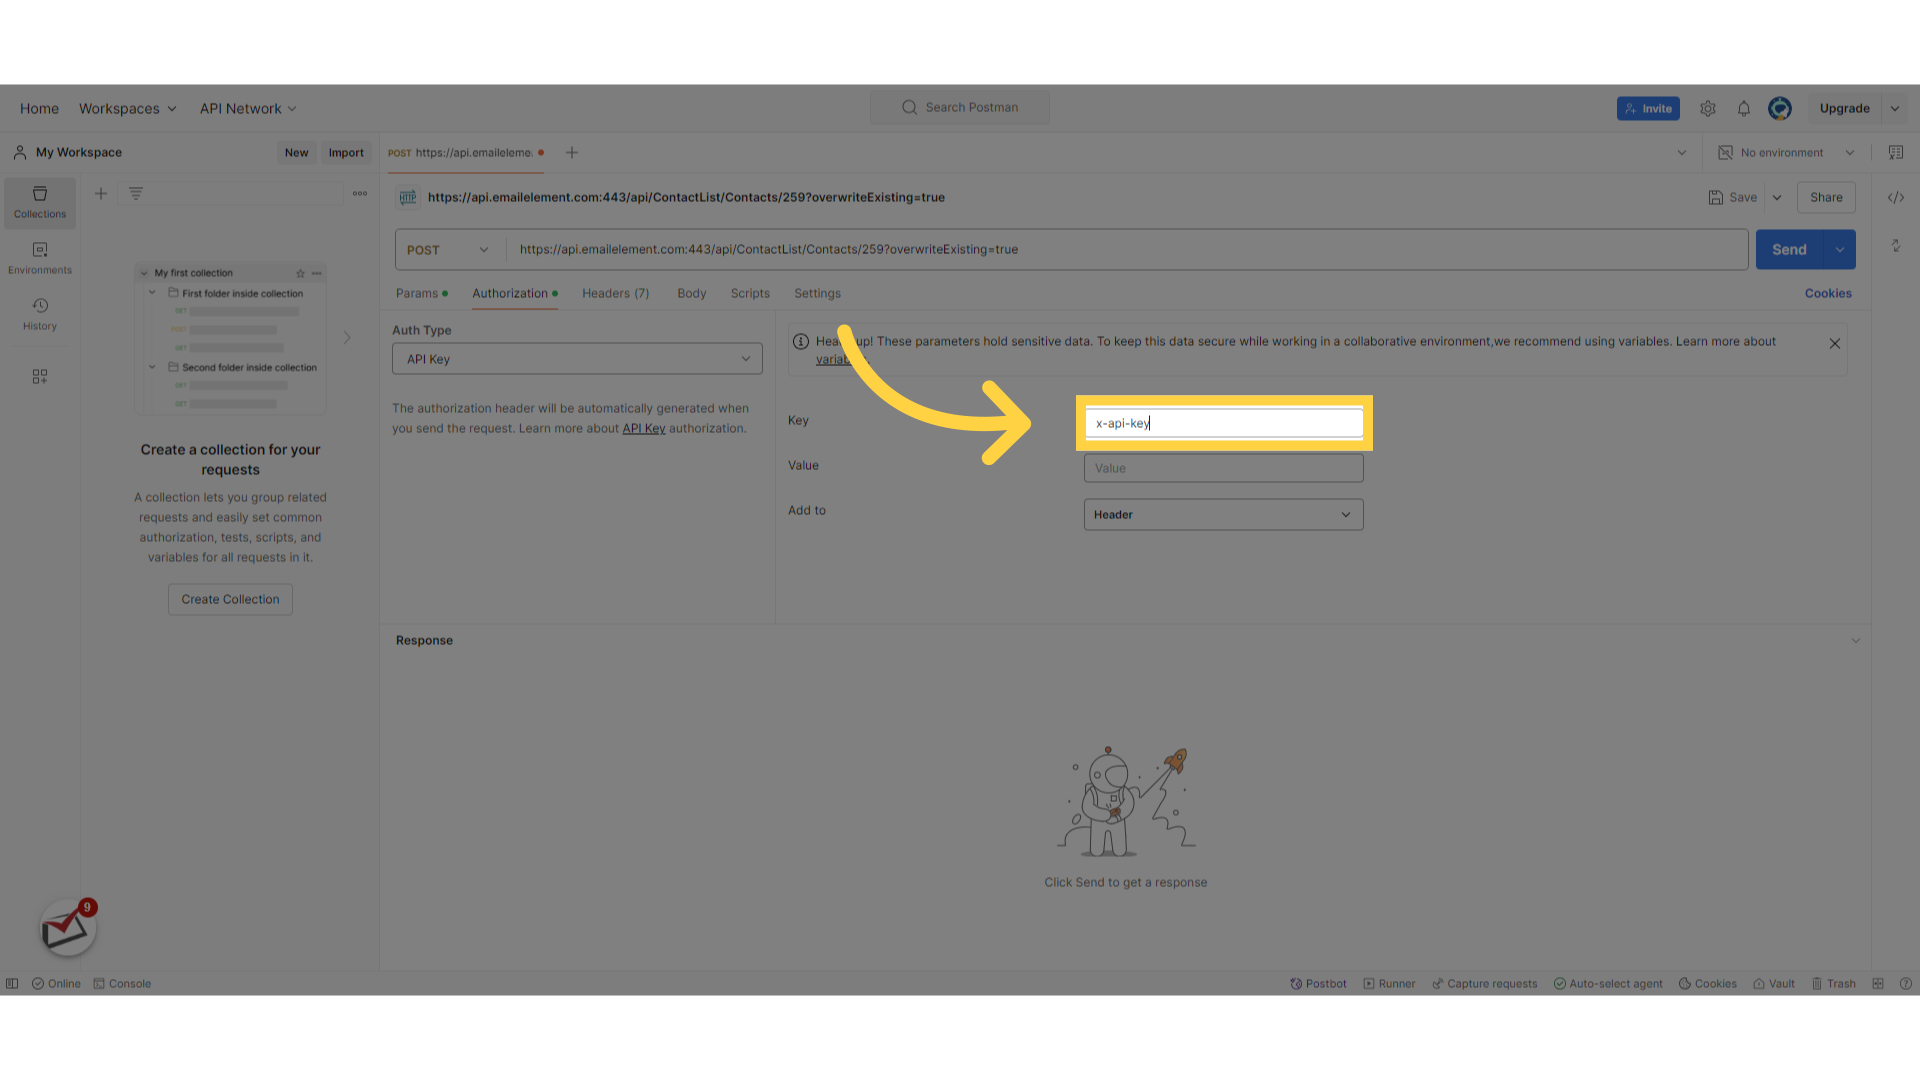
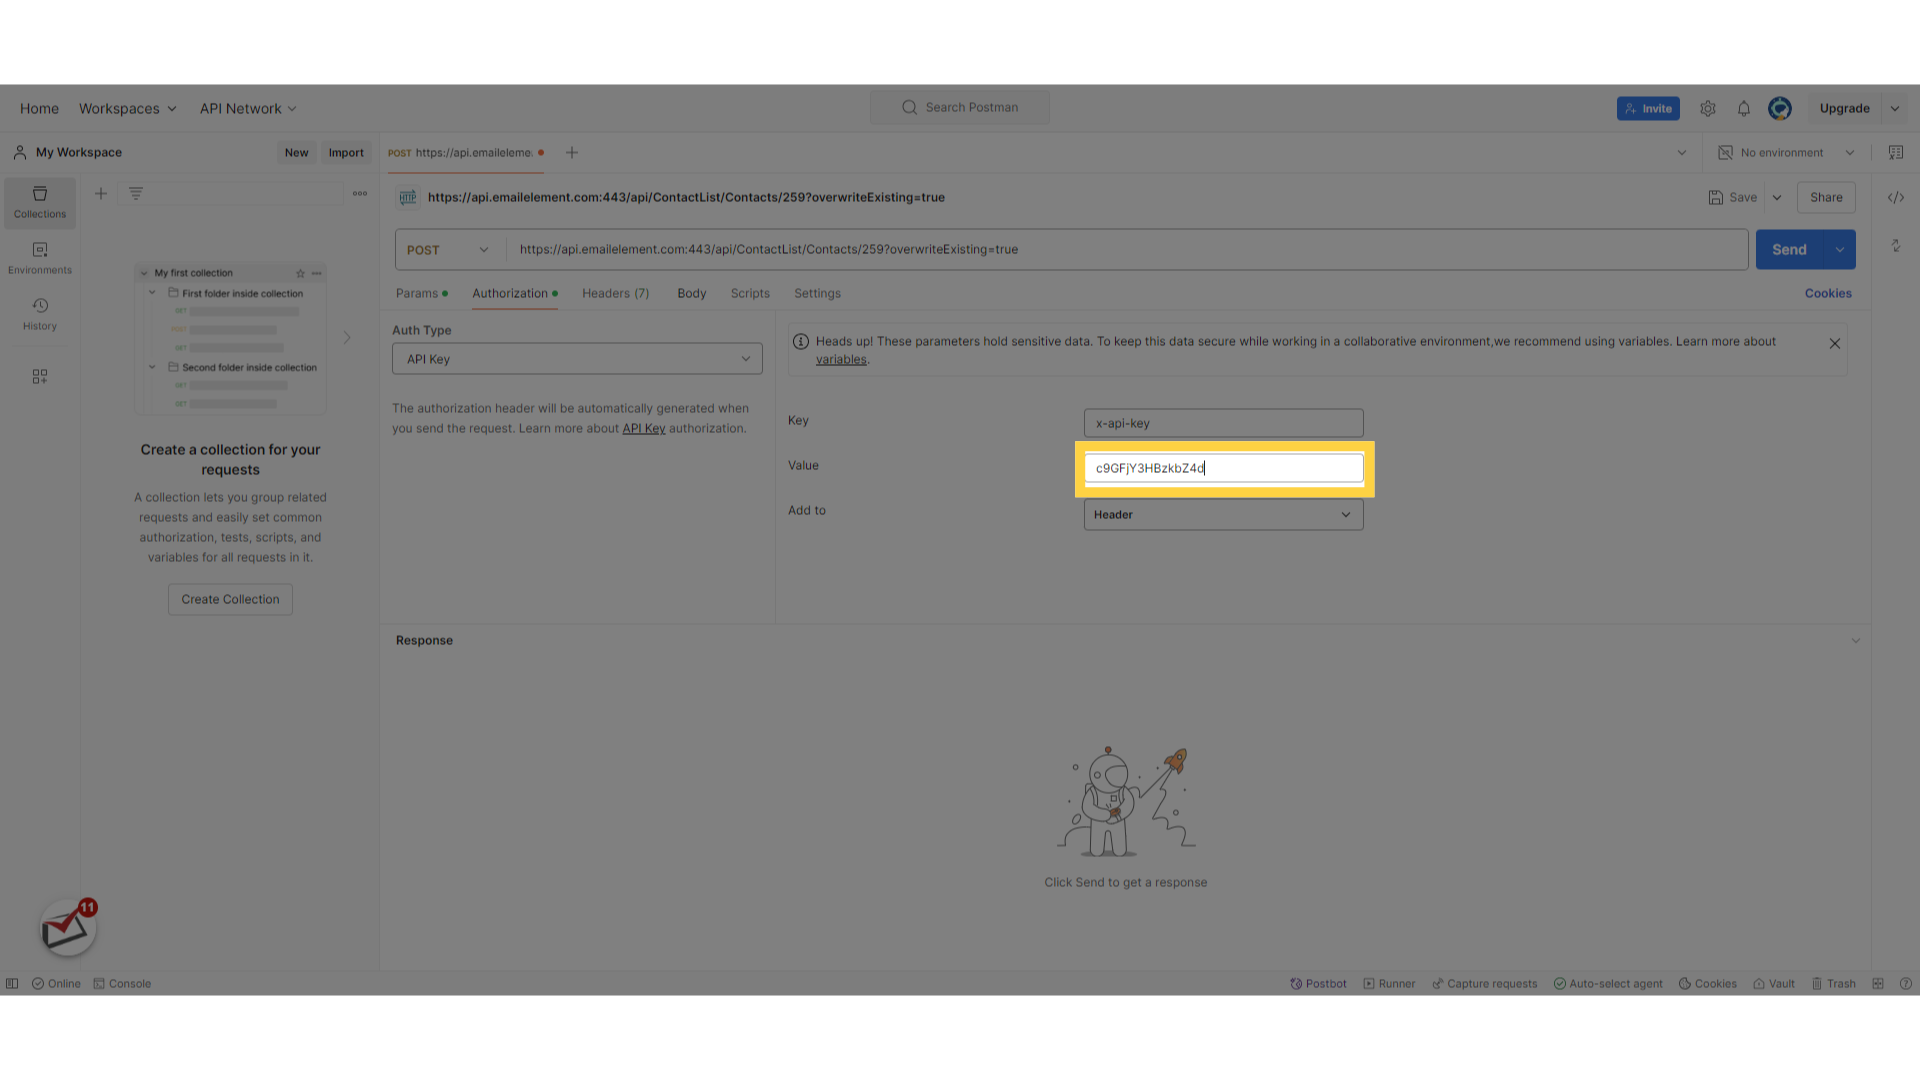
On the Headers tab add key
x-api-keywith your API key as the value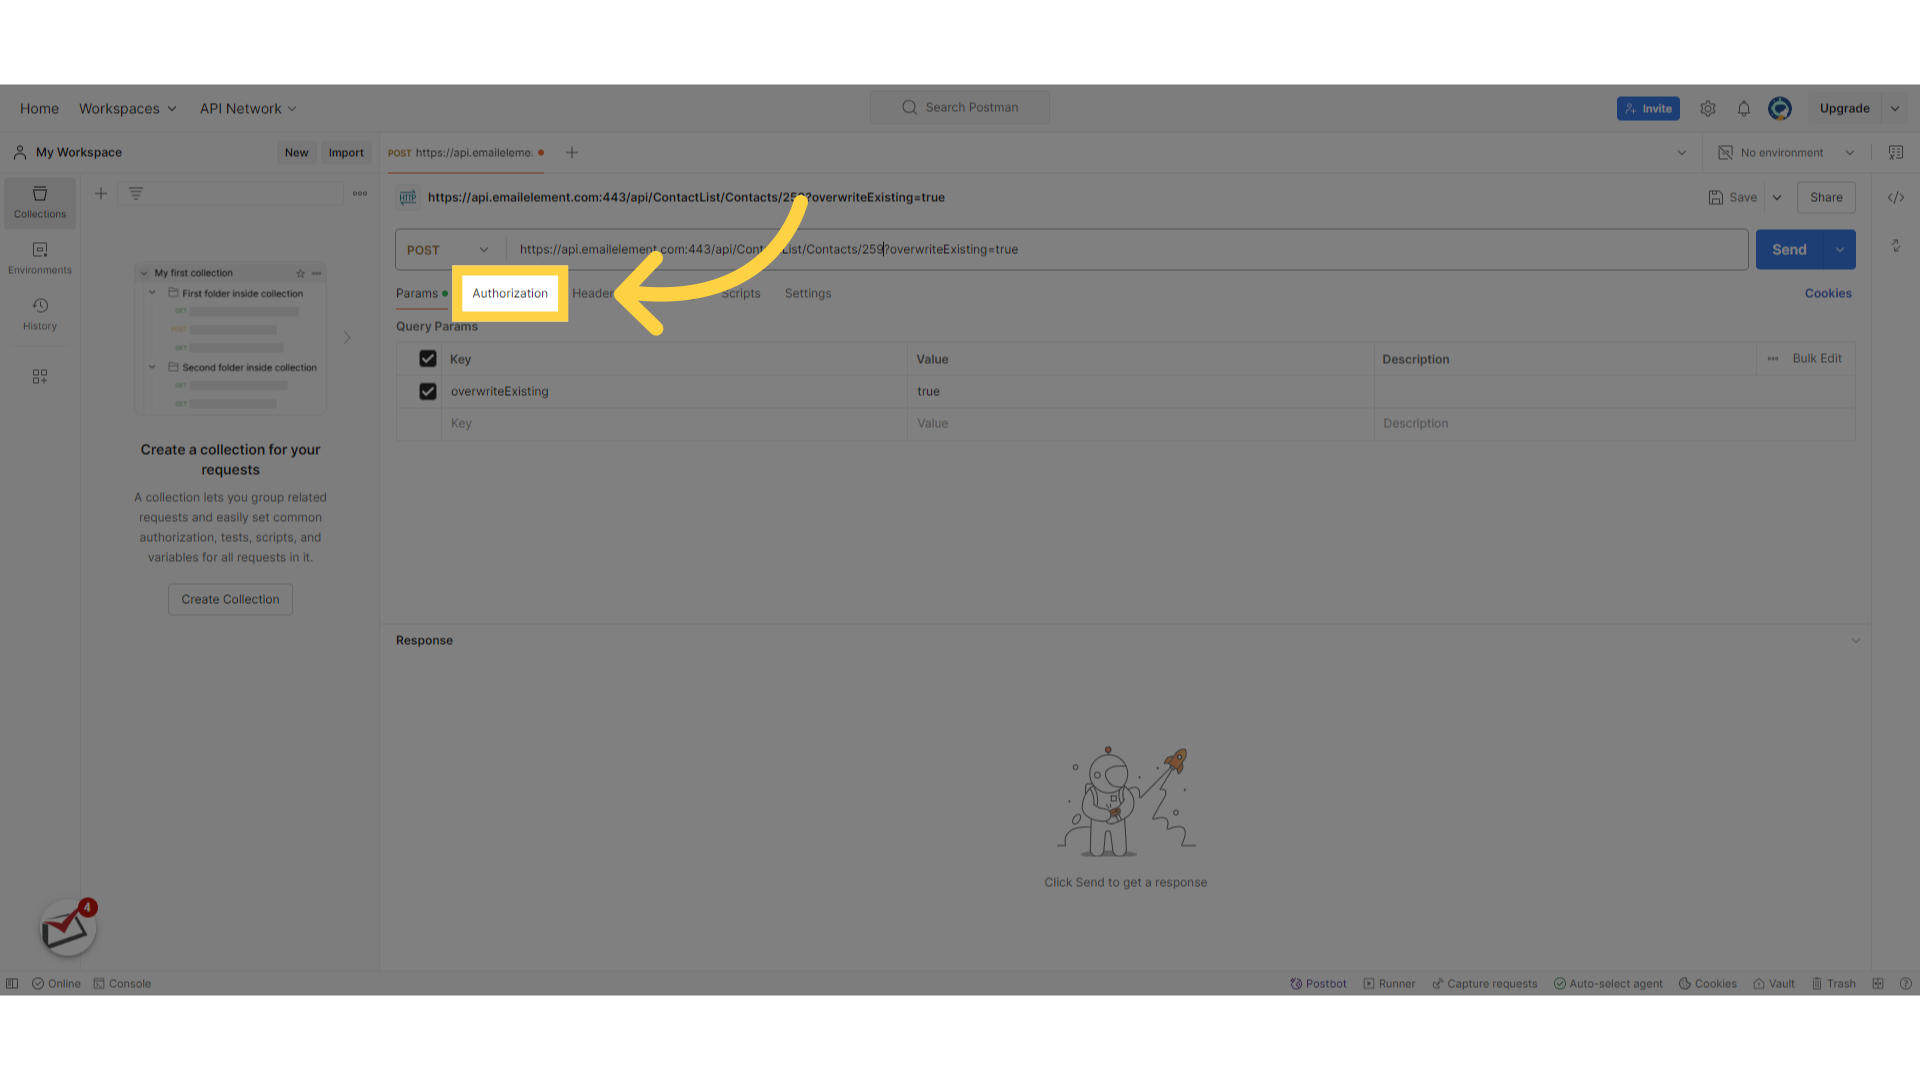
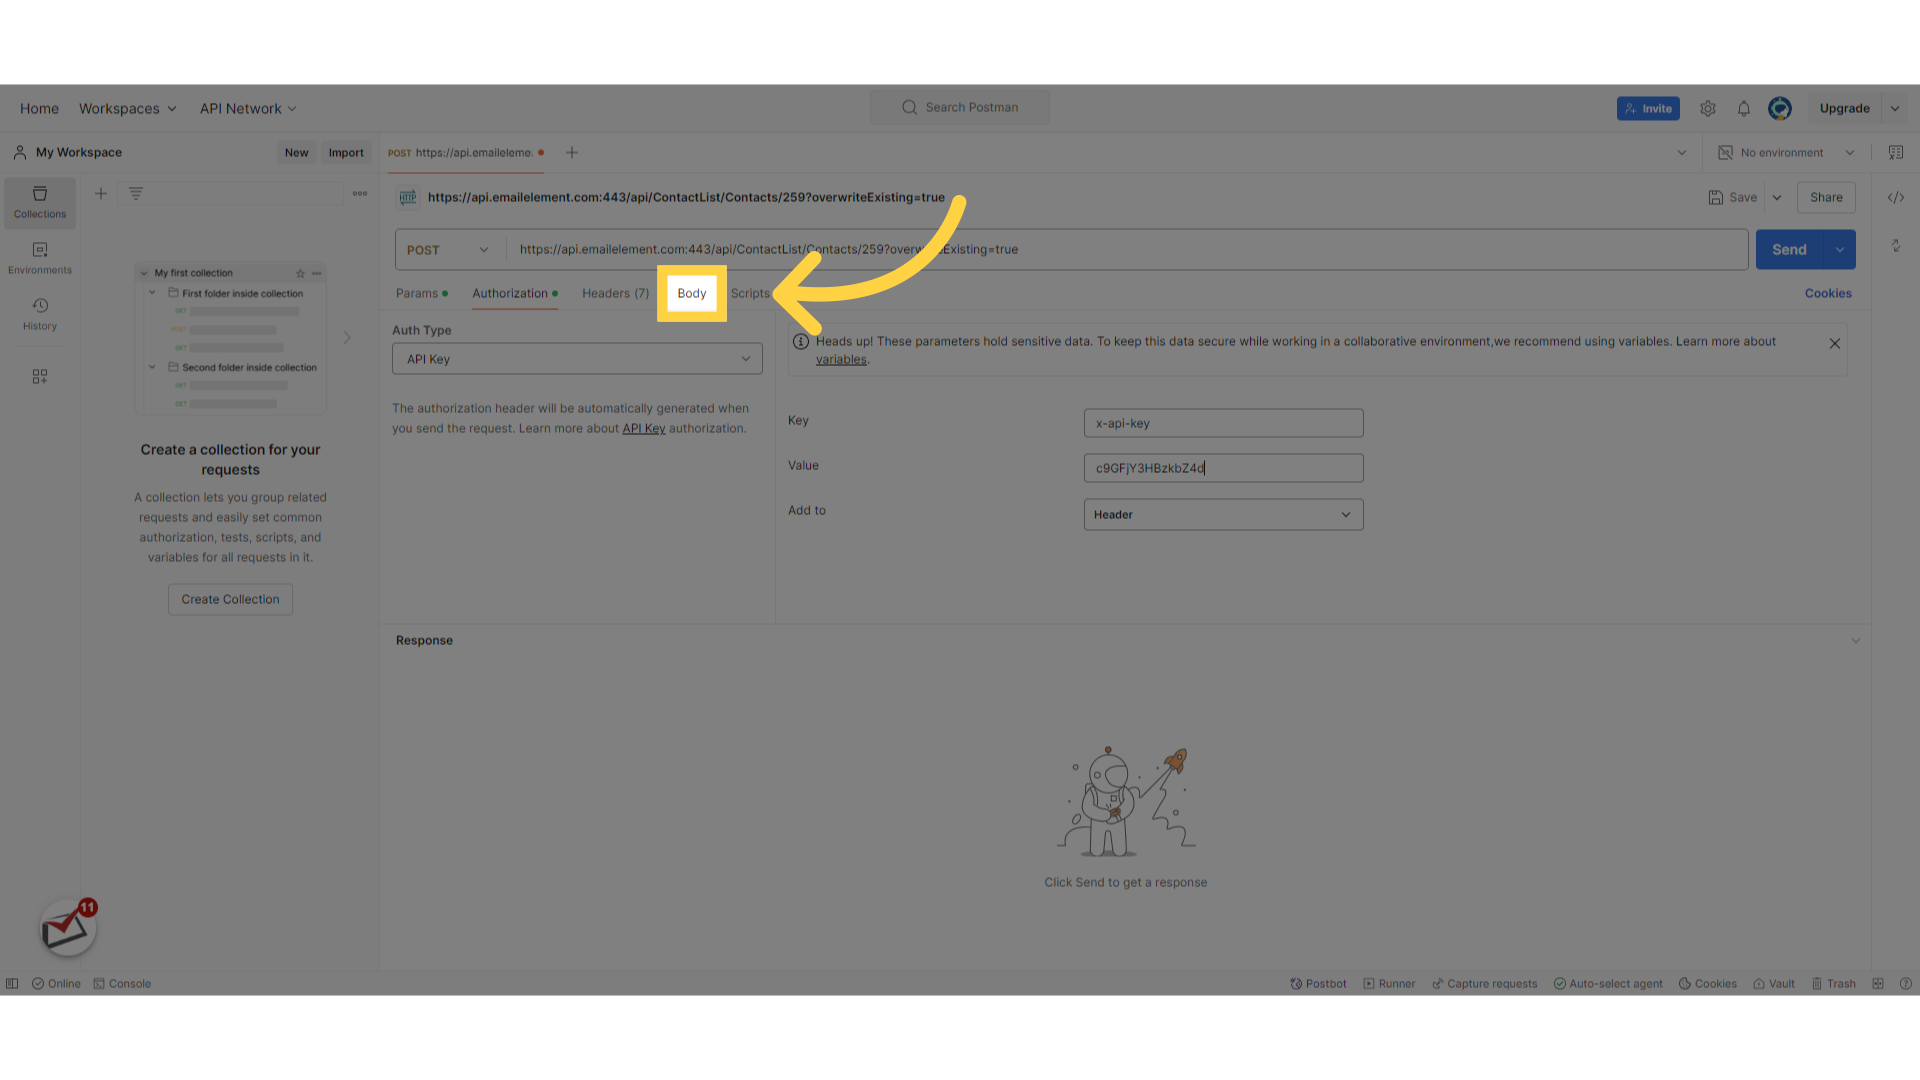
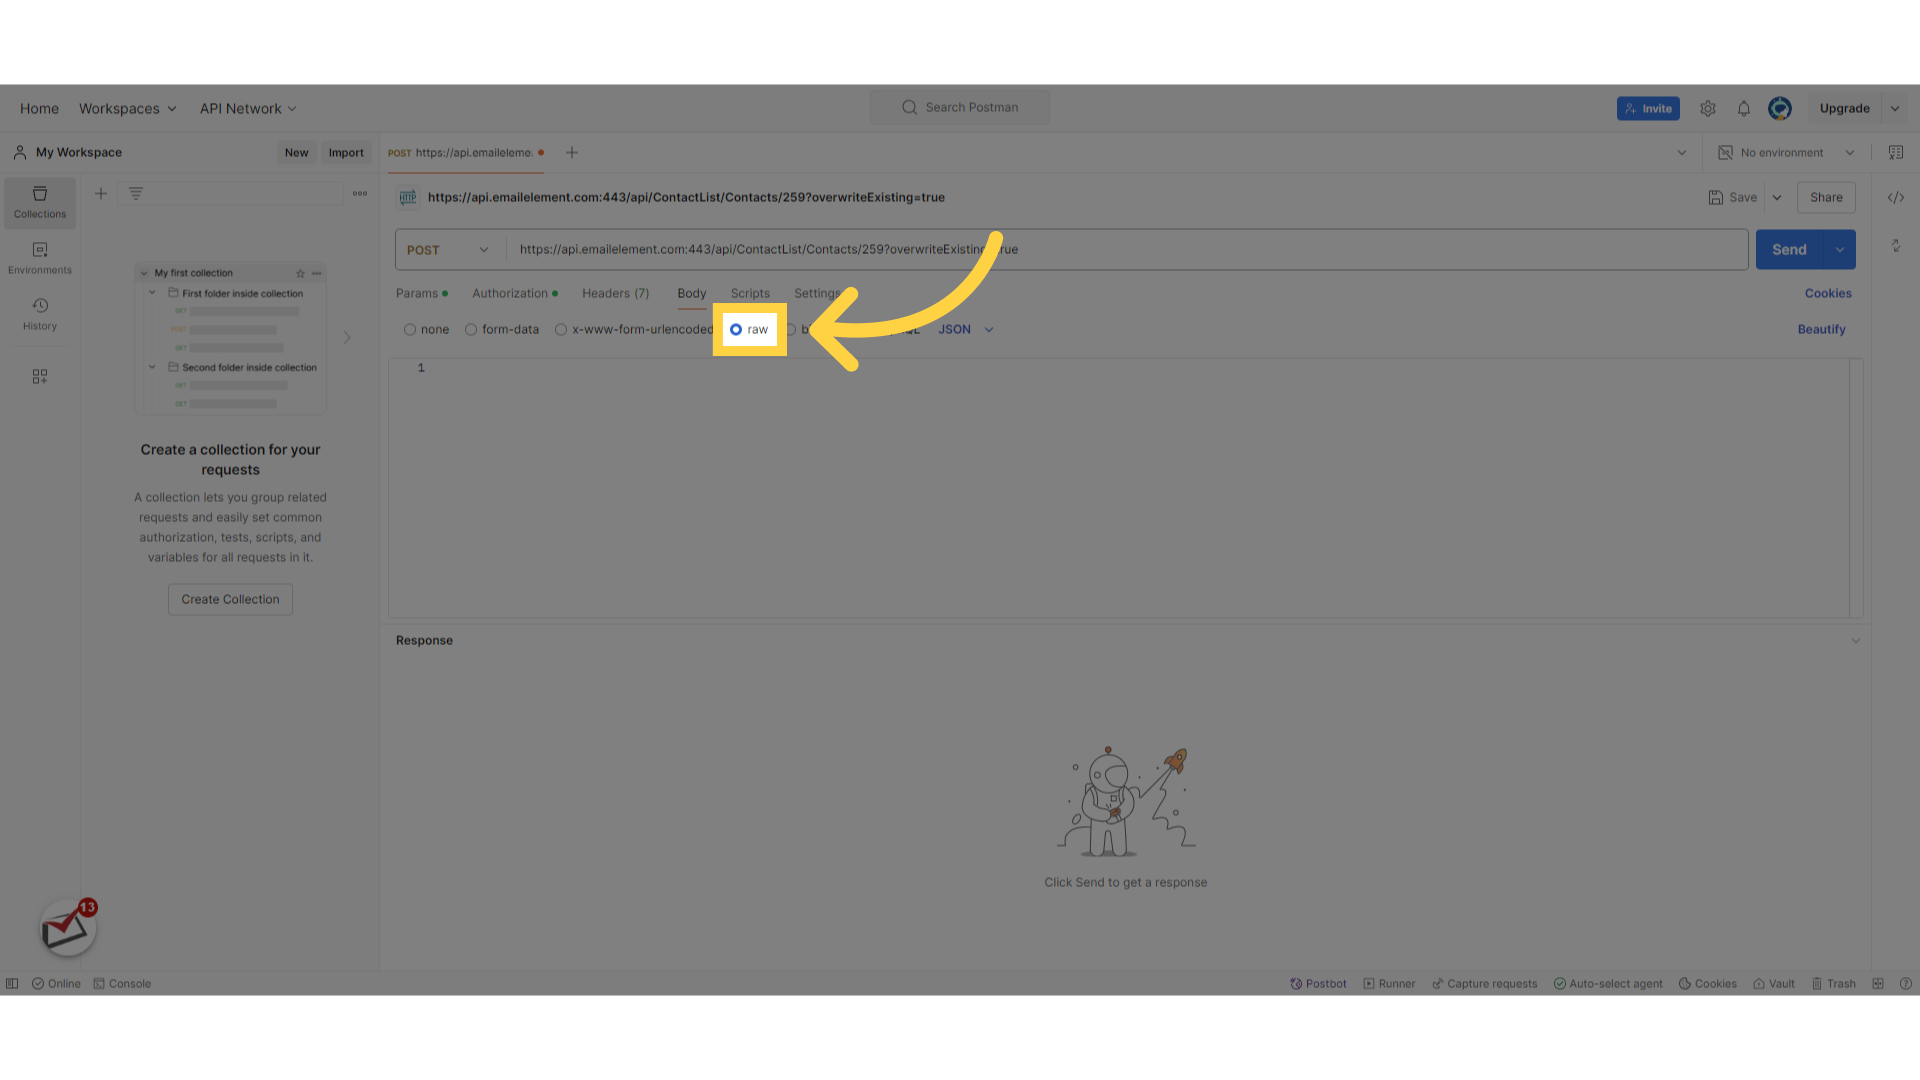
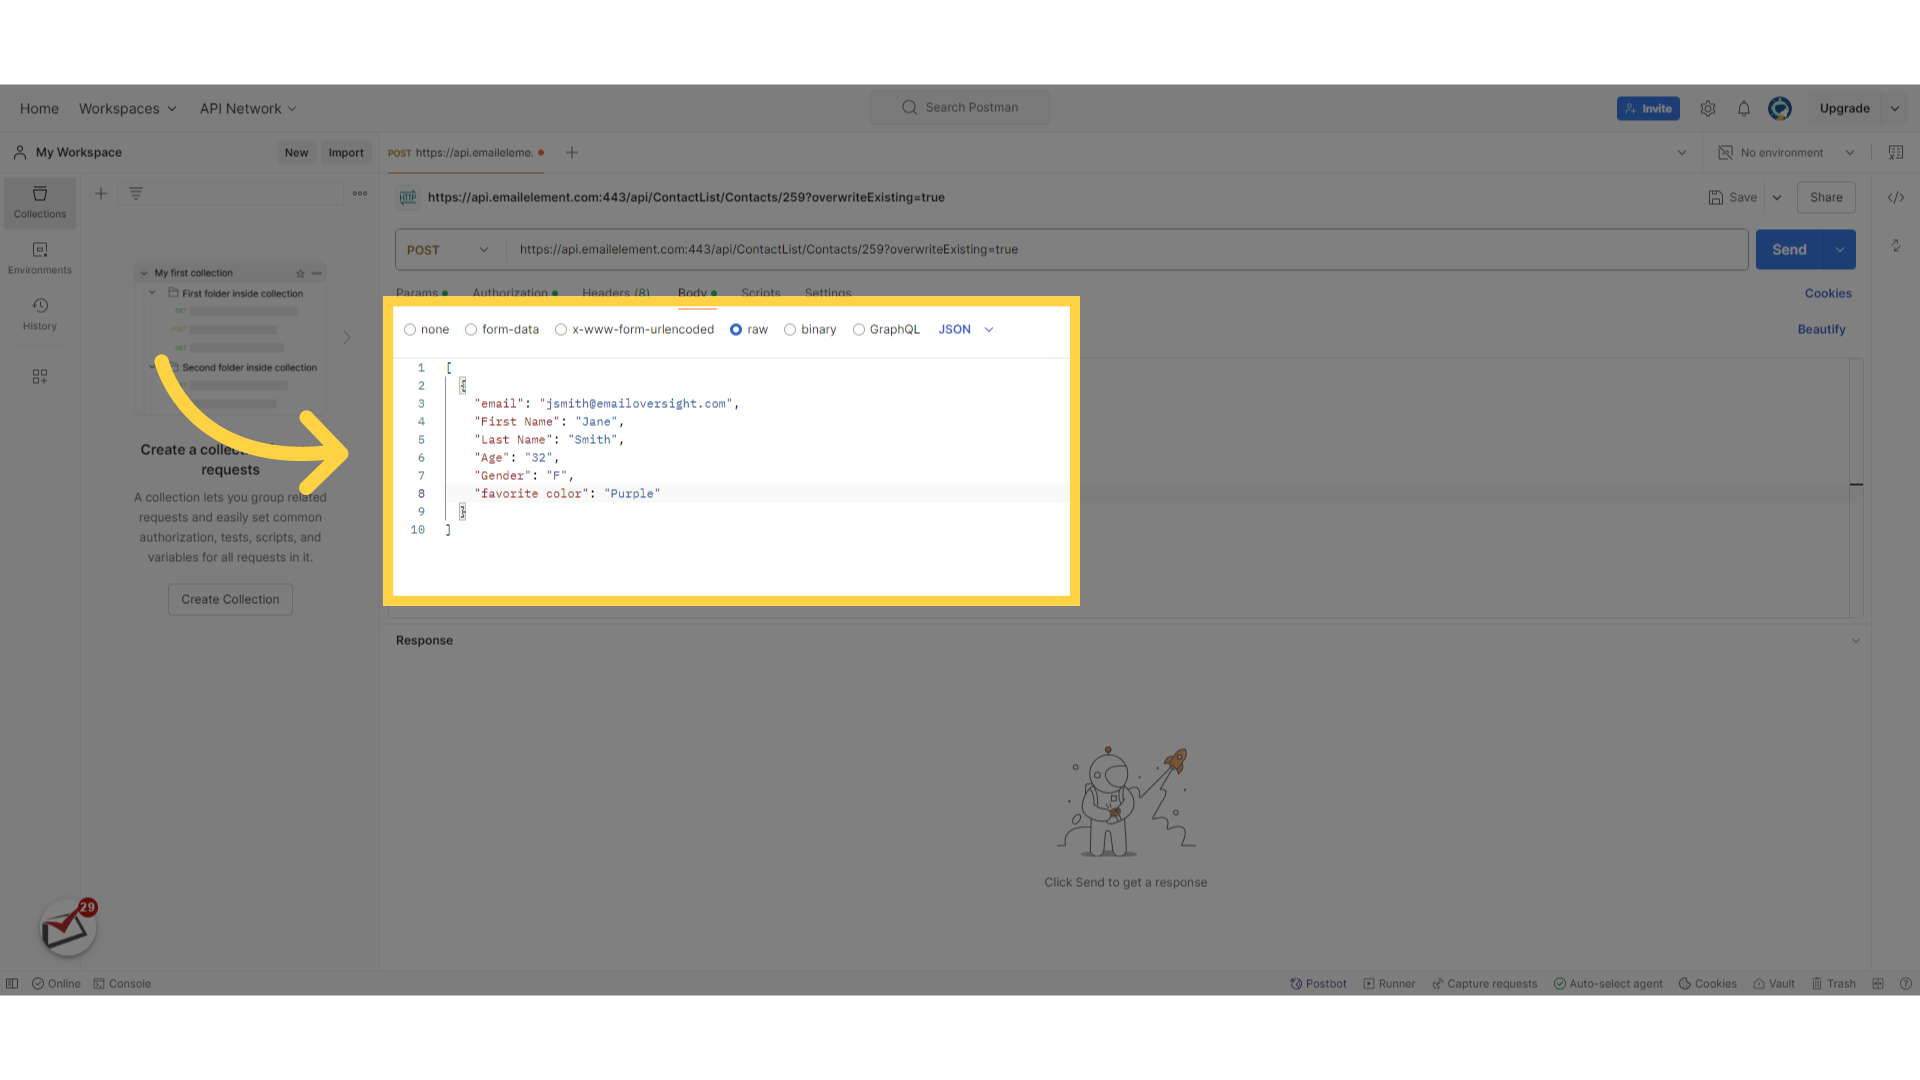
On the Body tab choose Raw, set the type to JSON, and paste the Request Body
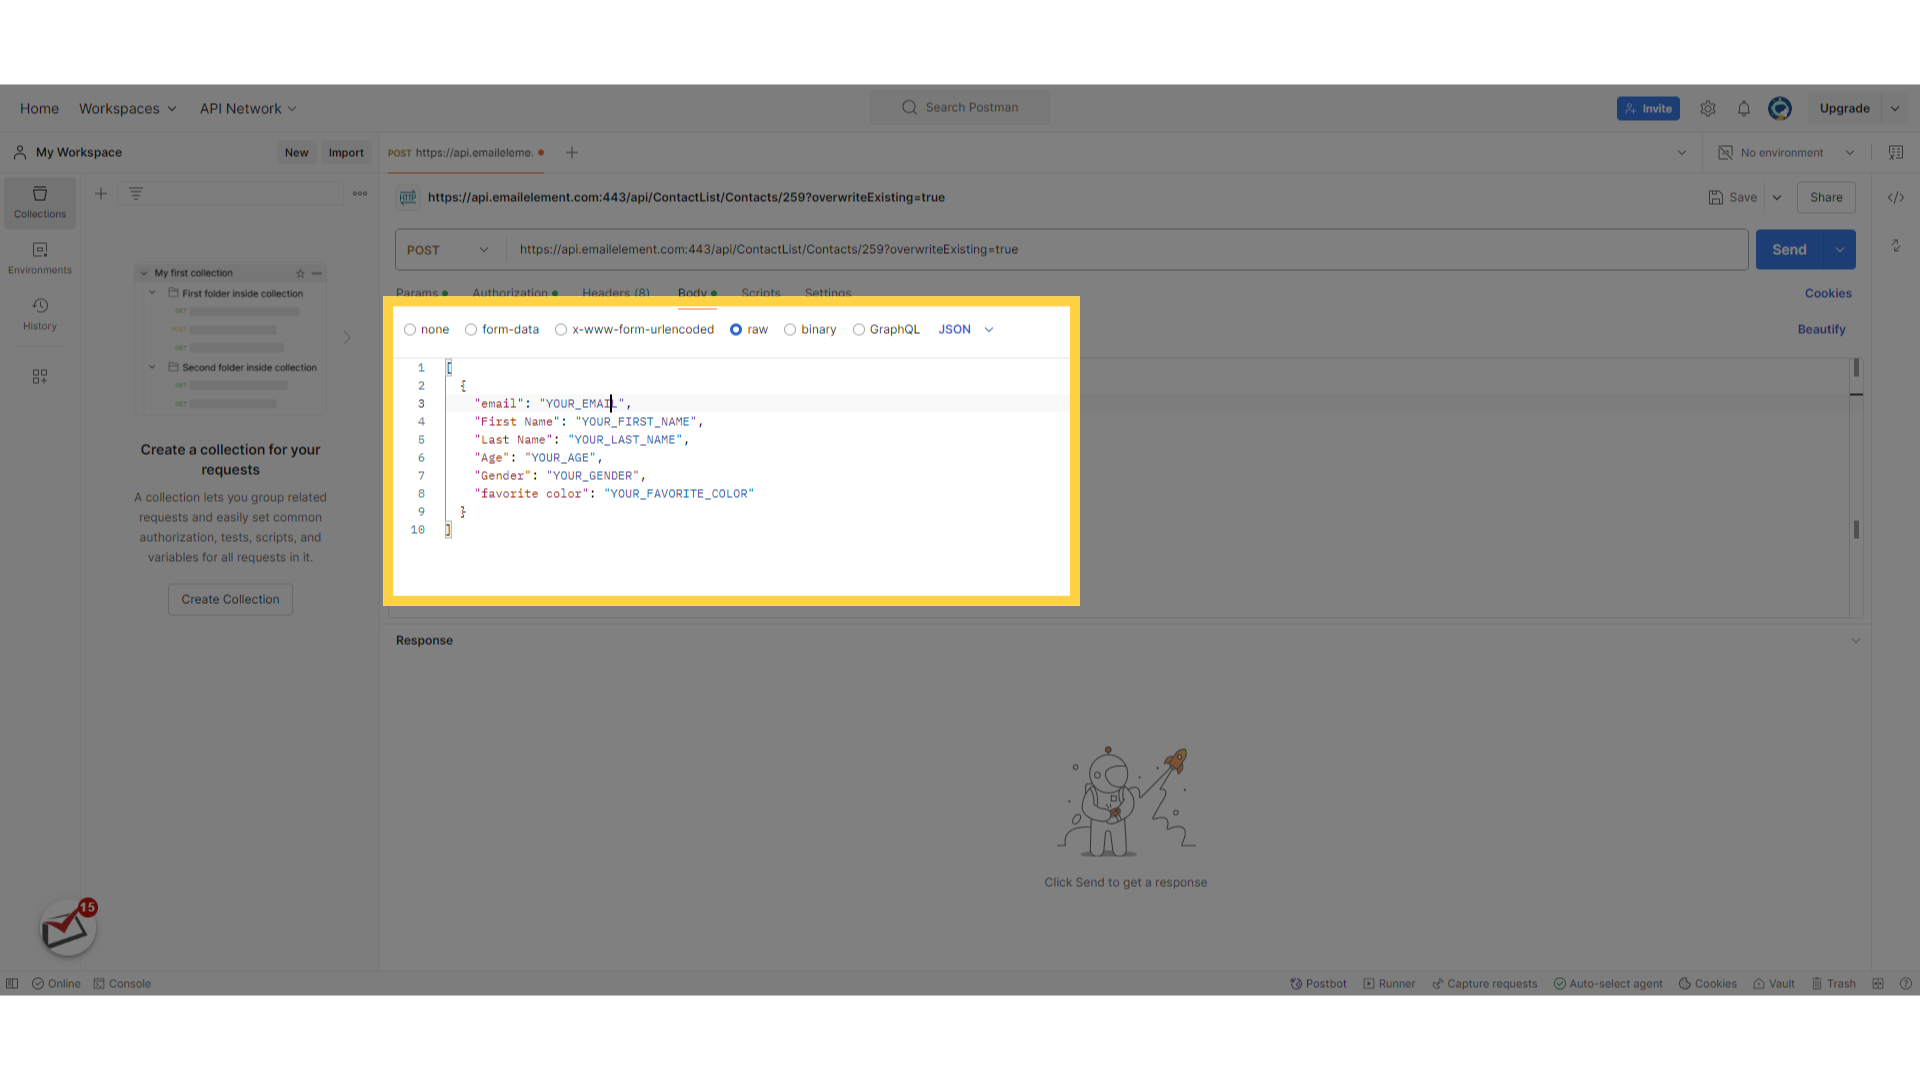
Replace the placeholder values with real contact data
Using cURL
curl -X POST "https://api.emailelement.com/api/ContactList/YOUR_LIST_ID/Contacts?overwriteExisting=true"   -H "x-api-key: YOUR_API_KEY"   -H "Content-Type: application/json"   -d '{
    "data": [
      {
        "Email": "jane.doe@example.com",
        "First Name": "Jane",
        "Last Name": "Doe"
      }
    ],
    "requiredFields": ["First Name"]
  }'
The field names are the ones on your Contact List, spaces and all. They are not camelCase, in the request or in the response.
V1 takes a different body — the contact array on its own, with no data wrapper and no requiredFields. Moving only the list id in the path is not enough to switch versions.
Step 5: Send the Request and Check the Result
Send the request
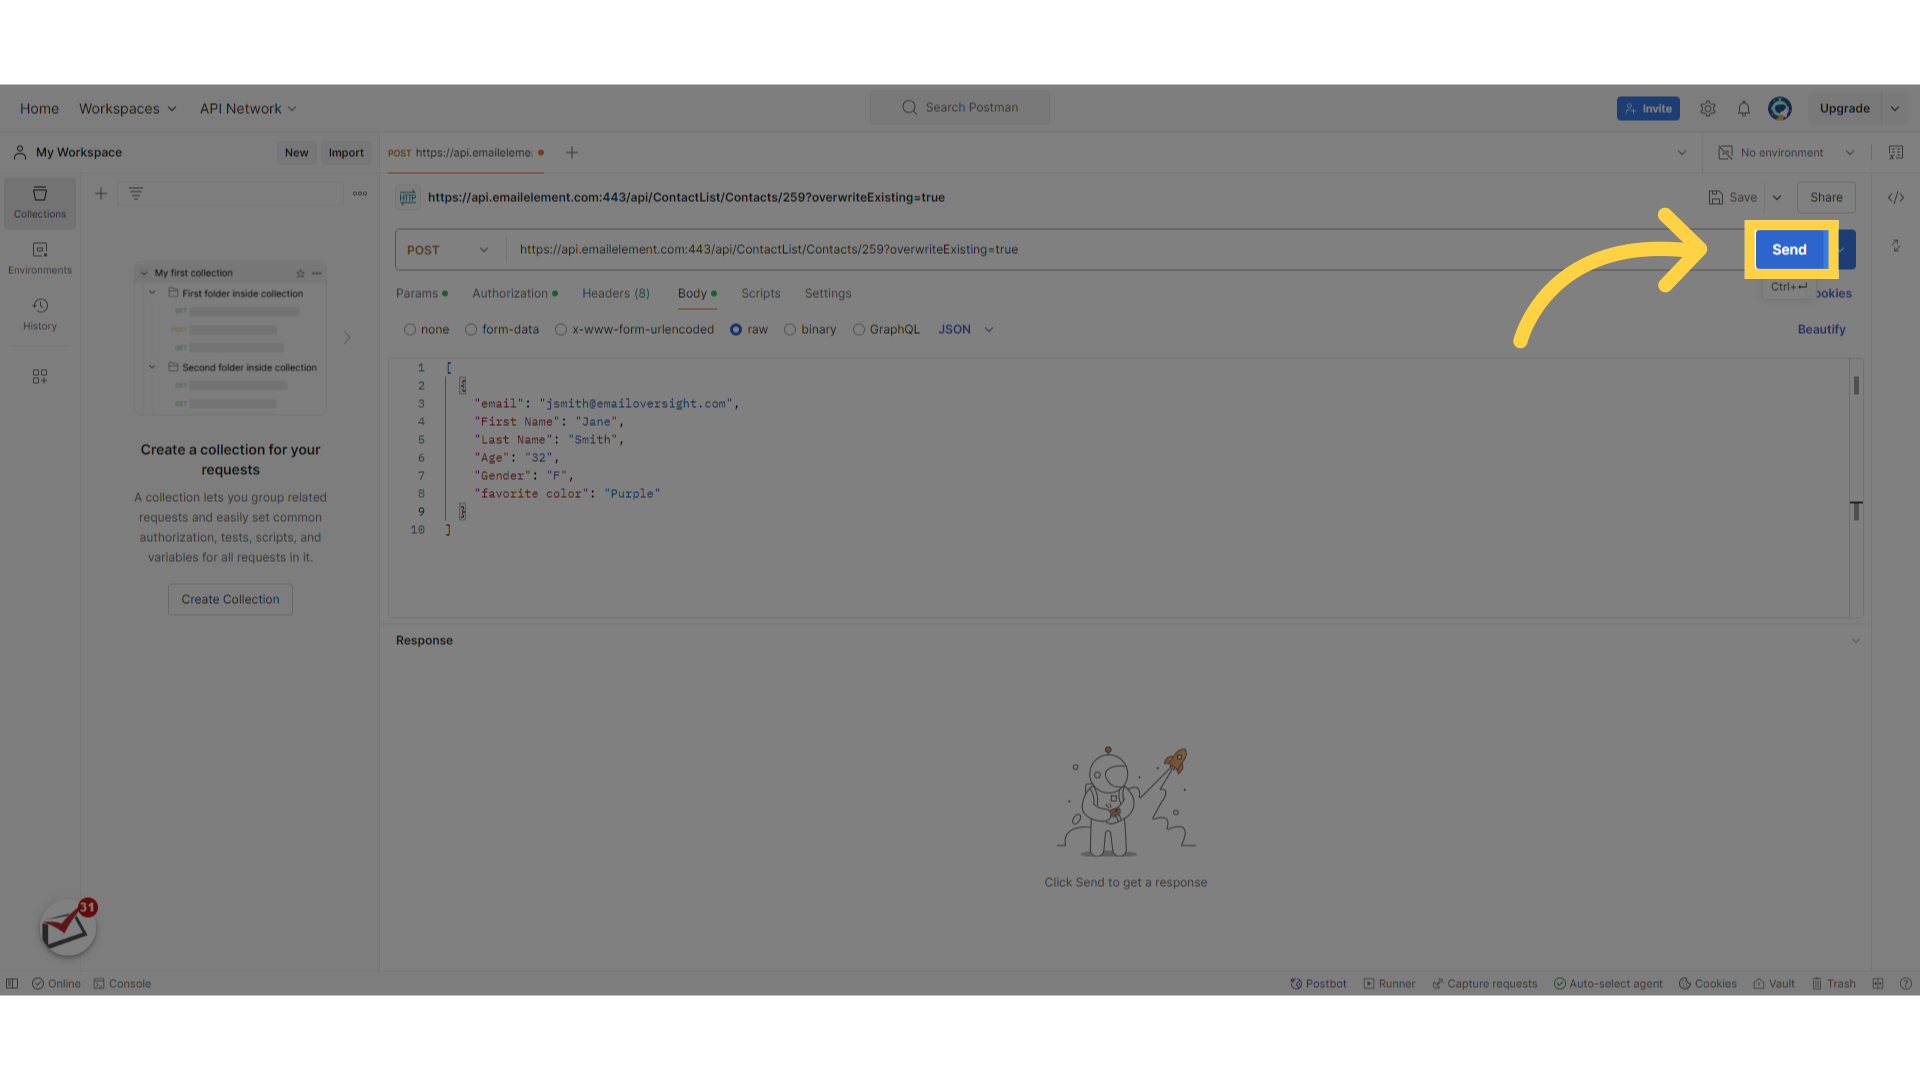
Branch on the HTTP status code, not on the body. See CONTACT_API_REFERENCE.md for why
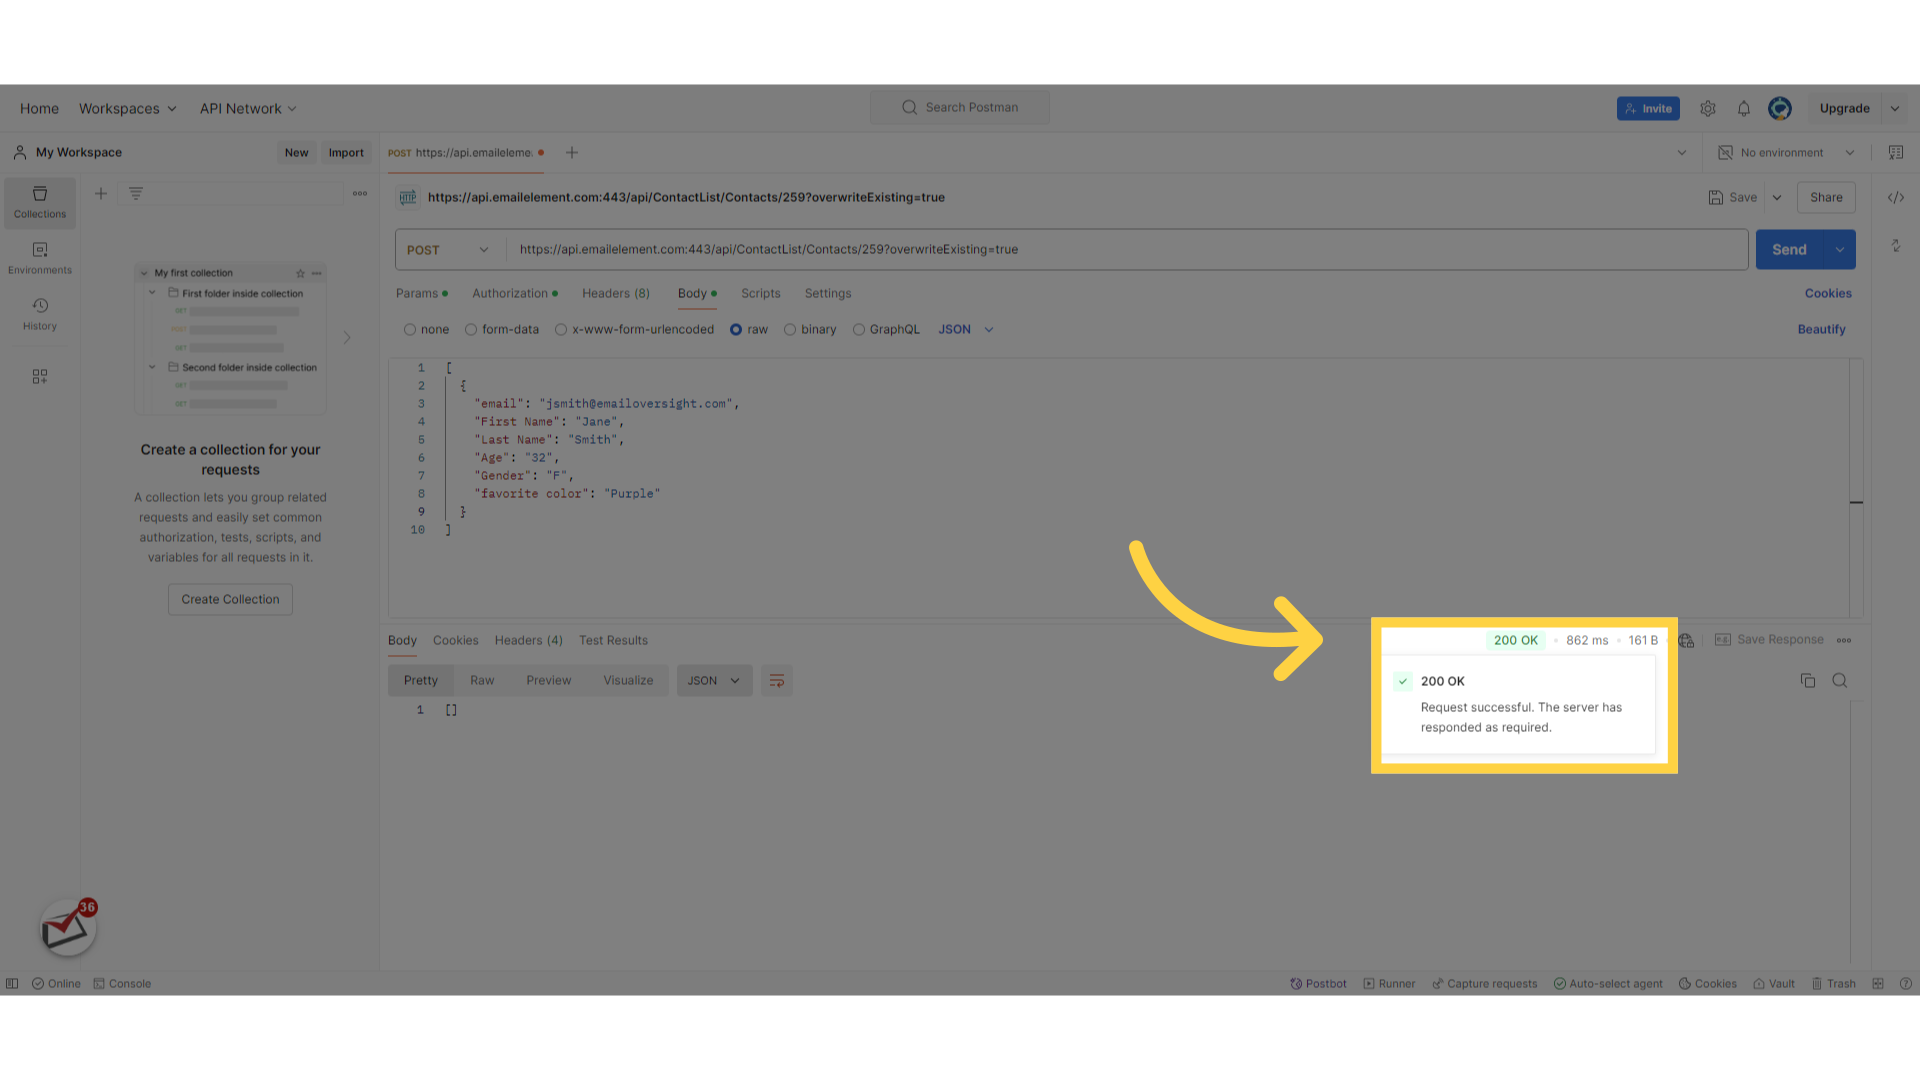
On a 200, compare the
dataarray in the response against what you sent. That array is the list of contacts that were actually stored. A 200 can still have dropped someRead
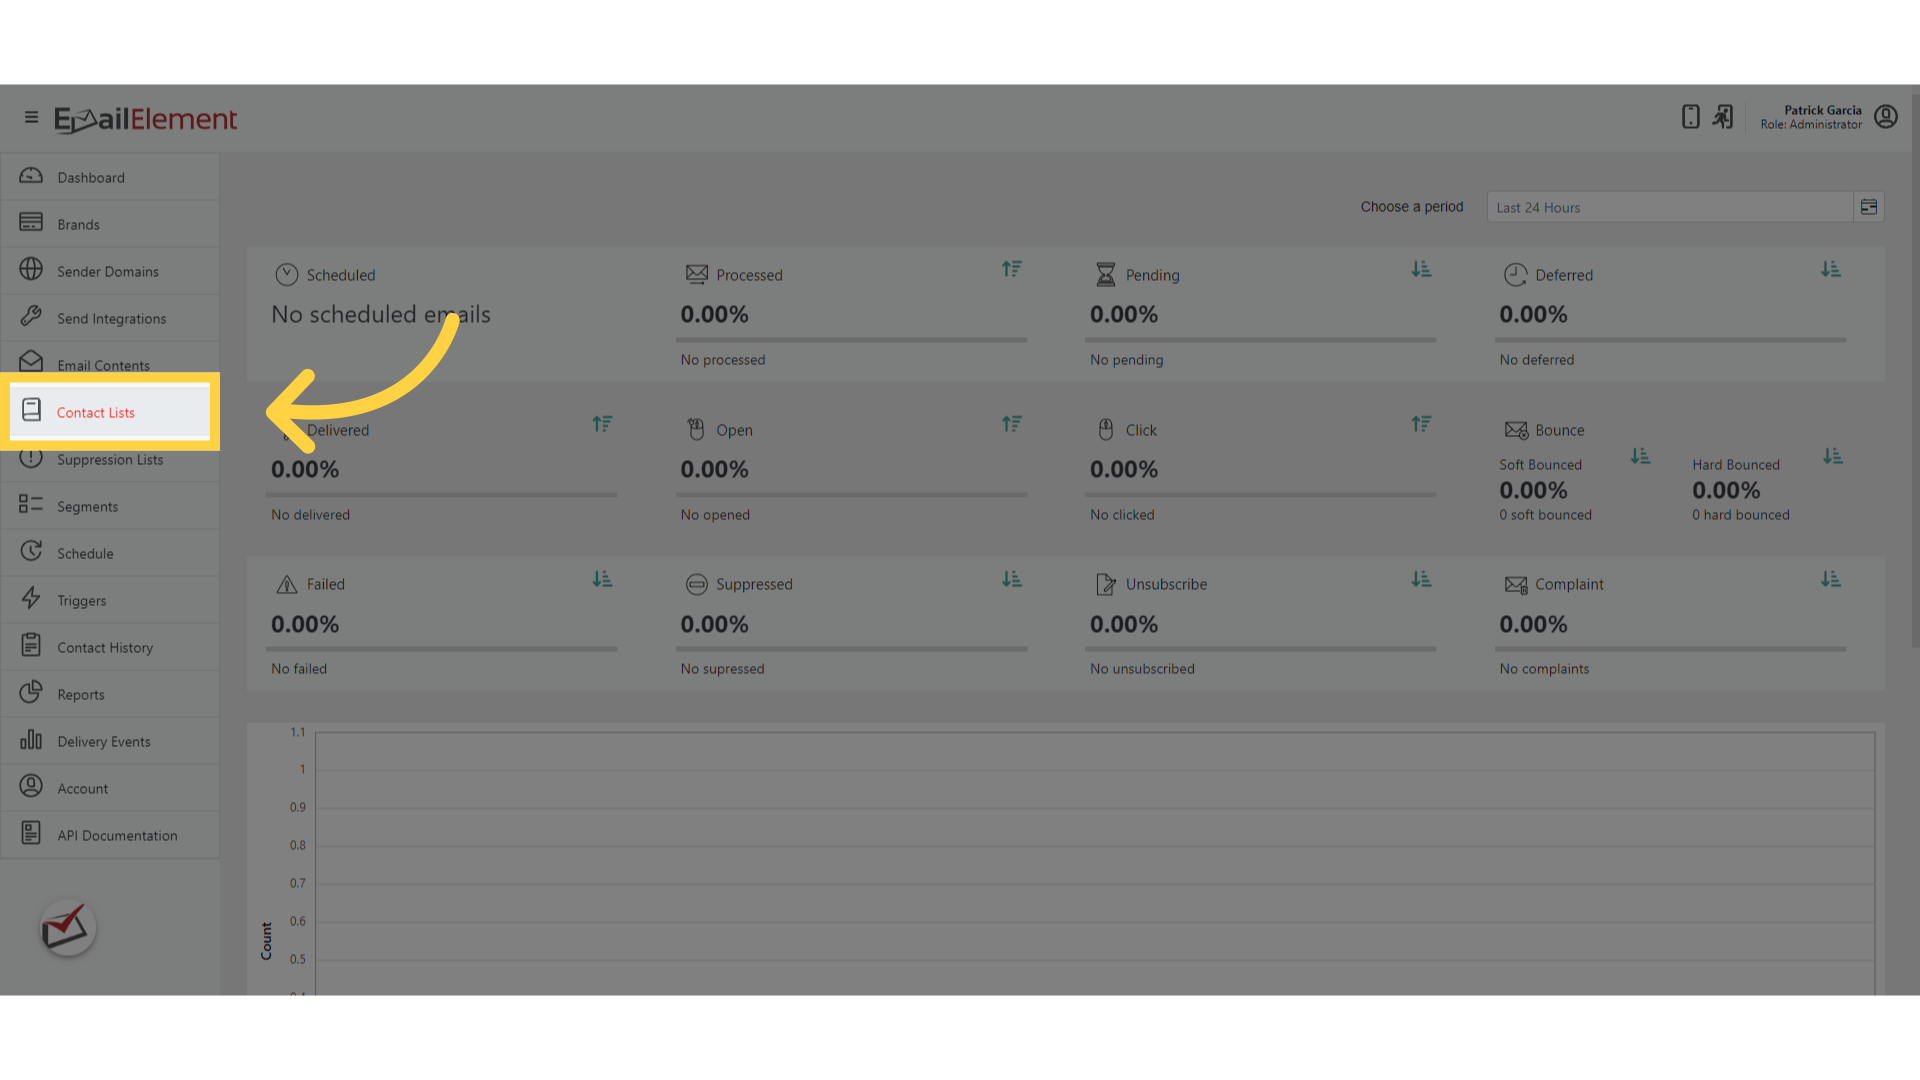
messagesfor the reason behind anything that was droppedNavigate to Contact Lists and check the Record Count went up
Adding Contacts in Bulk
- The POST call takes an array of contacts in one request
- Contacts are validated as a batch. More than 10% failing rejects the whole request with a 400 and adds nothing. 10% or fewer failing gives a 200, adds the rest, and reports the failures
- A request of fewer than ten contacts is all or nothing, because one failure already exceeds 10%
overwriteExistingdefaults to true on all four routes, V1 and V2, so a contact already on the list has their data updated. SendoverwriteExisting=falseto leave existing contacts alone
Common Errors
| Status Code | Meaning | Resolution |
|---|---|---|
| 400 | Too many contacts failed validation | More than 10% were invalid. Read messages, fix them, and send again |
| 400 | No contacts supplied | The body arrived but data was absent or empty |
| 400 | Missing or unparseable request body | Check the JSON parses and the Content-Type is application/json |
| 400 | Contact list not found | Check the list ID, and that the list belongs to the account the key was issued for |
| 401 | Unauthorized | Check the API key value and that the header is named x-api-key |
| 403 | Forbidden | The key needs Contact API set to Full Access |
| 500 | Unexpected error | Retry. If it persists, contact support with the time of the request |
There is no 404 and no 429 on this API. An unknown list id comes back as a 400.