
Suppression List Walkthrough
This reference provides a detailed walkthrough for creating and managing suppression lists in EmailElement.
Creating a Suppression List
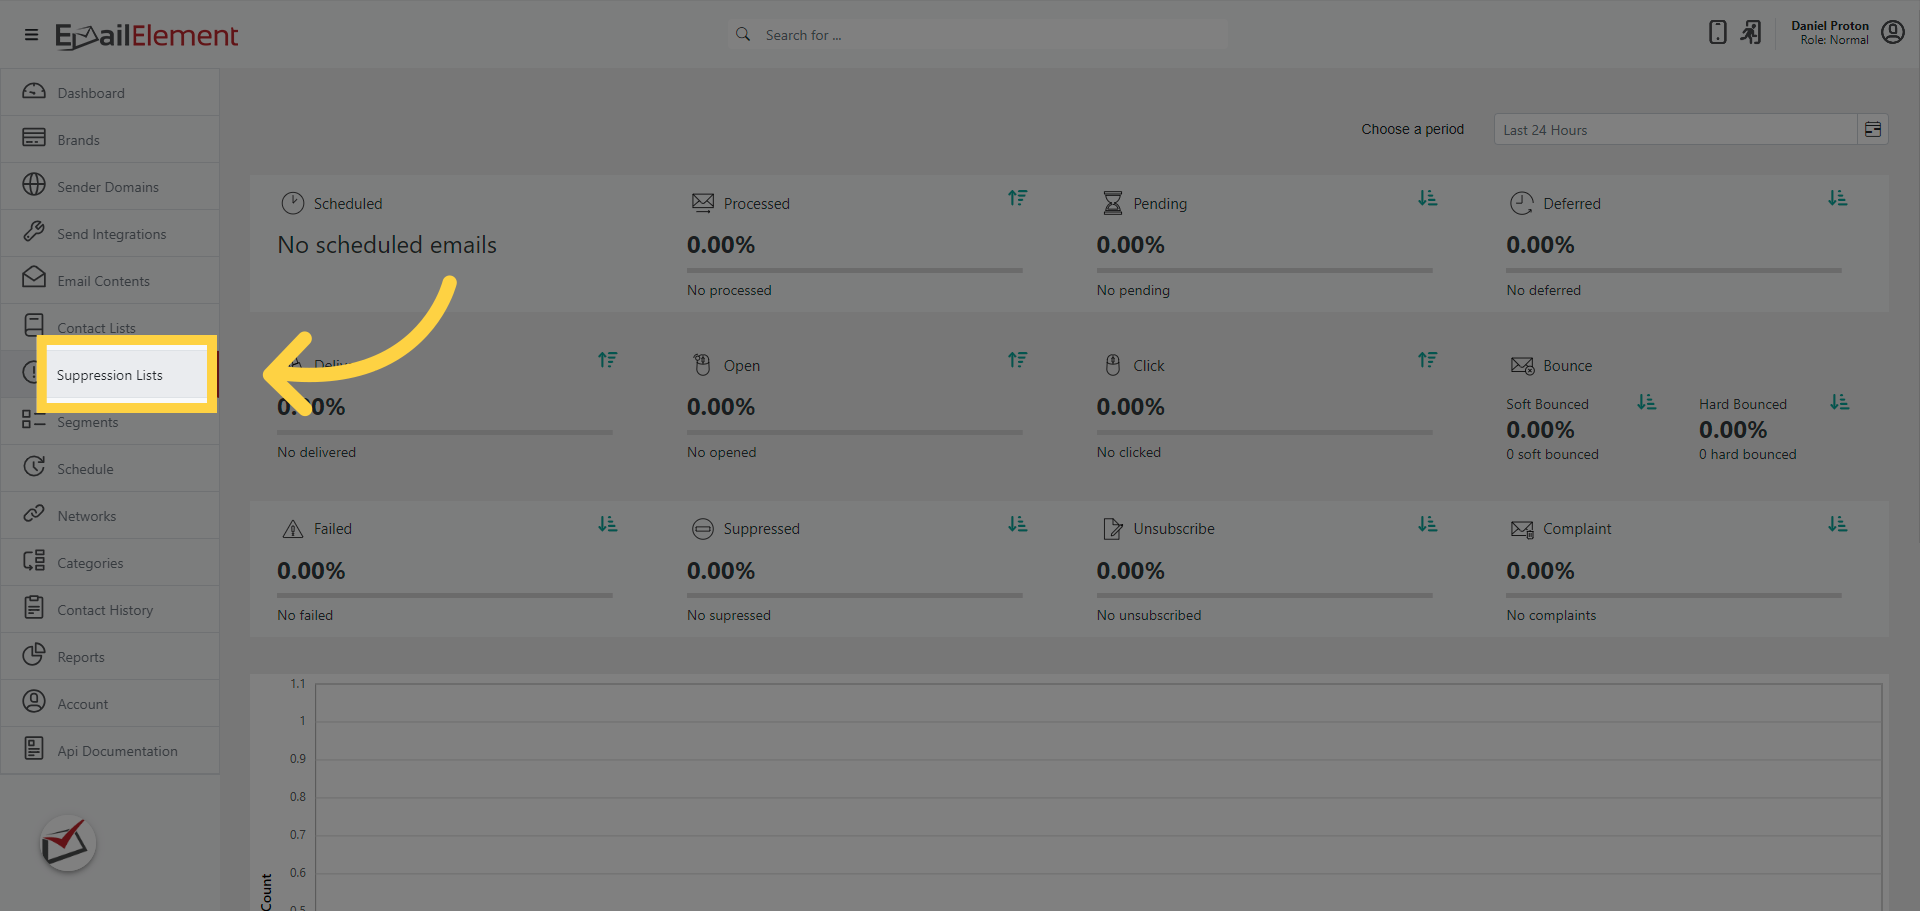
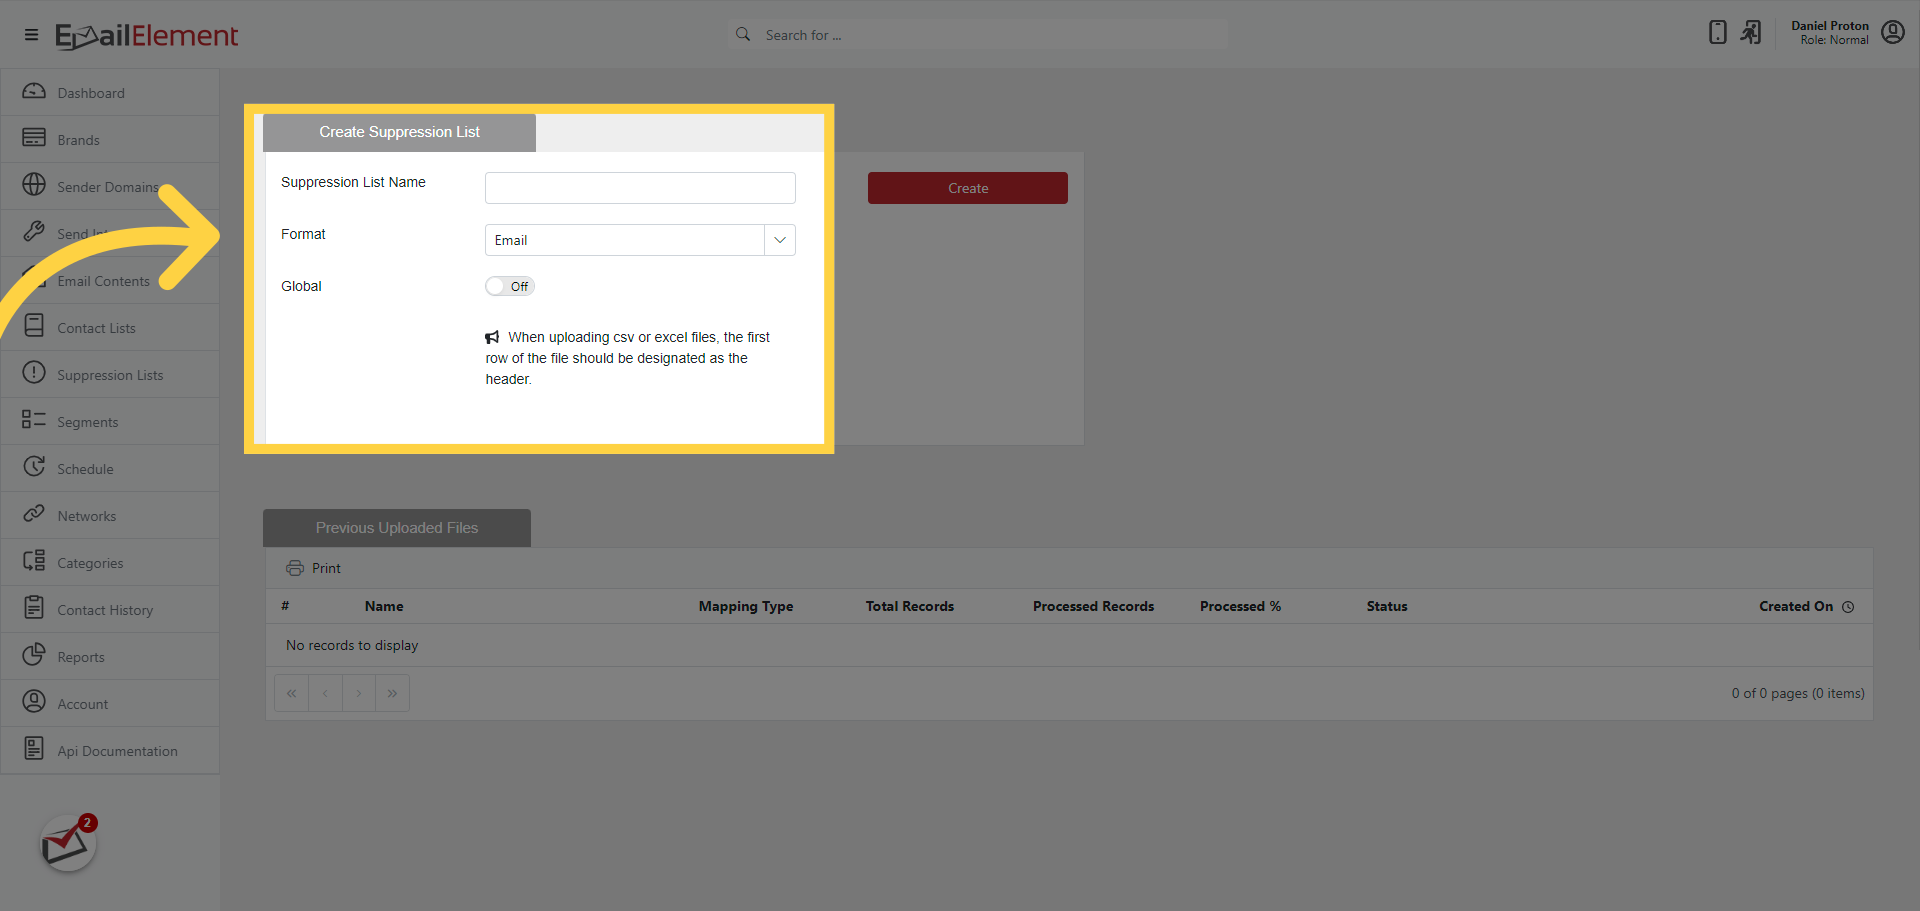
Navigate to Suppression Lists from the main navigation menu.
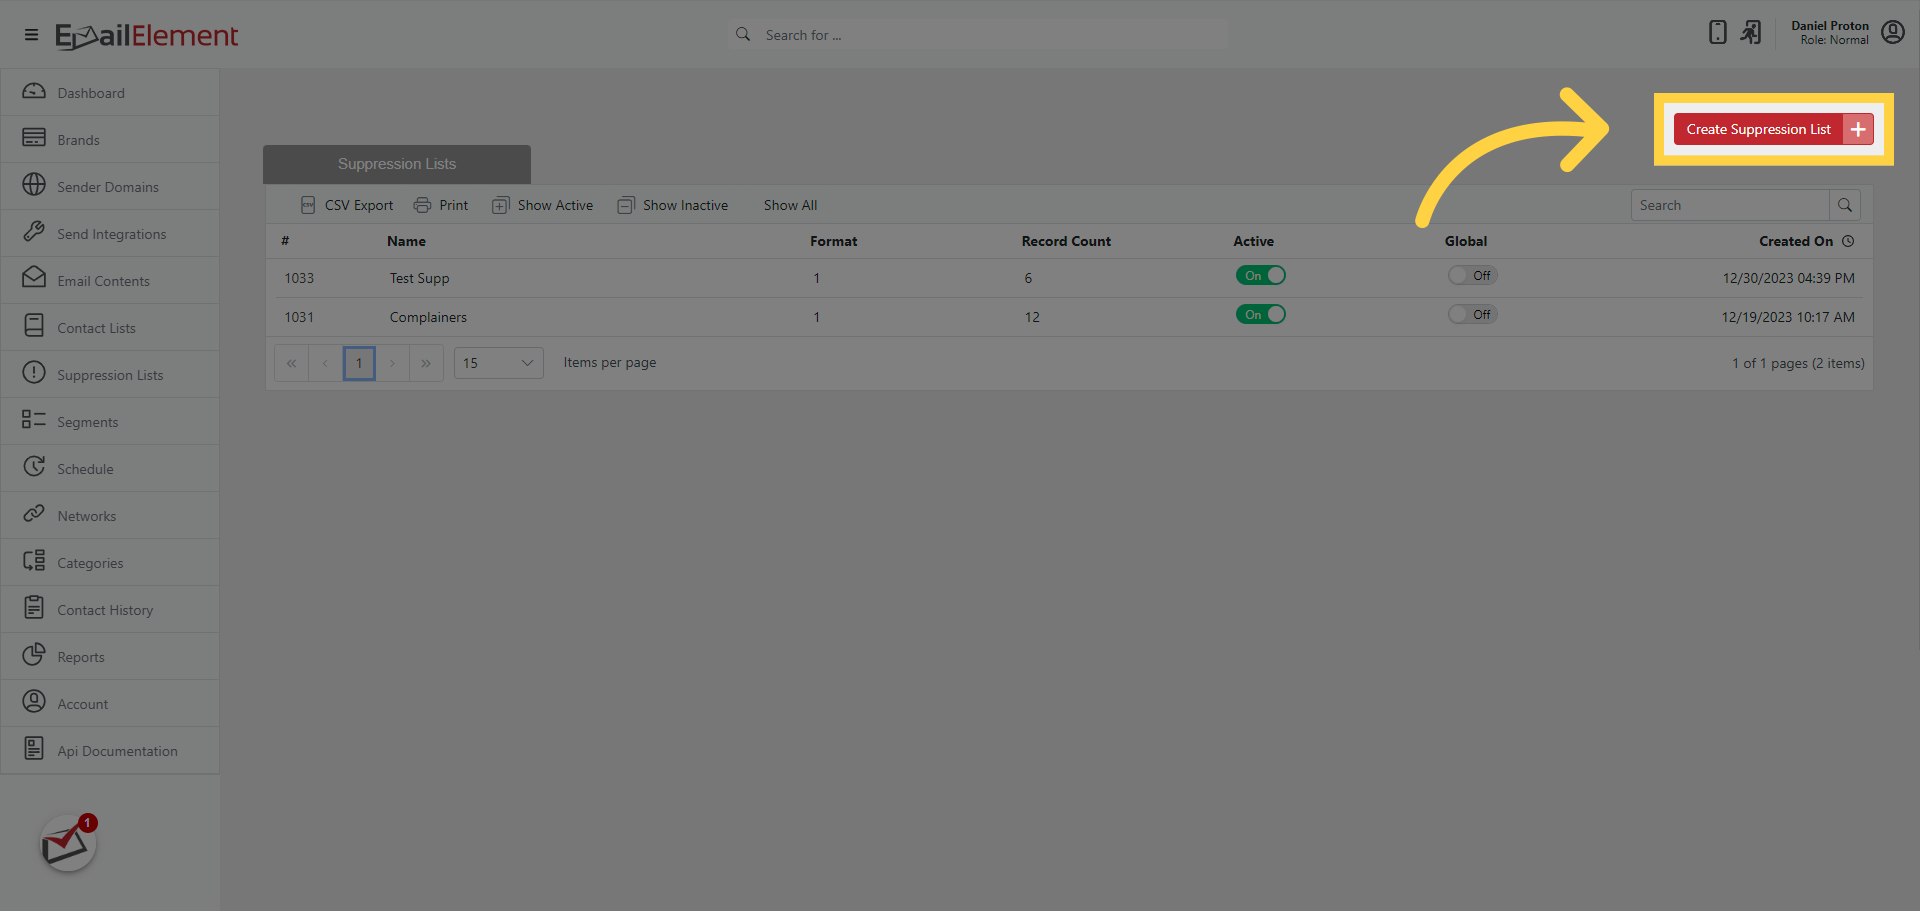
Click Create Suppression List in the top-right corner.
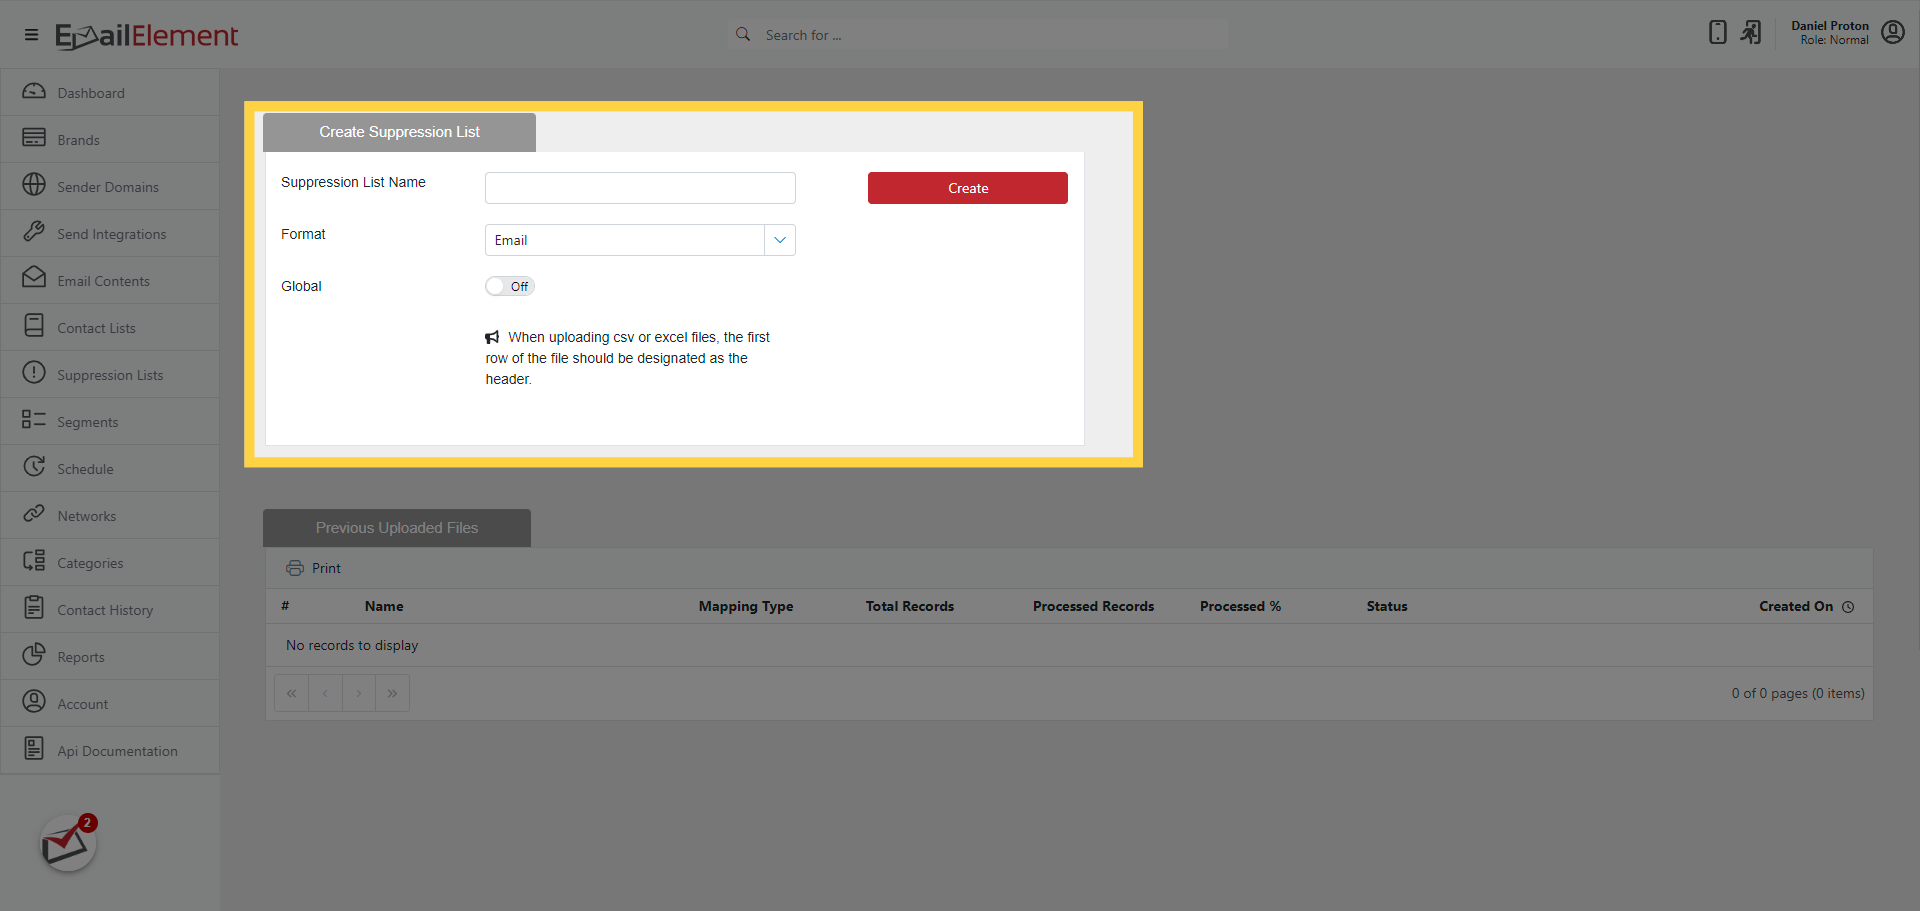
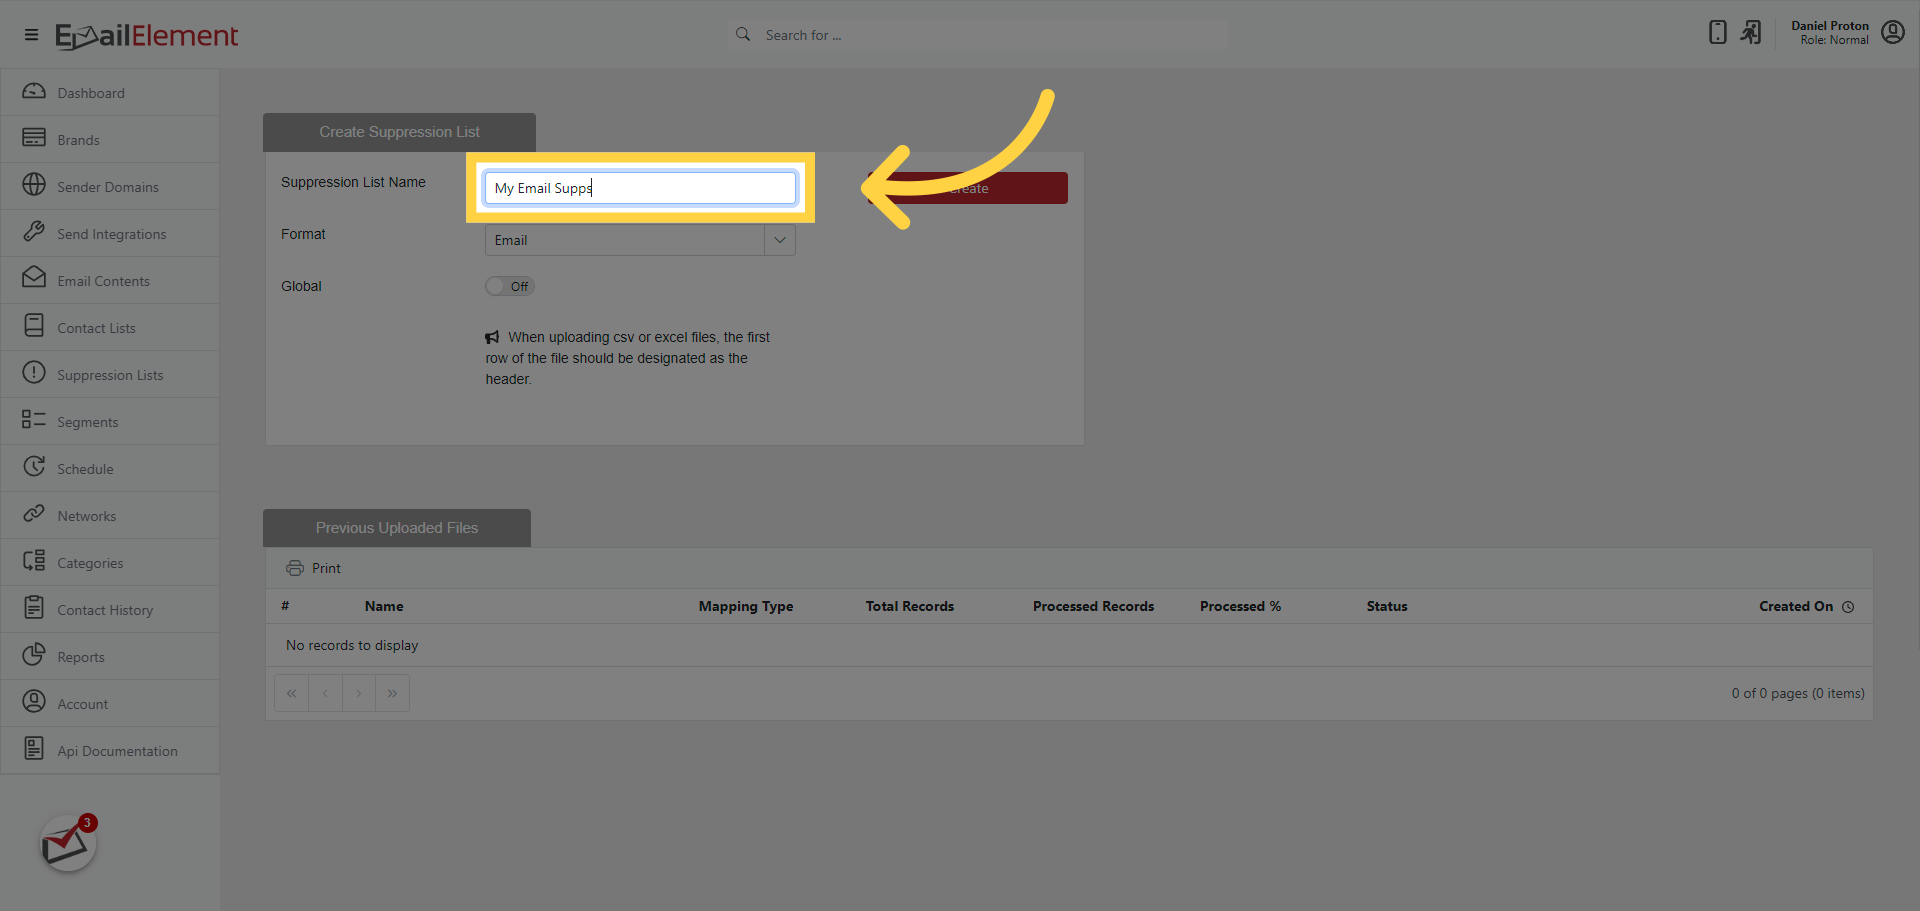
Enter a descriptive List Name (e.g., "Competitor Domains", "Bot Patterns", "Partner Suppressions").
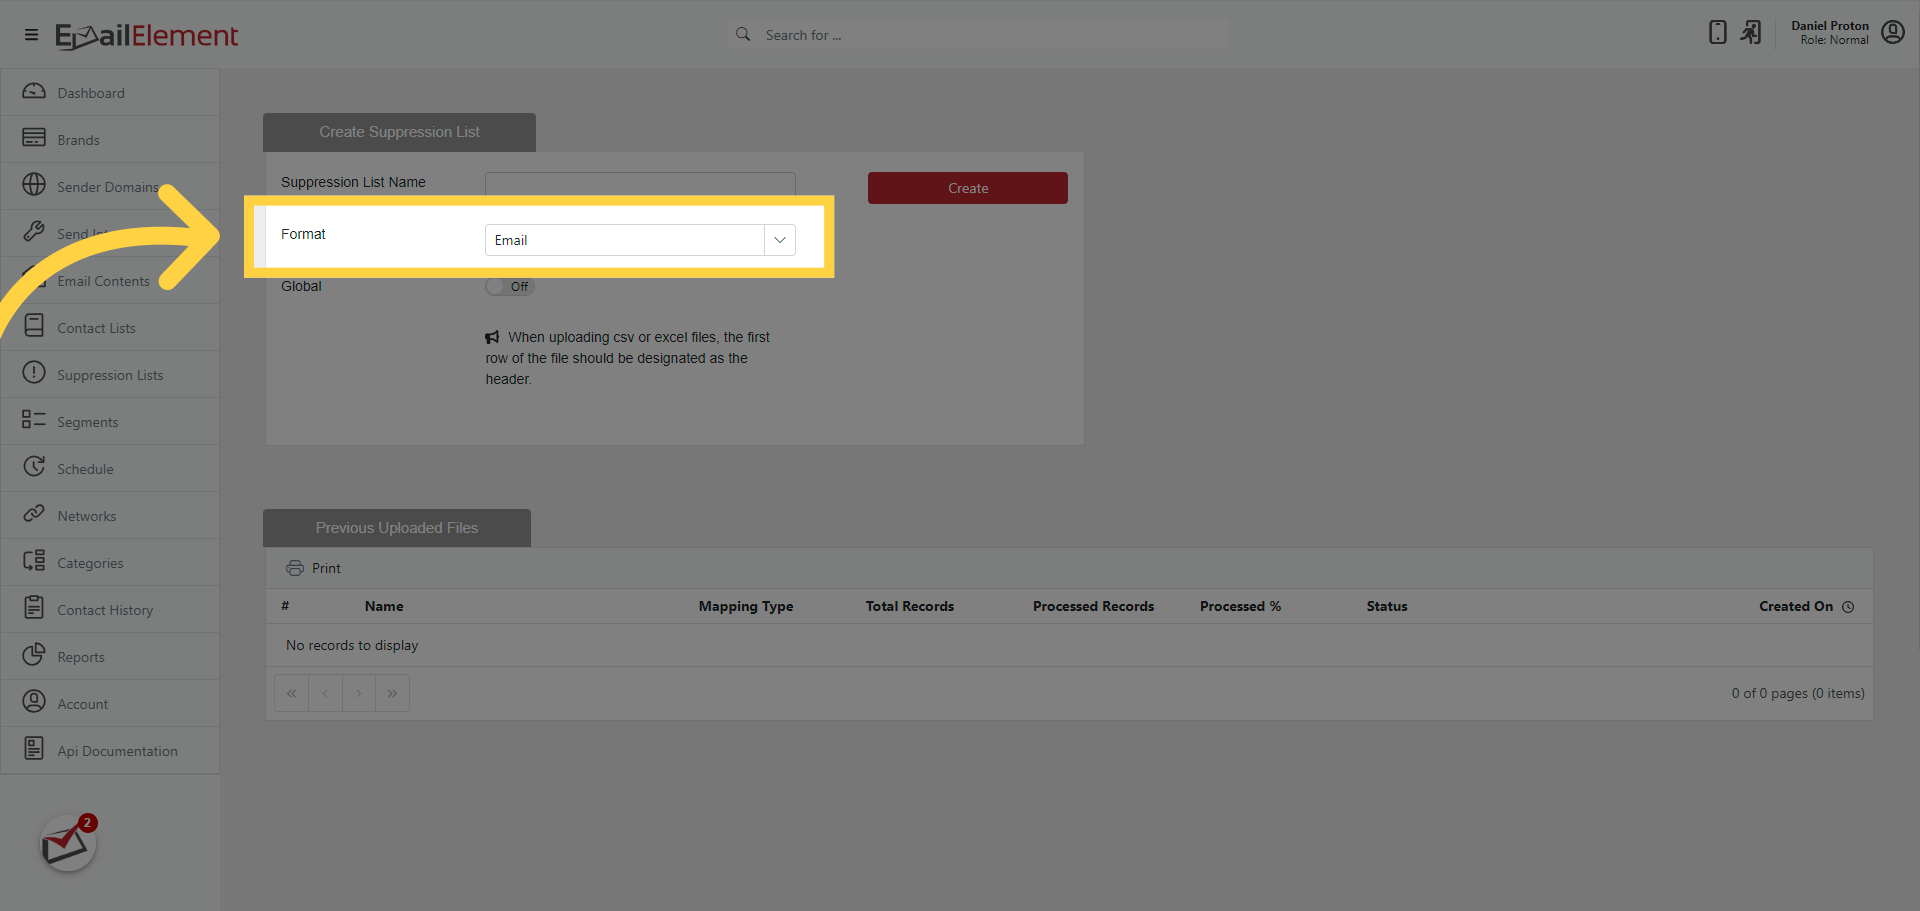
Select a Suppression Format from the dropdown:
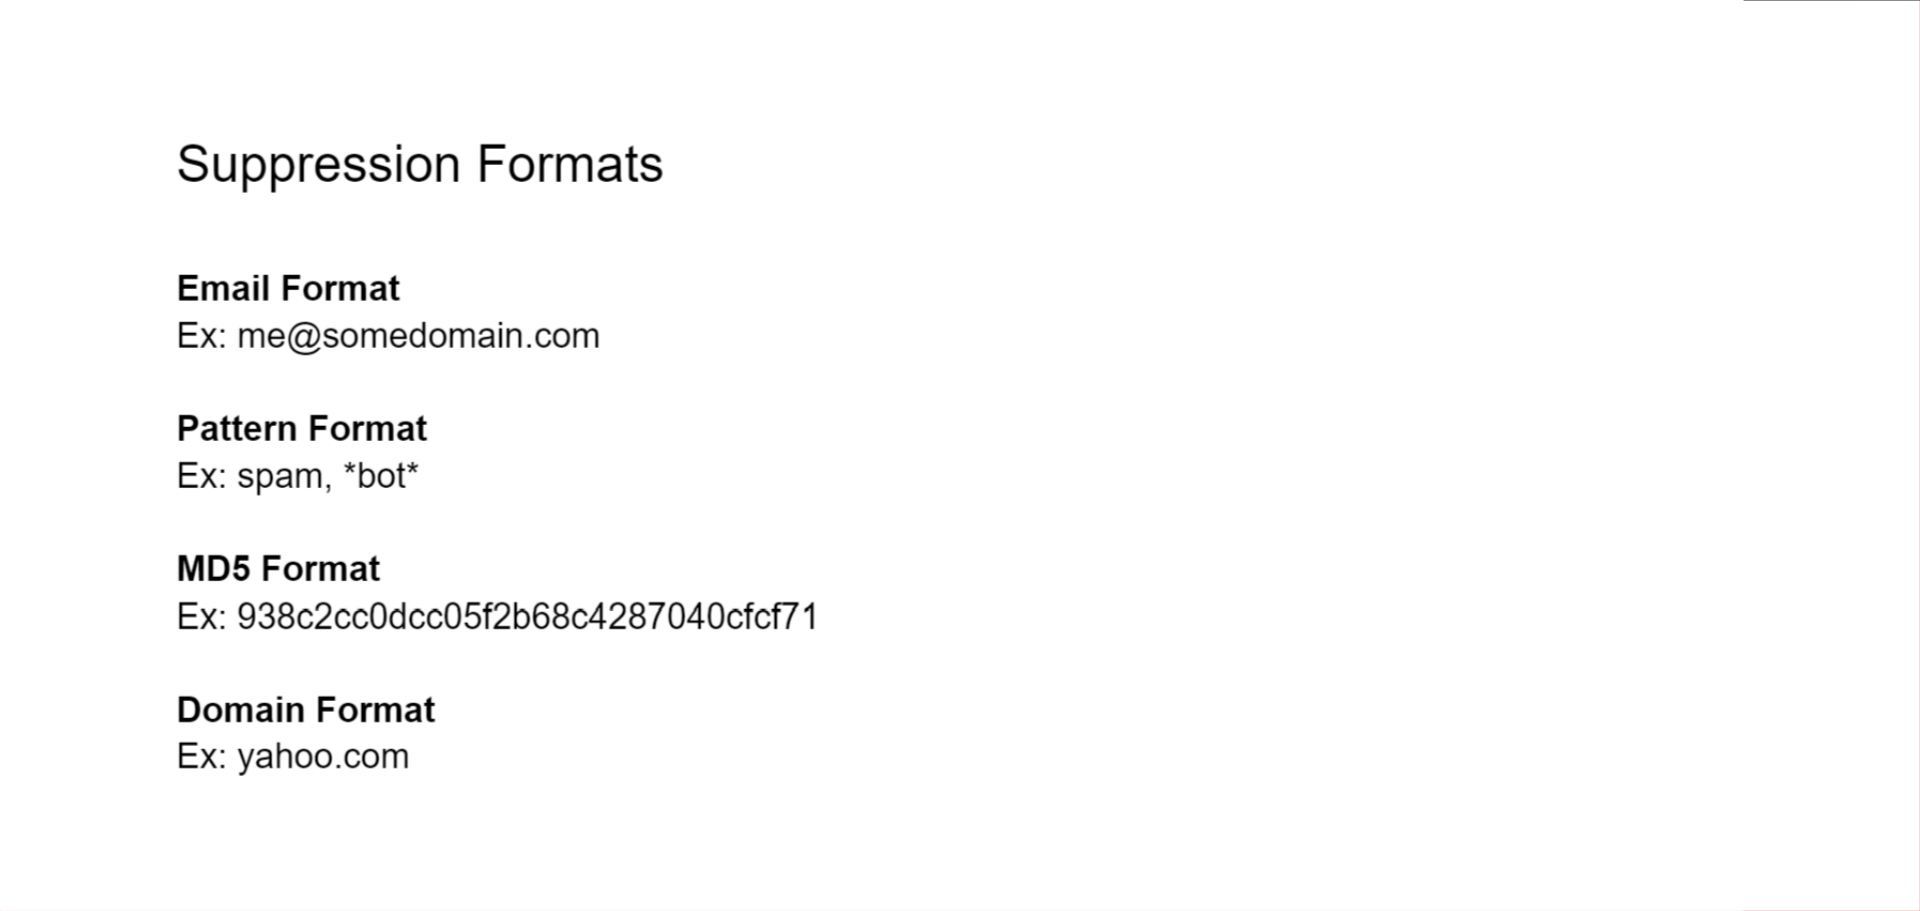
Email — plain text email addresses (most common)
Pattern — wildcard string matching
MD5 — MD5-hashed email addresses
SHA512 — SHA-512-hashed email addresses
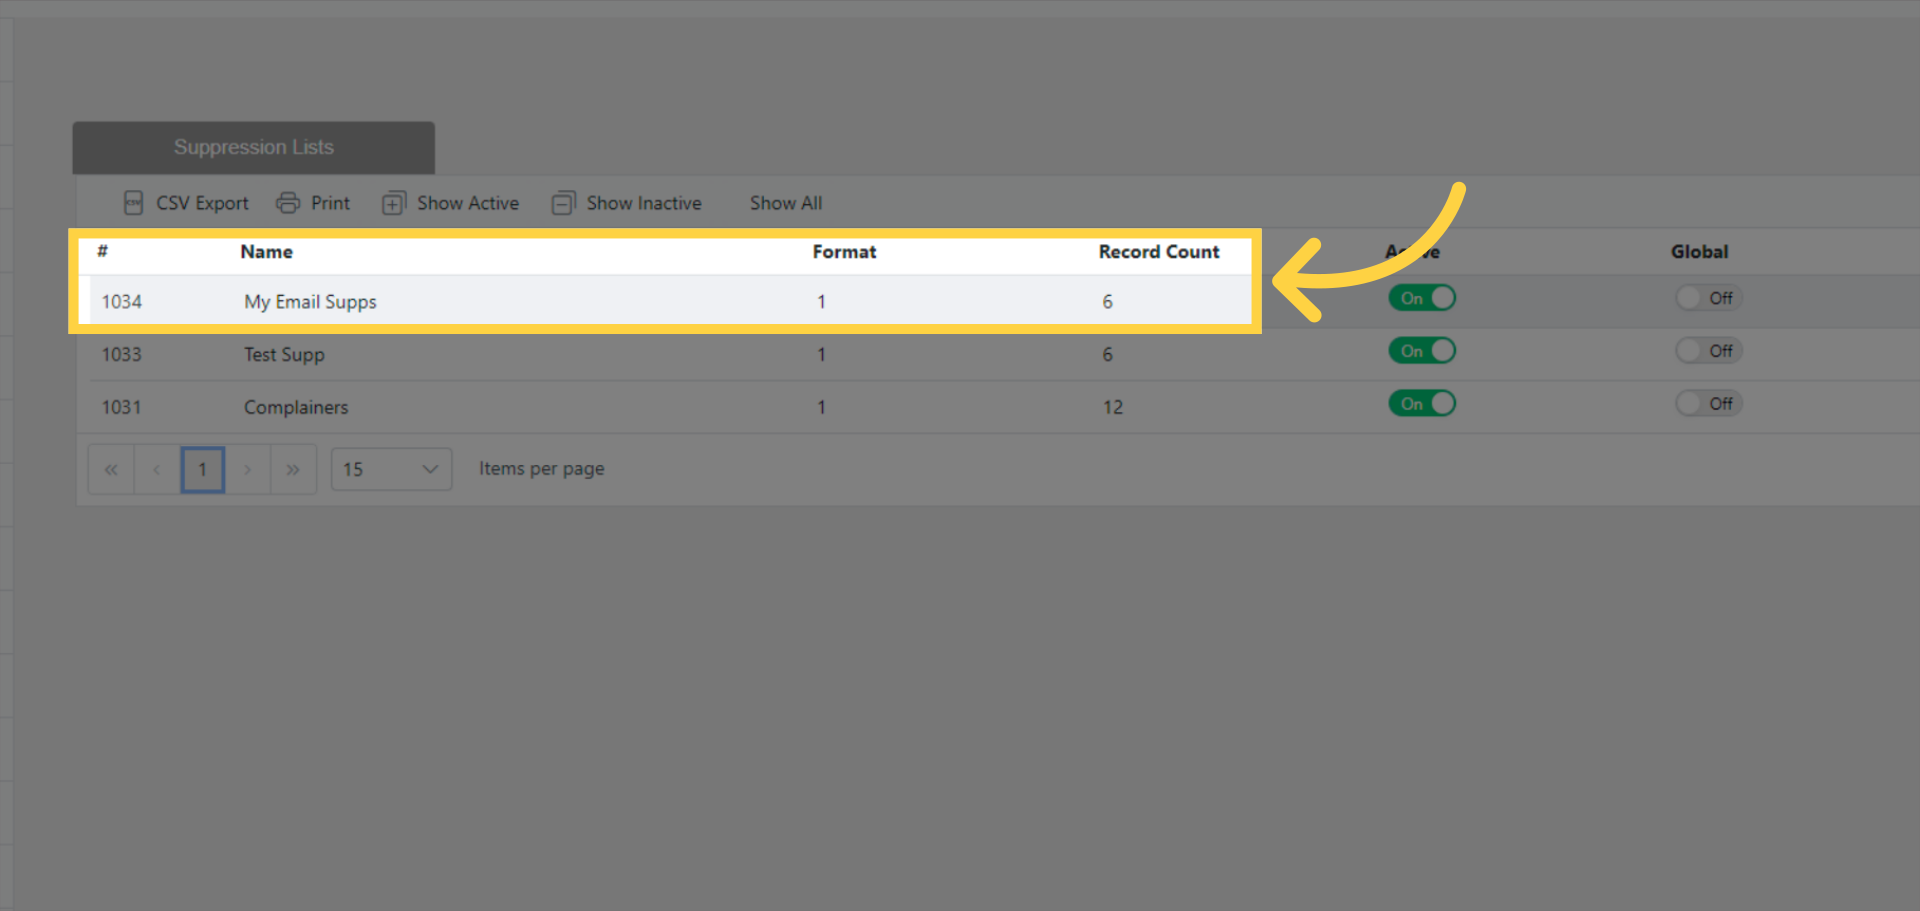
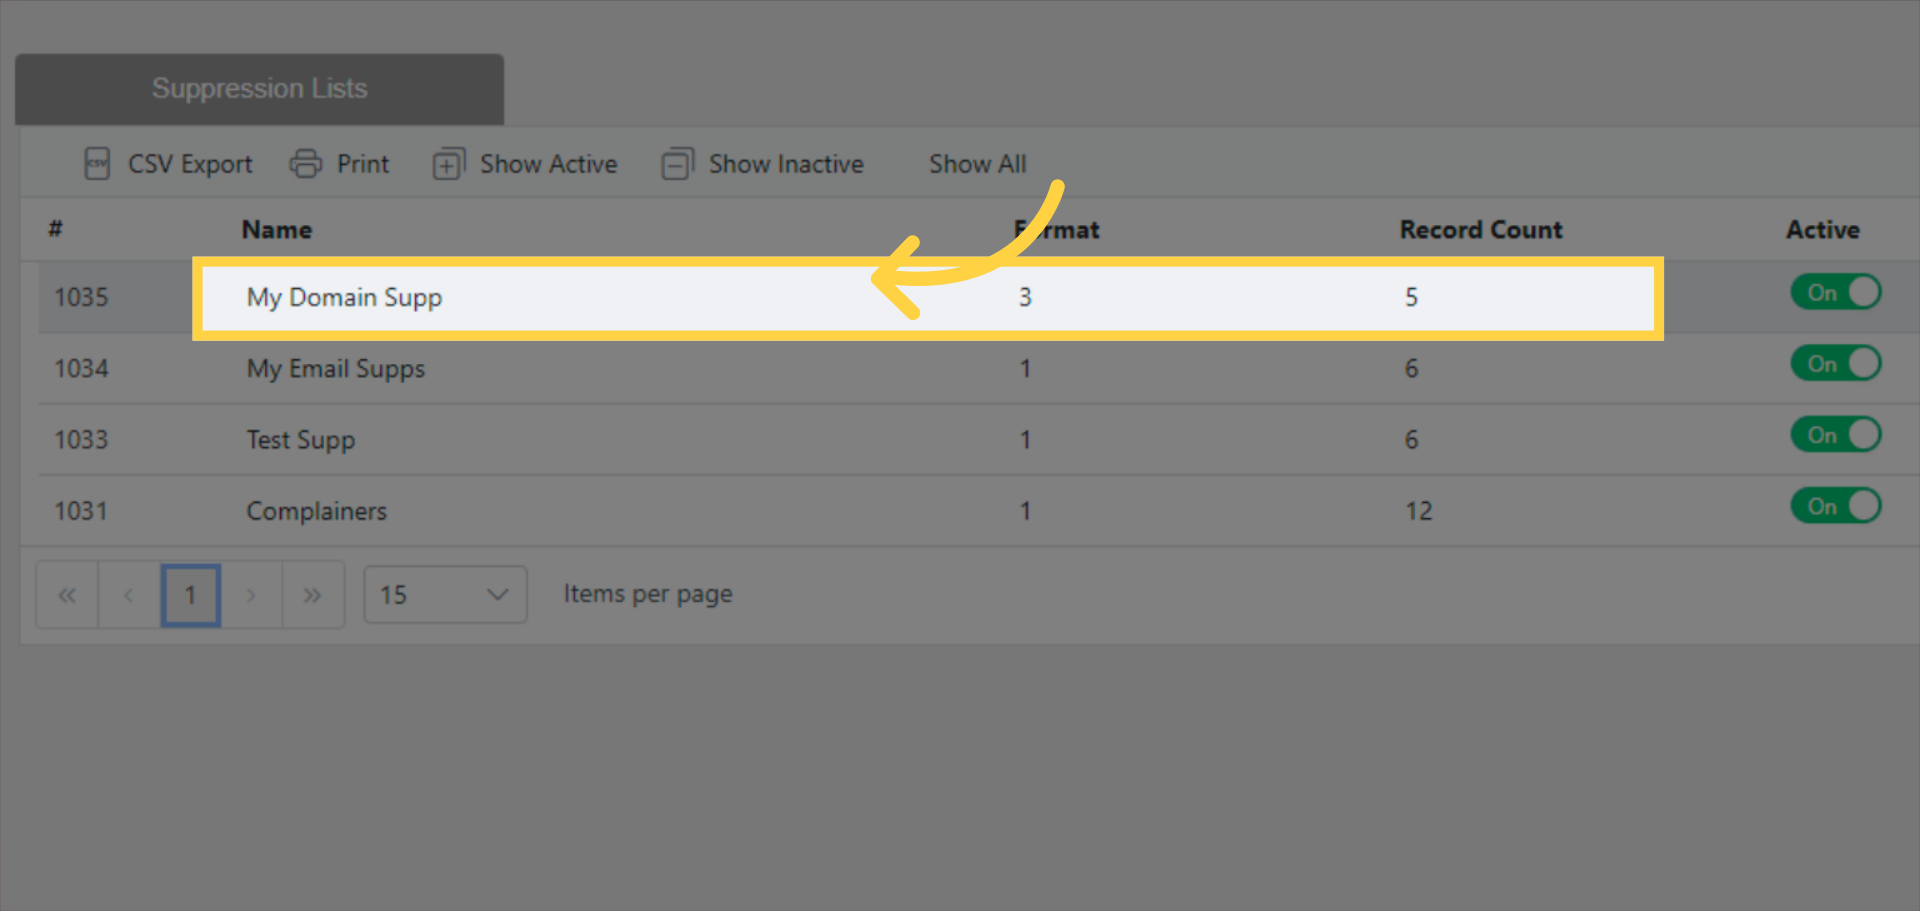
Domain — entire email domains
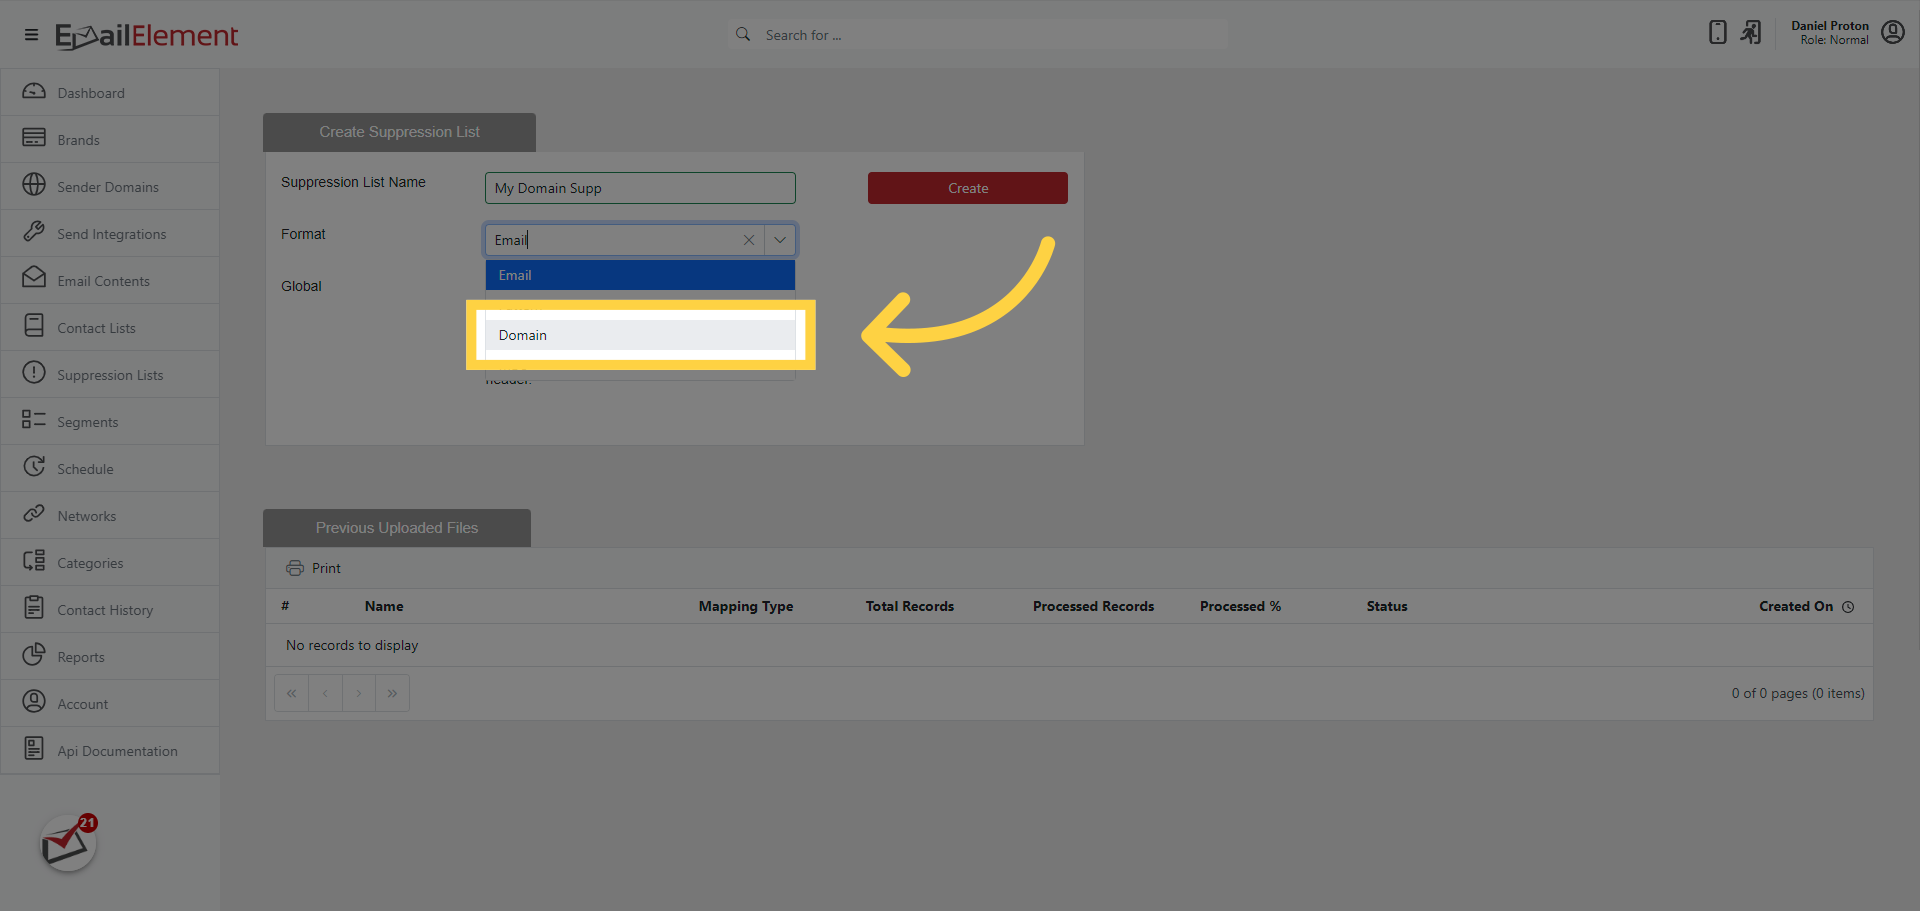
Optionally toggle the Global slider to make the list apply to all sends across the account. If left off, the list is created as Normal type and must be manually assigned to Scheduled Emails.
Click Create to save the suppression list.
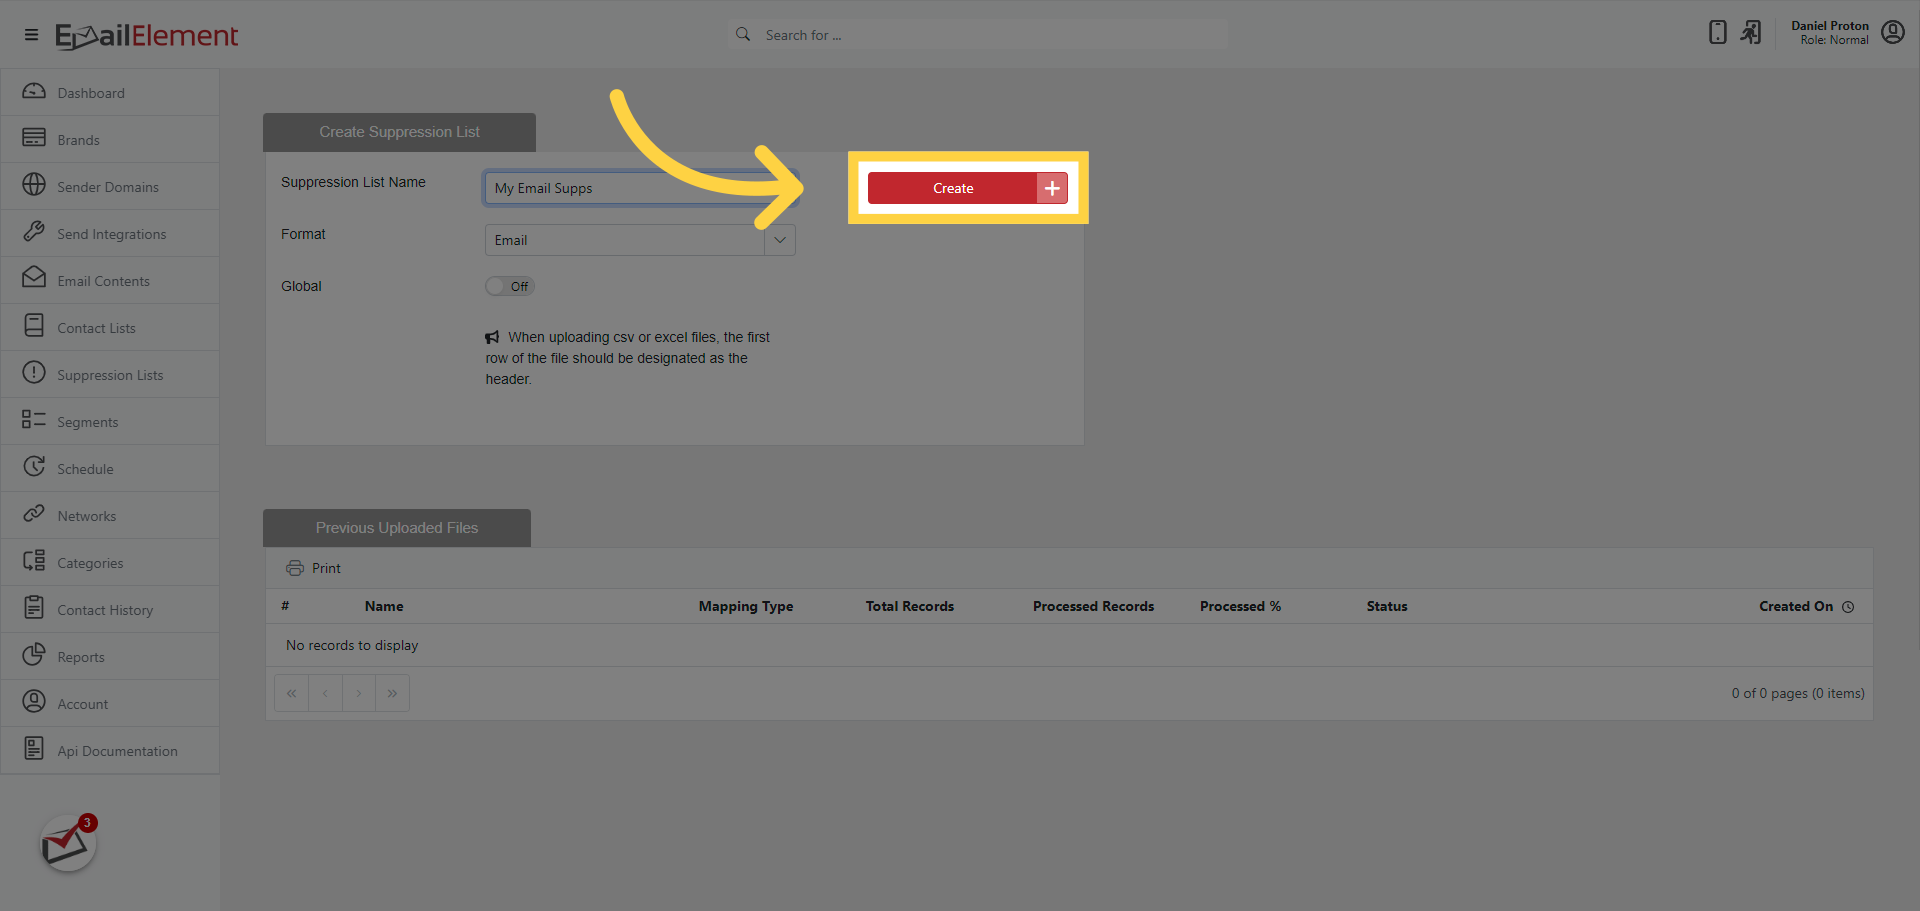
Uploading a File
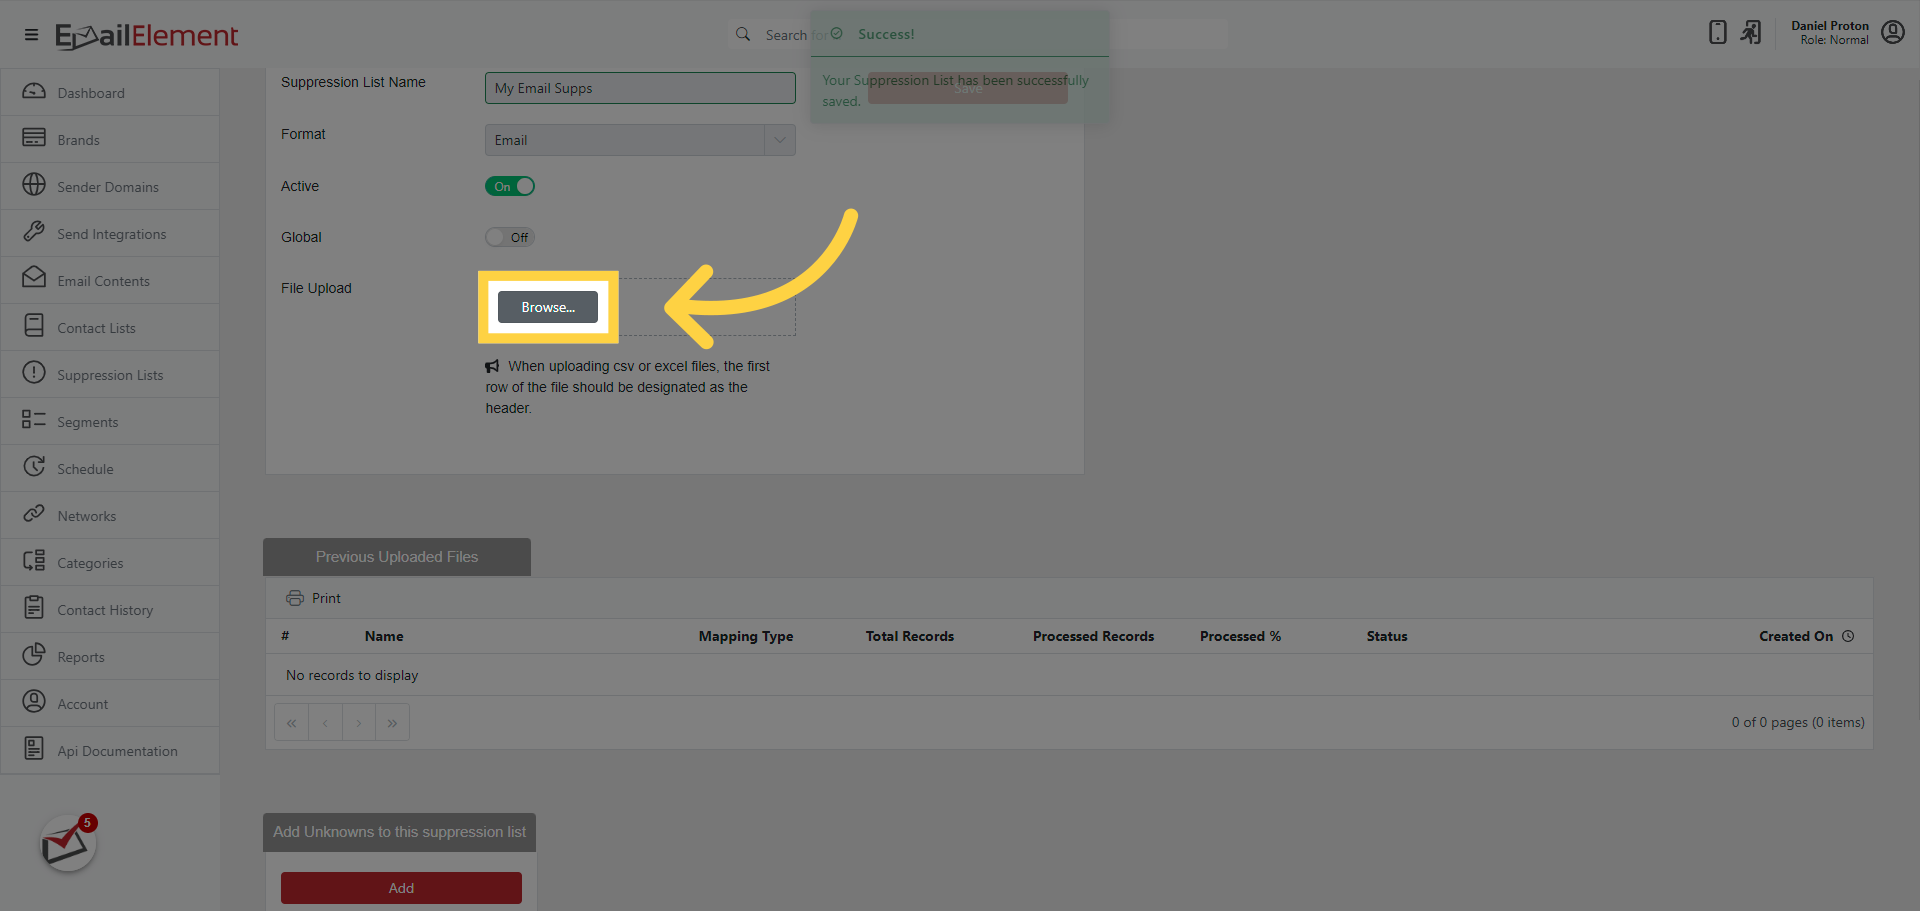
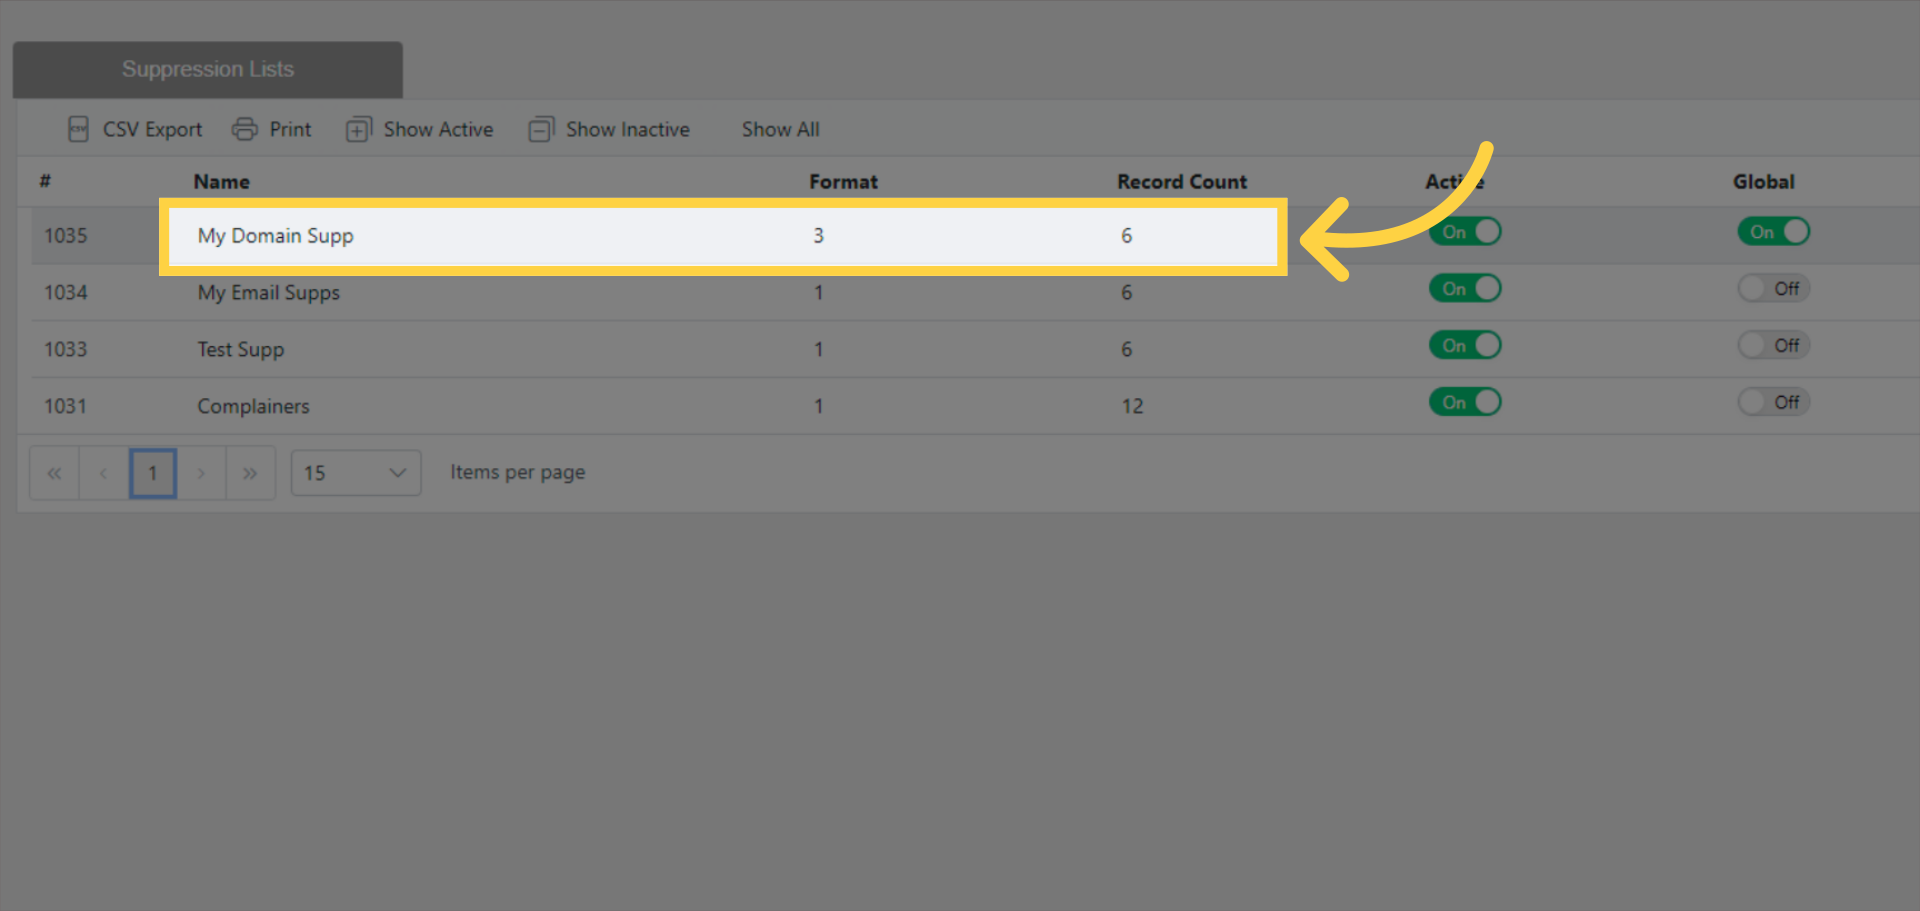
Open the suppression list by double-clicking it in the grid.
Click Browse to open the file selector.
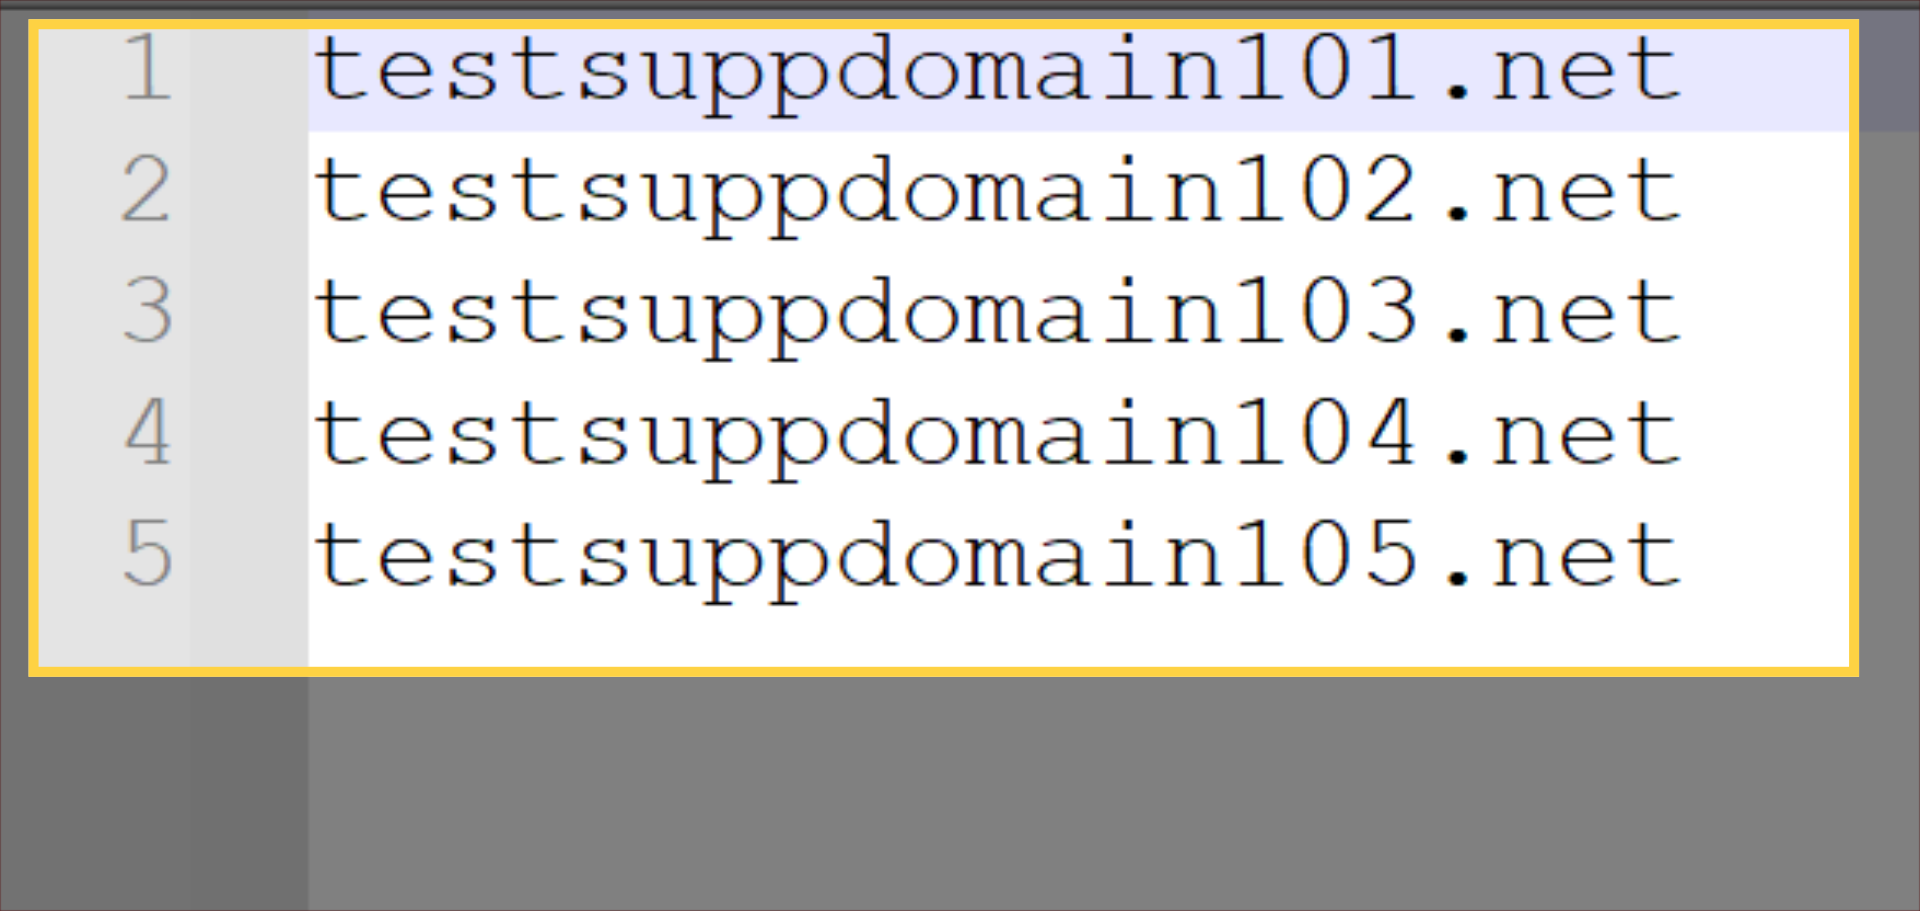
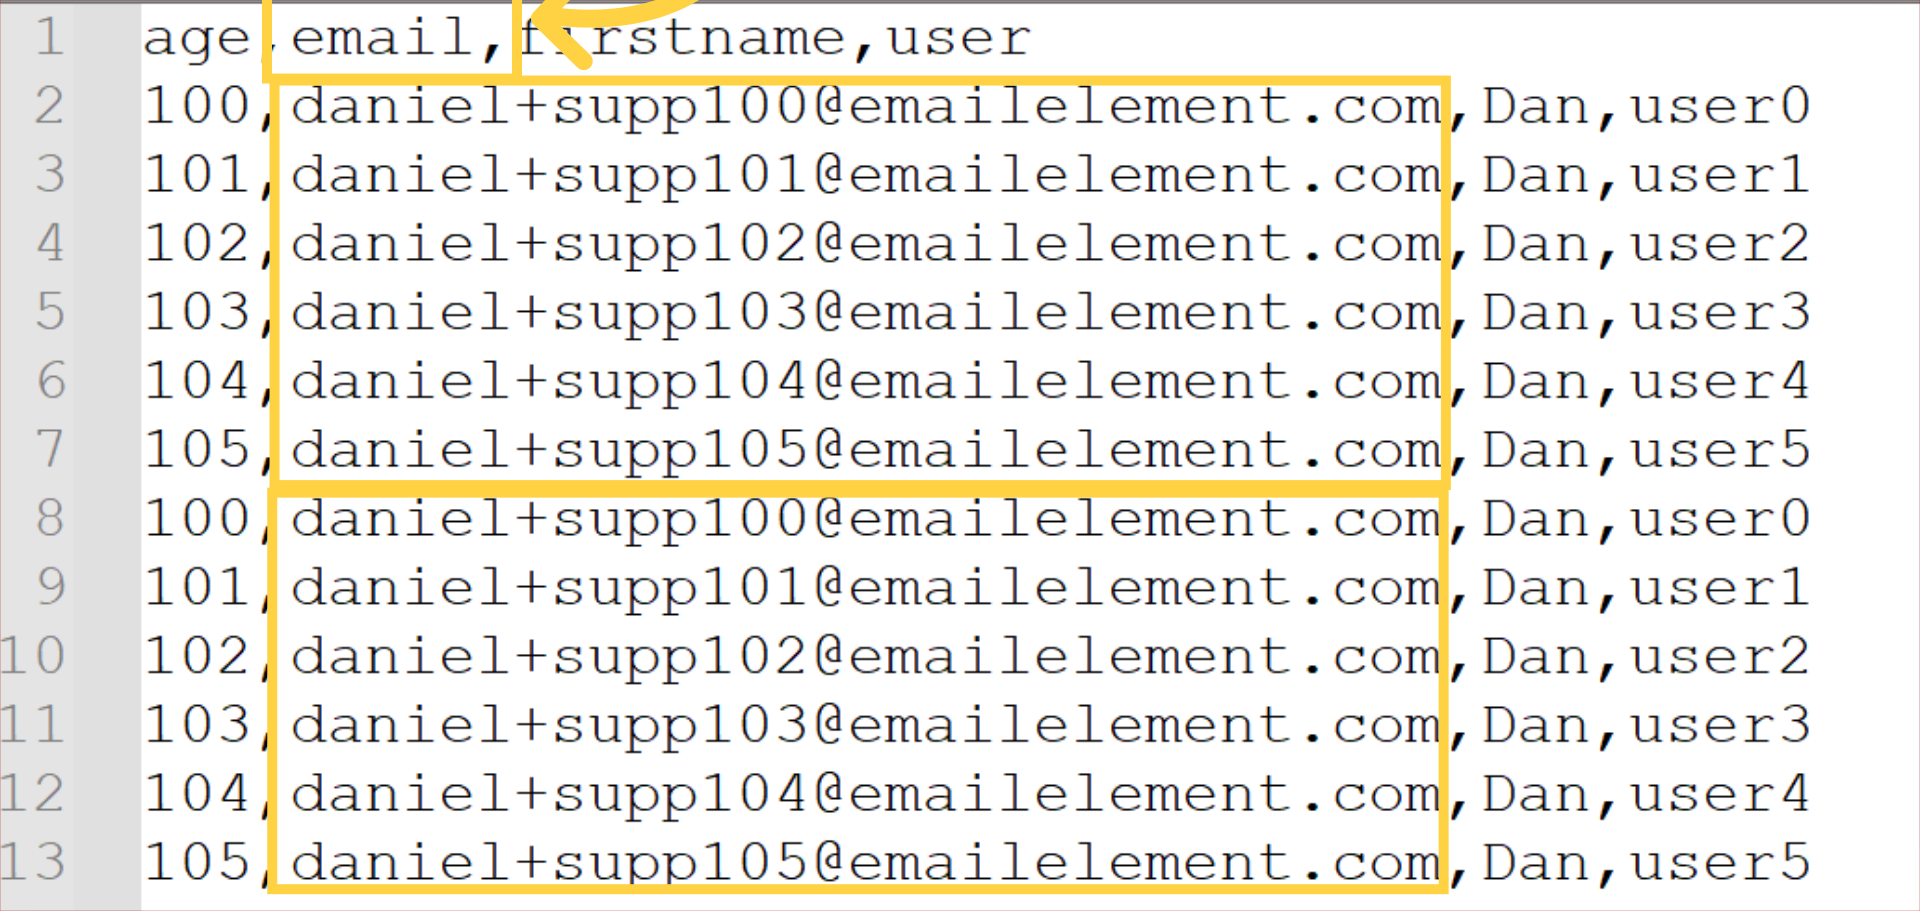
Select a file (CSV, Excel, or Text format).
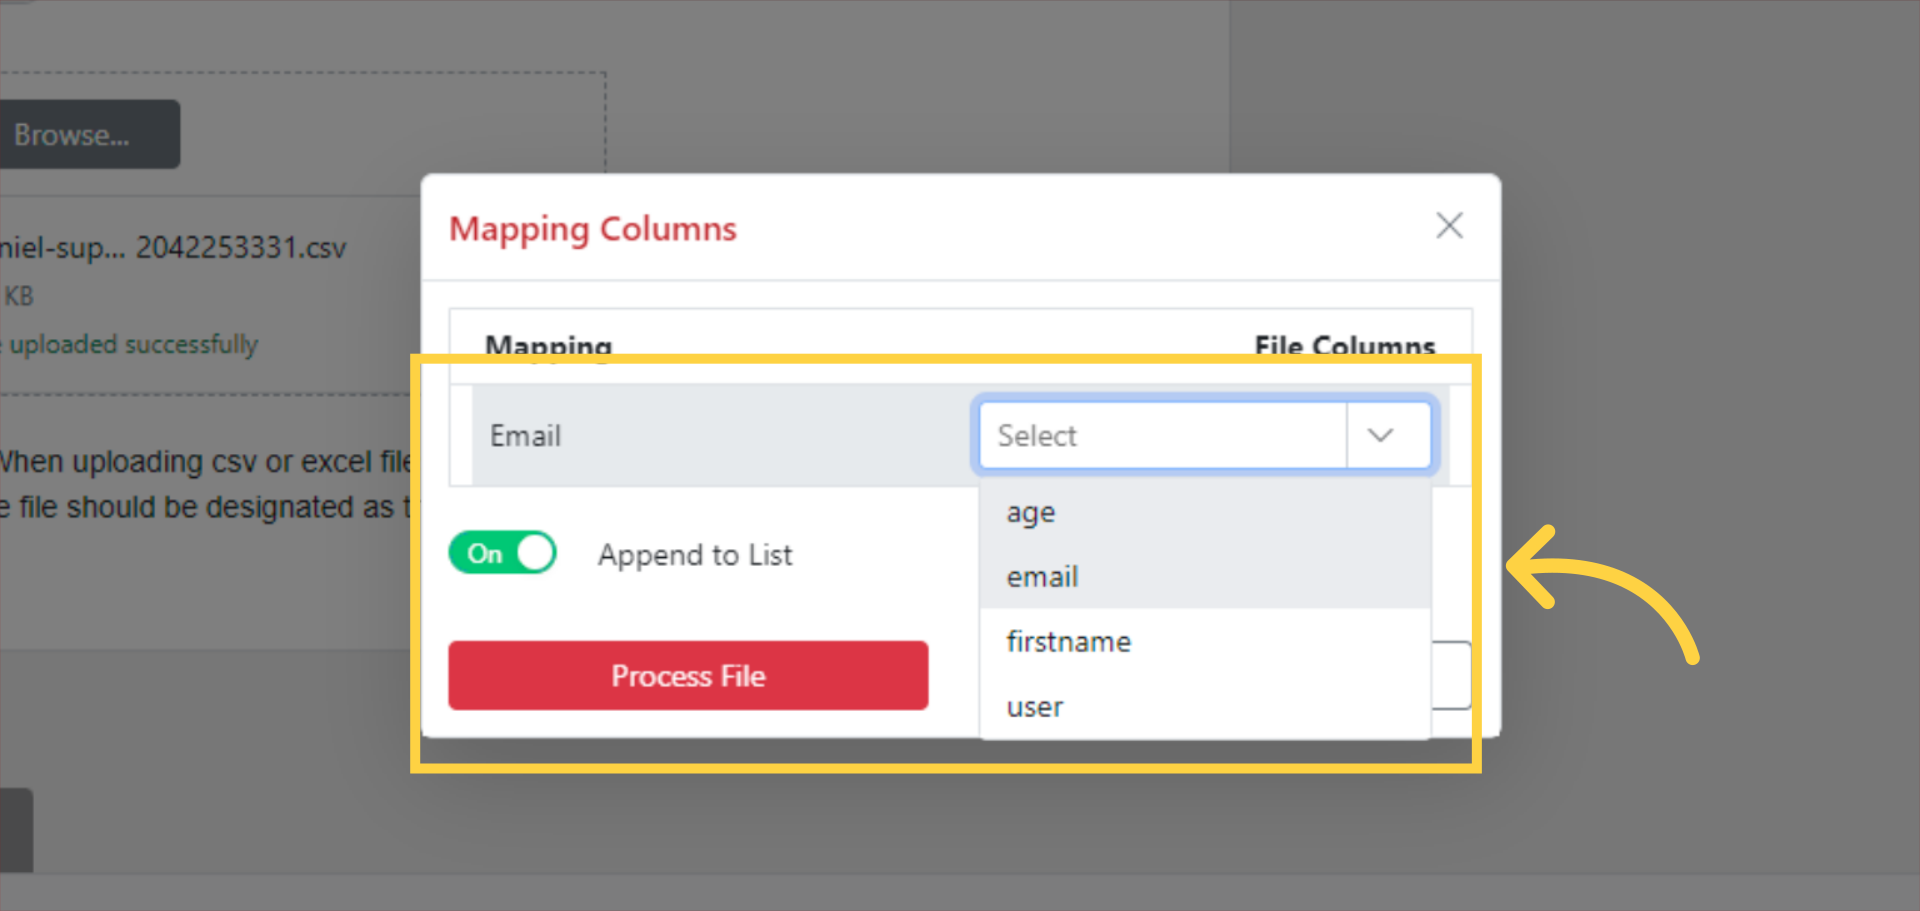
If the file has multiple columns, map the email column by selecting the correct column header from the dropdown.
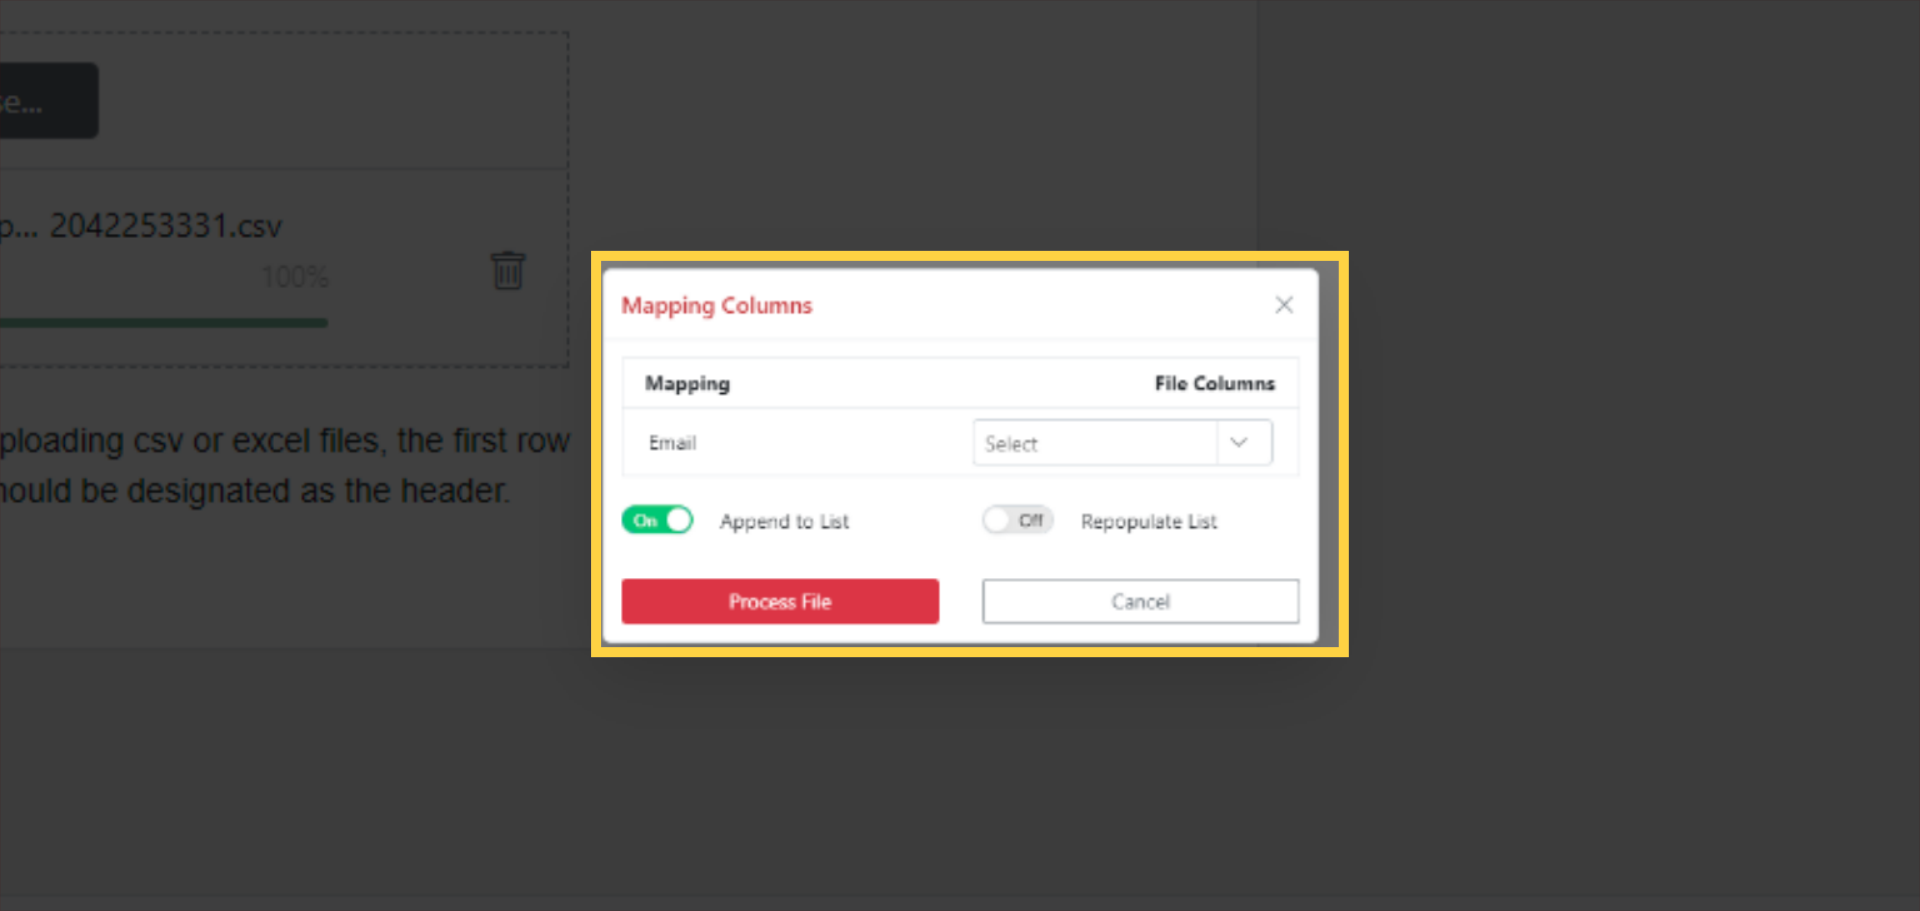
Choose the upload mode:
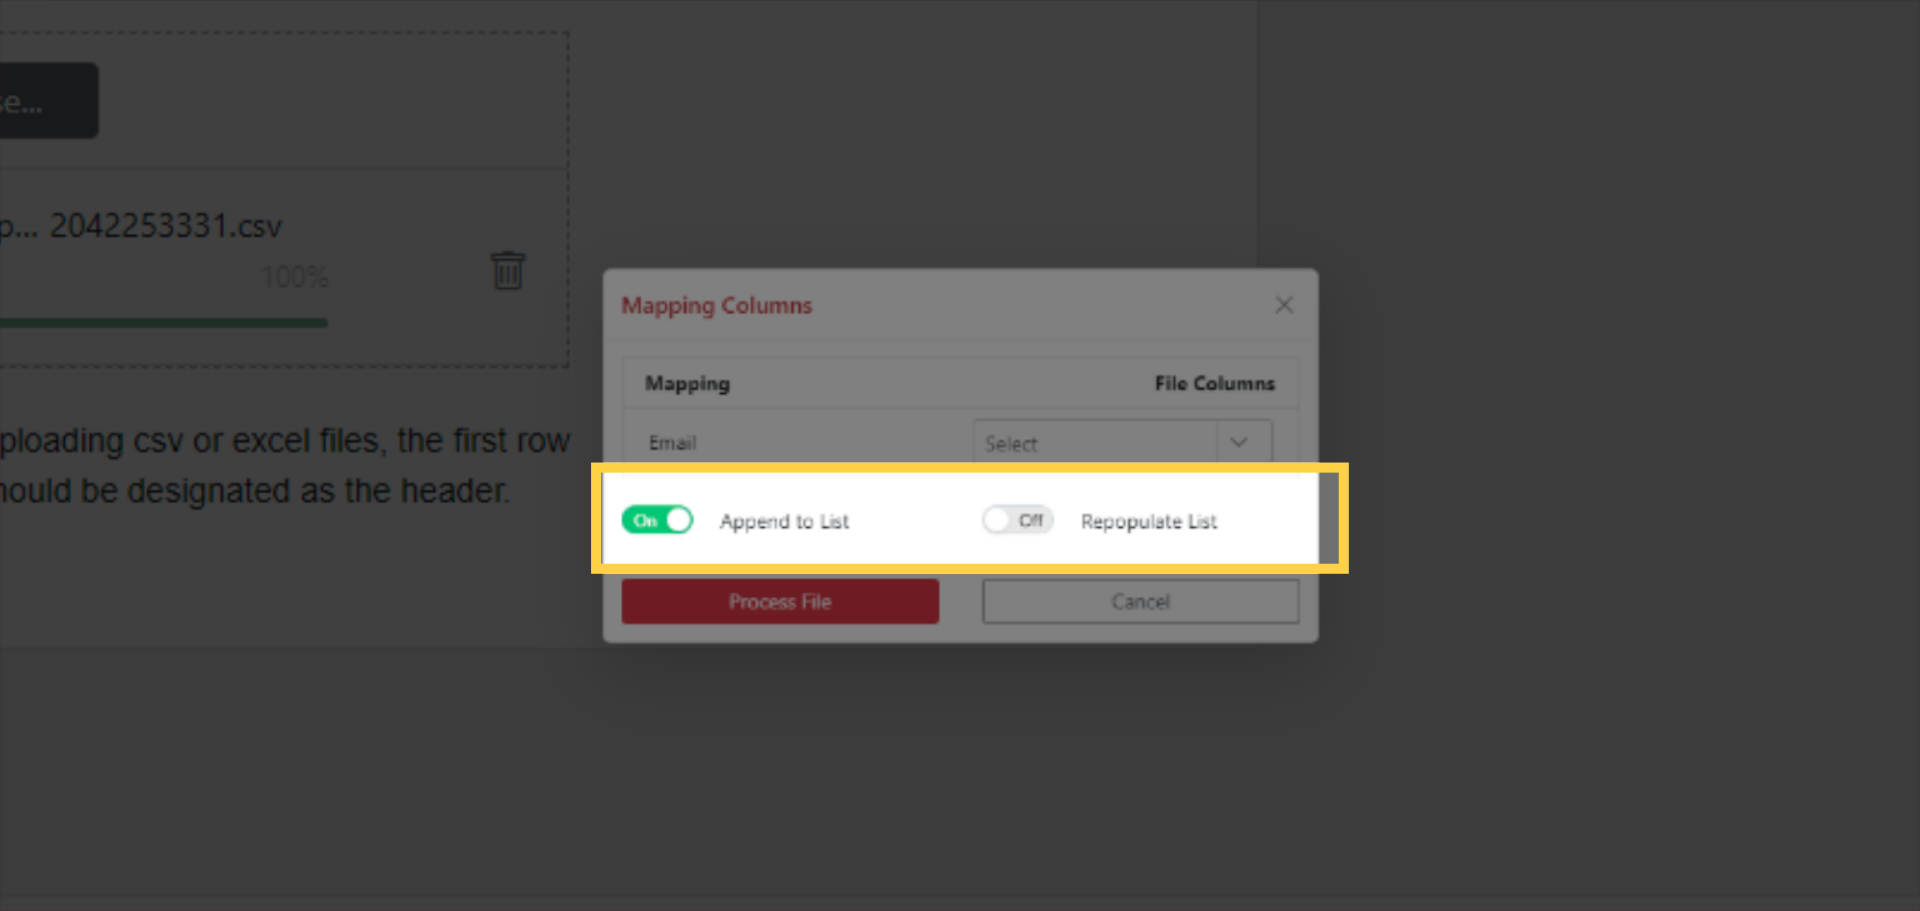
- Append — adds new entries to the existing list (existing entries are preserved)
- Repopulate — replaces the entire list with the contents of the file
Click Process File to start the import.
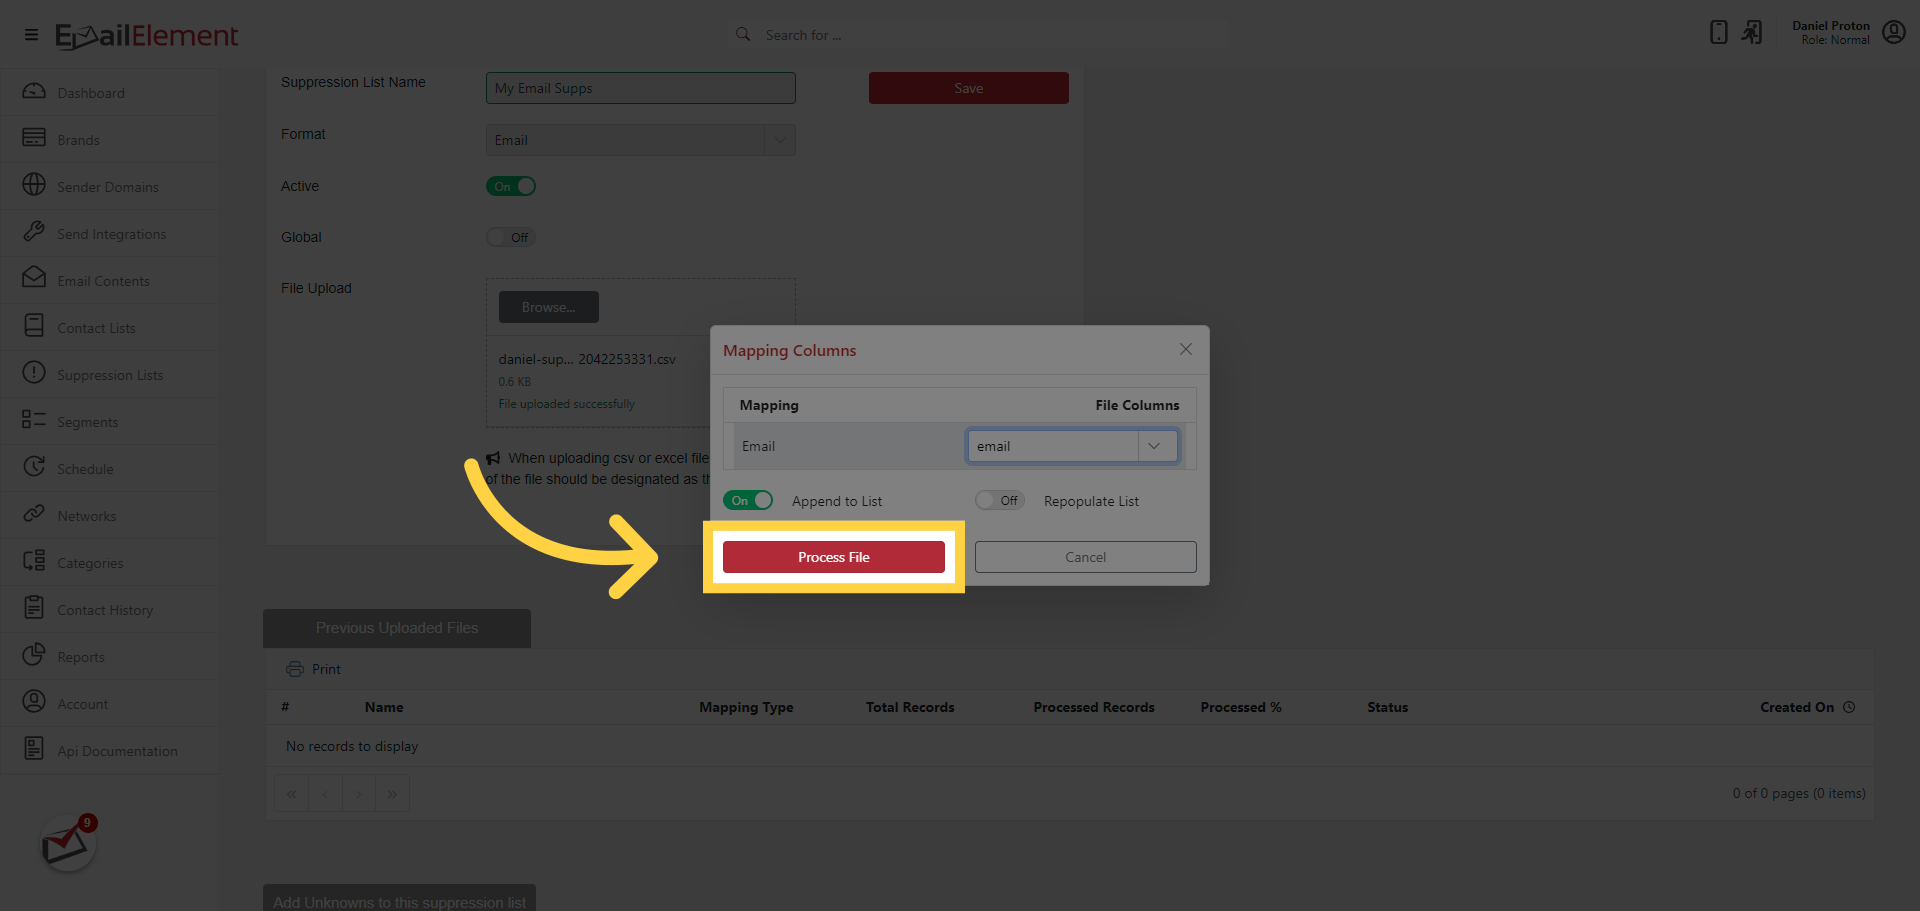
The upload progress displays in real time. Duplicate entries are automatically filtered during processing.
Once complete, the upload history grid shows:
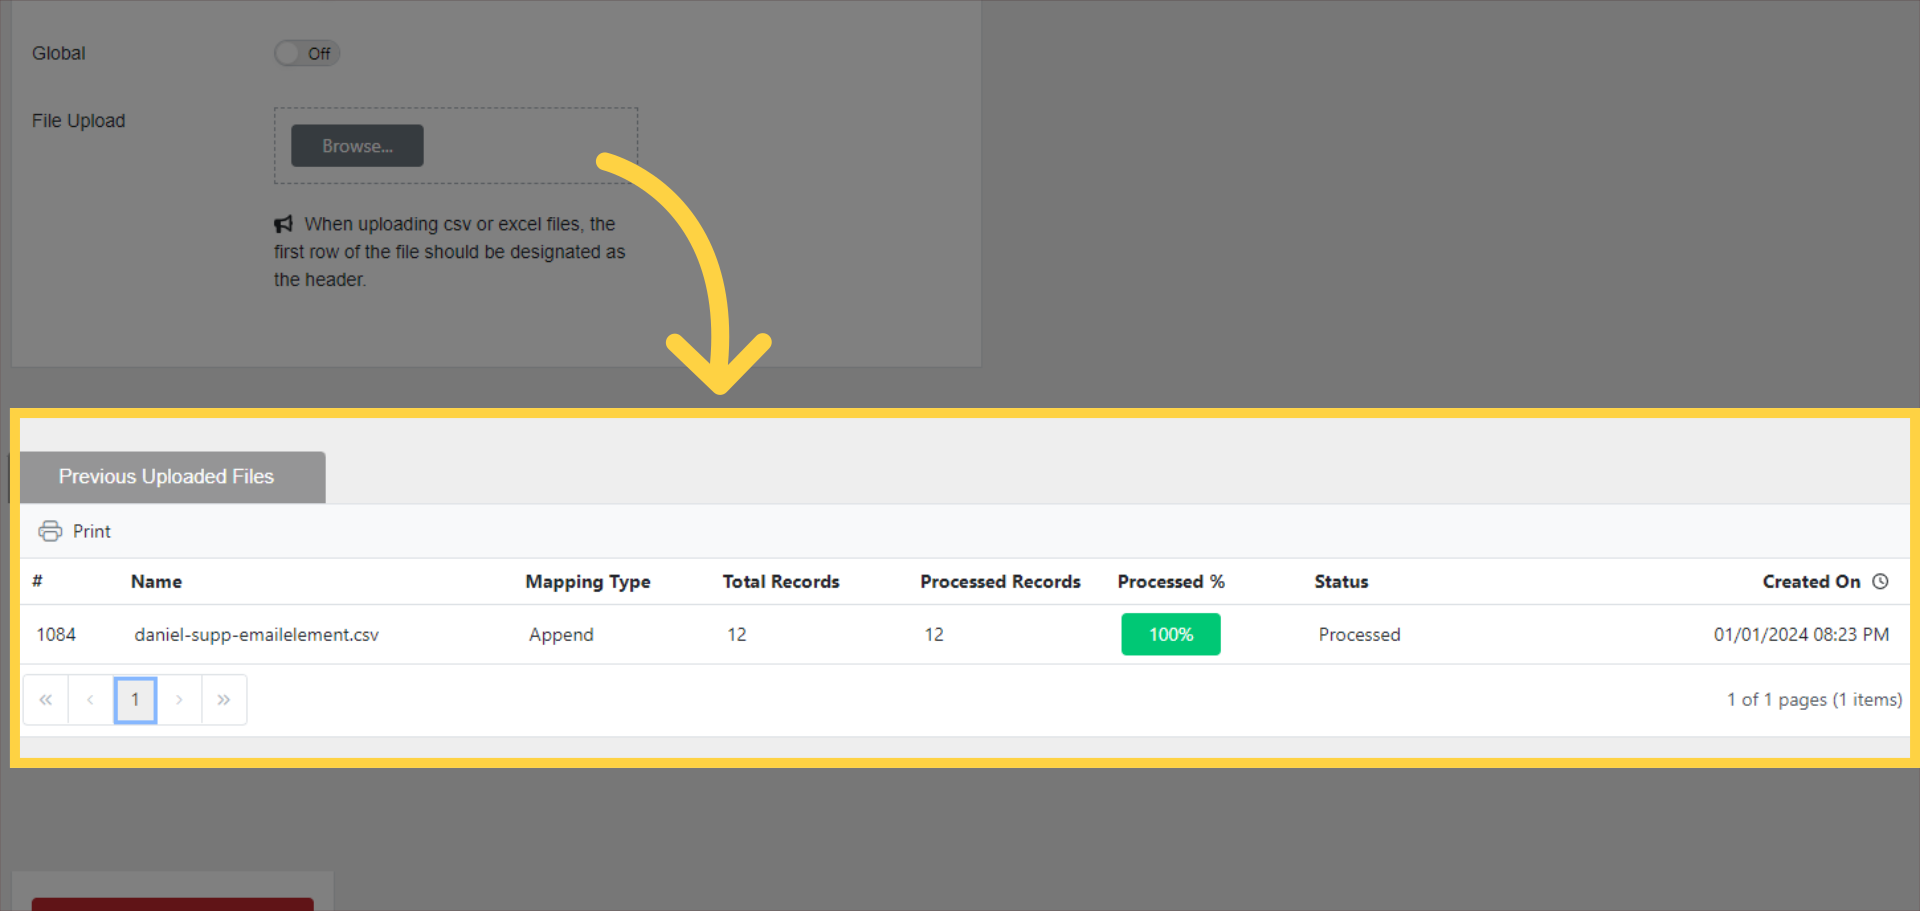
Records Processed — total entries imported
Date — when the upload occurred
File Name — source file name
Adding Entries Manually
Open the suppression list by double-clicking it in the grid.
Click Add to open the manual entry form.
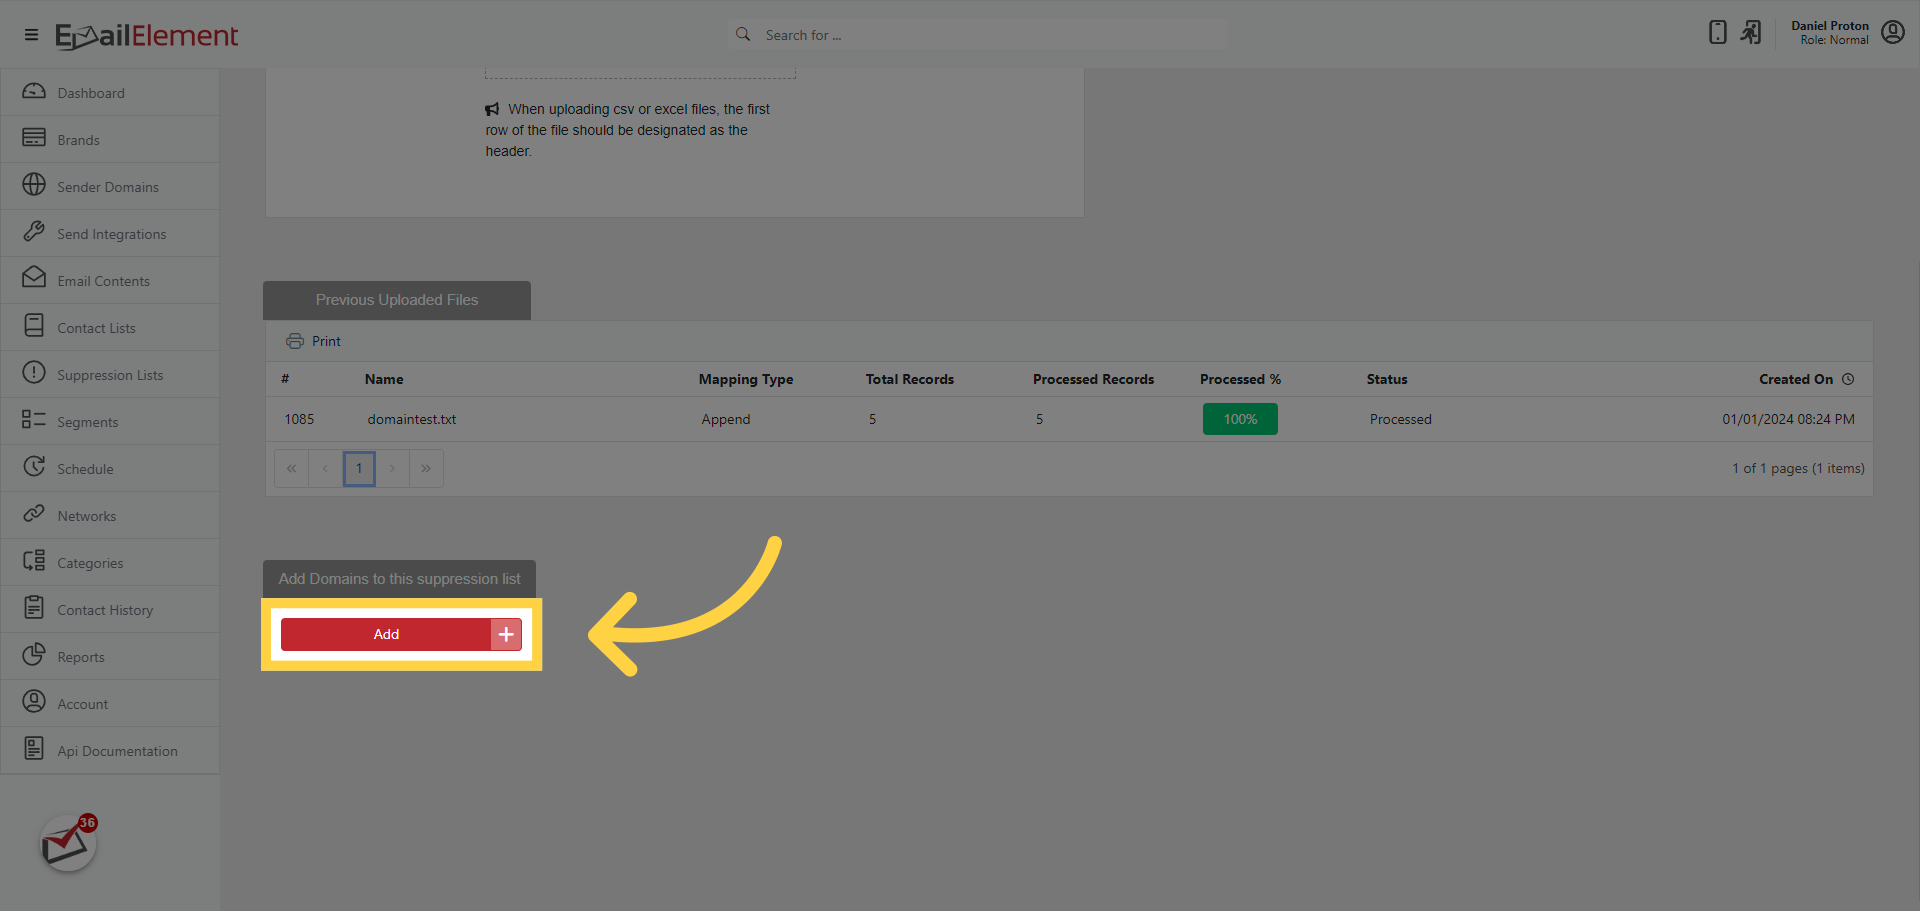
Enter suppression entries (up to 250 items at a time).
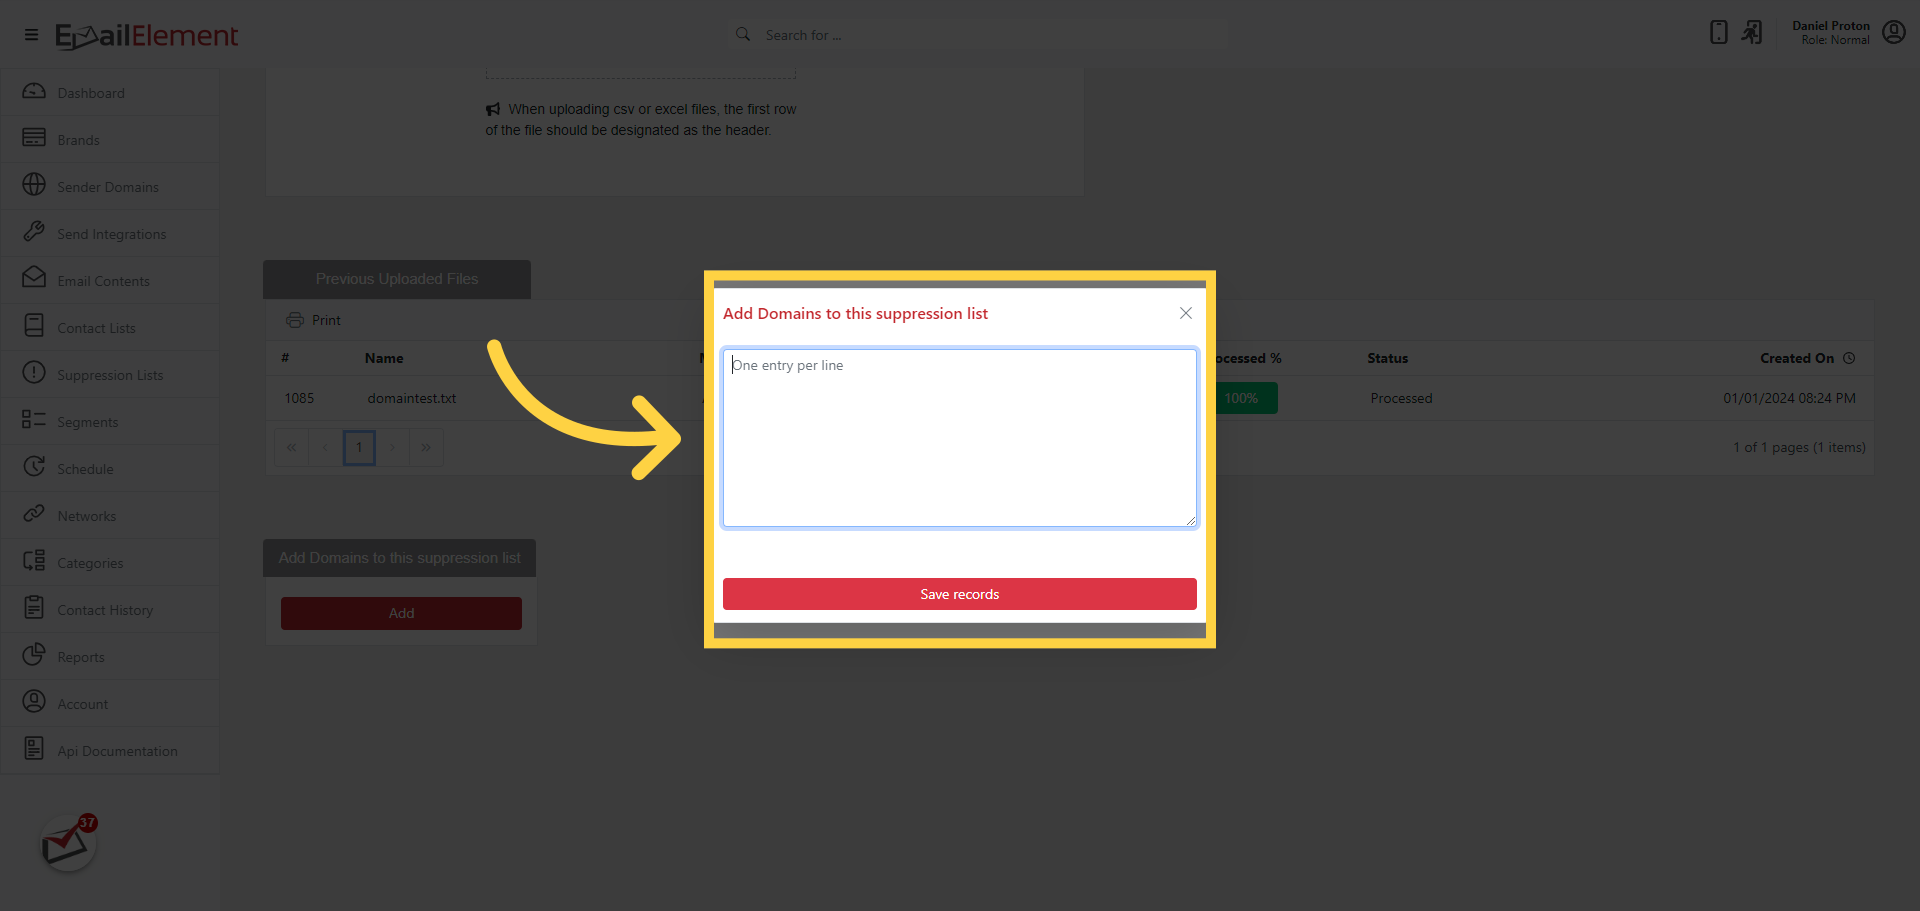
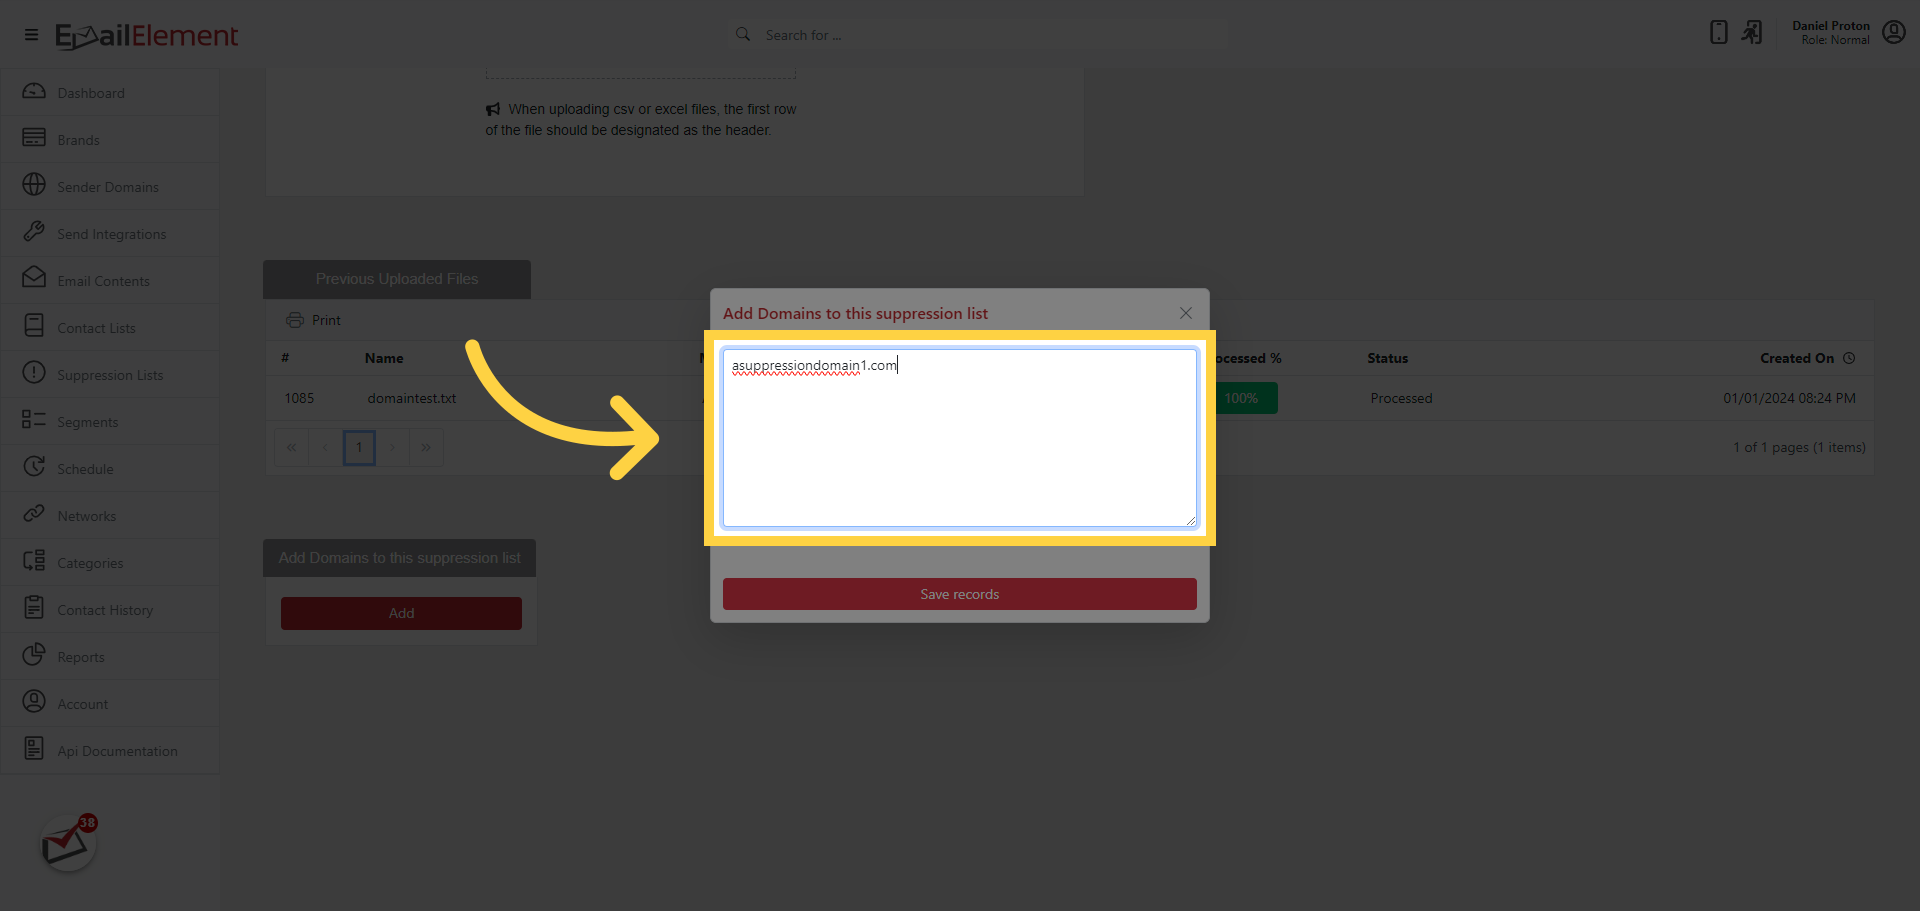
The format must match the list type:
- Email format:
user@example.com - Pattern format:
*bot*,spam*,*@tempdomain.com - MD5 format:
5d41402abc4b2a76b9719d911017c592 - Domain format:
example.com
- Email format:
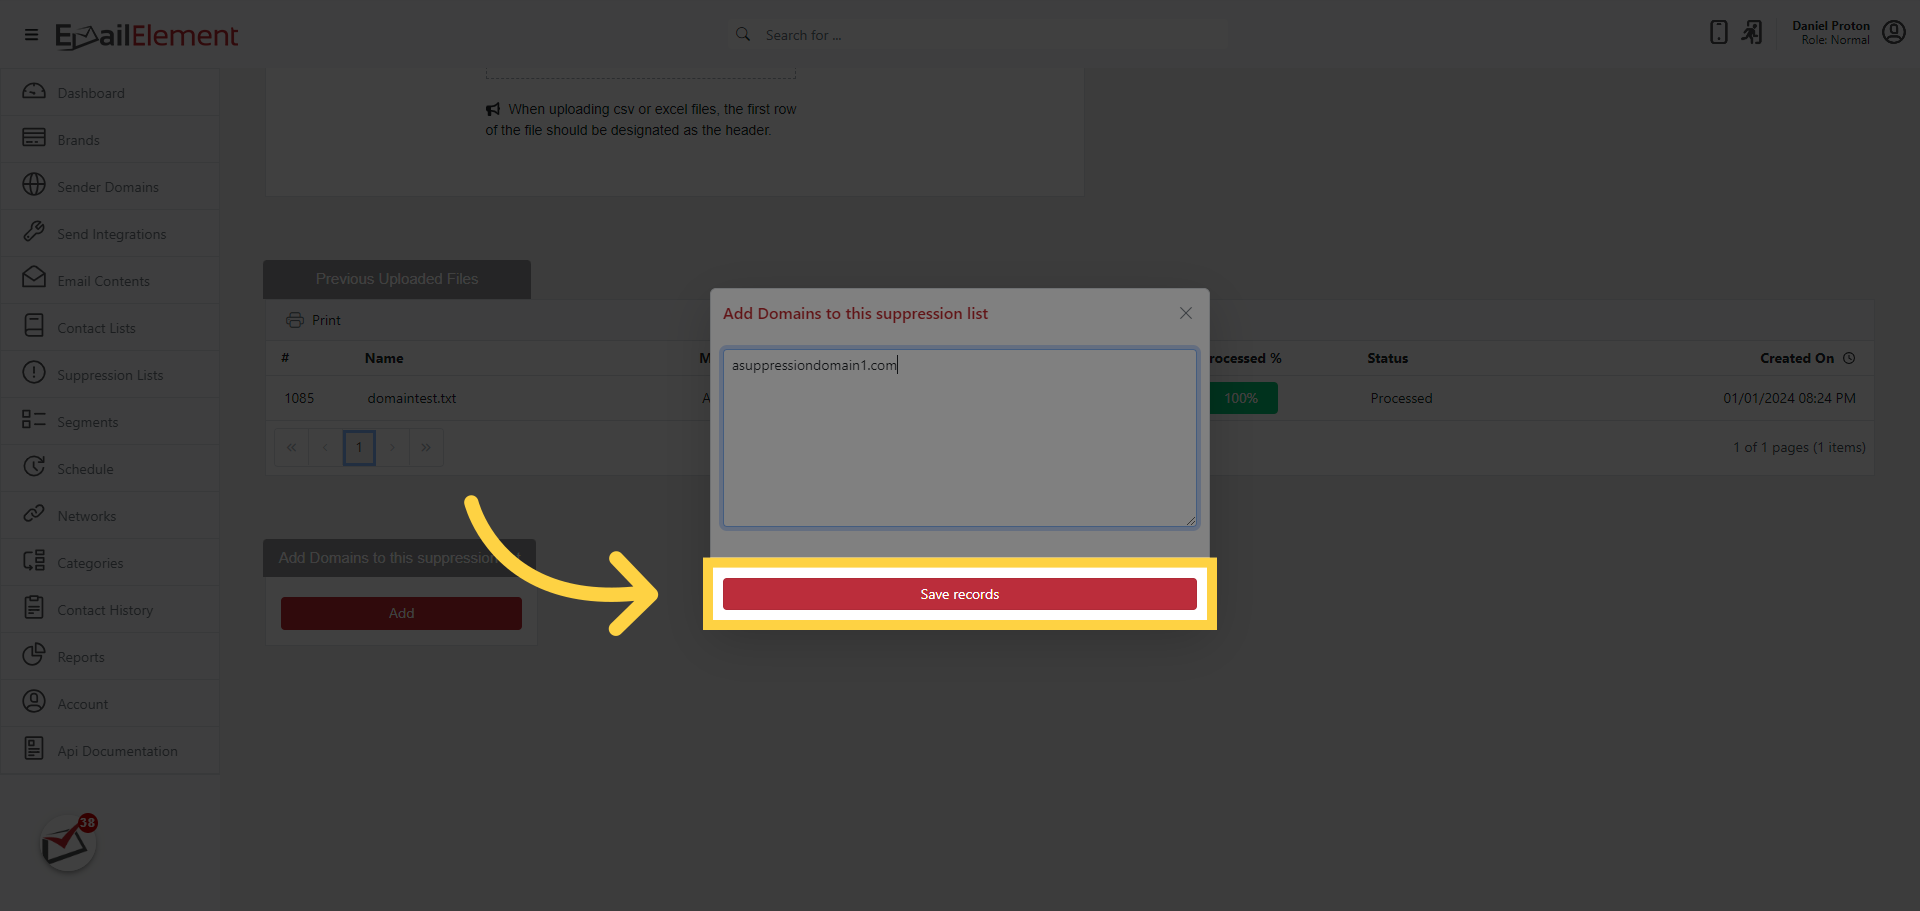
Click Save records to add the entries.
Managing Global Suppression
Open the suppression list by double-clicking it in the grid.
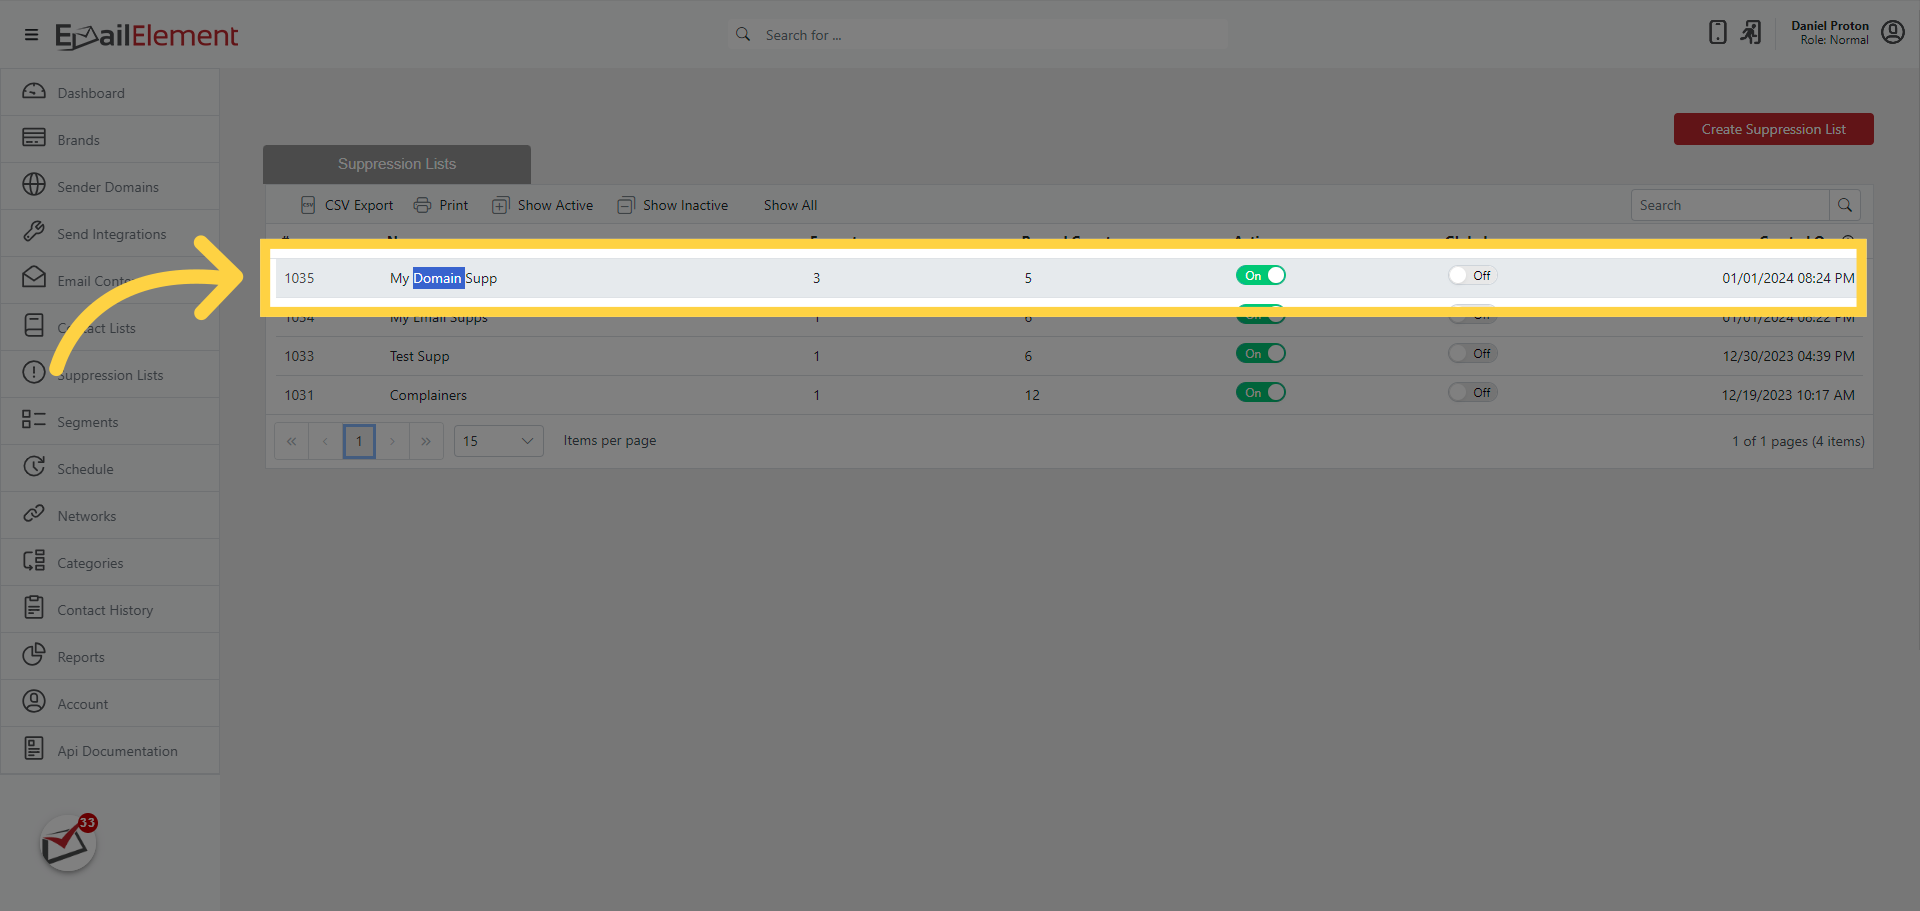
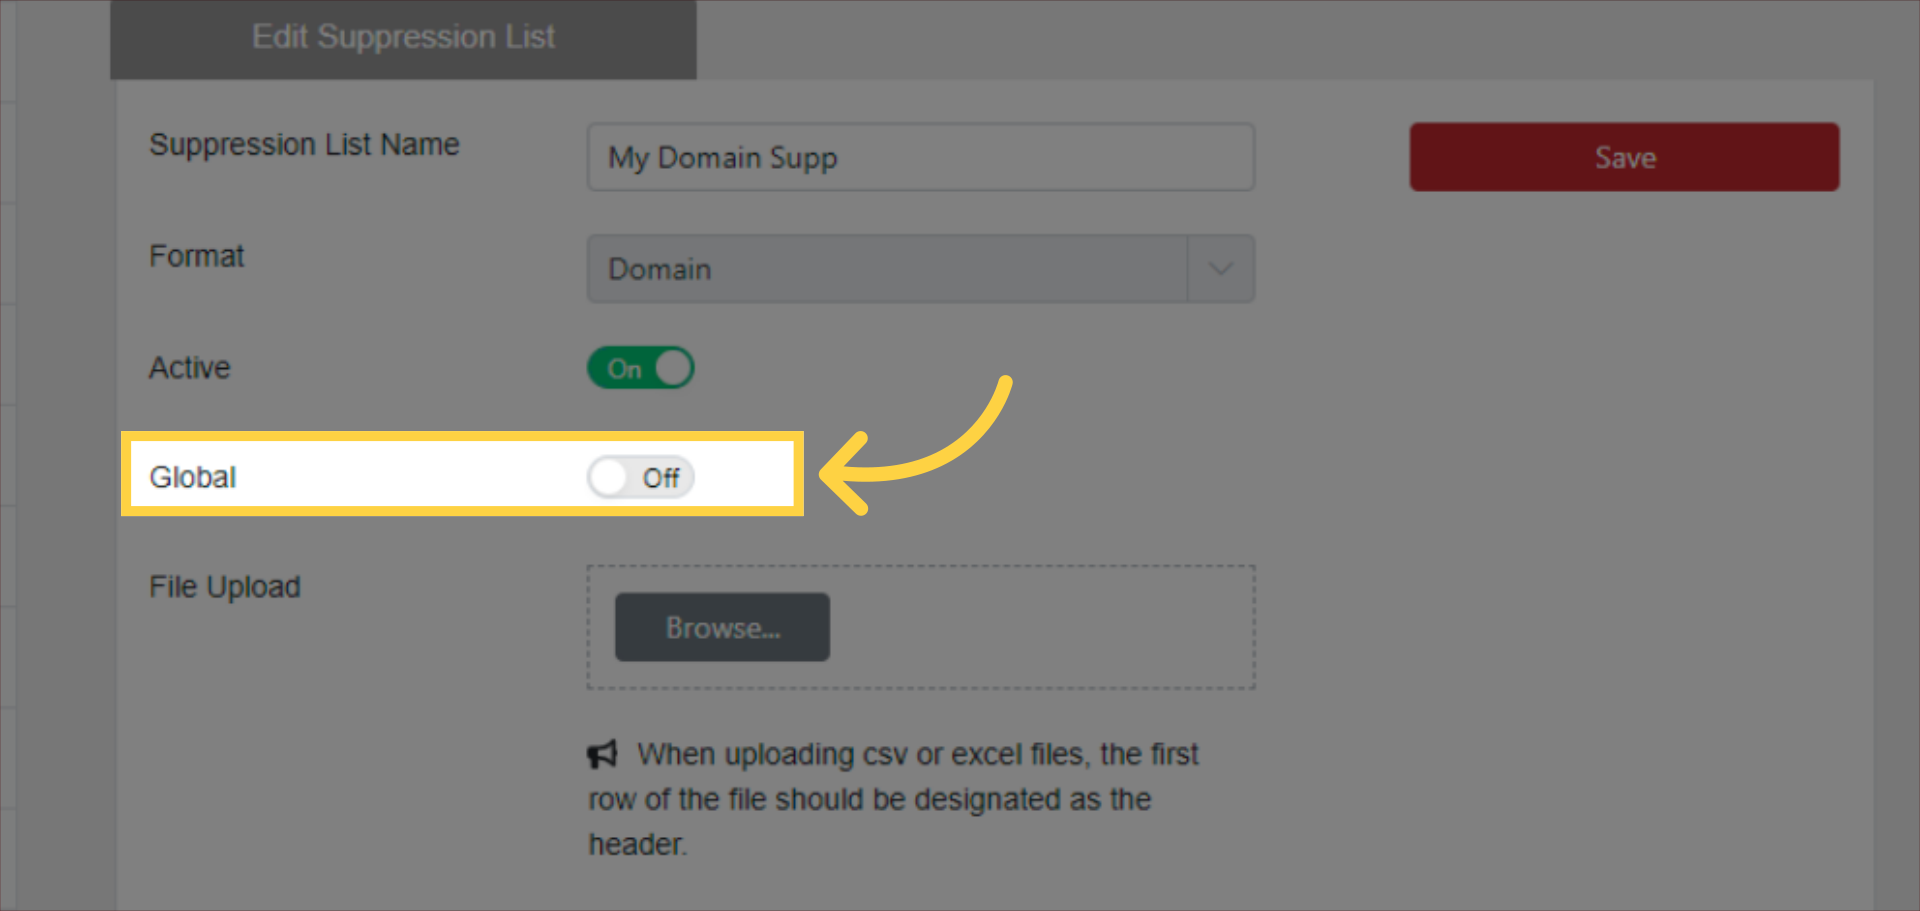
Locate the Global toggle slider.
Toggle the slider to On to make the list global.
Click Confirm in the confirmation dialog.
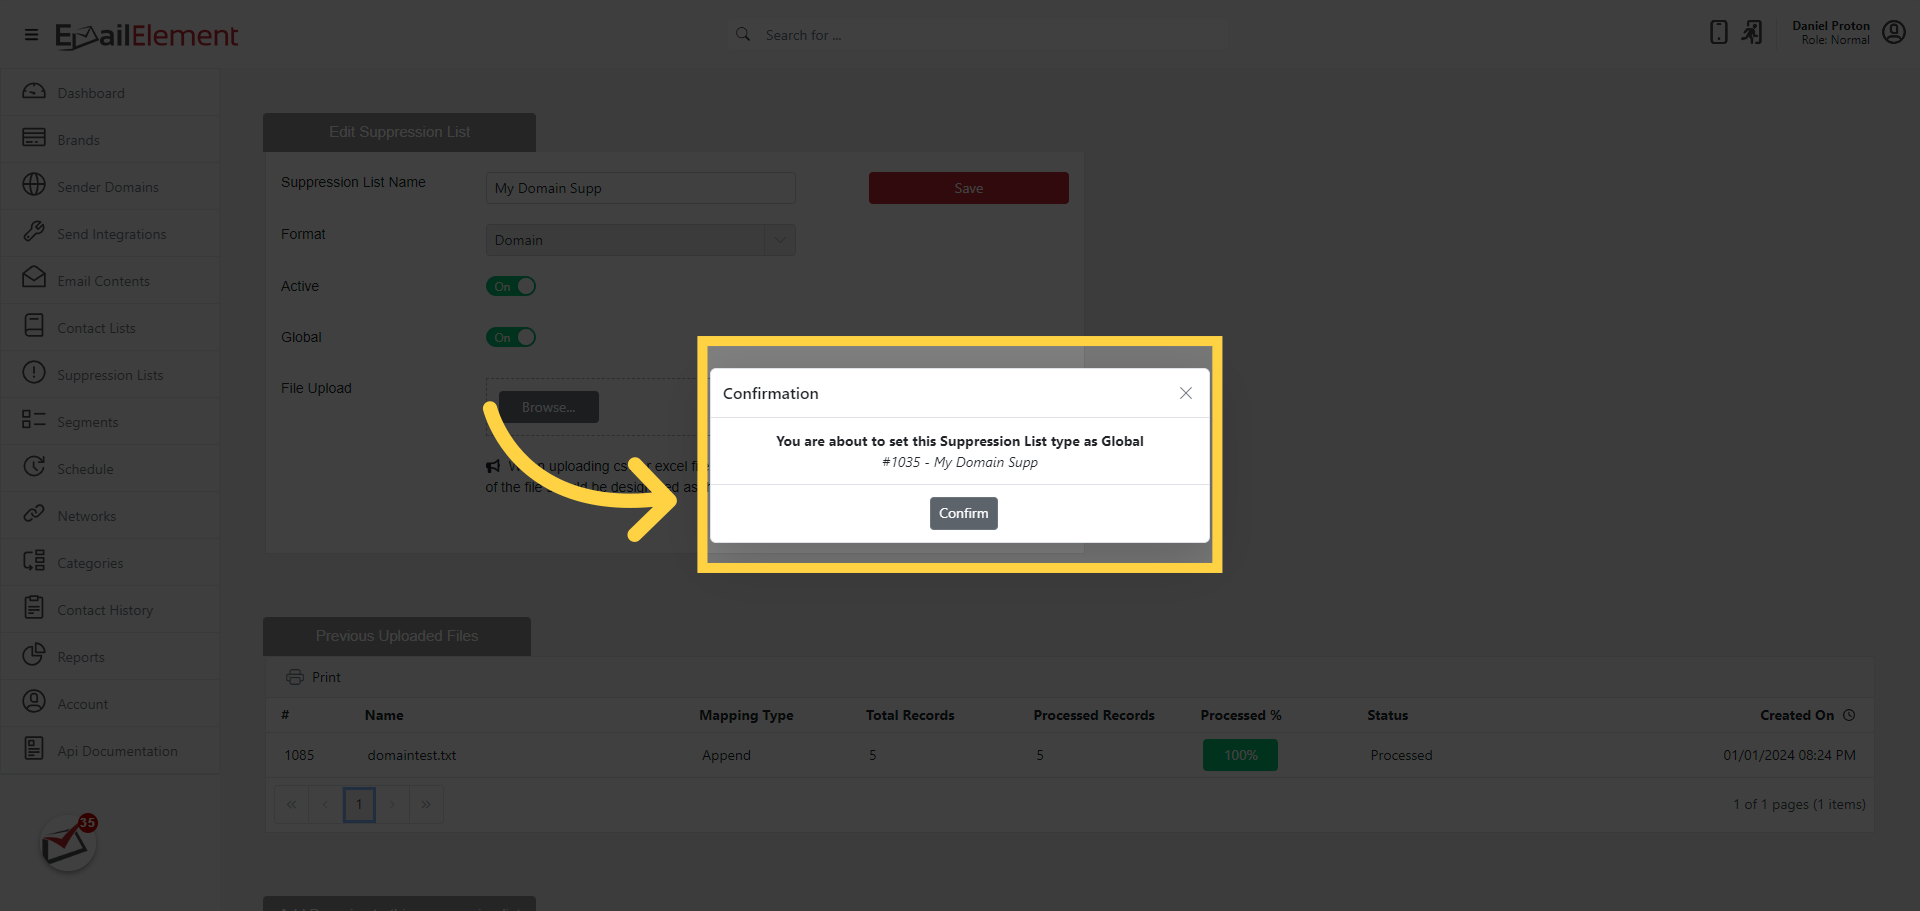
Global suppression lists apply to ALL sends across the entire account, regardless of which Brand or Send Integration is used.
To remove global status, toggle the slider back to Off and confirm.
Brand-Level Suppression
- A suppression list is automatically created for each Brand in the account.
- Brand-level suppression lists apply to all sends associated with that Brand.
- These auto-created lists cannot be deleted but can have entries added or removed.
- Brand suppression lists work in addition to any global suppression lists.
Viewing Suppression Impact on Segments
- Navigate to Segments and locate a segment in the grid.
- The Suppression Count column shows the adjusted count after all applicable suppression lists are applied.
- Click the list icon next to the suppression count to see:
- Which suppression lists were applied
- How many contacts each list removed
- This gives visibility into the true deliverable audience size.
Searching and Managing Entries
- Open a suppression list by double-clicking it in the grid.
- Use the Search field to find specific entries.
- To remove entries, select them in the grid and click Delete.
- To export the list, click Export to download all entries as a file.
Tips
- Use Email format for standard unsubscribe and bounce suppression.
- Use Pattern format to block categories of addresses (e.g.,
*bot*,*noreply*). - Use MD5 format when sharing suppression data with partners in a privacy-compliant way.
- Use Domain format to block all addresses from specific domains (e.g., competitor domains, known spam domains).
- Make compliance-critical lists (CAN-SPAM unsubscribes) Global to ensure they apply to every send.
- Check suppression counts on segments before sending to understand your true deliverable audience.